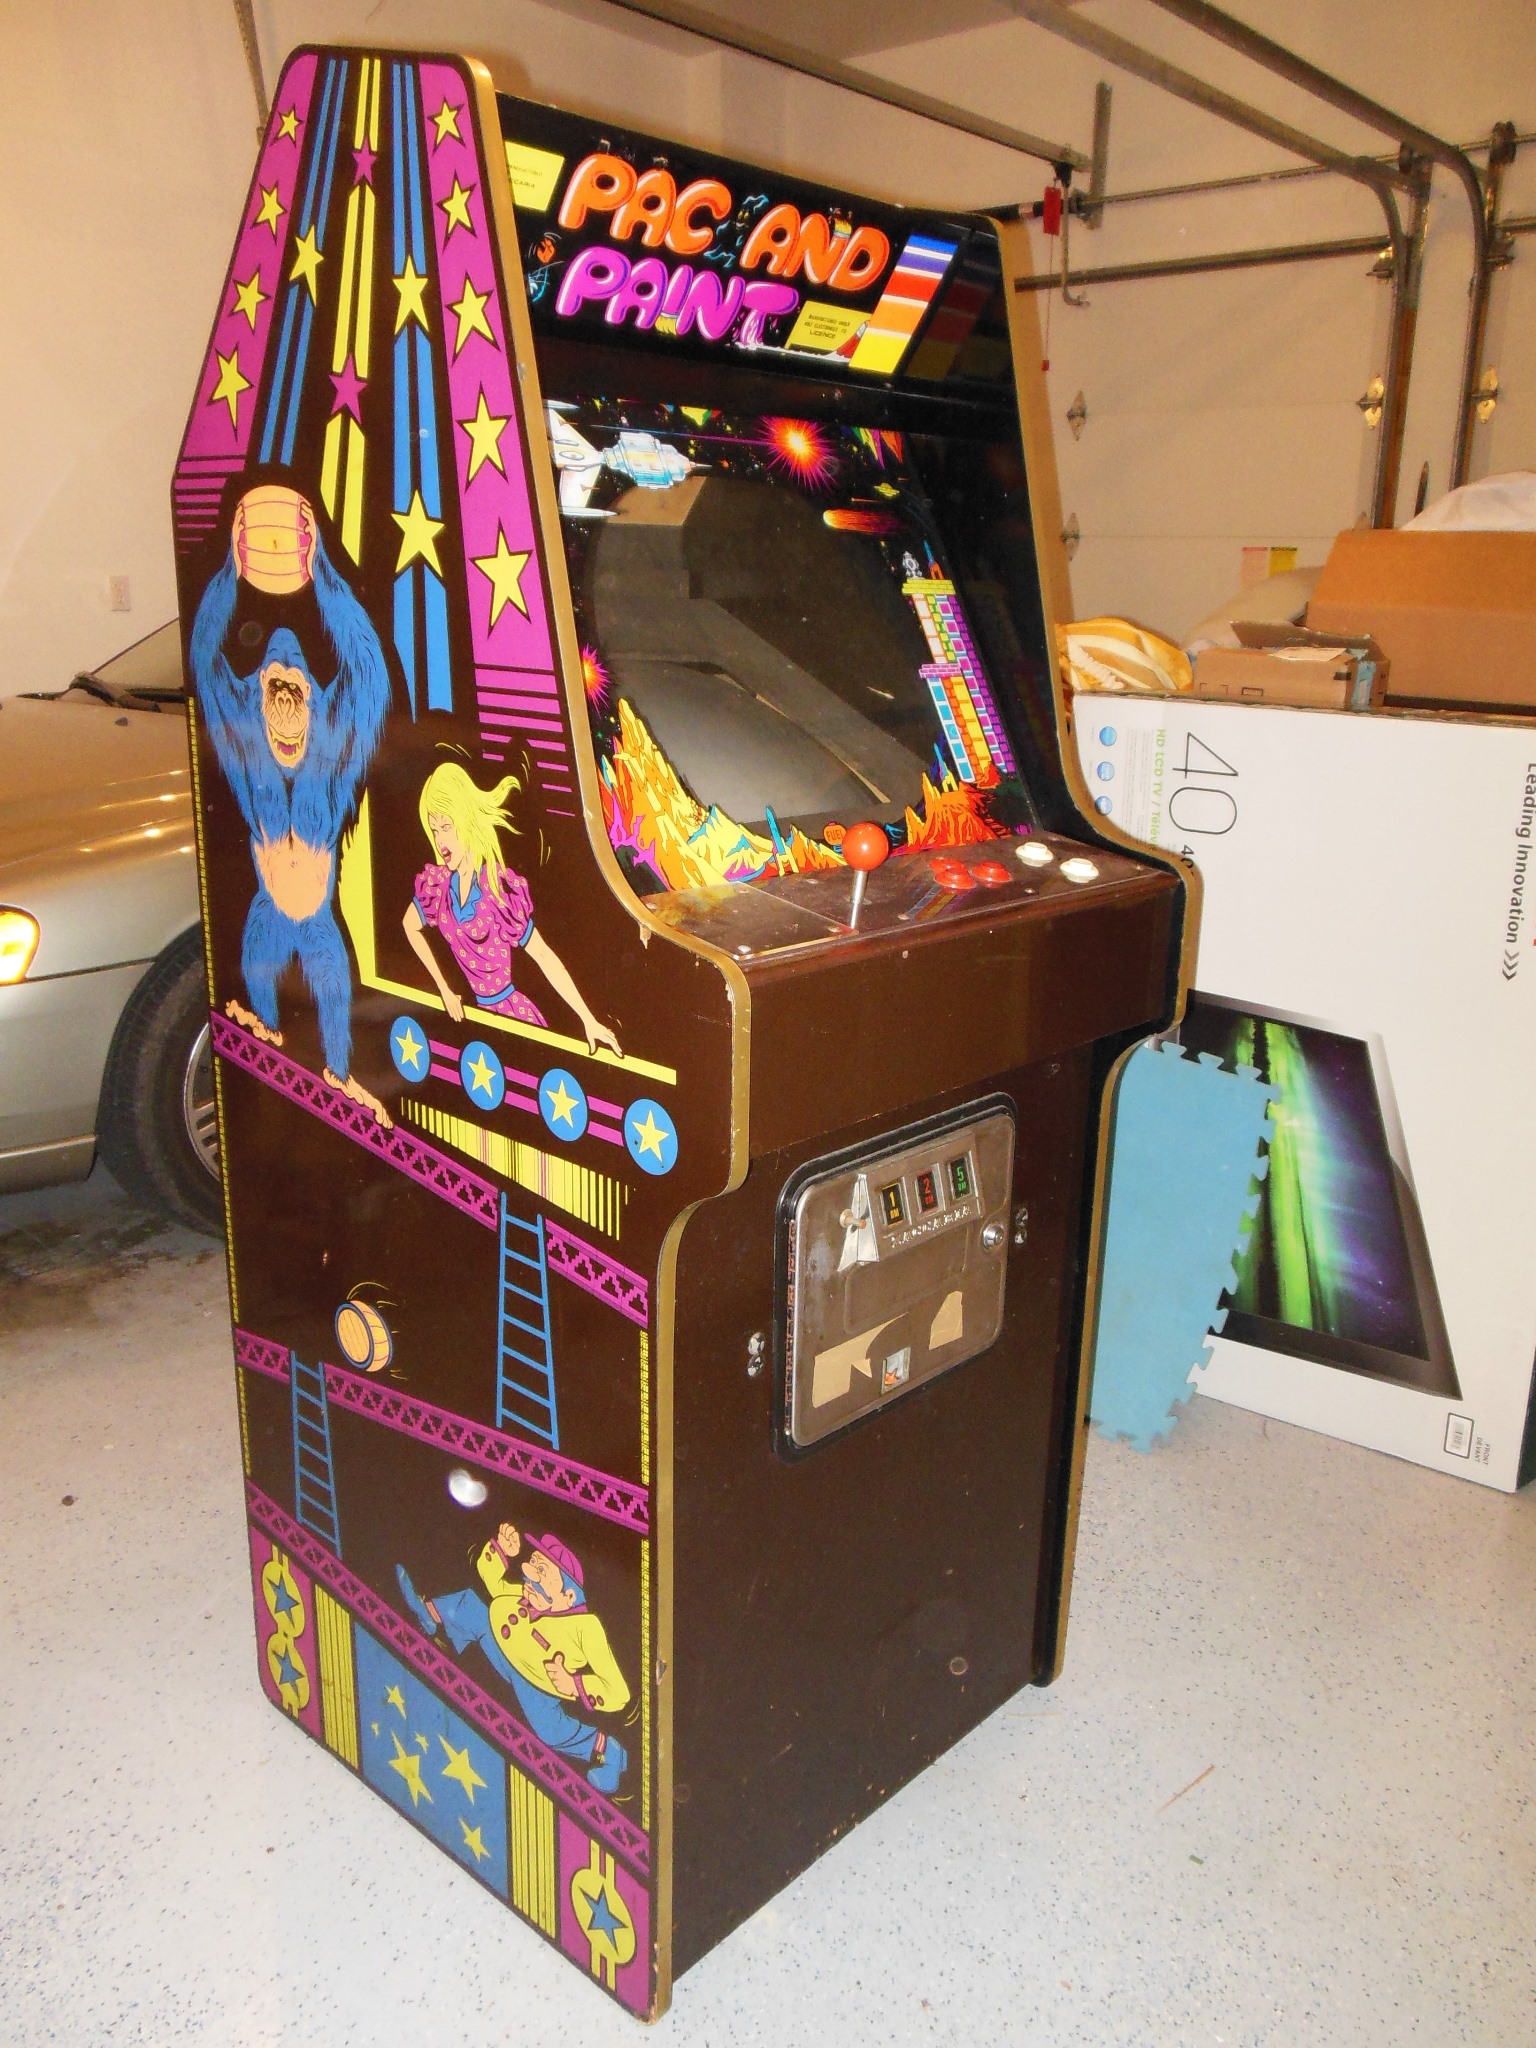
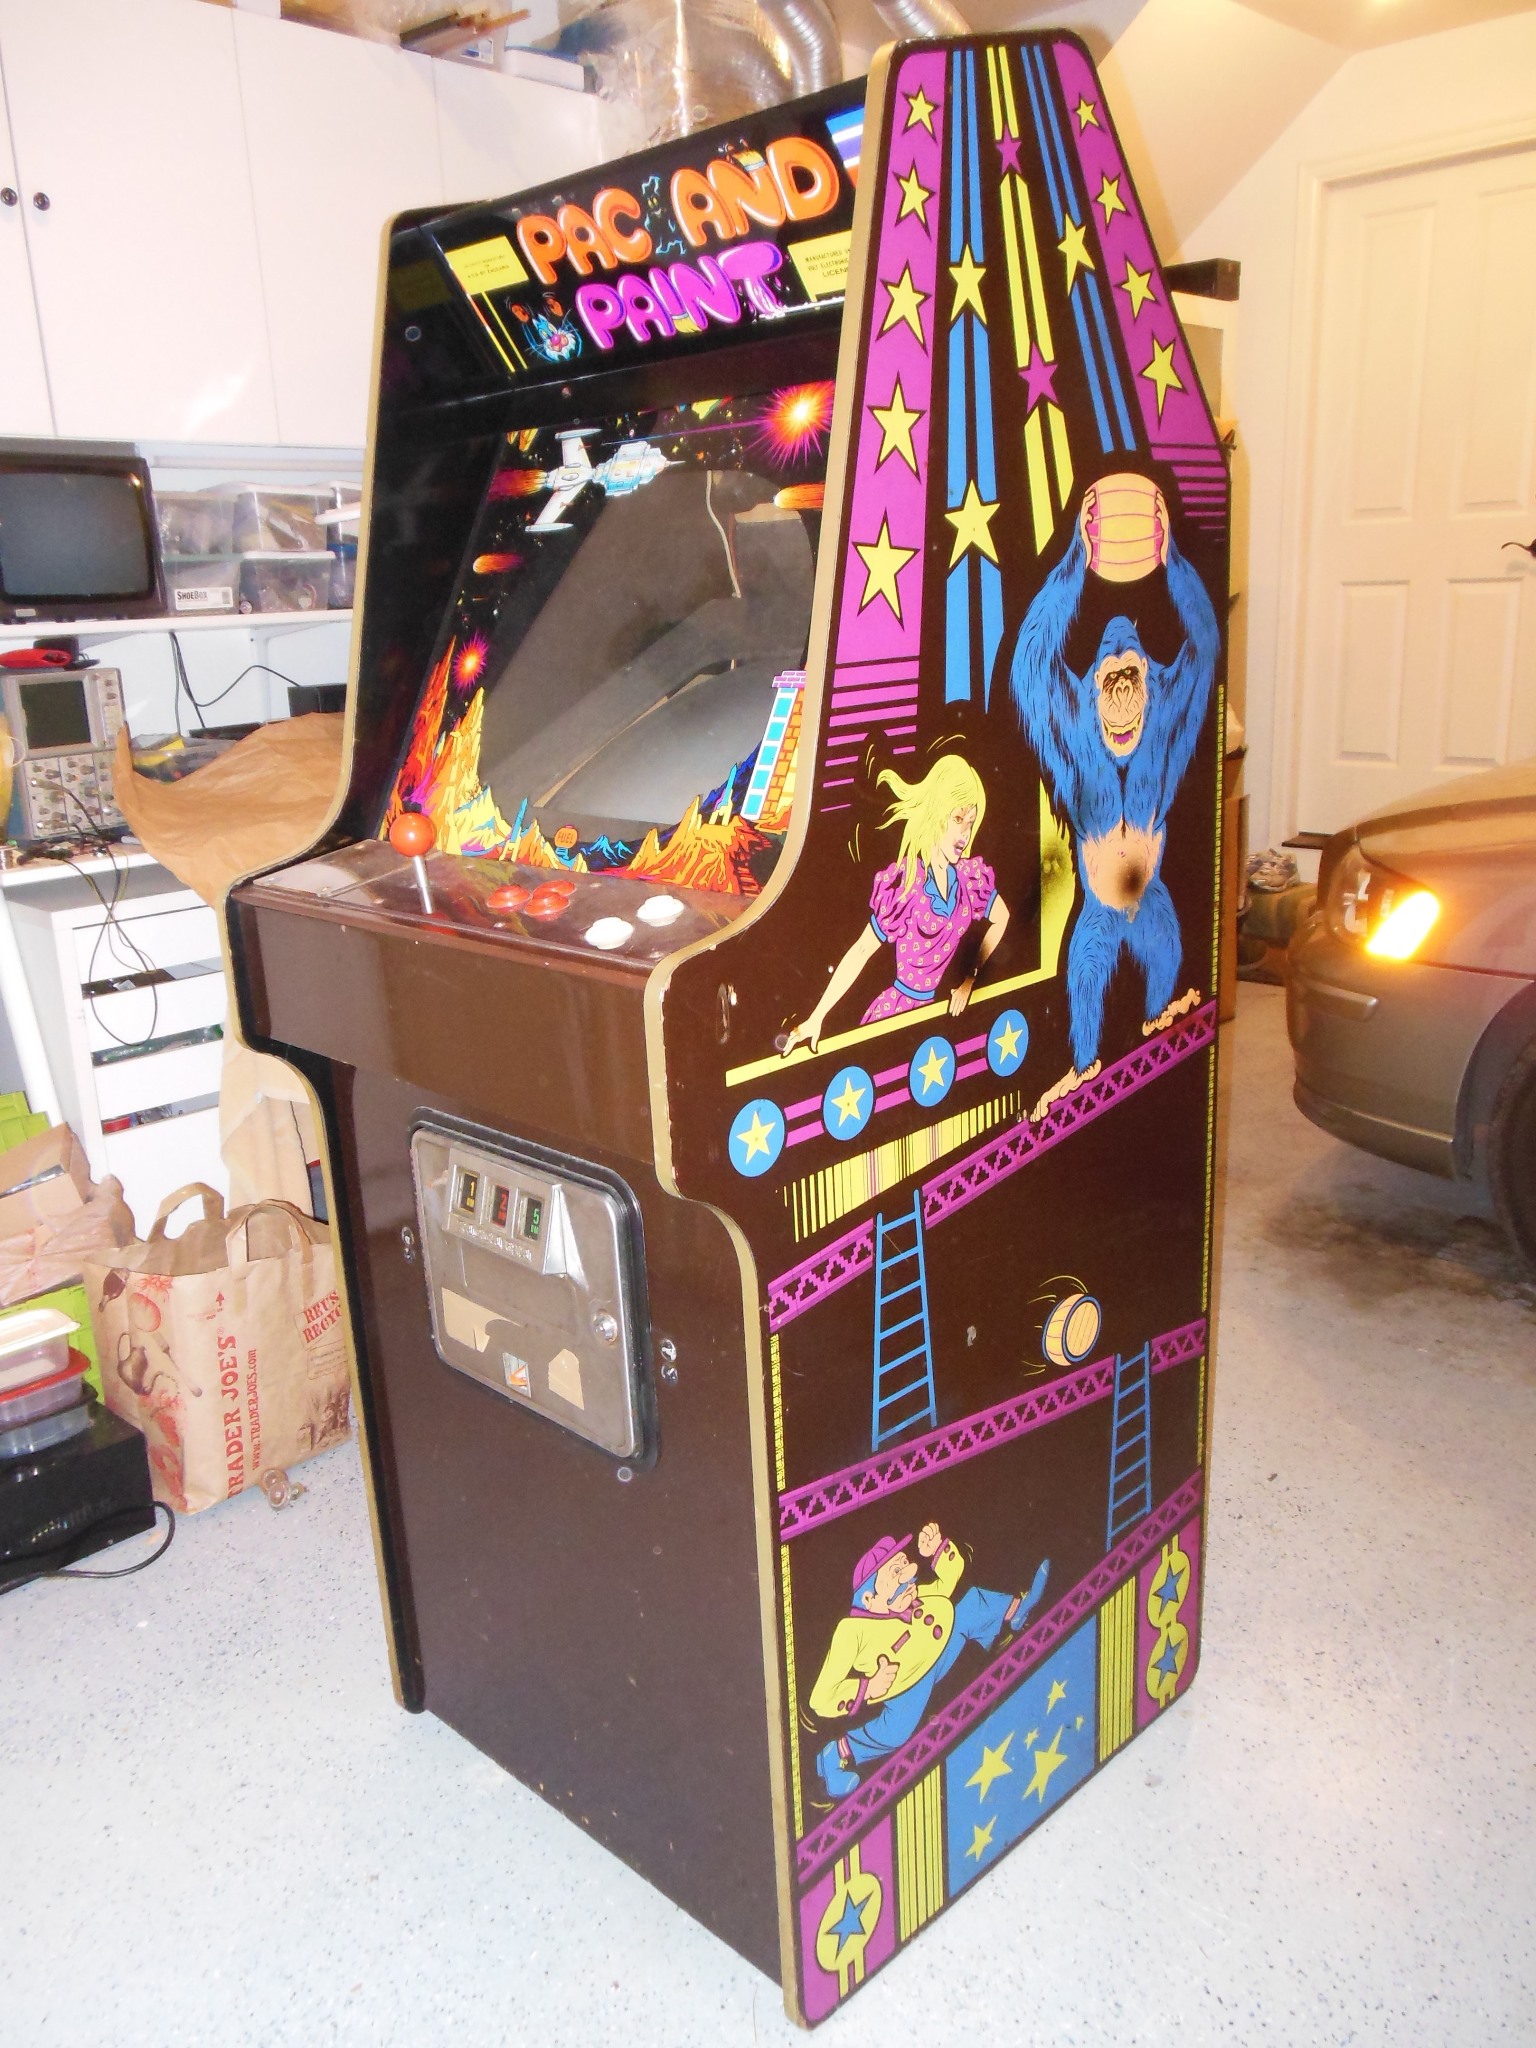
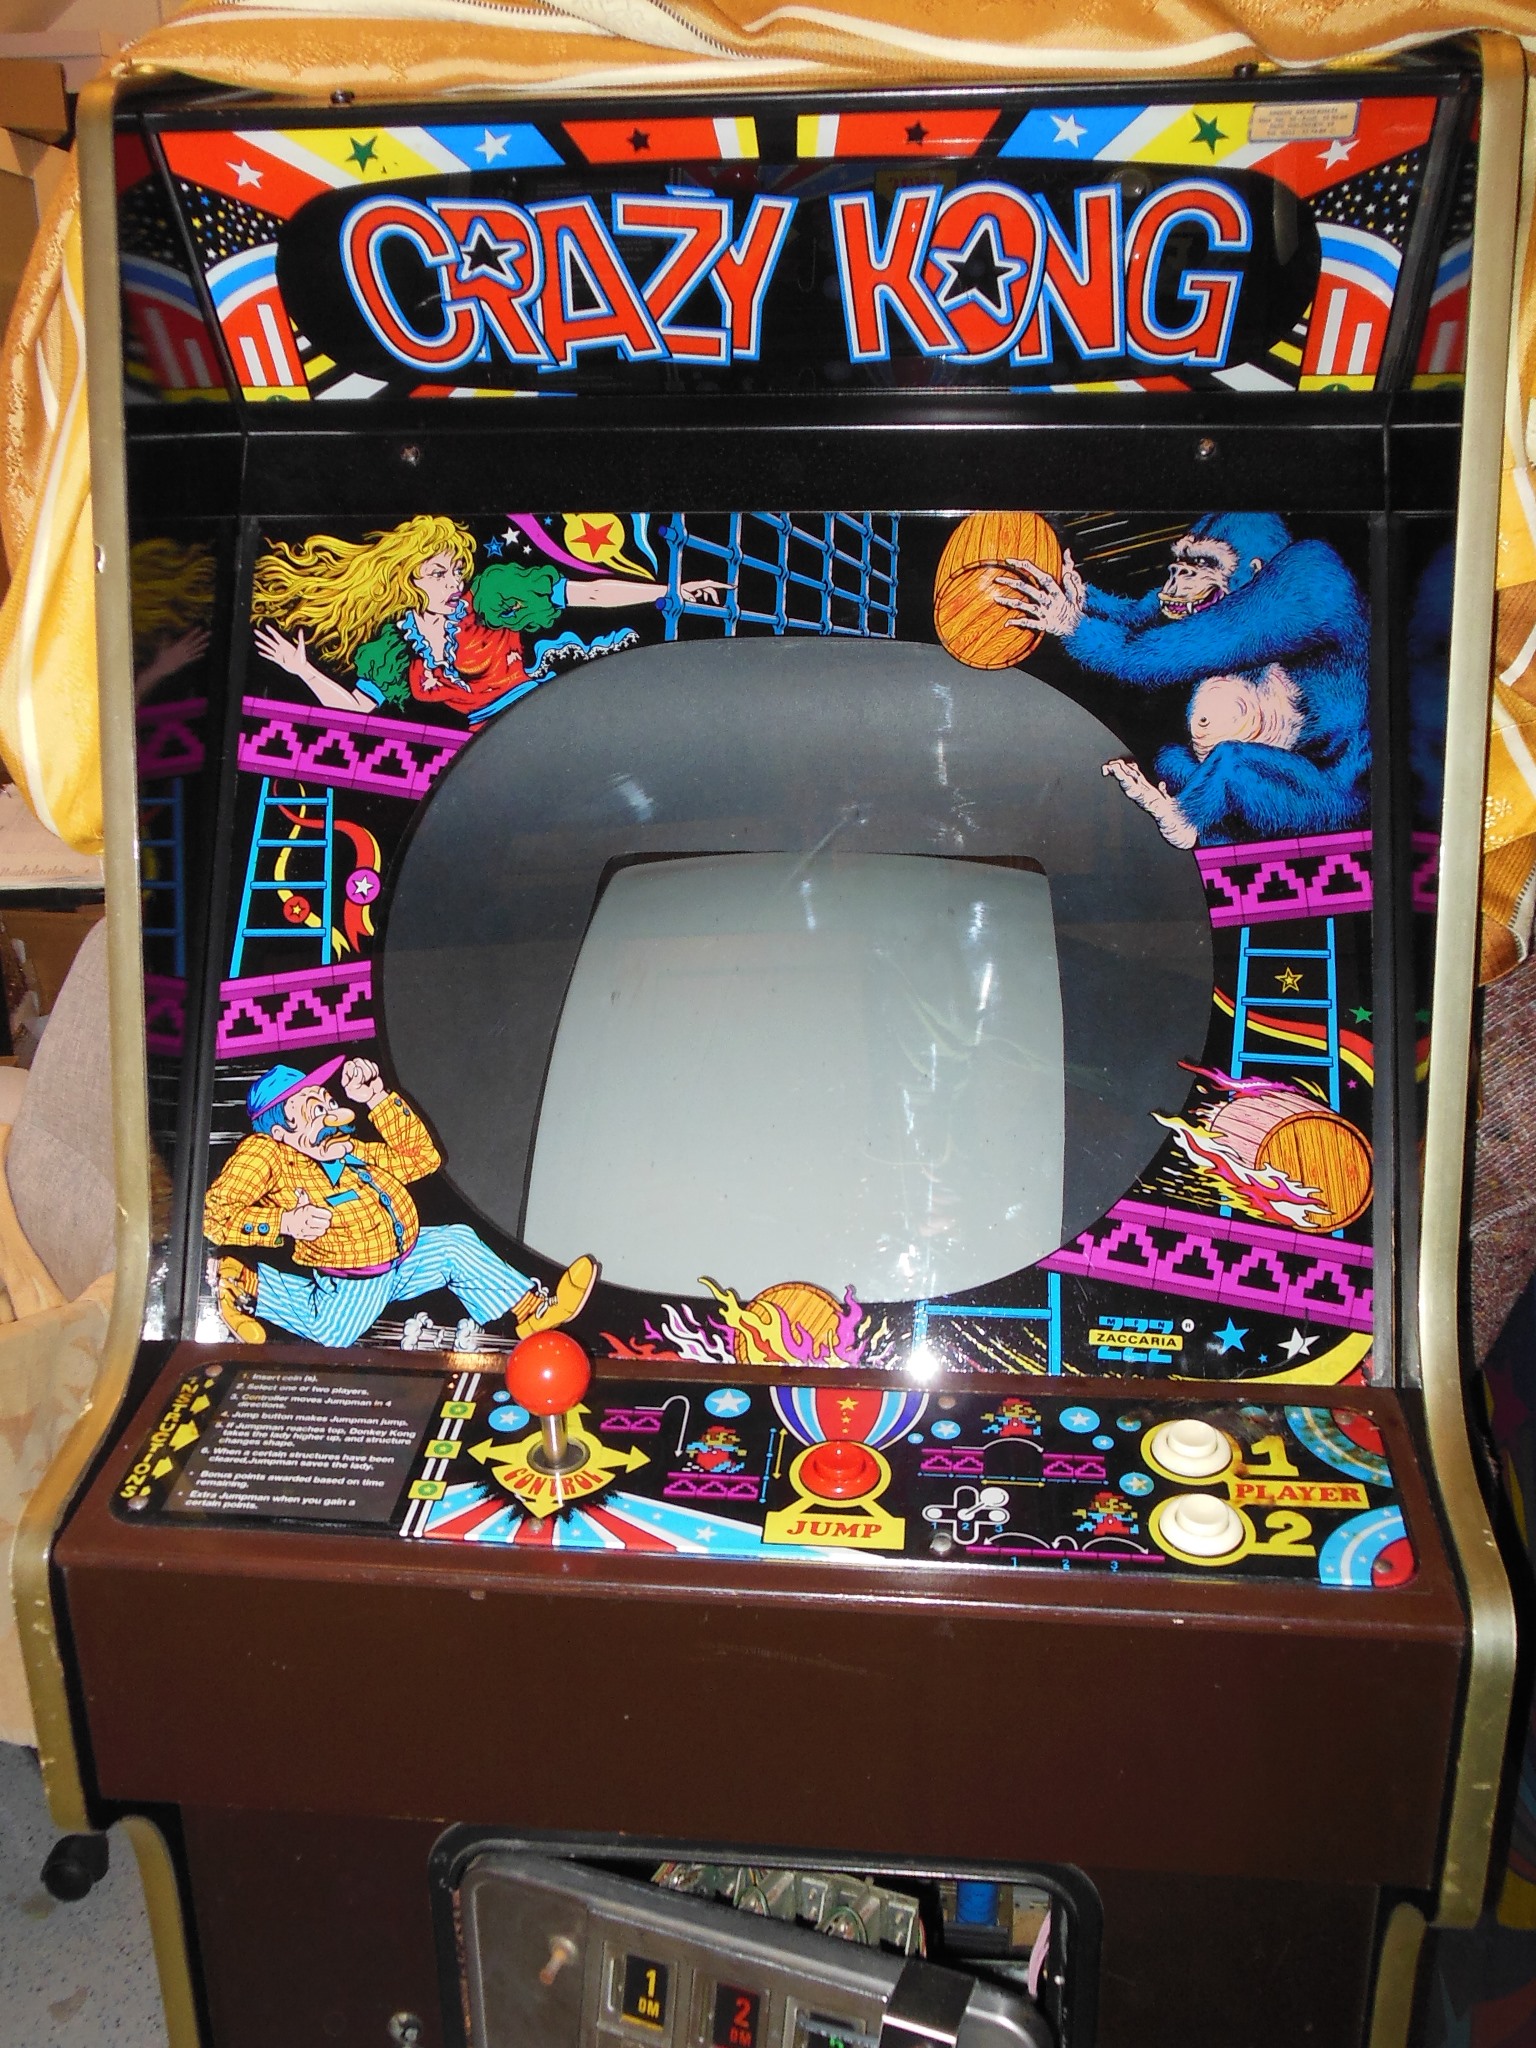
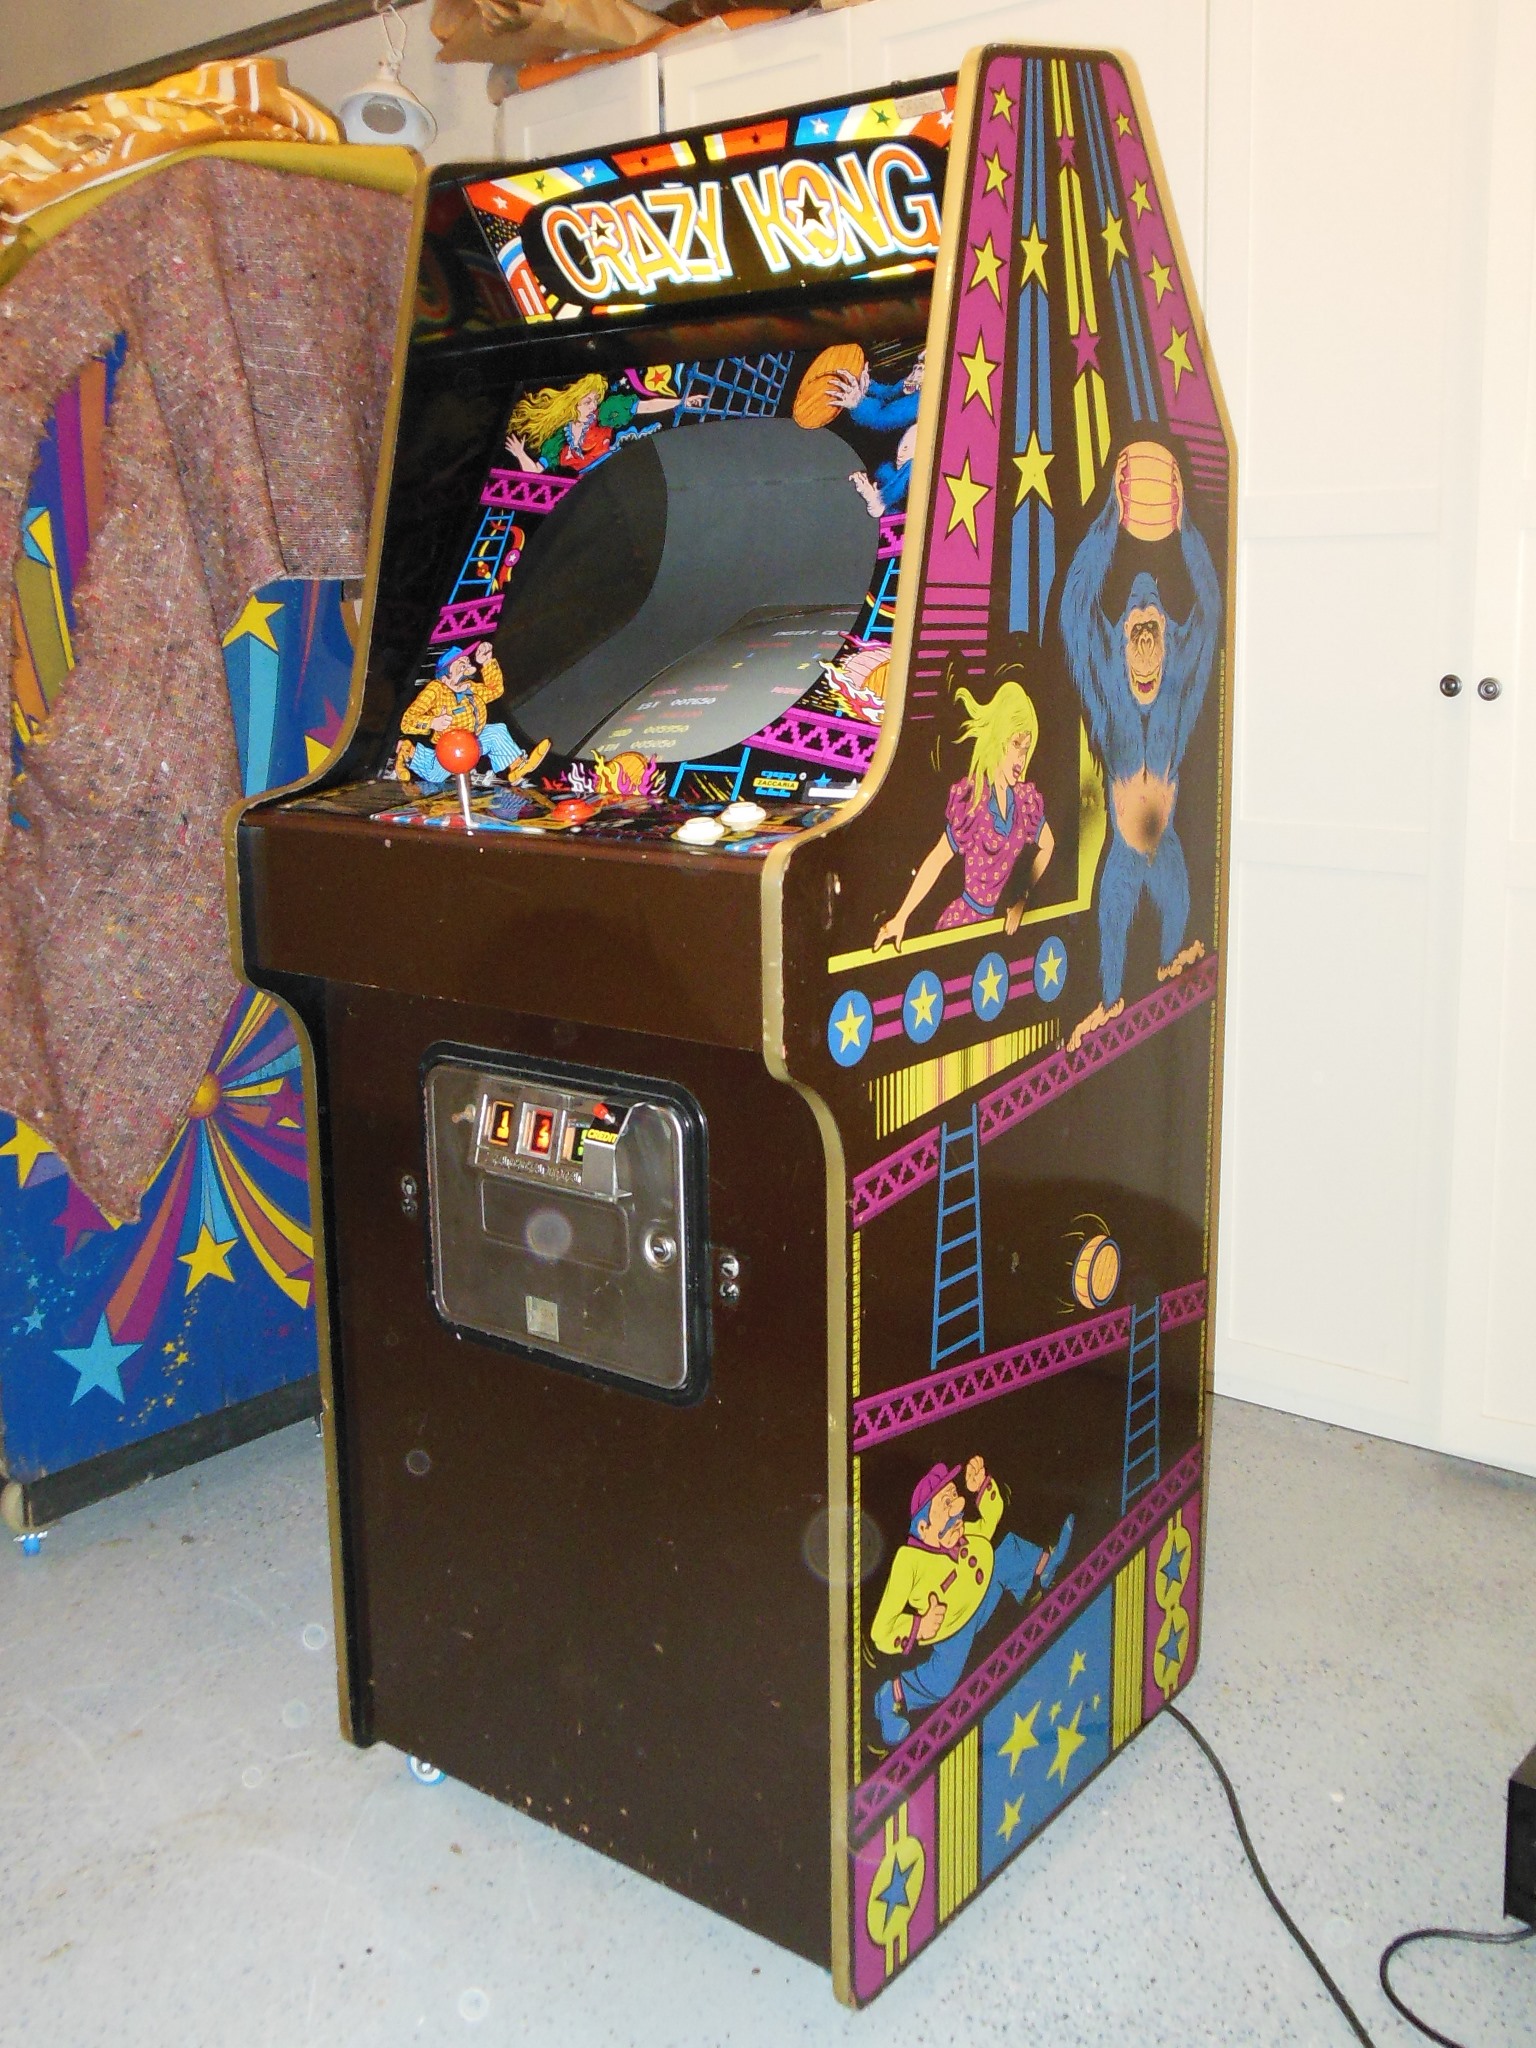
At the time I'd been looking for Crazy Kong for a while but only found converted examples of which this was one. I was also in need of a Pac'n'Paint marque that this cabinet had so I figured this was as good as any to start with. I think it came from eBay Germany.
|
|
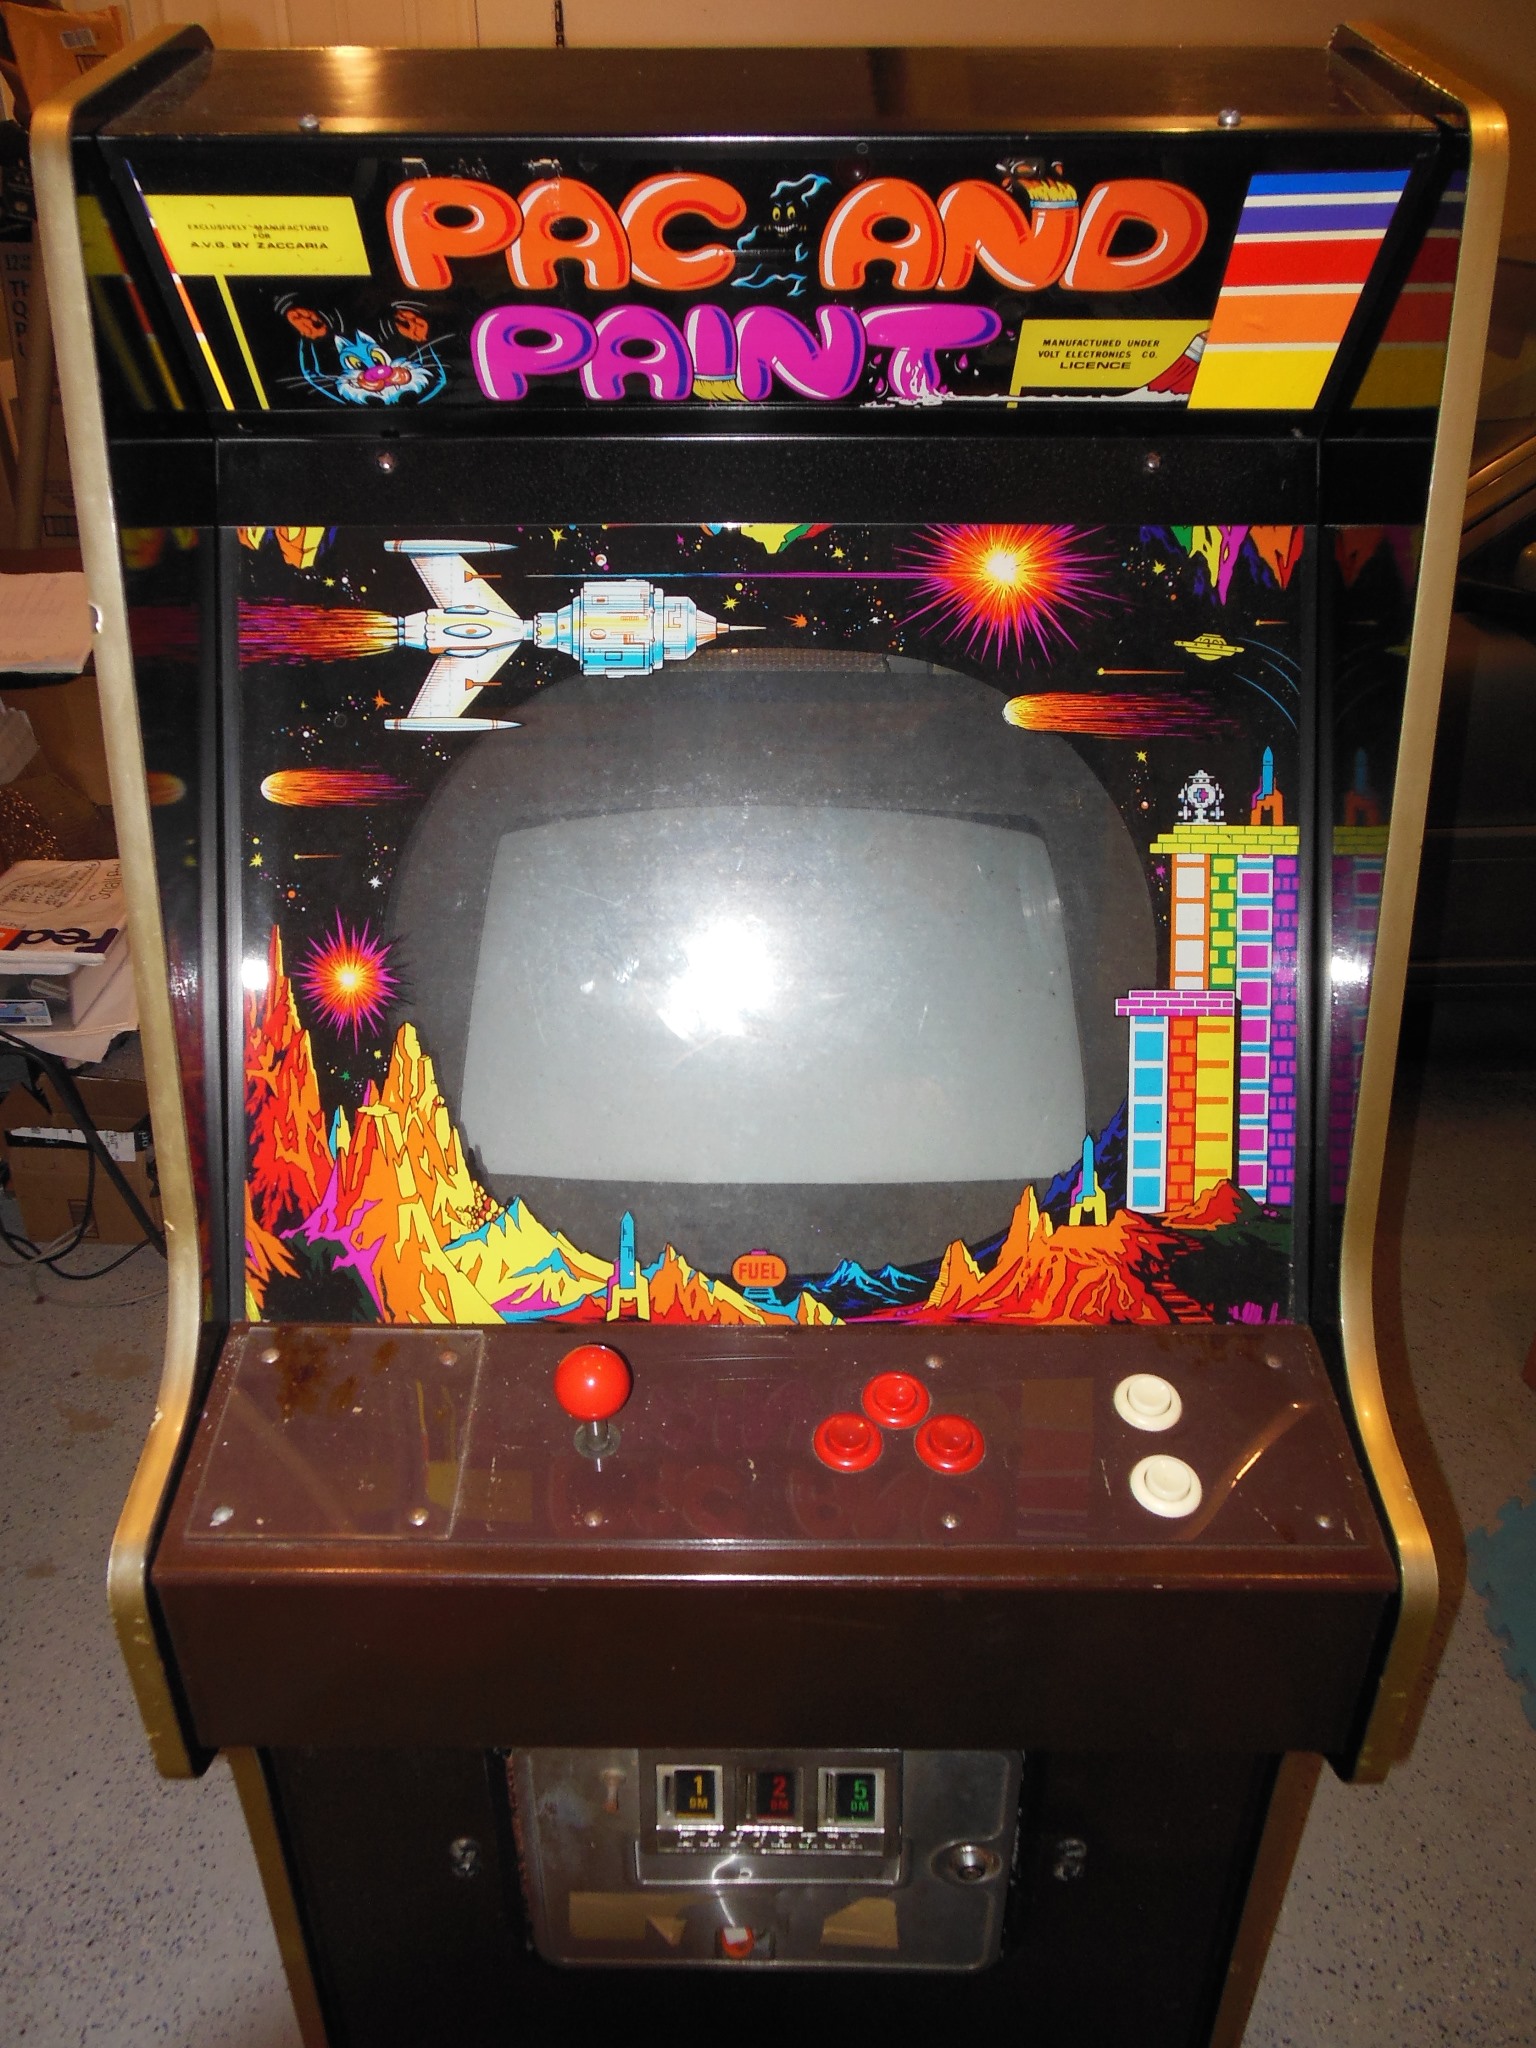
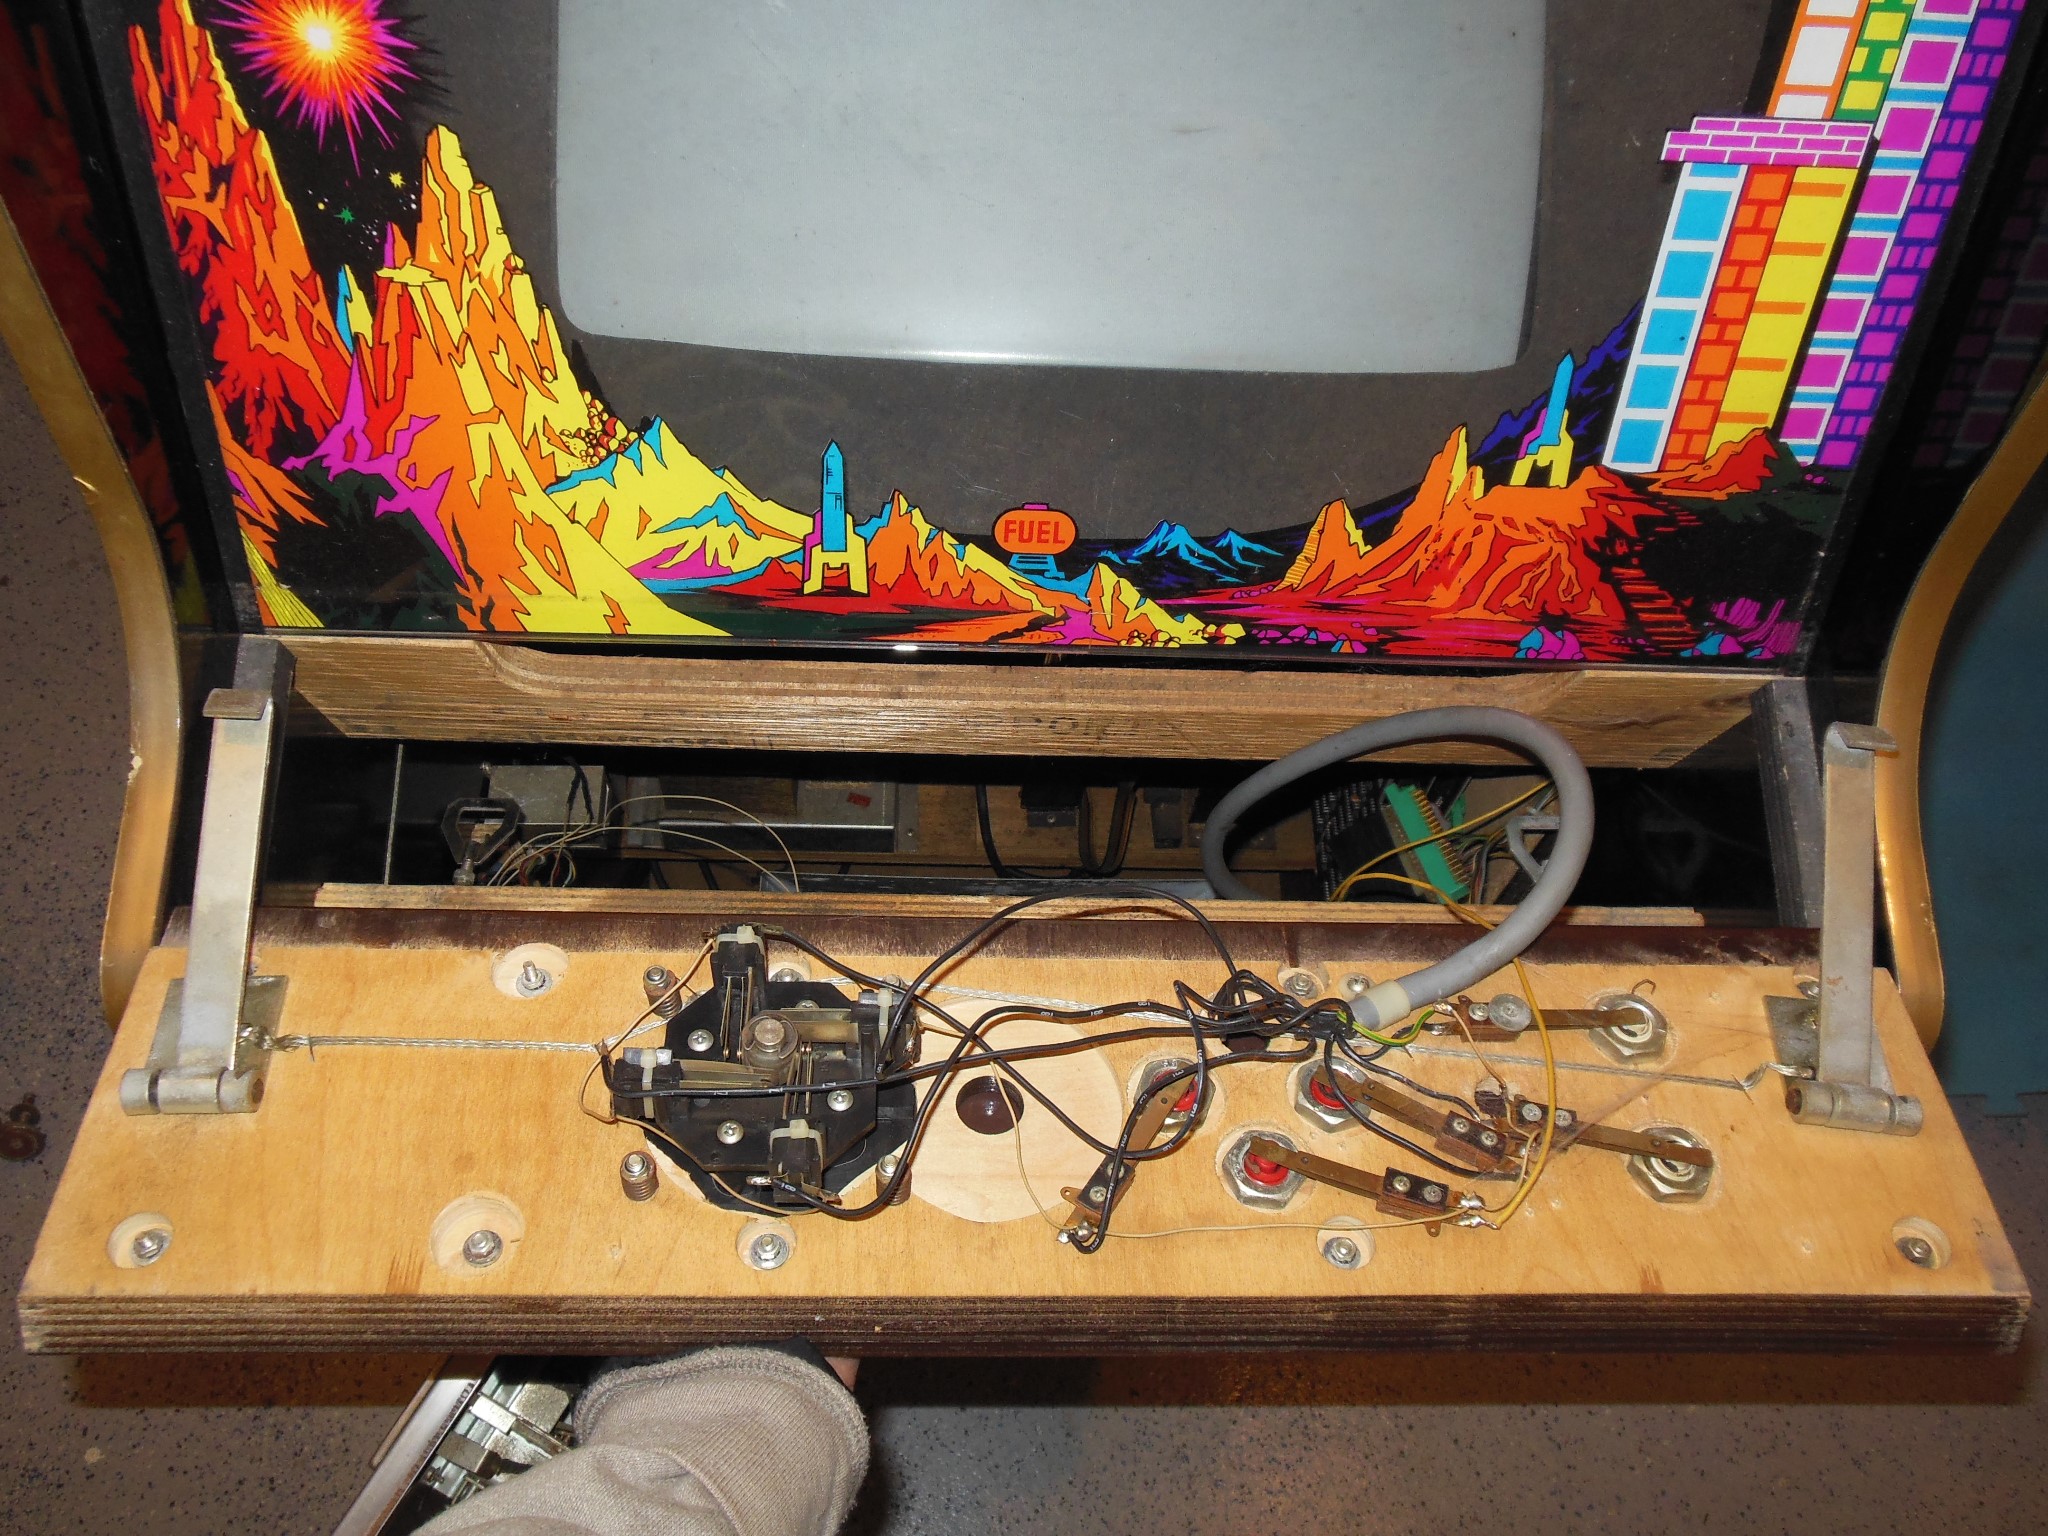
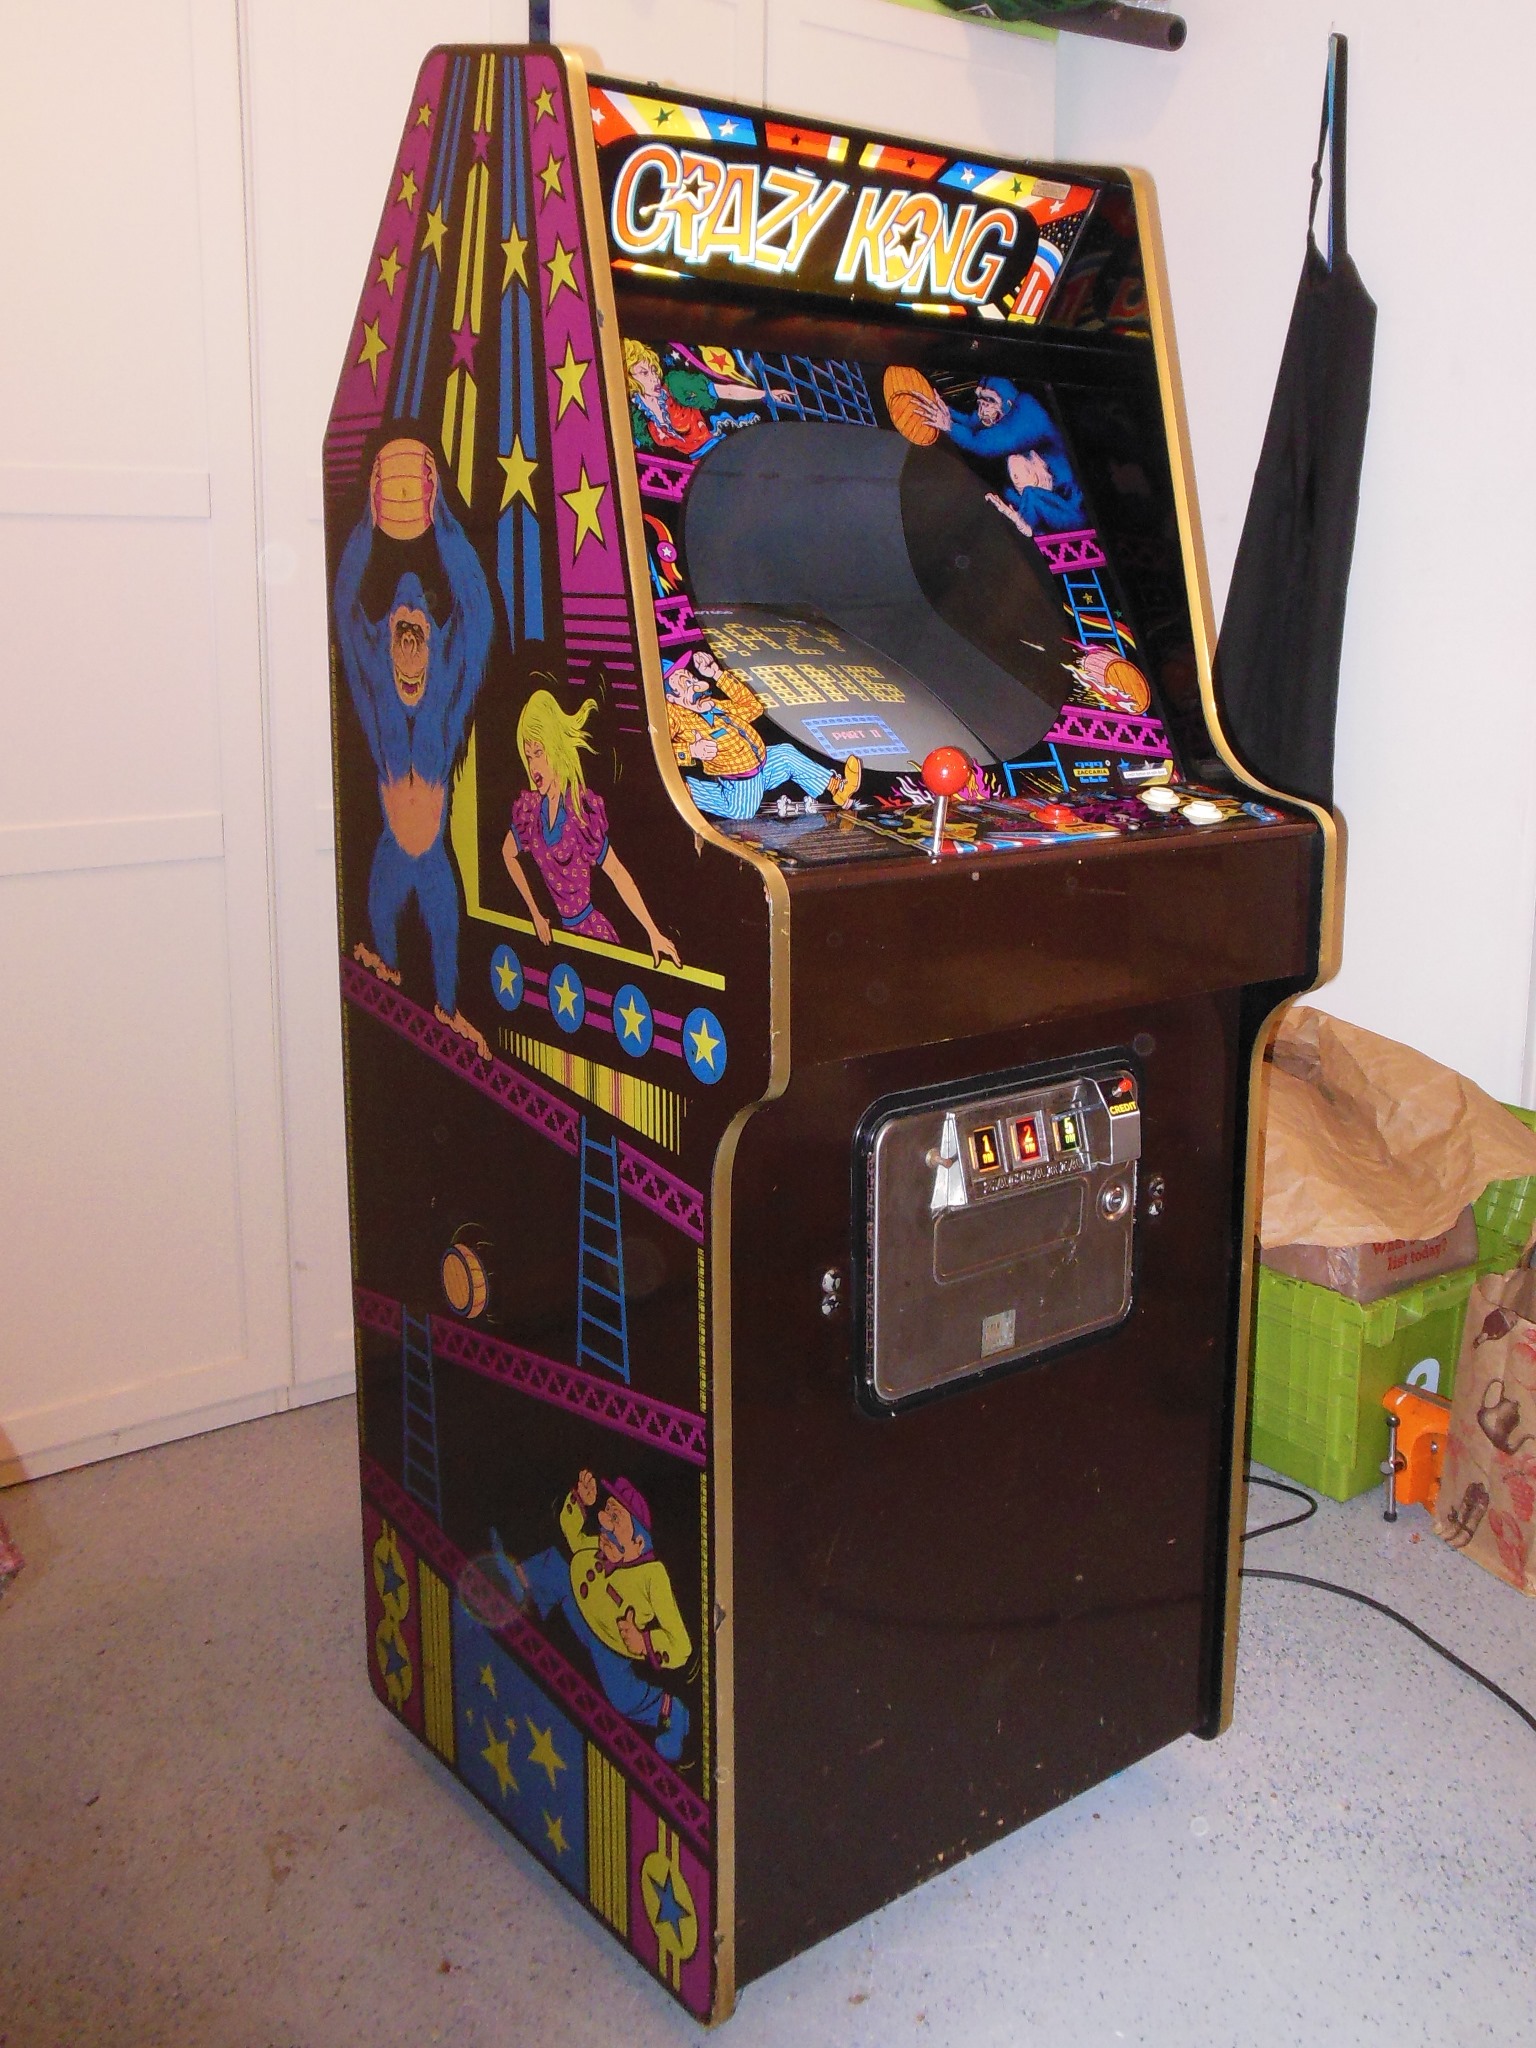
The exterior cabinet was in decent condition, some small dings on the side art and a small patch of spray paint on the right Kong. The marque & glass weren't Crazy Kong and the original control panel overlay was missing, replaced by a plastic sheet. Crazy Kong is a vertical game so the monitor had been rotated and surround replaced.
|
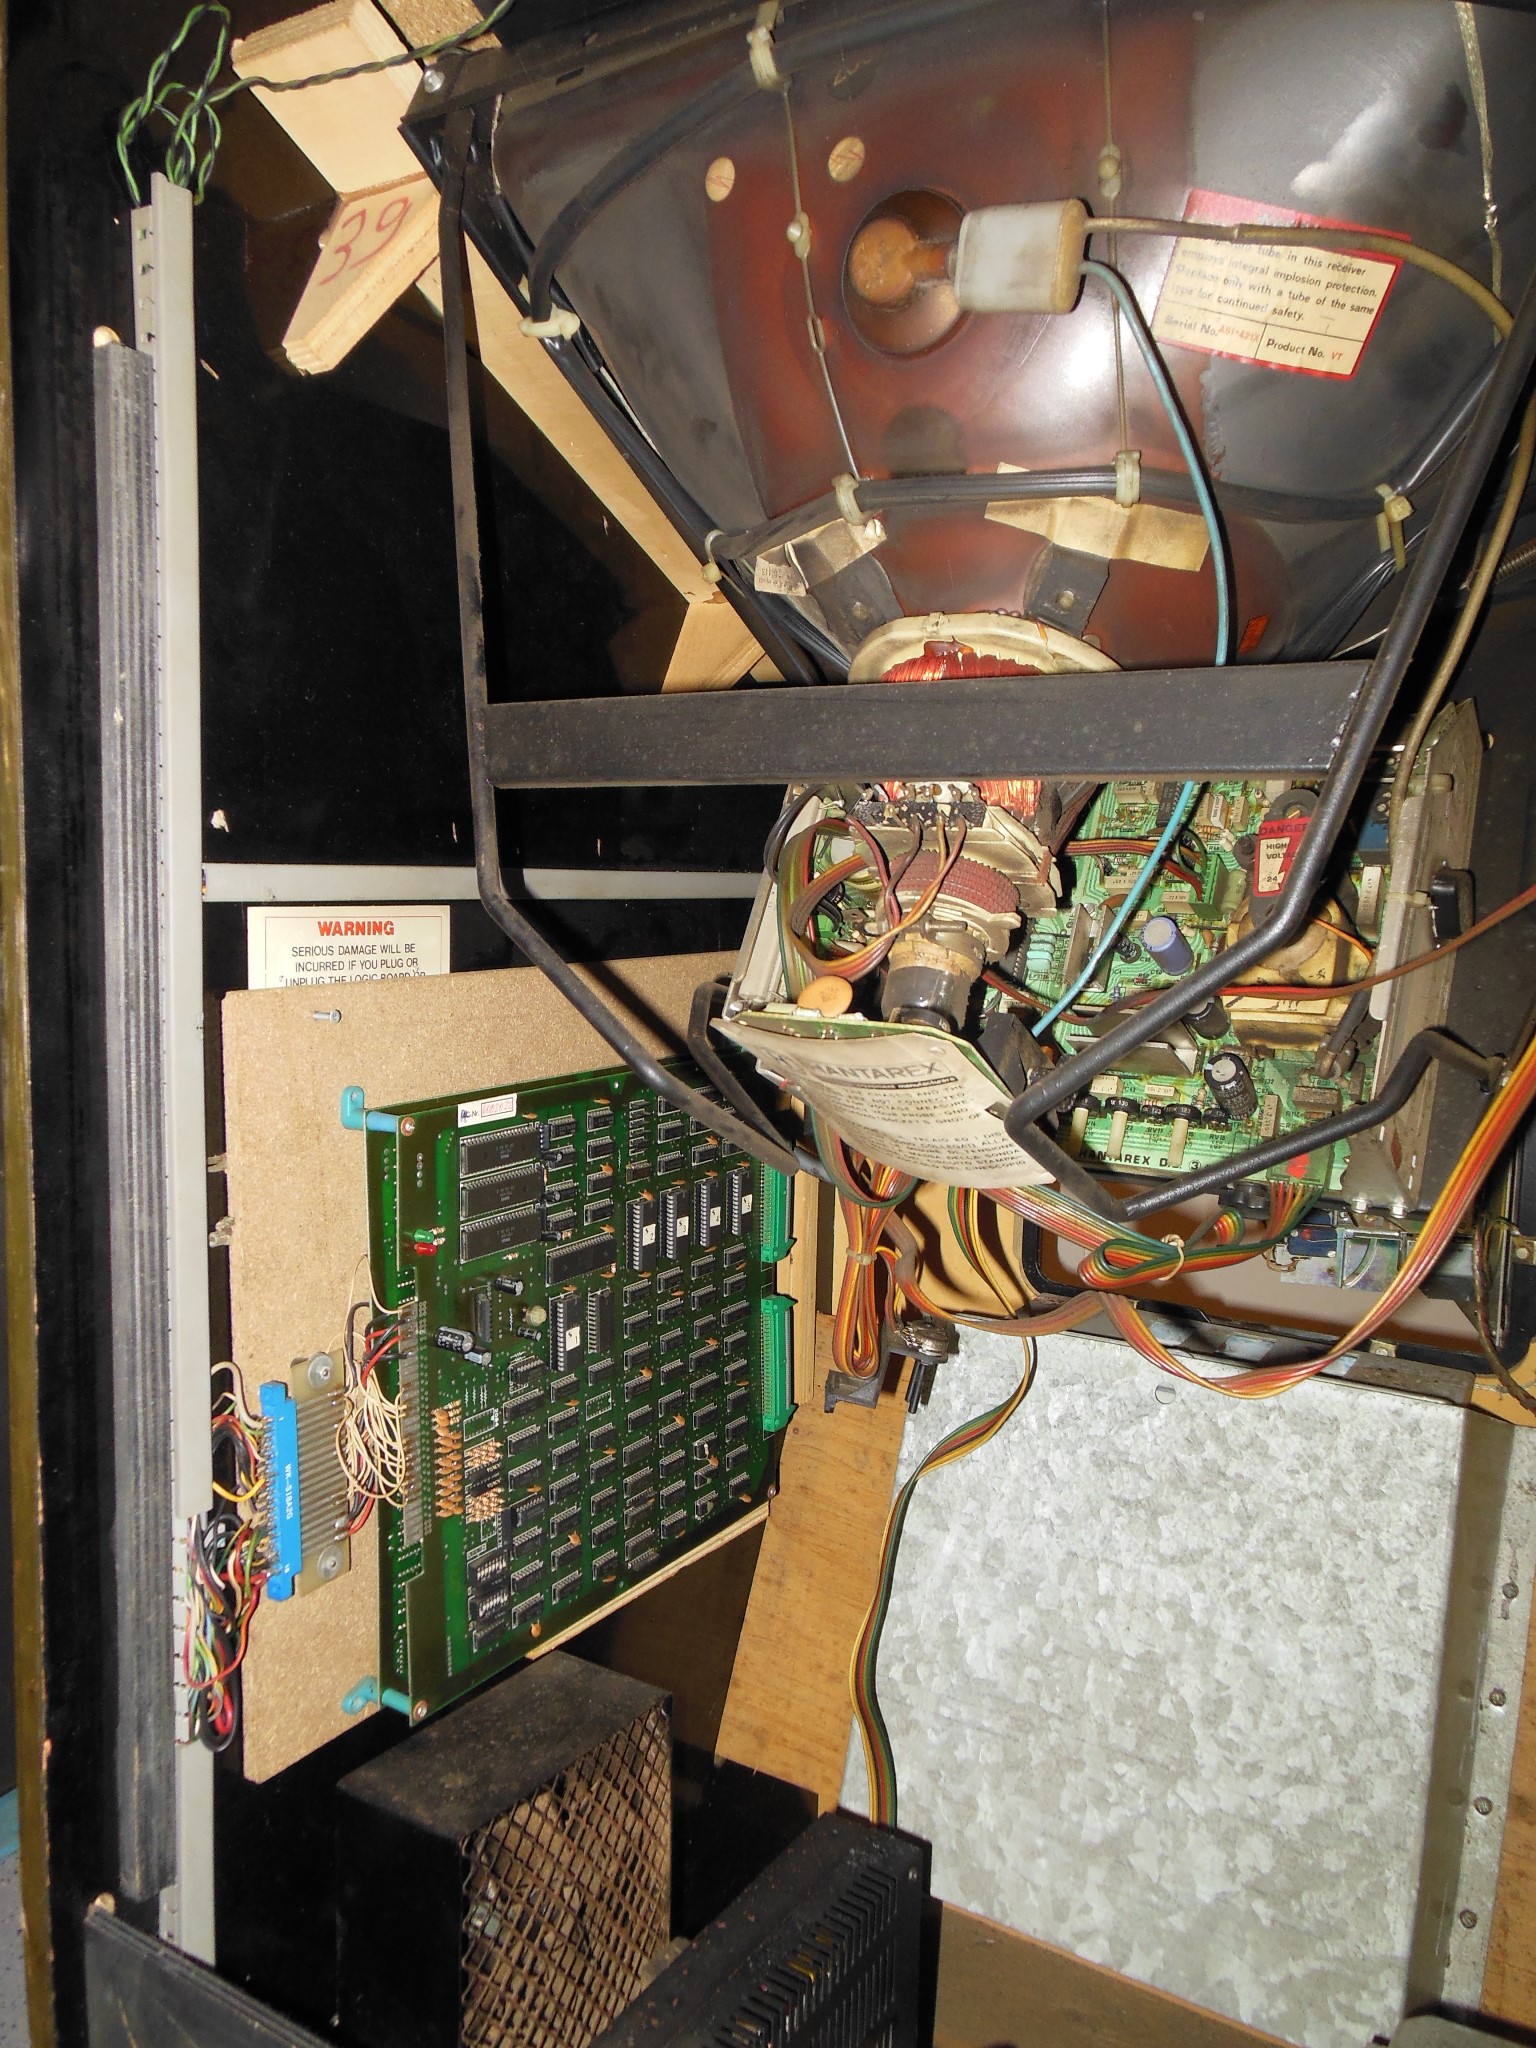
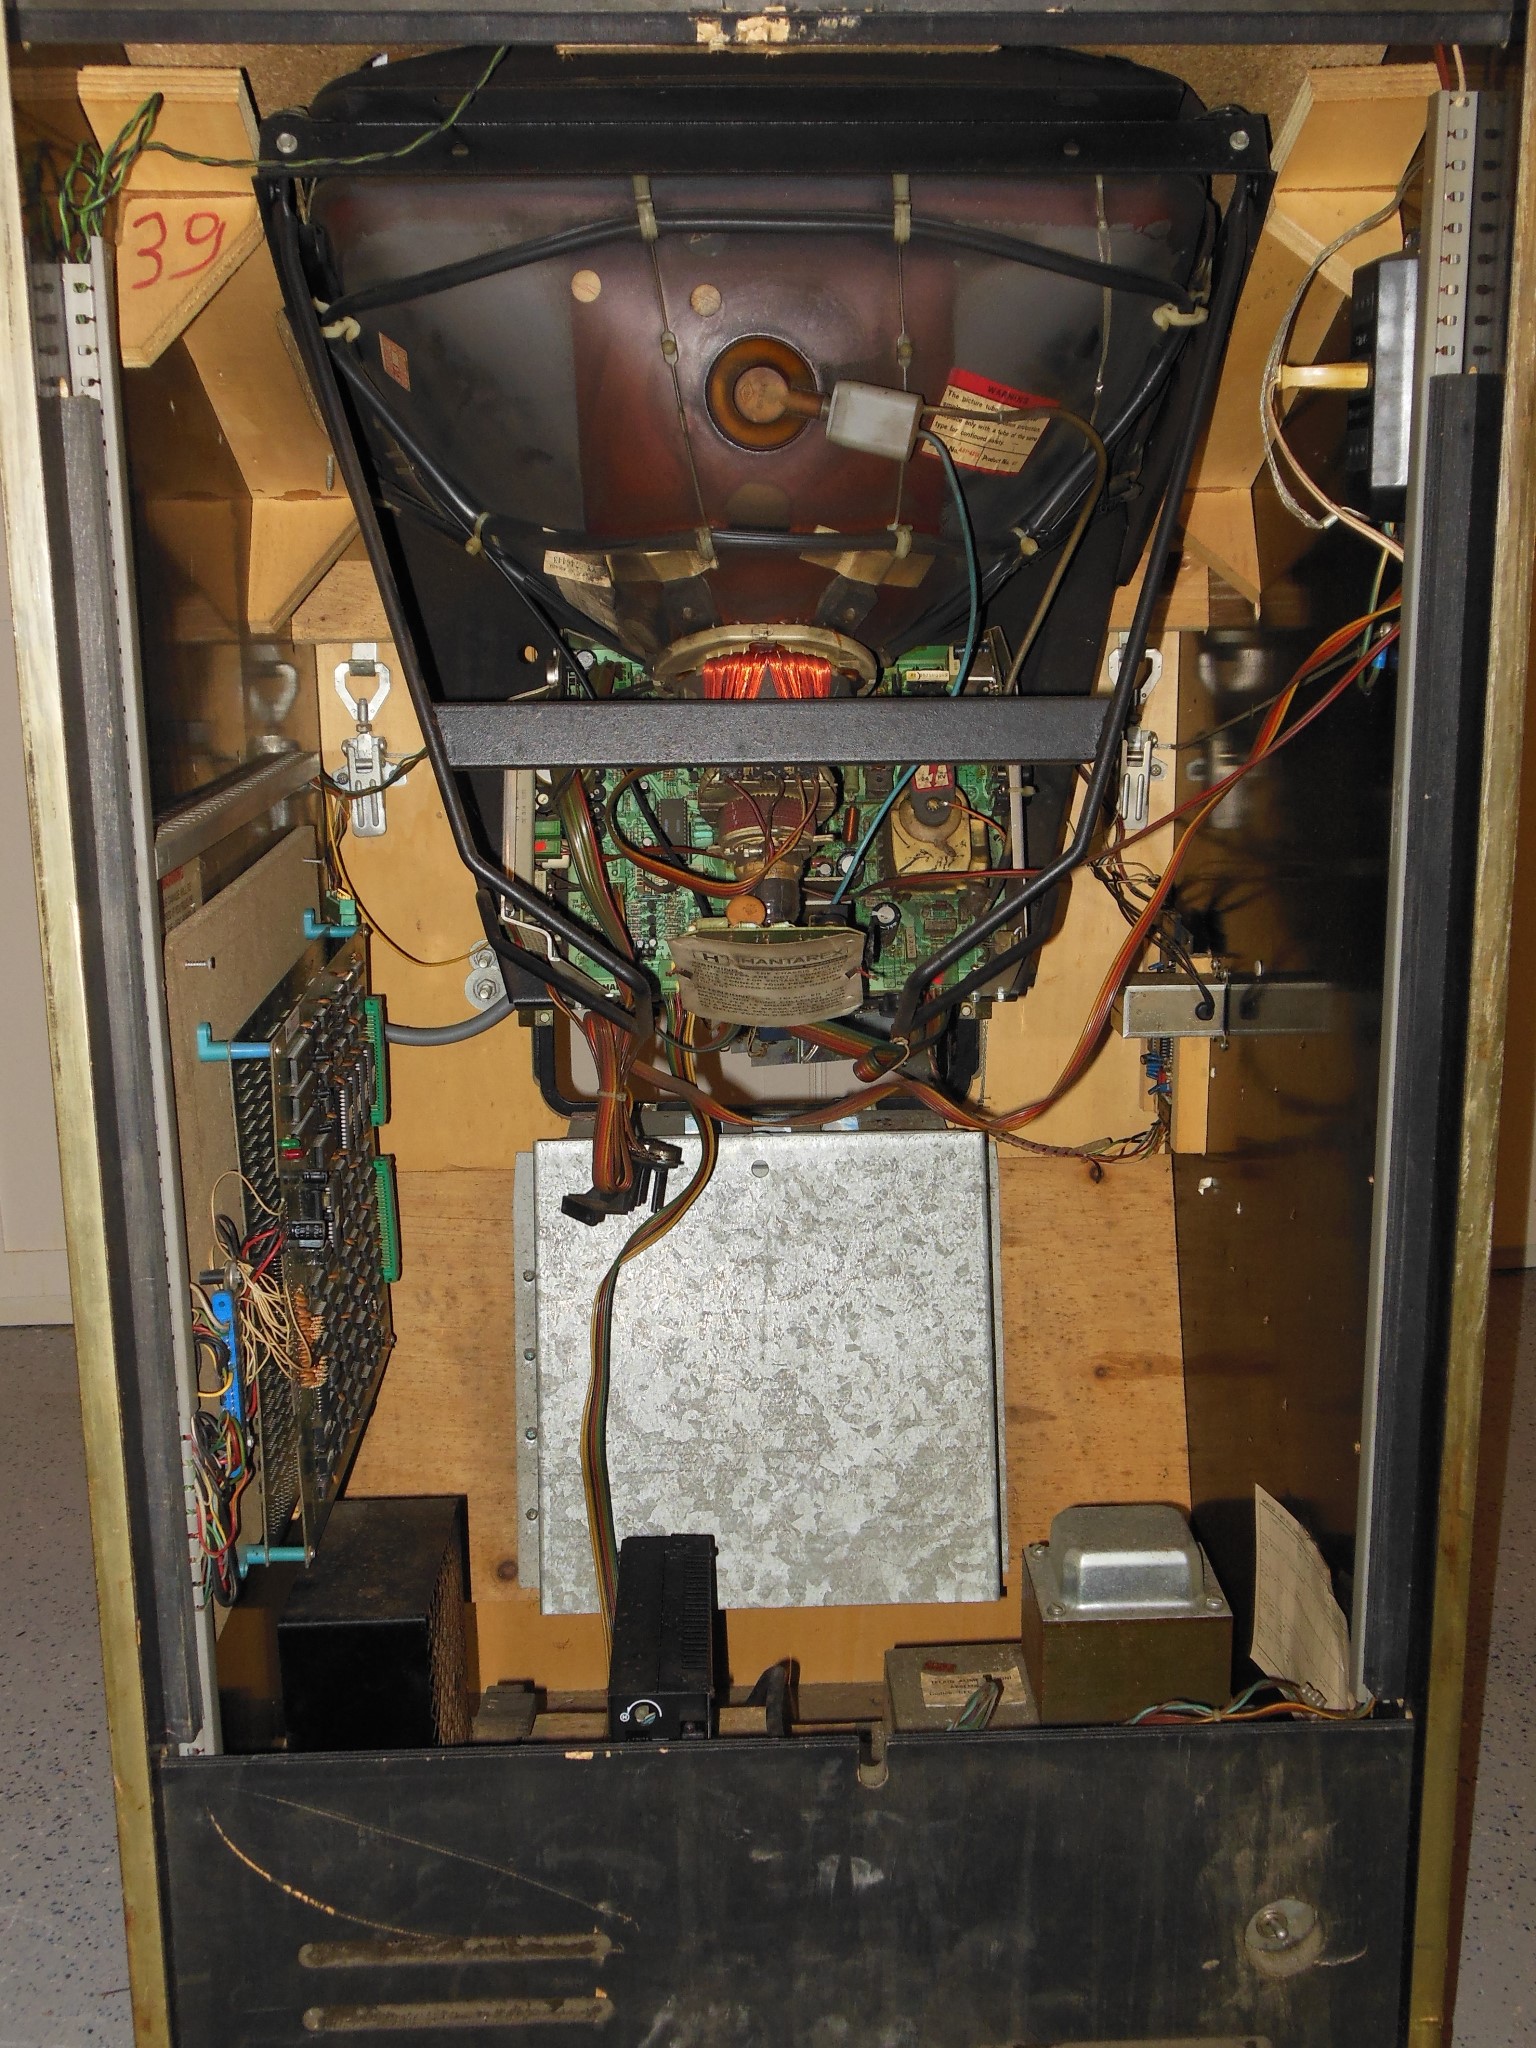
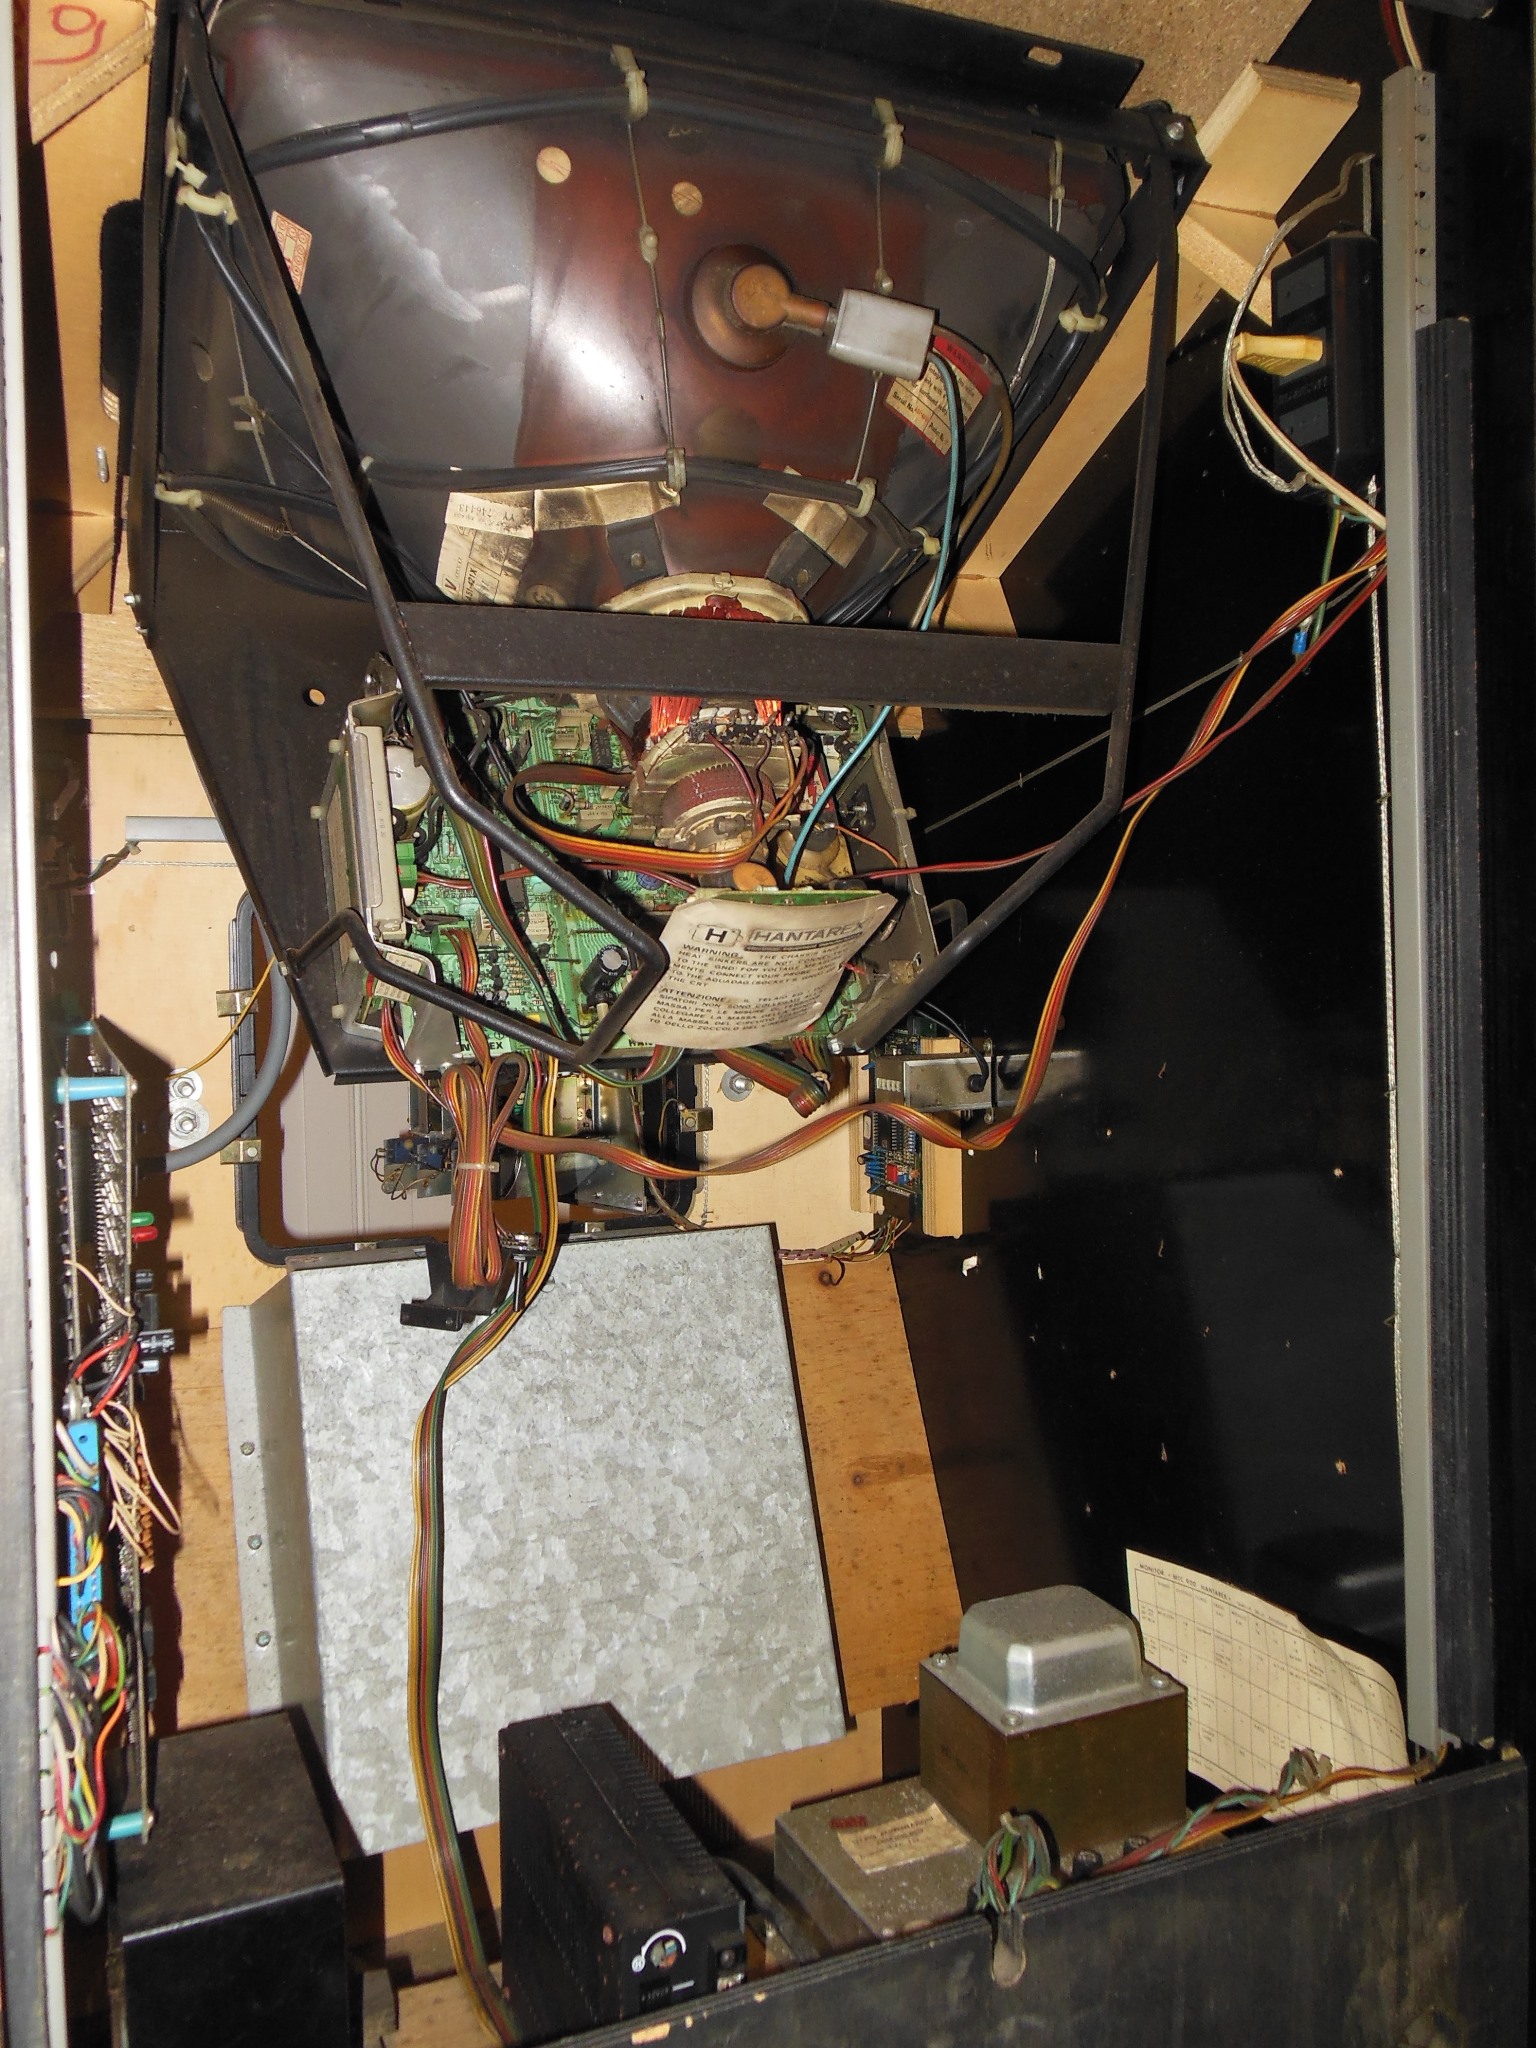
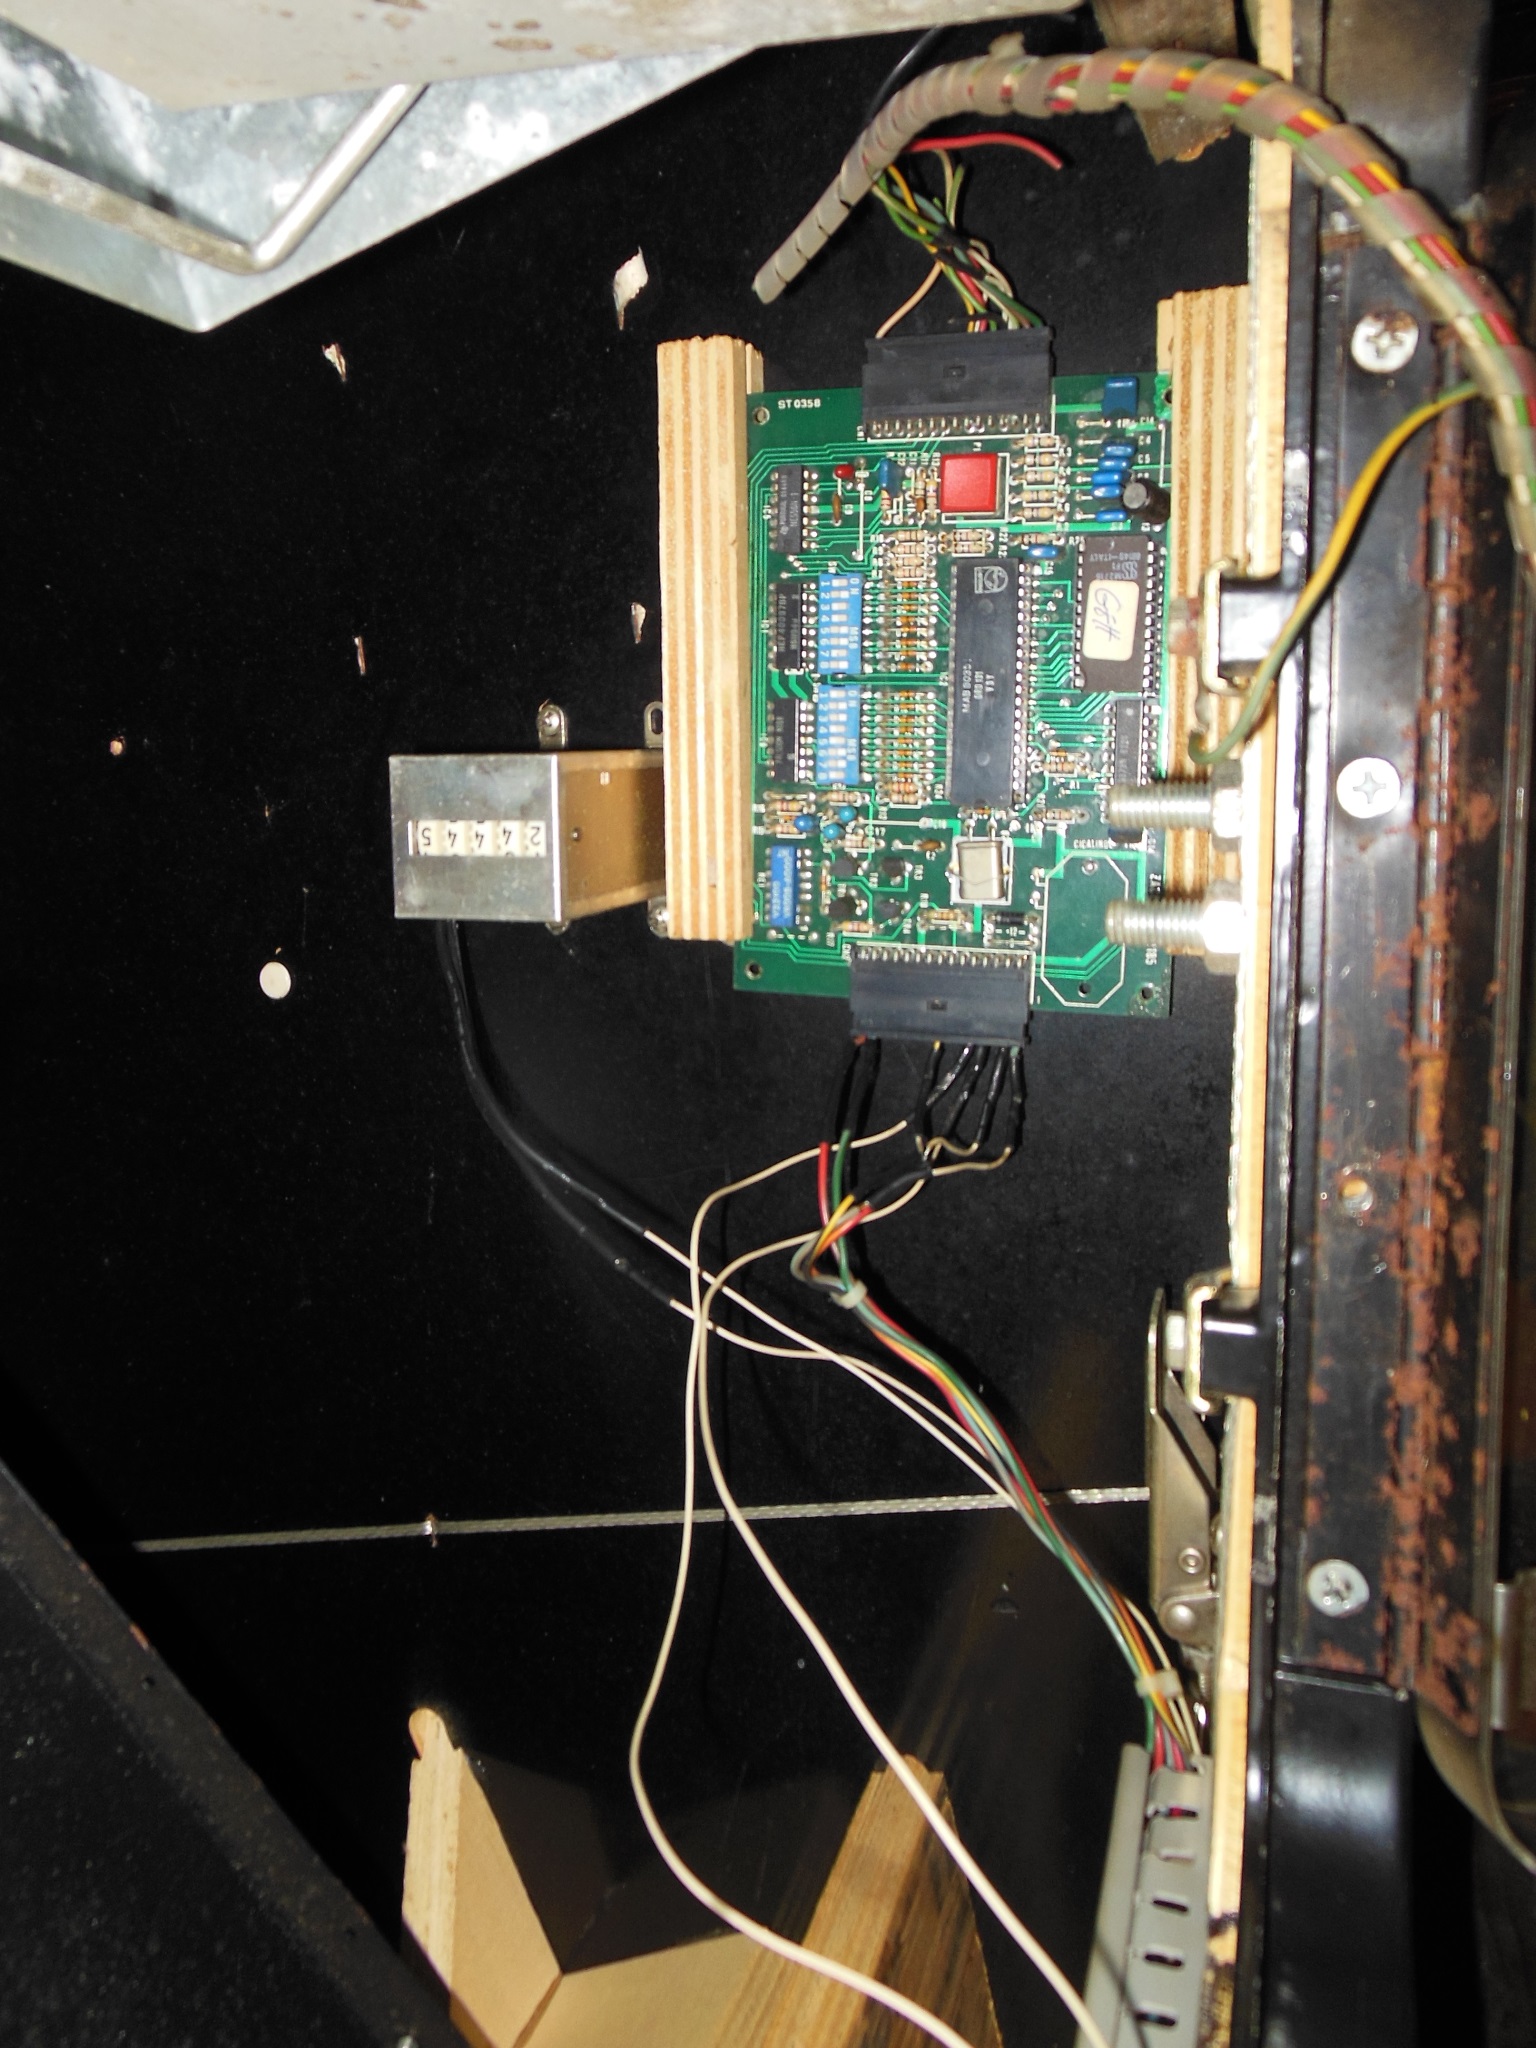
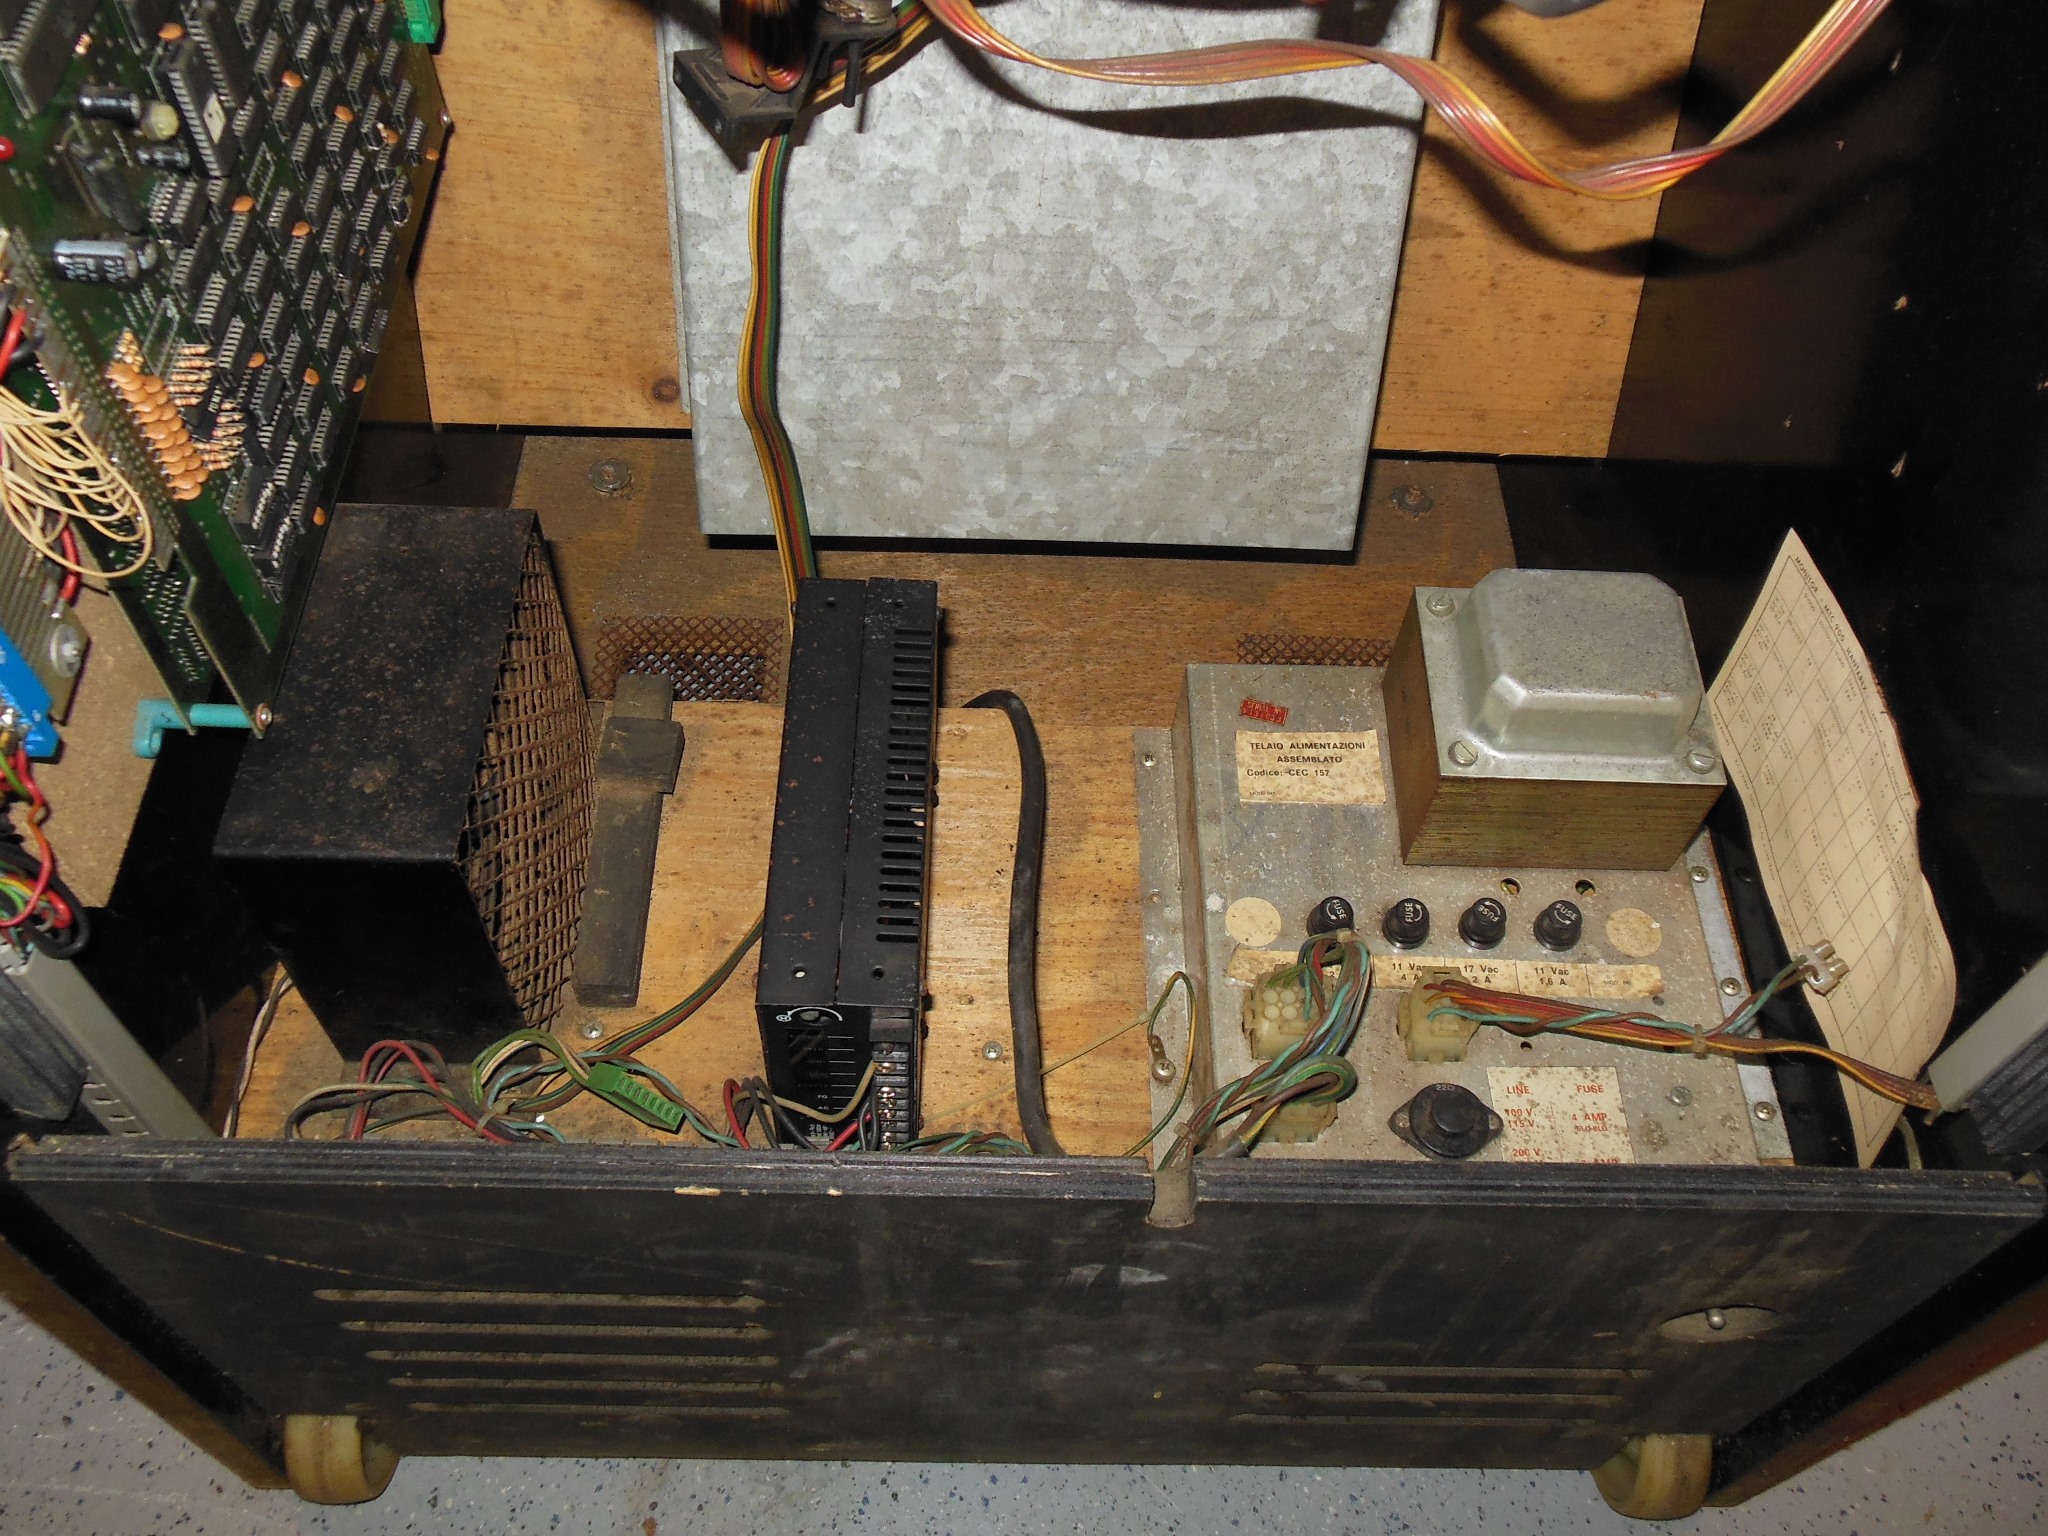
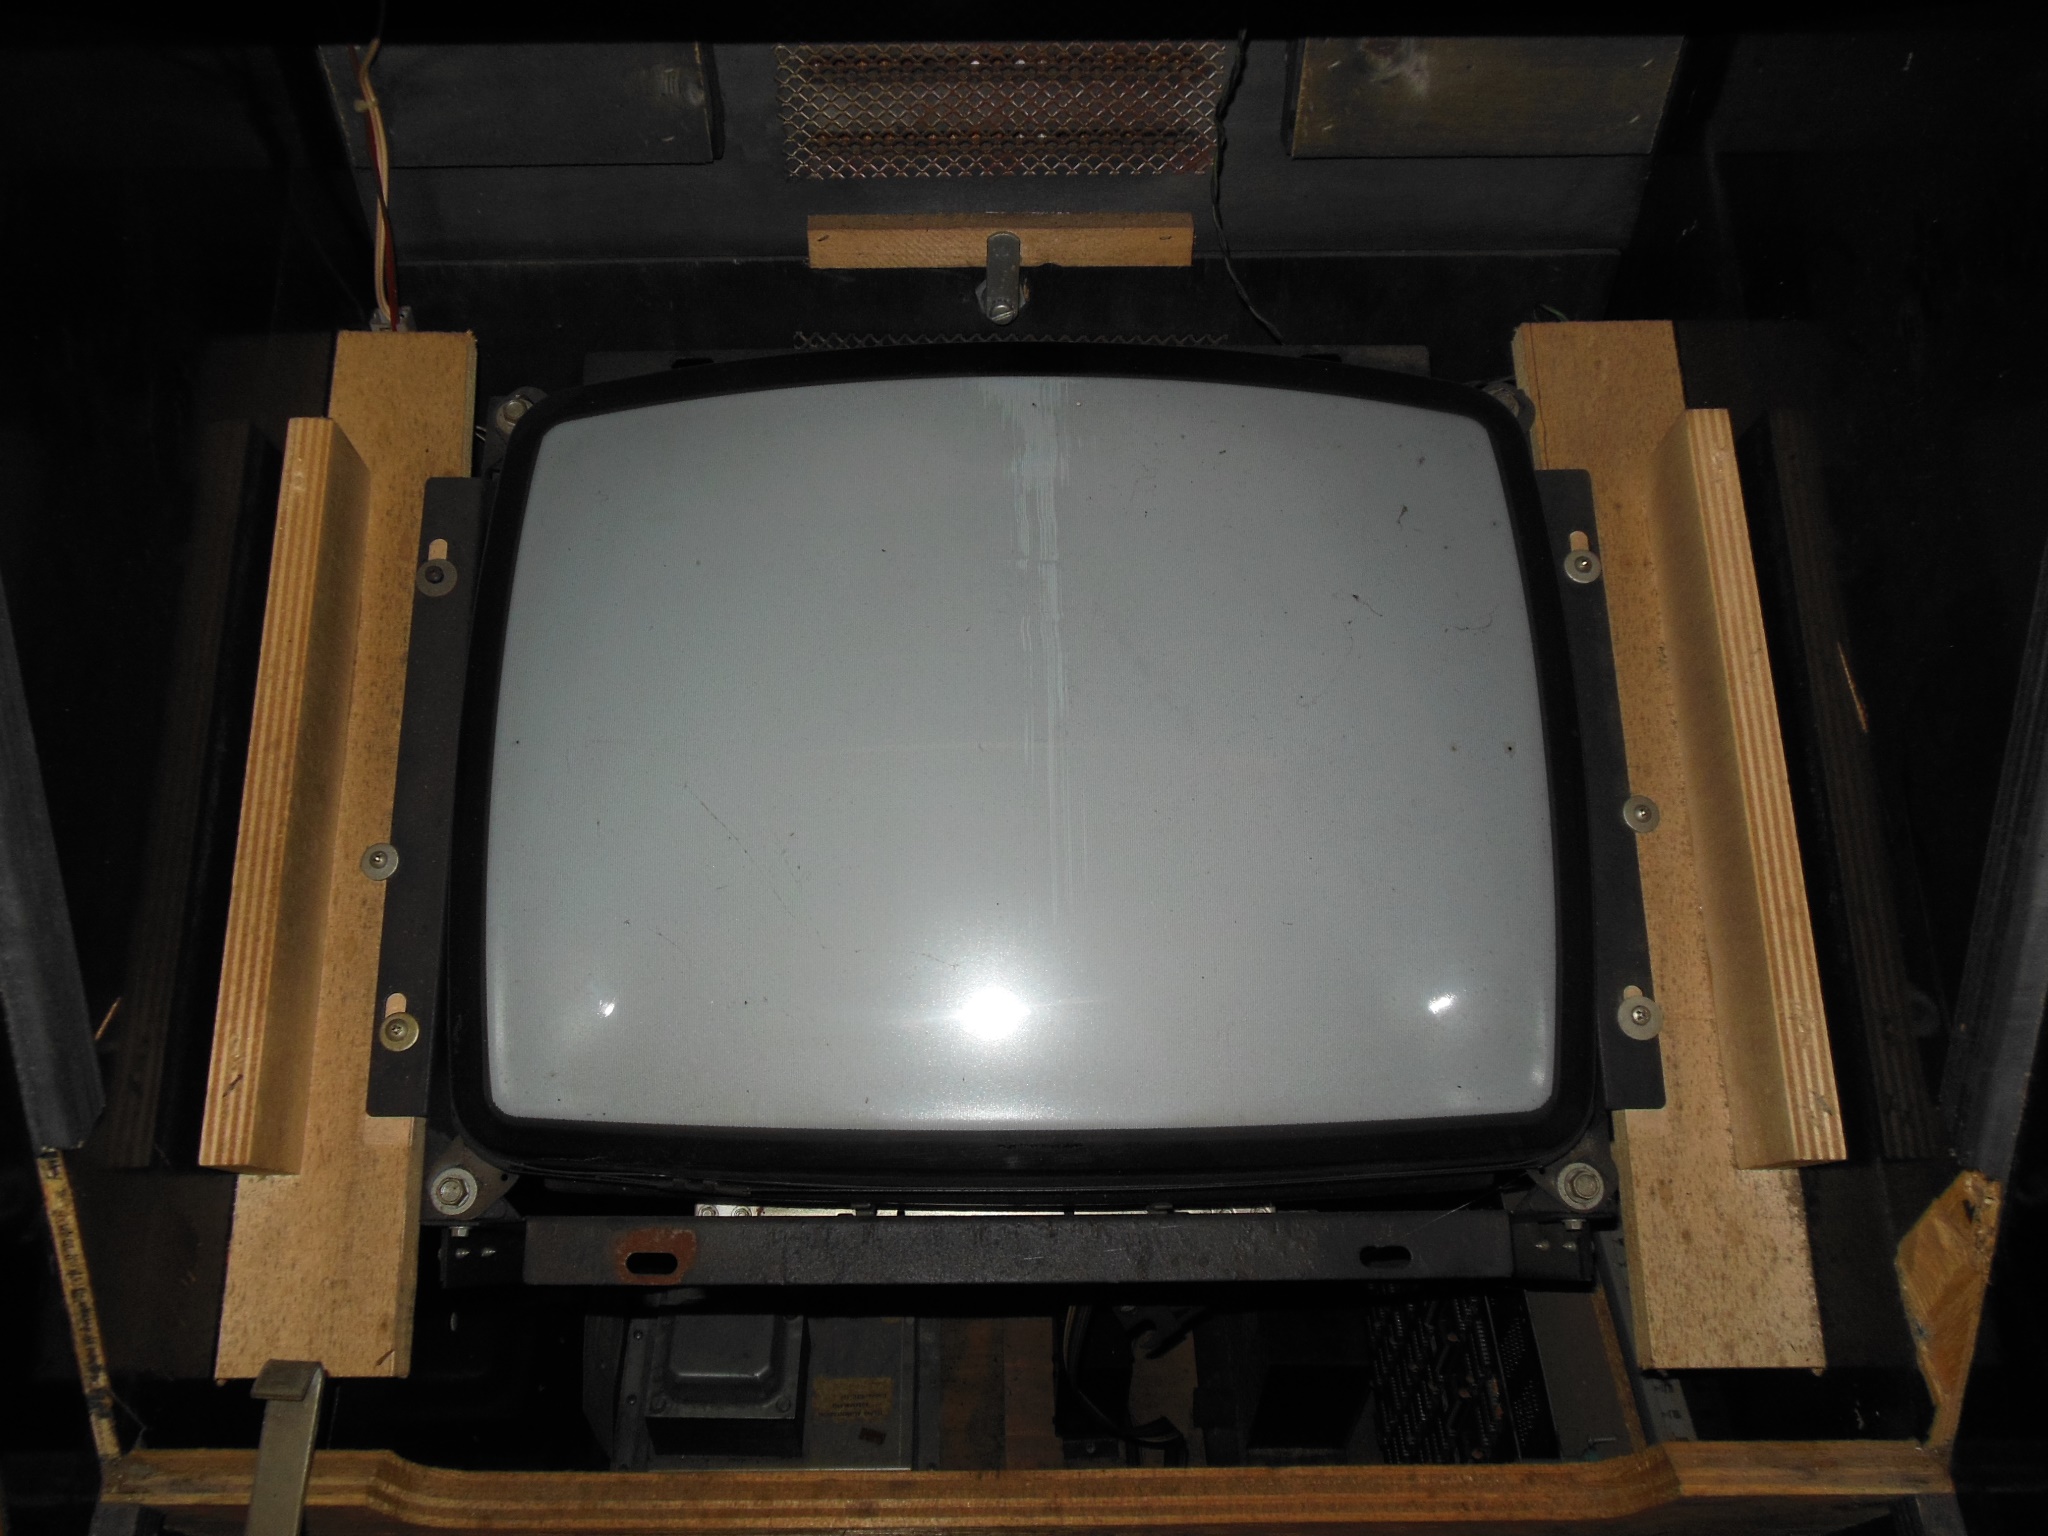
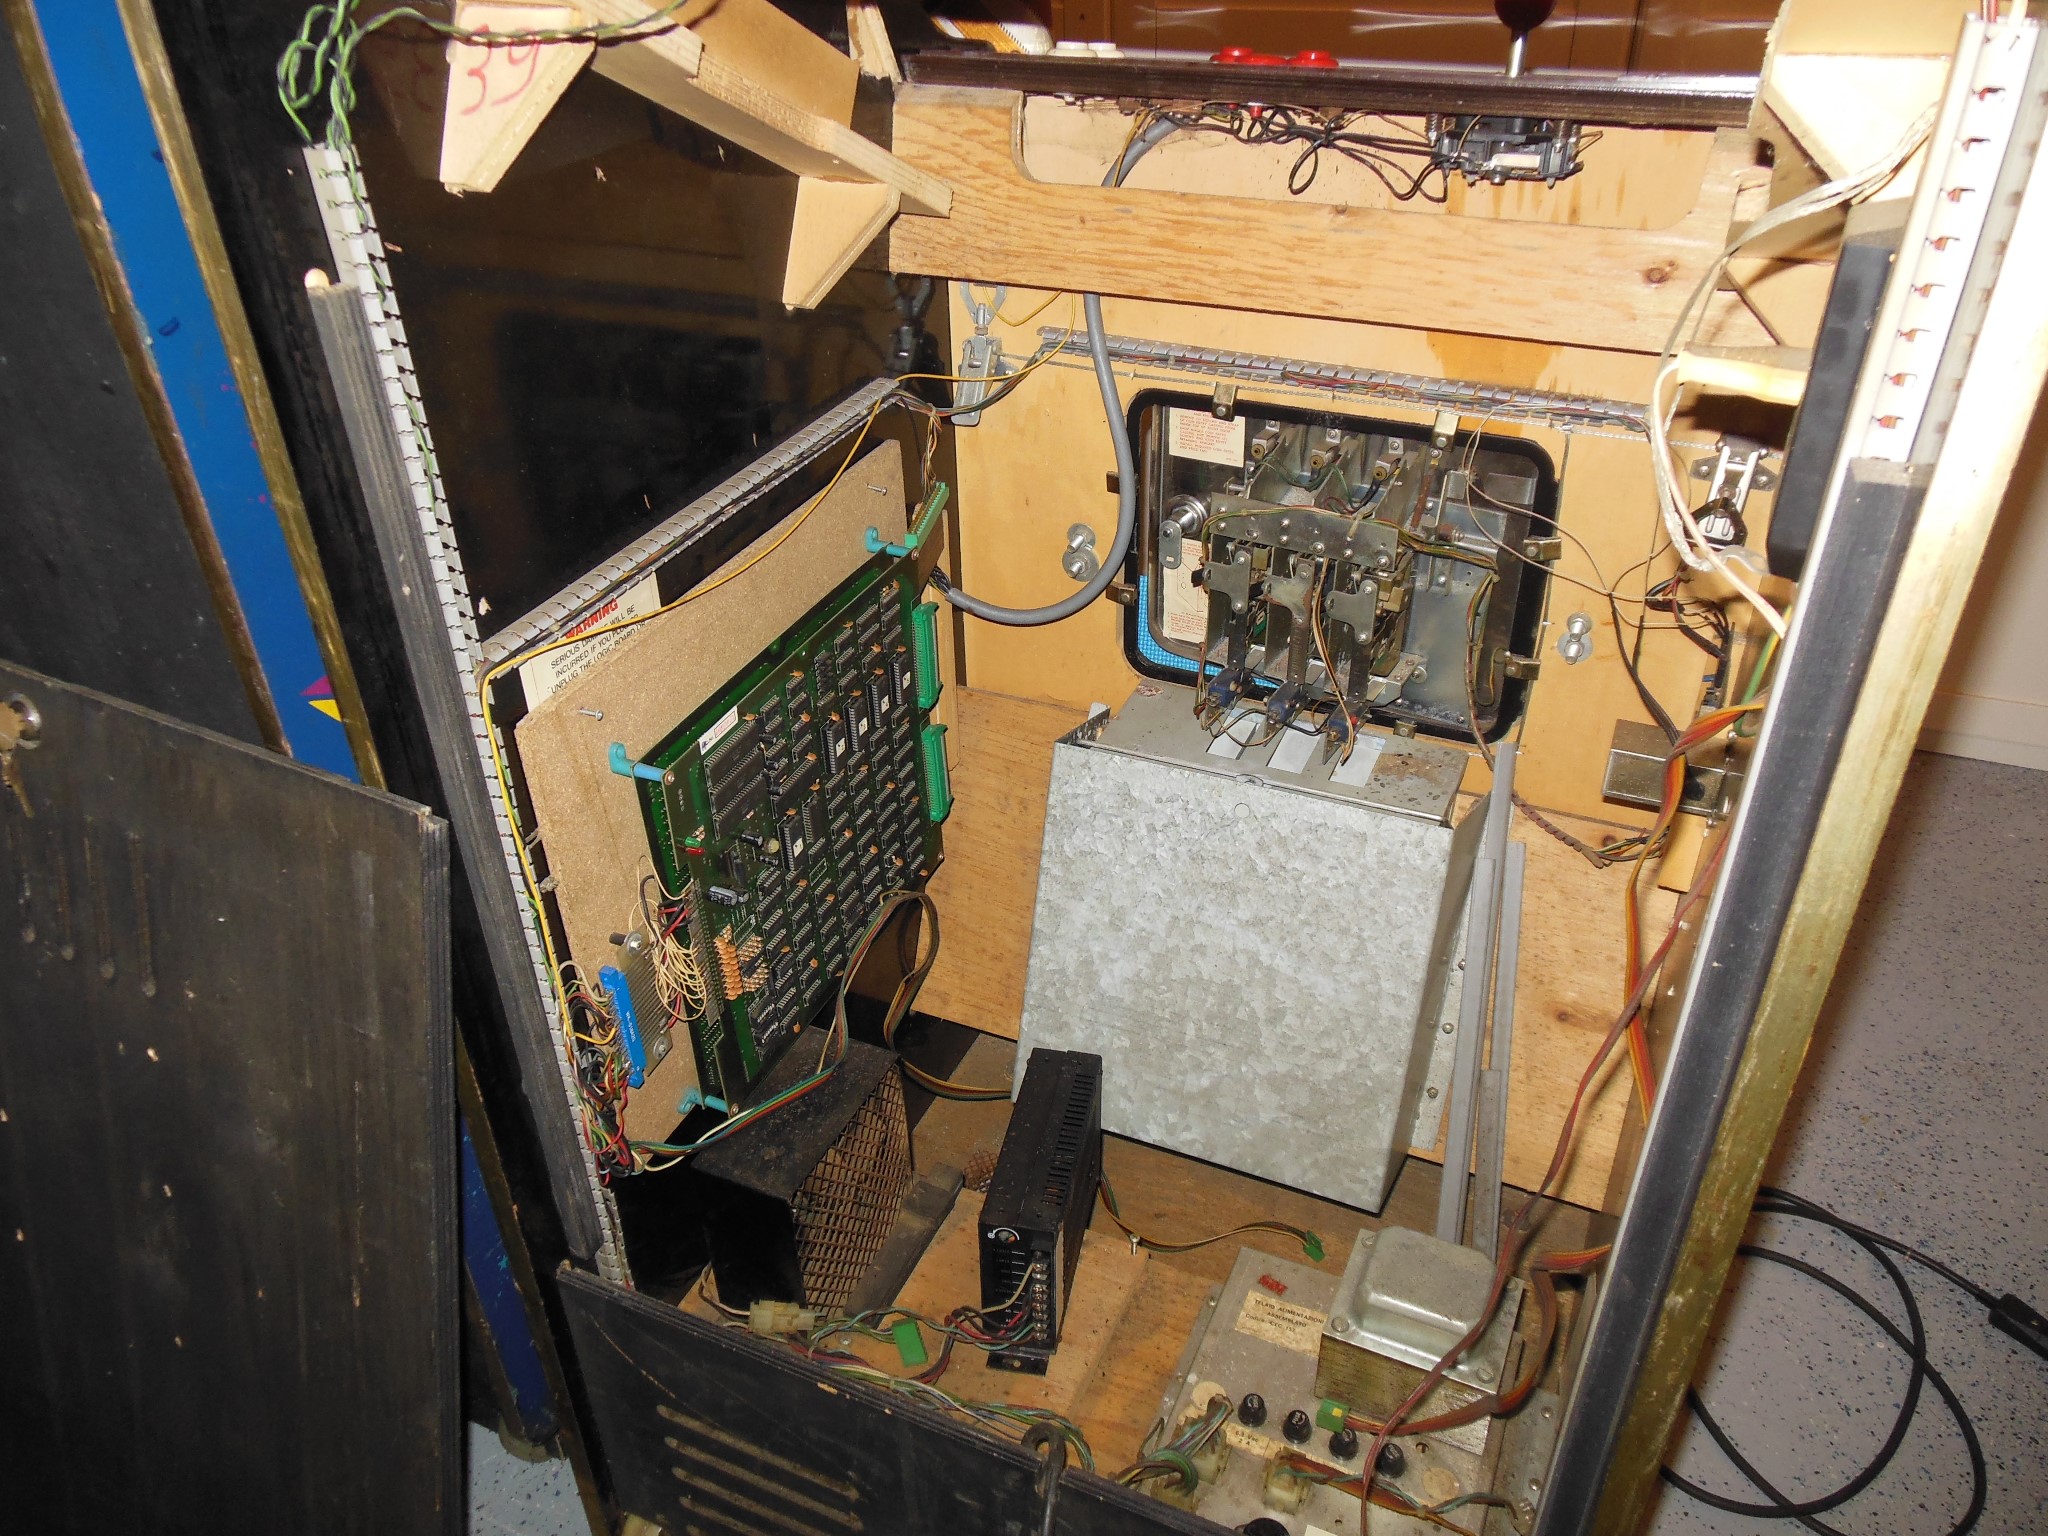
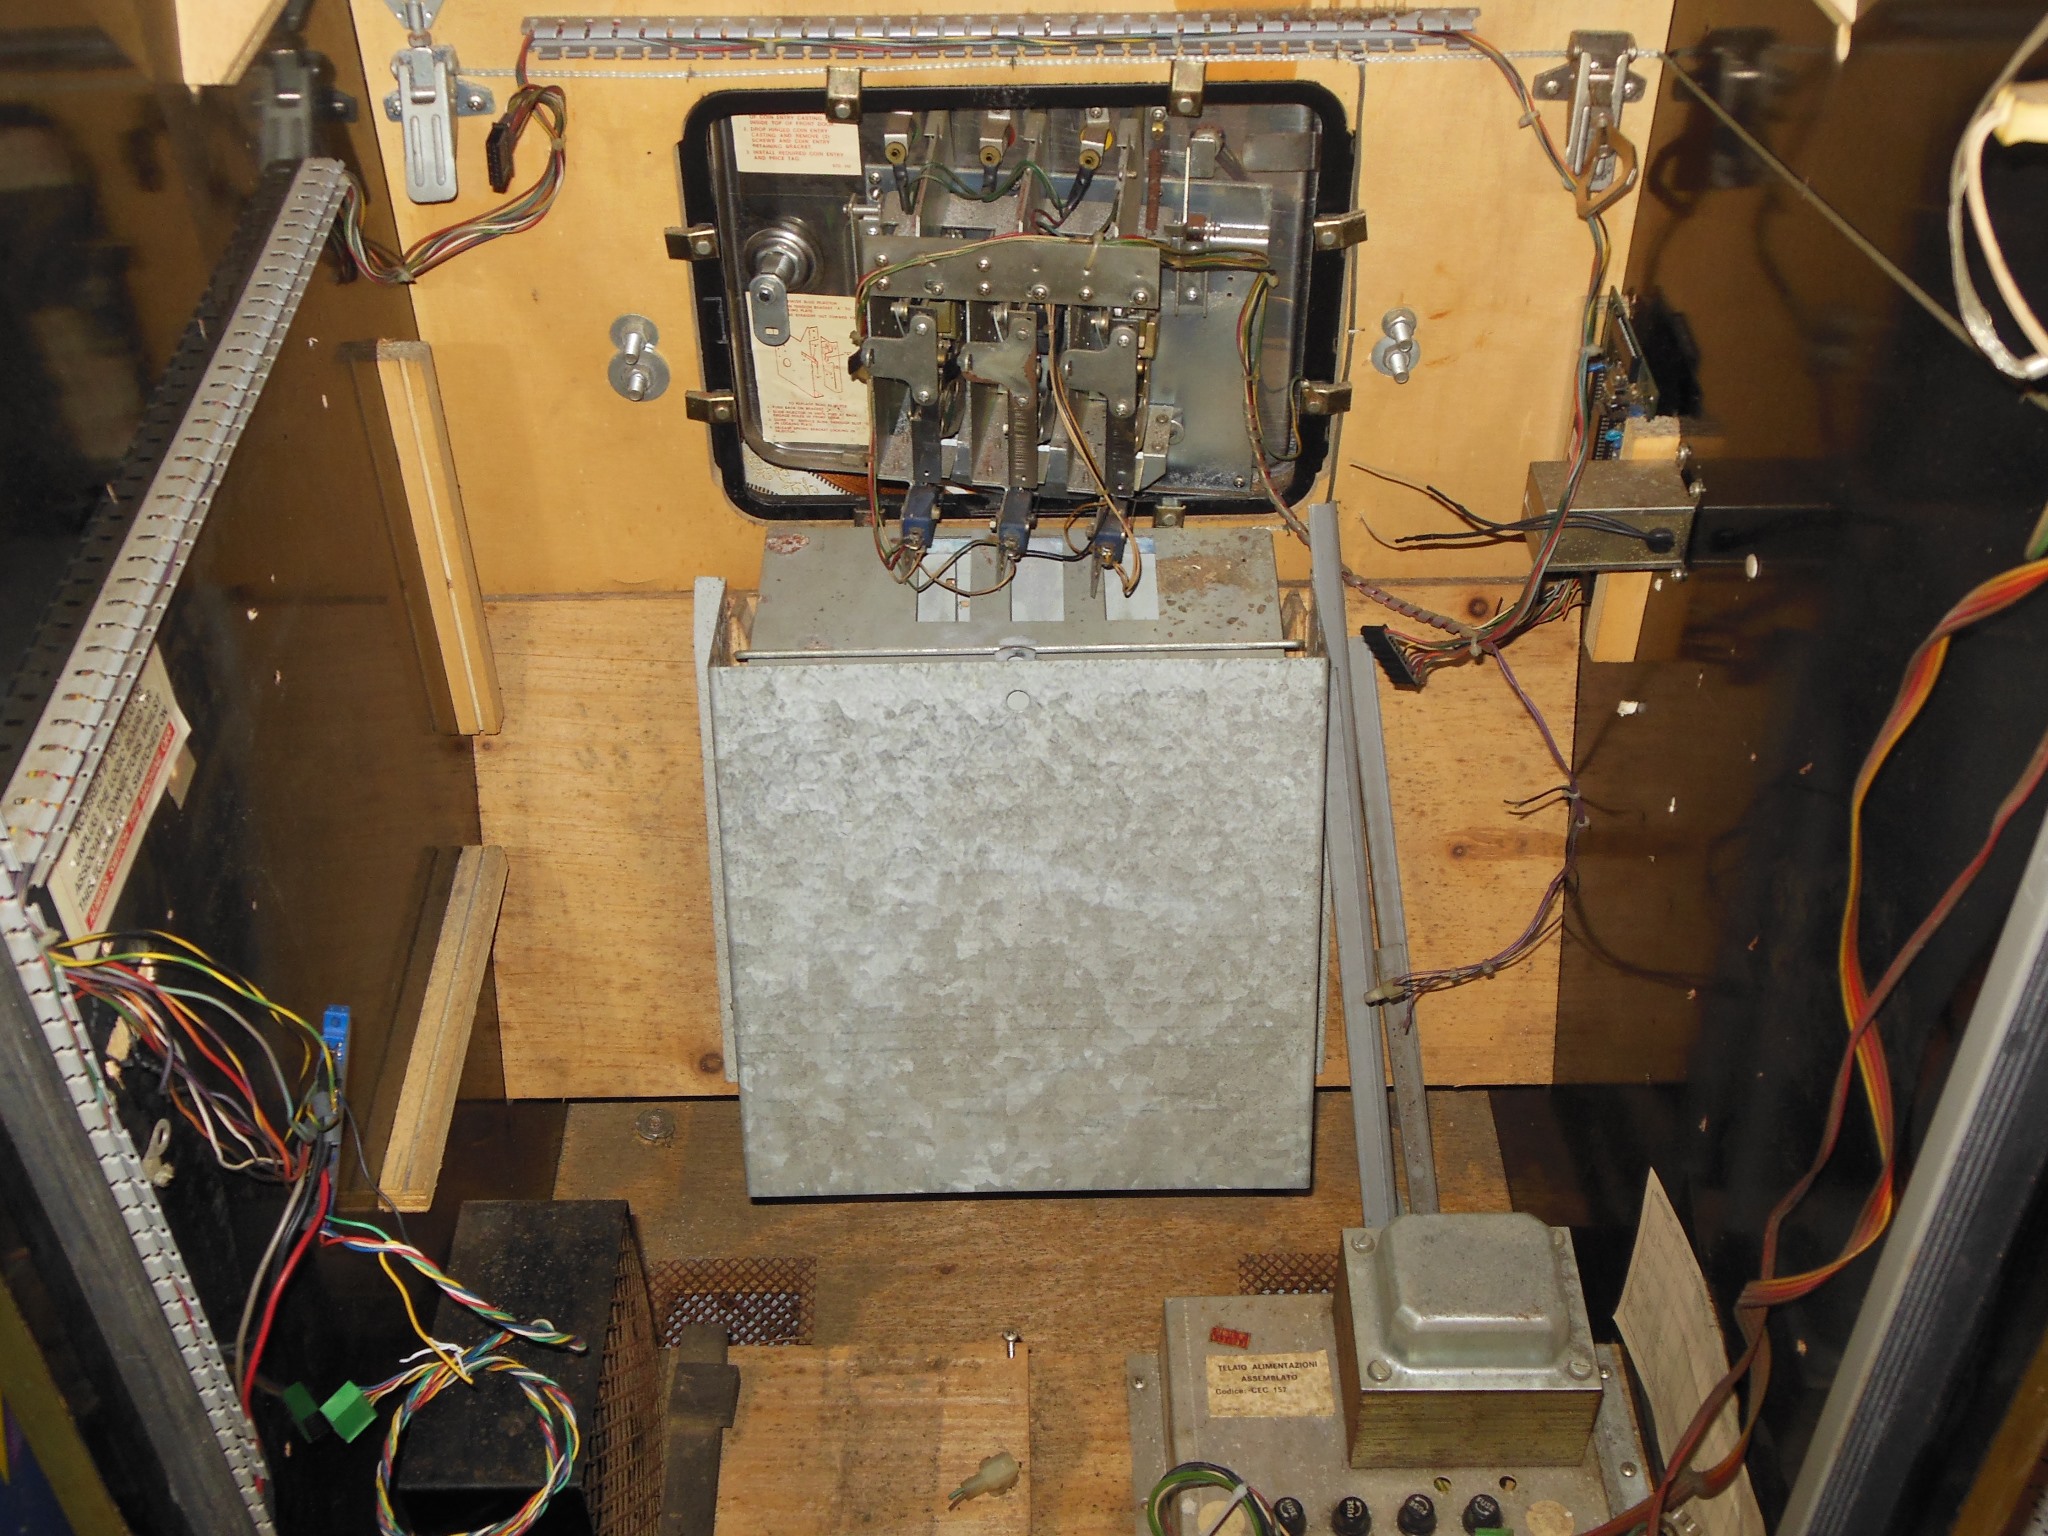
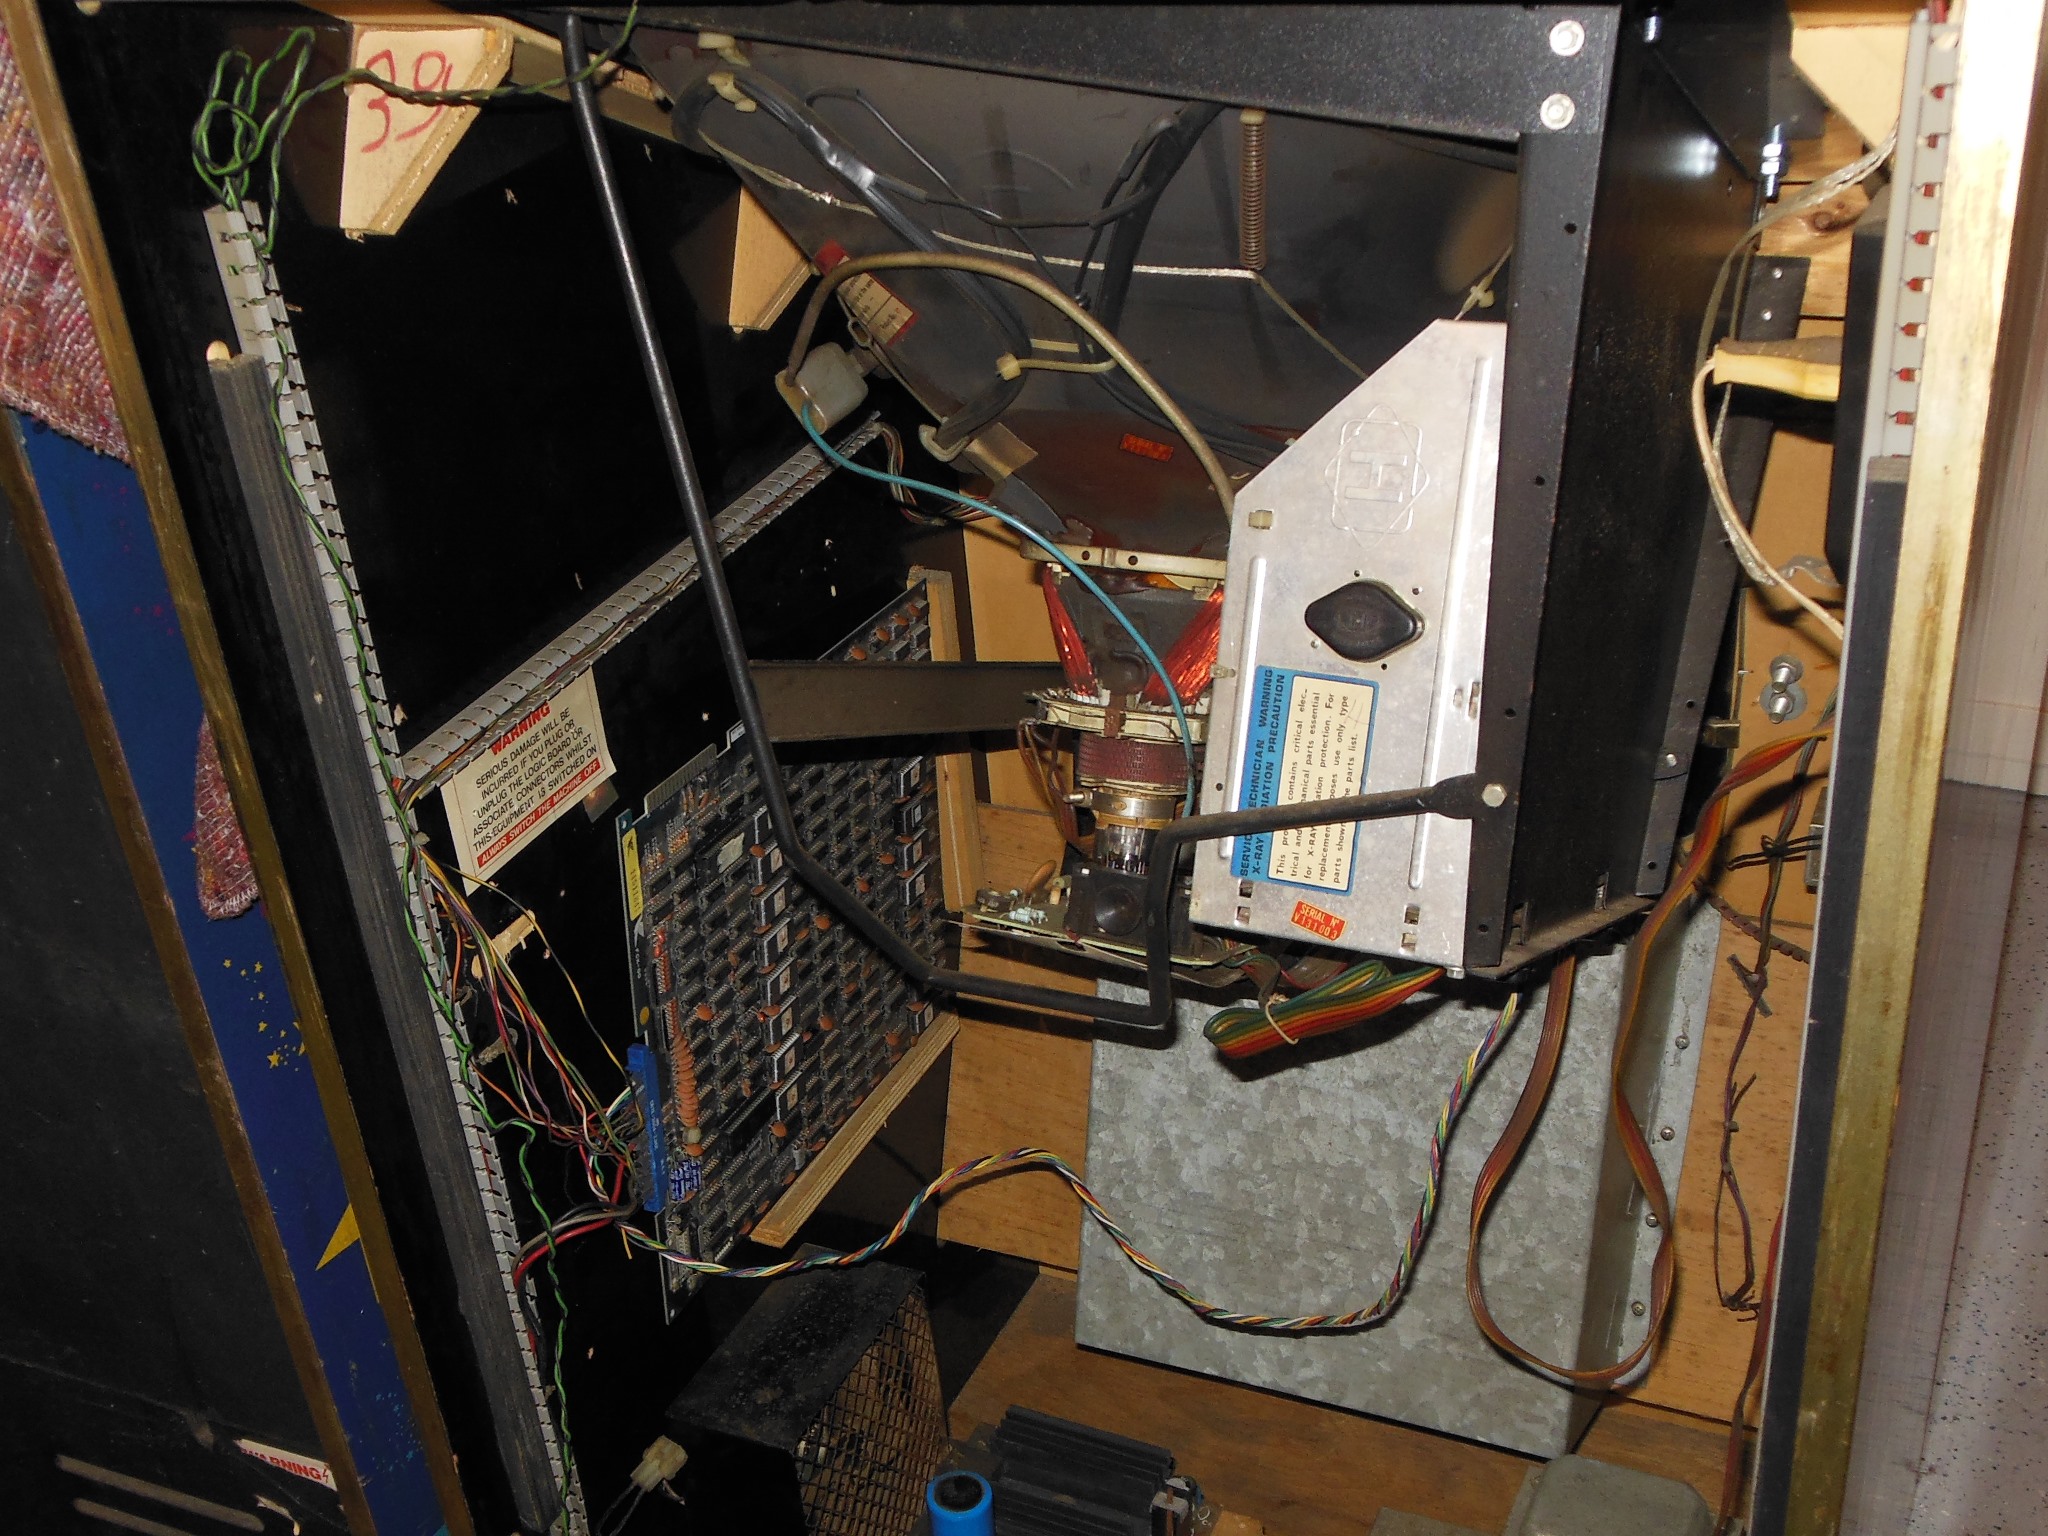
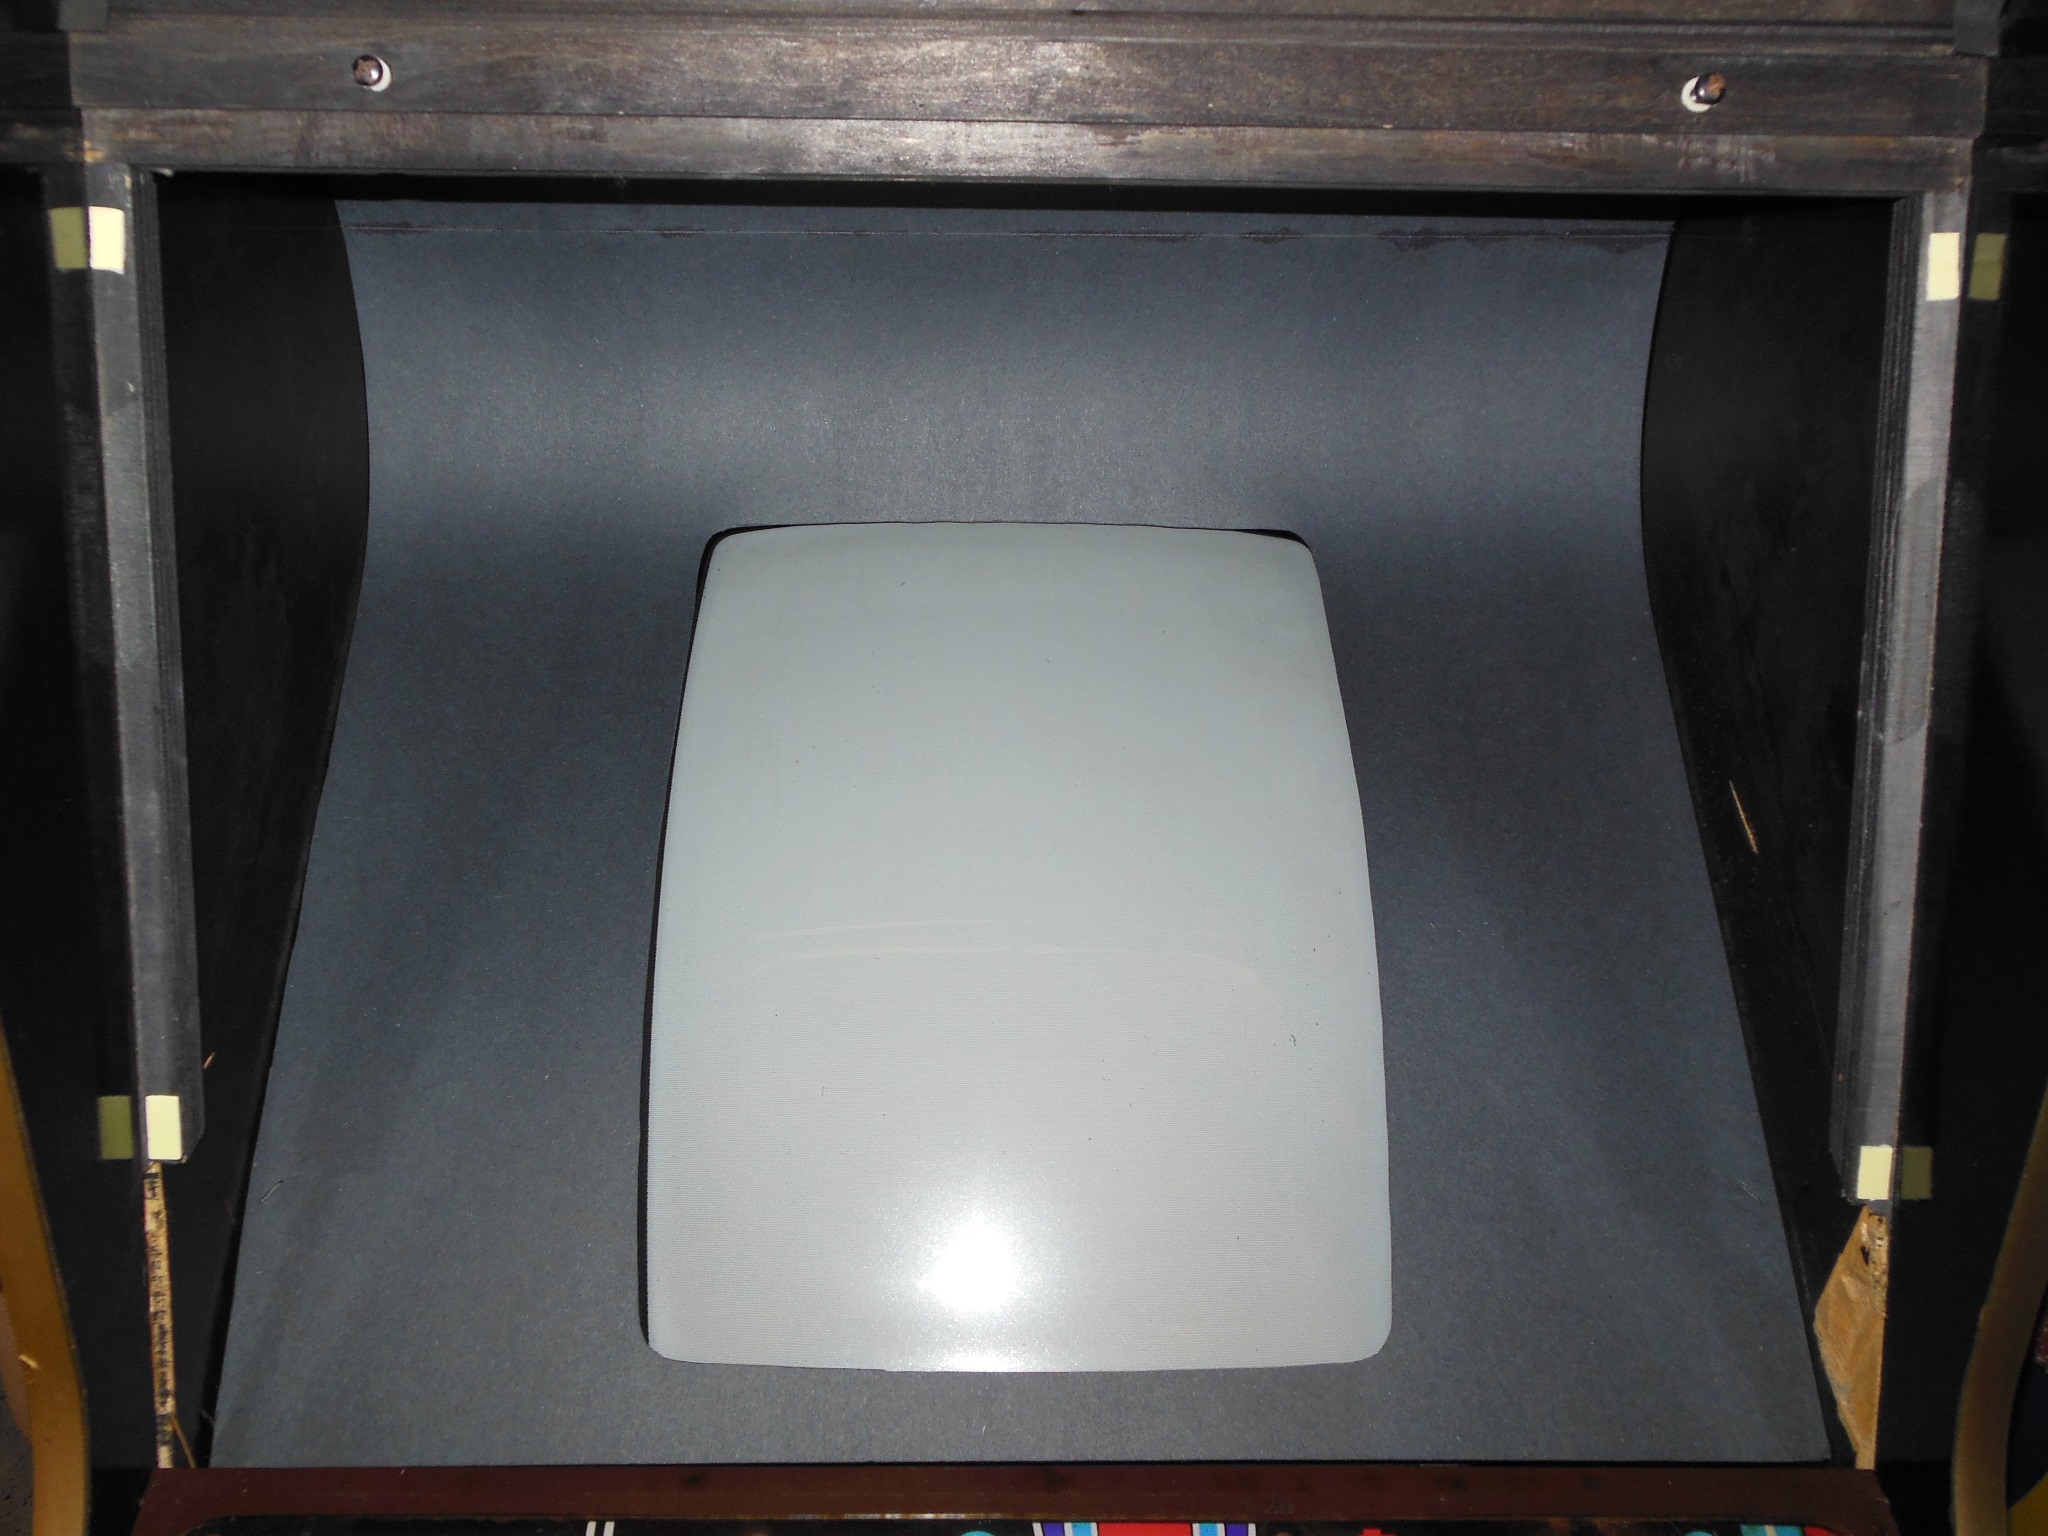
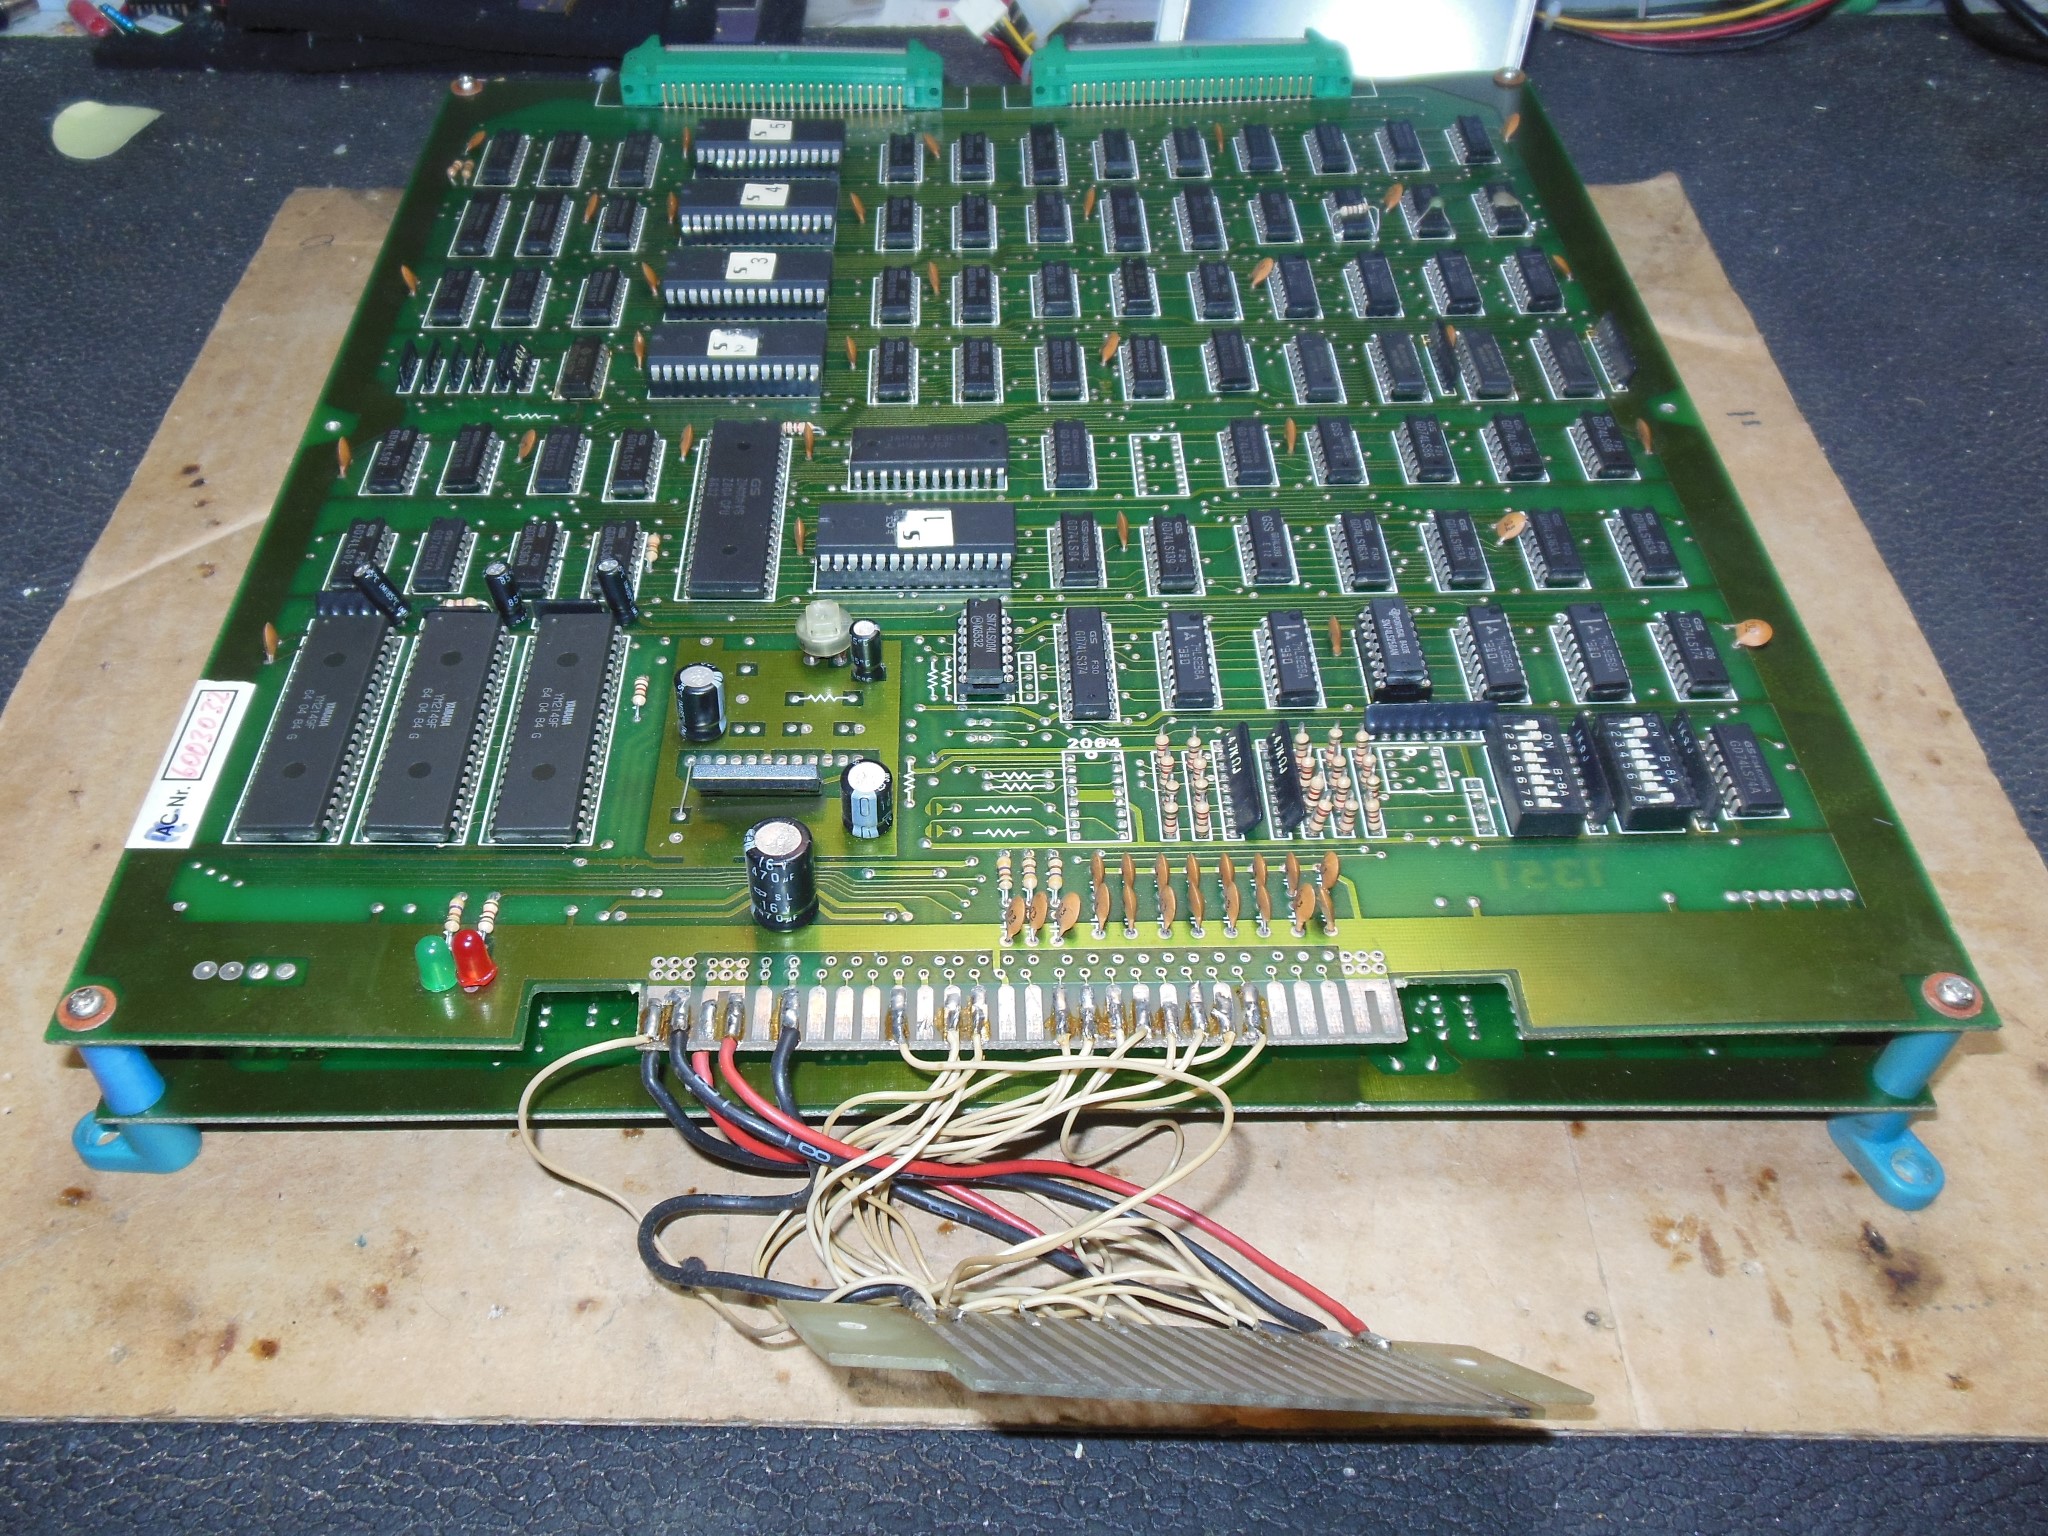
The monitor appeared complete and in good condition. Some further investigation would be needed to figure out the impact of the rotation. The game PCB was a JAMMA bootleg I didn't recognize on a wooden plinth connected using a JAMMA adaptor. The cabinet connector appeared to have been replaced so may no longer have been Falcon Crazy Kong. The 1B1126 linear regulator PCB was missing and replaced by a standard arcade switched mode PSU. A 1B1185 credit PCB was fitted but both sides of the connector had evidence of hacks/rewiring. Possibly this was to replace an earlier 1B1145 credit PCB.
|
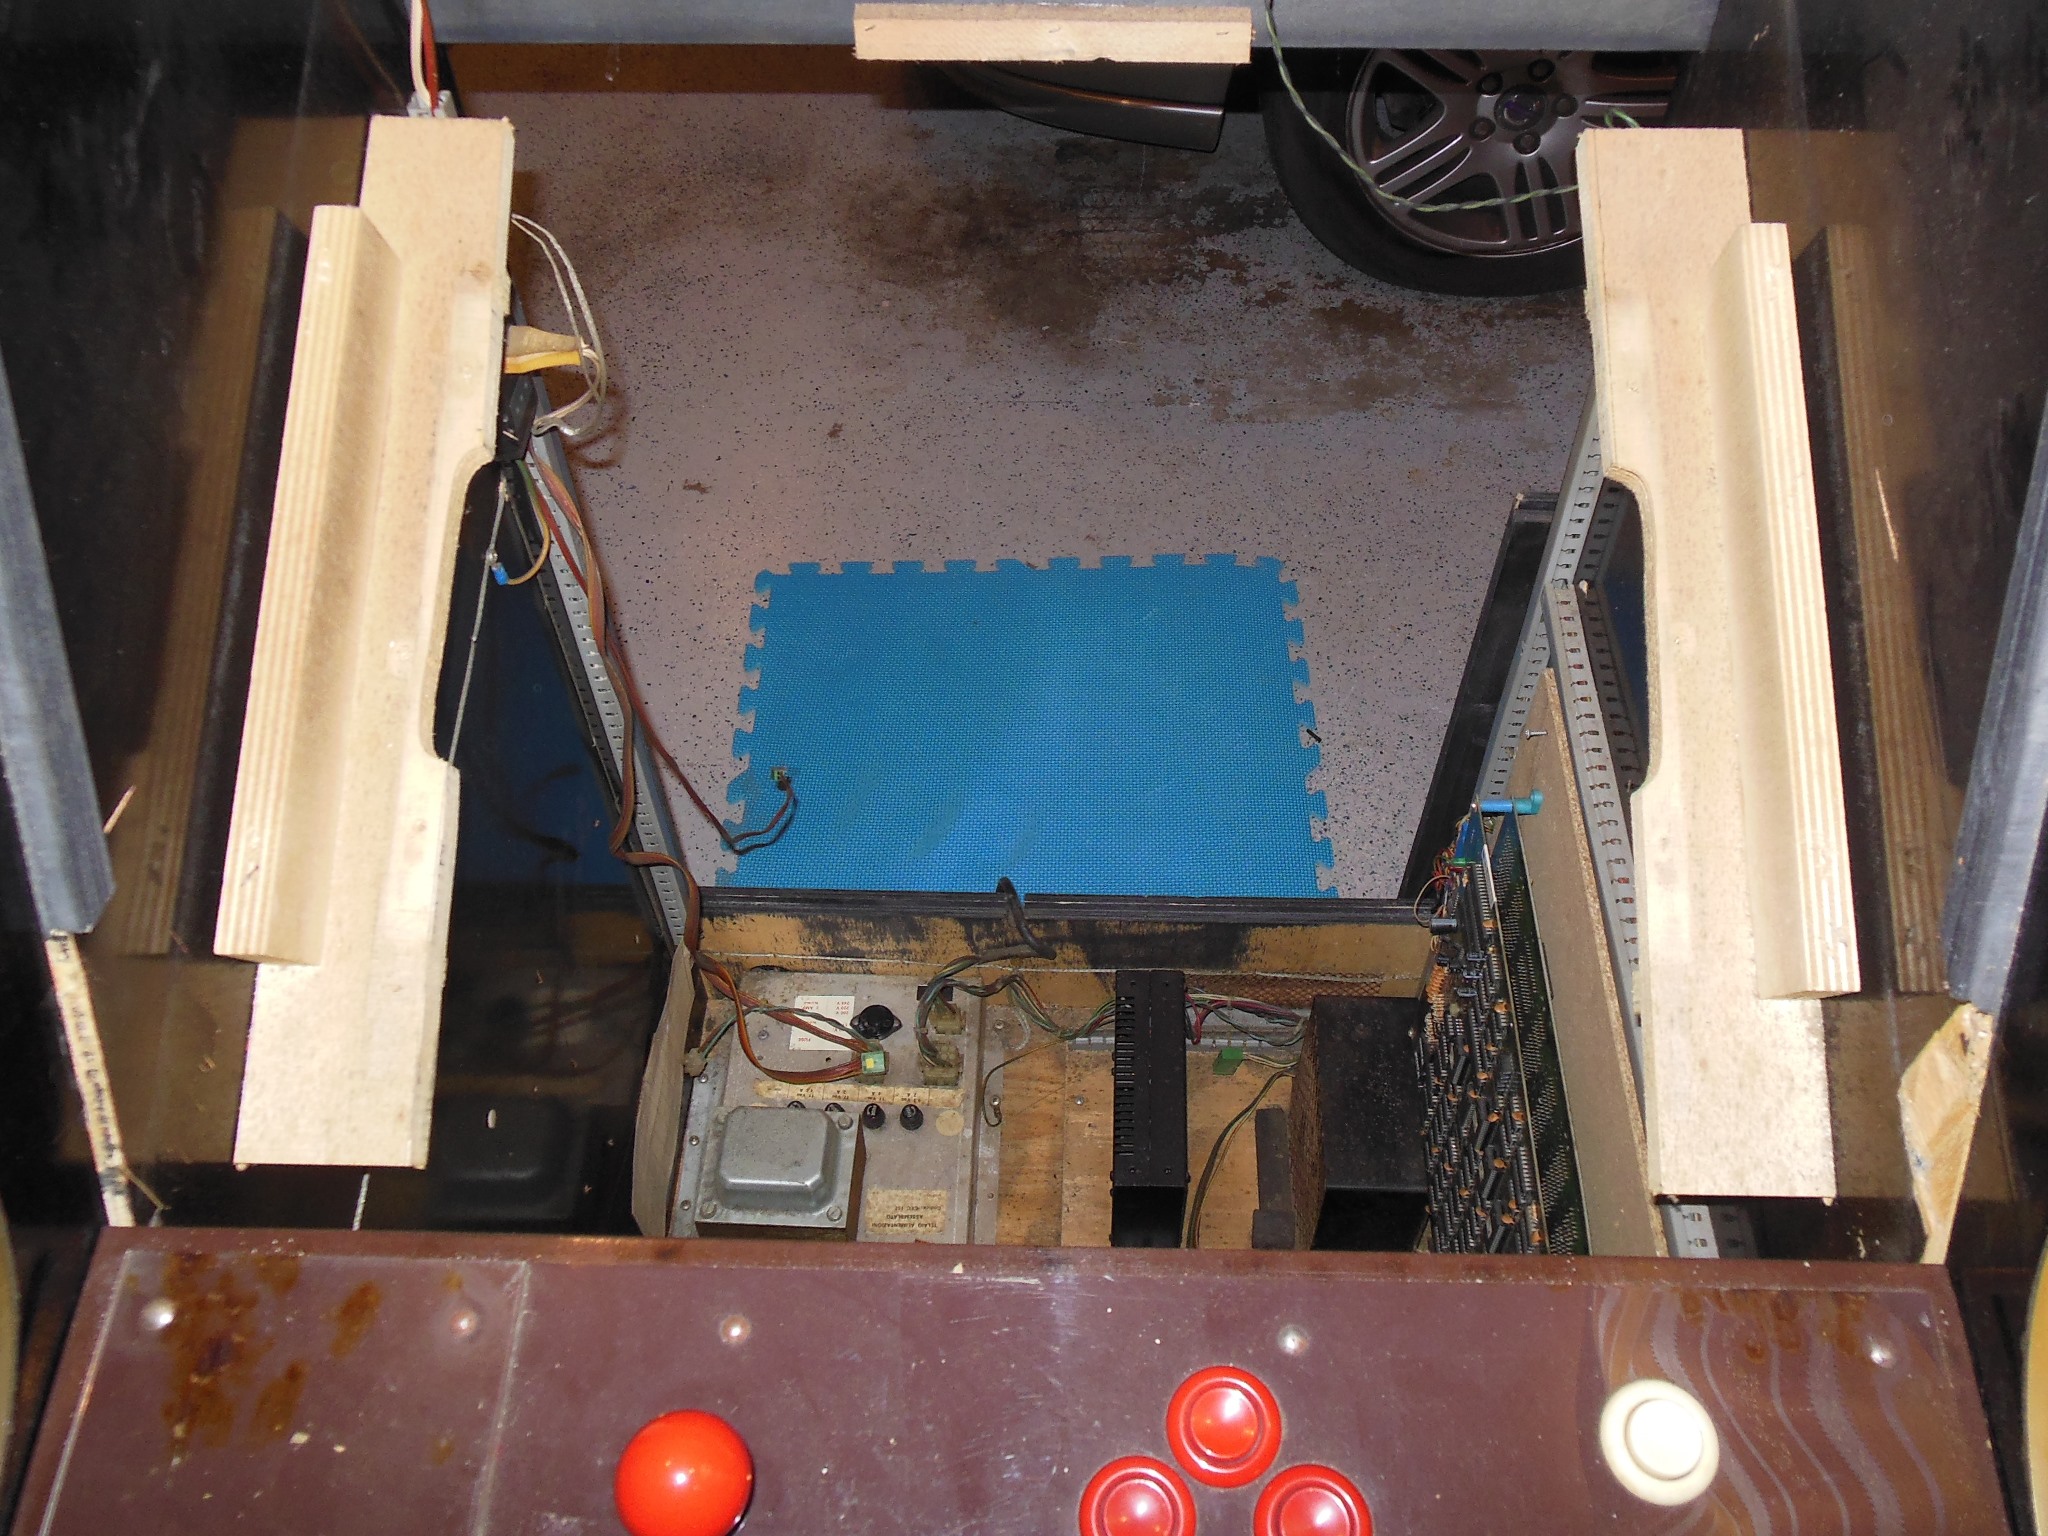
The switched mode PSU was hacked onto the fan power cable. There was also an unconnected terminal barrier on the power brick side of the severed cable to the marque light socket.
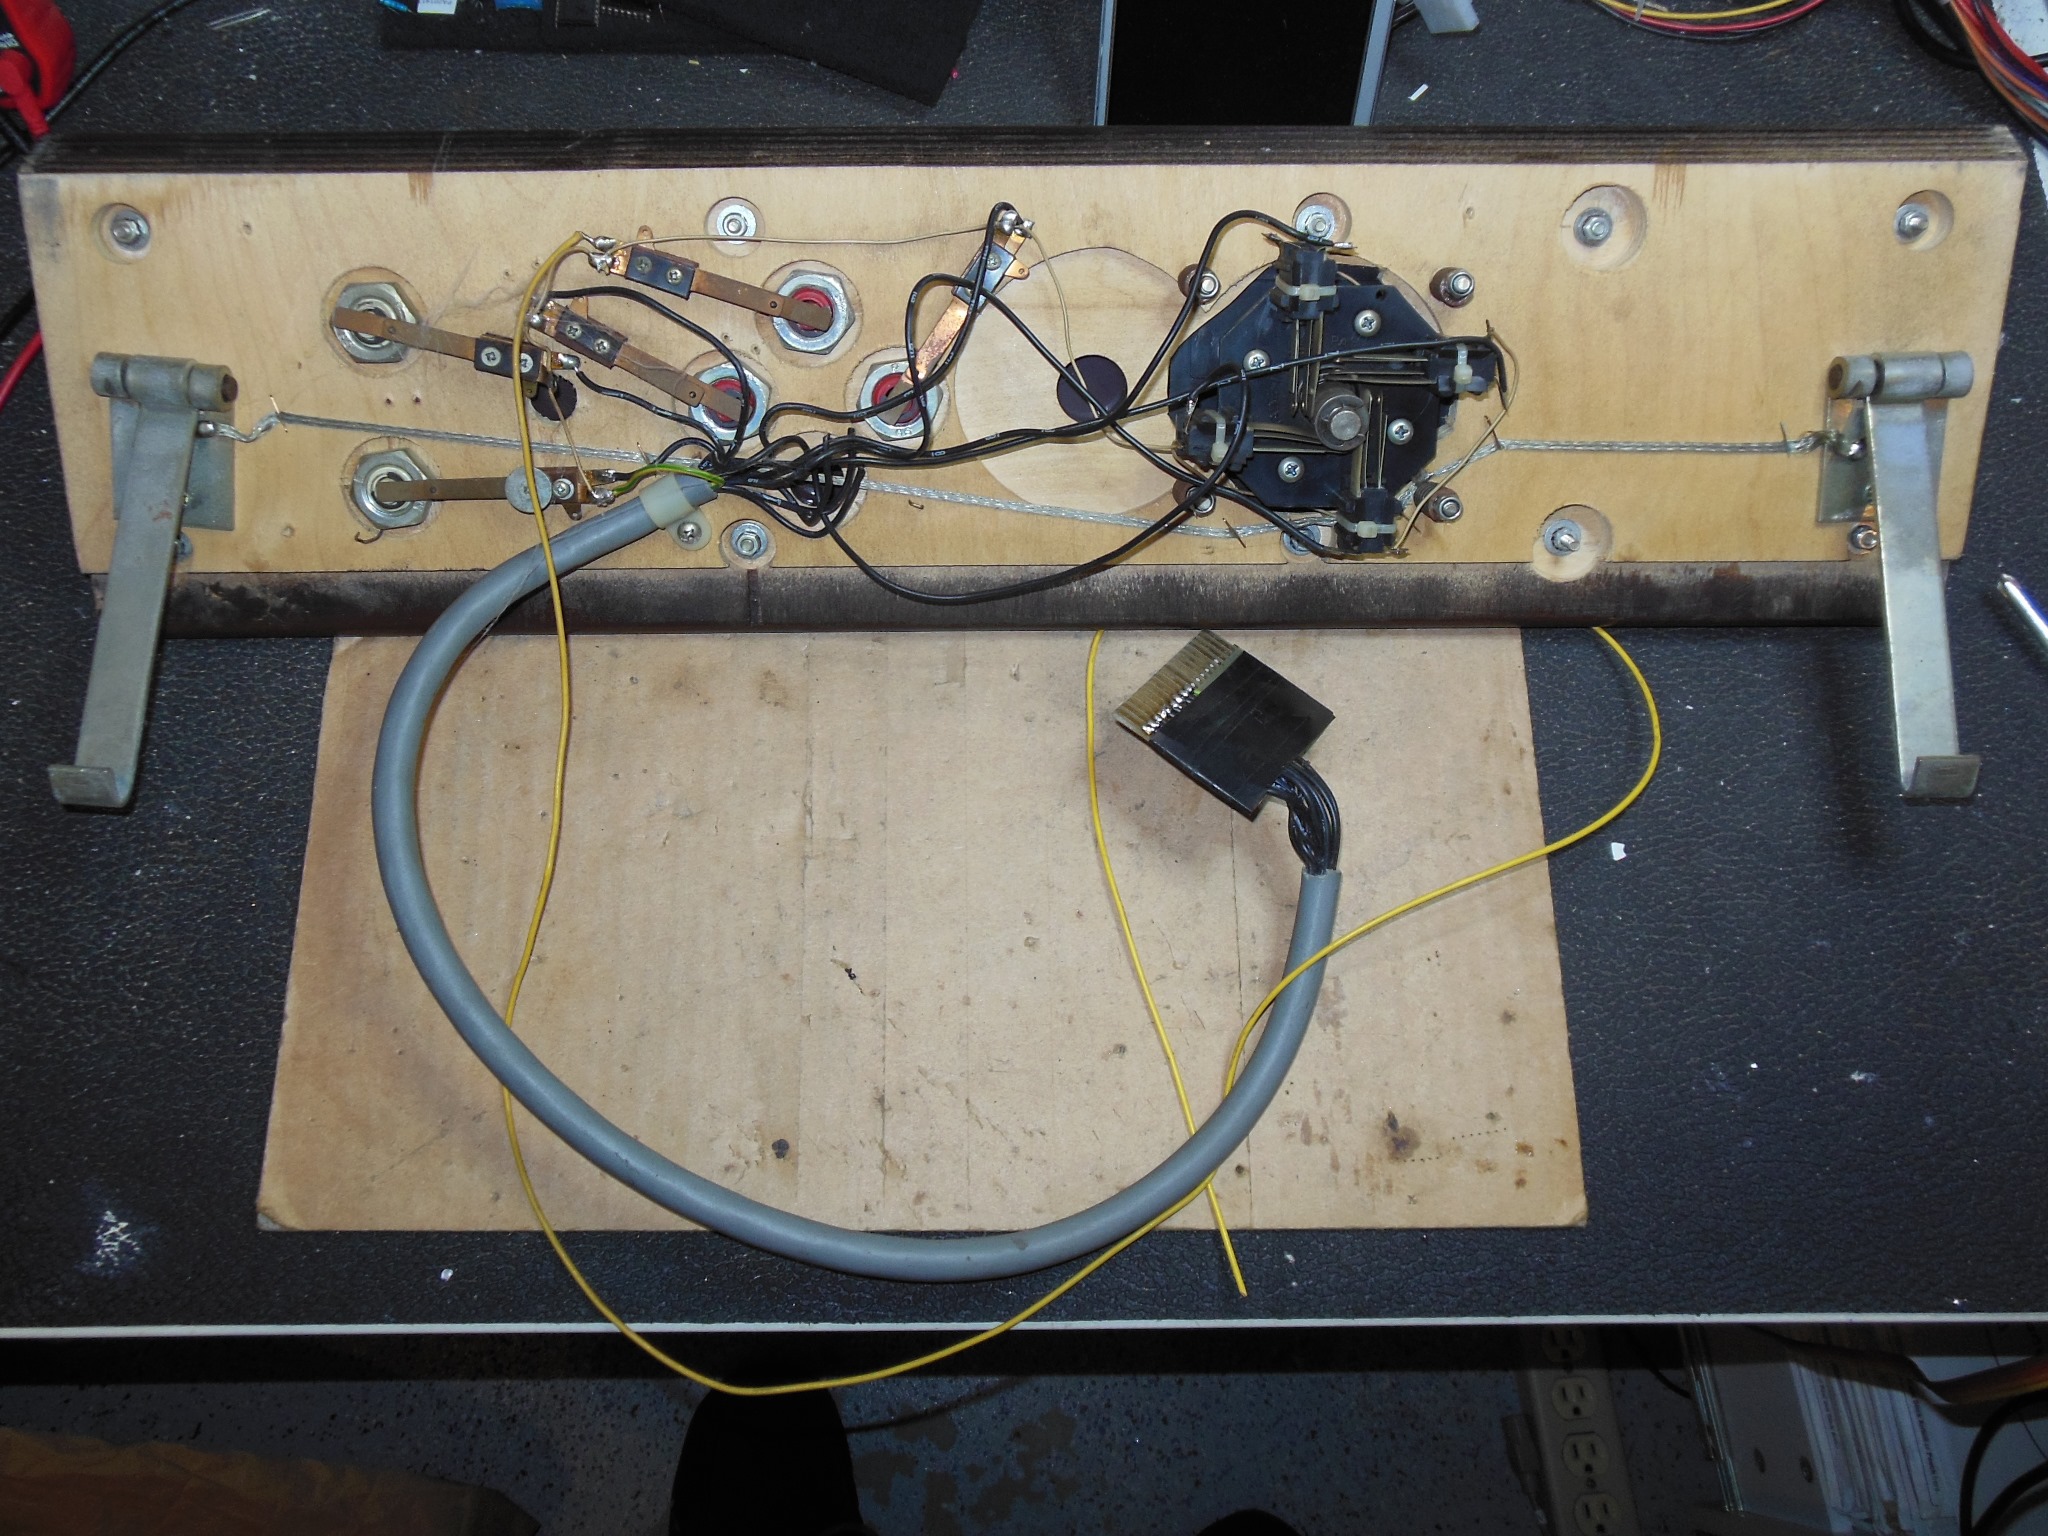
A different joystick had been fitted that replaced a chrome shaft style one and the whole of the original control panel wiring had been replaced. The new control panel wiring connected to an edge connector in the cabinet that allowed the control panel to be removed.
|
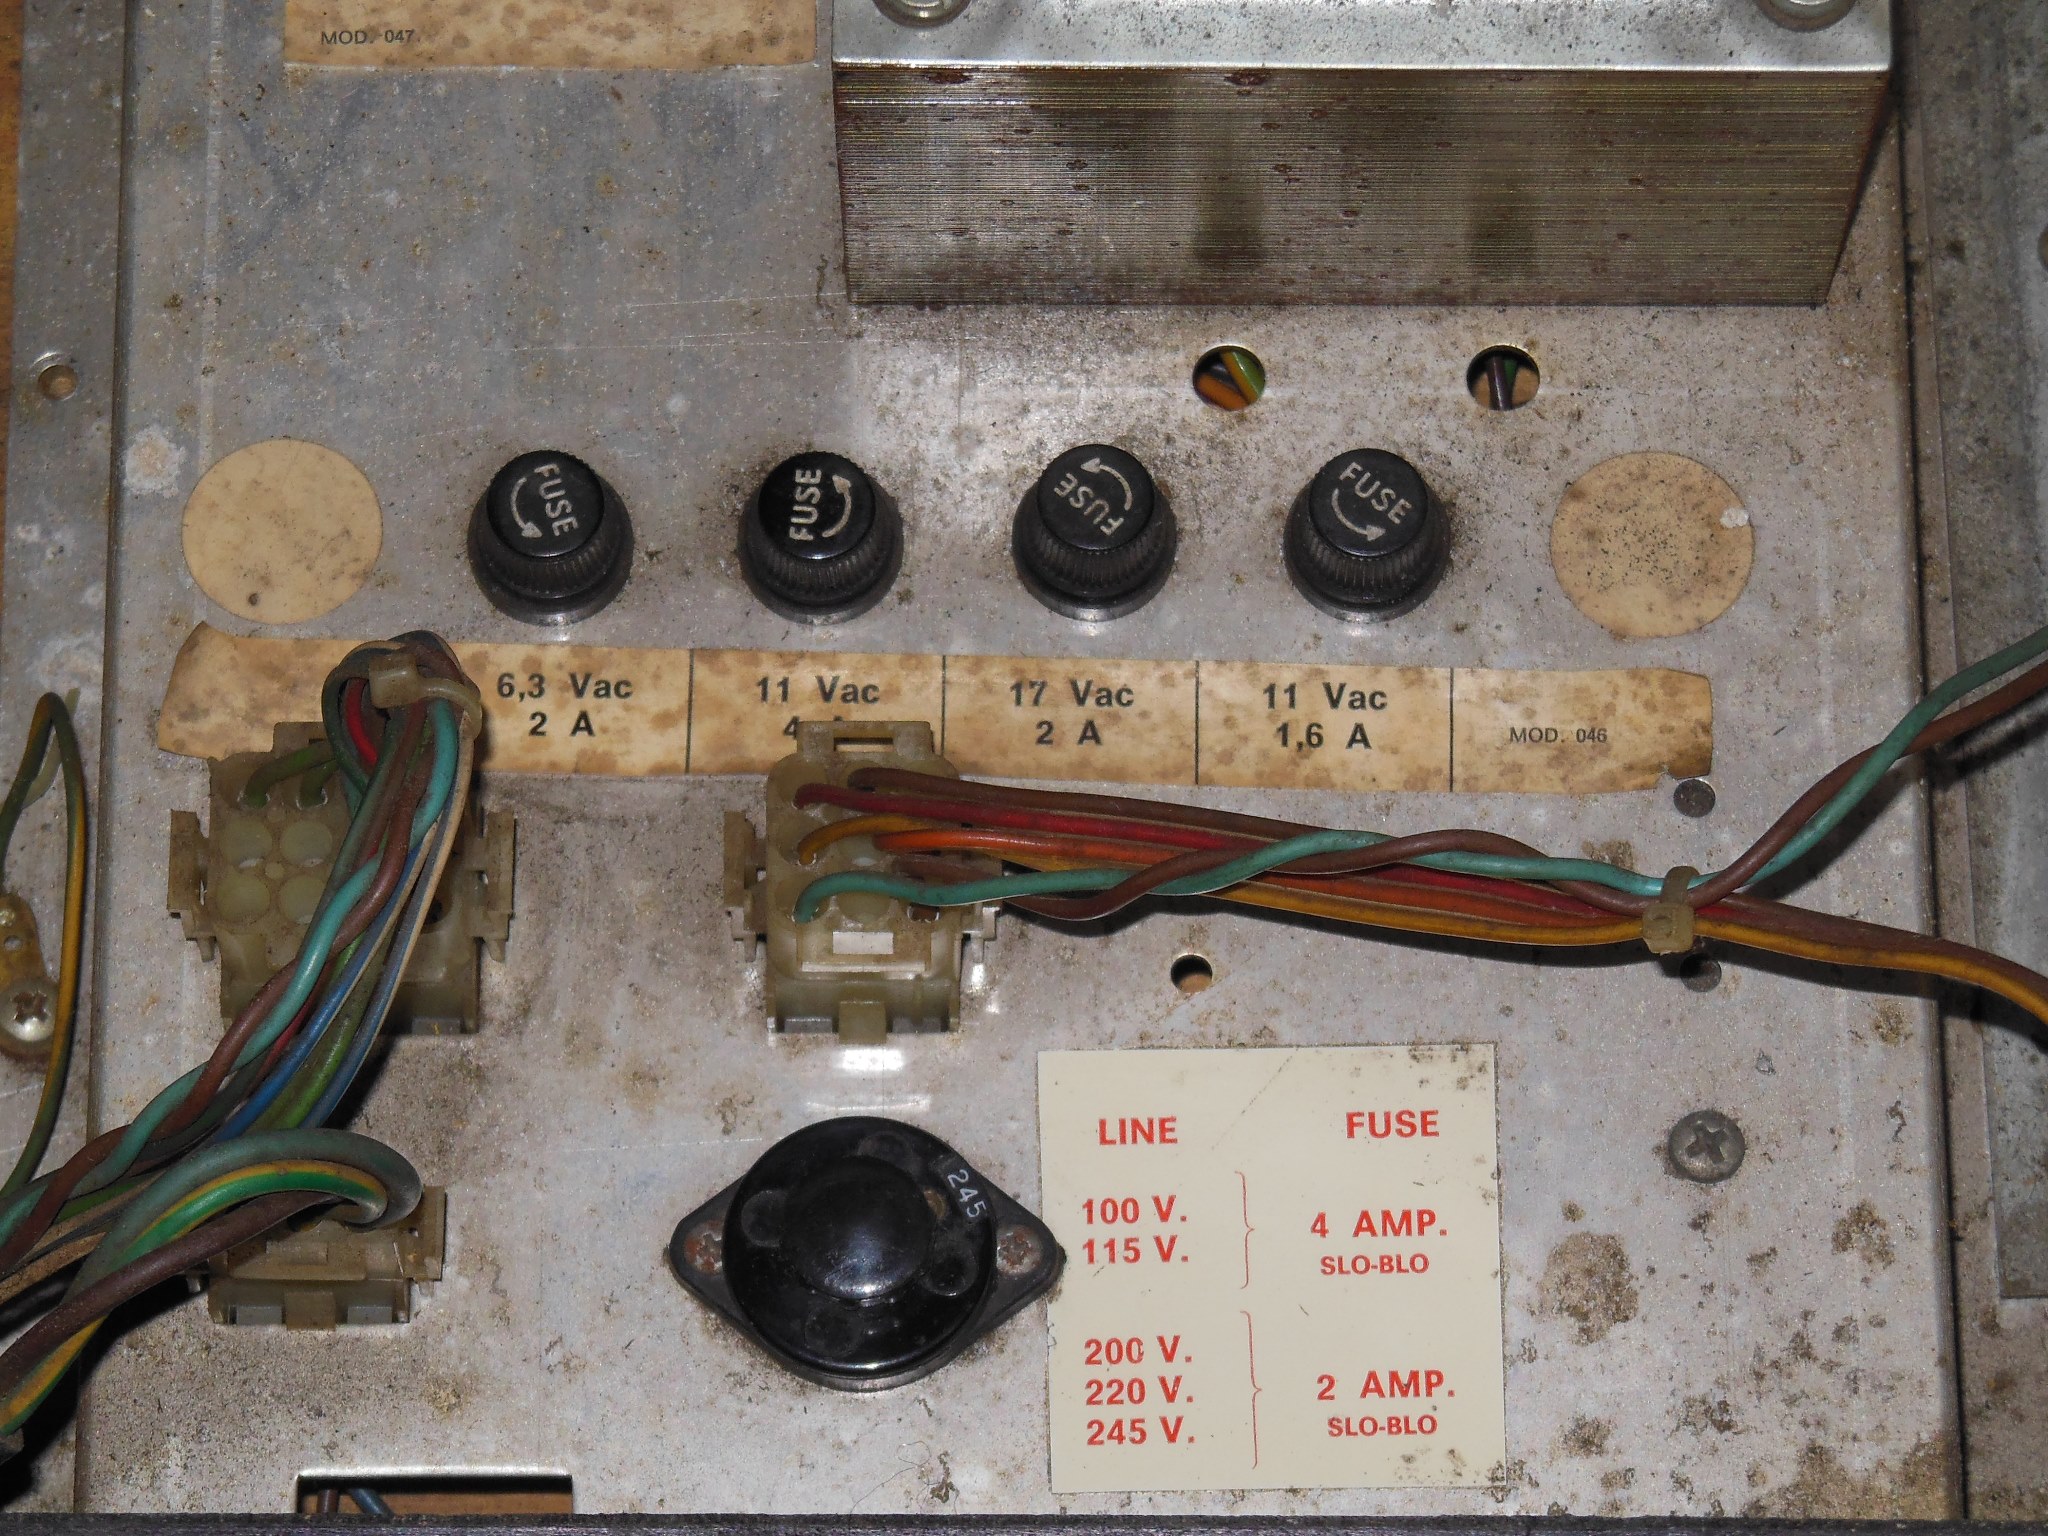
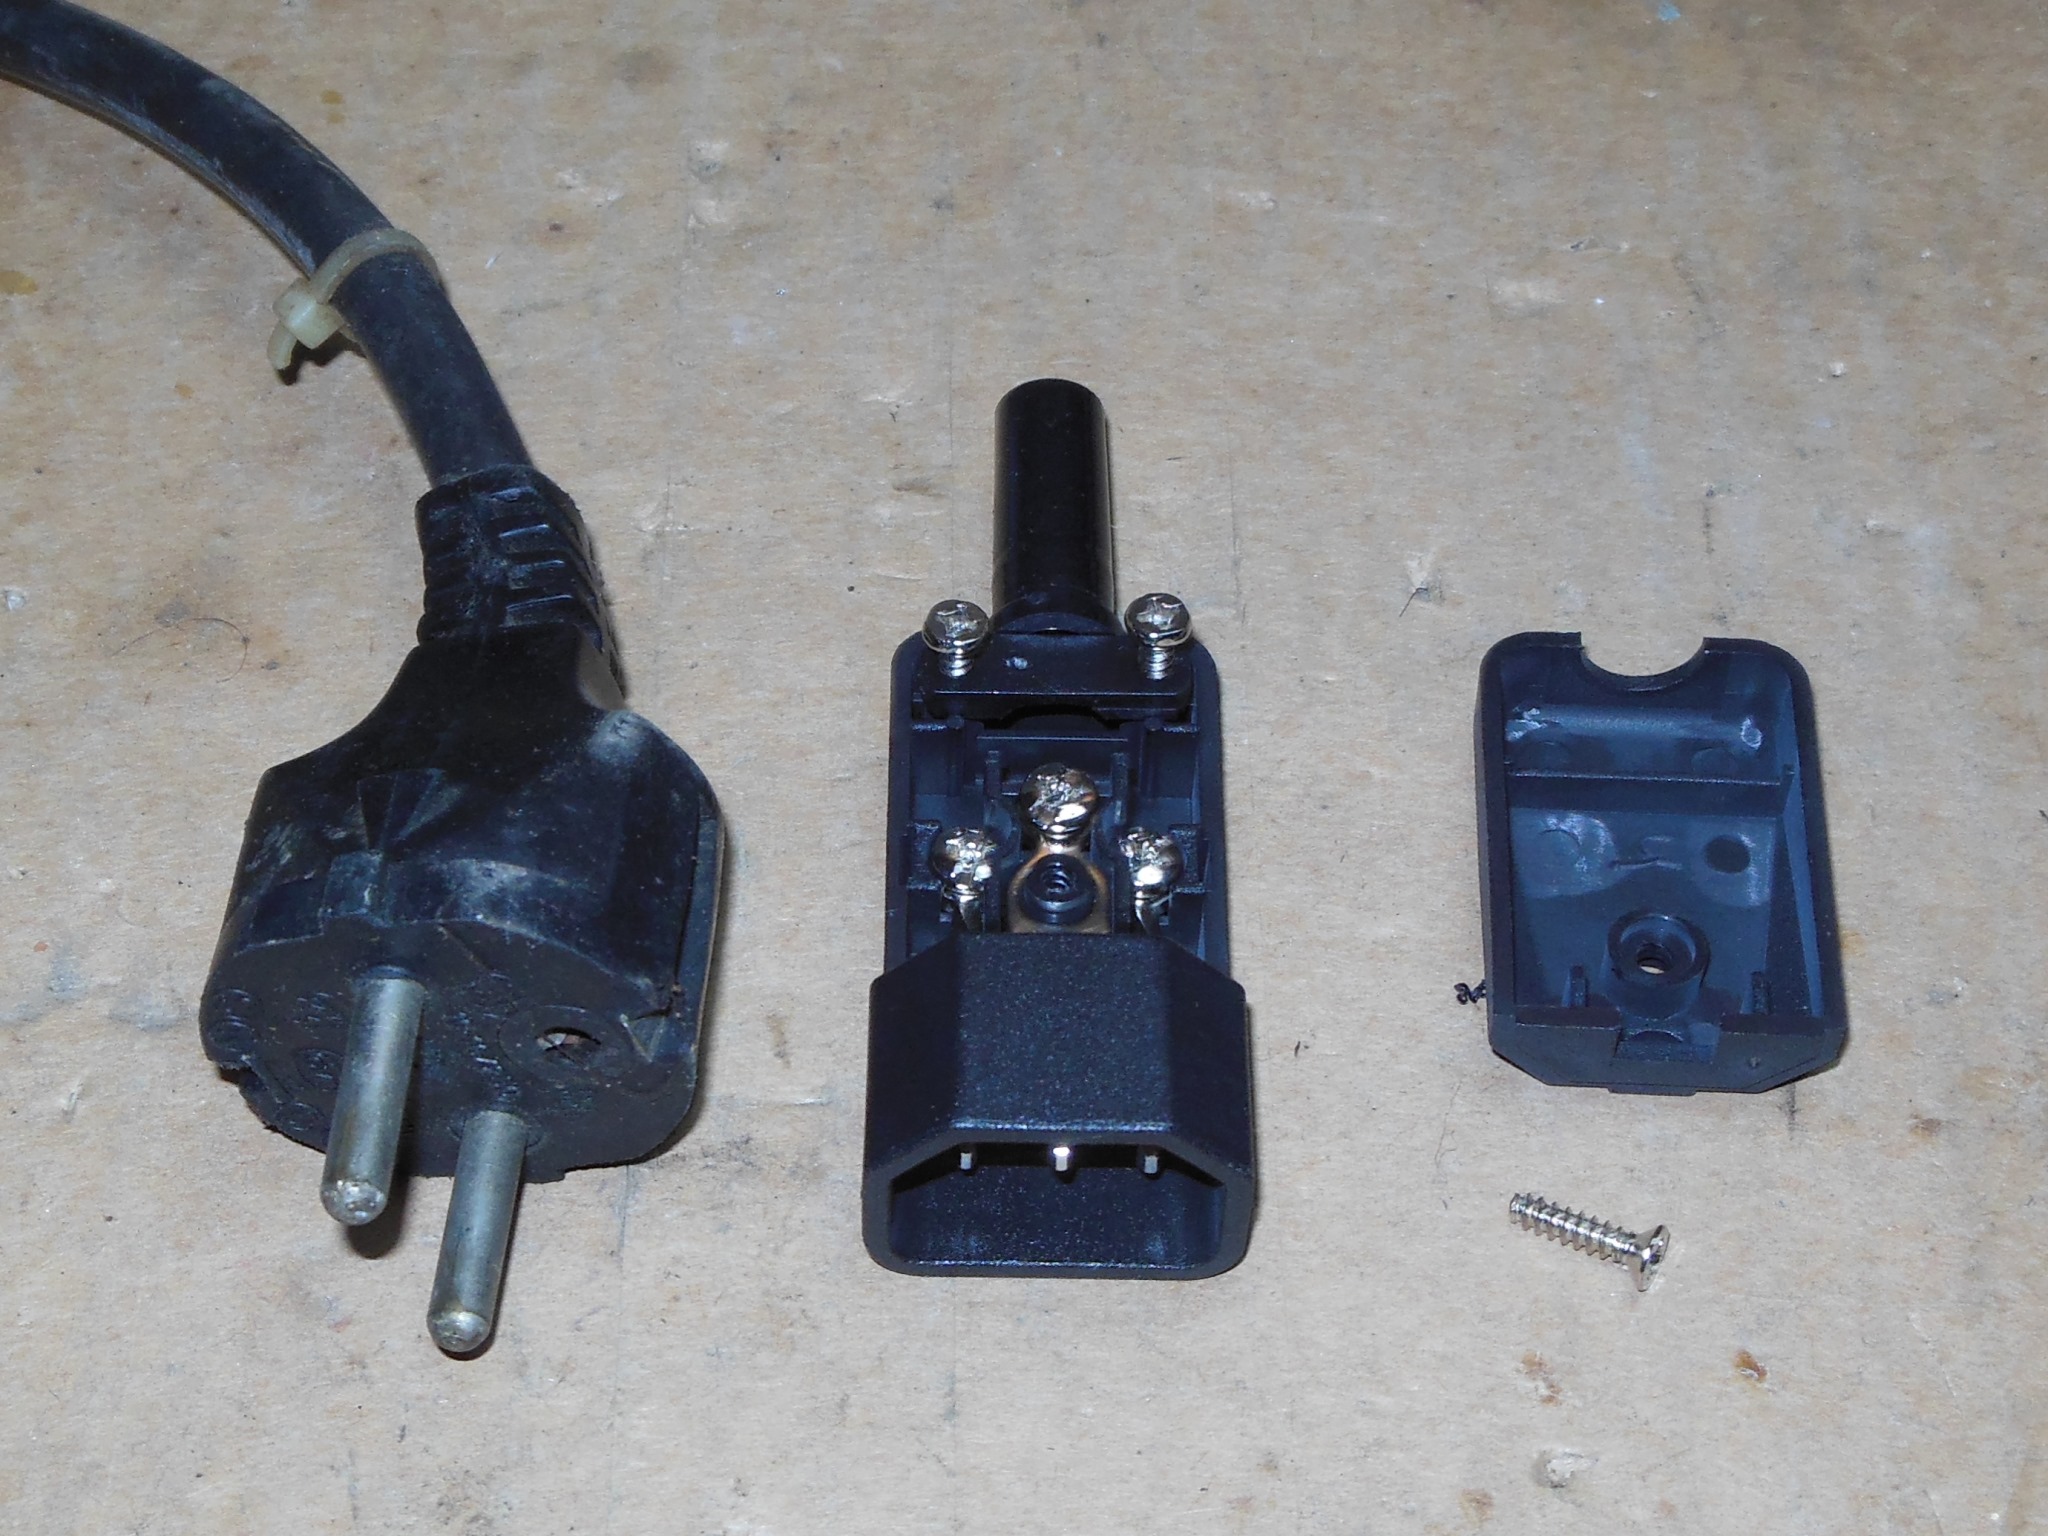
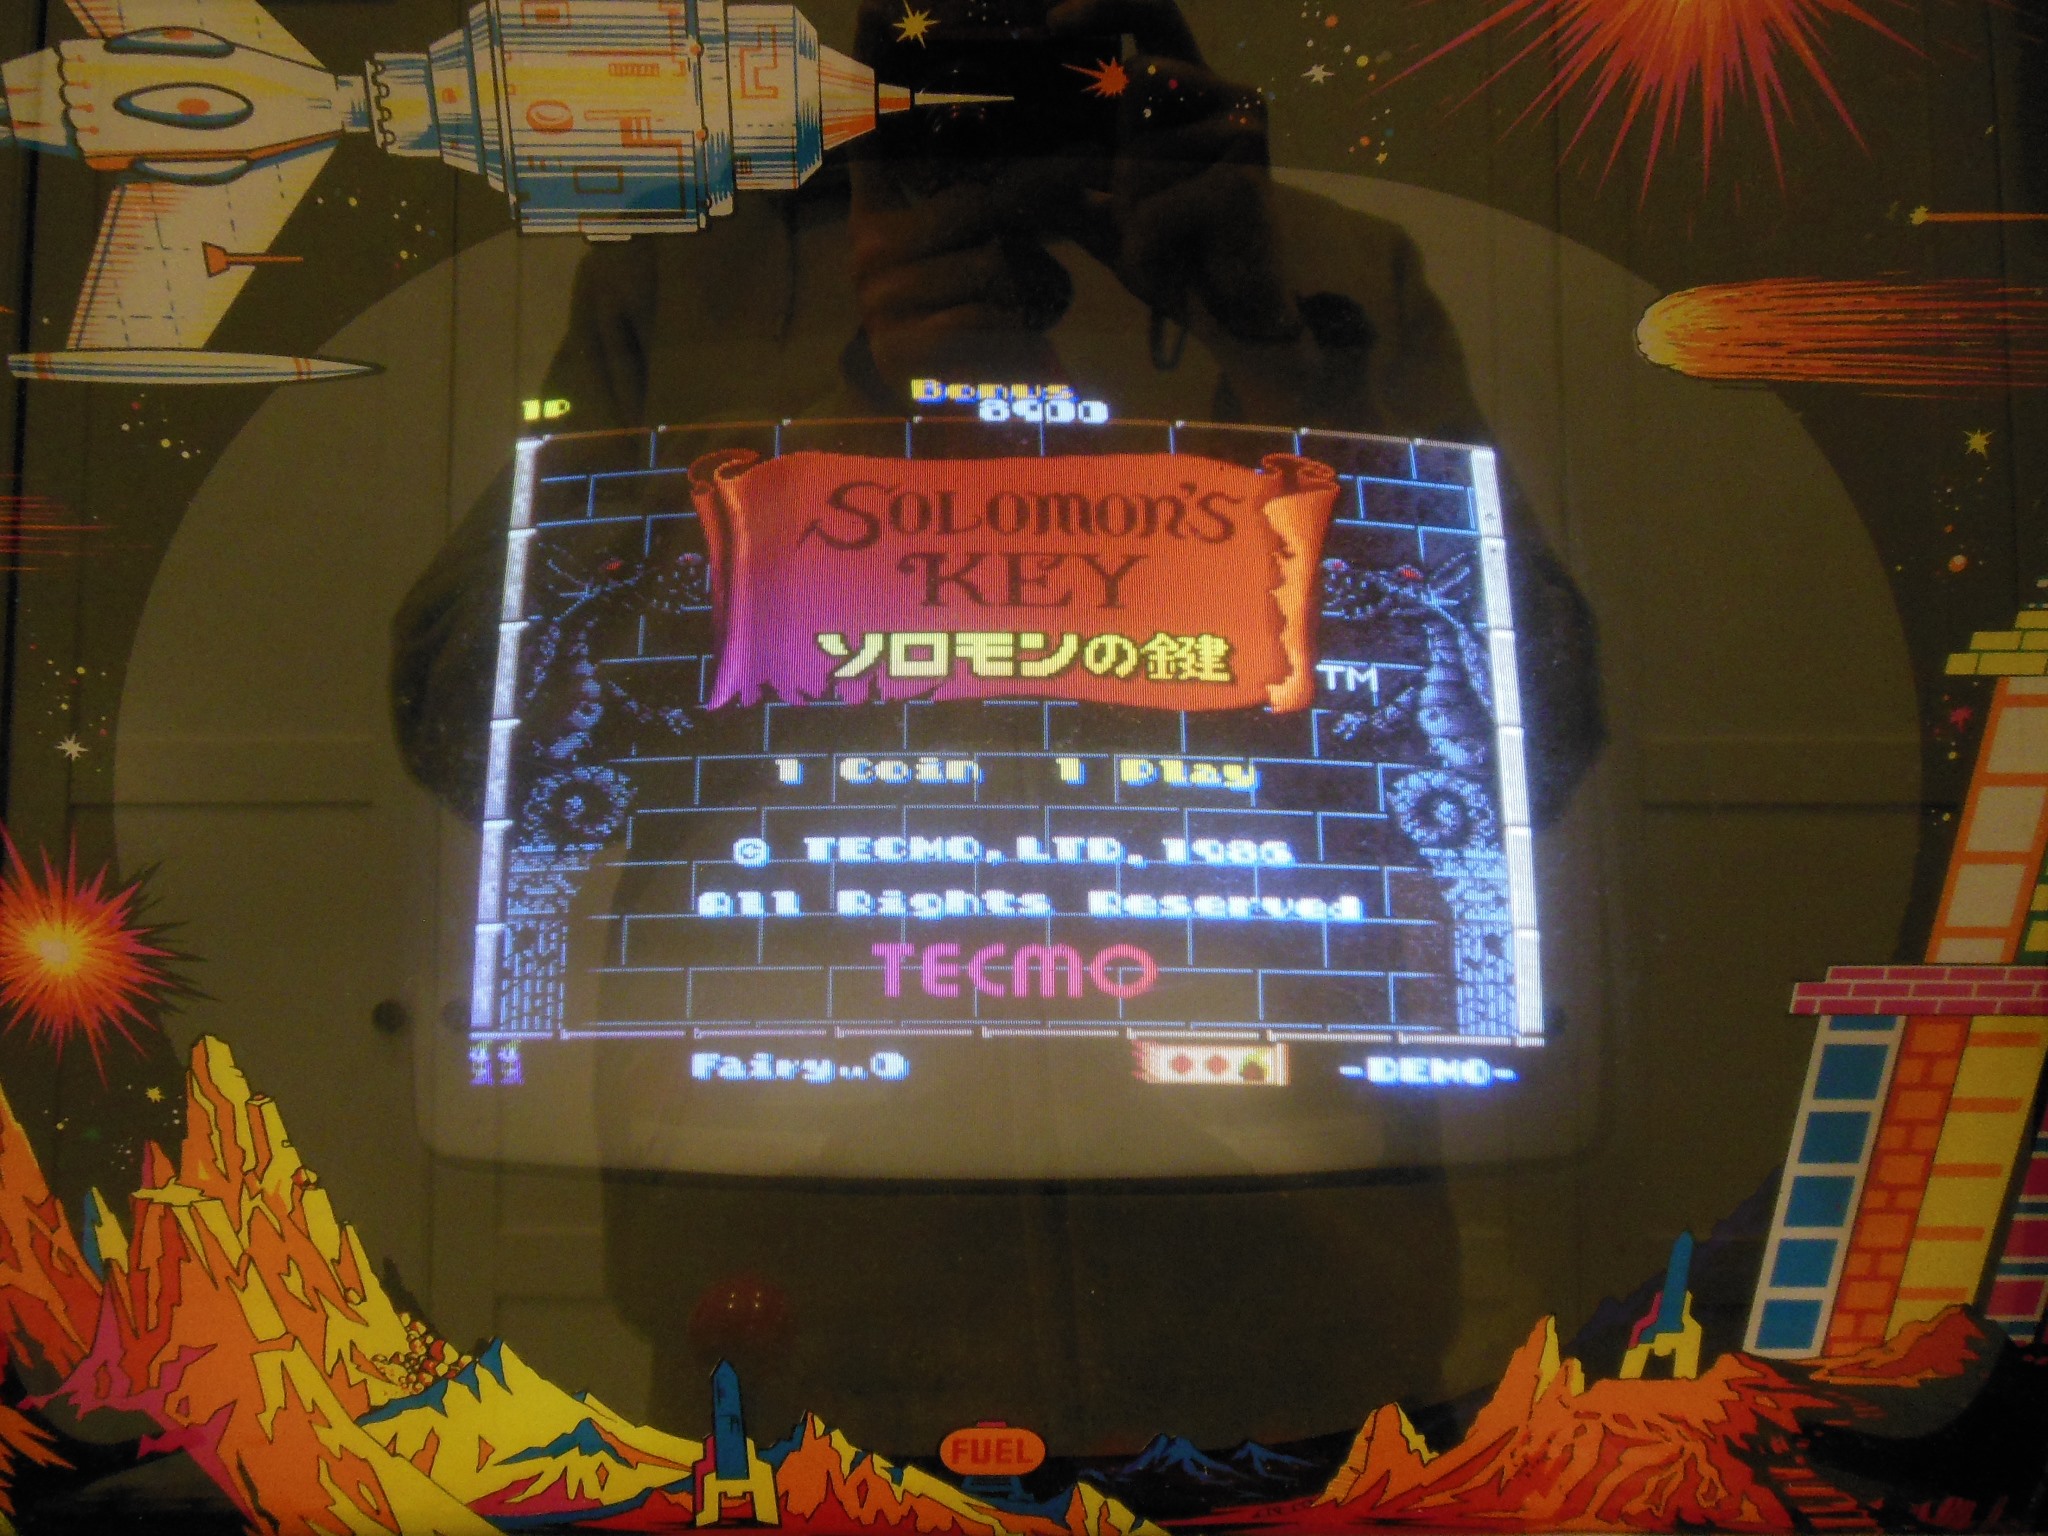
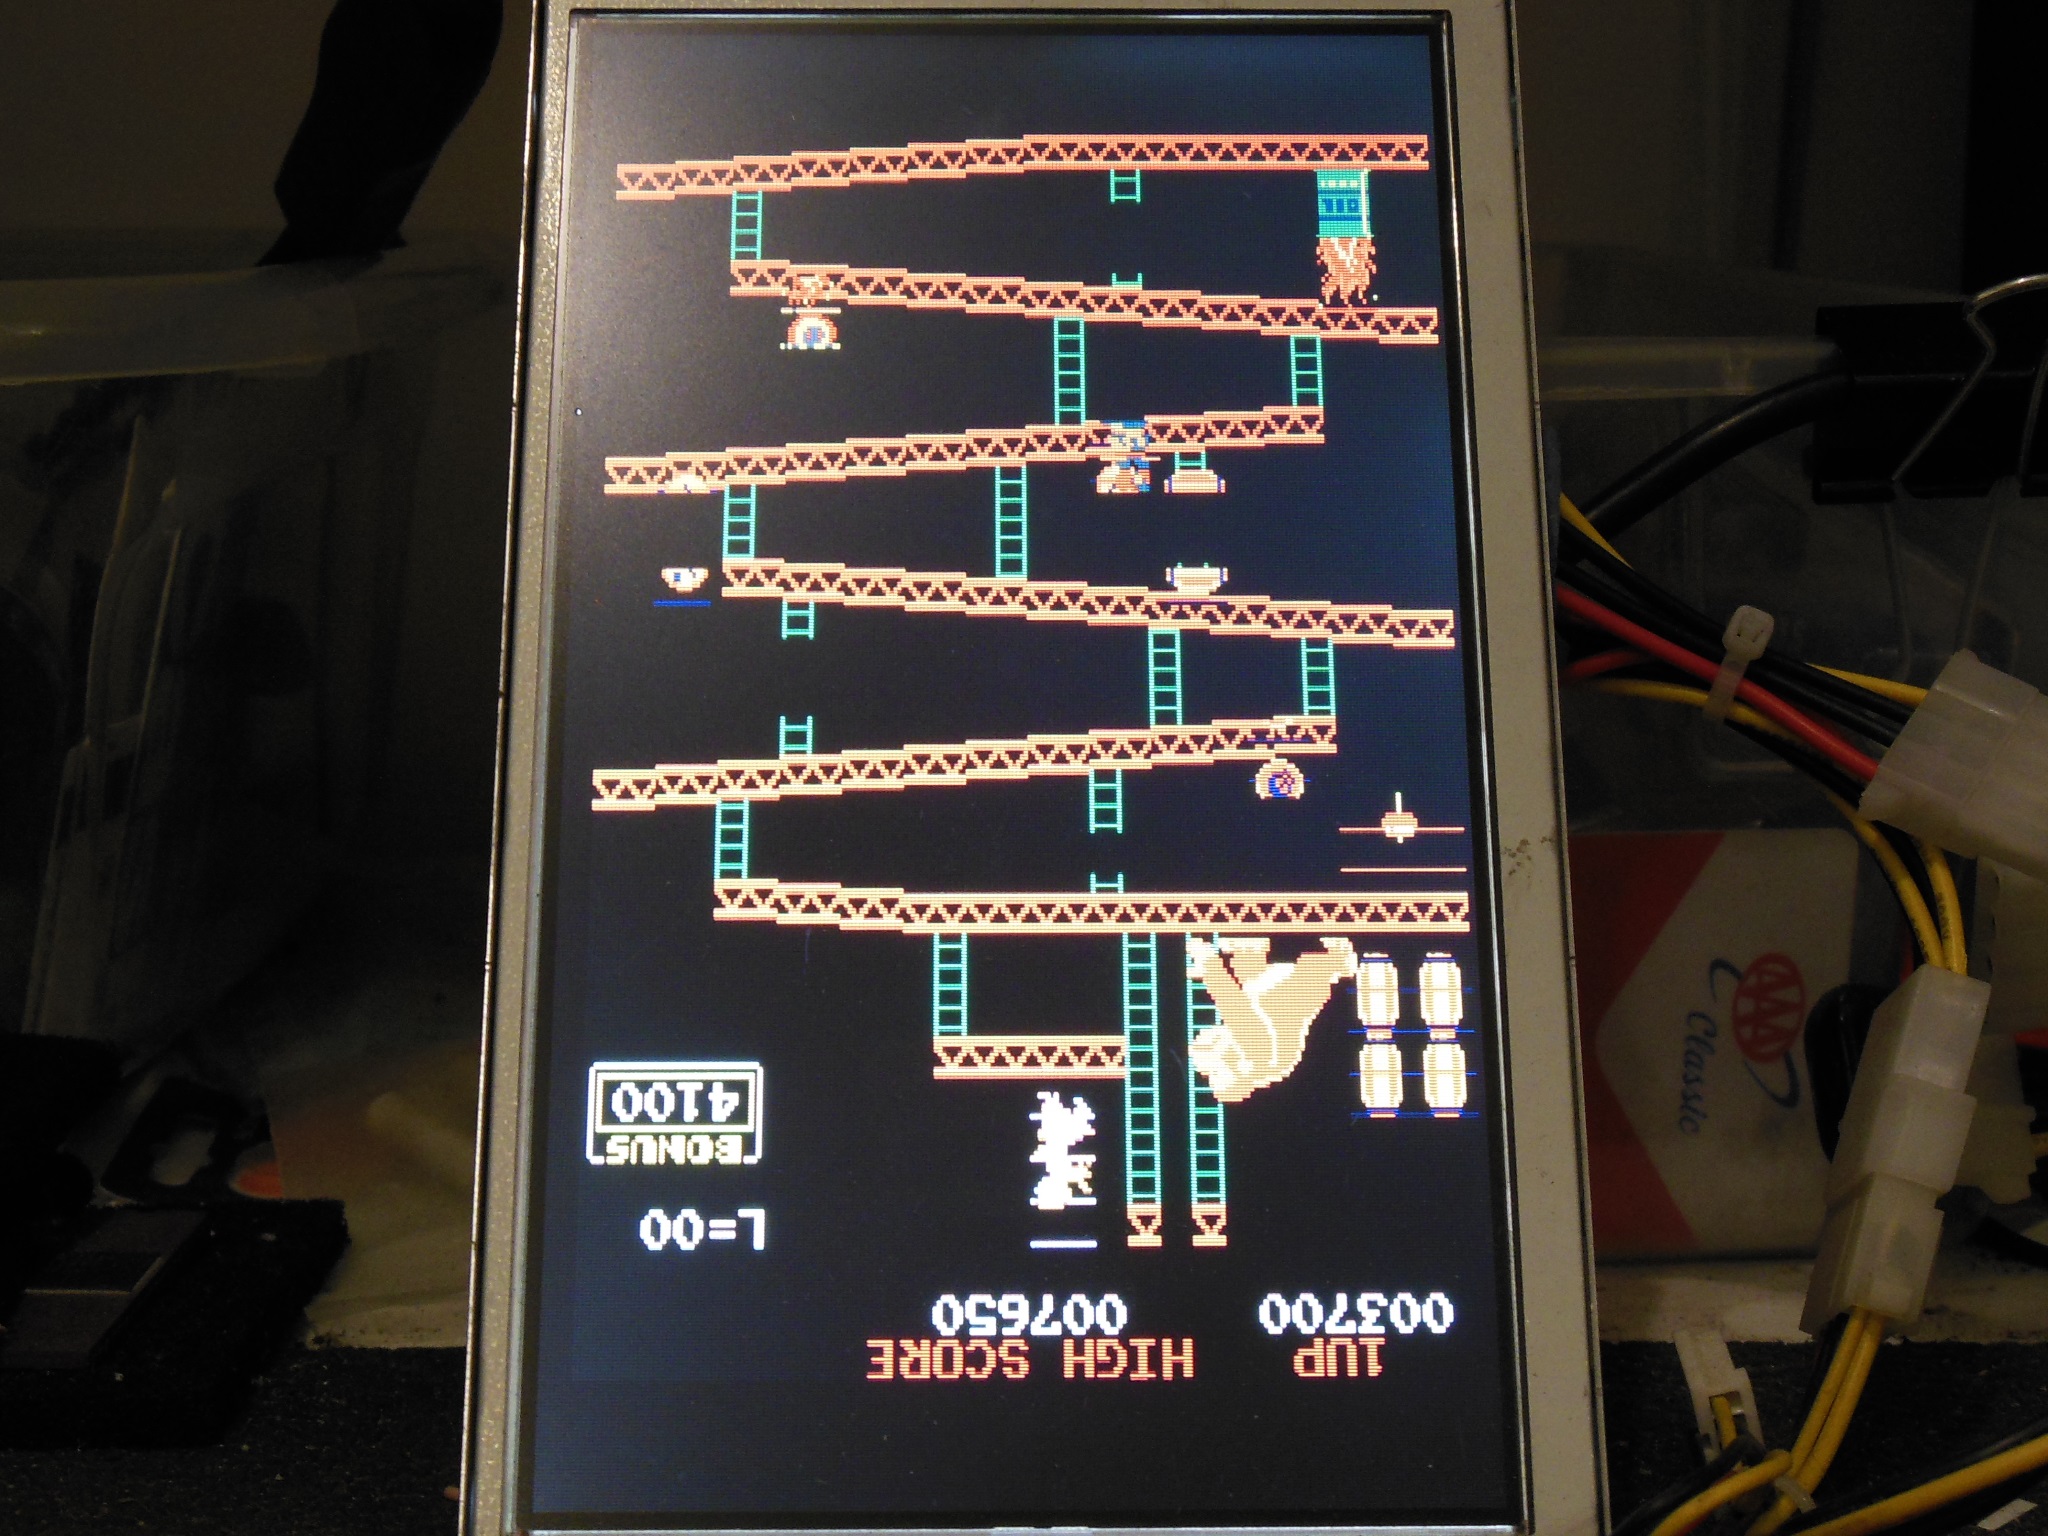
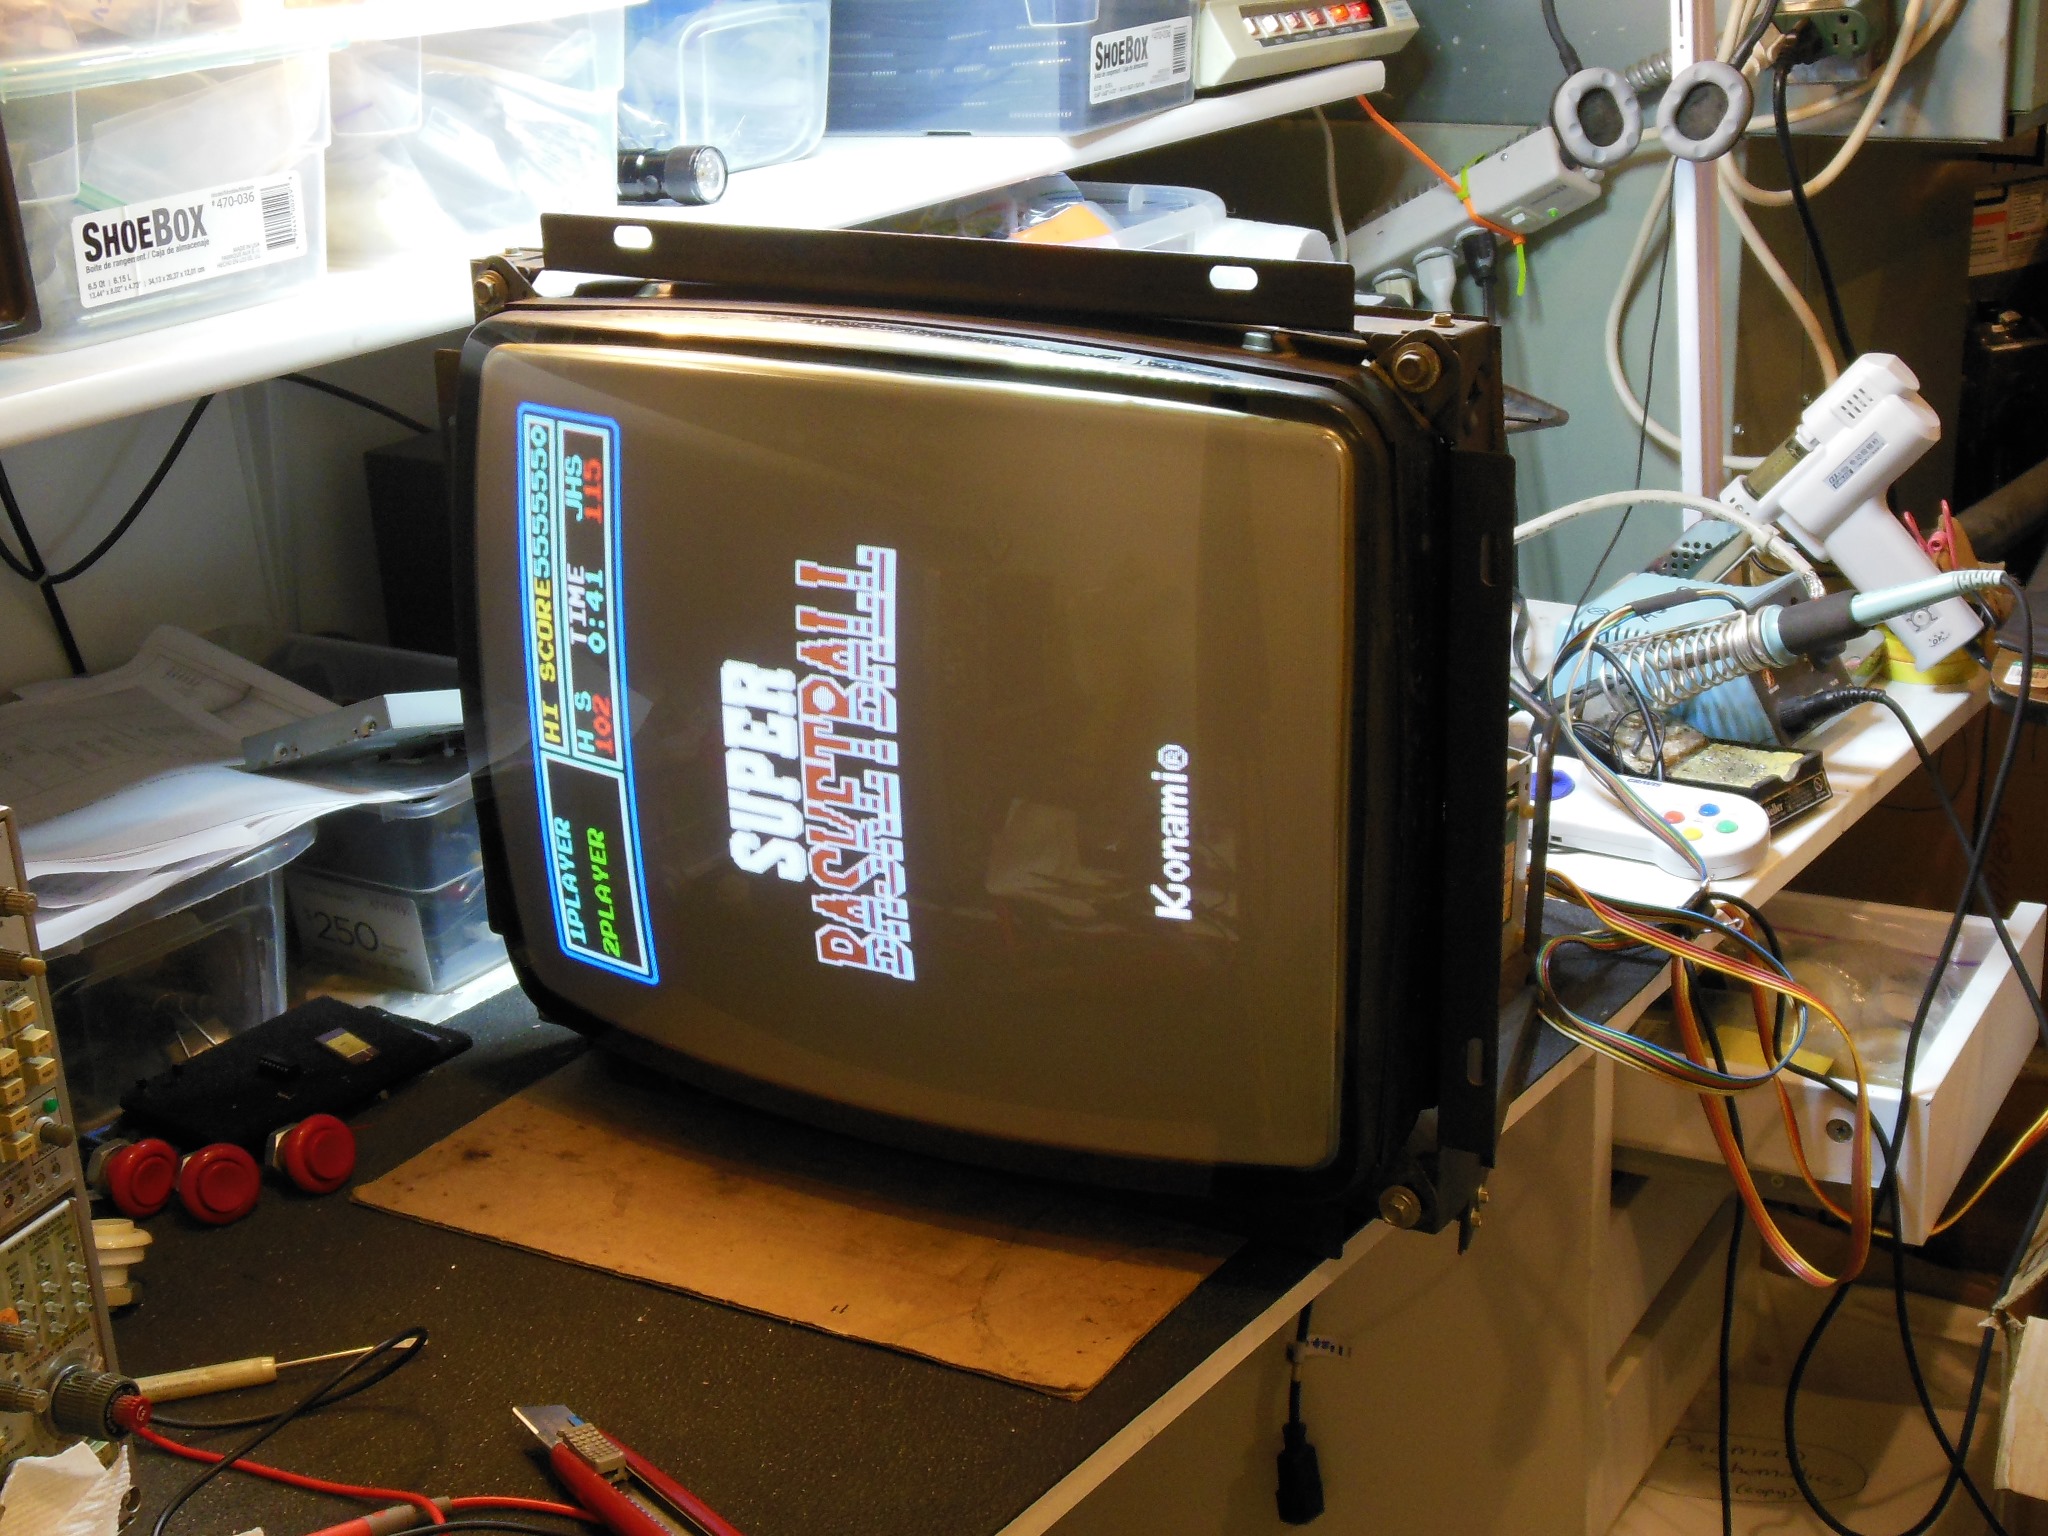
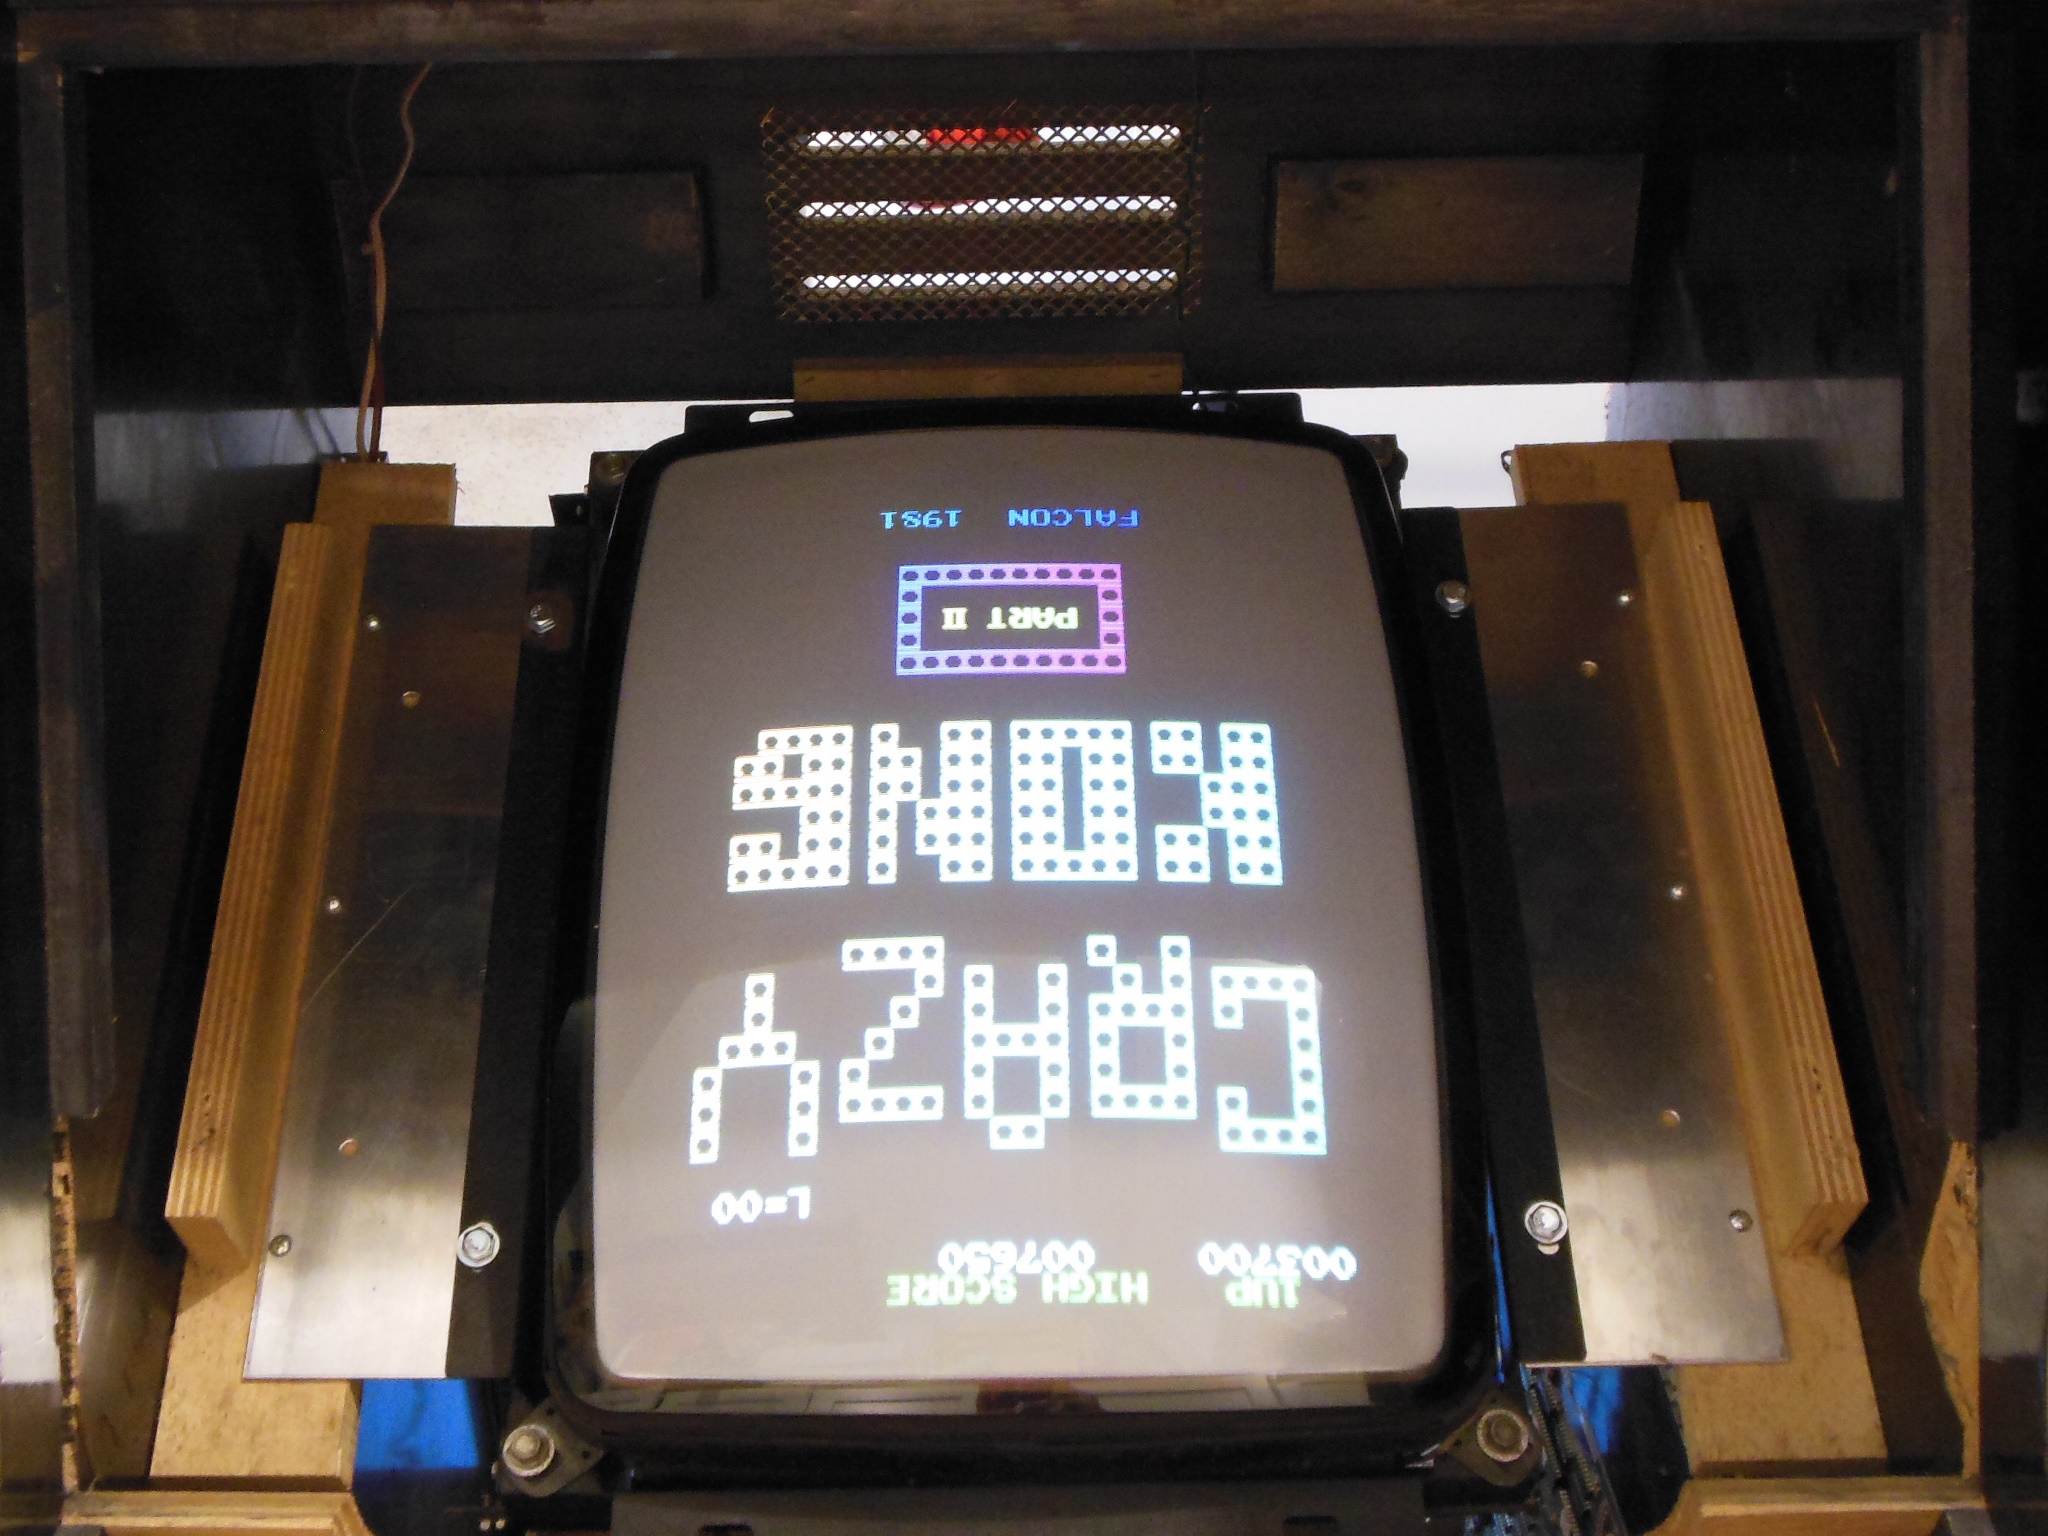
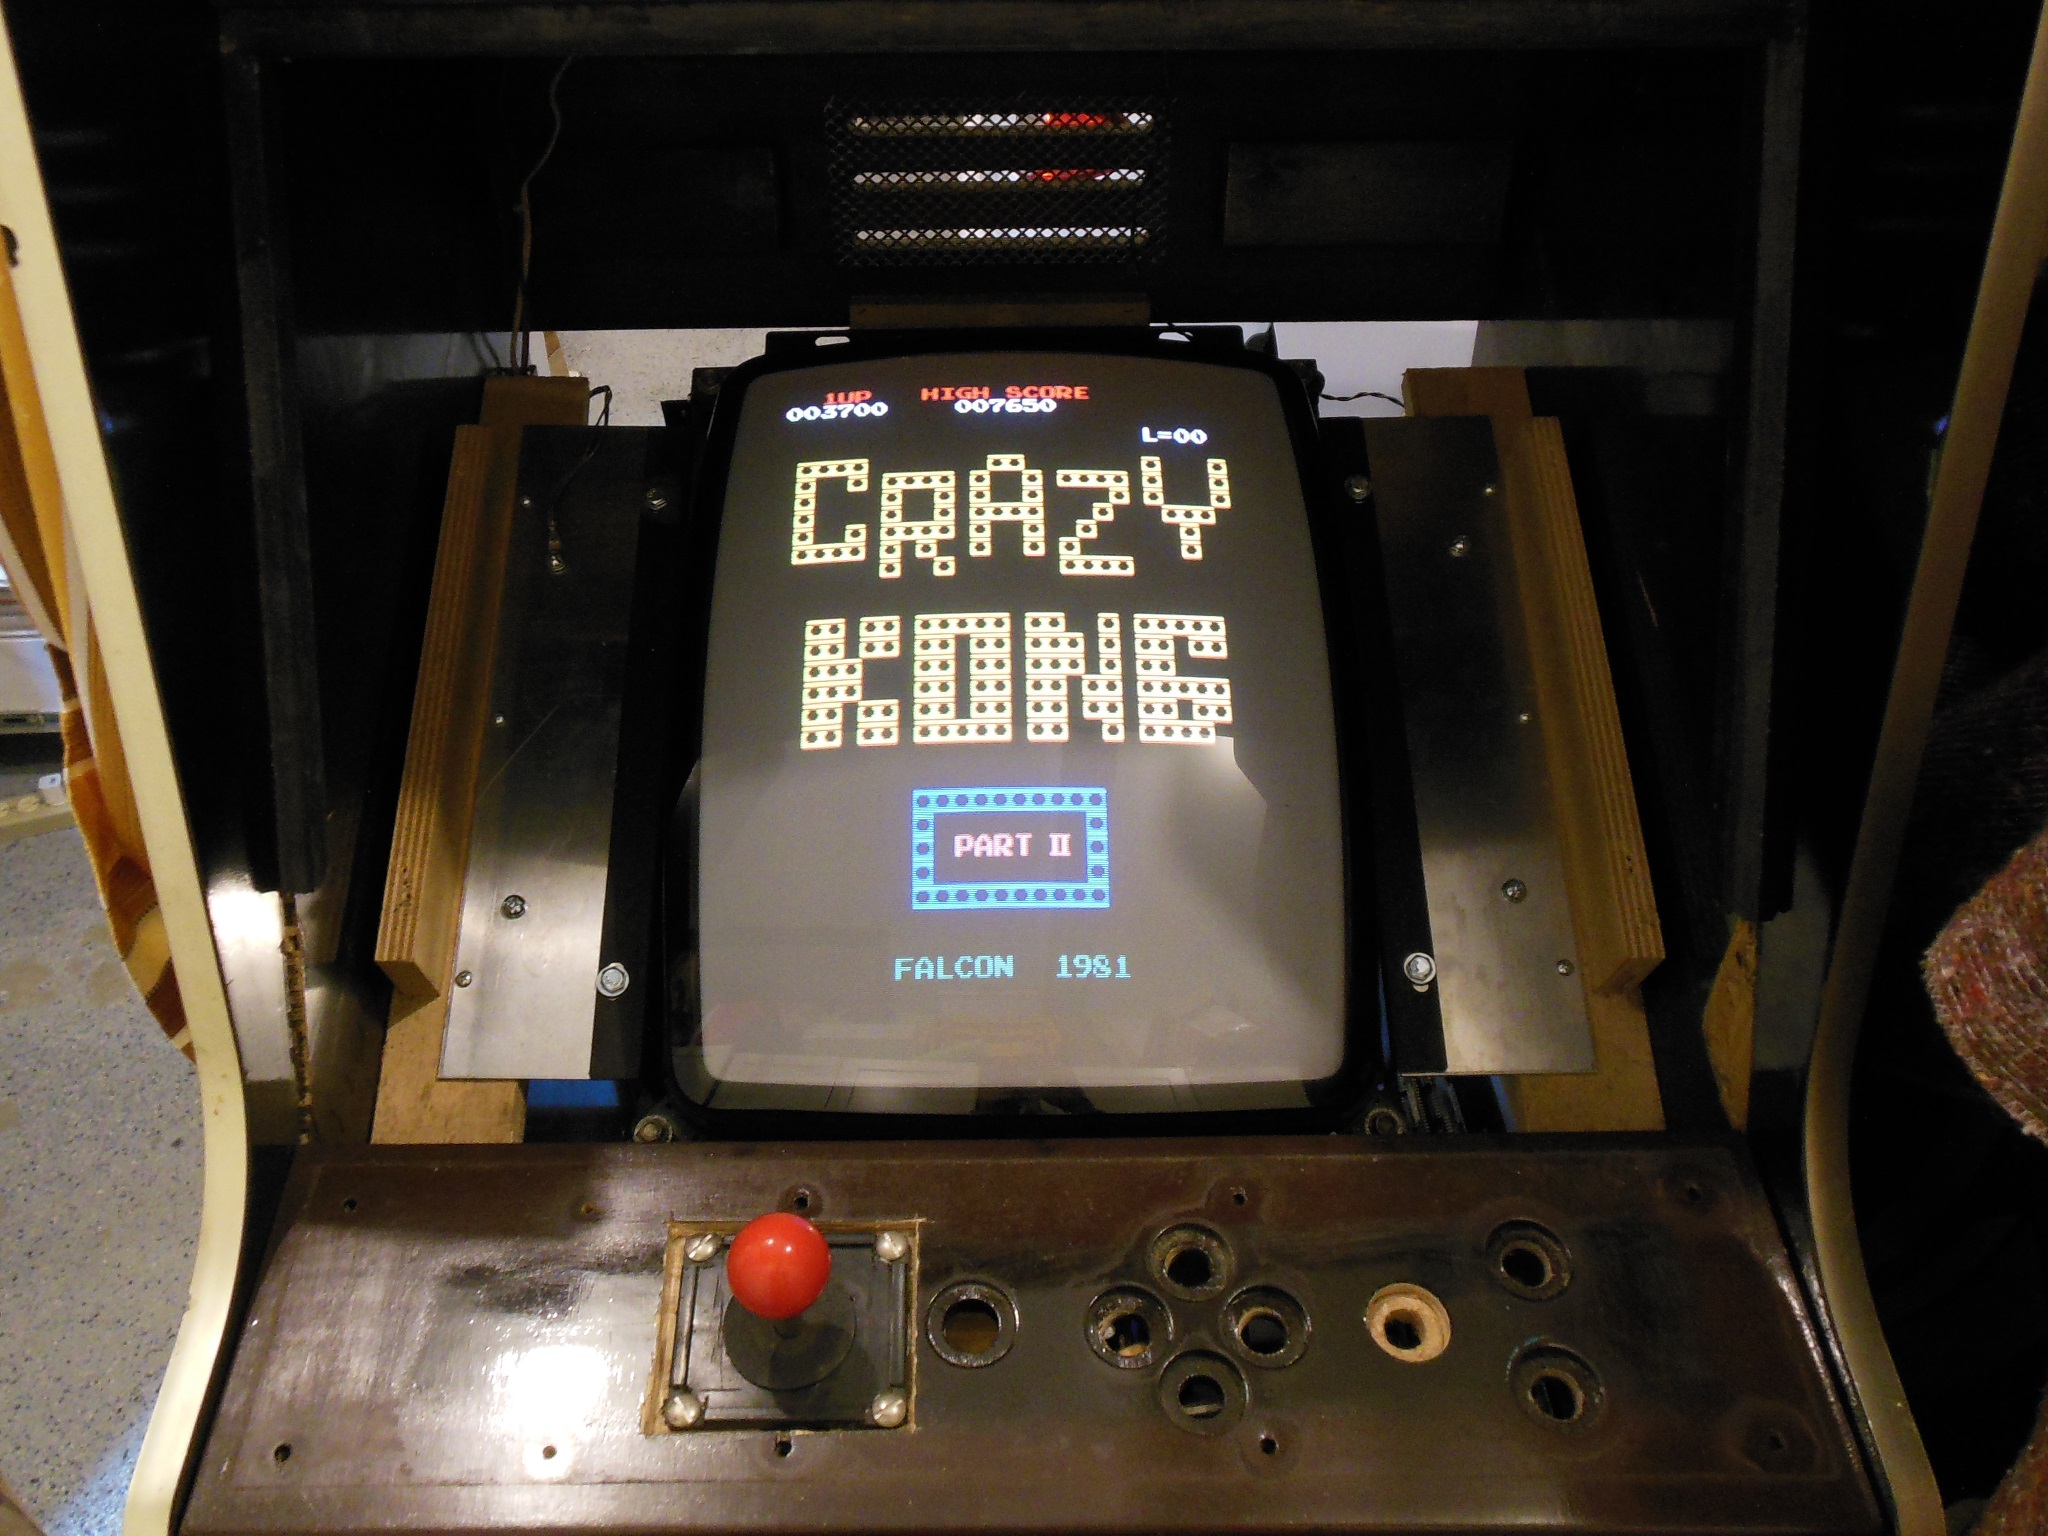
Since there was no visual problem with the hacked setup I decided to try a power on. The voltage selector was changed to 245V and the European power plug replaced with an IEC14. On first power on there was a picture on the monitor that identified the bootleg PCB as Tecmo's Solomon's Key. The picture was bright and stable but off colour, likely due to degauss issues. After a couple of minutes the picture started to shrink and the smell of burning filled the air as the 40 year old capacitors vented smoke. A cap kit would be needed before any further work on the monitor.
|
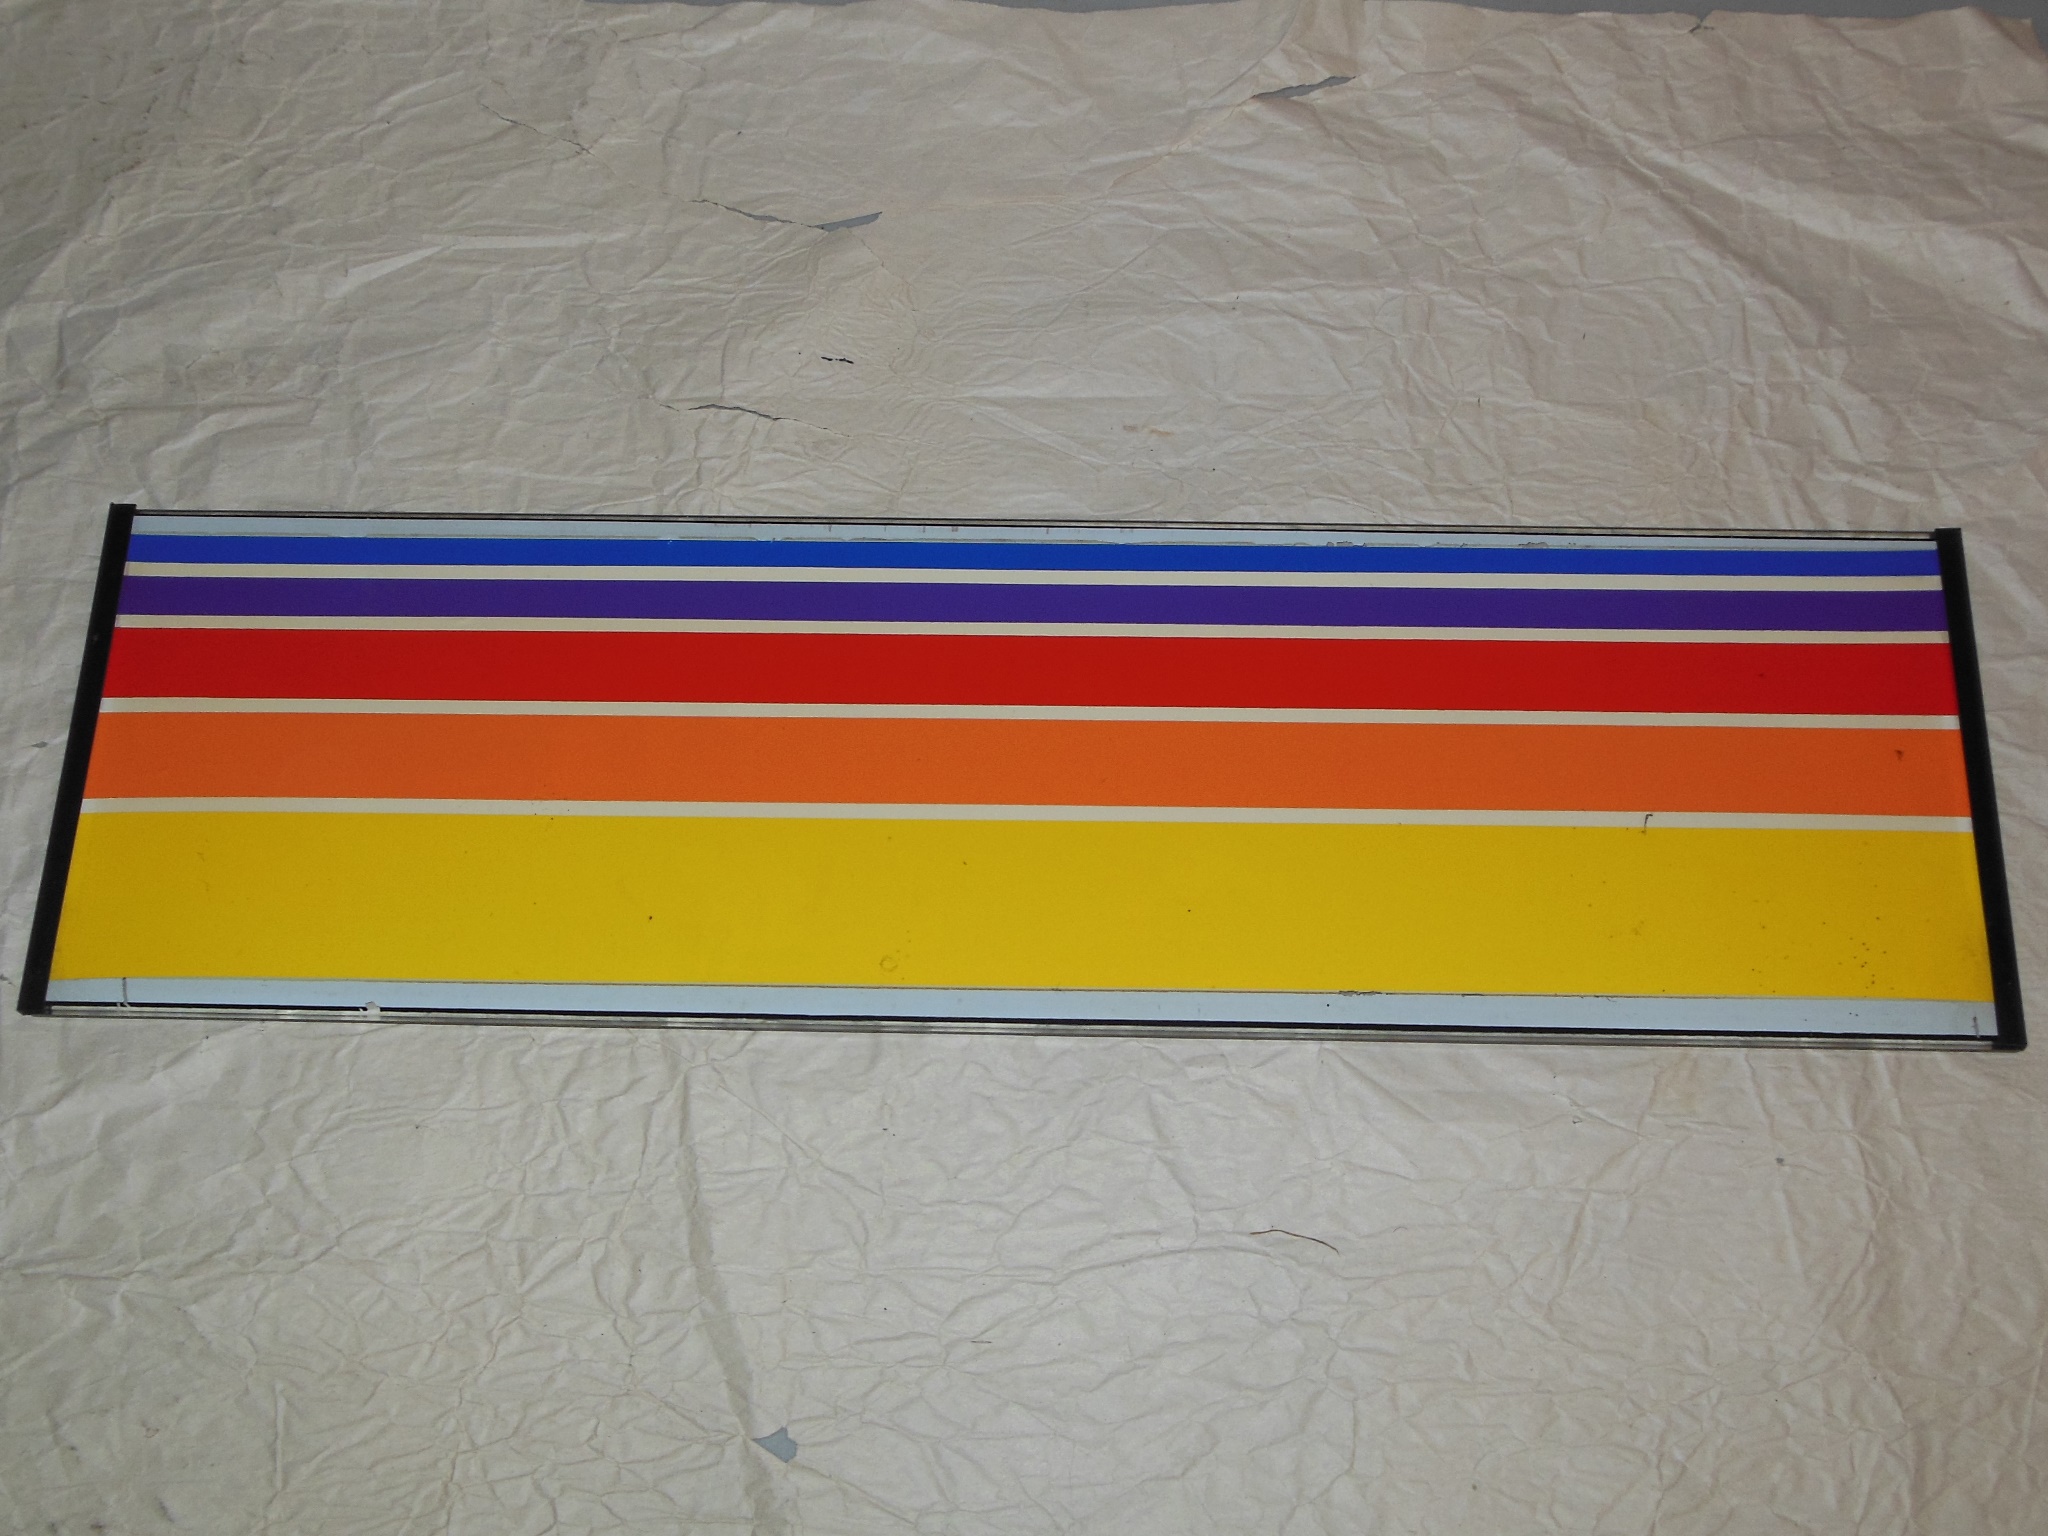
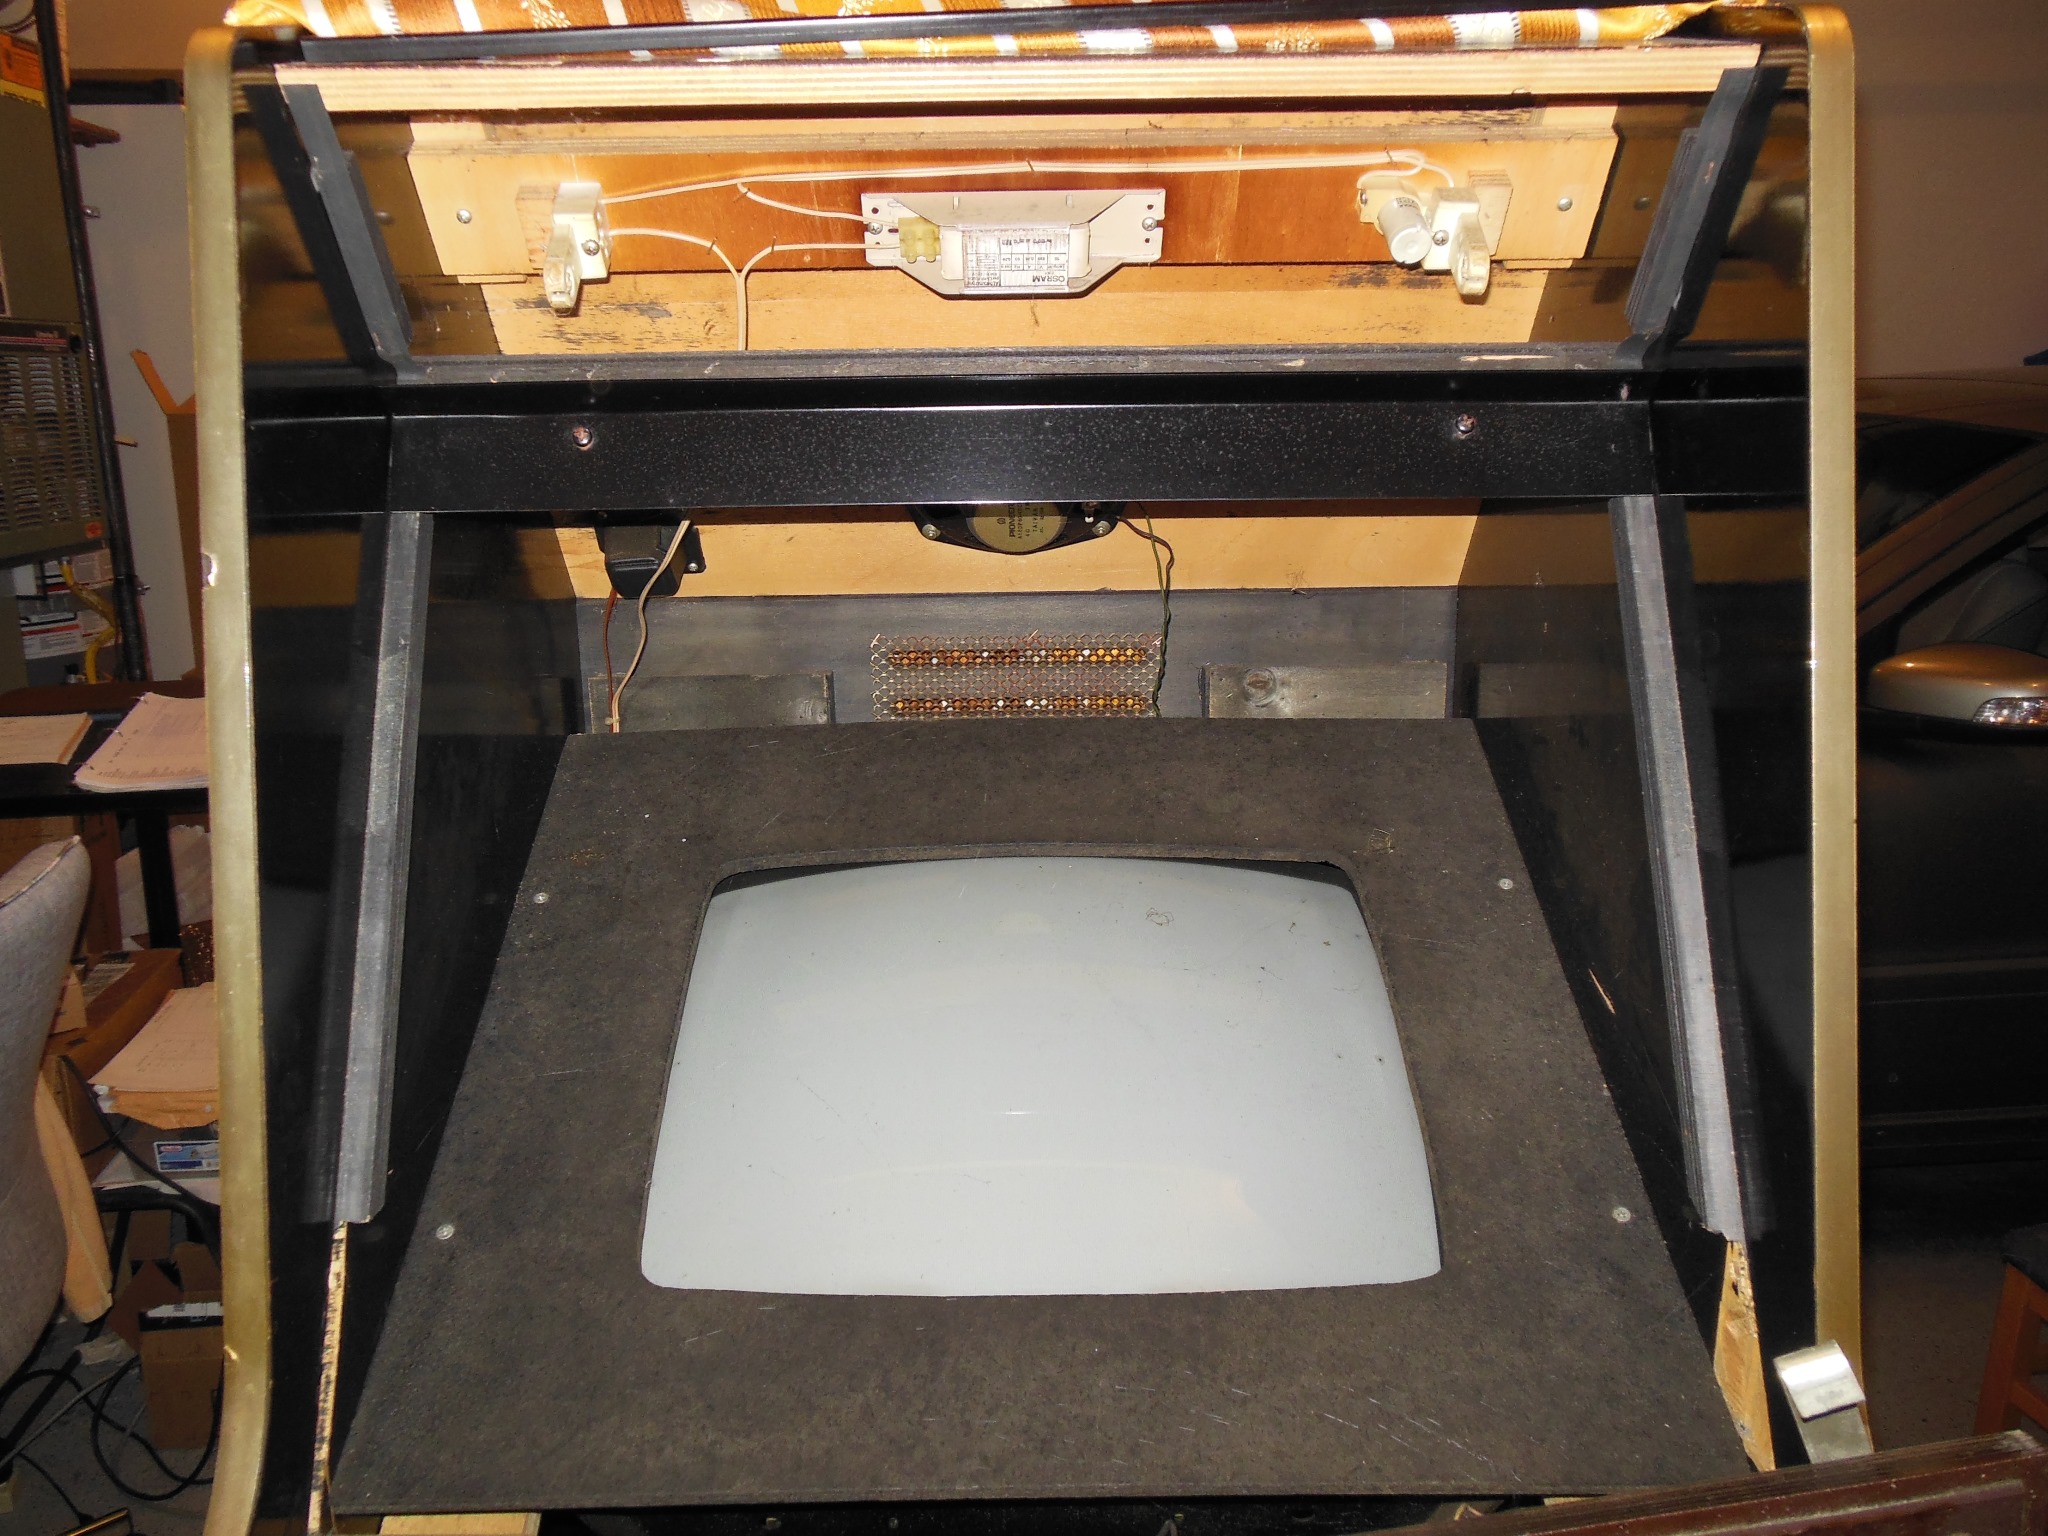
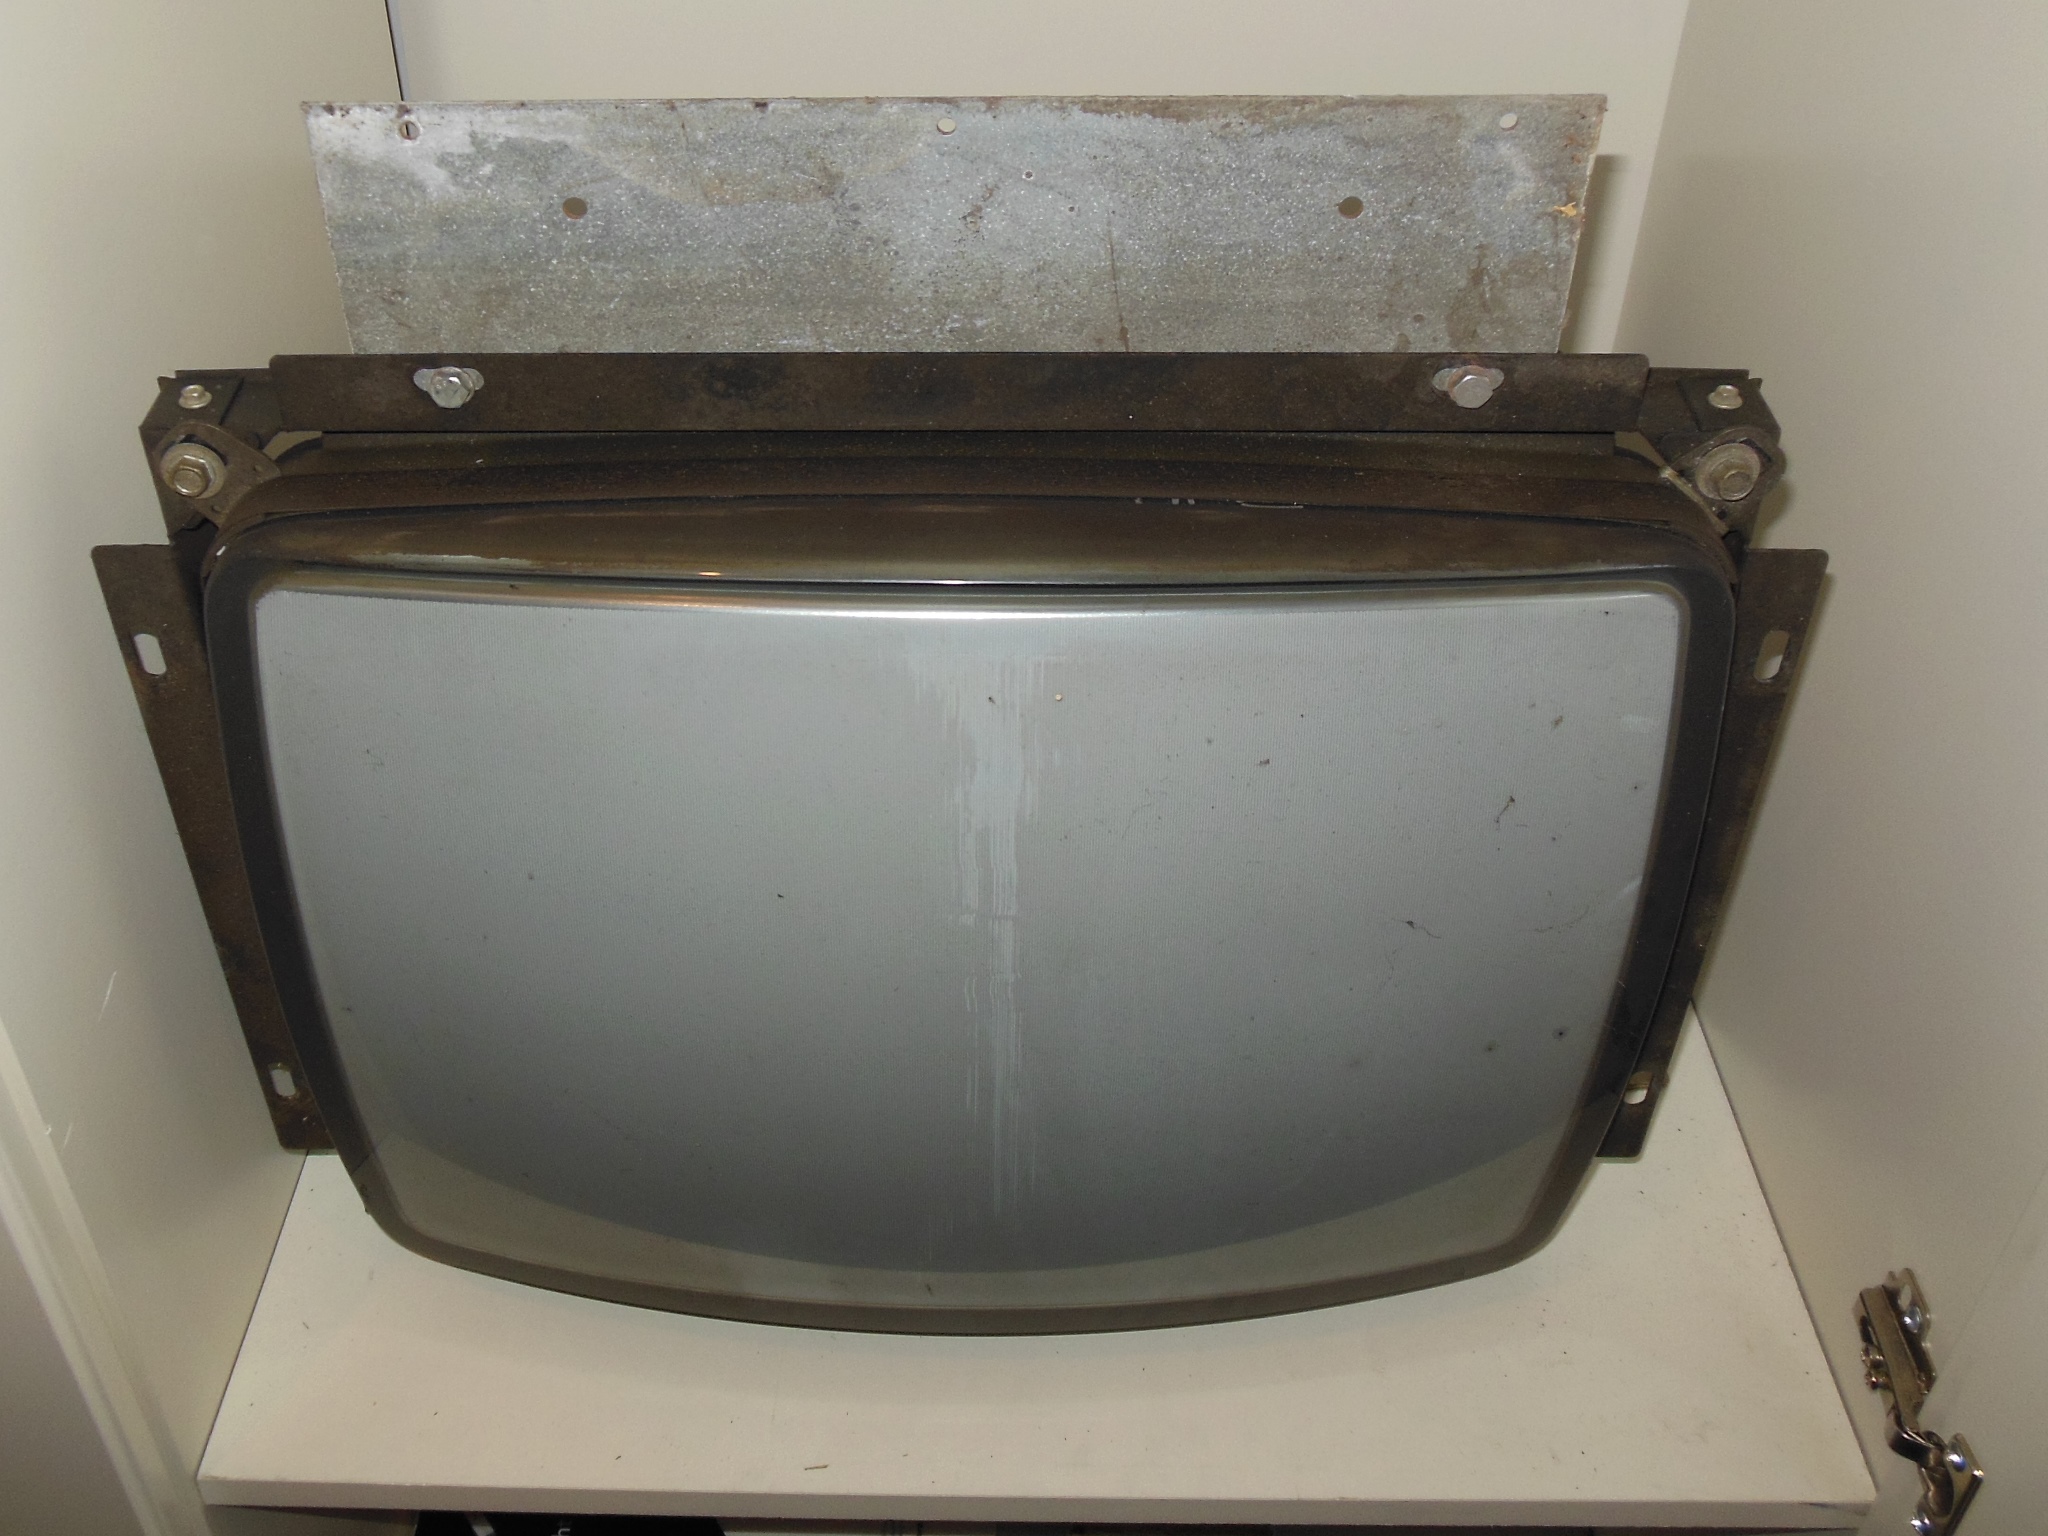
I'd intended to use the Pac'n'Paint marque to restore a converted Pac'n'Paint cabinet but this marque had a stripy vinyl sticker applied on the back and thus may have been ruined :( Removal of the Scramble monitor glass revealed a particle board surround secured with screws into the monitor side wall mounts. The surround was removed using the same cut-outs in the glass walls that presumably were made to fit it.

|
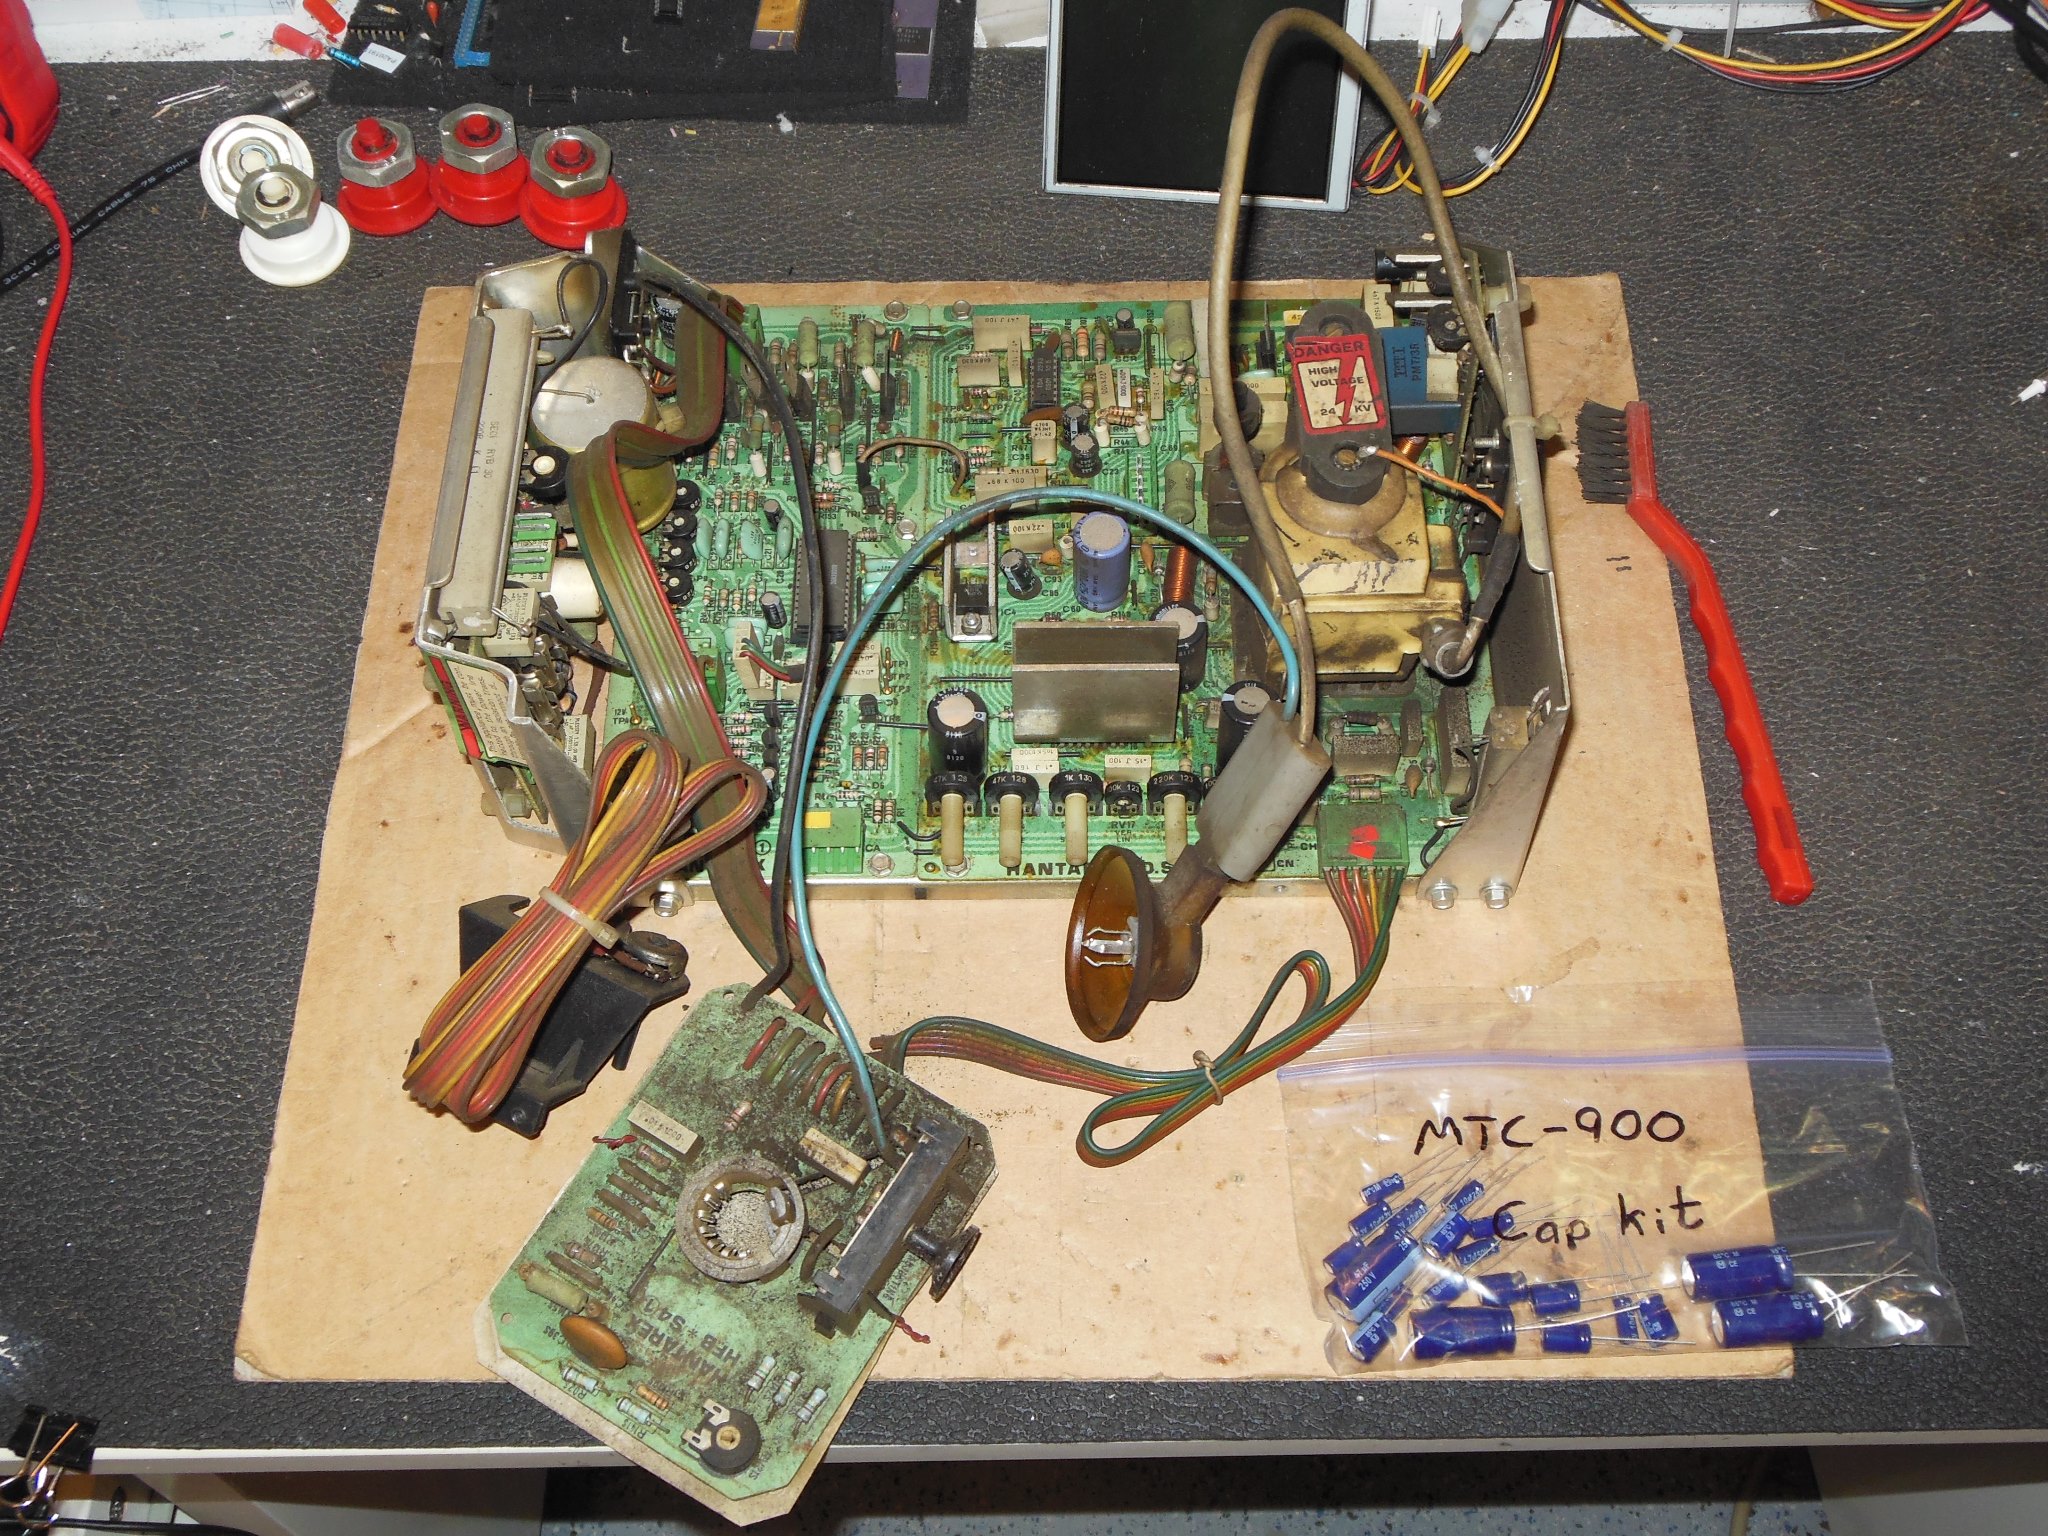
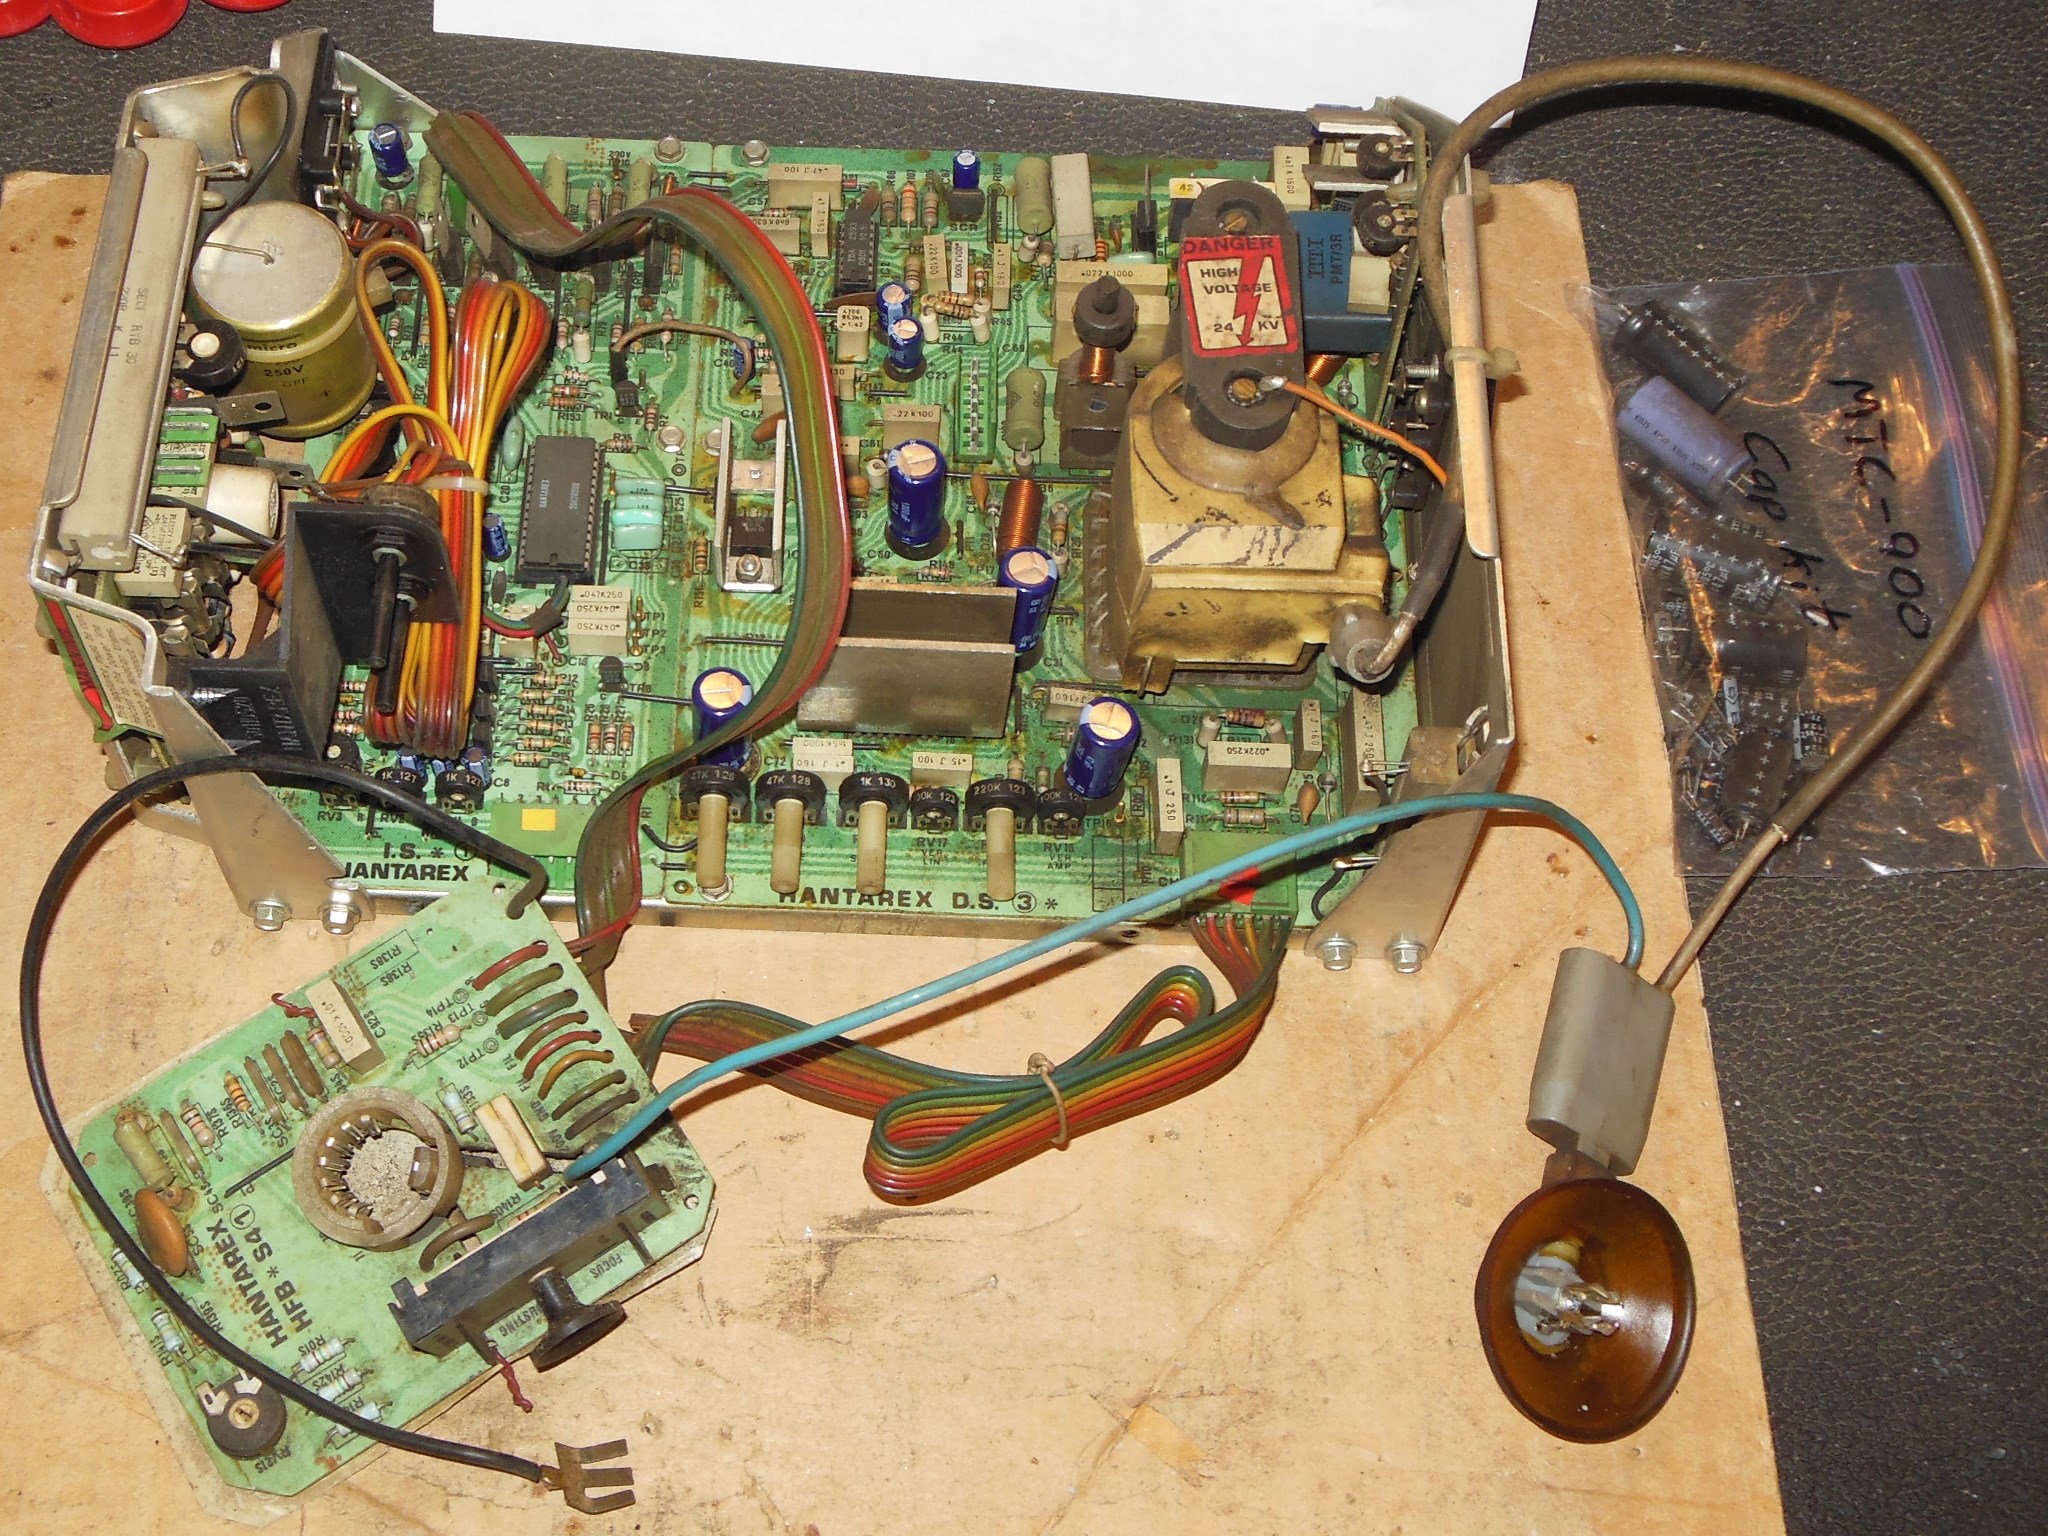
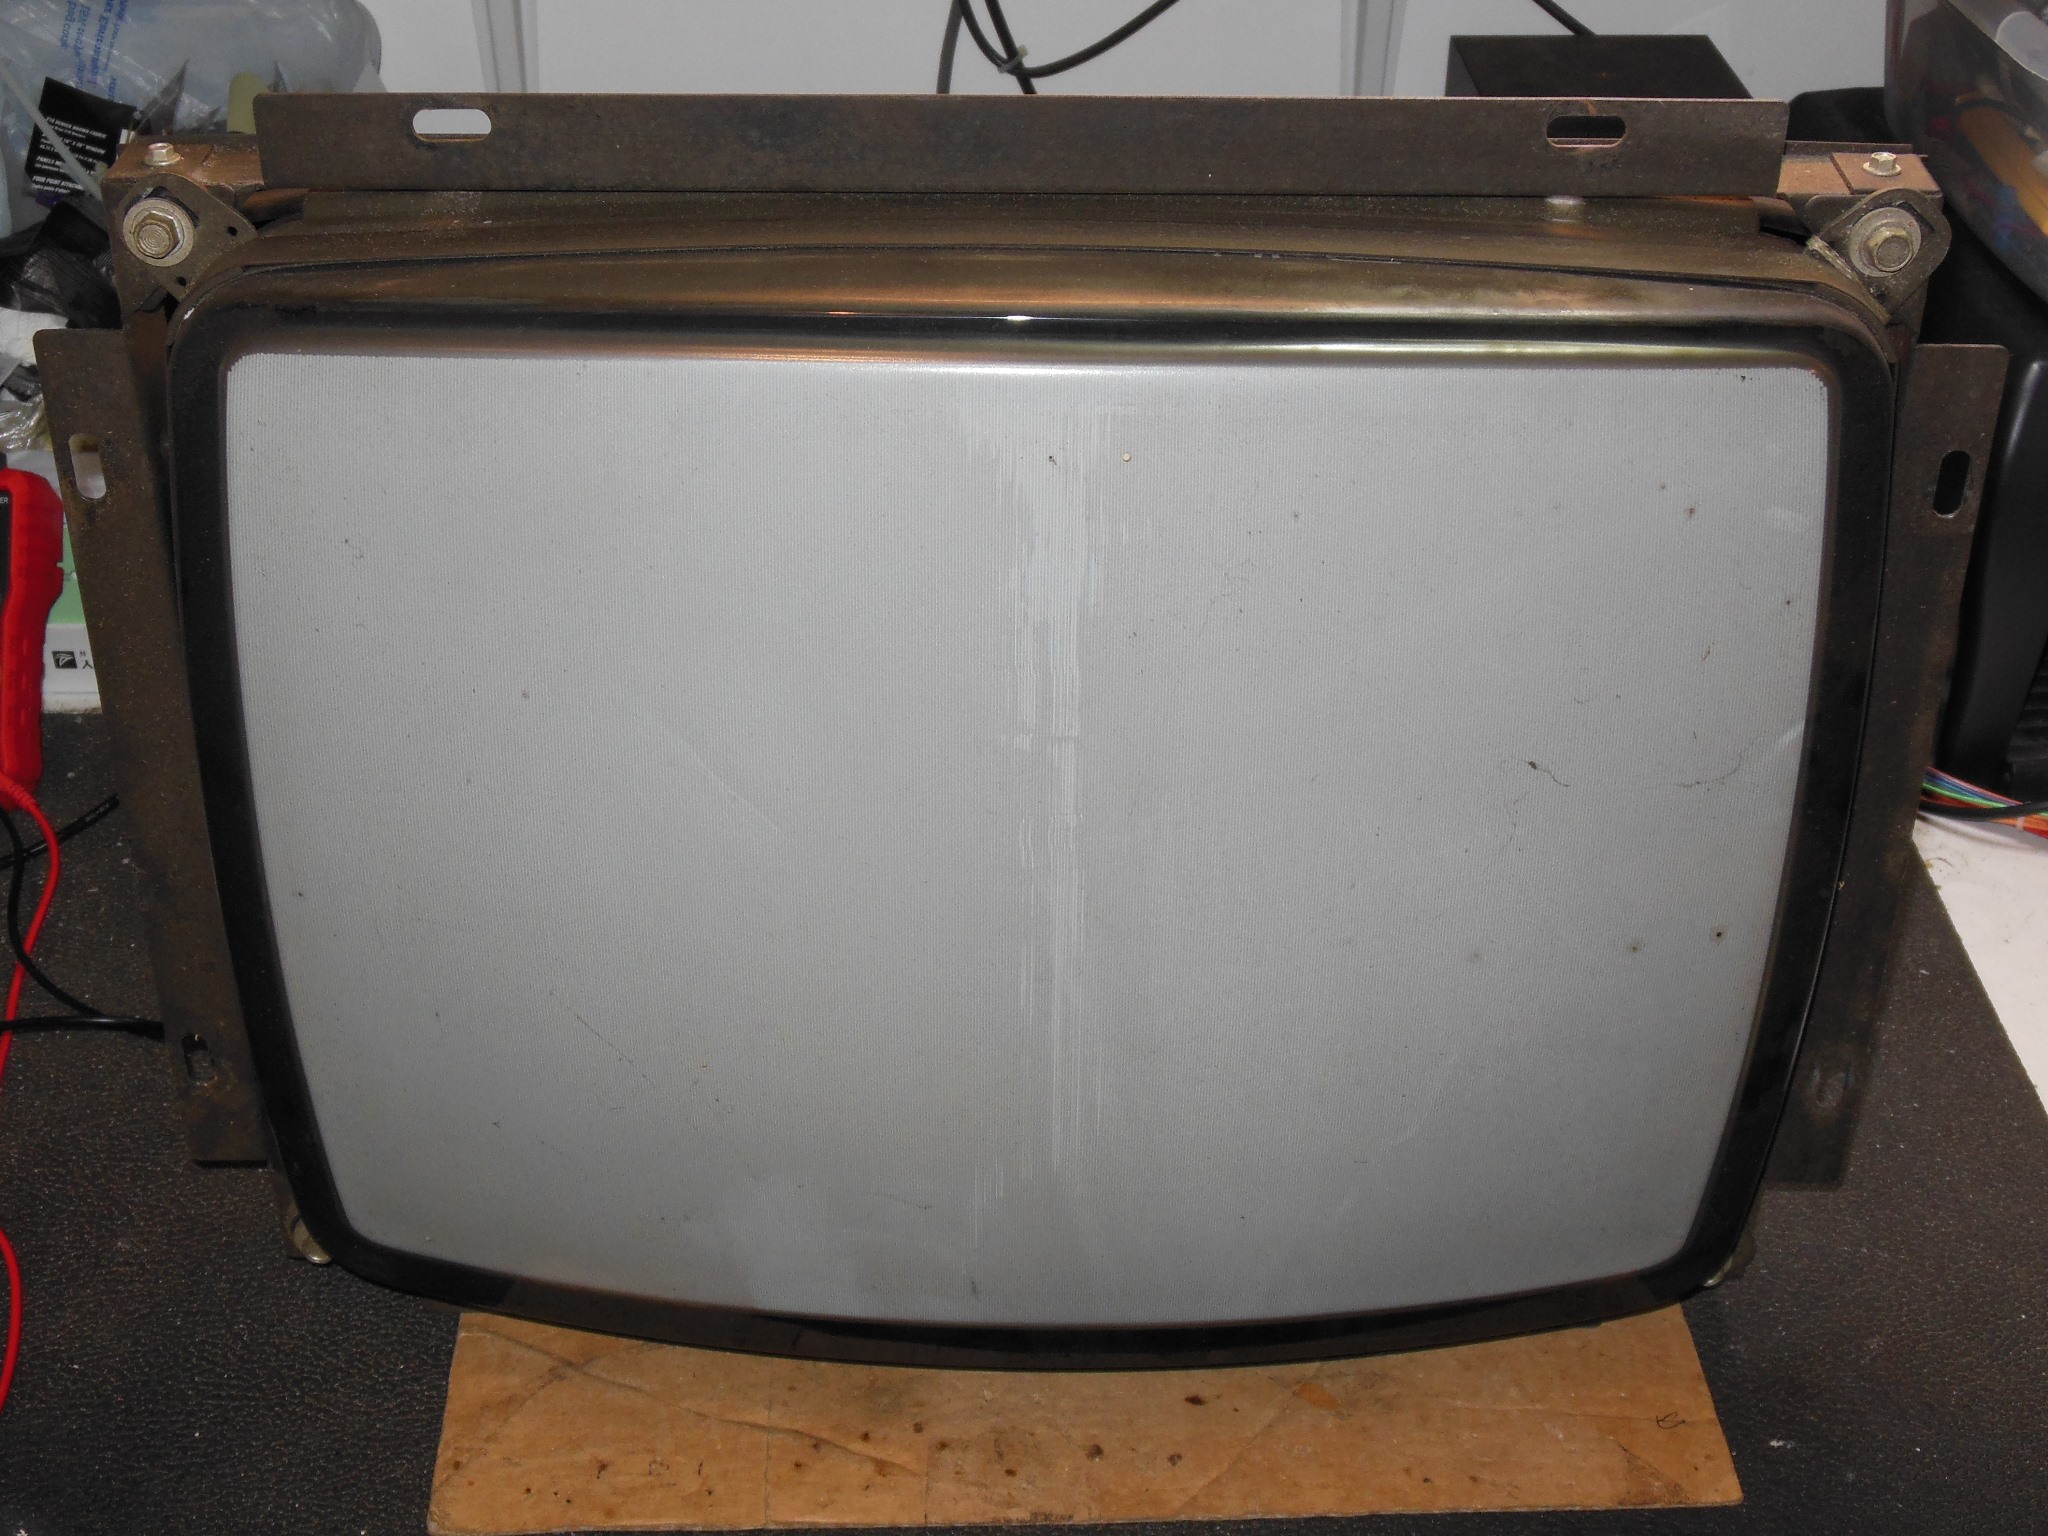
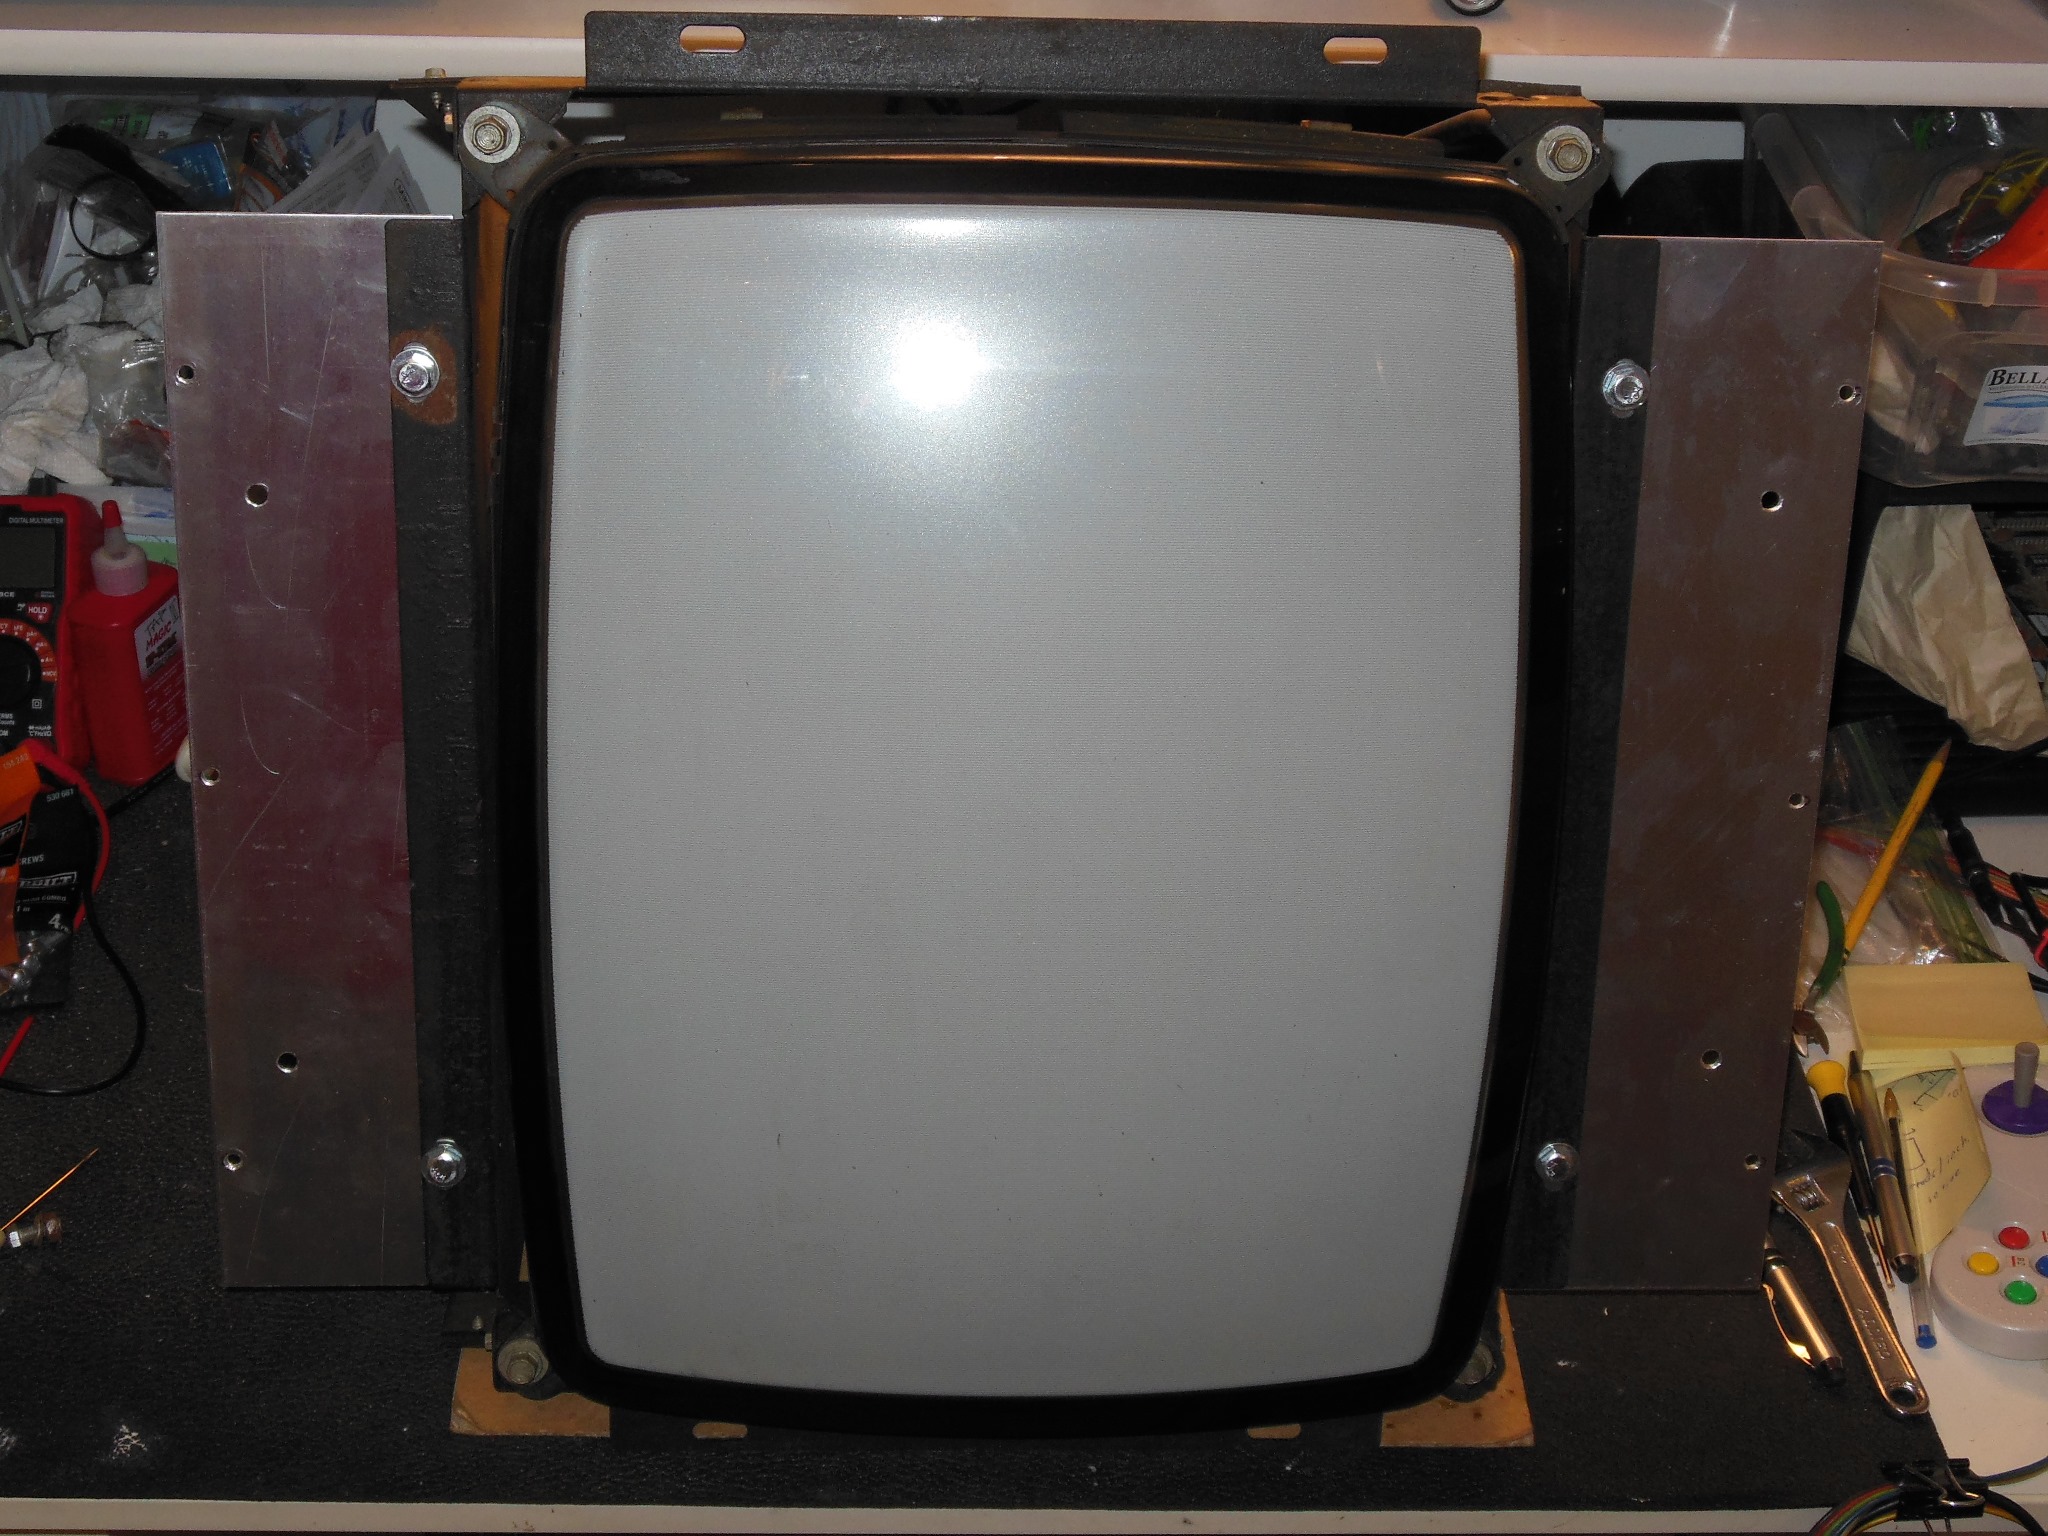
The Hantarex MTC-900 monitor was removed for later work. The monitor side wall mounts had been cut down to facilitate mounting the monitor horizontally. I'd now need to use mounting plates to restore the vertical orientation for Crazy Kong.
|
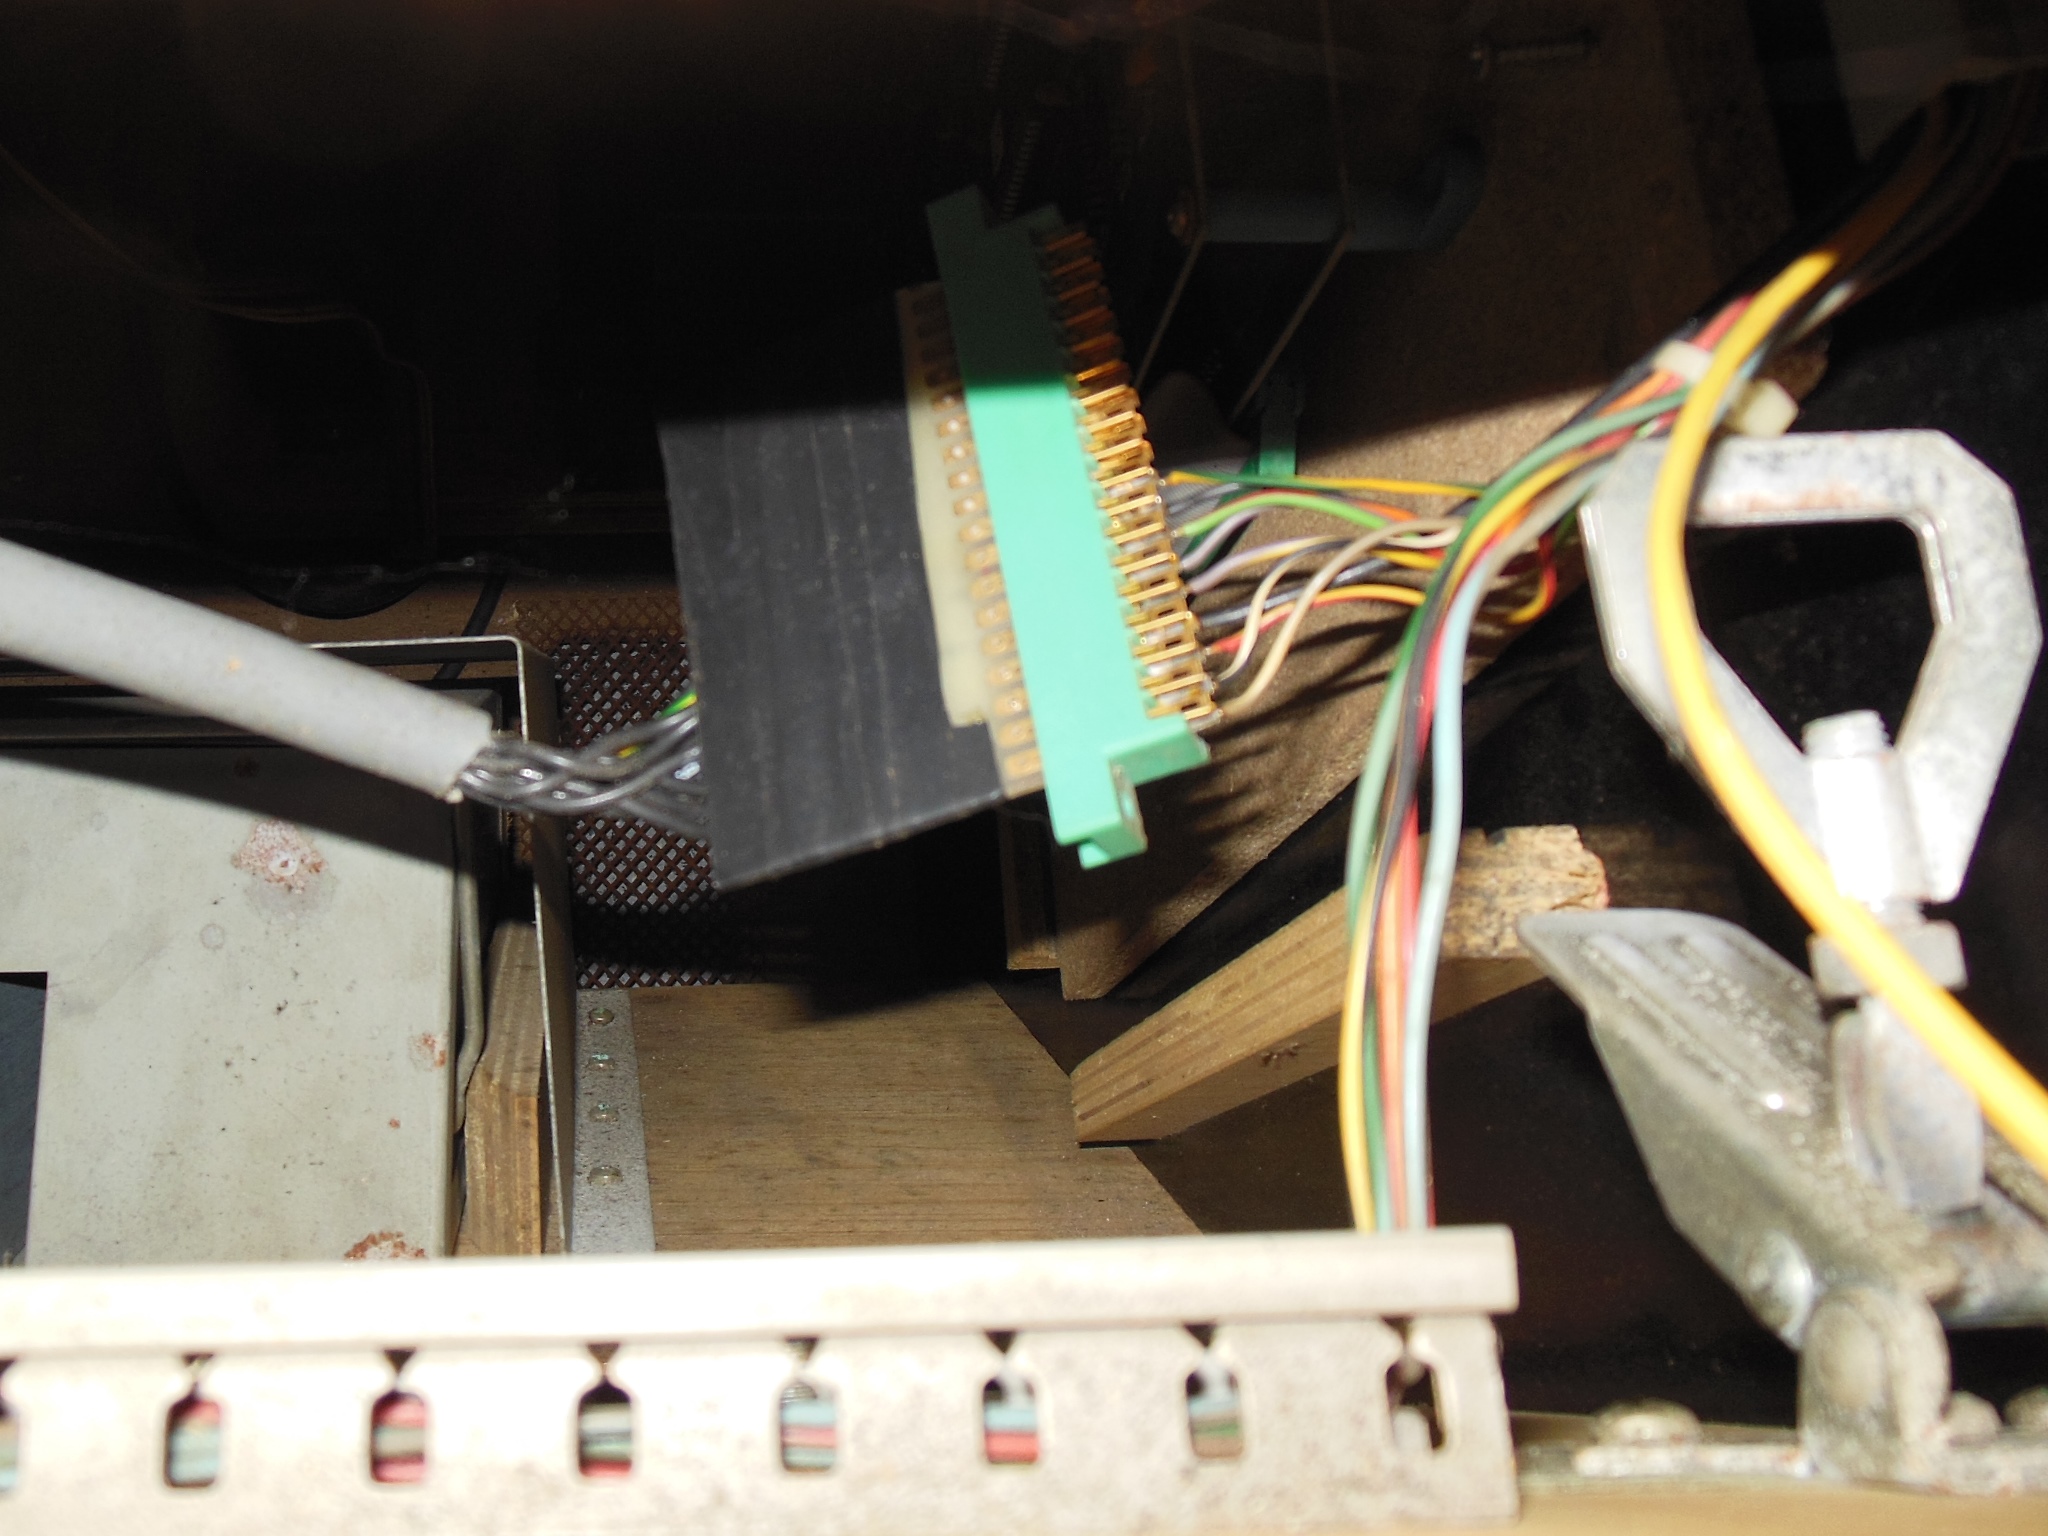
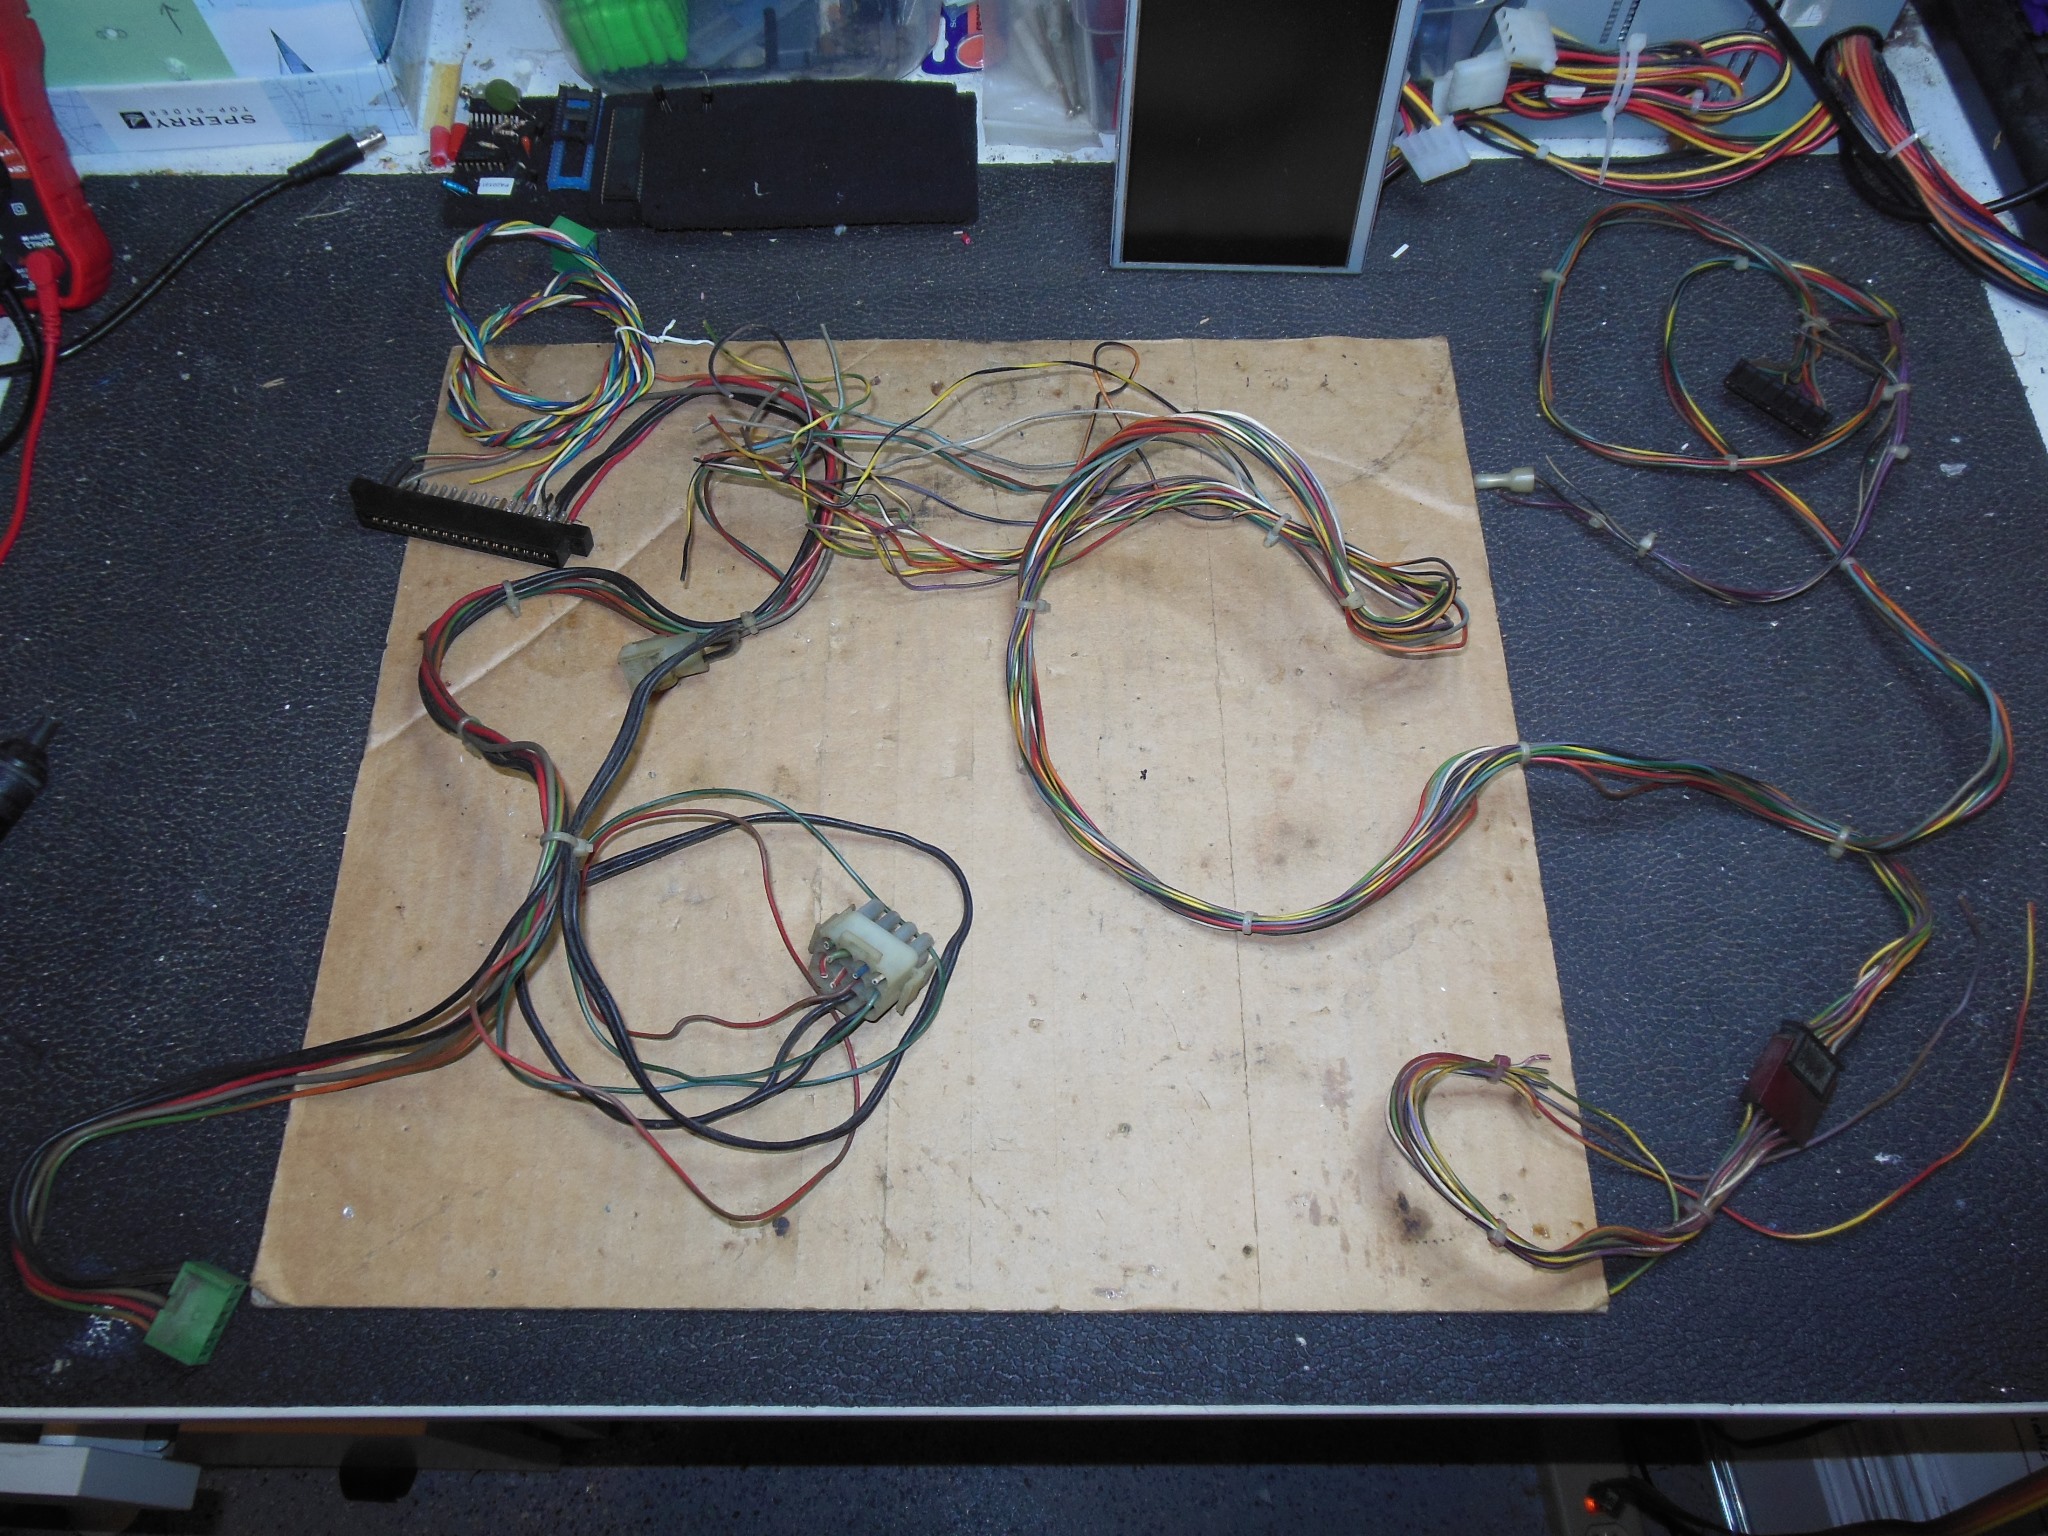
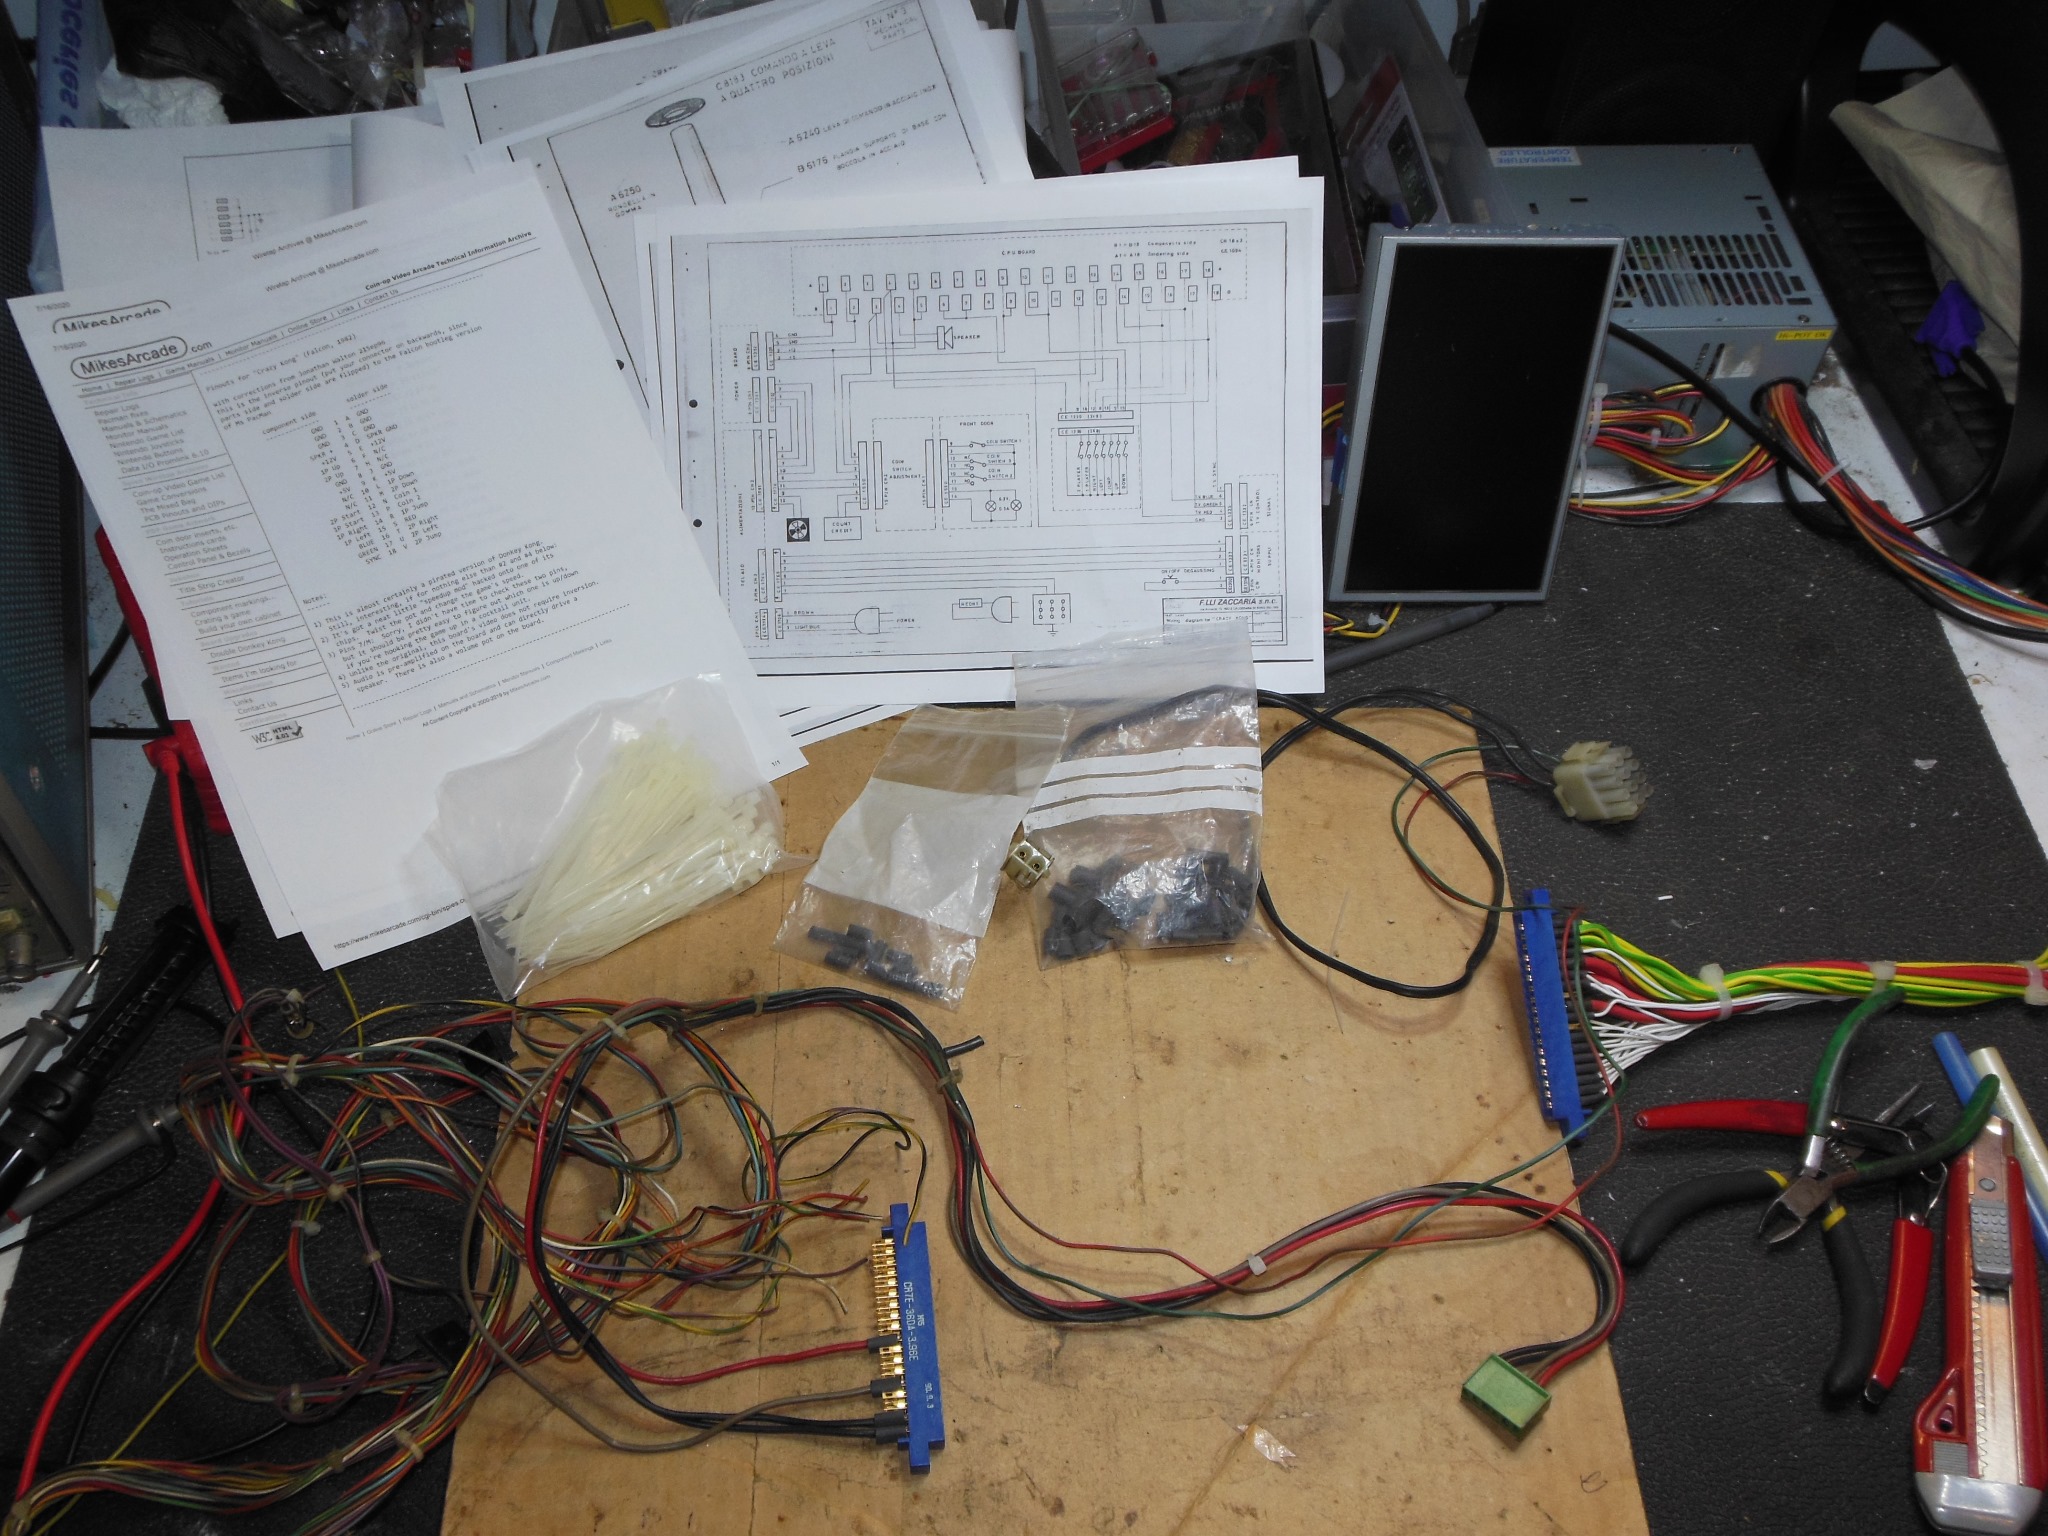
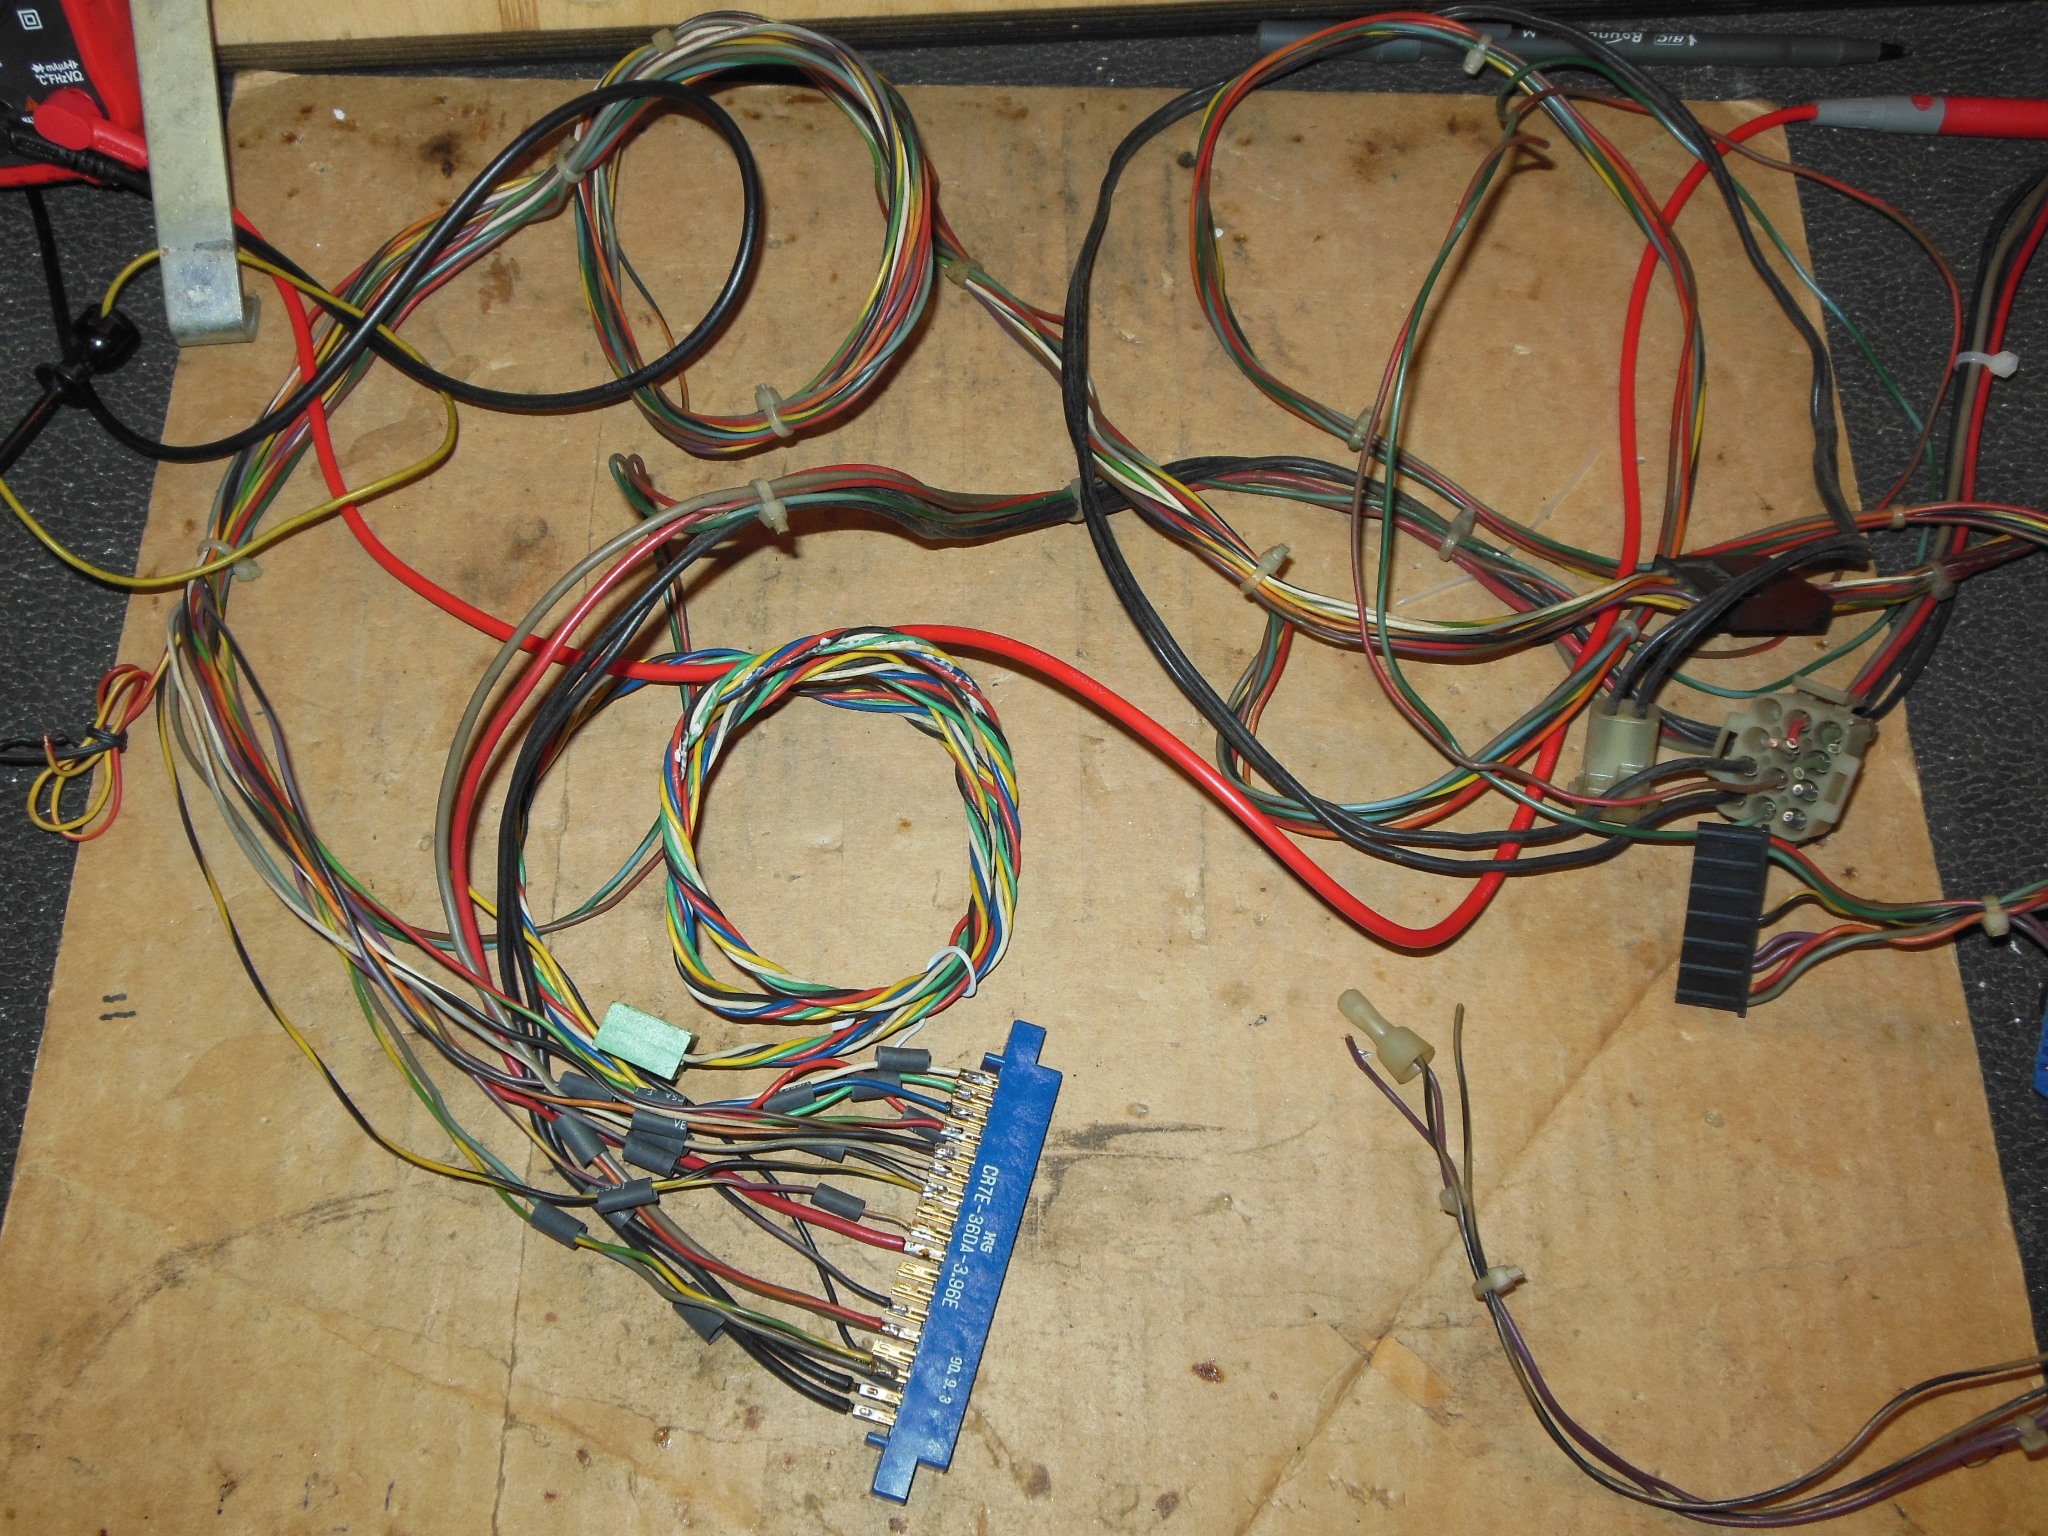
The original Crazy Kong wiring loom had been severely hacked, missing the 1B1126 regulated voltage connector, original control panel connector & control panel wiring and the credit PCB connector had been hacked to fit a later credit PCB. I found a recycled wiring loom that appeared to be in better condition with which to replace the Crazy Kong loom entirely. This loom was complete aside from the 1B1126 AC side connector, one of the few portions of the Crazy Kong loom that was still wholly intact.
|
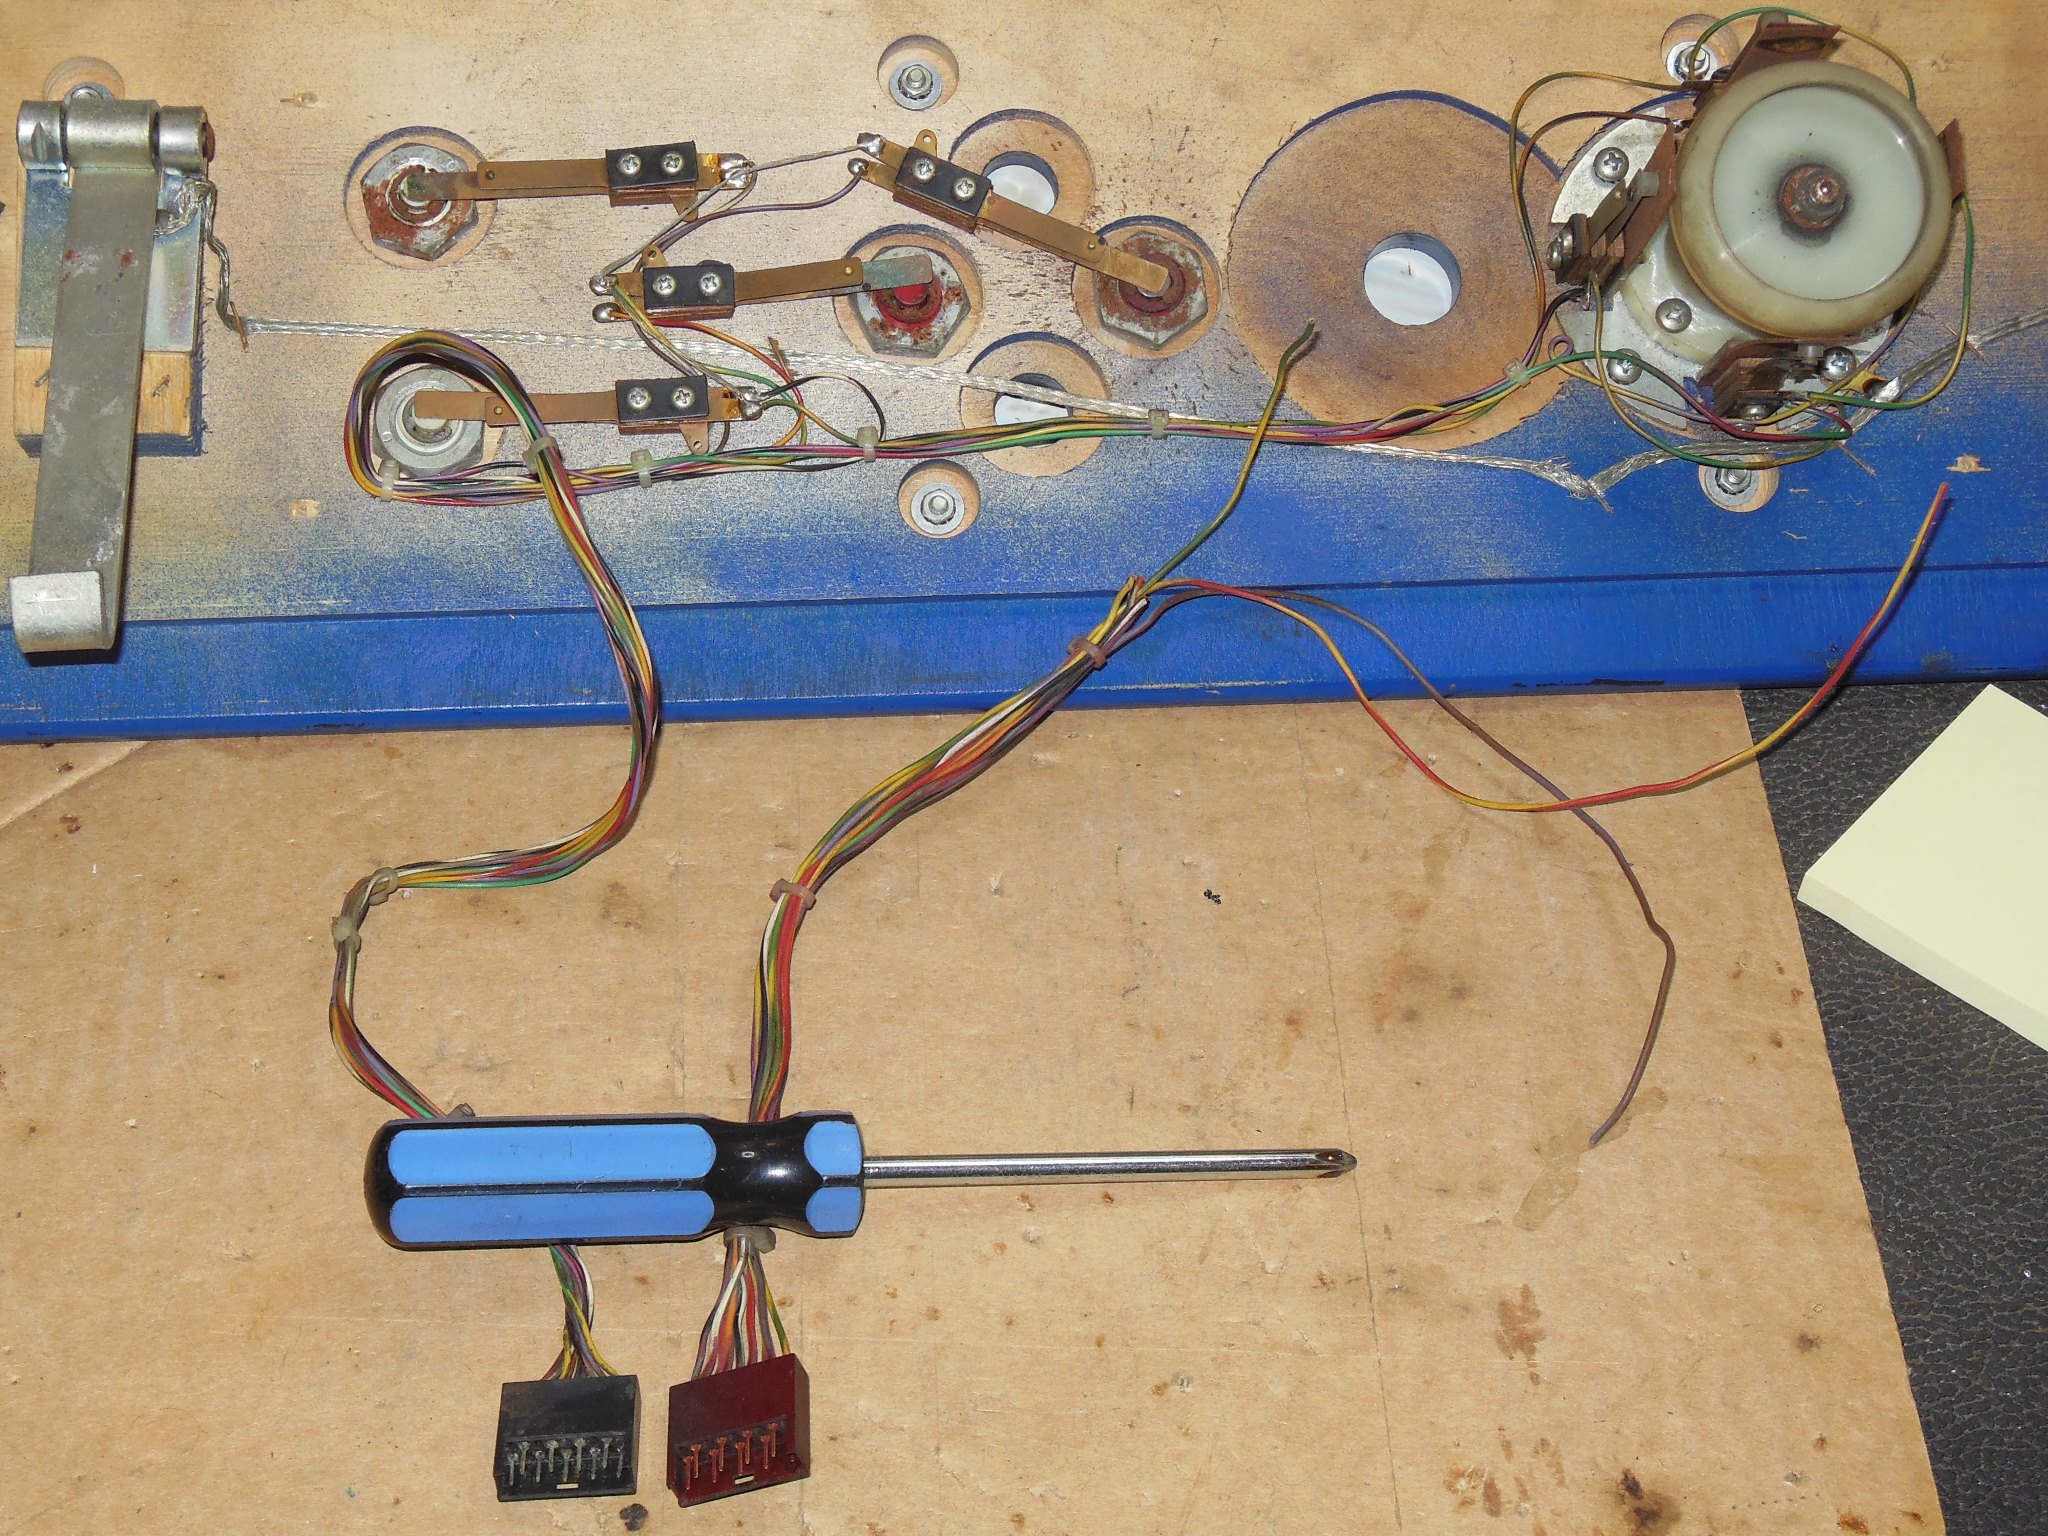
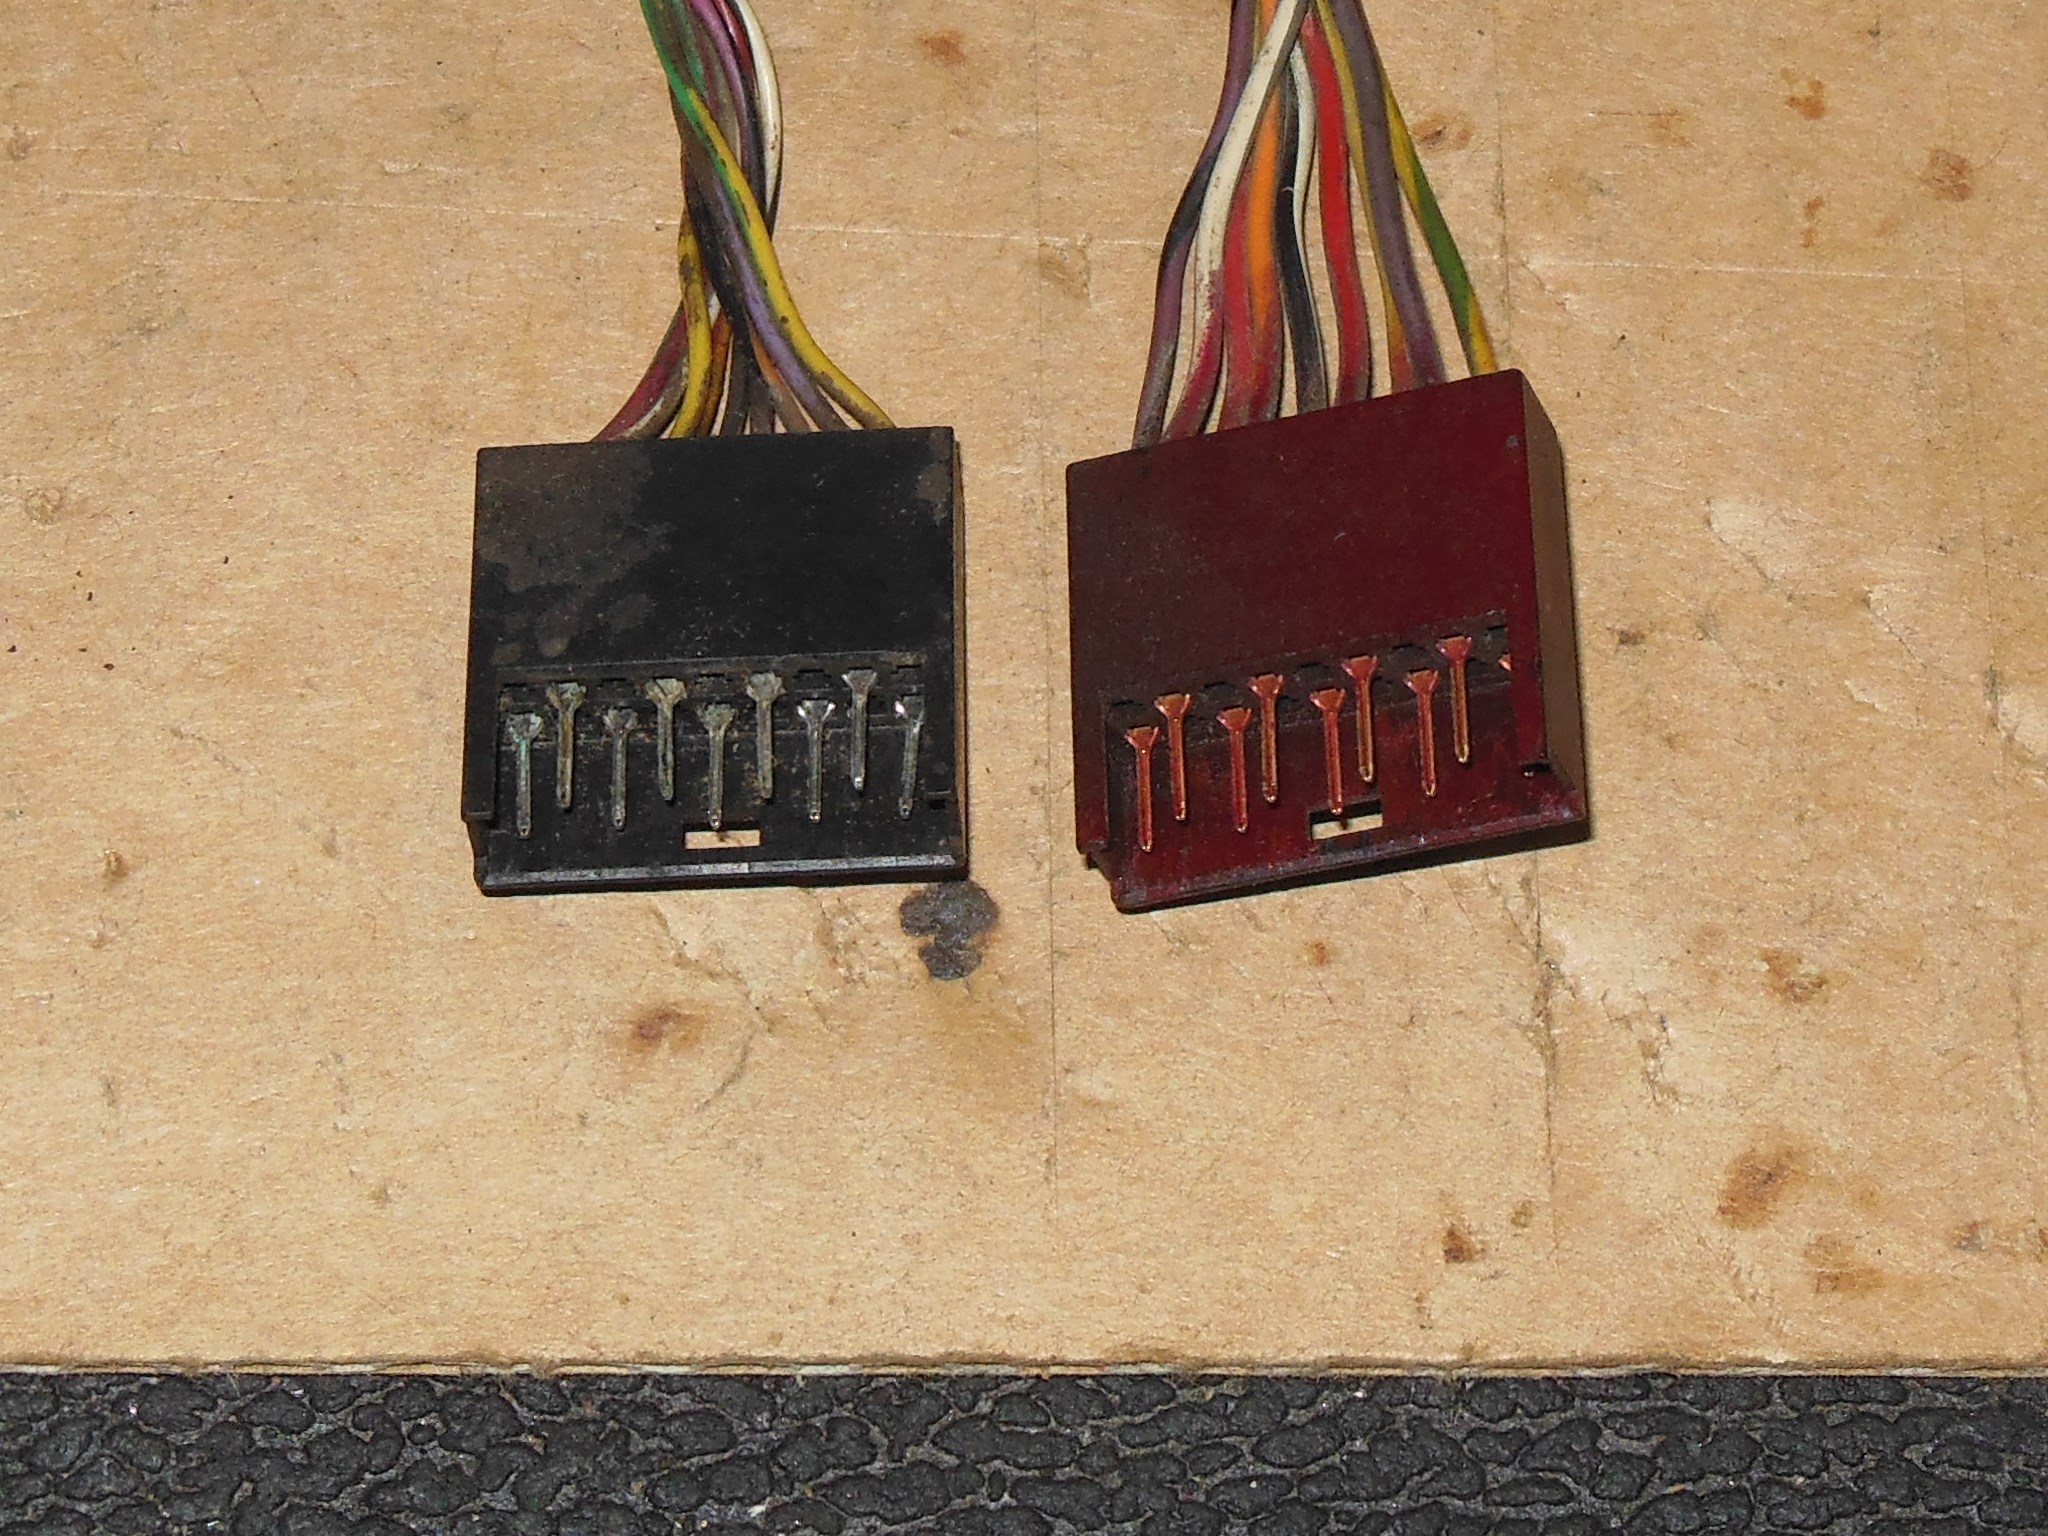
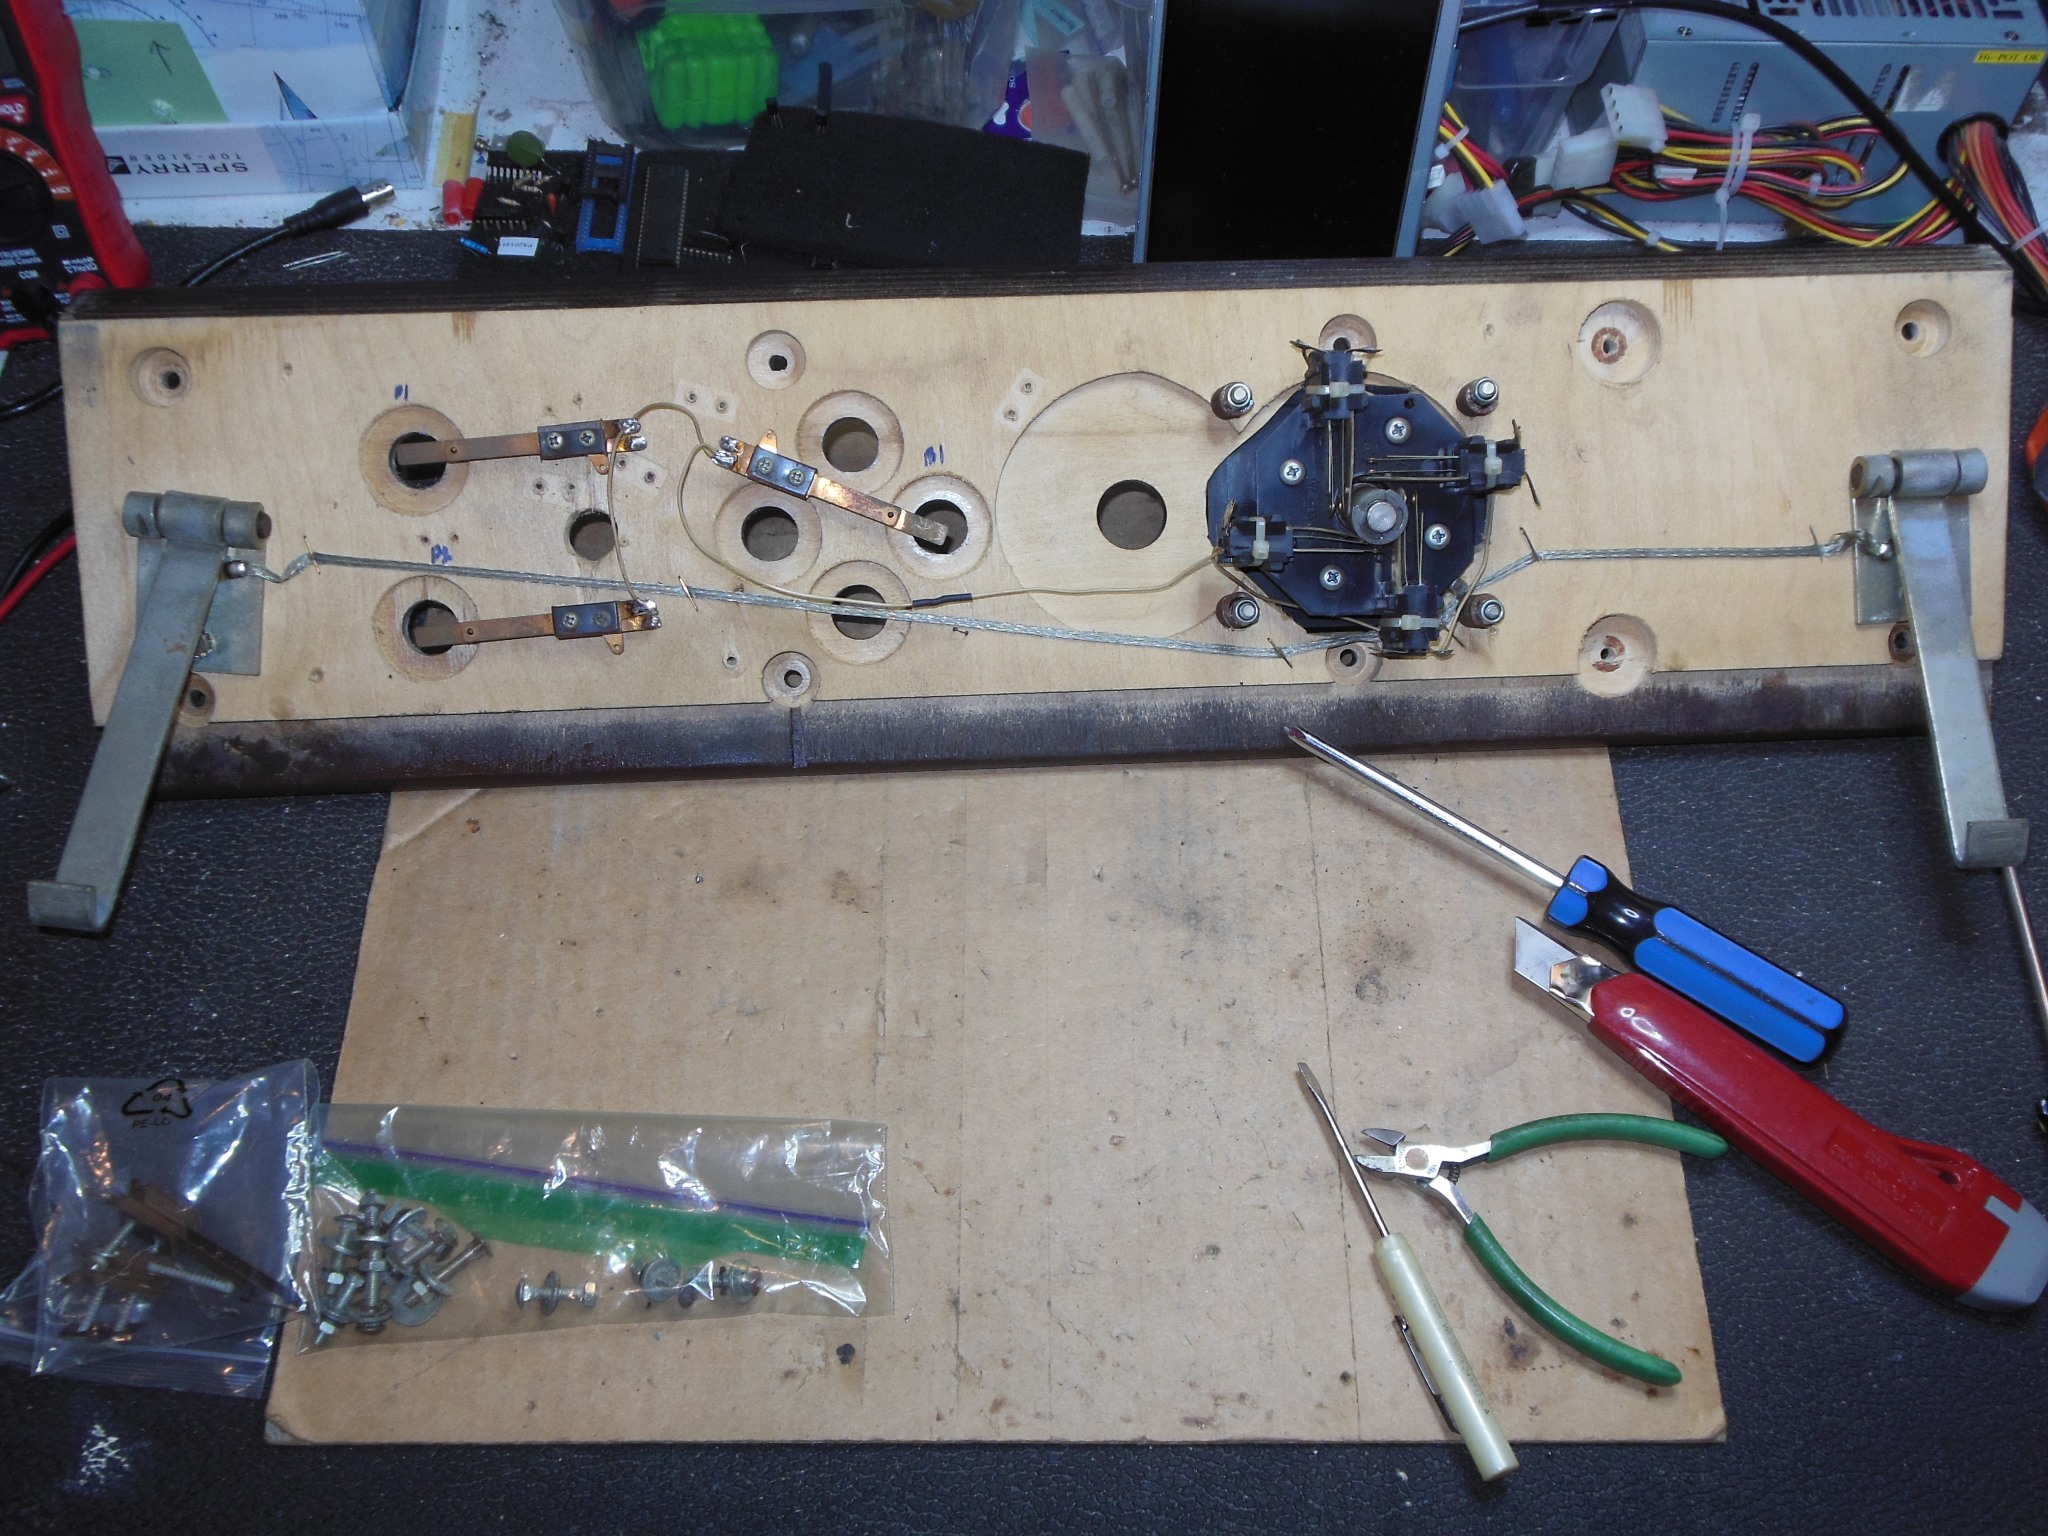
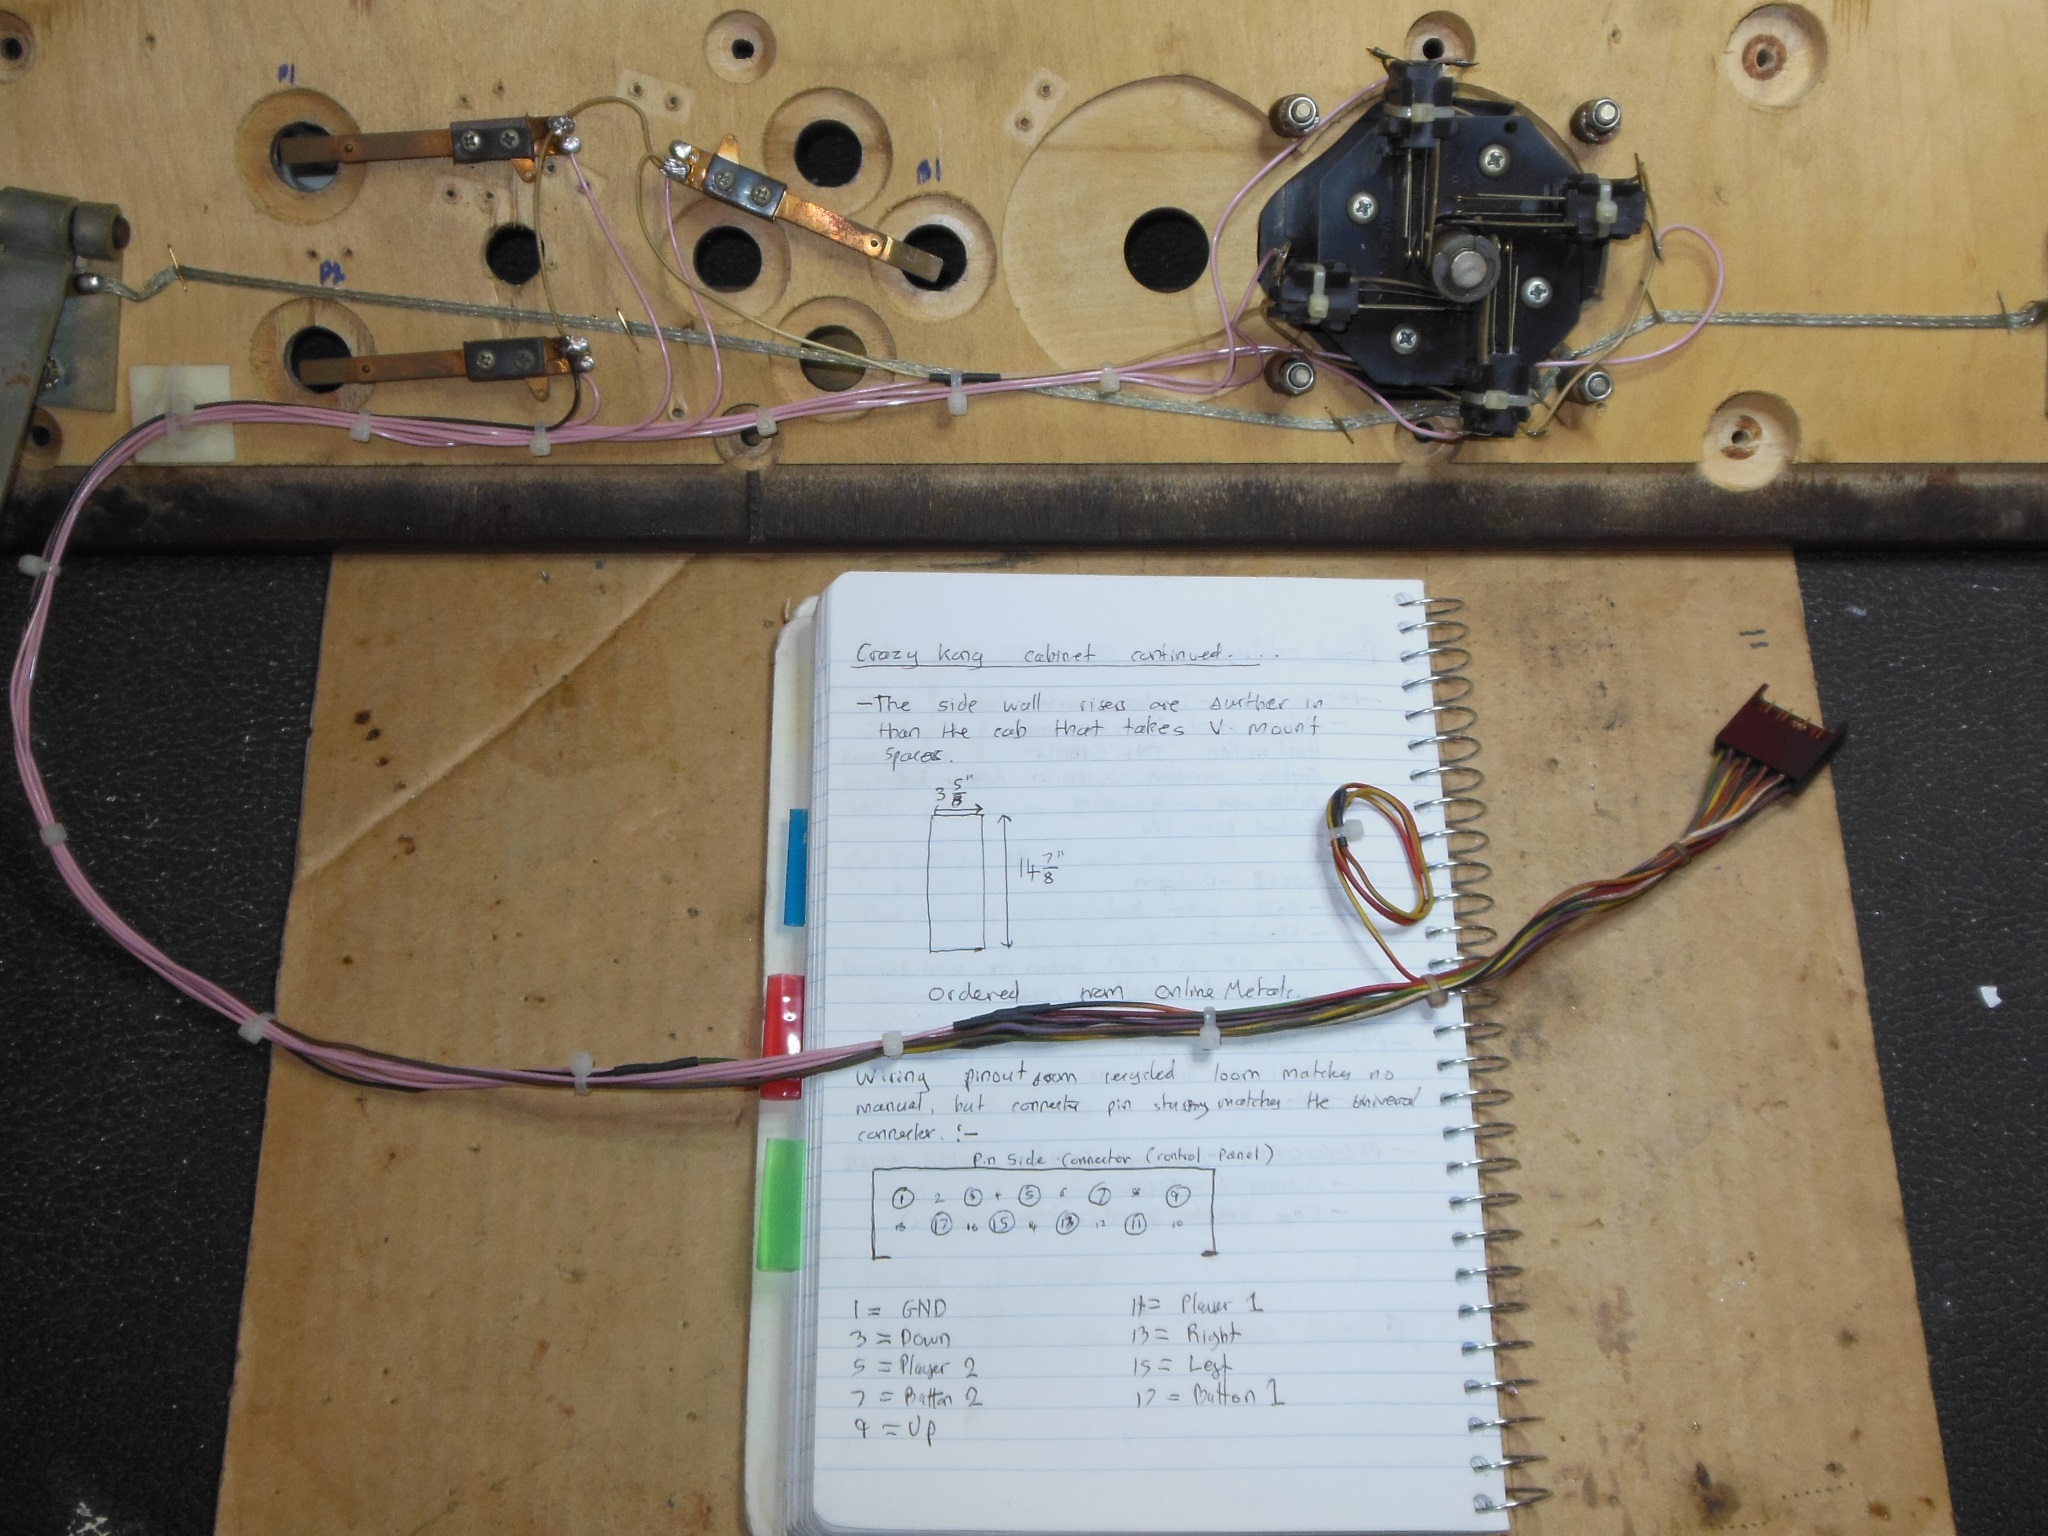
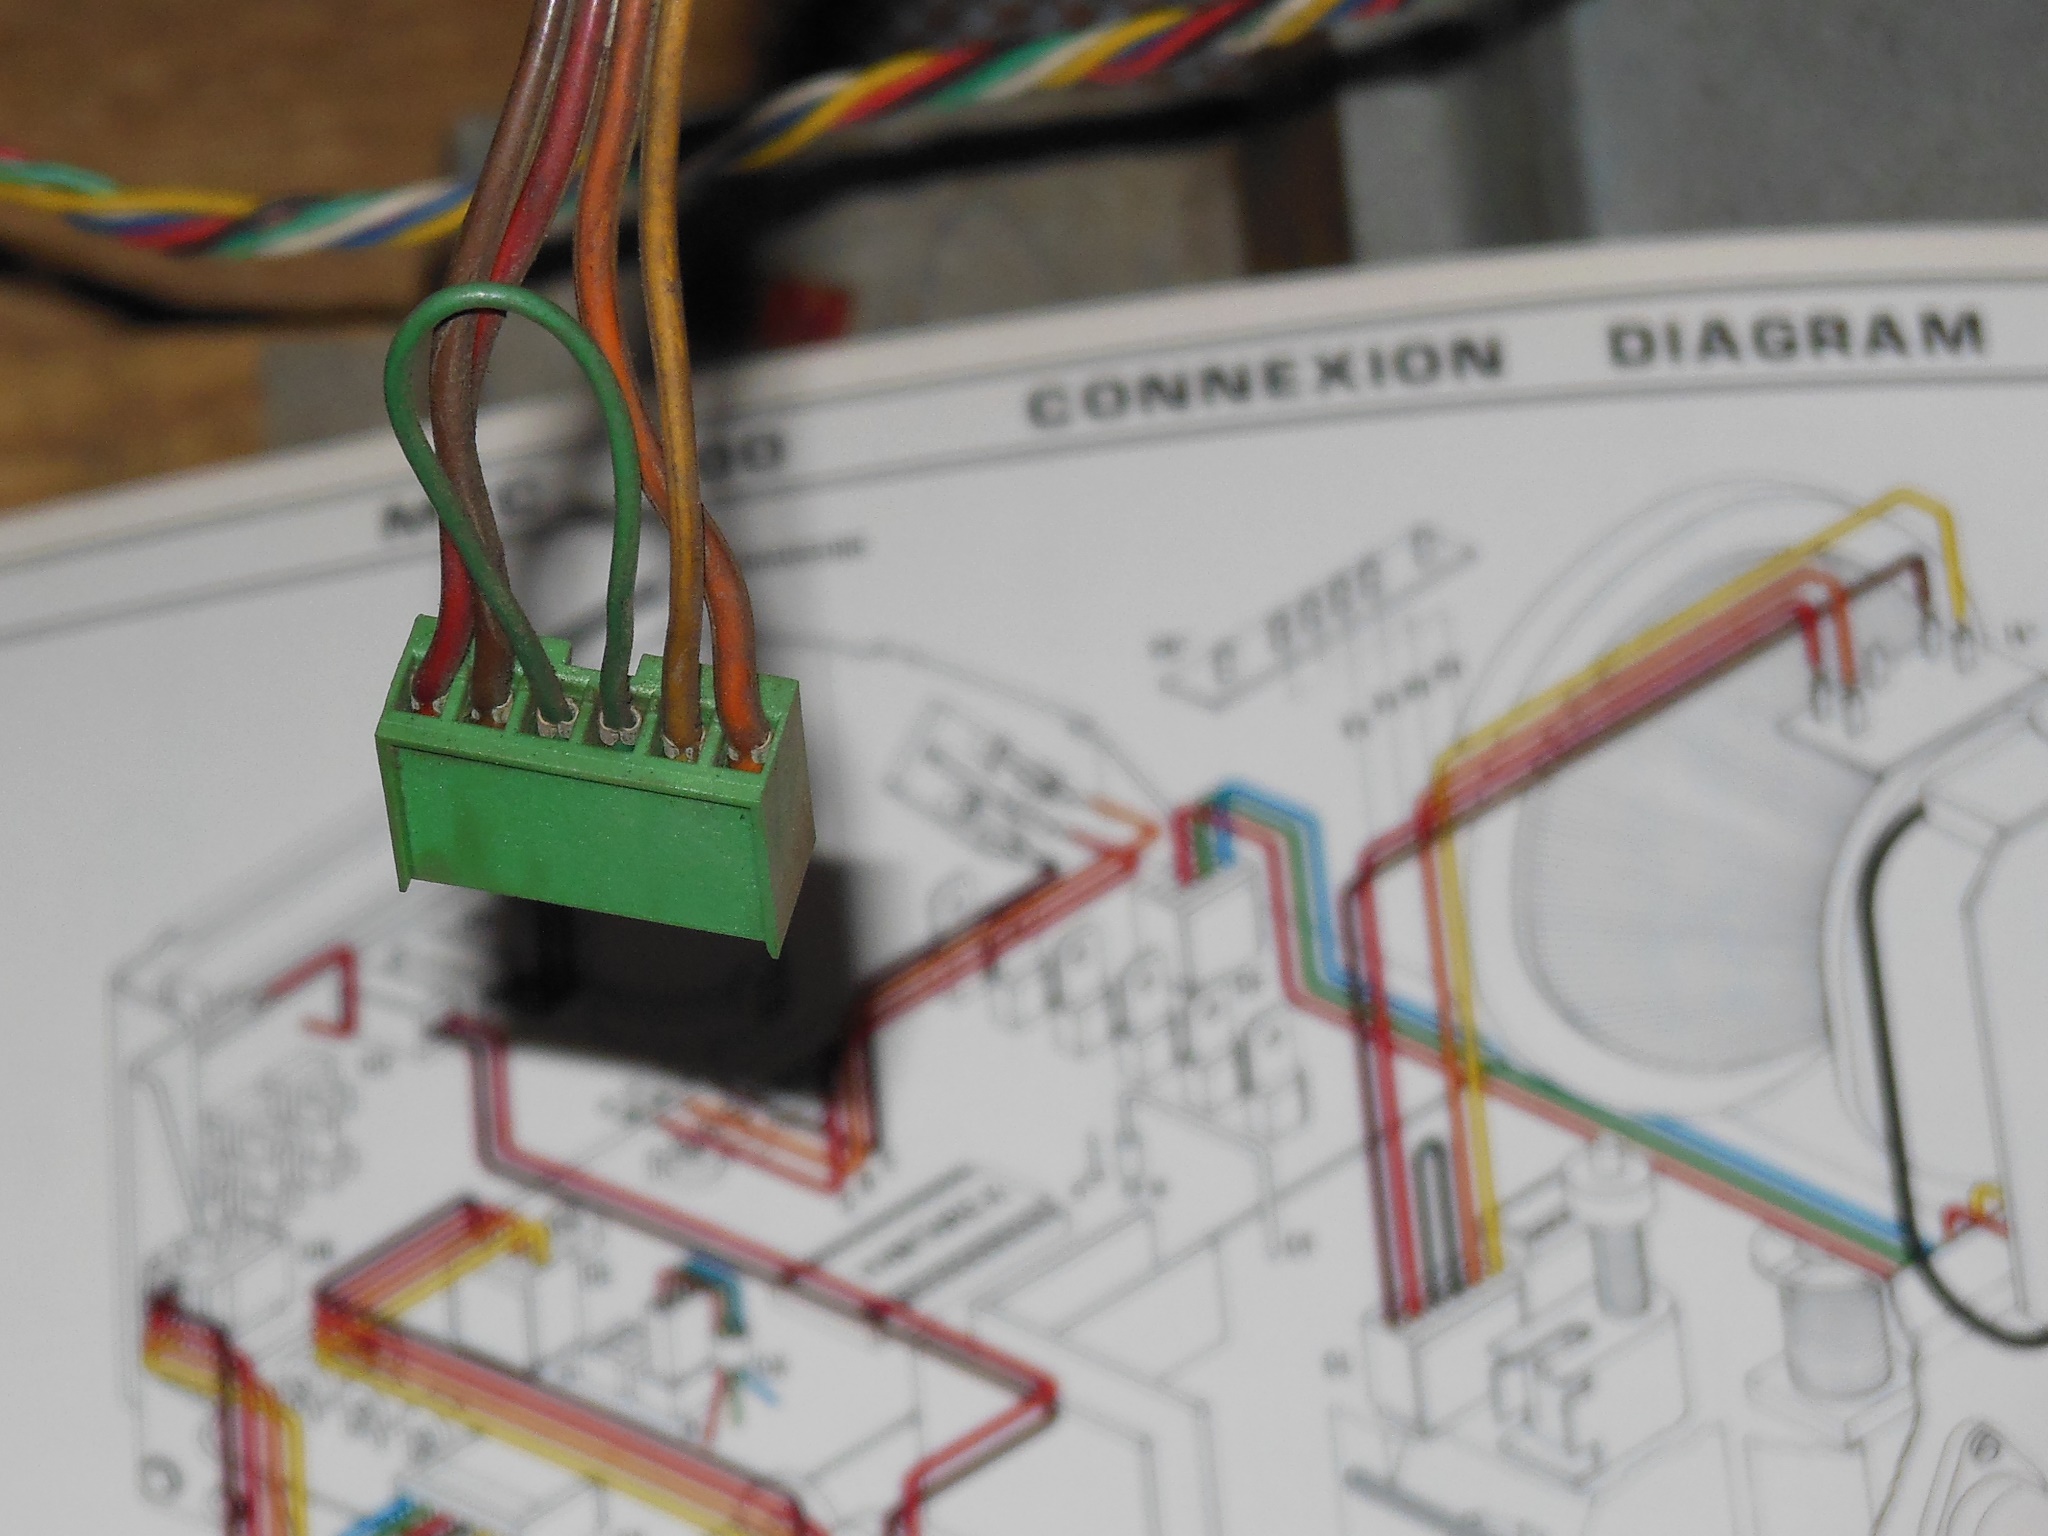
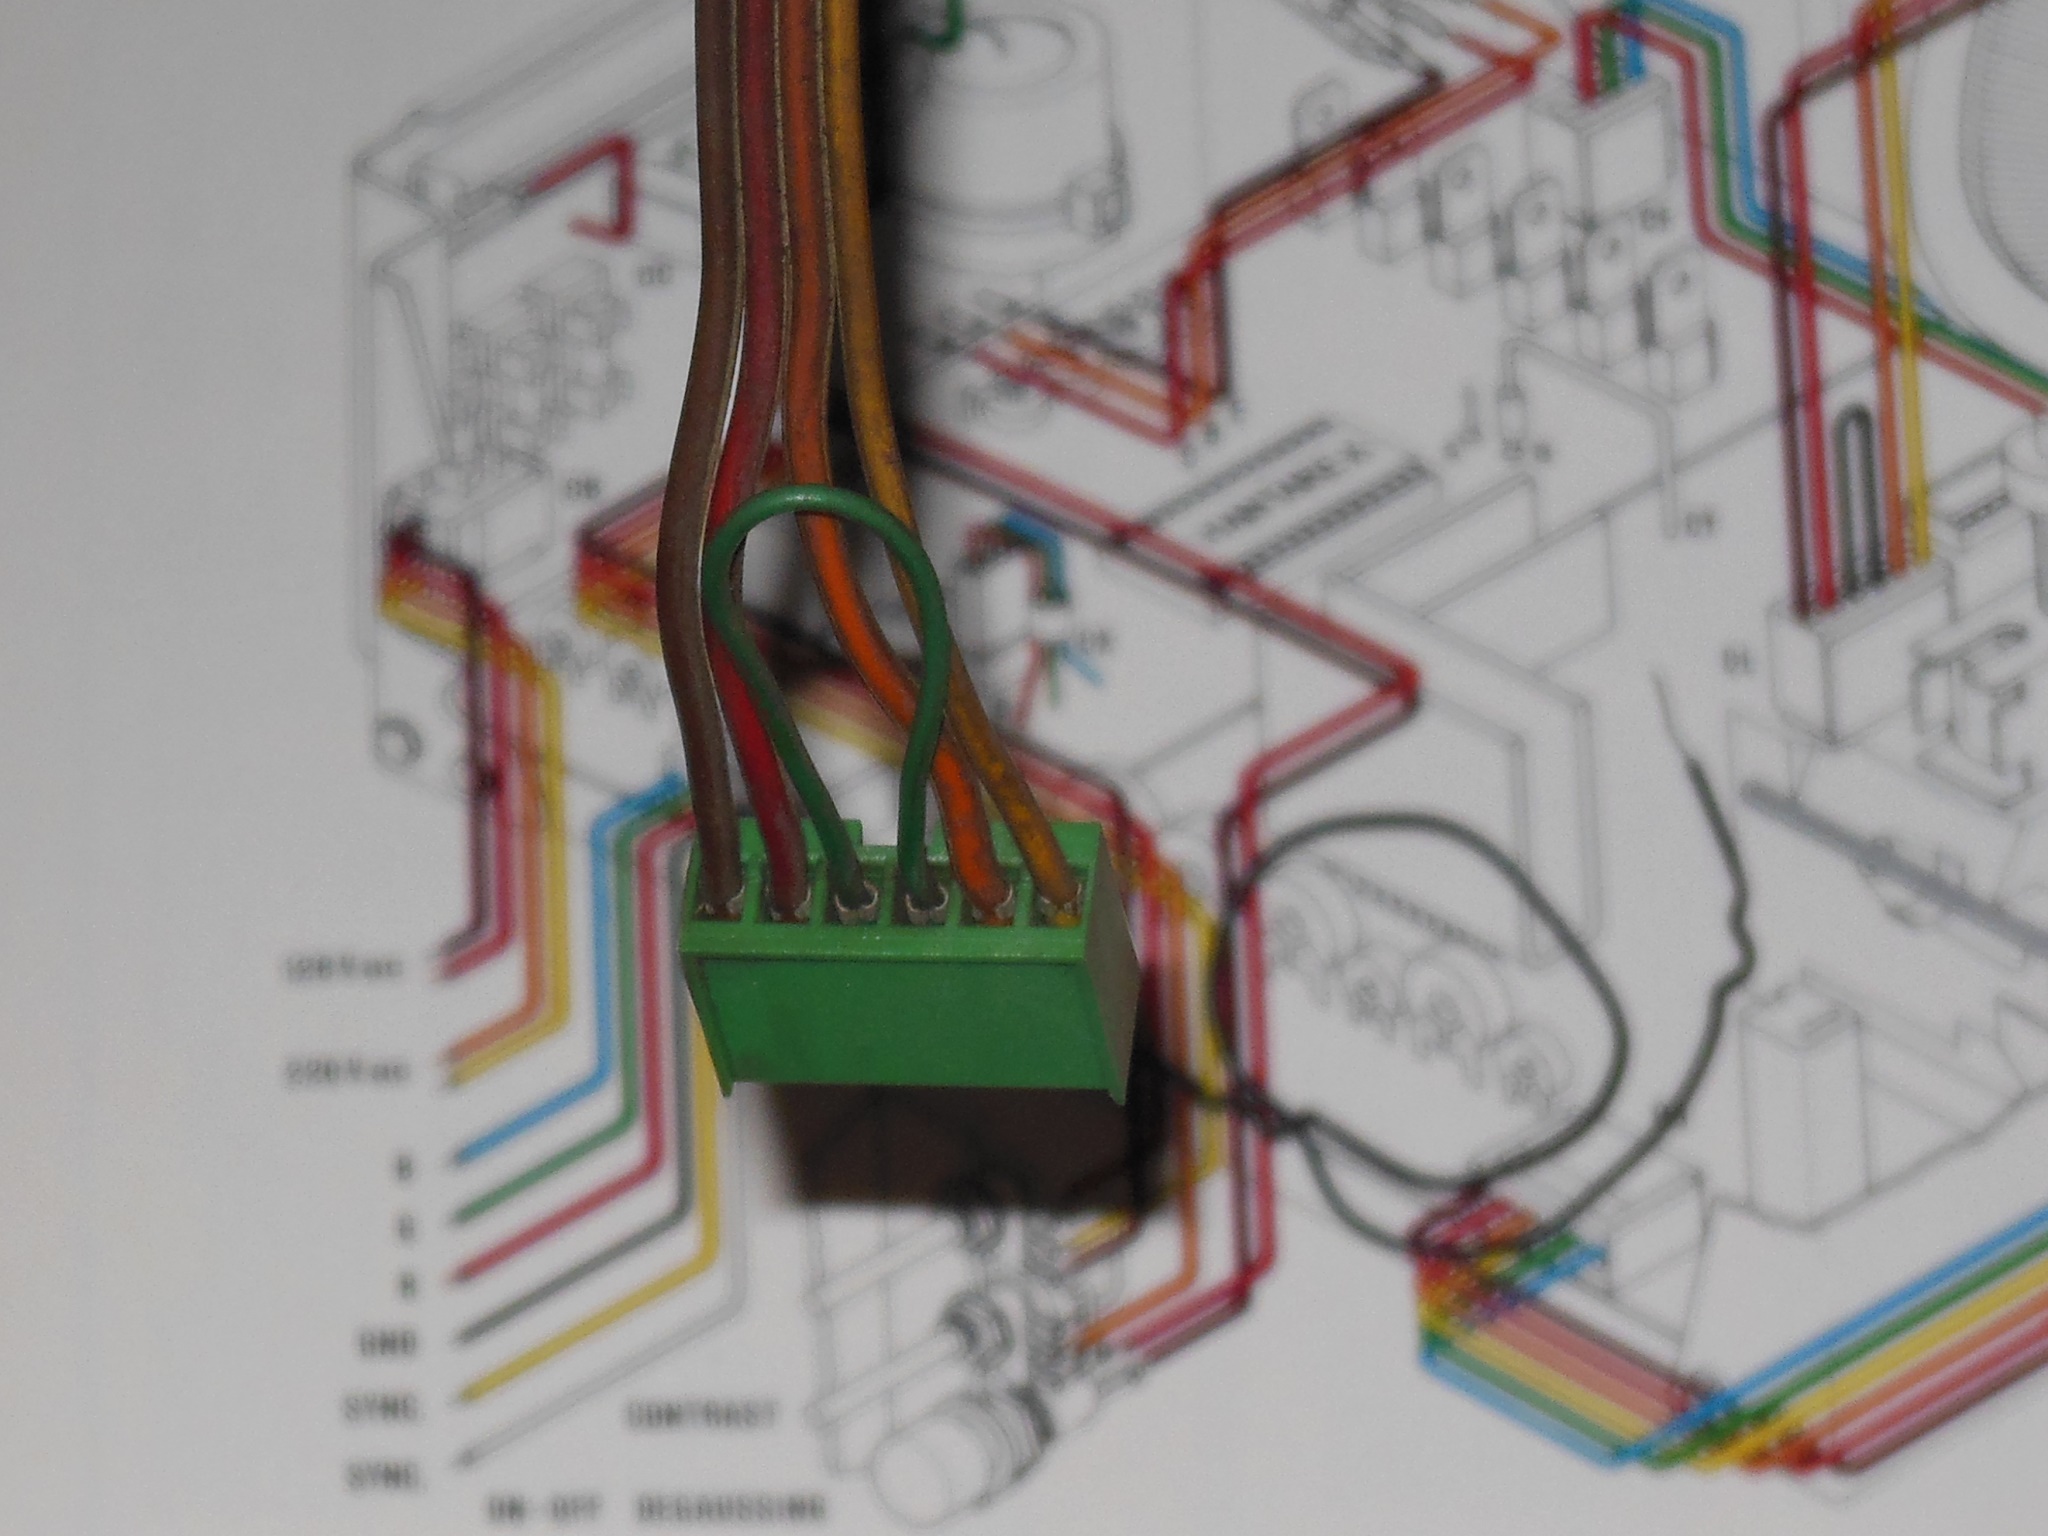
Since the control panel and connector had been completely replaced I needed to first find another control panel to determine the original control panel connector pinout. The control panels I had didn't seem to match the Zaccaria technical manuals and there were at least two control panel connector sizes. Using a near-original control panel that mated the recycled loom I mapped the pinout.
|
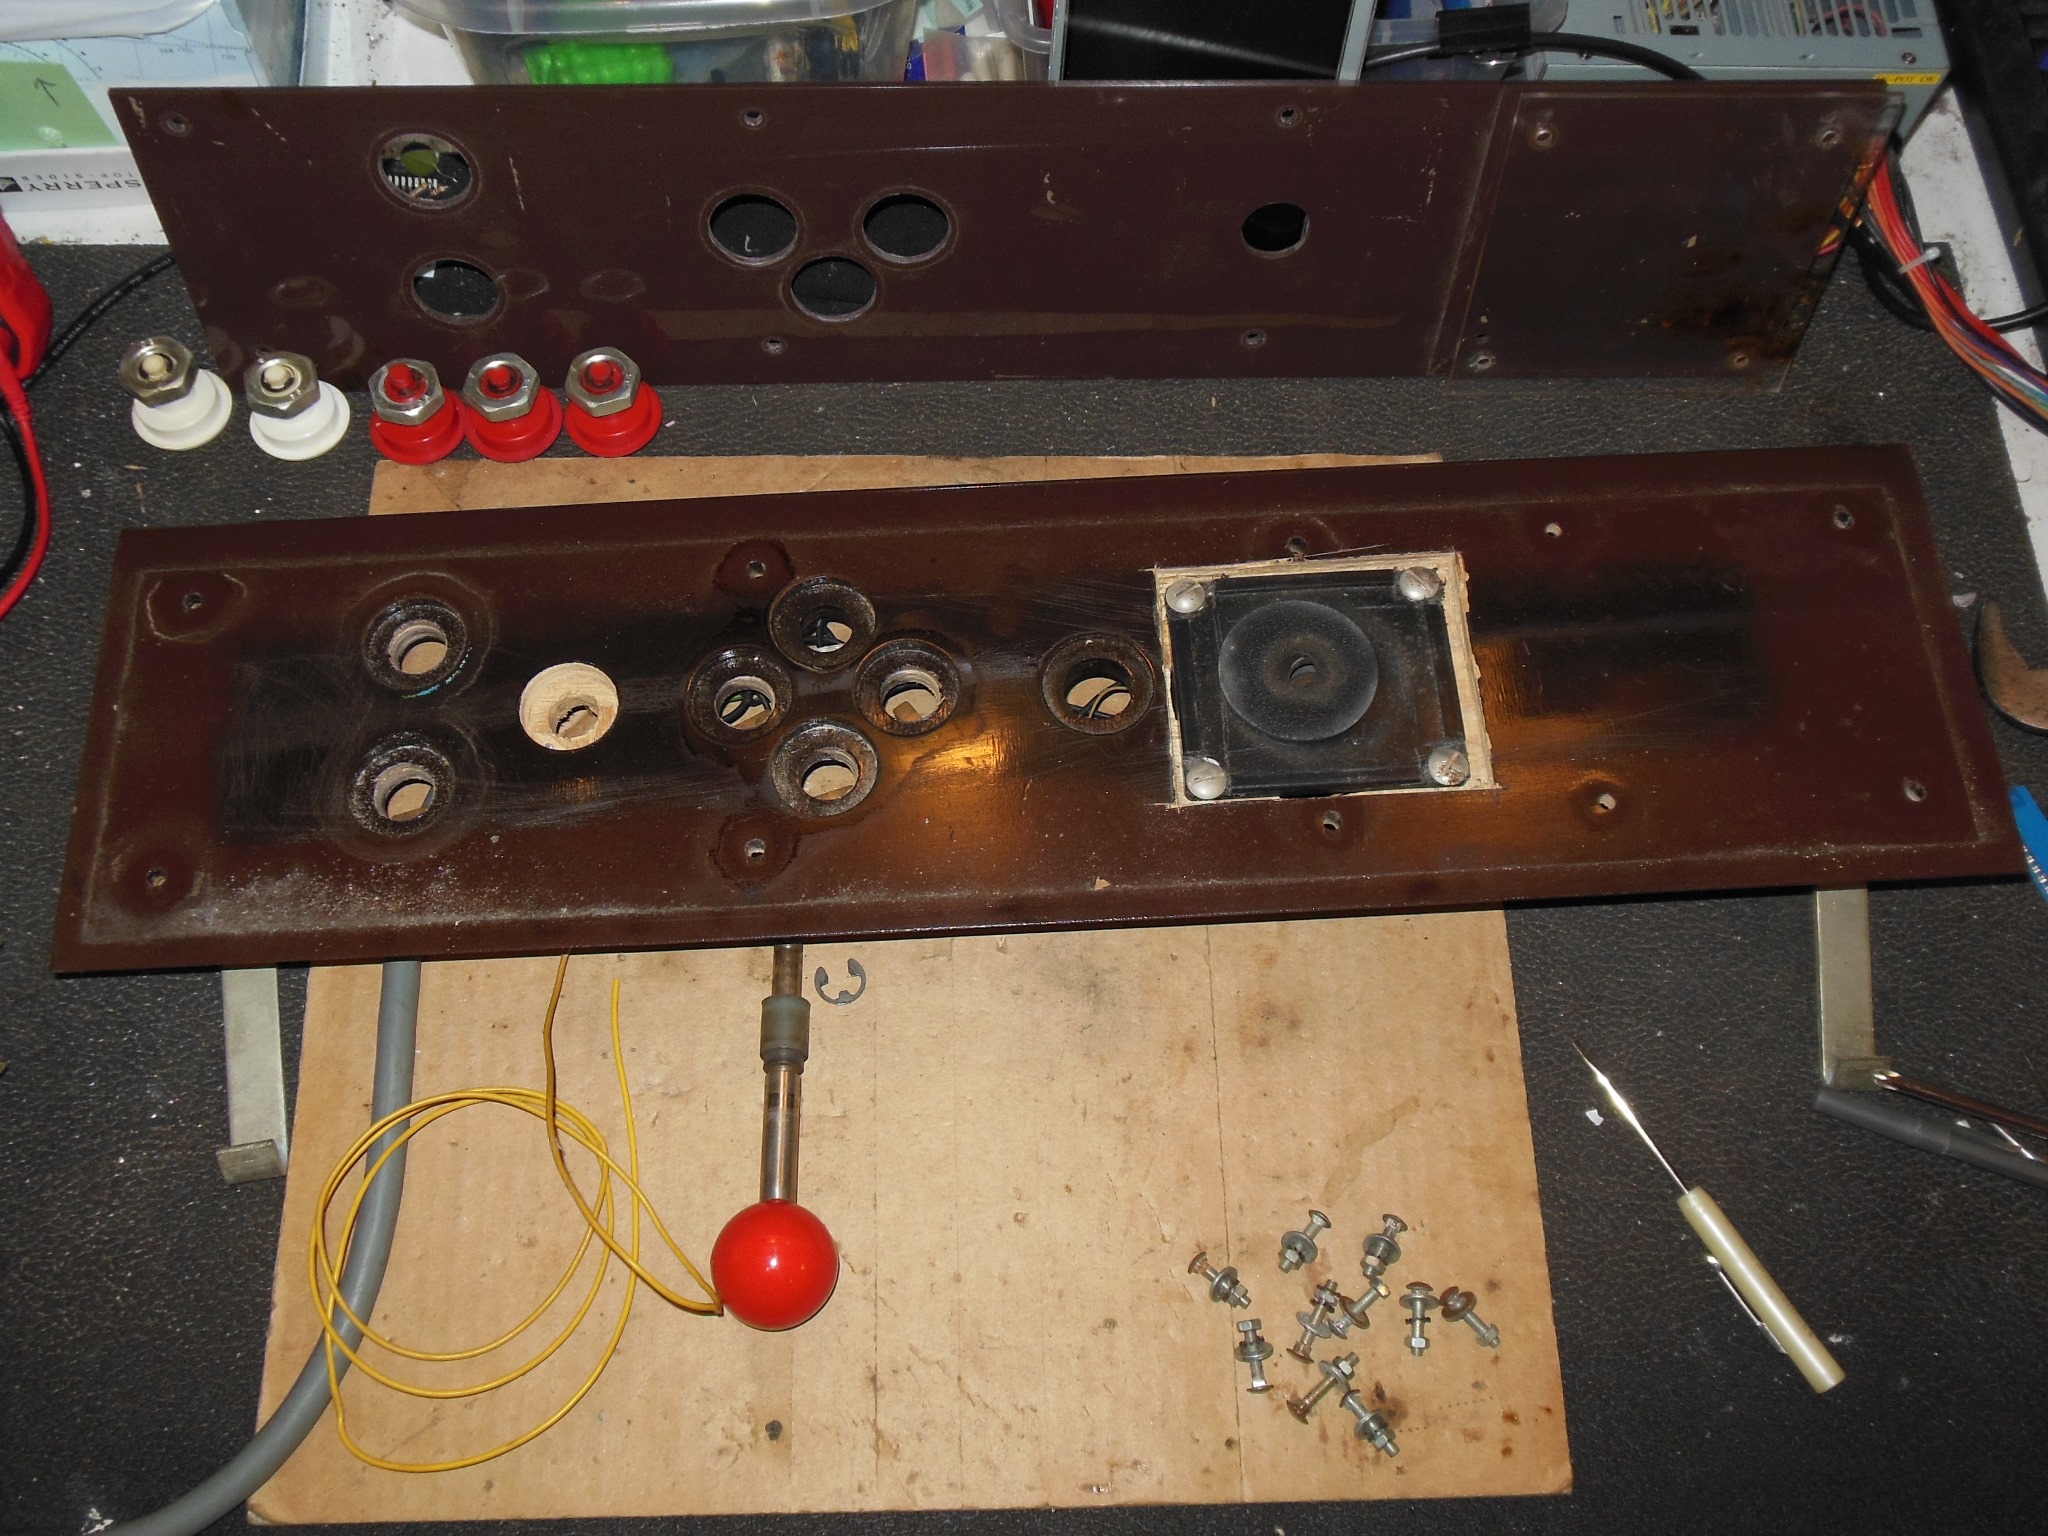
Originally Crazy Kong would have had a chrome shaft joystick whereas now there was a red ball-top WICO joystick fitted. I had no spare chrome shaft joysticks left so I decided to leave as is.
|
The Crazy Kong control panel had been completely rewired onto an edge finger board. That wiring and extra buttons were removed and new wiring fitted that spliced onto the short section of original control panel wiring remaining on the recycled loom.
|
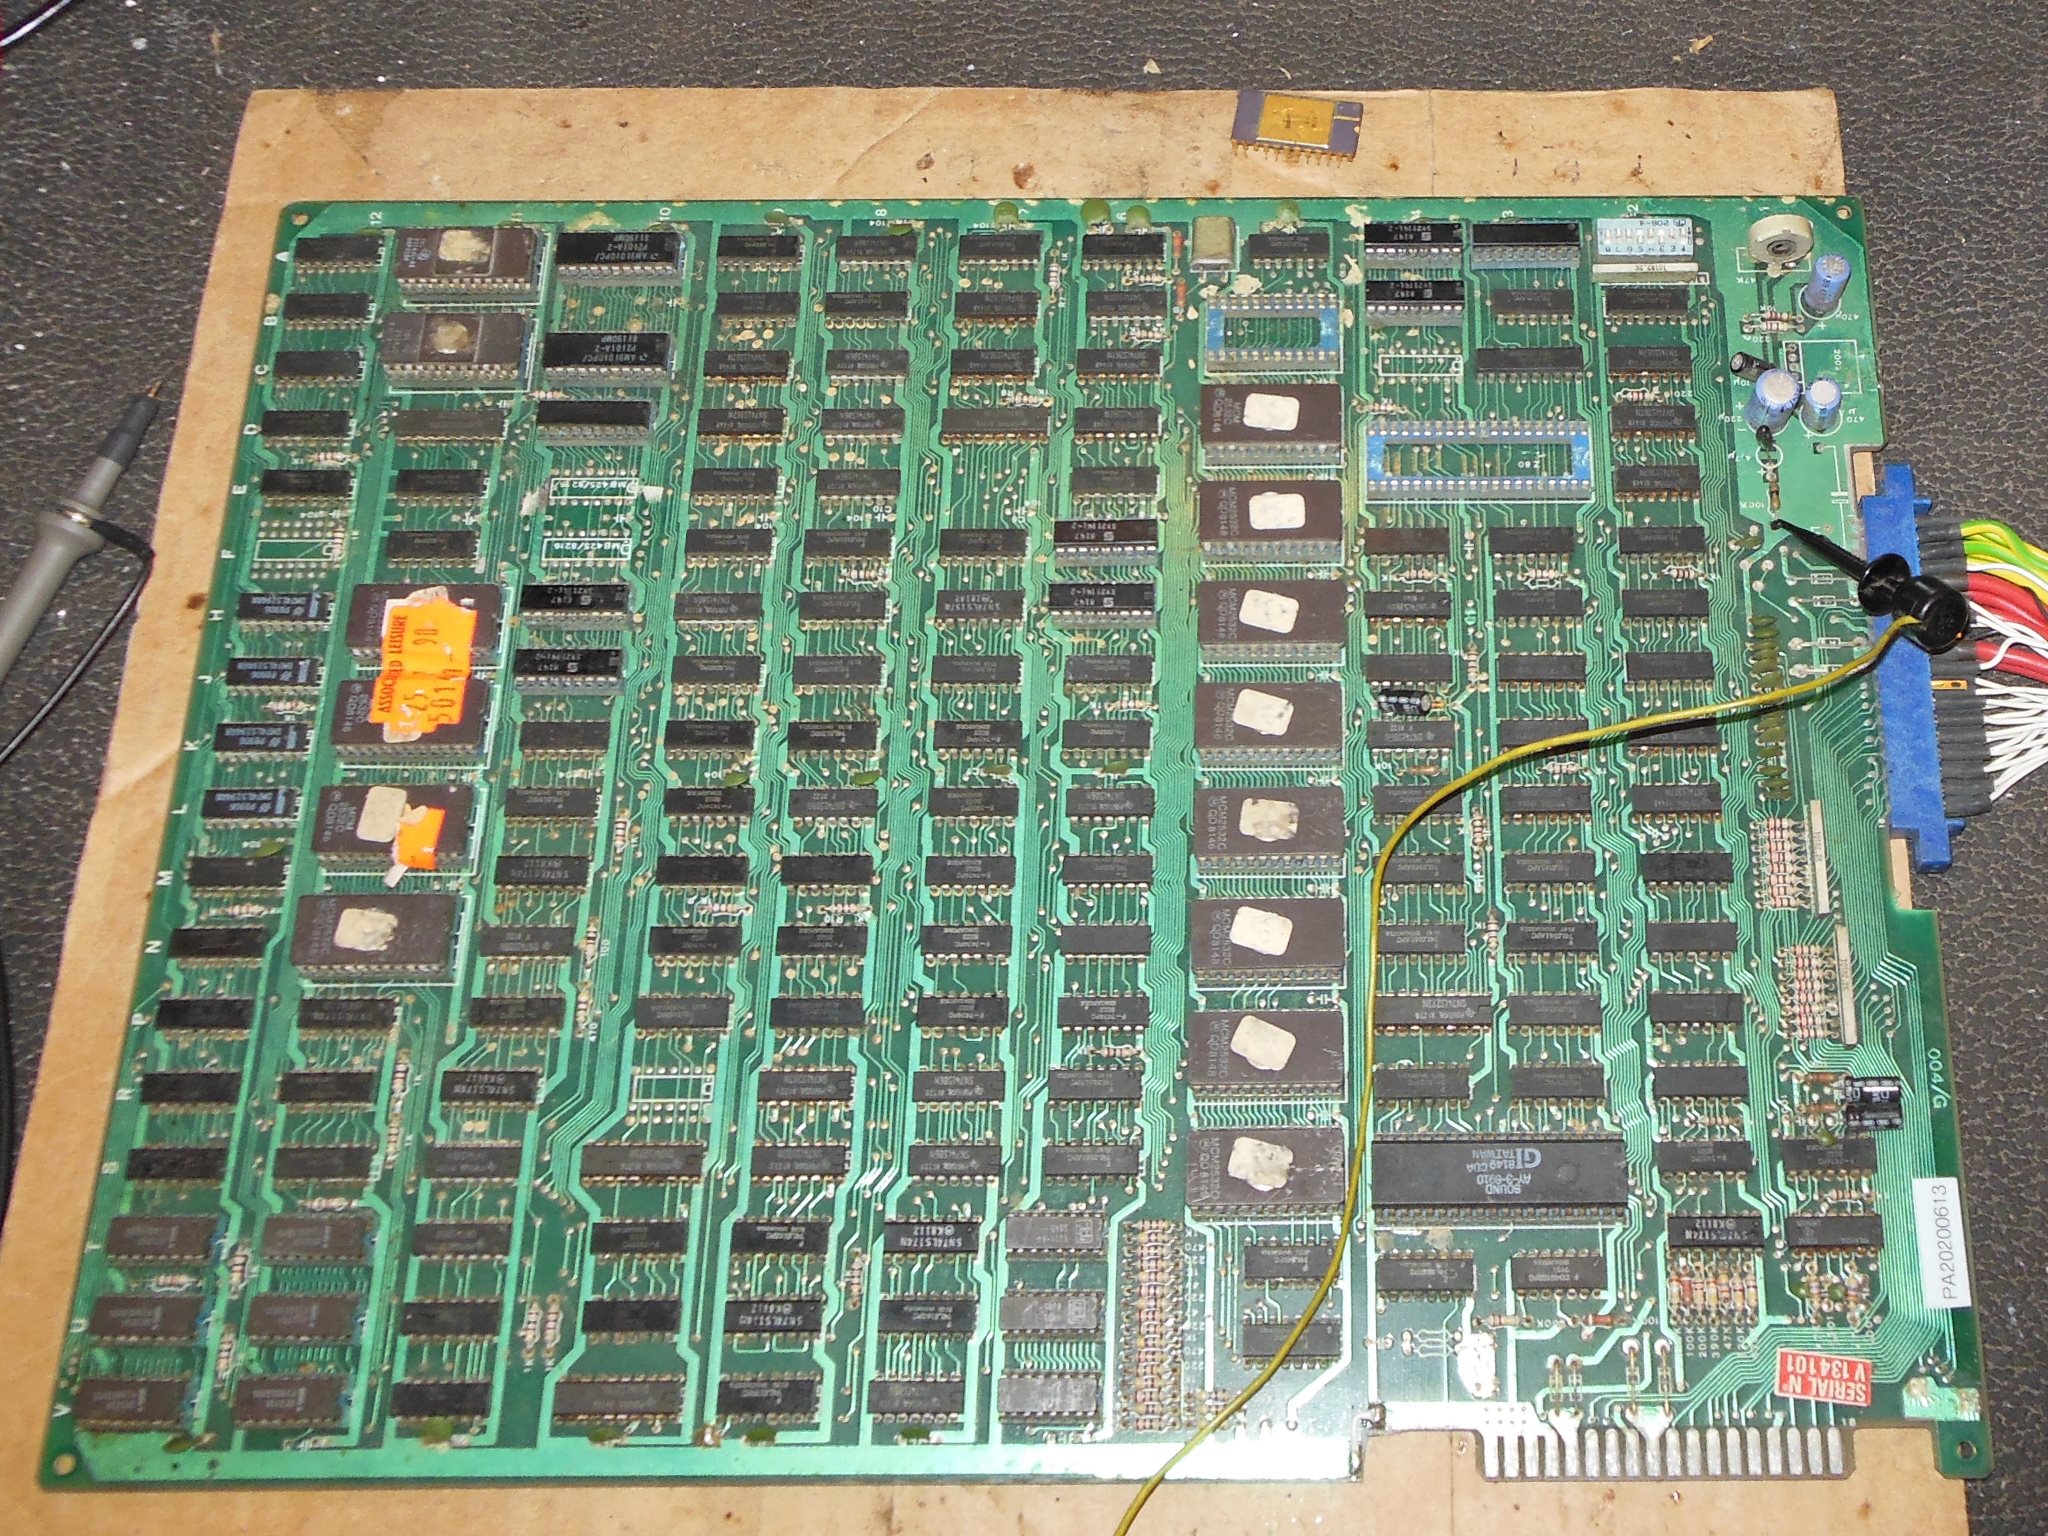
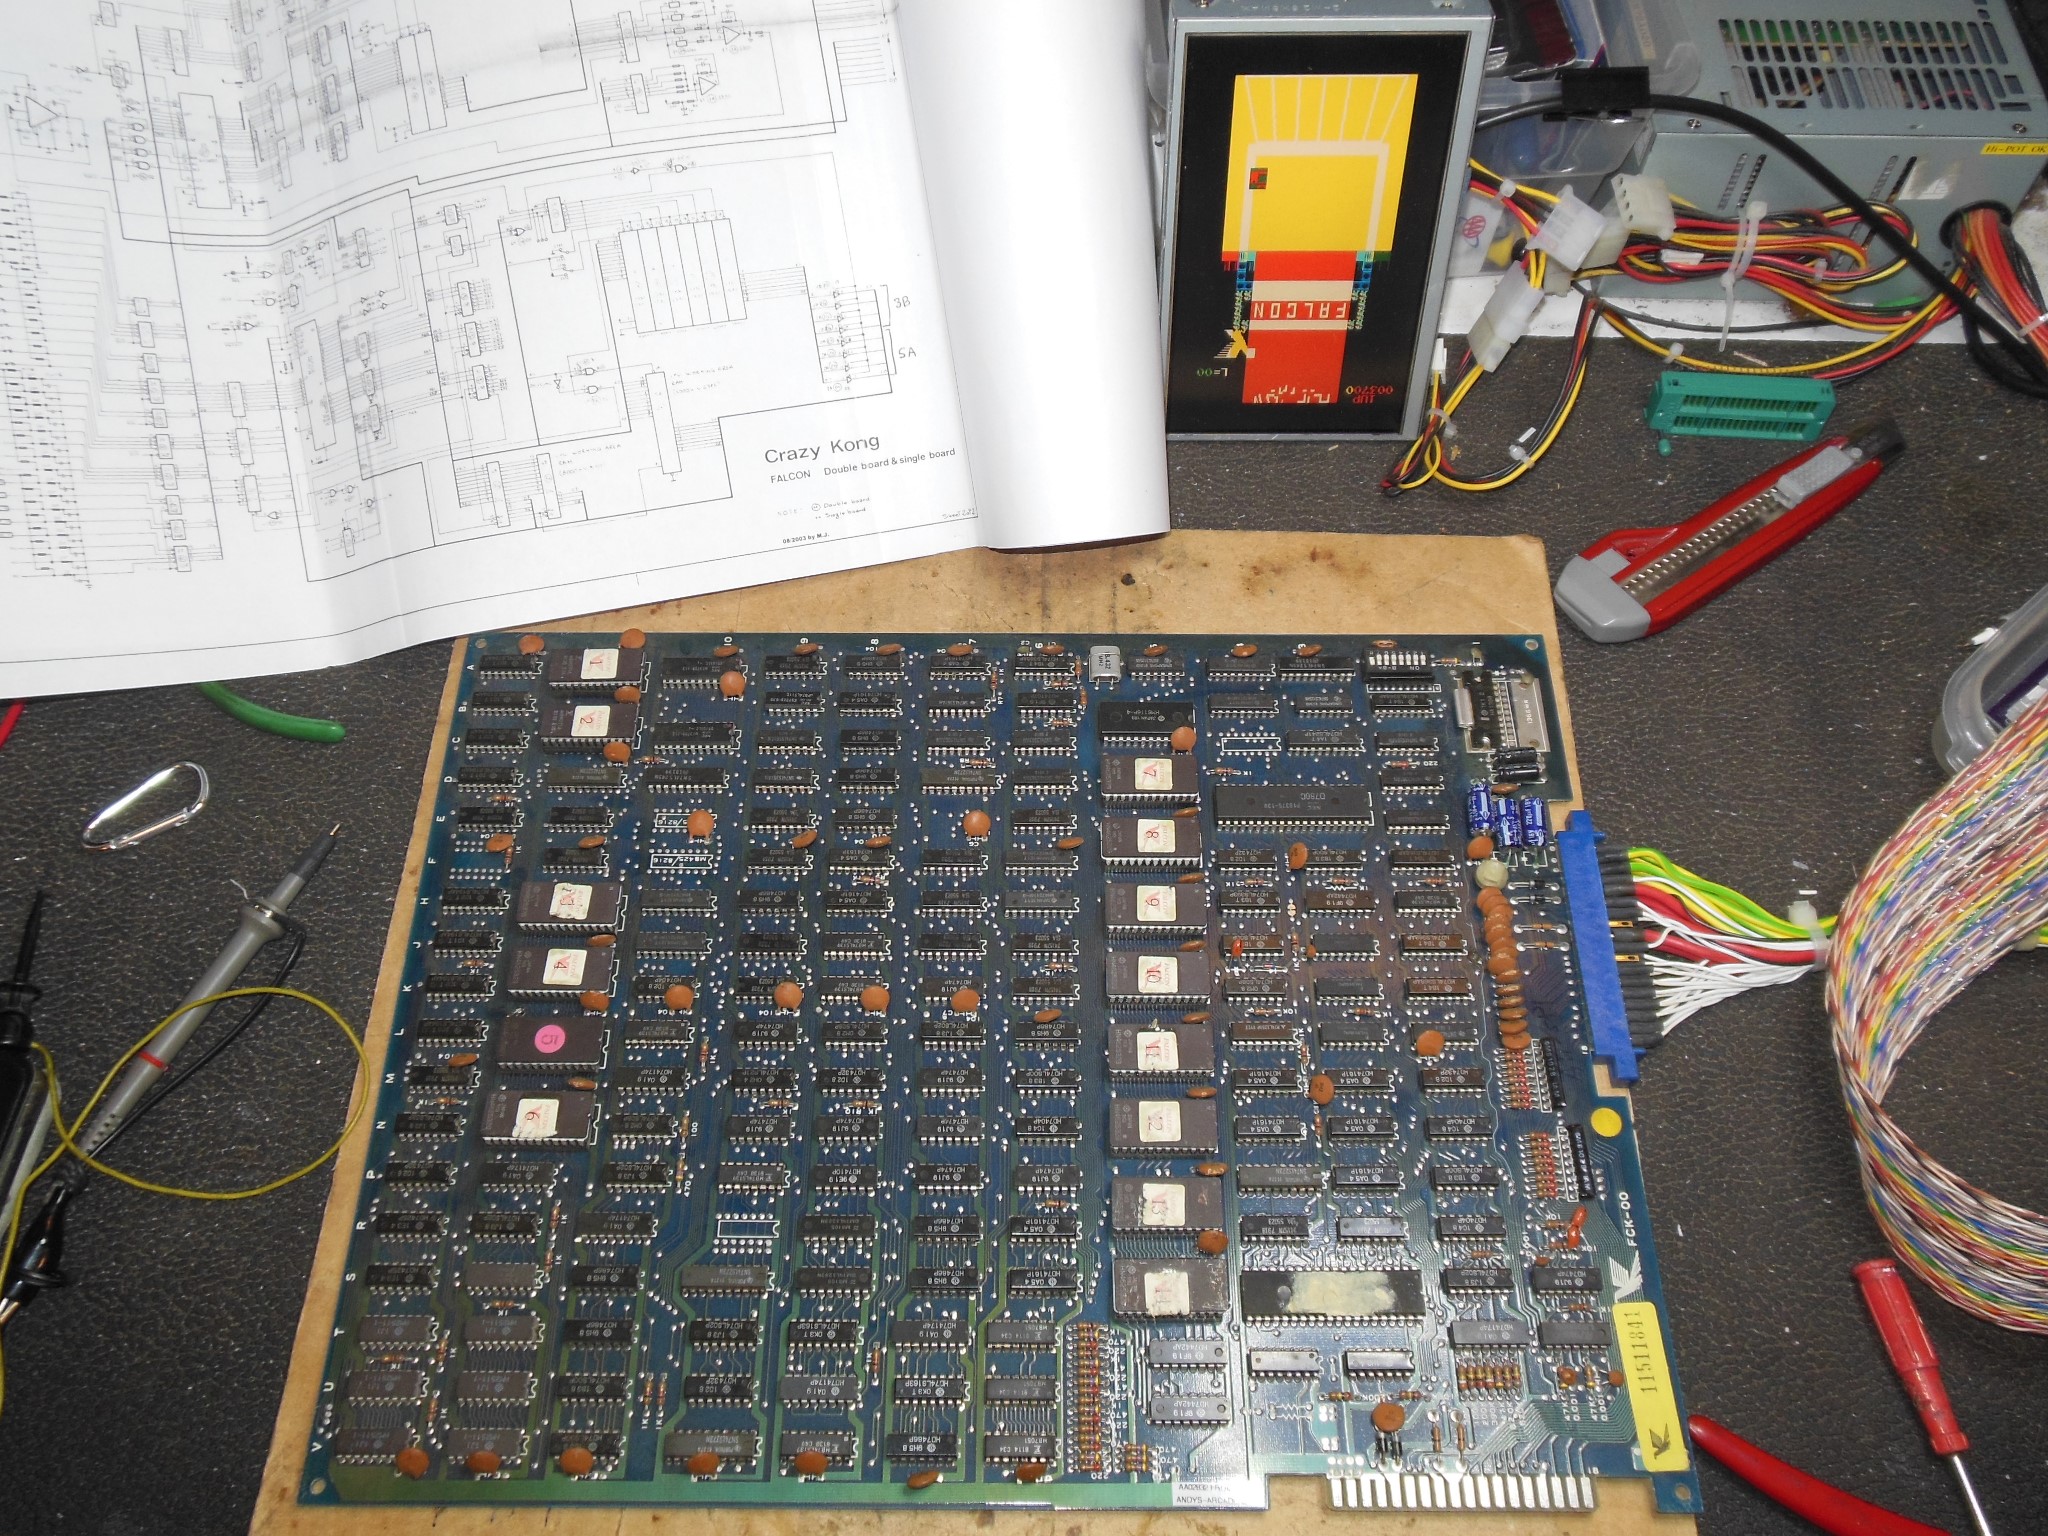
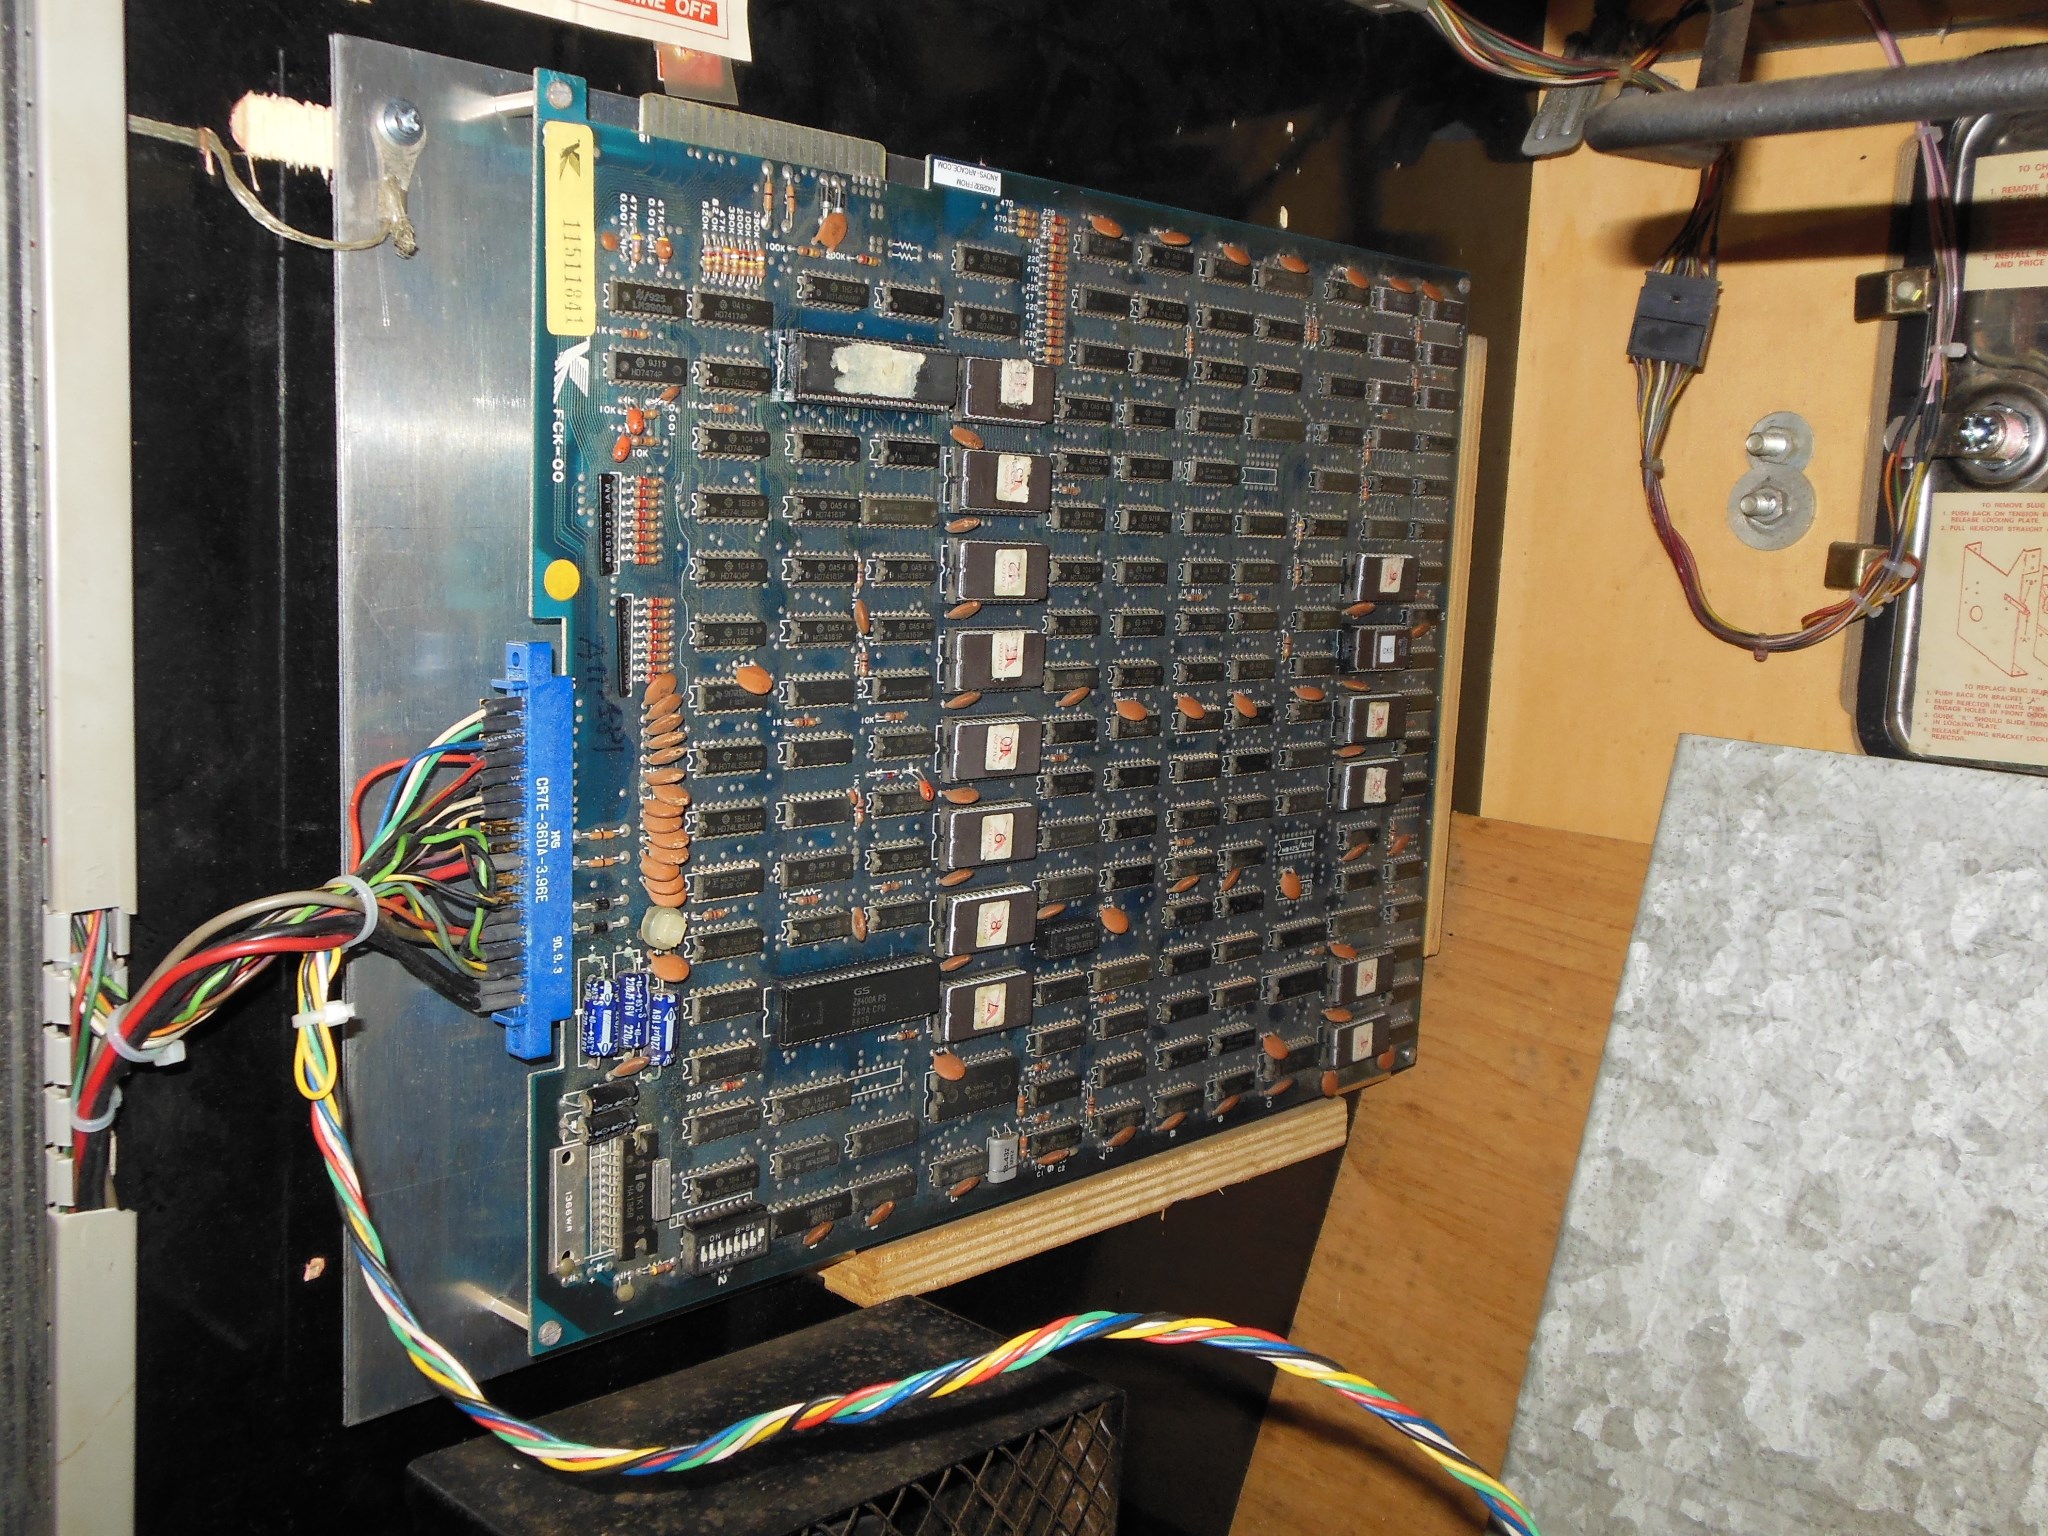
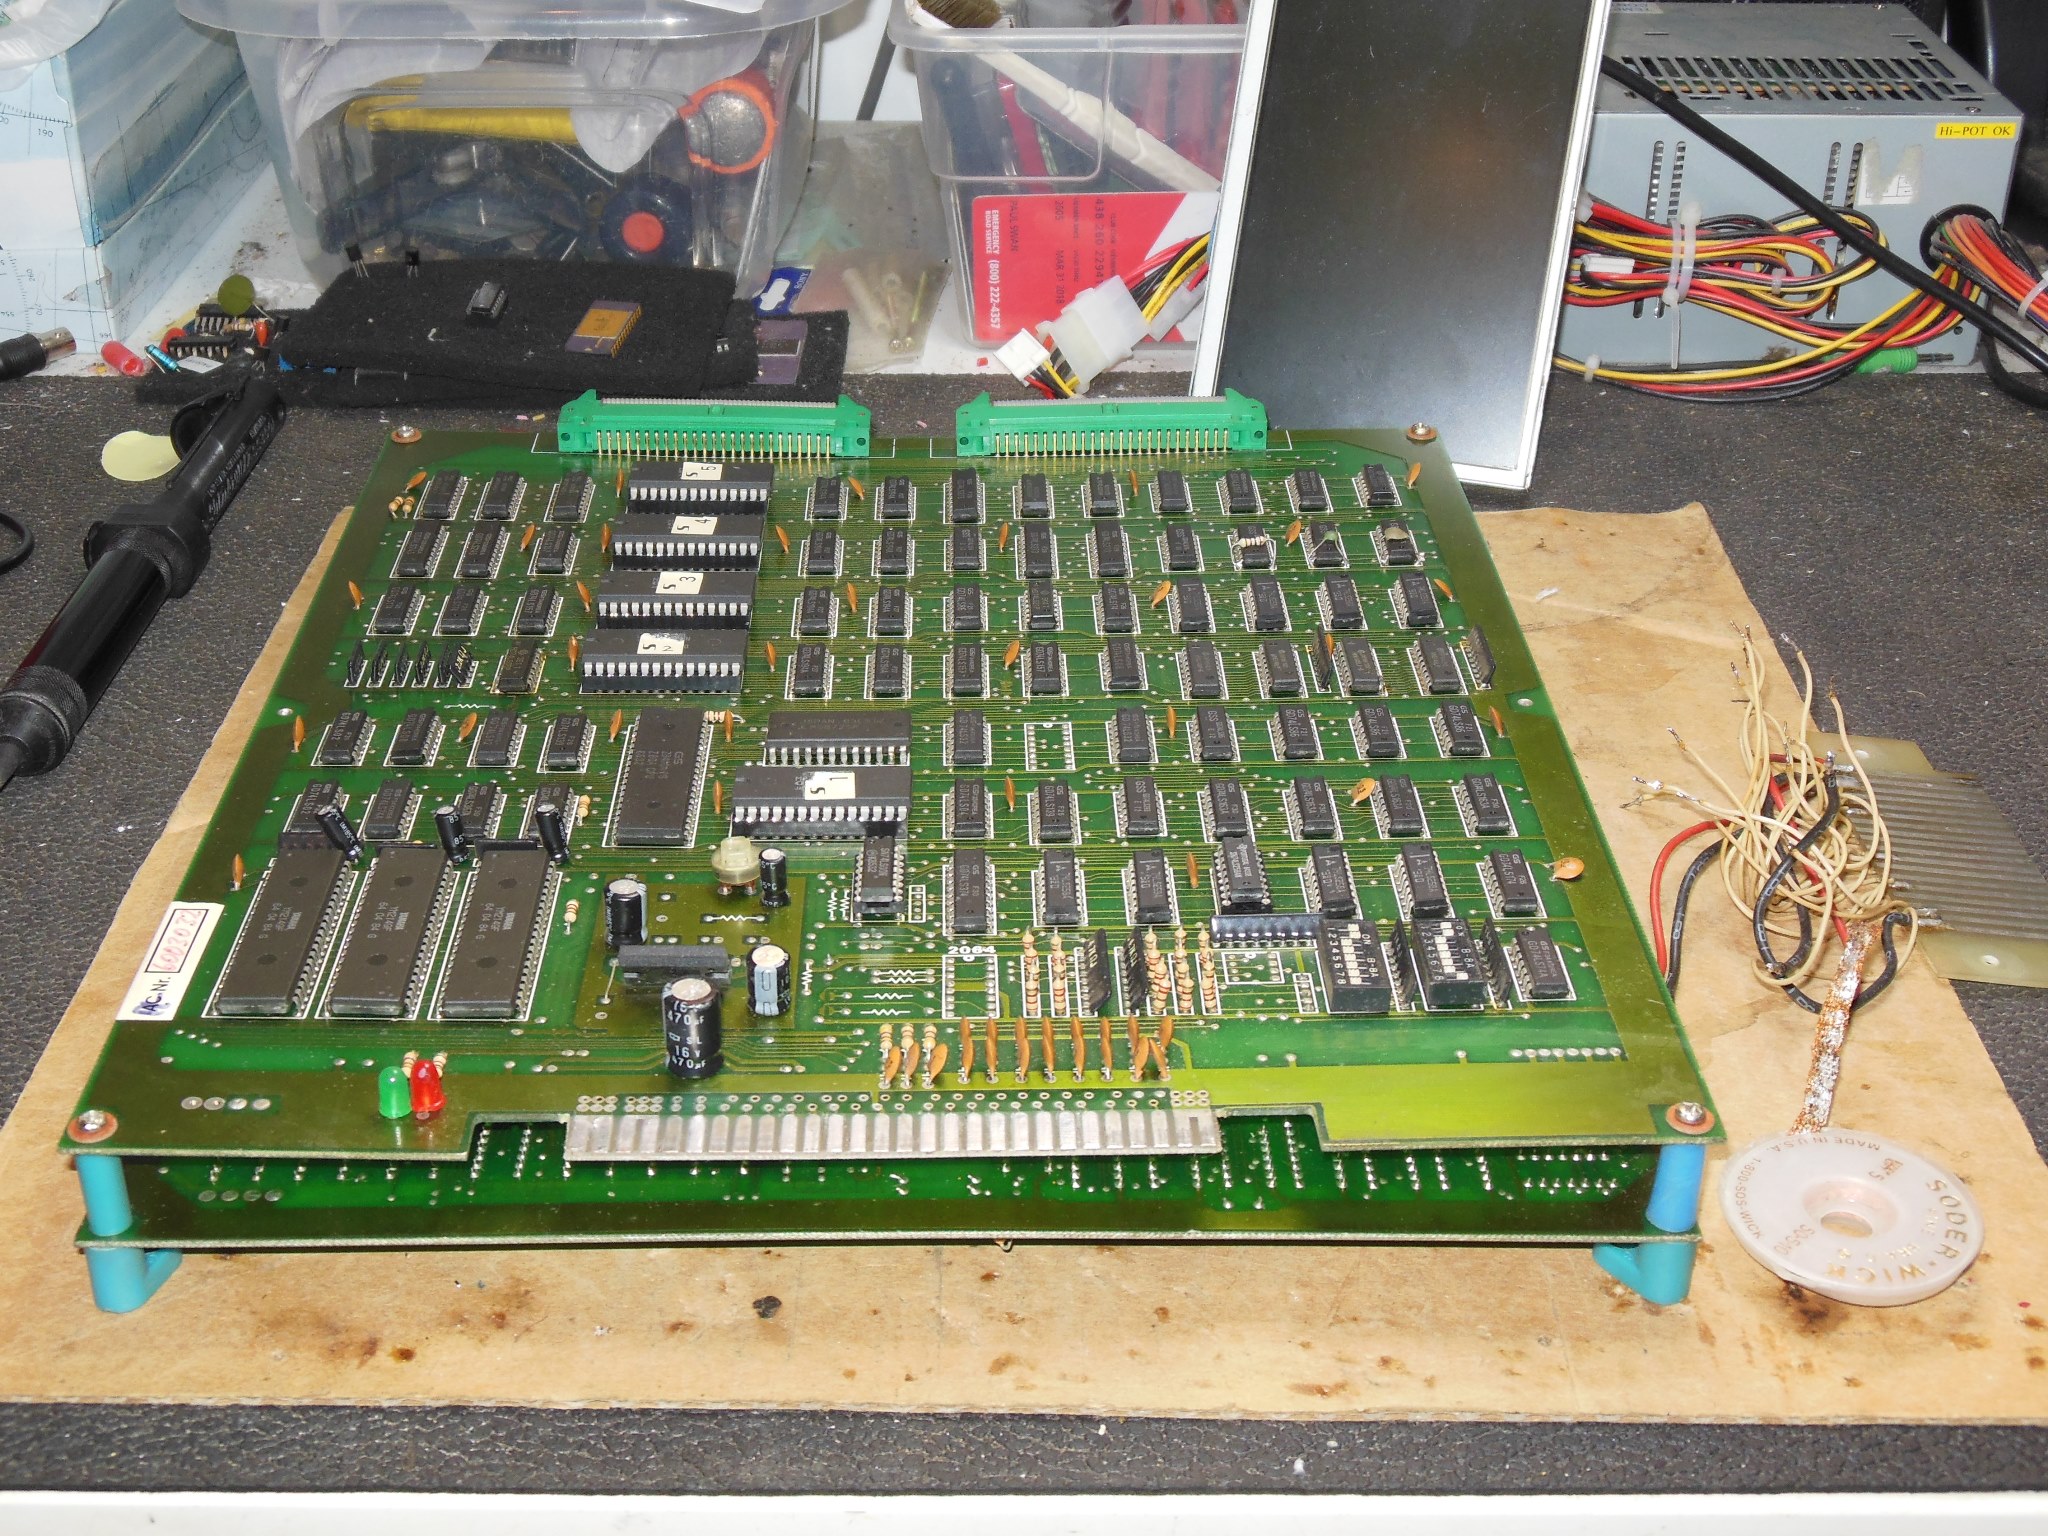
Though this PCB was Zaccaria and Associated Leisure labeled it wasn't a Falcon PCB. The only obvious difference appeared to be a different audio amplifier section. The overall condition was somewhat poor and initial power on had no picture (black video).
Poking around with a scope confirmed there was no video sync and in fact no active signals over most of the PCB. Starting at the XTAL found it active at IC 6A (LS368) pin 7. Output pin 3 was floating and I suspected IC 6A was bad. A piggyback of a working LS368 brought back video sync but still with no picture and IC 6A was replaced.
The video EPROM data bus was active. Checking colour PROM IC 6V (82S123) input pins found them all idle. Working back to IC 9V (LS273) found pin 1 low, pin 11 clock and the data inputs all idle. Checking the 2125 RAMs found both Din and Dout idle. Checking IC 7U and 8T (LS163) found the clock input running but output idle. Inspecting IC 8T more closely, the input pins 3,4,5,6 were all active, pin 9 "~DATALD" low and pin 1 "~DMACL/~HBLK" low. Moving on to IC 9P (LS139) found output pins 9,10 & 12 all low and pin 11 floating. Inputs pins 13,14,15 were all active and I suspected IC 9P was bad. Replacing 9P fixed this section of the circuit but there was still no picture.
With 9P replaced the 2125 RAM Din and Dout were now both active. Colour PROMs 6U & 6V input & output pins were still idle however. IC 9V (LS273) outputs were low and pin 1 clock low. IC 12P (LS32) input pins 12,13 were low and output pin 11 low. Pin 12 was signal "VHROY" tracked to IC 10M (LS174). IC 10M outputs were all low with inputs active and latch pin 9 active. I suspected IC 10M was bad and replacing it brought back active video comprising flashing lines on a blue background that flipped to white and red flexing the PCB (so at least one bad socket). There were no graphics.
Output pins 11-14 on horizontal counters ICs 8F & 8H (LS161) looked OK as did the output pins on vertical counter ICs 6R & 6S. EPROM 11L (2532) input pins 6,7,8 (H-bus 0,1,2) all looked plausible on the video probe. The probe also showed some character data on ICs 12L & 12J output pin 15. IC 12M (LS157) output pins 6,7,9,12 were active. At this point I decided that I needed reasonable known patterns in the video RAM and thus added support for Crazy Kong to the Arduino ICT.
Initial testing with Arduino ICT found that all ROMS read 0xB0 and IC 3A (LS245), the data buffer through to the video hardware, was burning up. IC 3A was removed to initially focus on getting the program ROM & RAM working. Checking for IC 2B noted on the schematics as the ROM data buffer found the schematic incorrect. Metering out the EPROM data bus connections found the following mapping:
Given that I was several fixes in and still nowhere near basic functionality on this board I decided to abandon it and persue acquiring another one instead.

|
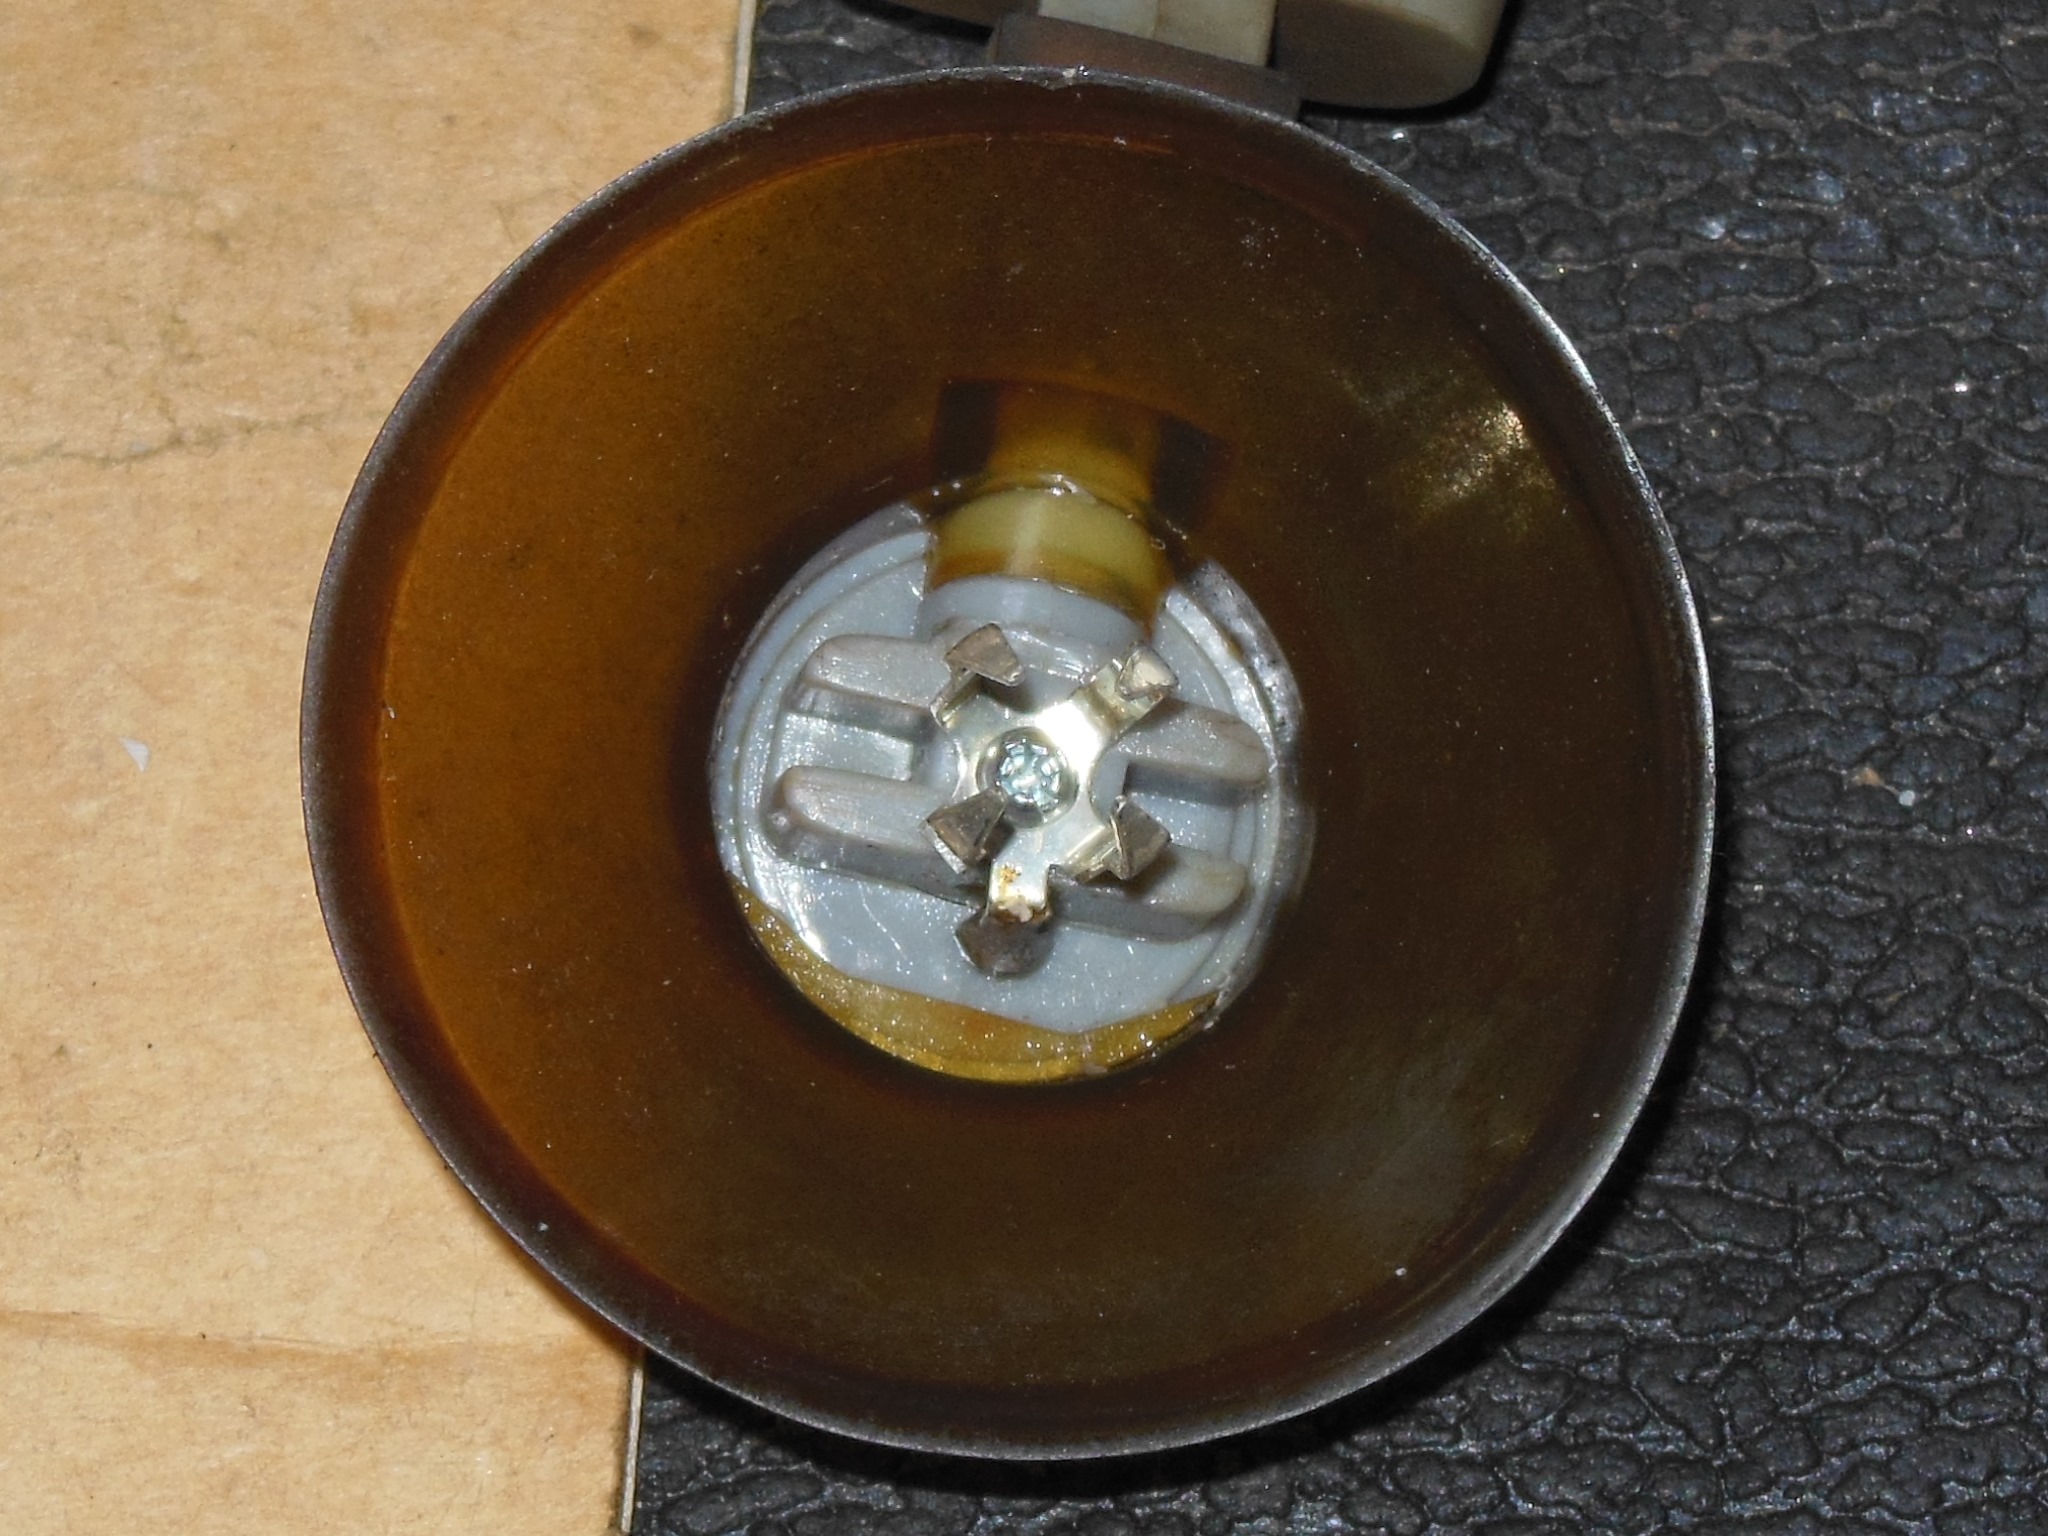
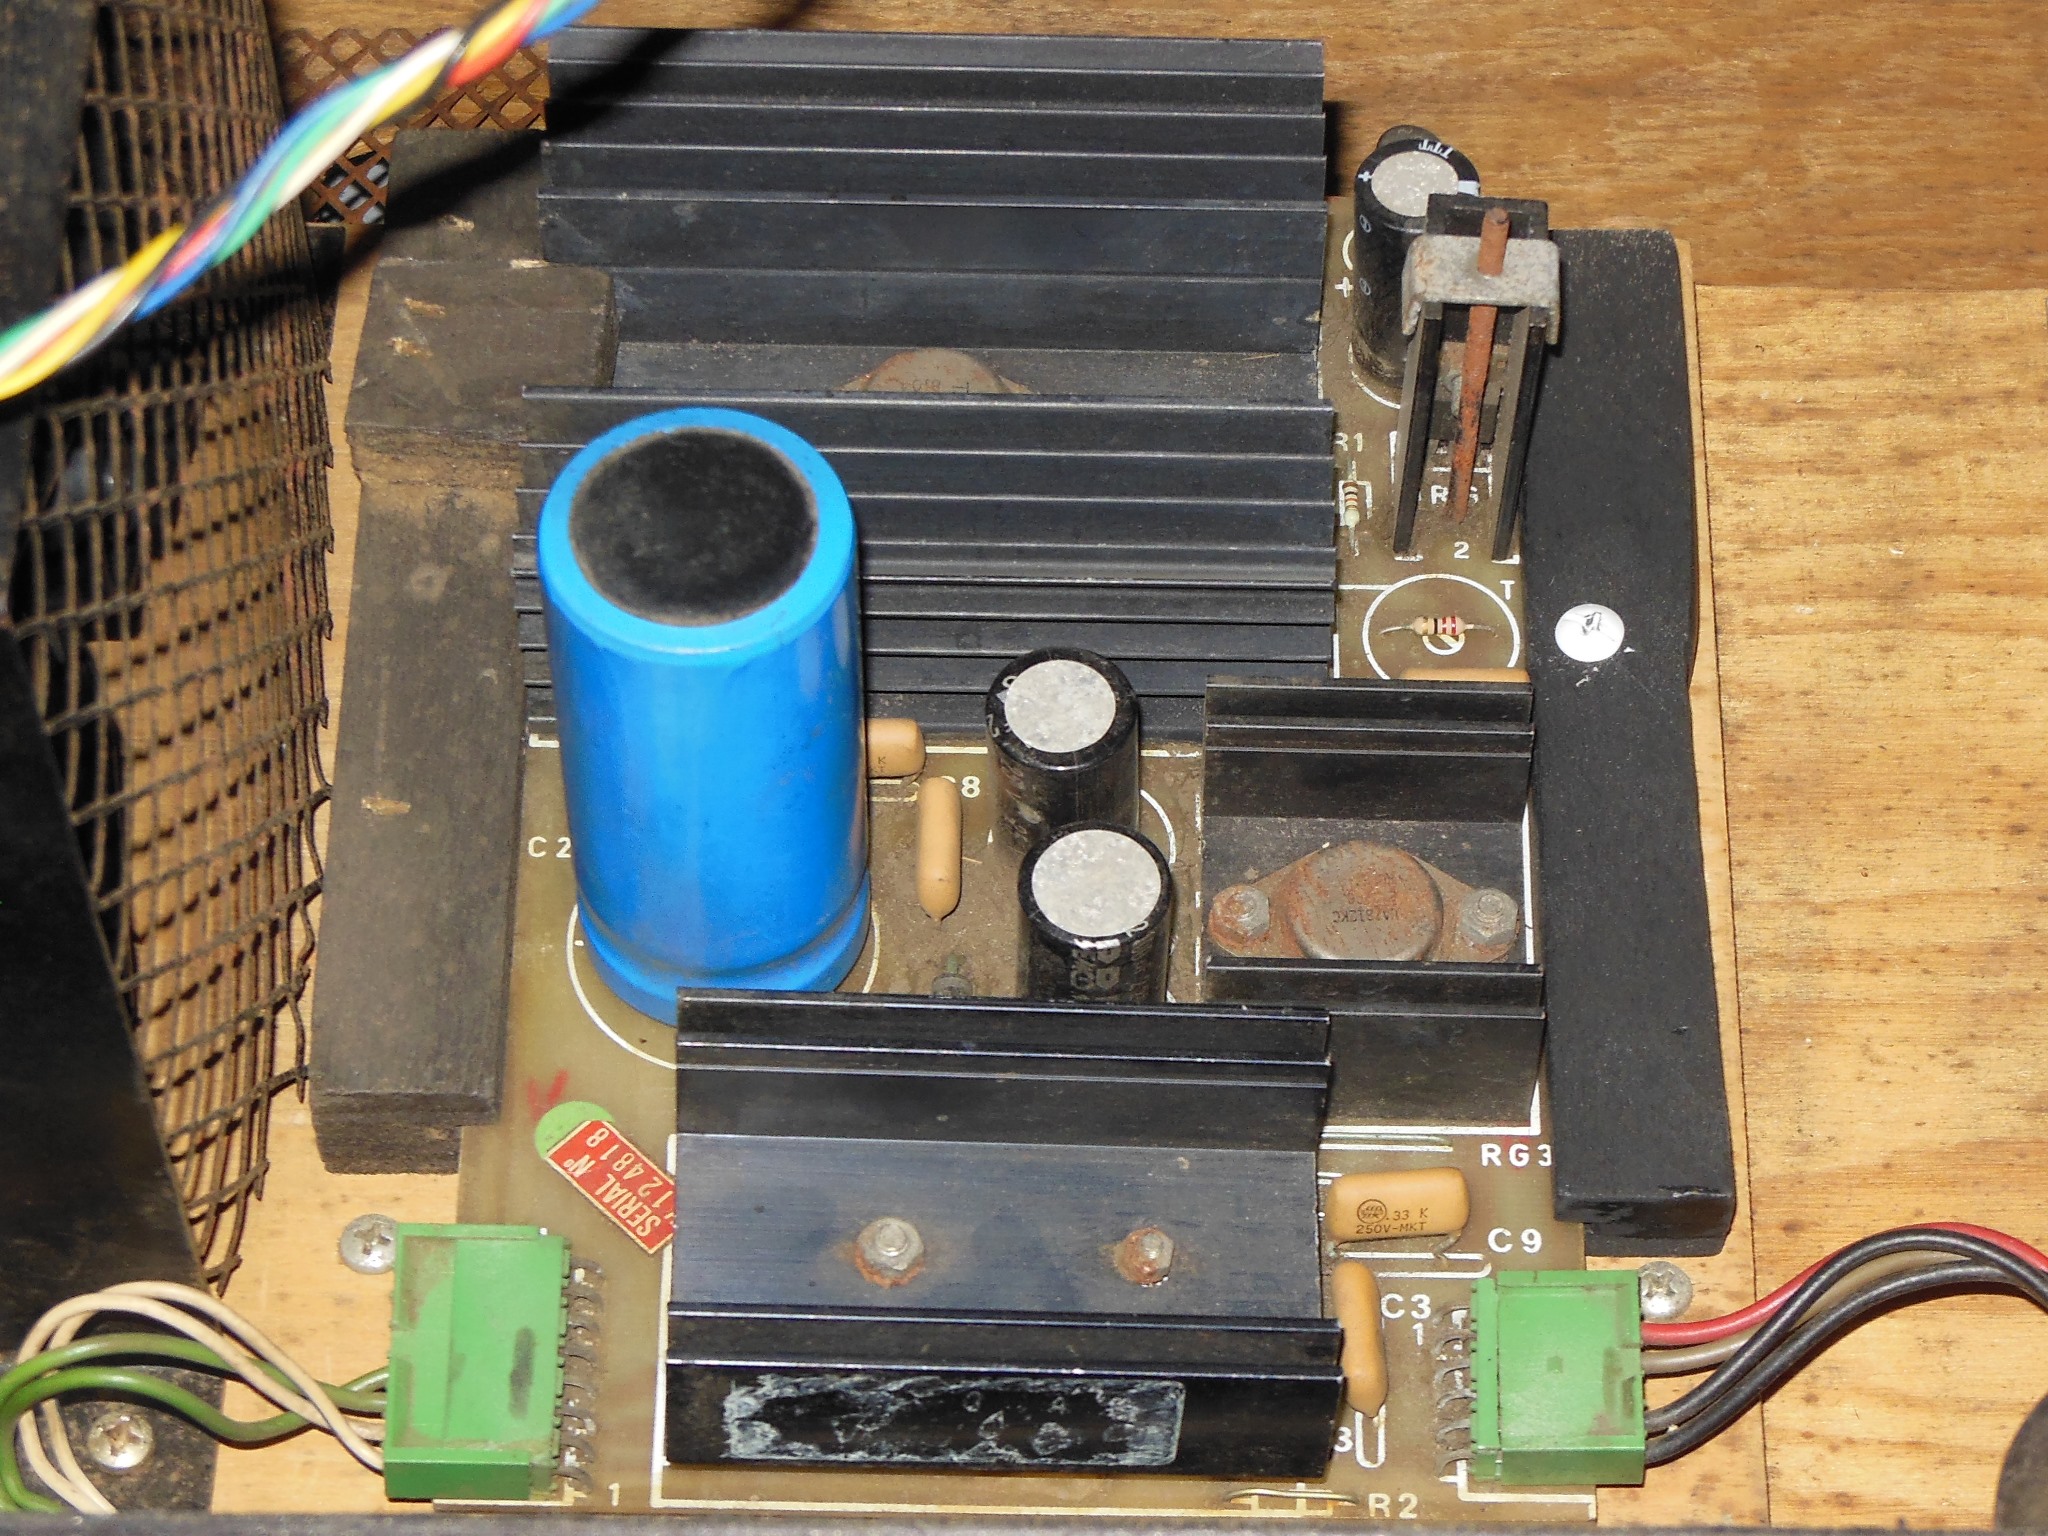
Prior testing had shown the monitor to be working aside from capacitor venting. Visual inspection on the bench found that the HV cup centre clasp had snapped off. This is a common failing fixed by drilling out the plastic stud and reattaching the clasp with a small screw.
|
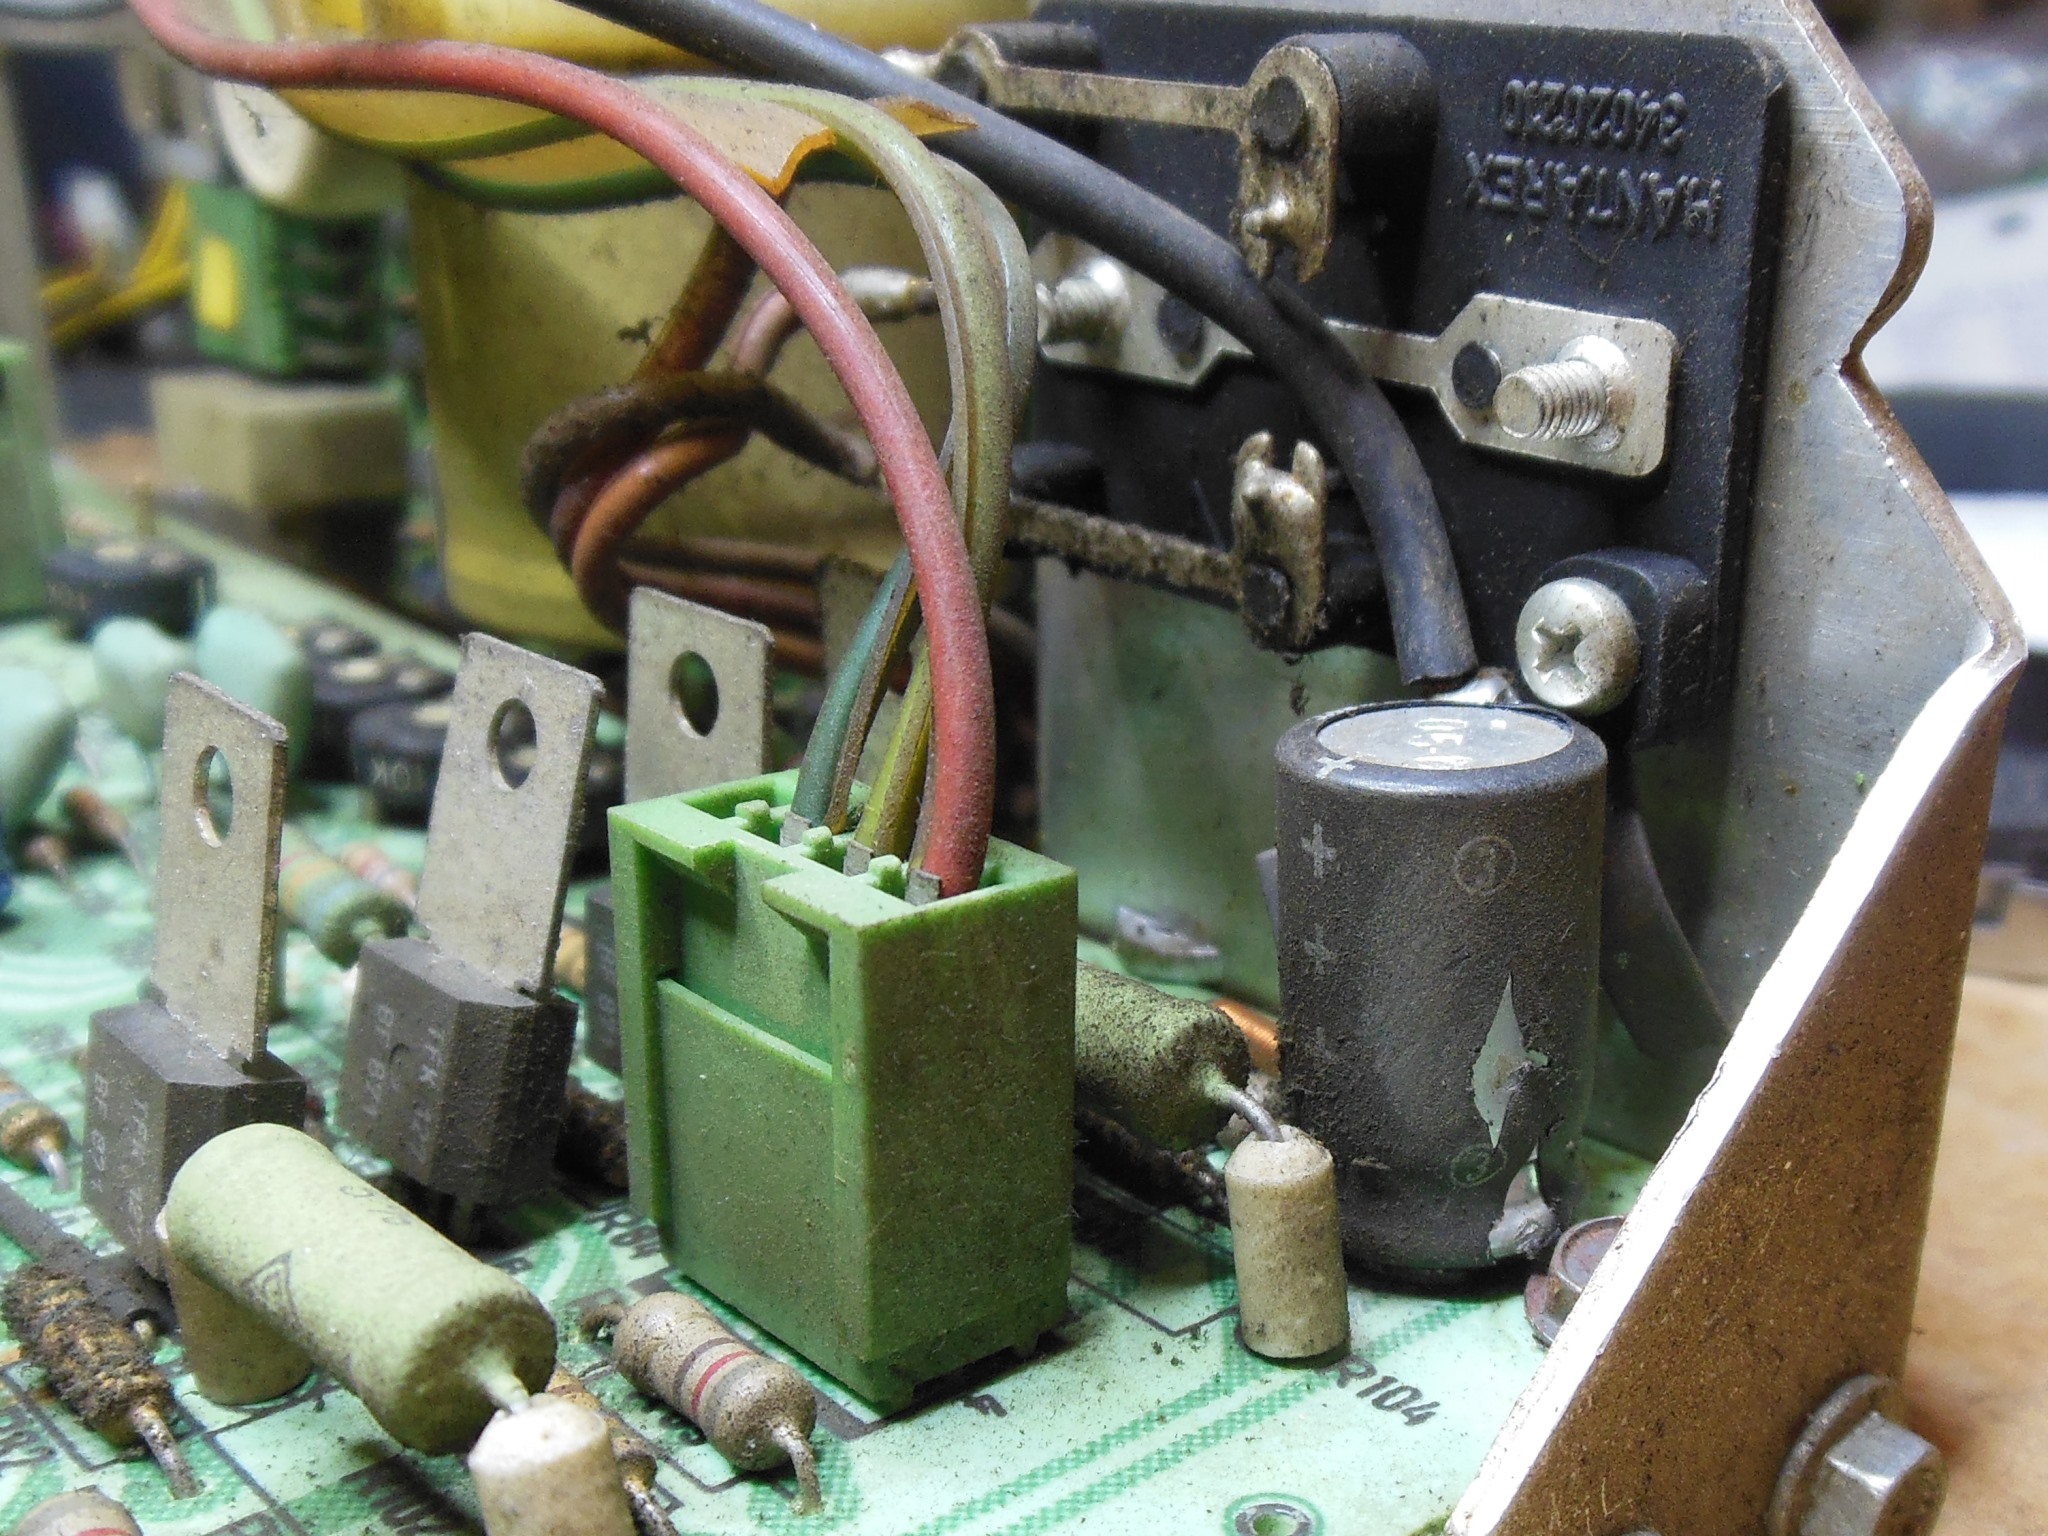
At least one swollen capacitor was visible and a cap kit was fitted.
|
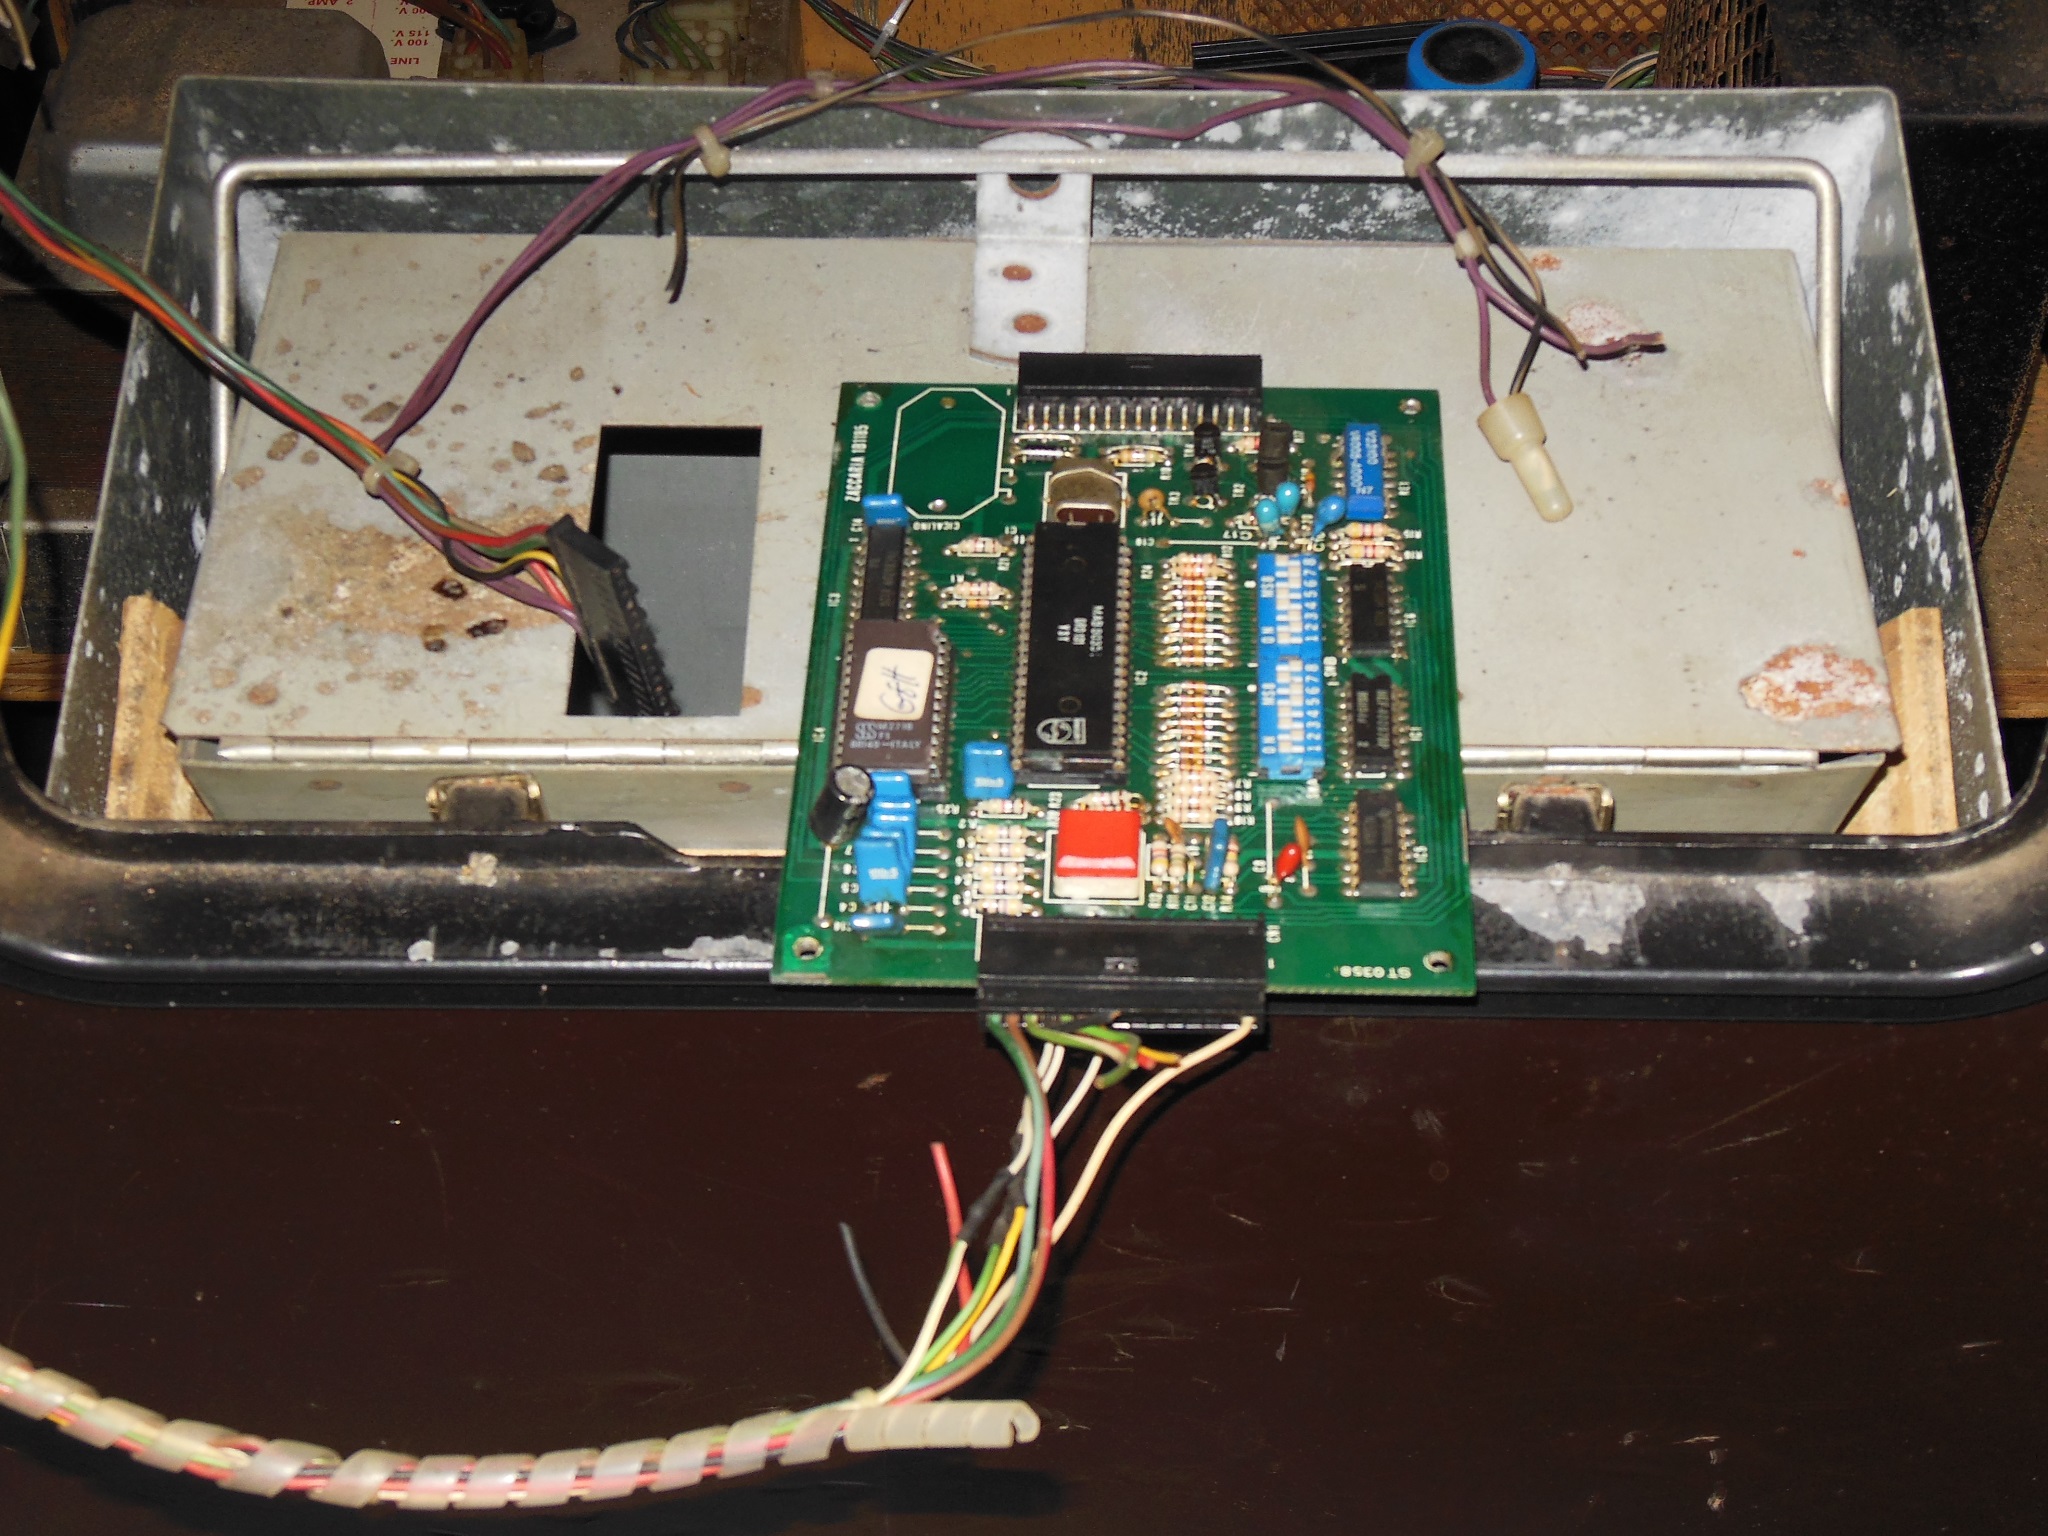
Since the Zaccaria Crazy Kong game PCB had many issues and I didn't have a better condition spare PCB to hand I acquired a second PCB from a fellow collector that was working but with graphics issues.
Visual inspection identified a broken pin on EPROM 11L that was replaced. Initial testing with the ICT confirmed all the program ROMs were good but flagged IC 6F/6H (2114) as inaccesible always reading 0xF. I also noted that a ROM read test resulted in graphics changes during the test. Mapping IC 6K (LS157) found:
|
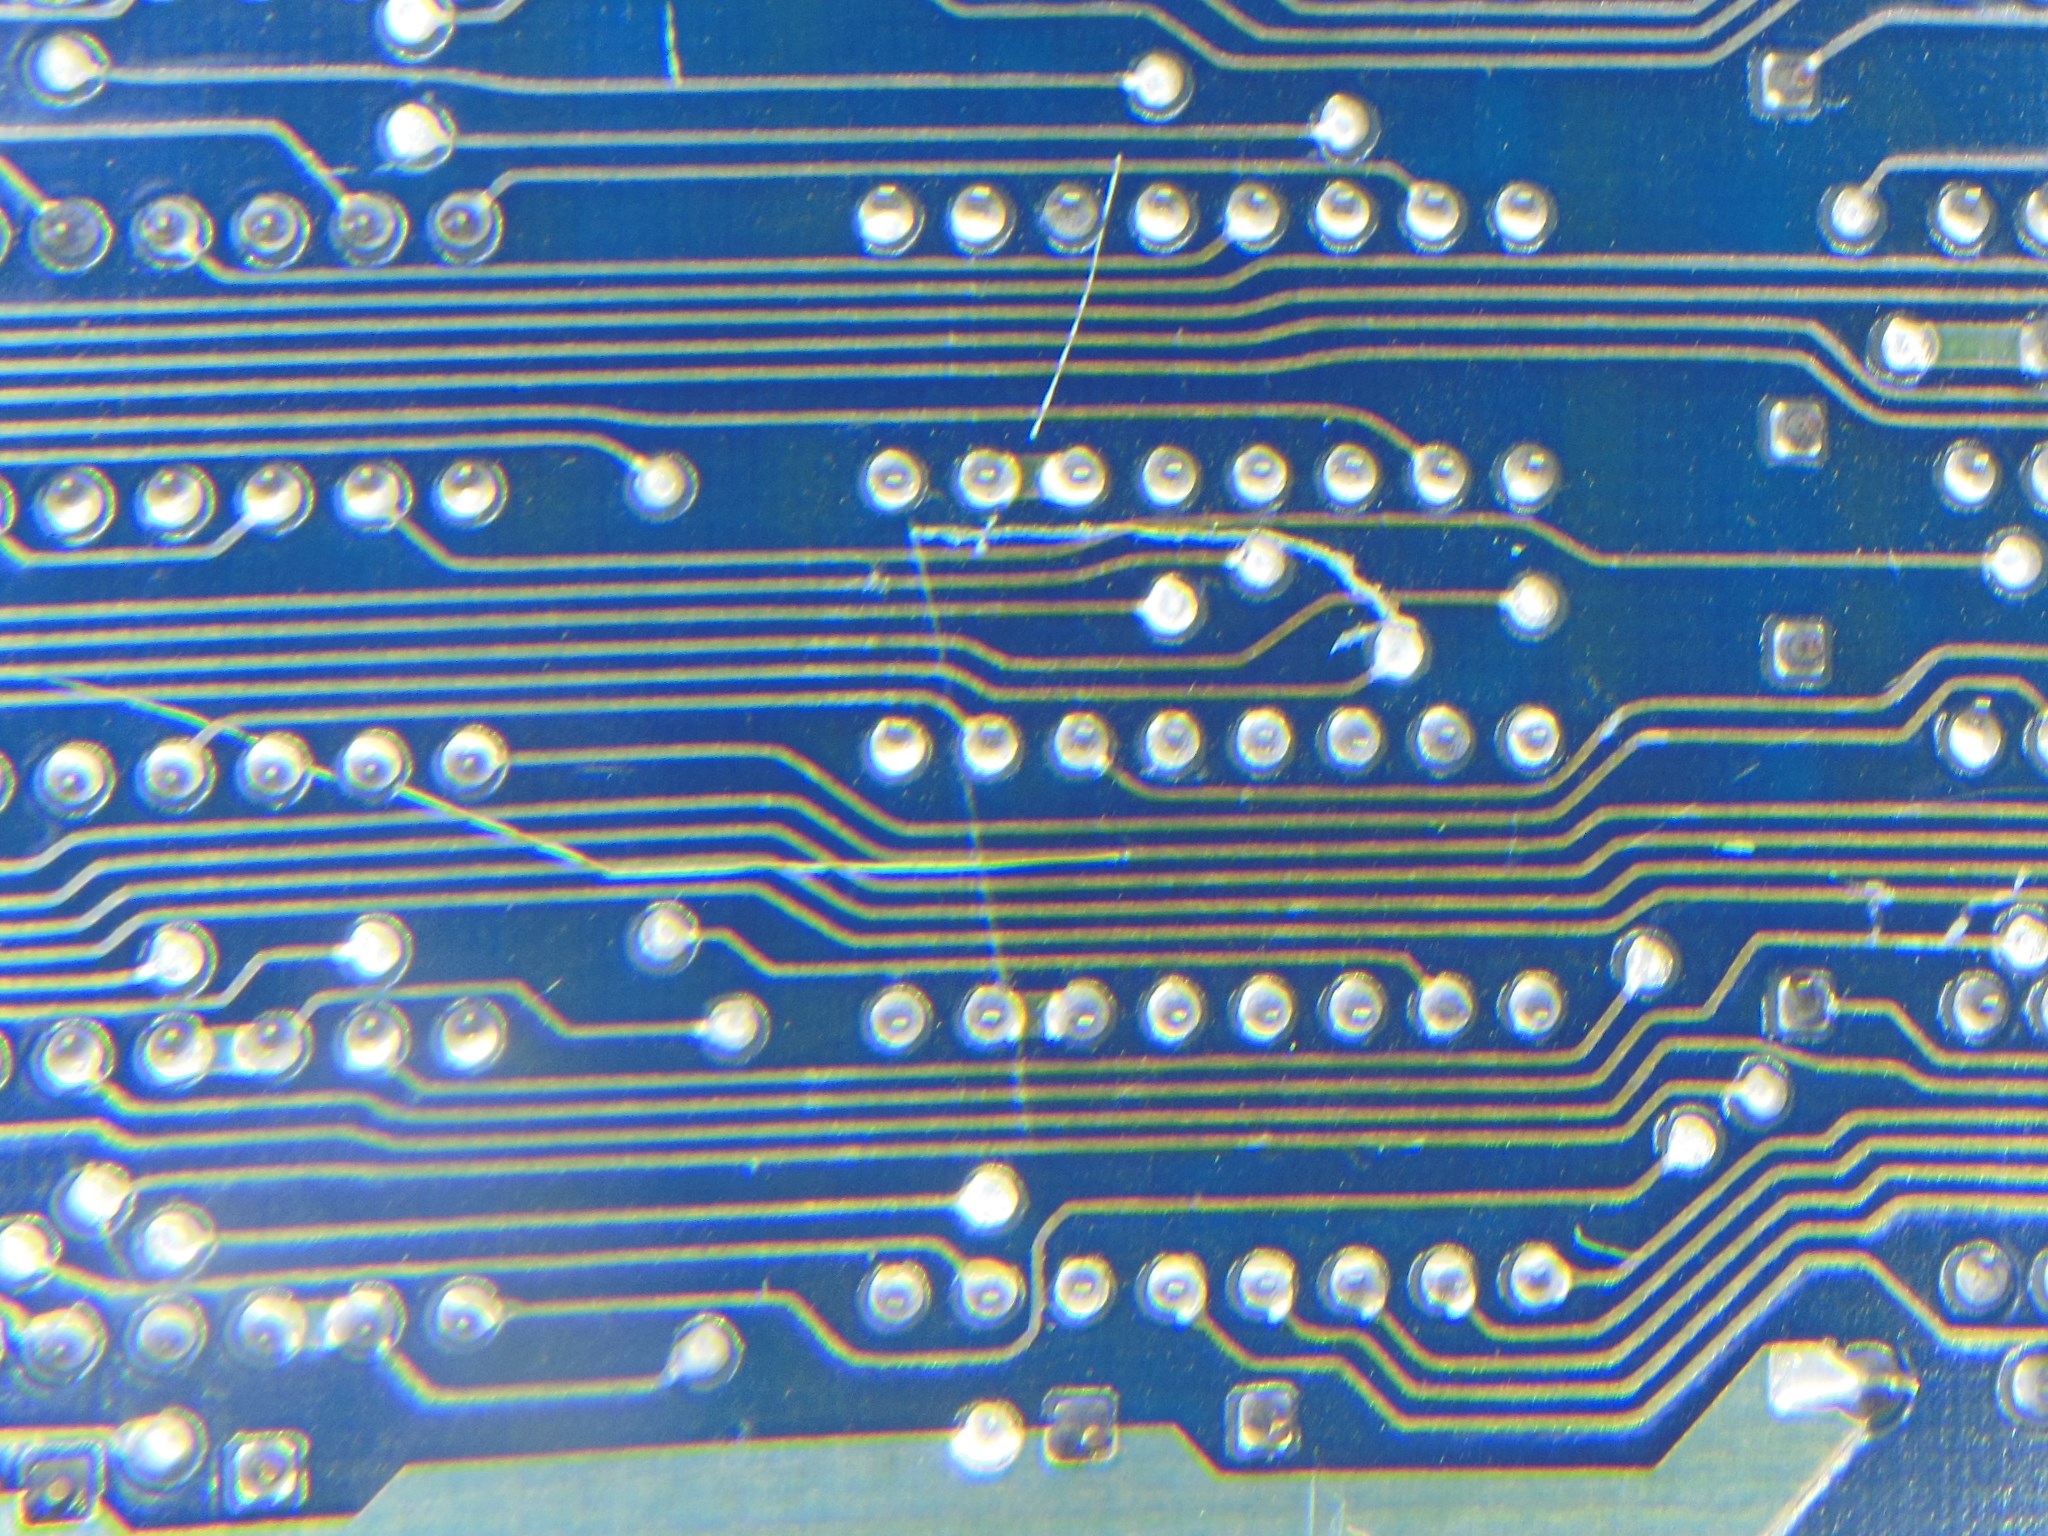
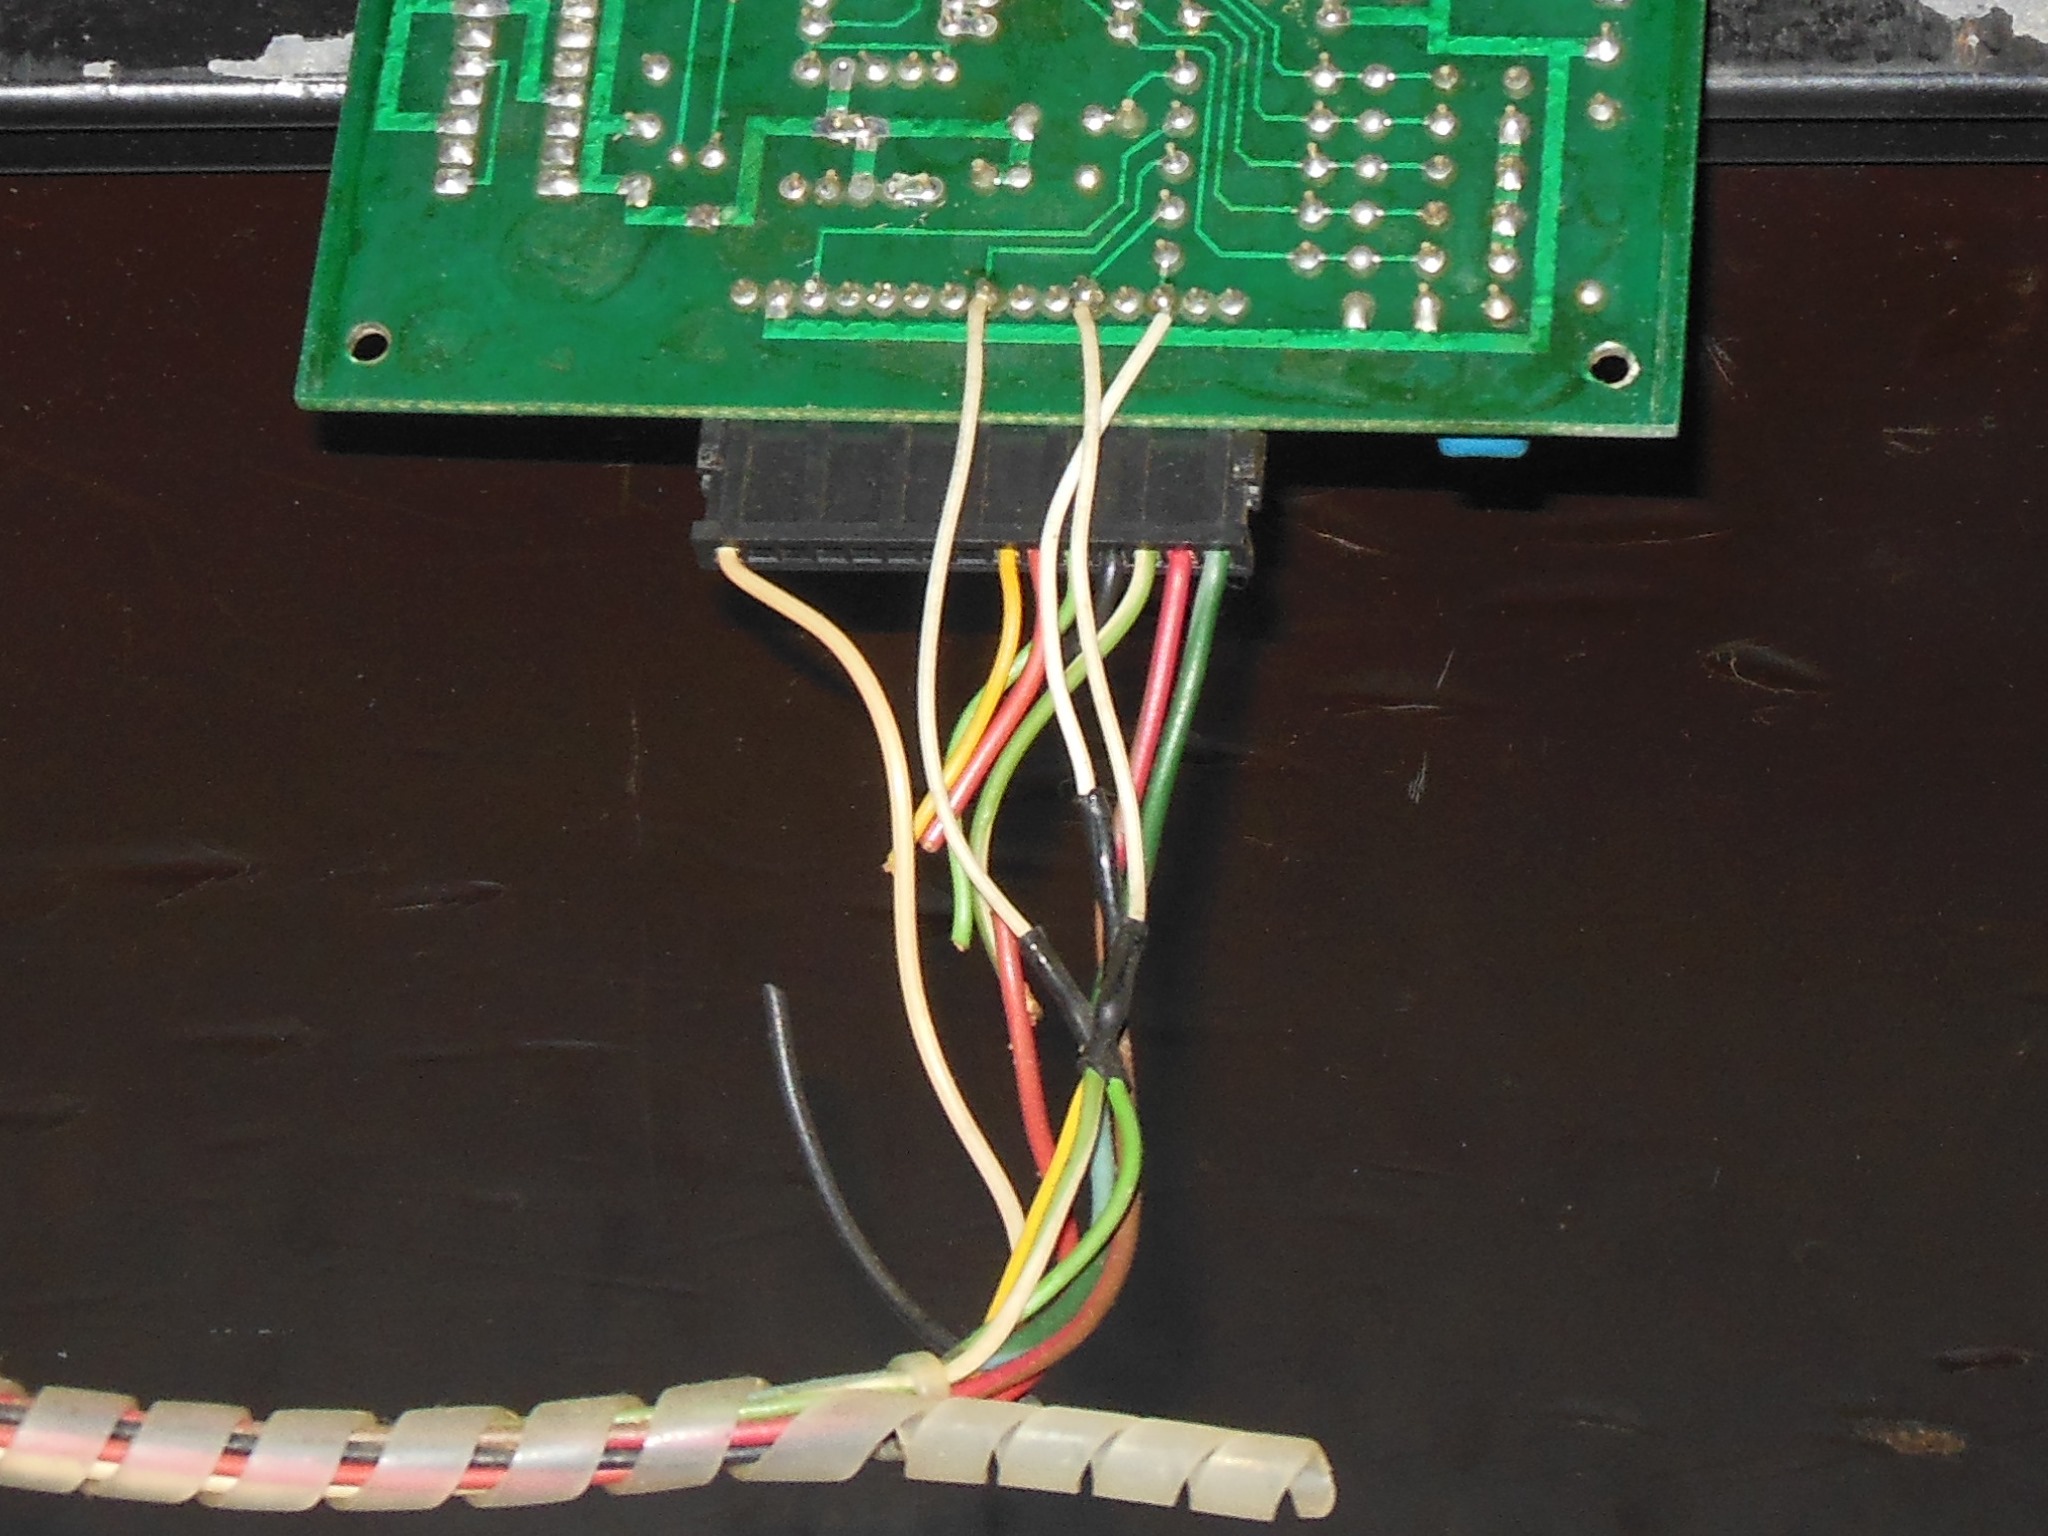
Checking IC 11T (2125) found pin 9 high. Checking IC 10T (LS86) pin 8 output active suggesting a schematic error or open track. Sure enough, on the back of the PCB there was a scratch that cut a track. Repairing the cut fixed all the remaining graphics issues and the PCB was fully working.
|
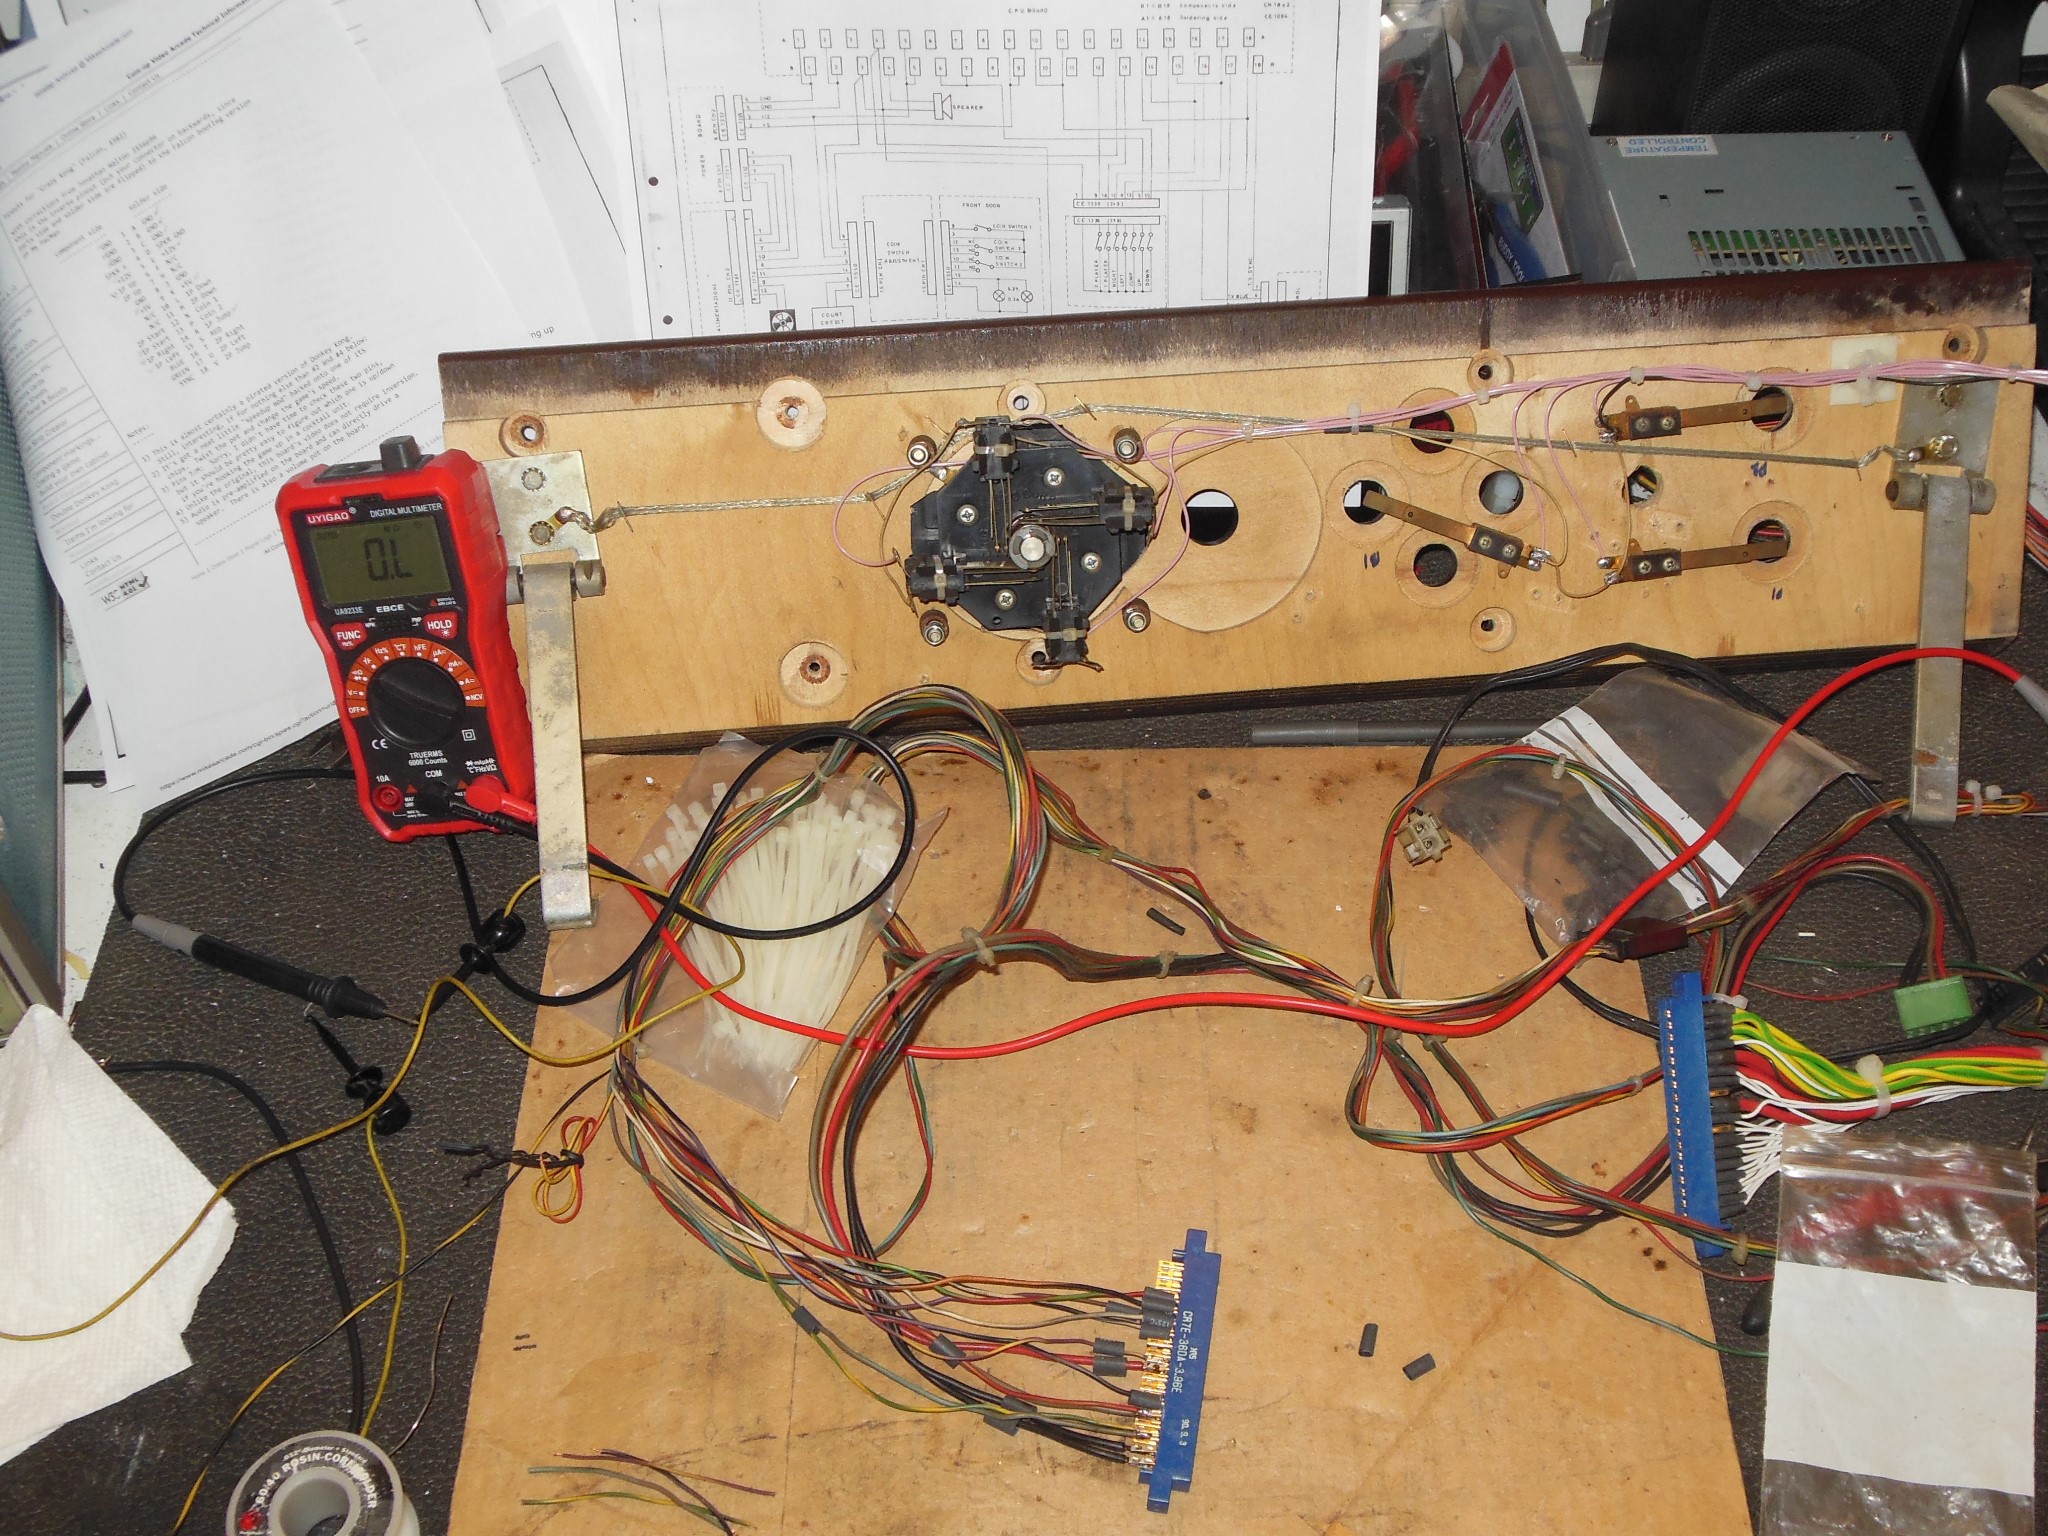
The original edge connector on the recycled loom was removed and a new edge connector fitted starting with power. The control inputs were connected next using a multimeter and the control panel on the bench to determine the routing. Finally the video output lead was connected. This left only the speaker outputs to connect after the loom was fitted in the cabinet.
|
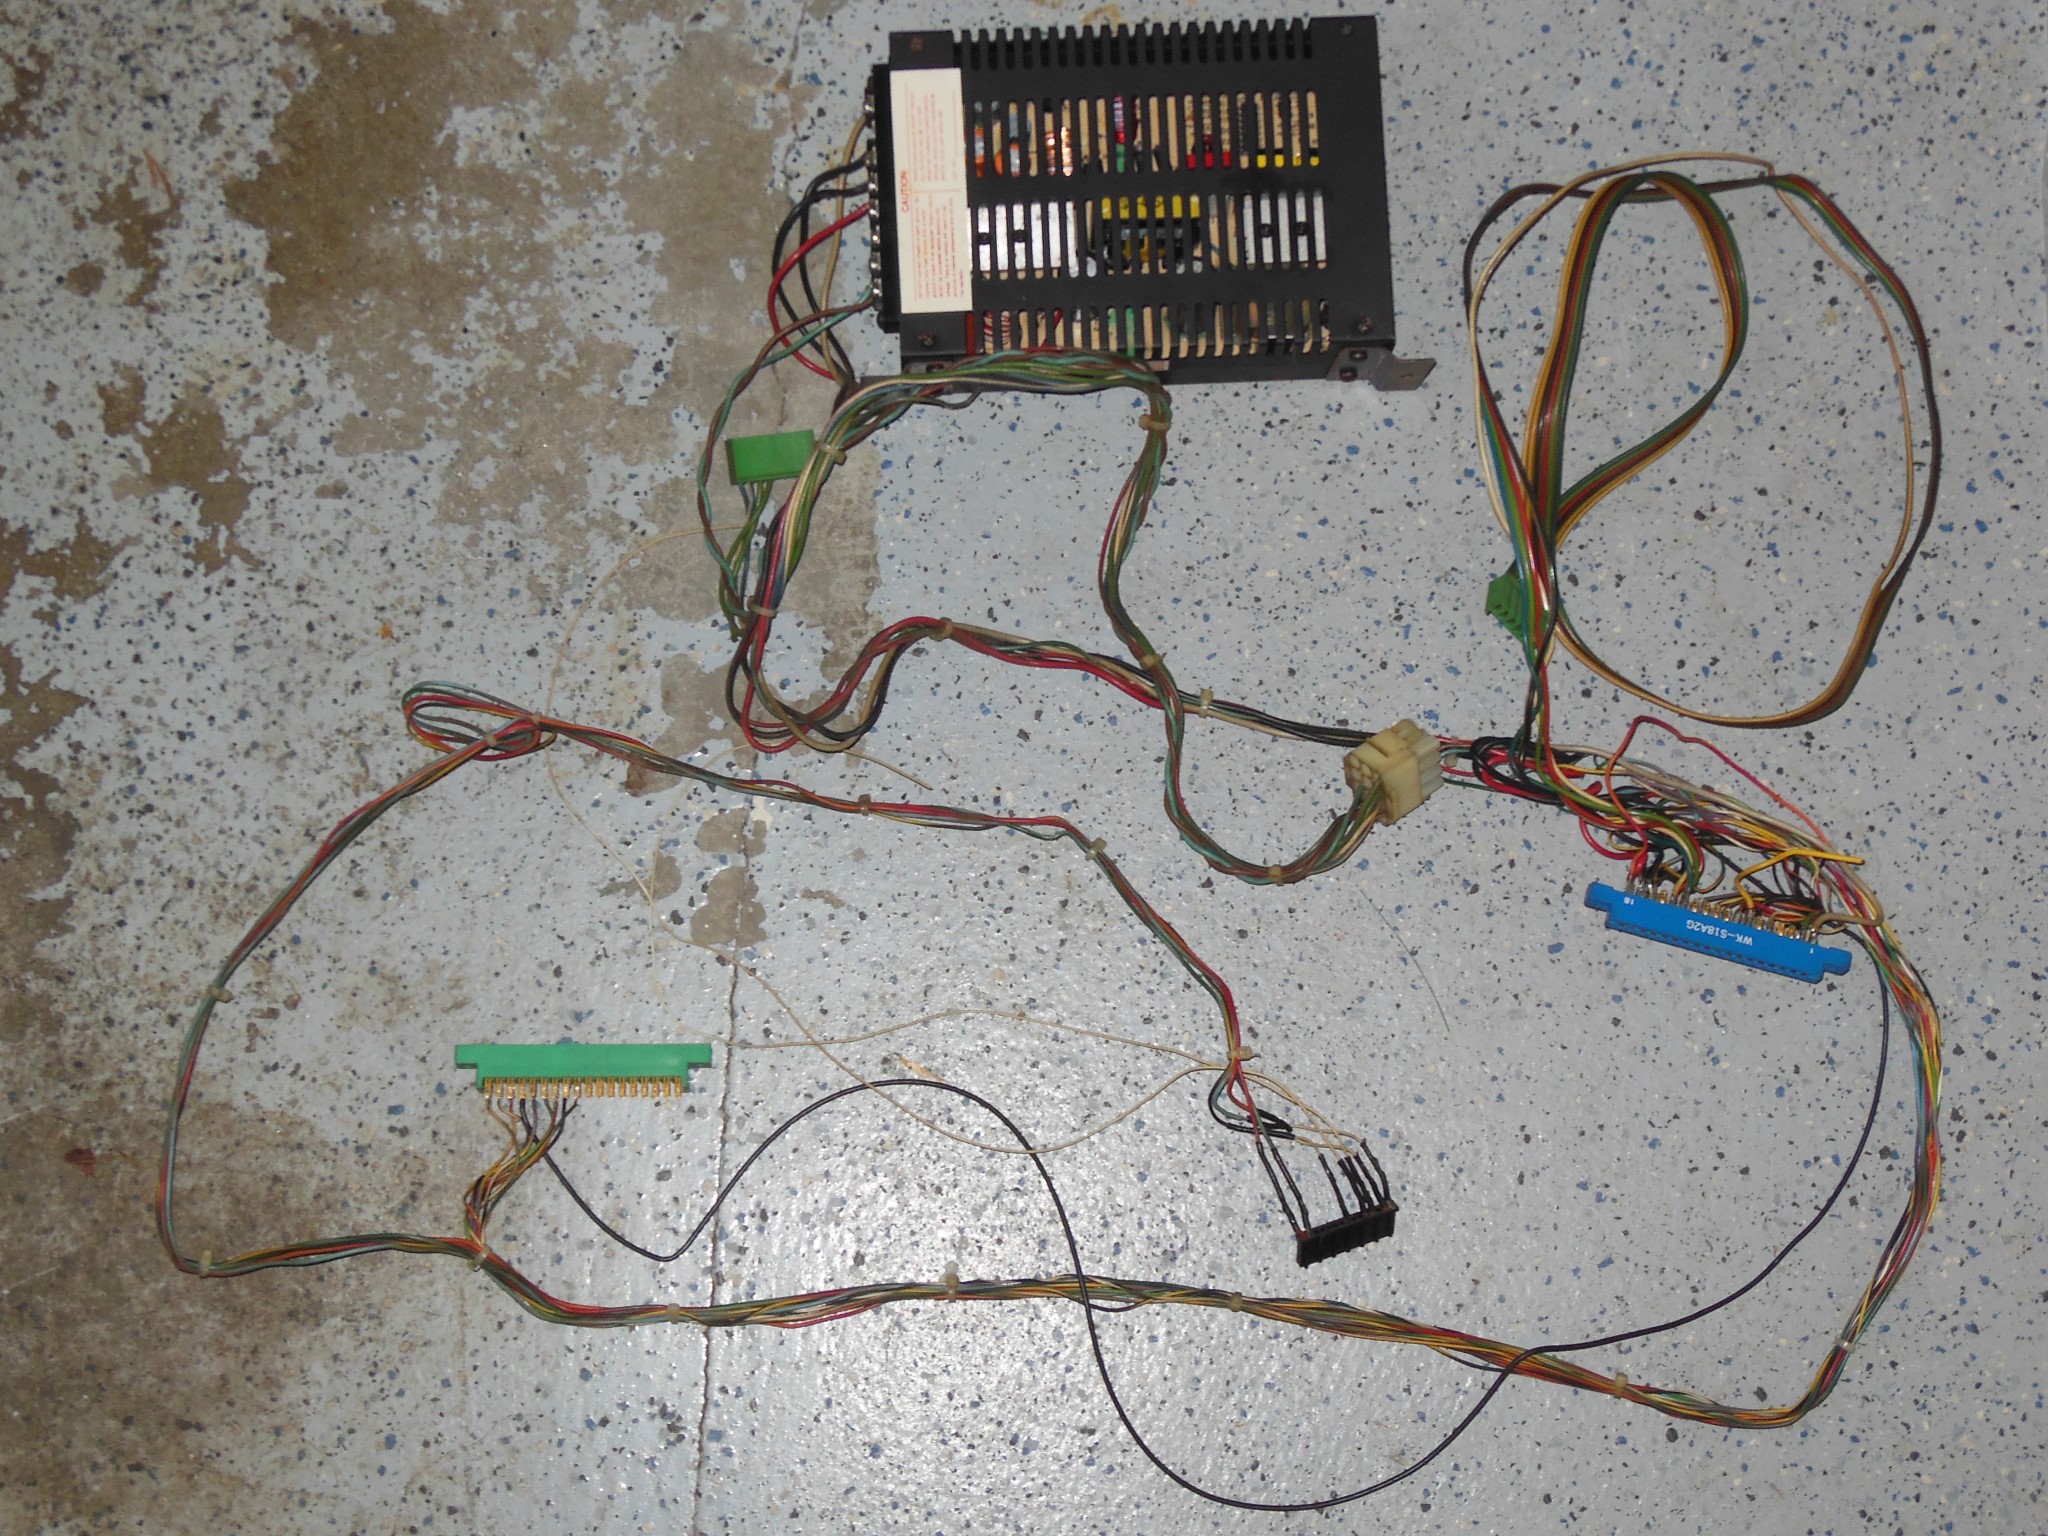
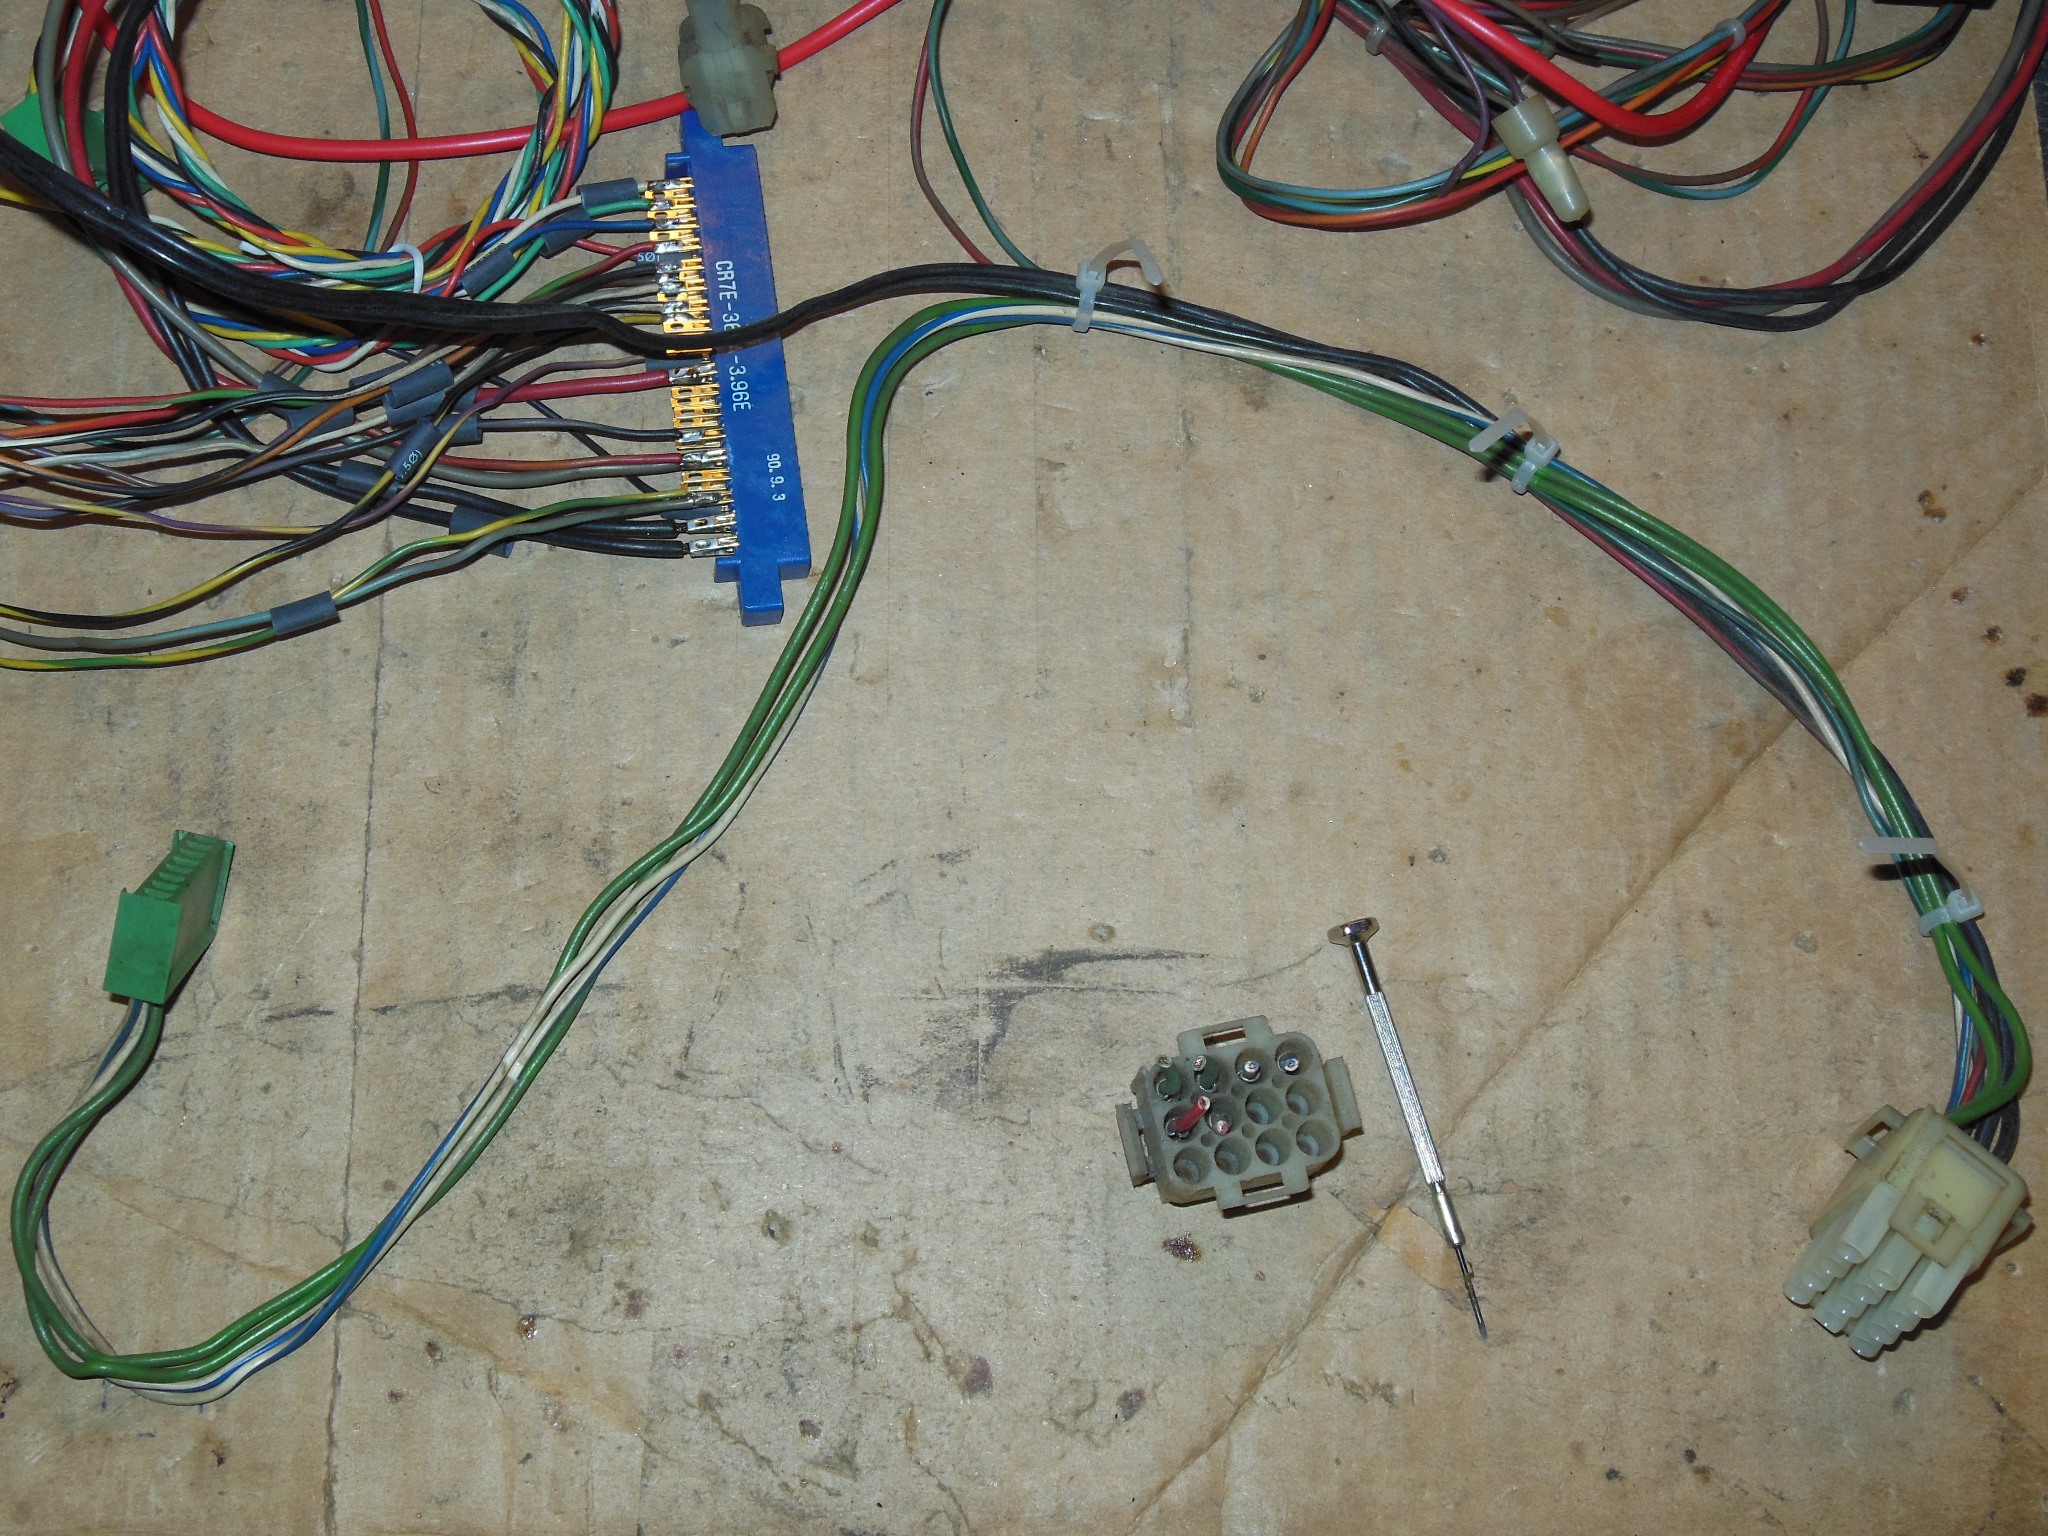
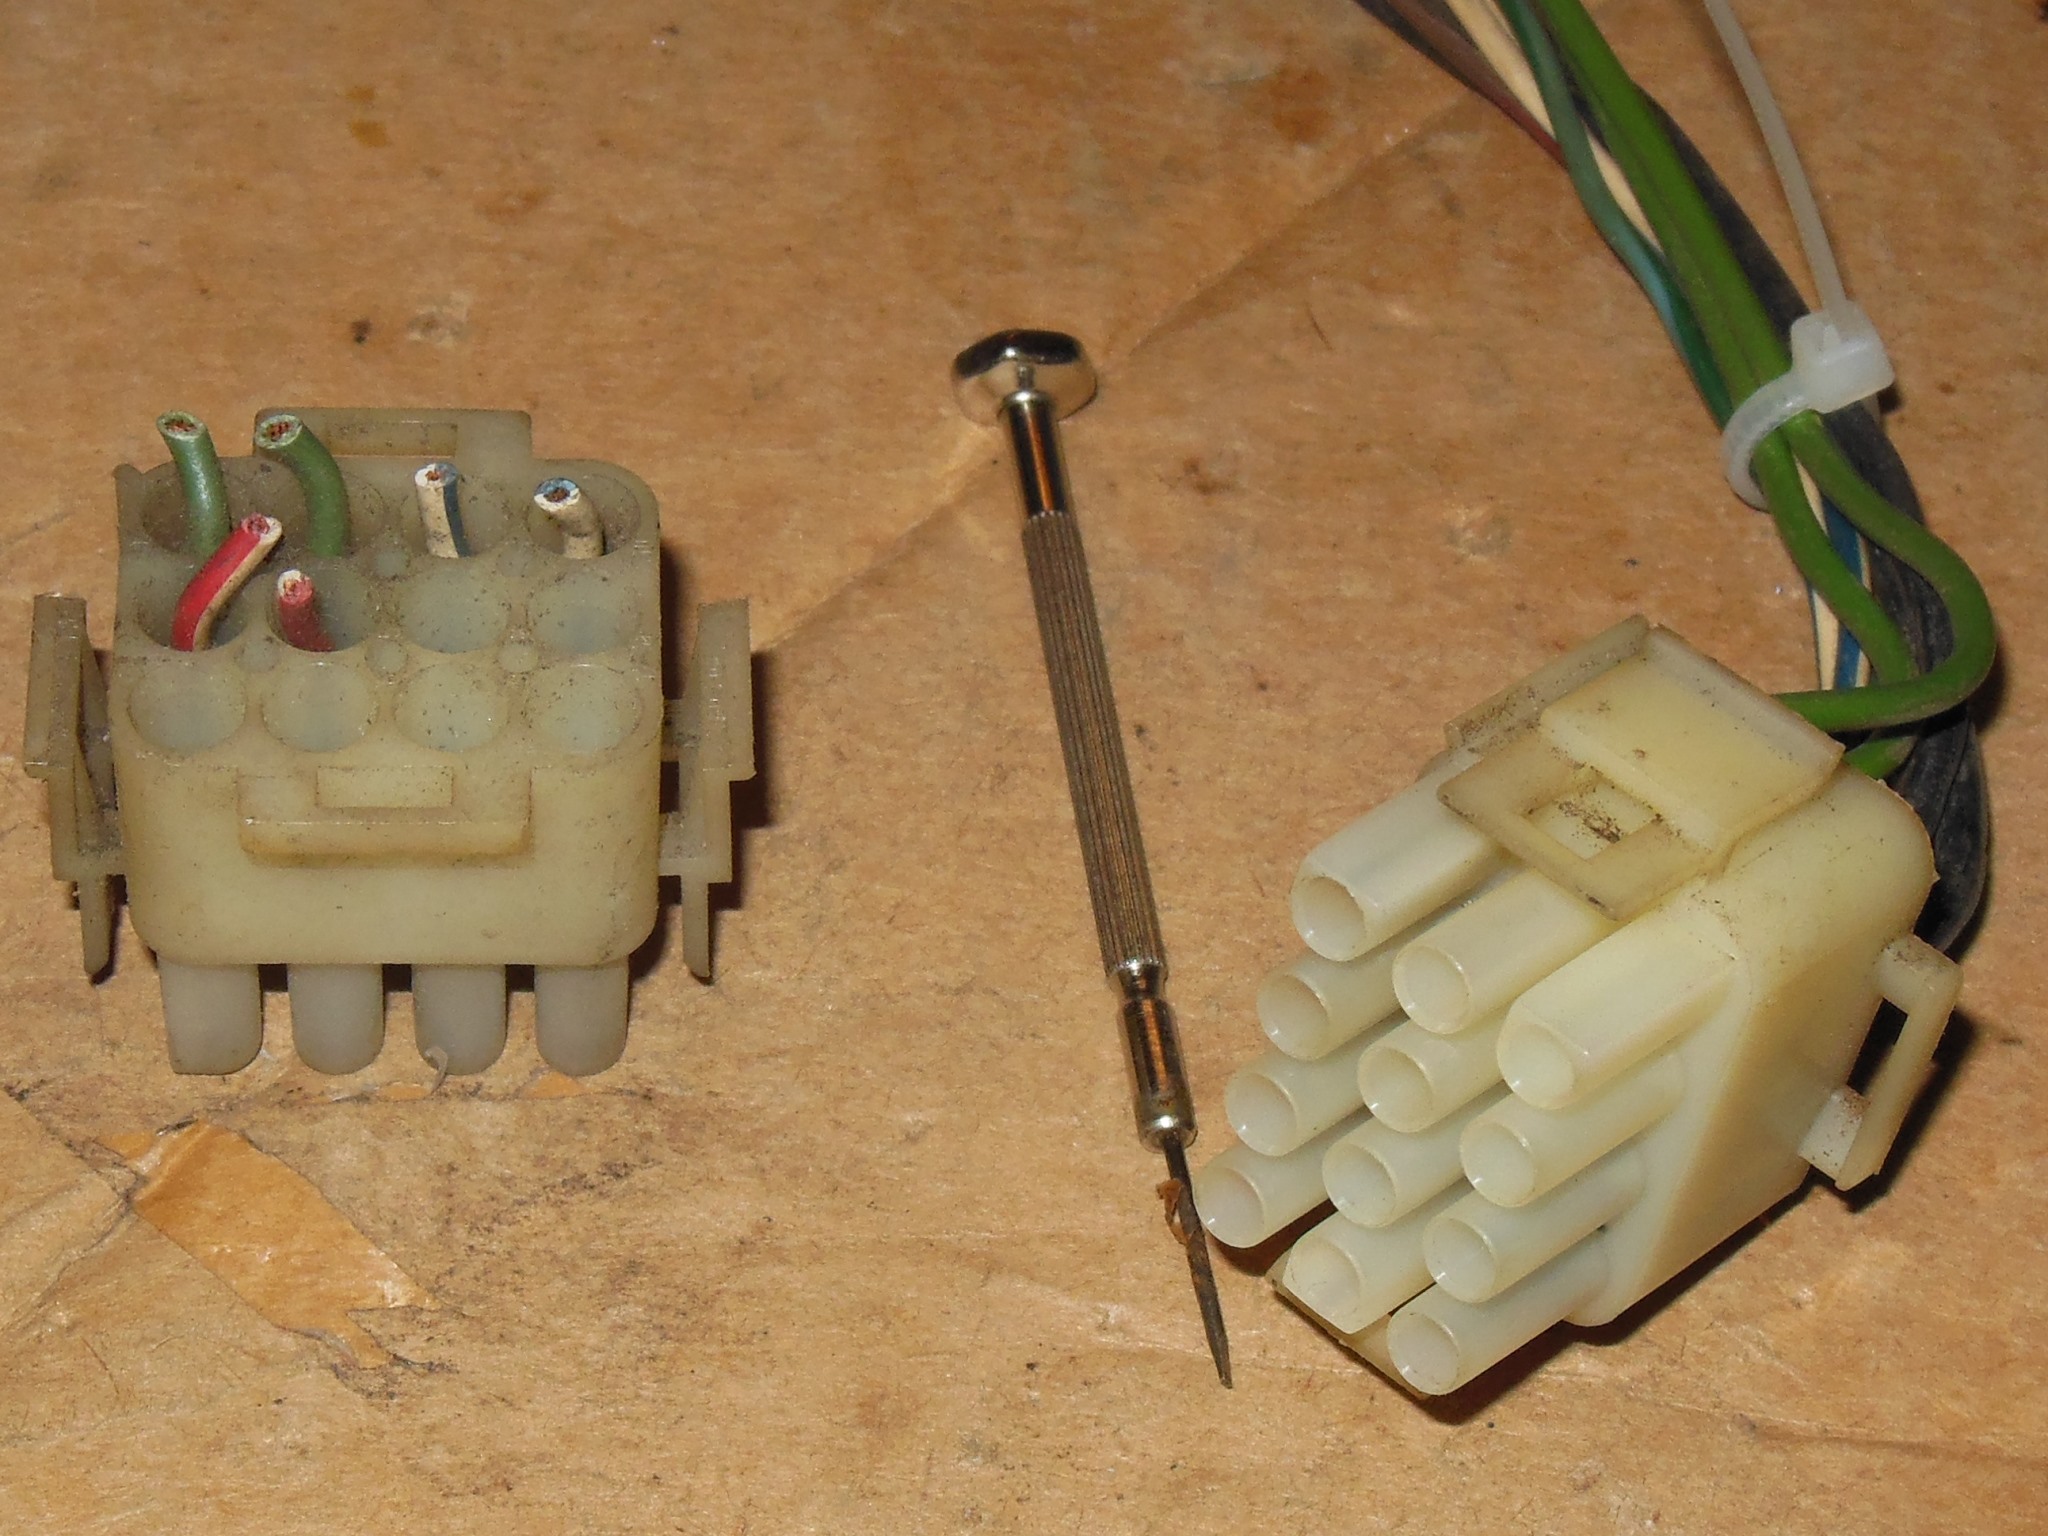
The severely hacked loom from the cabinet was removed along with the power supply. The low voltage AC plug & wiring was intact on the cabinet loom but cut off on the replacement loom so a portion of it was moved over using a jewelers screw driver to gently press down the pin latches to allow them to be popped out.

|
The replacement wiring loom was fitted into the cabinet and approximately adjusted into position.
|
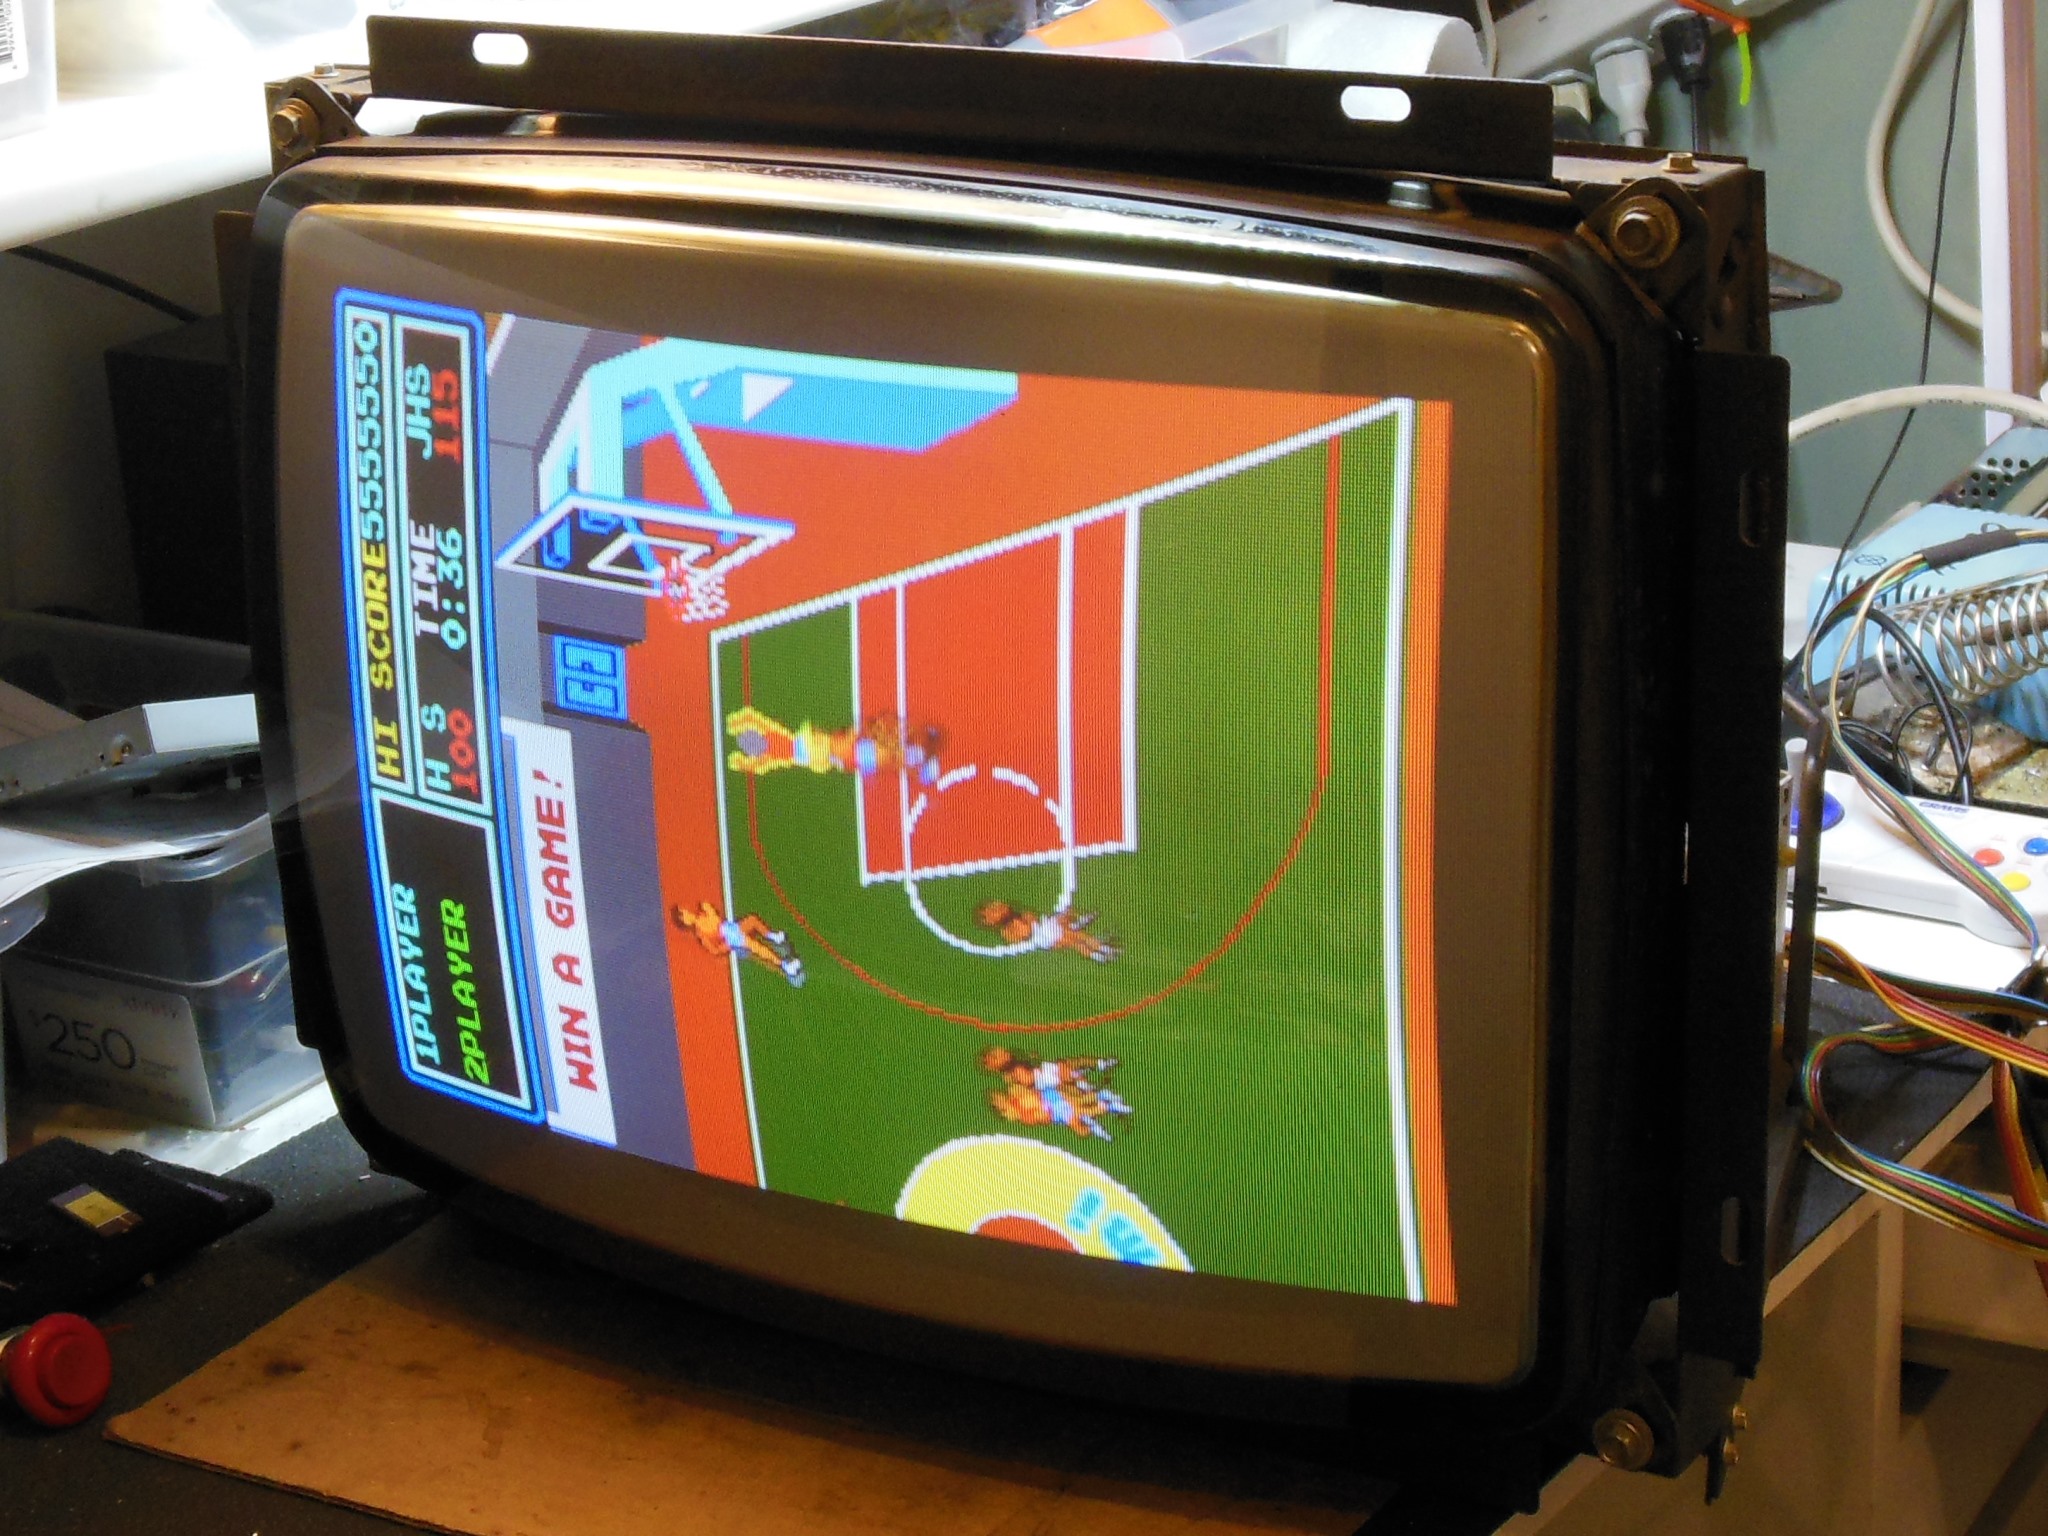
With the chassis installed, on the bench the monitor was working with no issues and good picture.

|
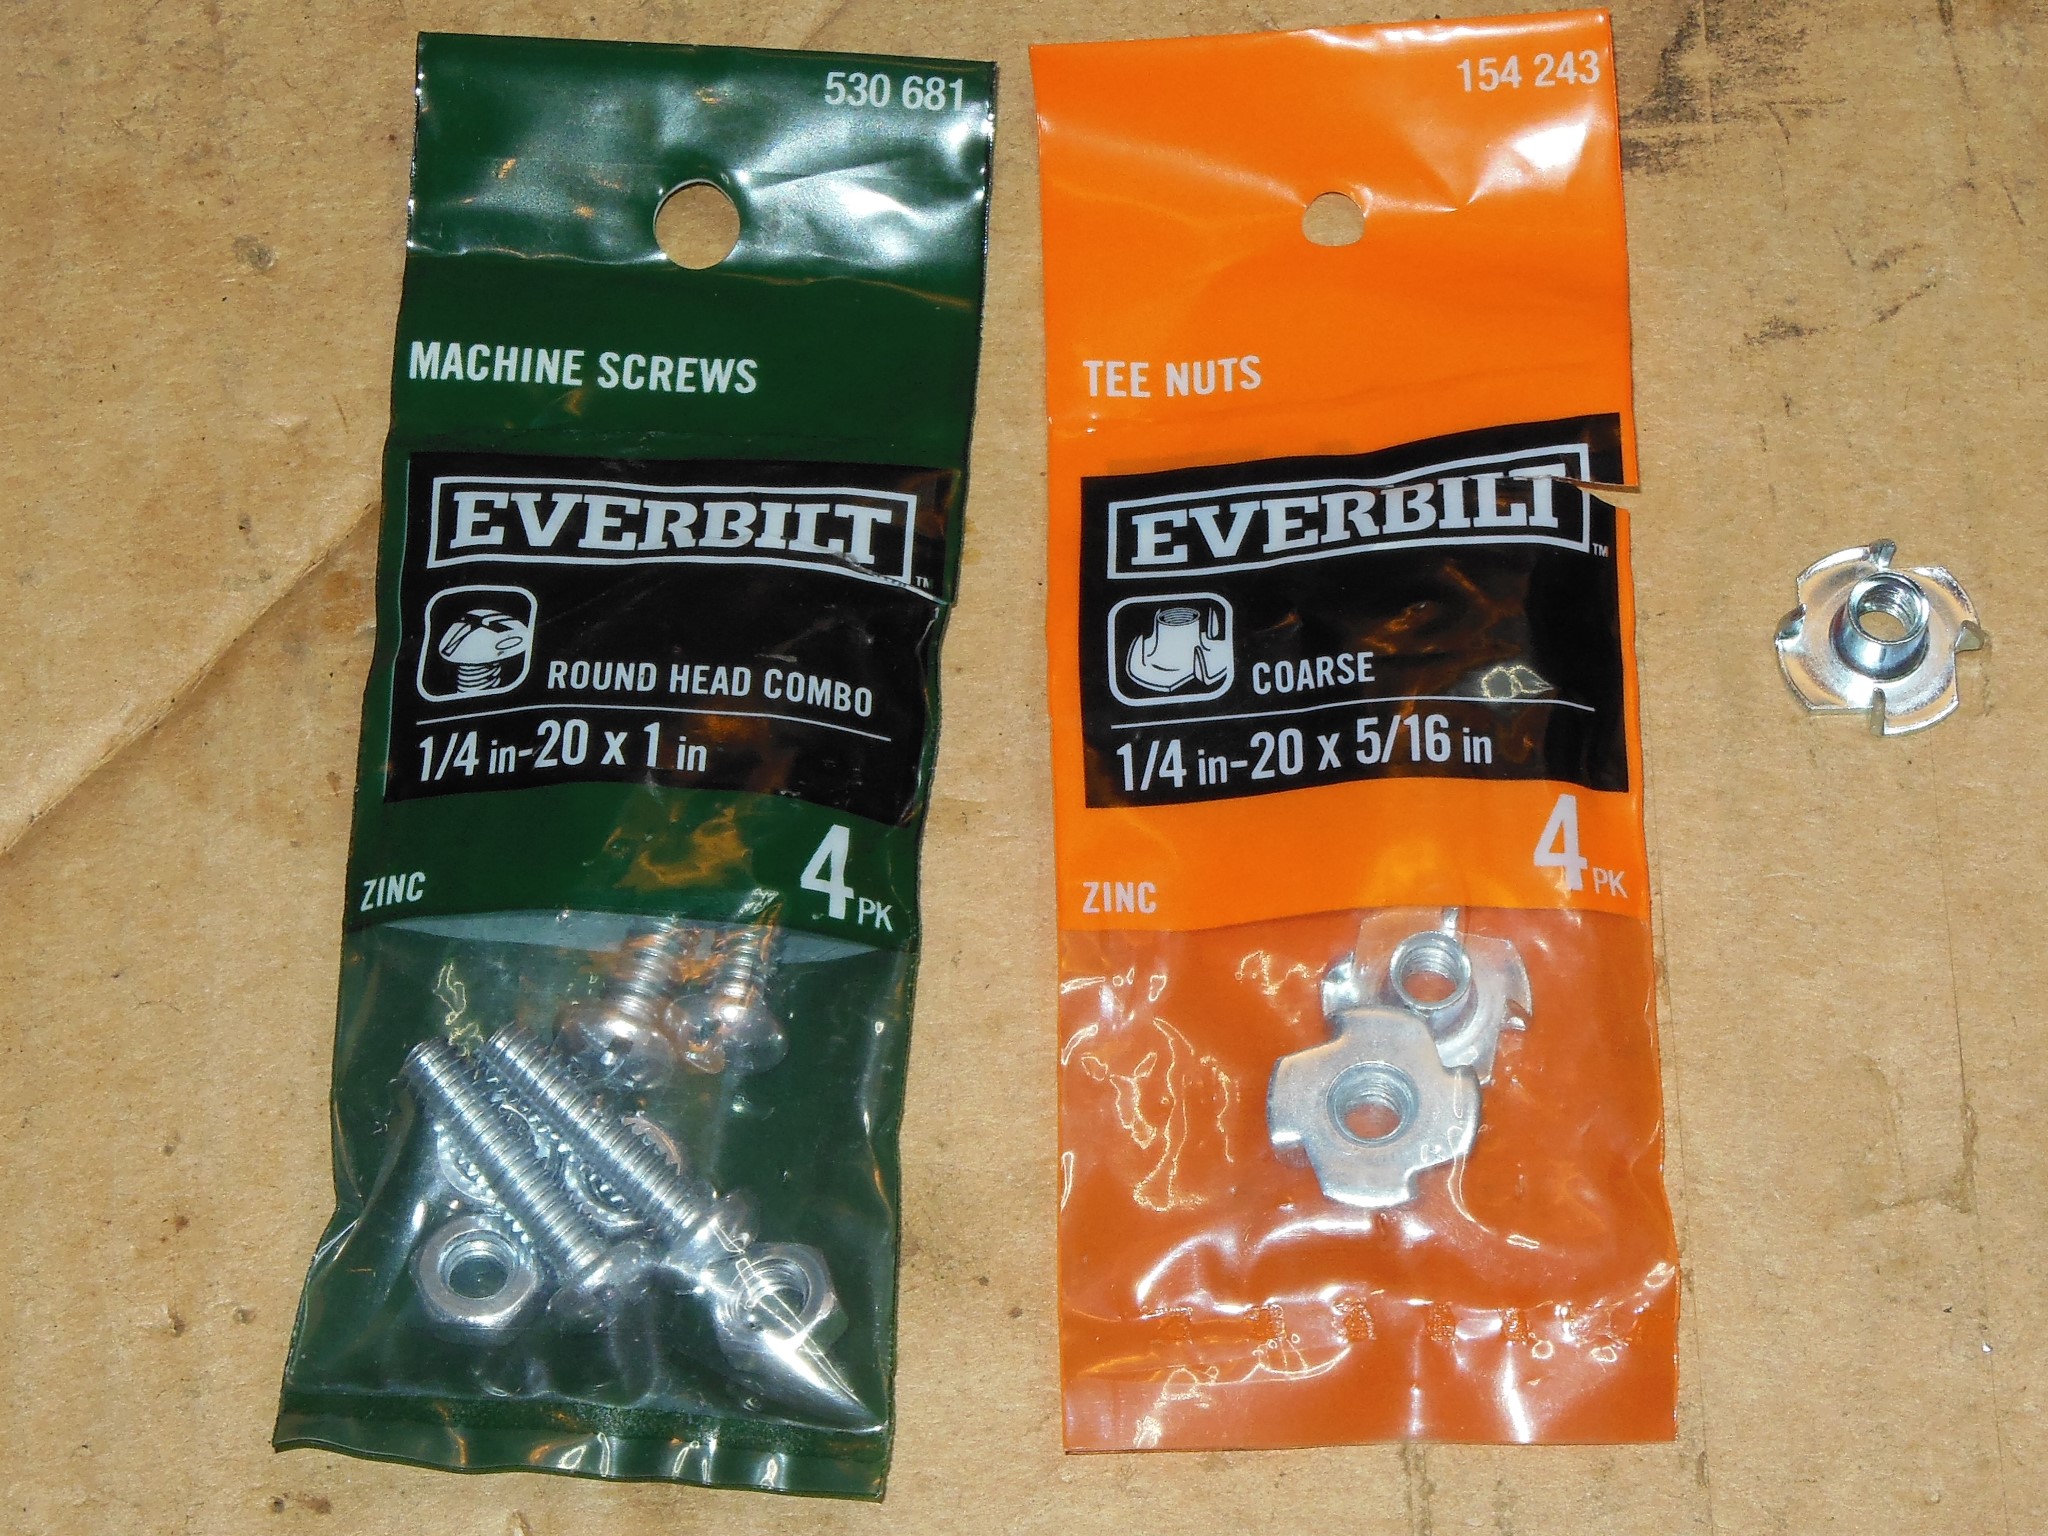
Later Zaccaria universal cabinets supported either orientation using steel spacers for vertical mounting. I used a spare one of those as a template to order reproduction plates form Online Metals, making them slightly longer to match the full length of the monitor bracket. The screw and bolt holes were then marked and drilled based on the original pattern.
|
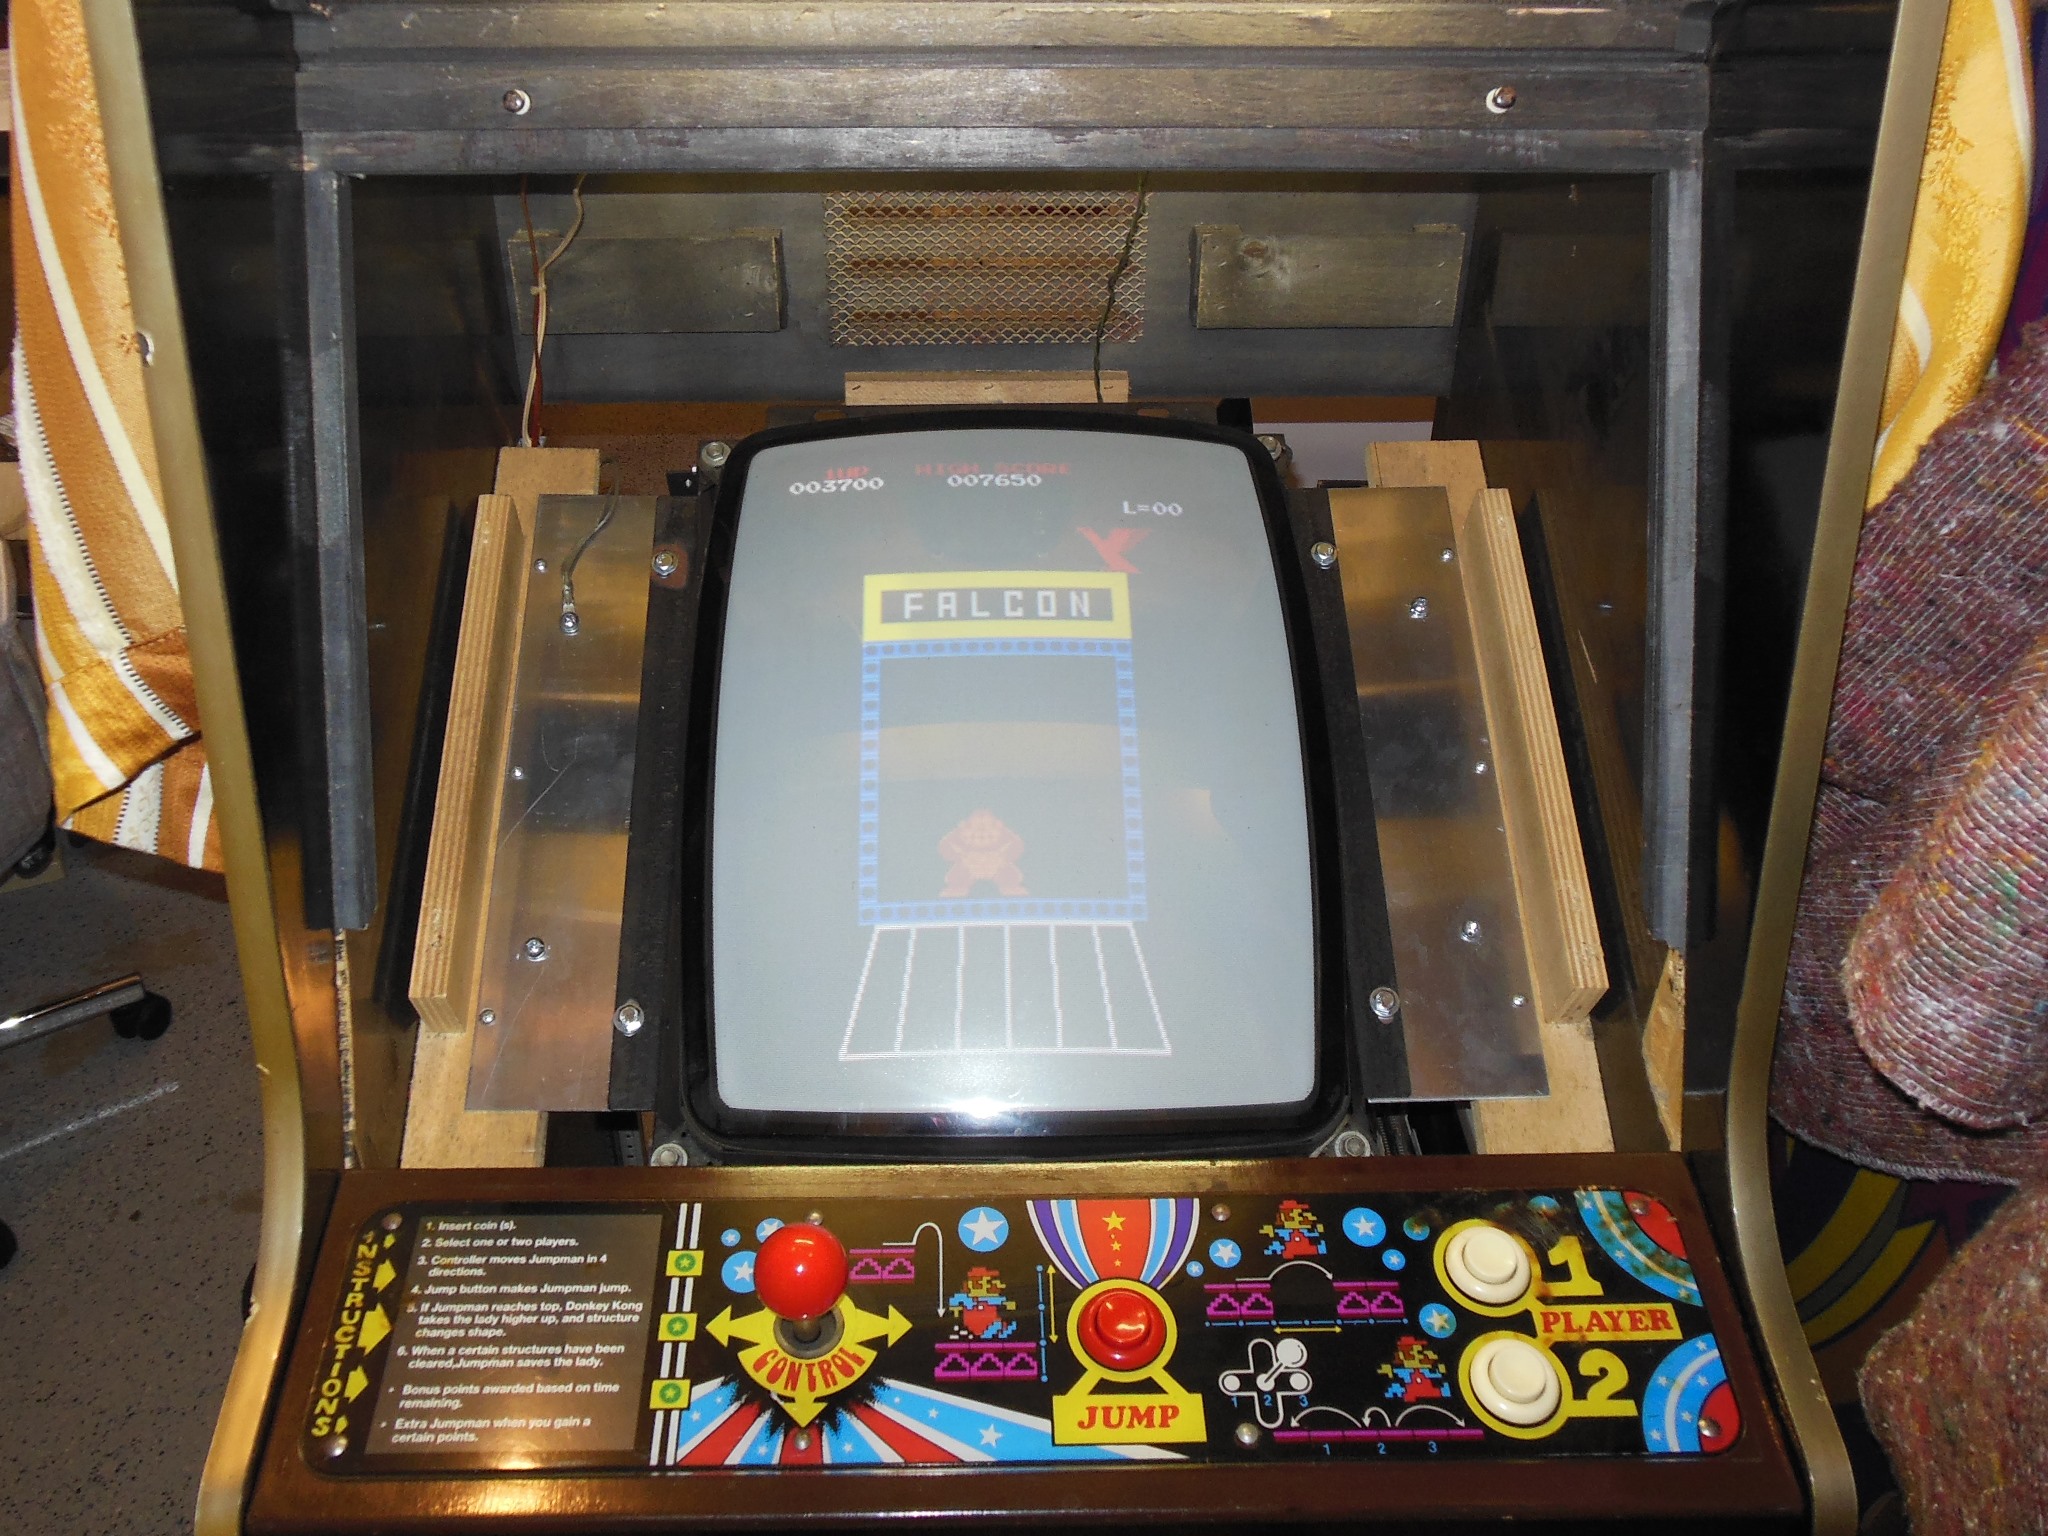
The monitor was mounted back into the cabinet and tested. The picture was upside down (a quirk of this game) that would need a yoke cable flip later to correct.
|
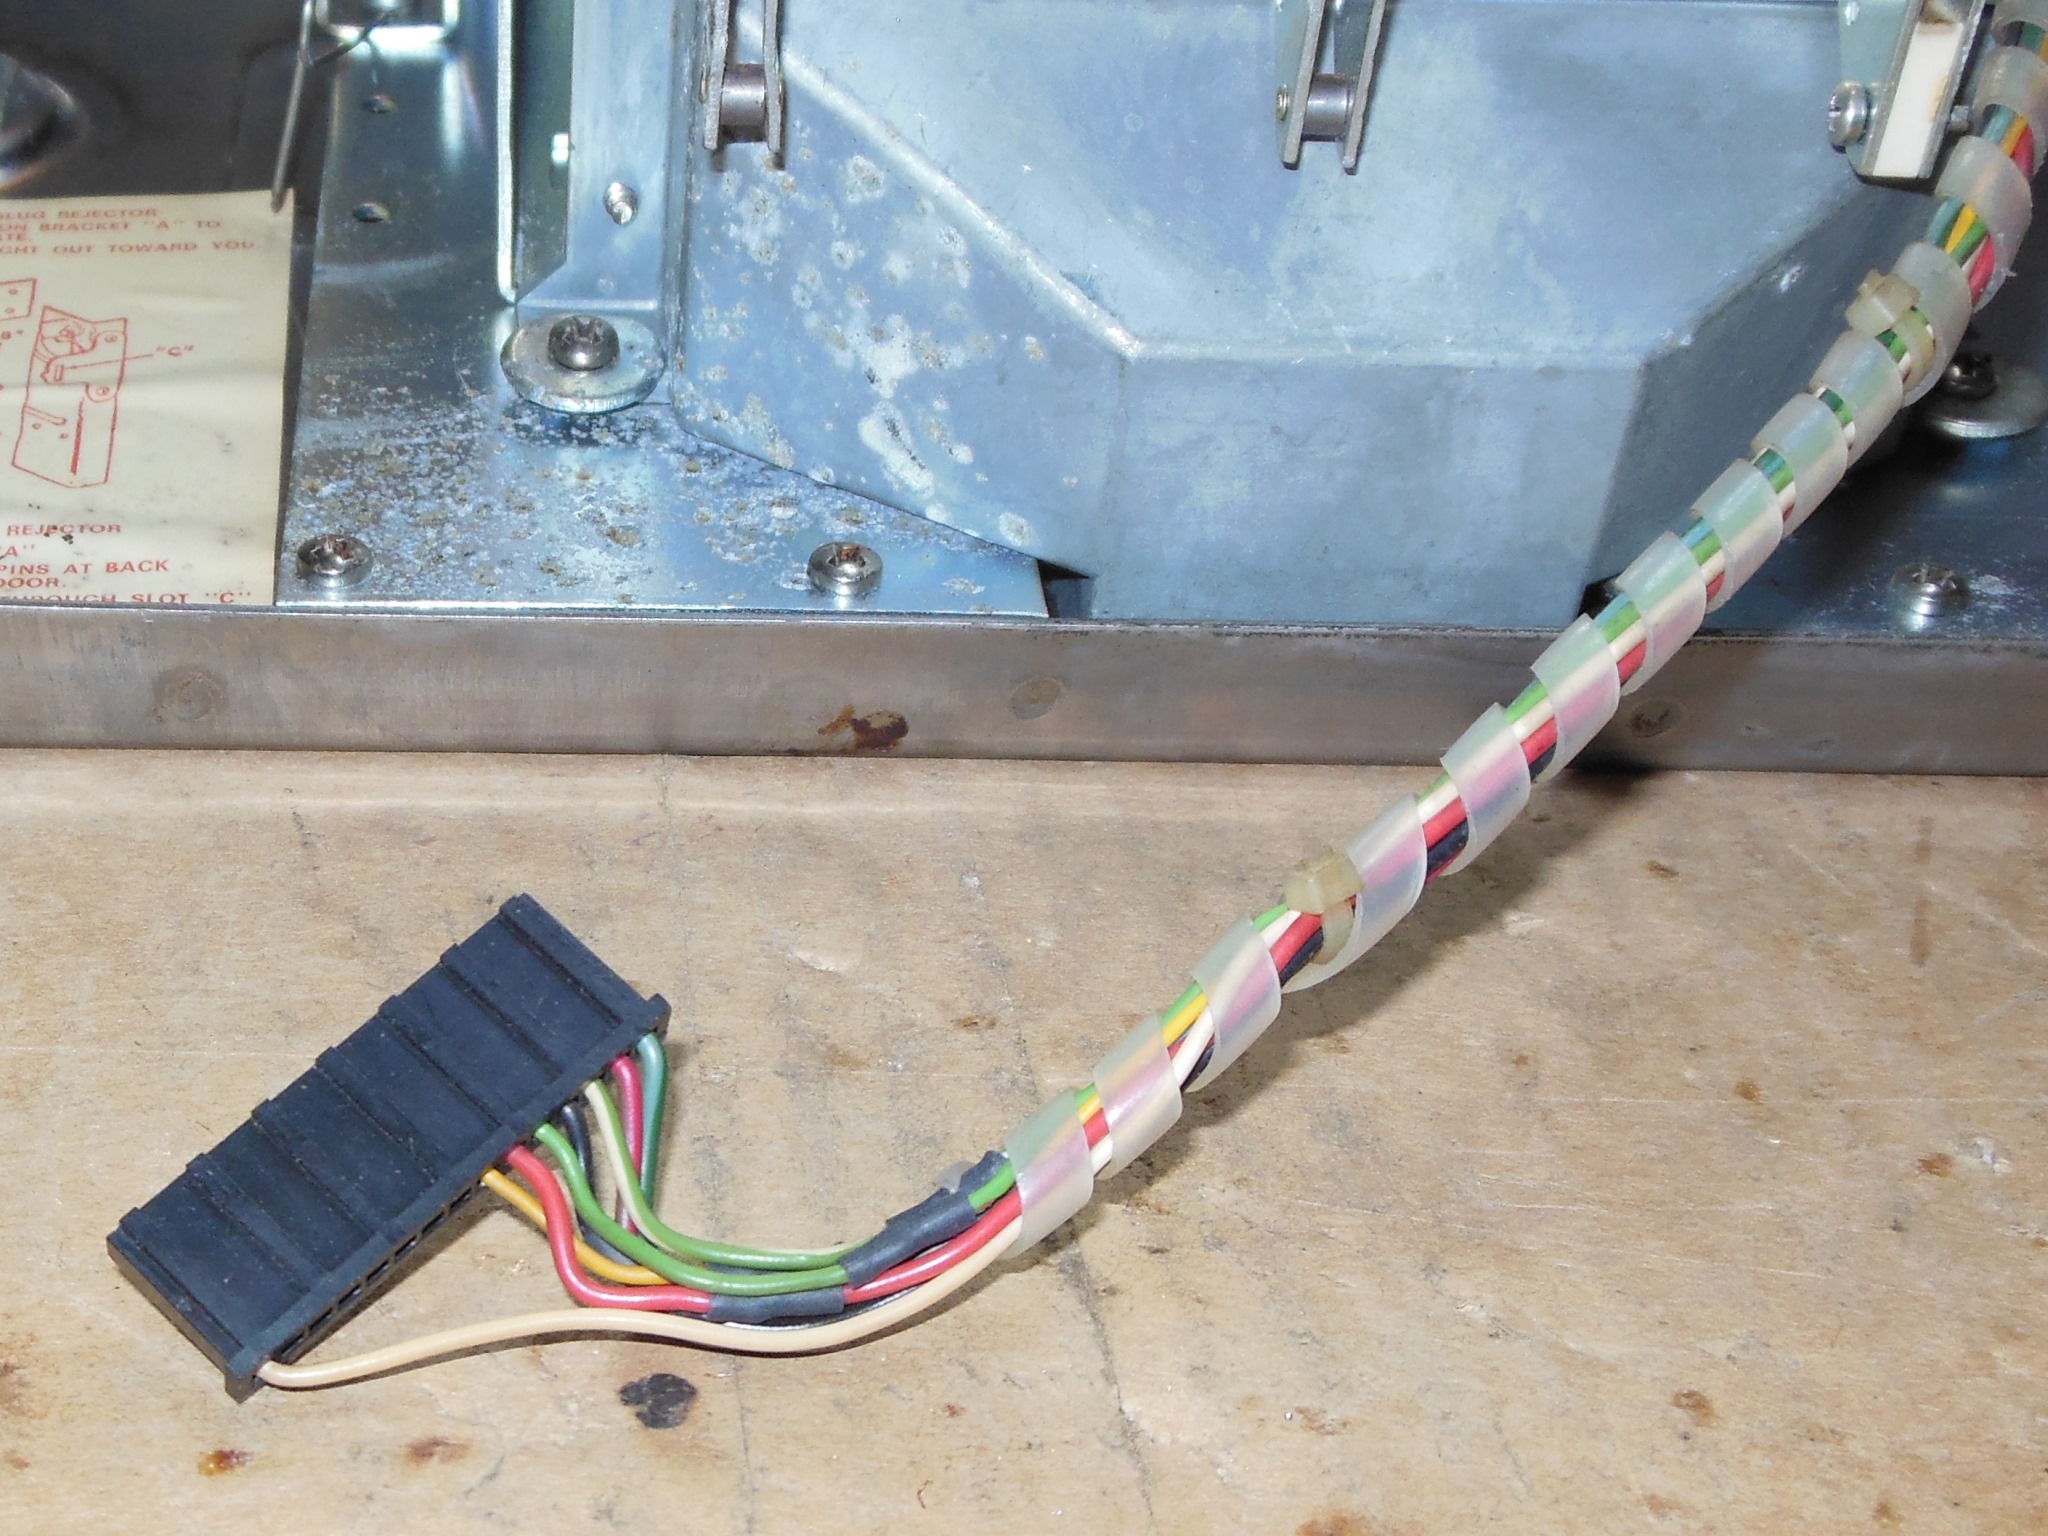
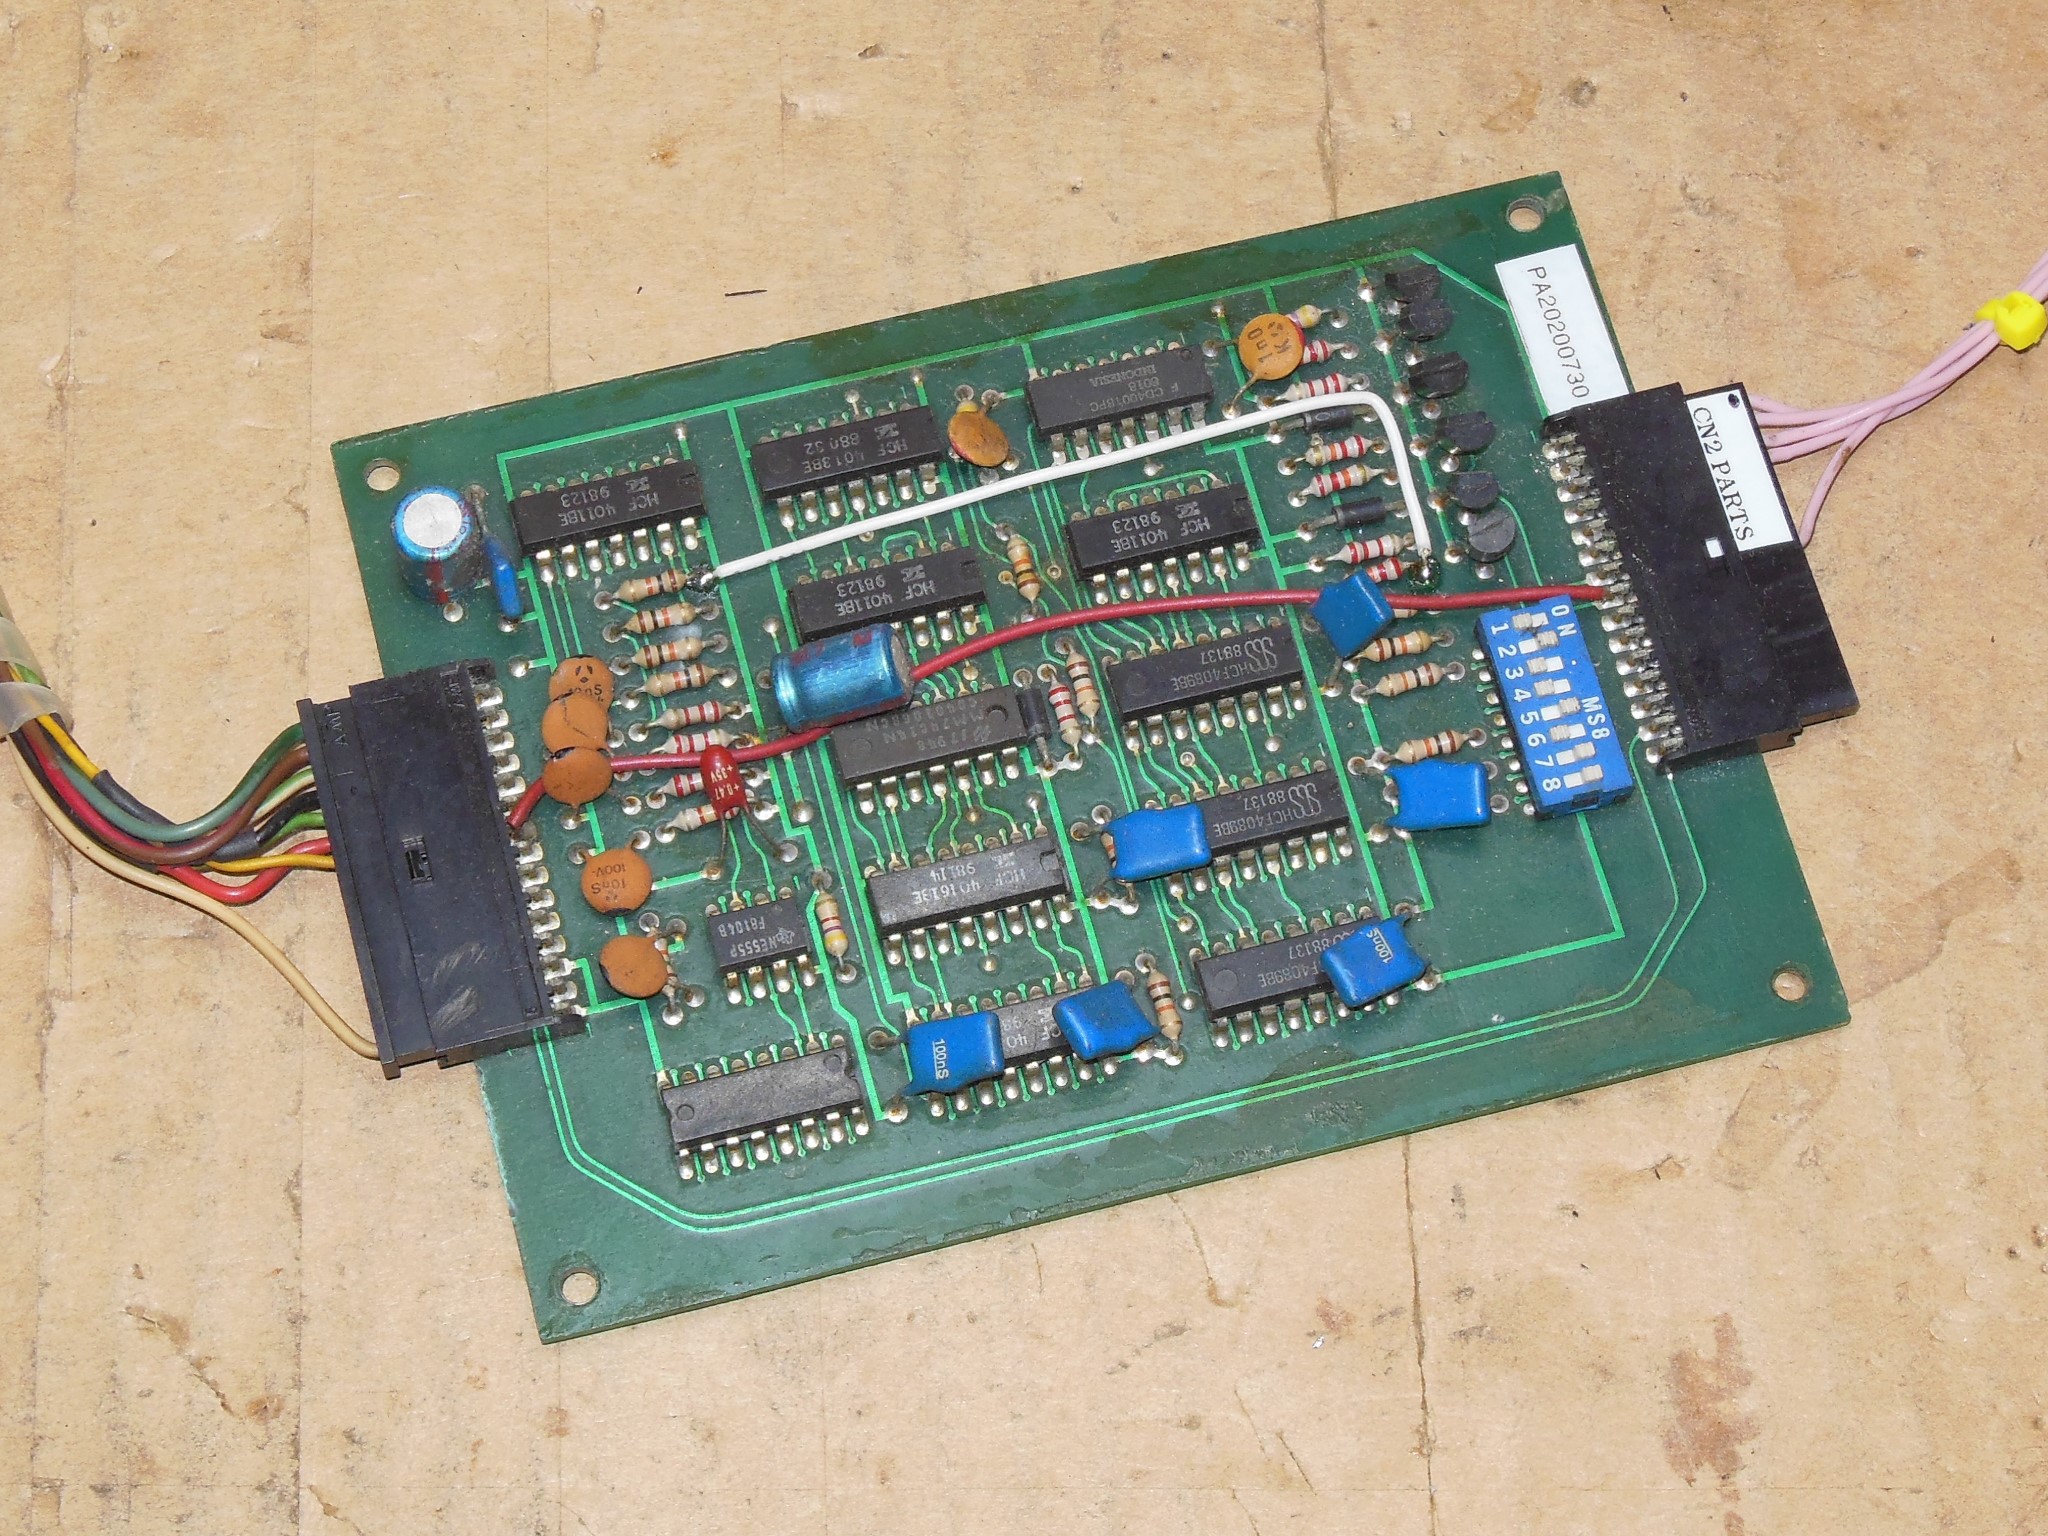
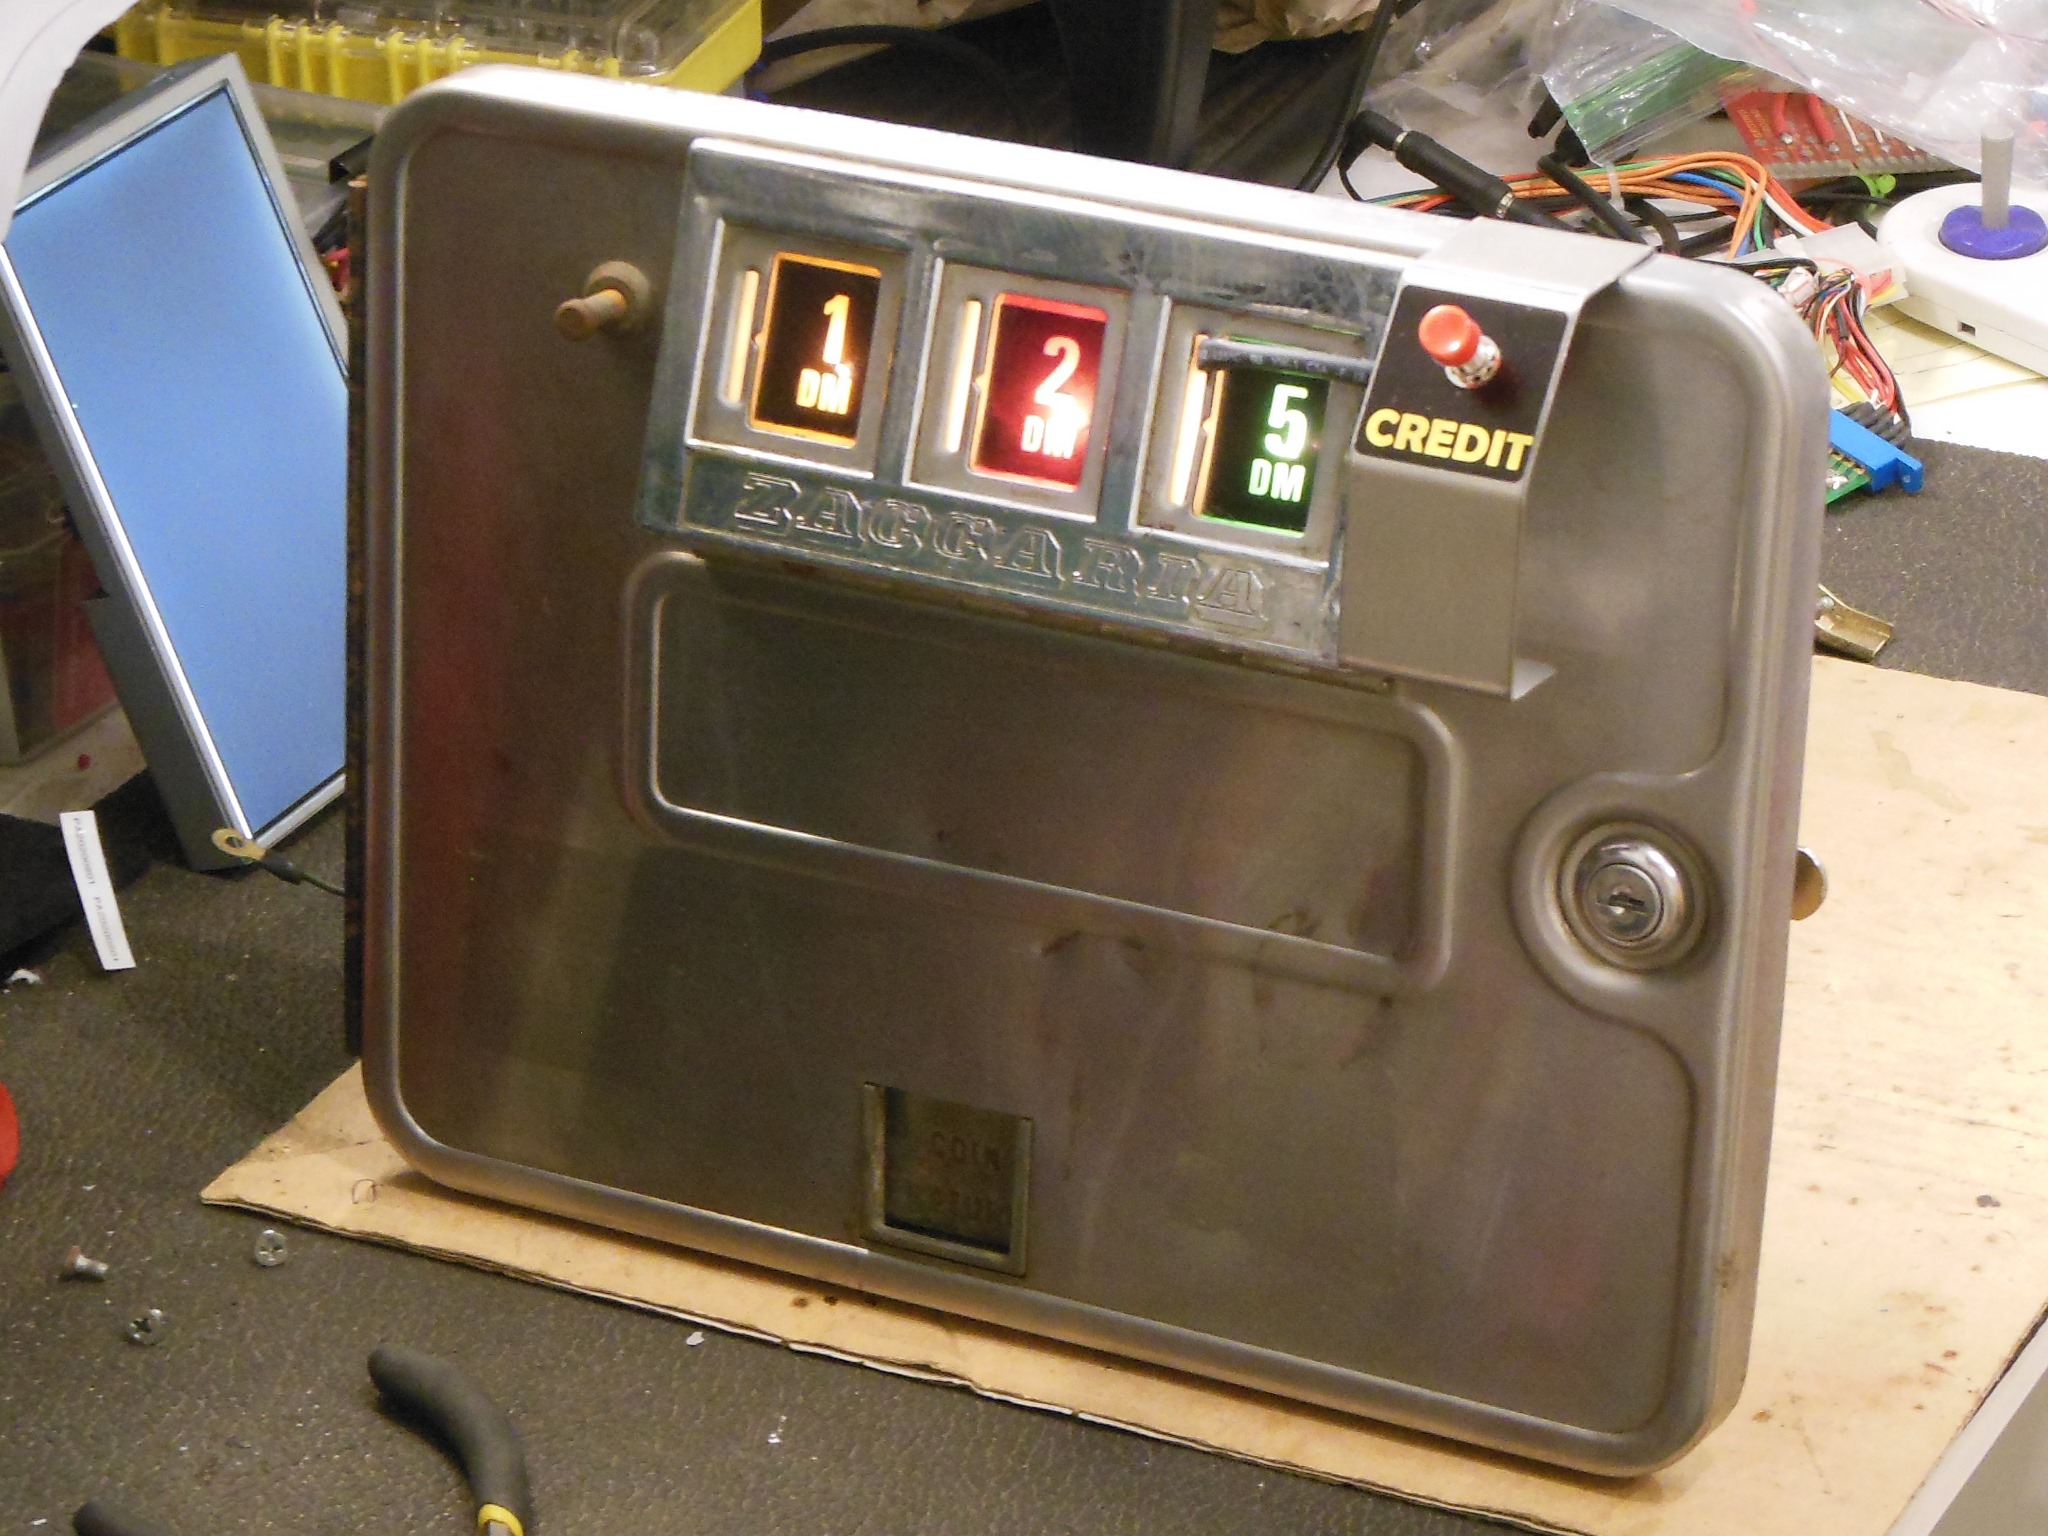
Originally the cabinet would have had a 1B1145 credit PCB and the credit PCB connector to the coin door had been hacked to fit a later 1B1185 credit PCB. The replacement wiring loom had a complete 1B1145 cabinet side connector so the coin door was removed for rewiring.
|
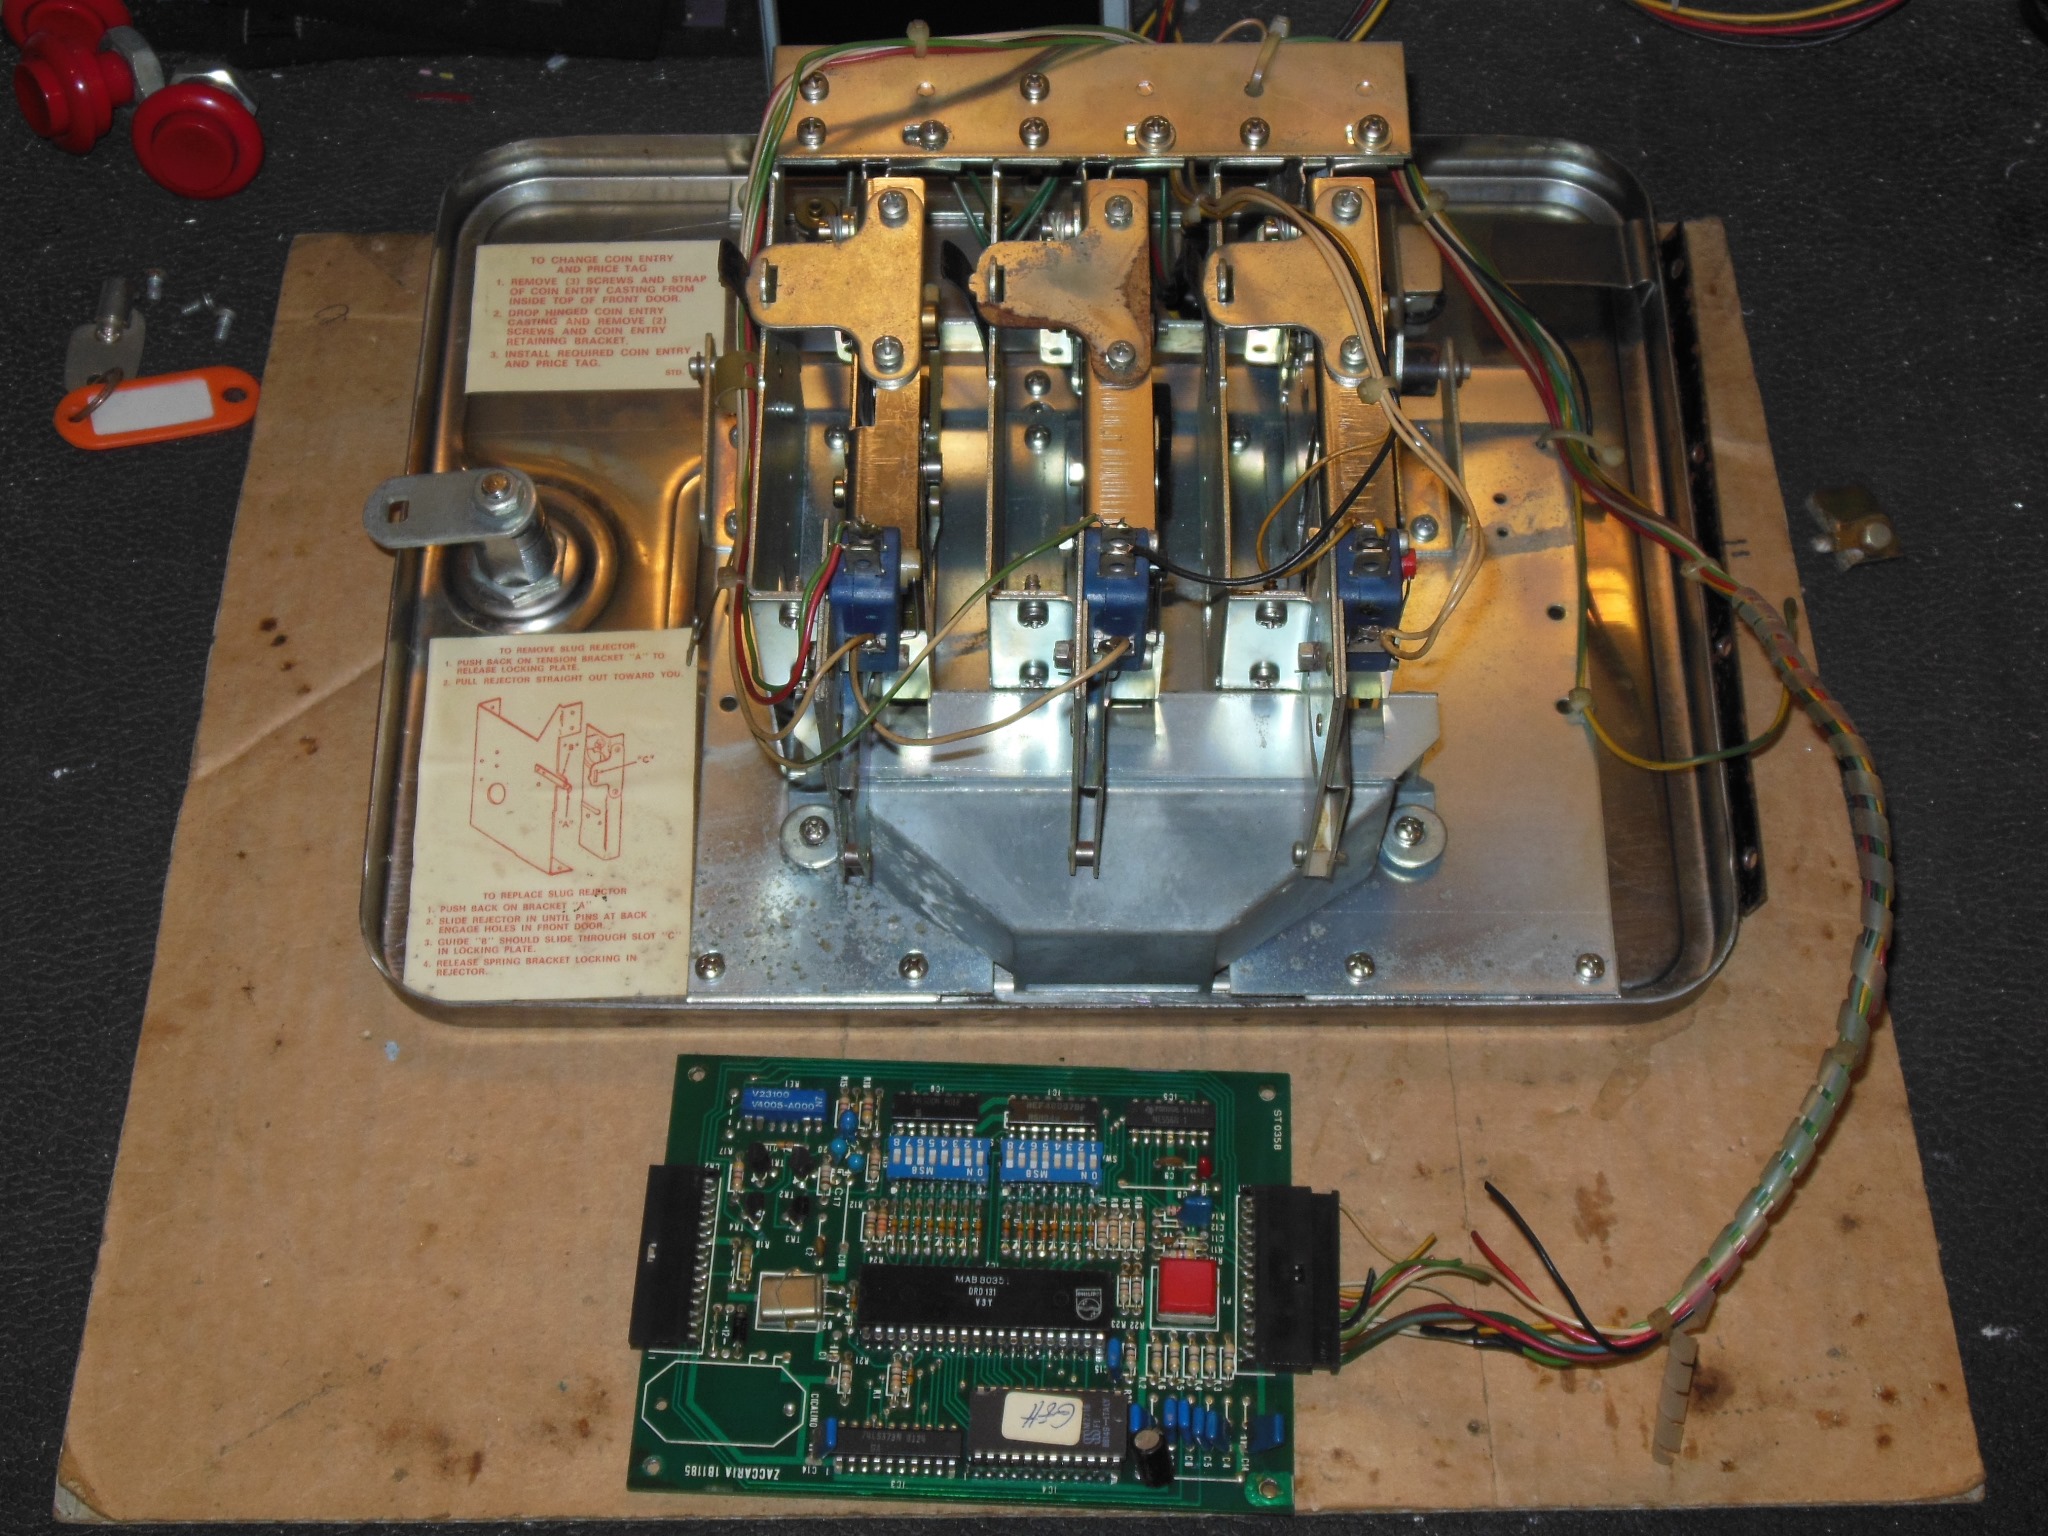
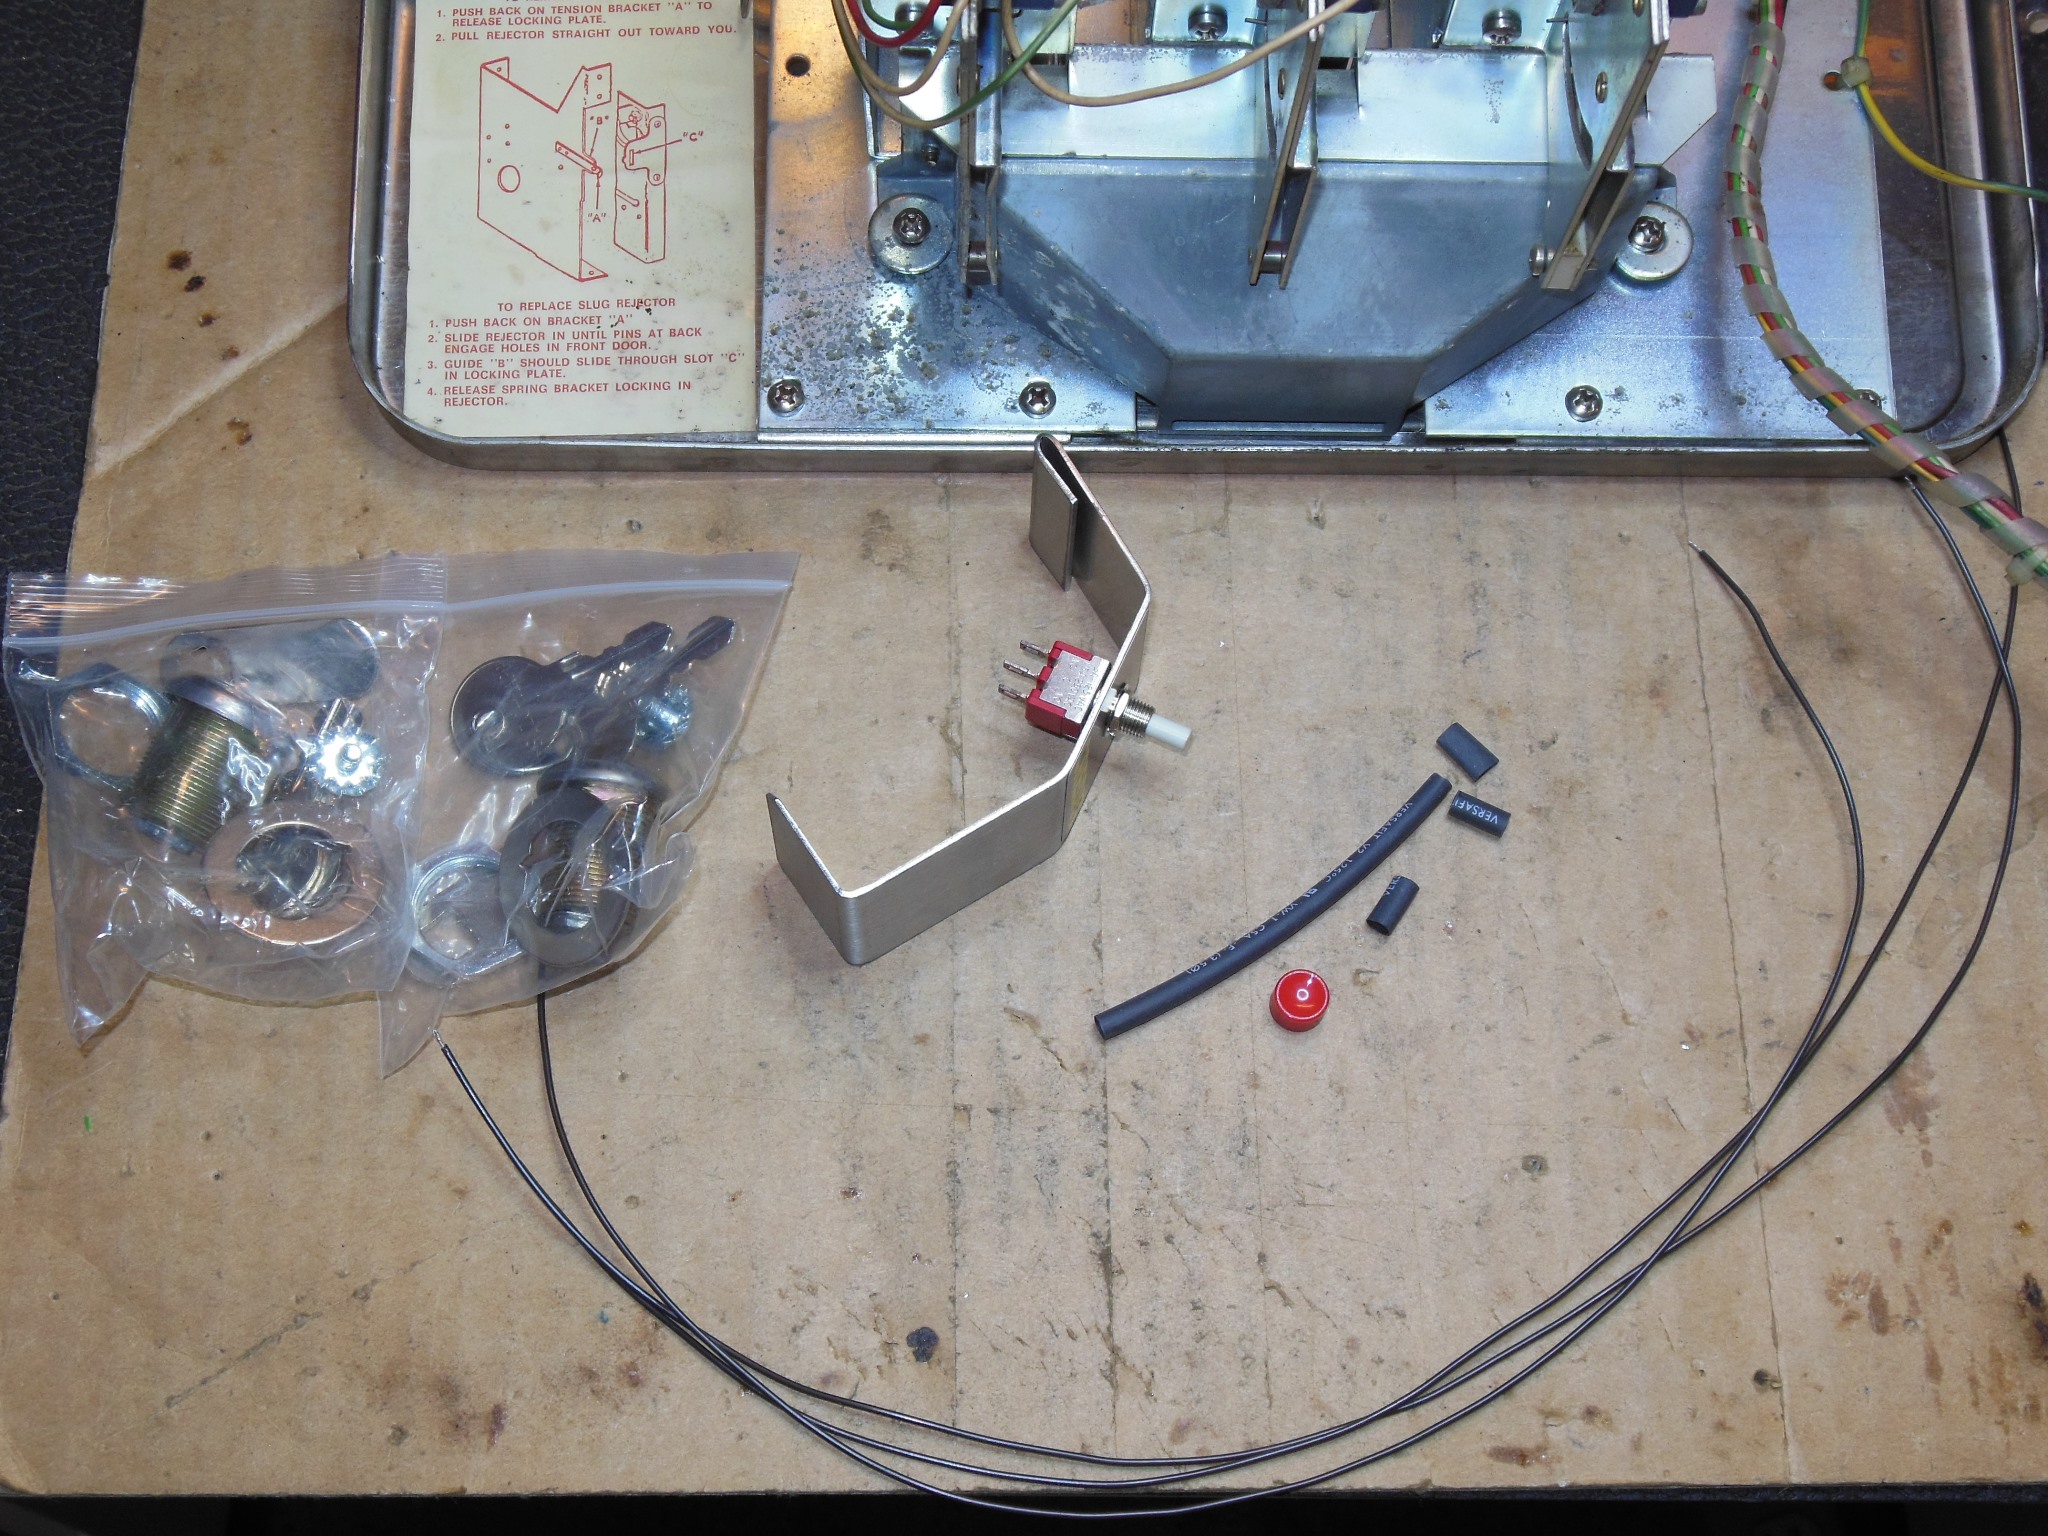
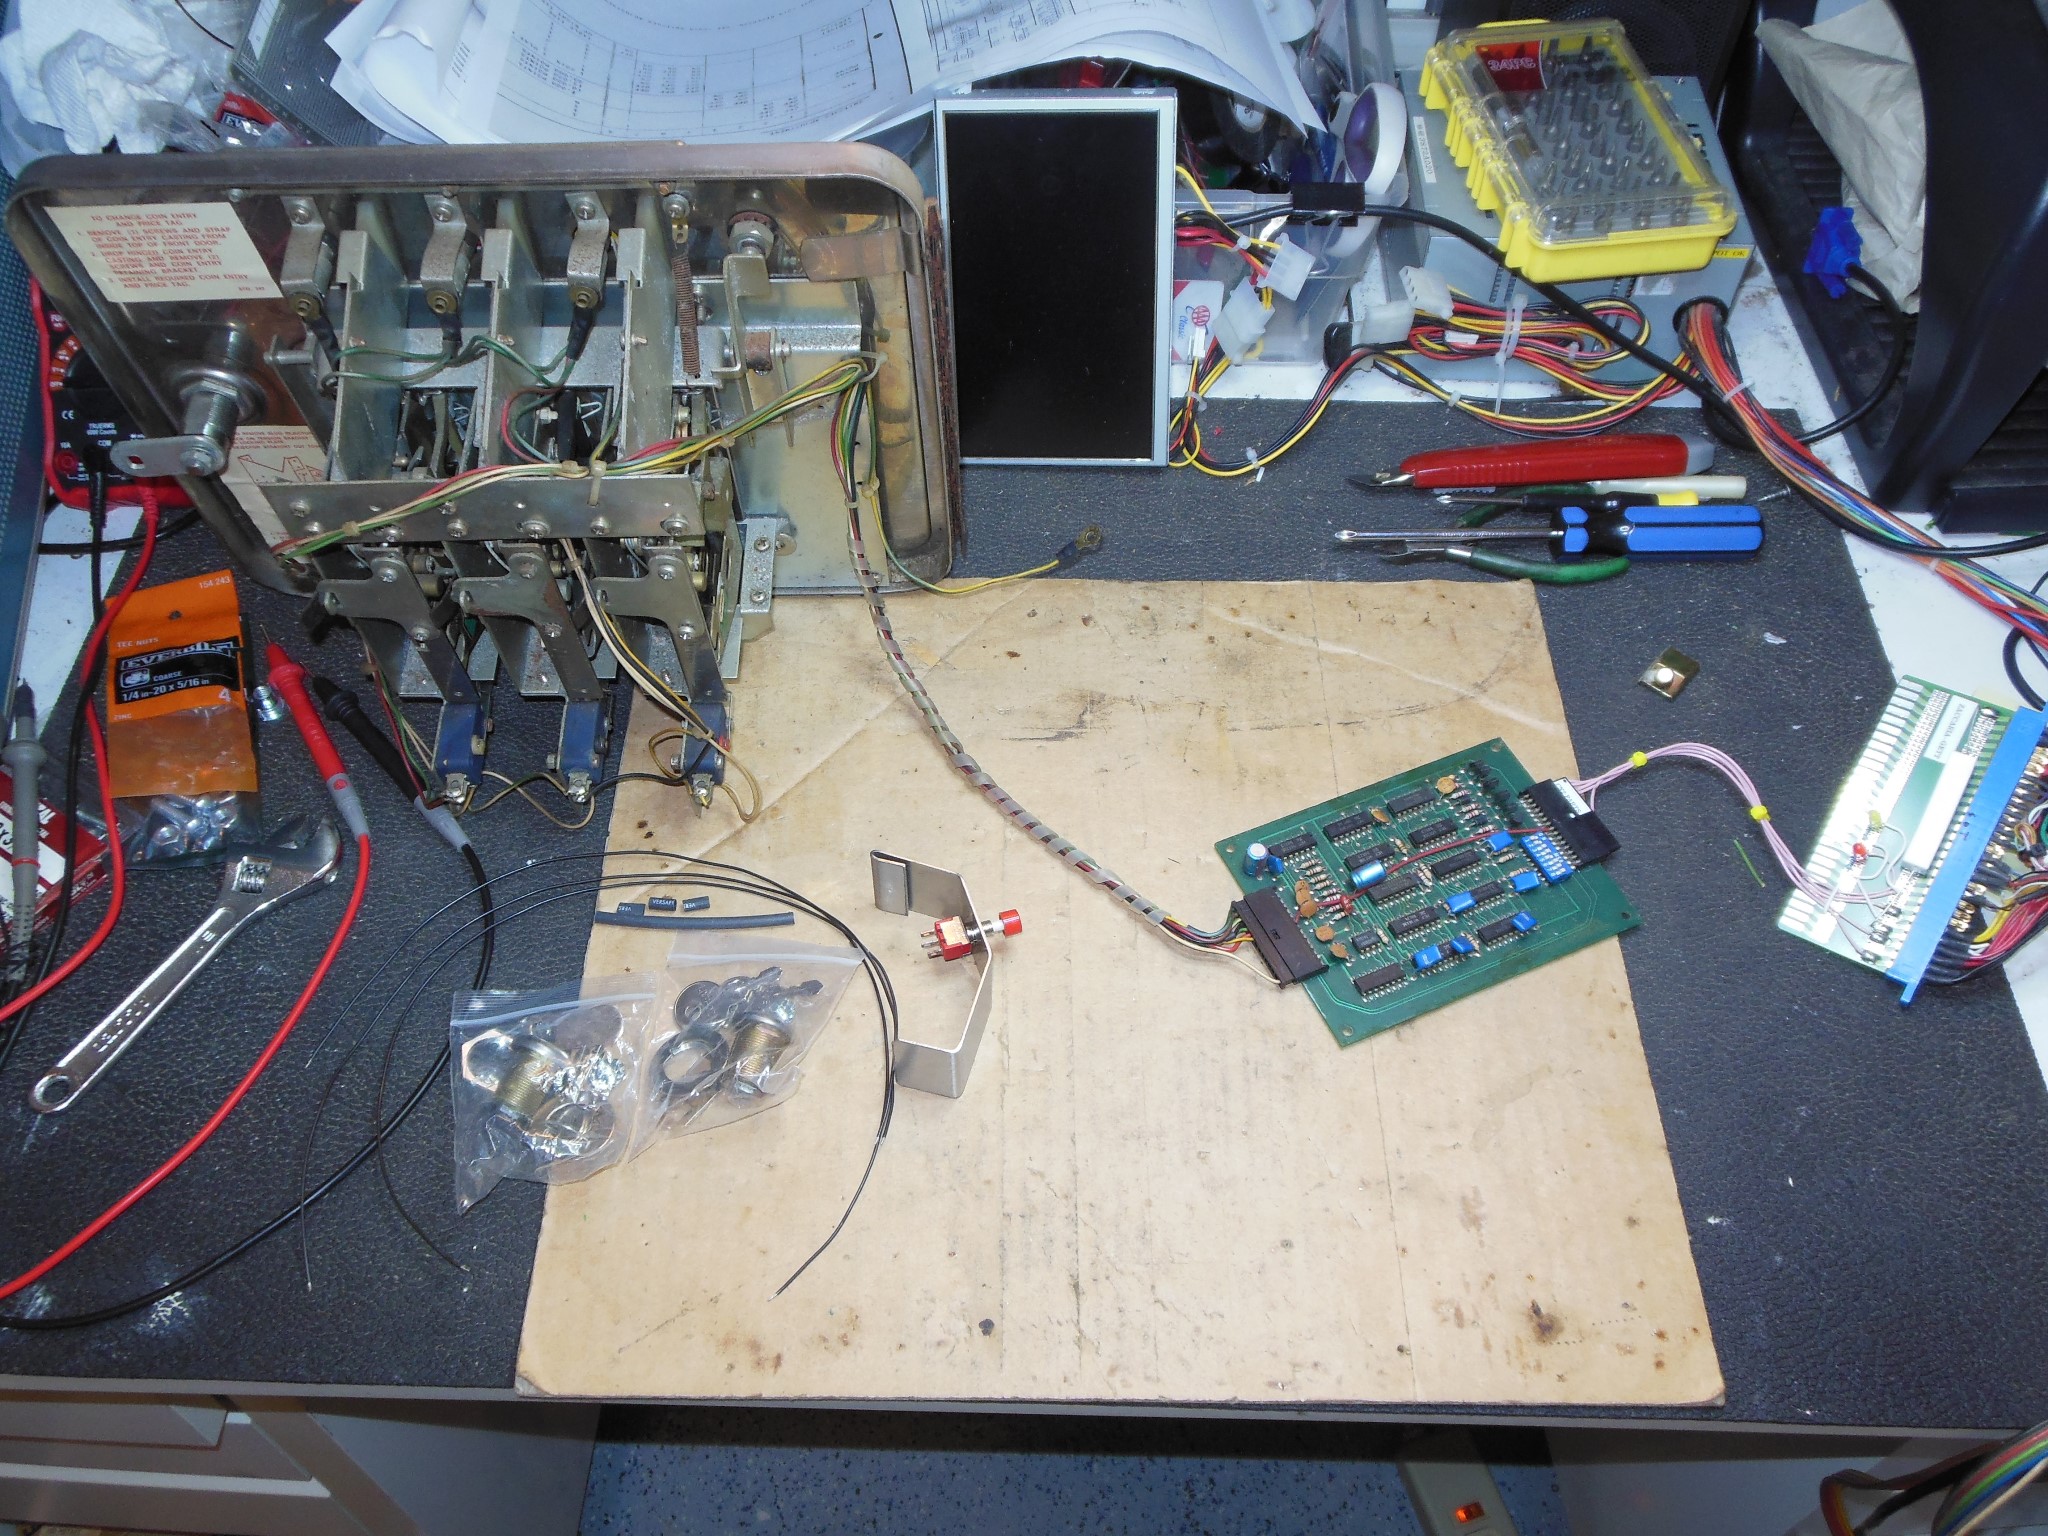
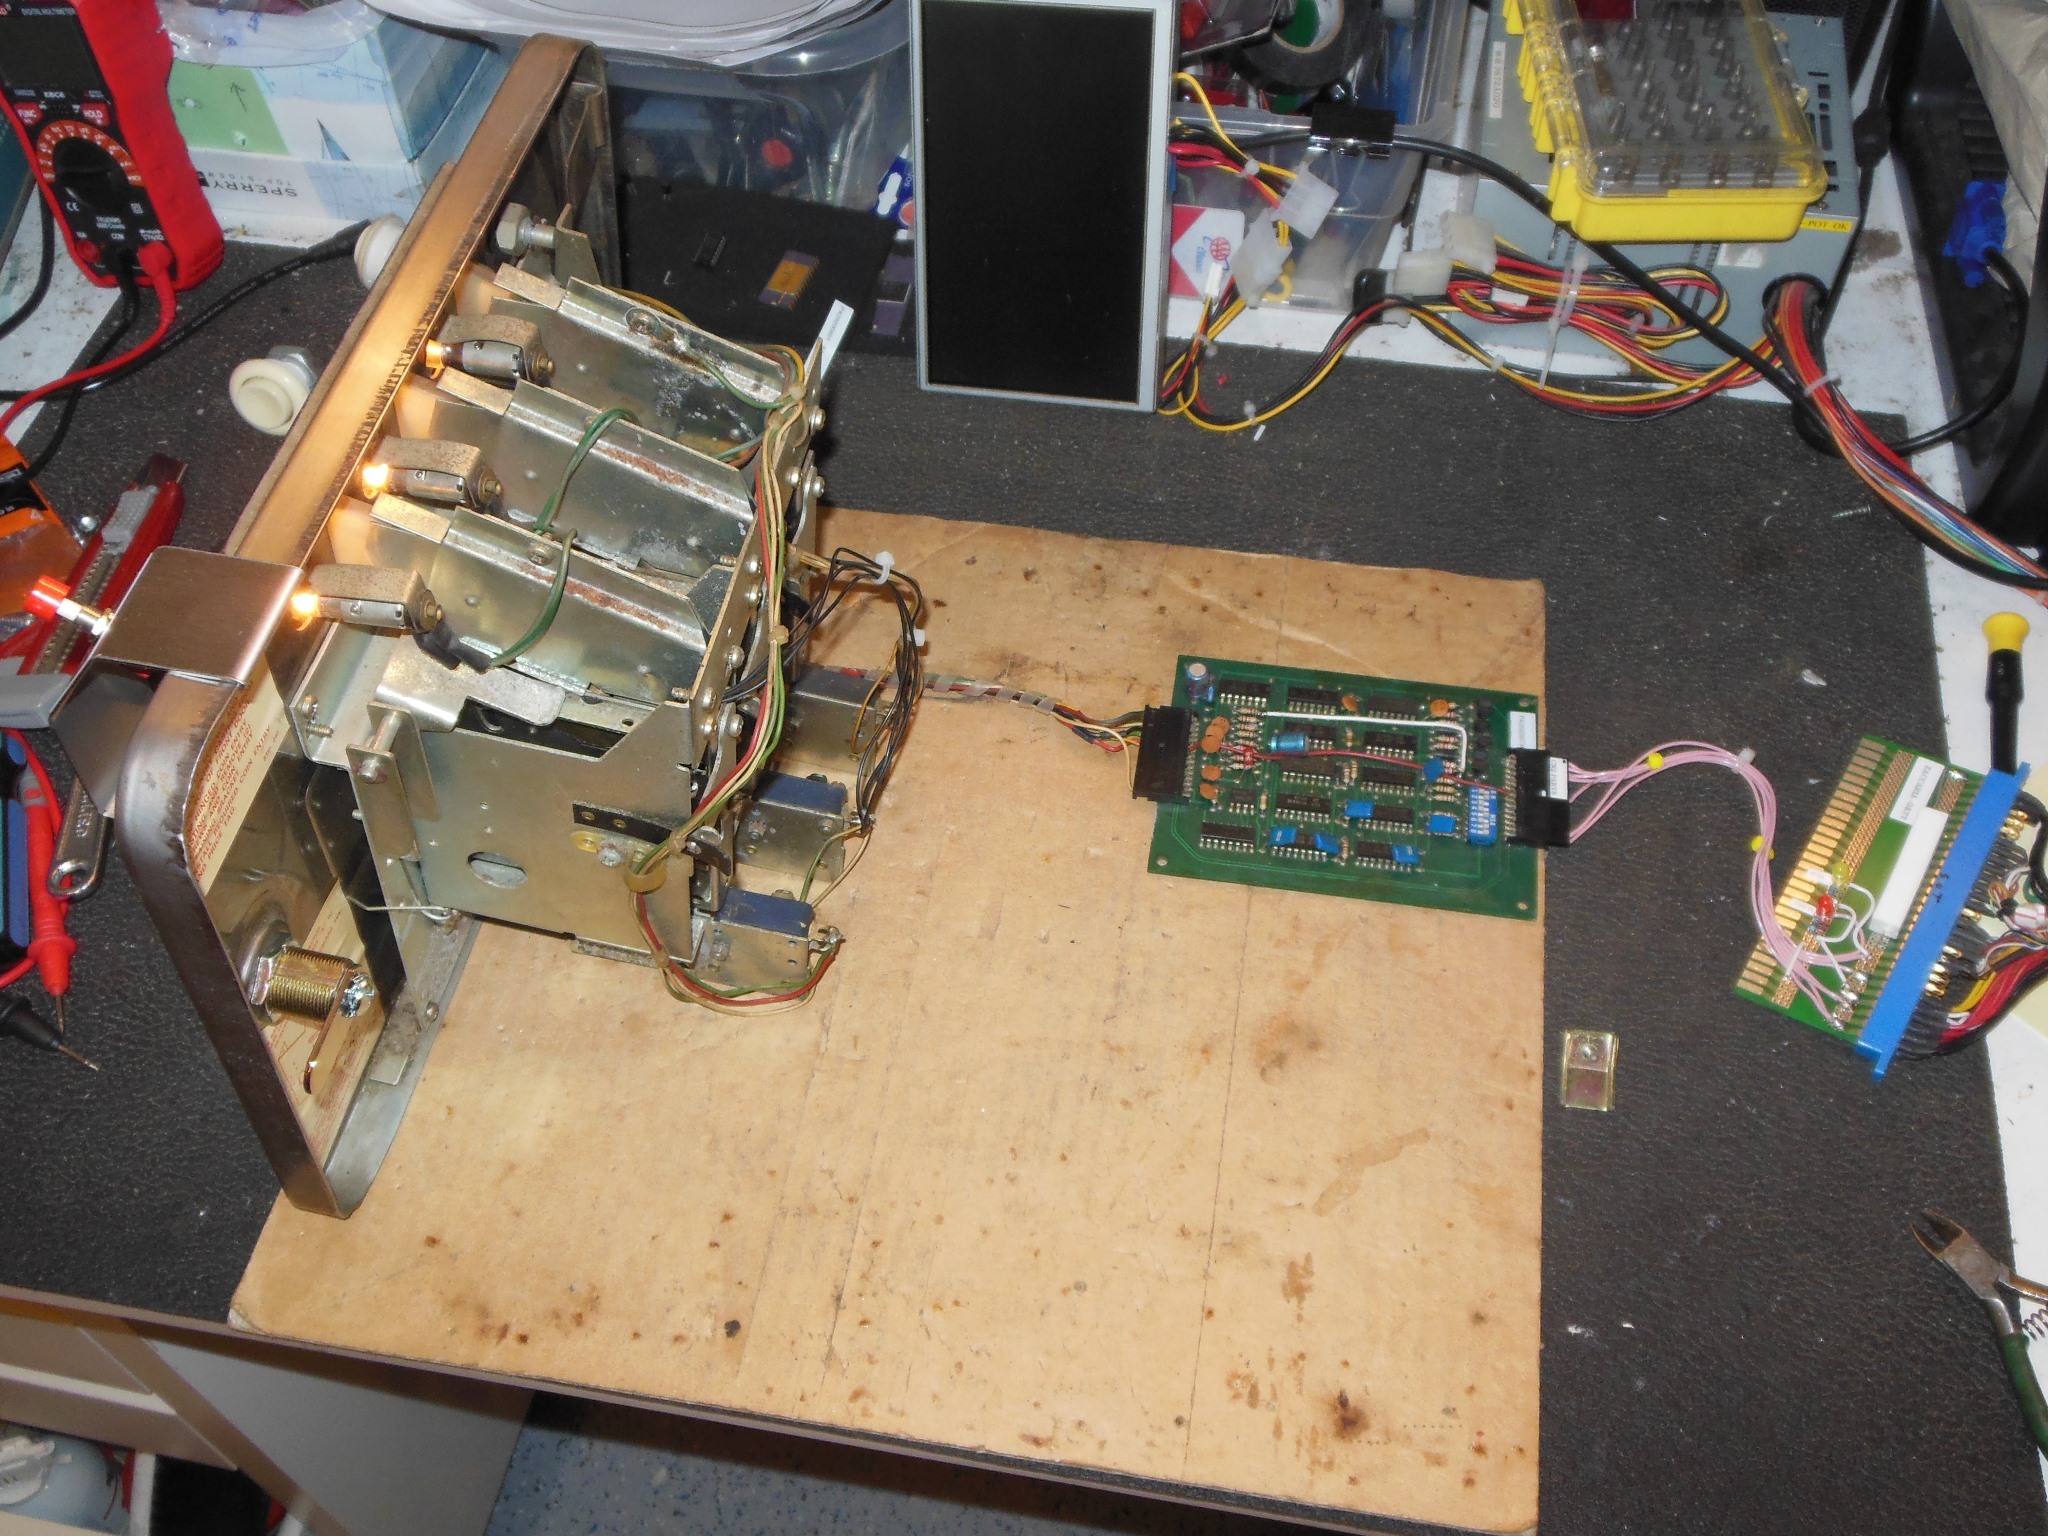
The credit PCB was removed and the coin door wiring connector repaired. A credit button assembly was also built and fitted and then setup on the bench for testing with a replacement 1B1145 credit PCB.
|
The replacement credit PCB didn't work properly on the bench and so the bypass hack was added. This PCB already had the factory hack to support the third coin slot coincidentally matching the coin door that was also configured for three coin slots.
|
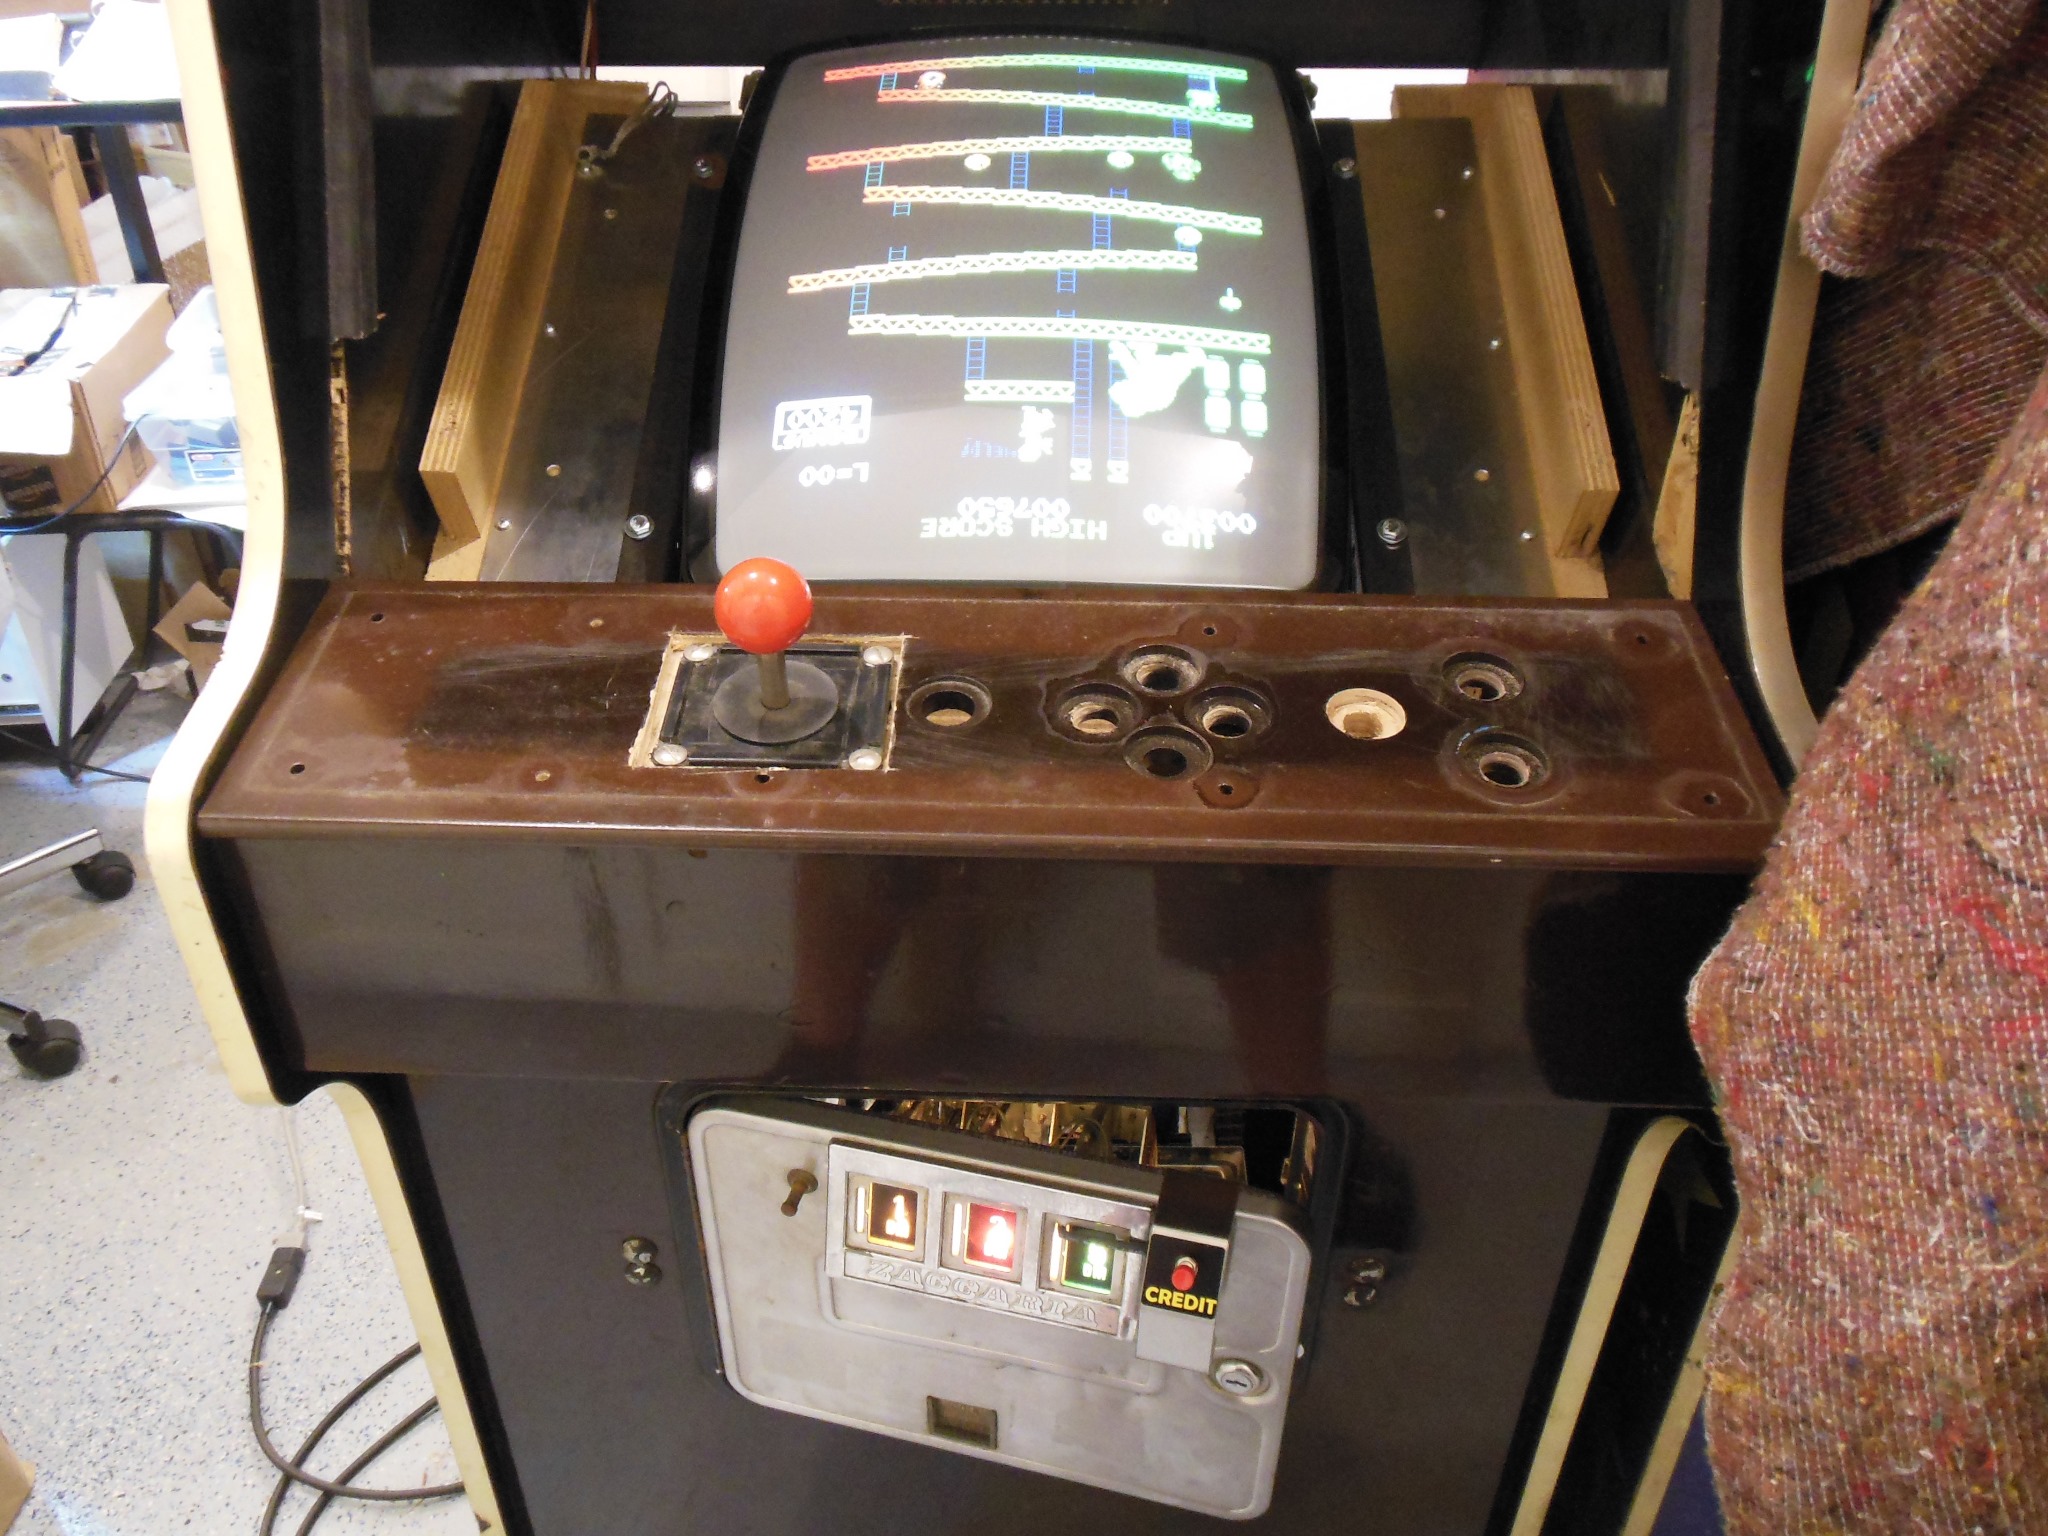
With the coin door & credit PCB installed back into the cabinet the game coined up OK. Though still upside down, the game started & played OK confirming that the control panel and wiring loom was wired correctly.
|
Picture flip was accomplished by using a stripped solid core wire to pop out the yoke connector pins and swap each of the two pairs thus uncrossing the vertical & horizontal wires in this case. After the flip a play test found no issues.
|
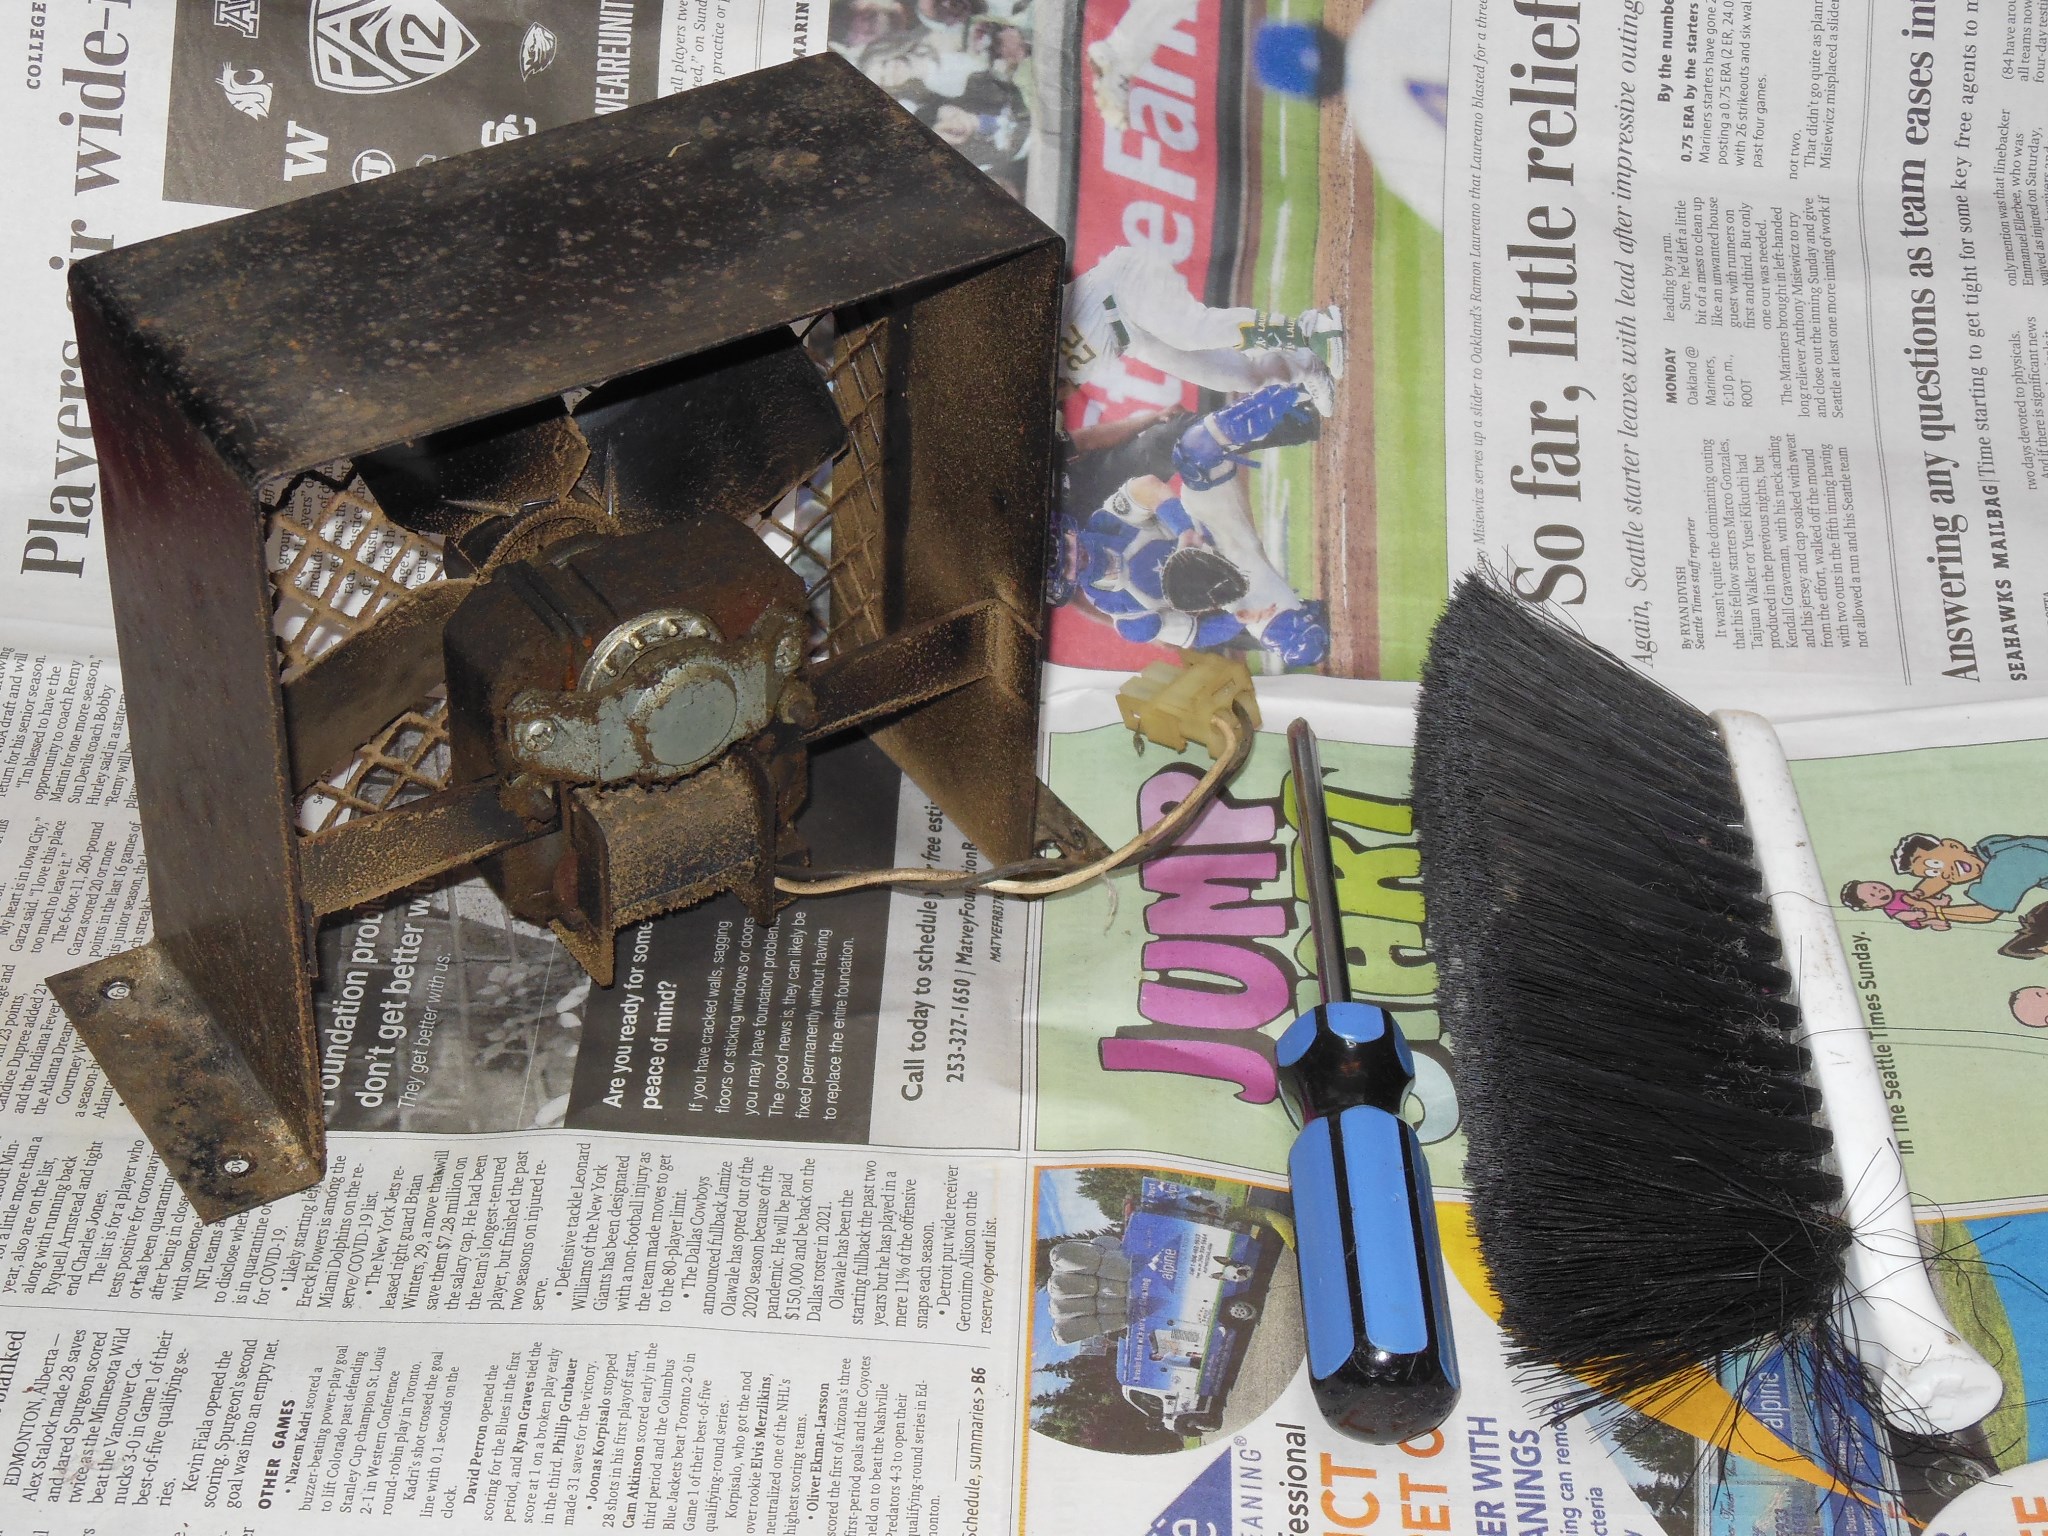
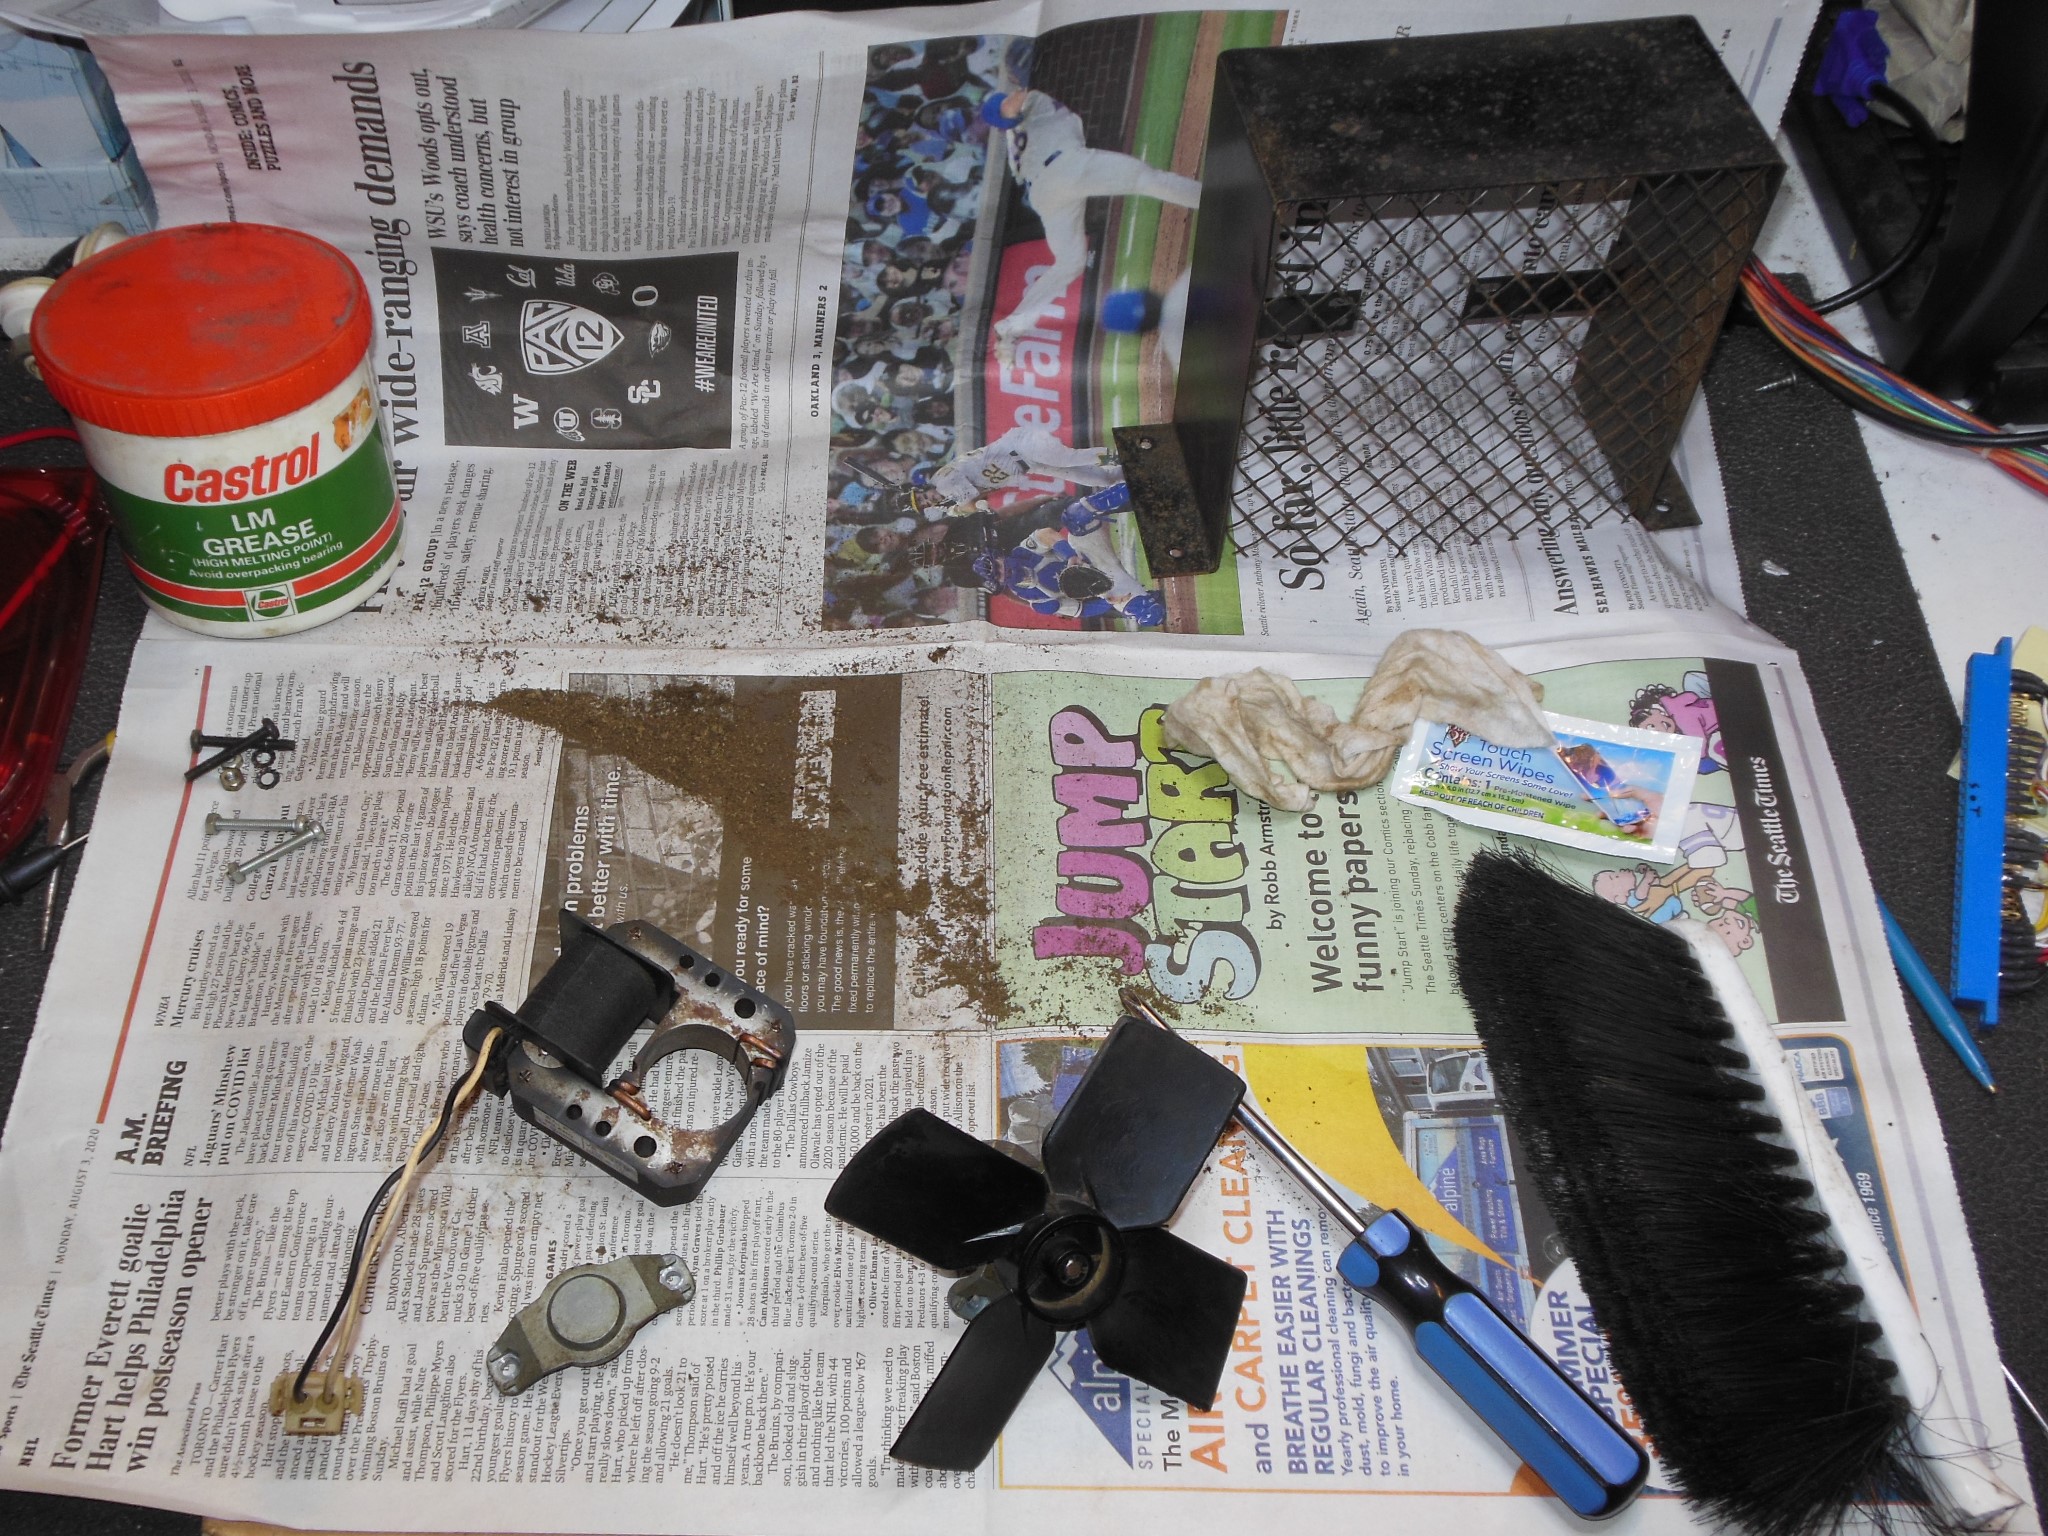
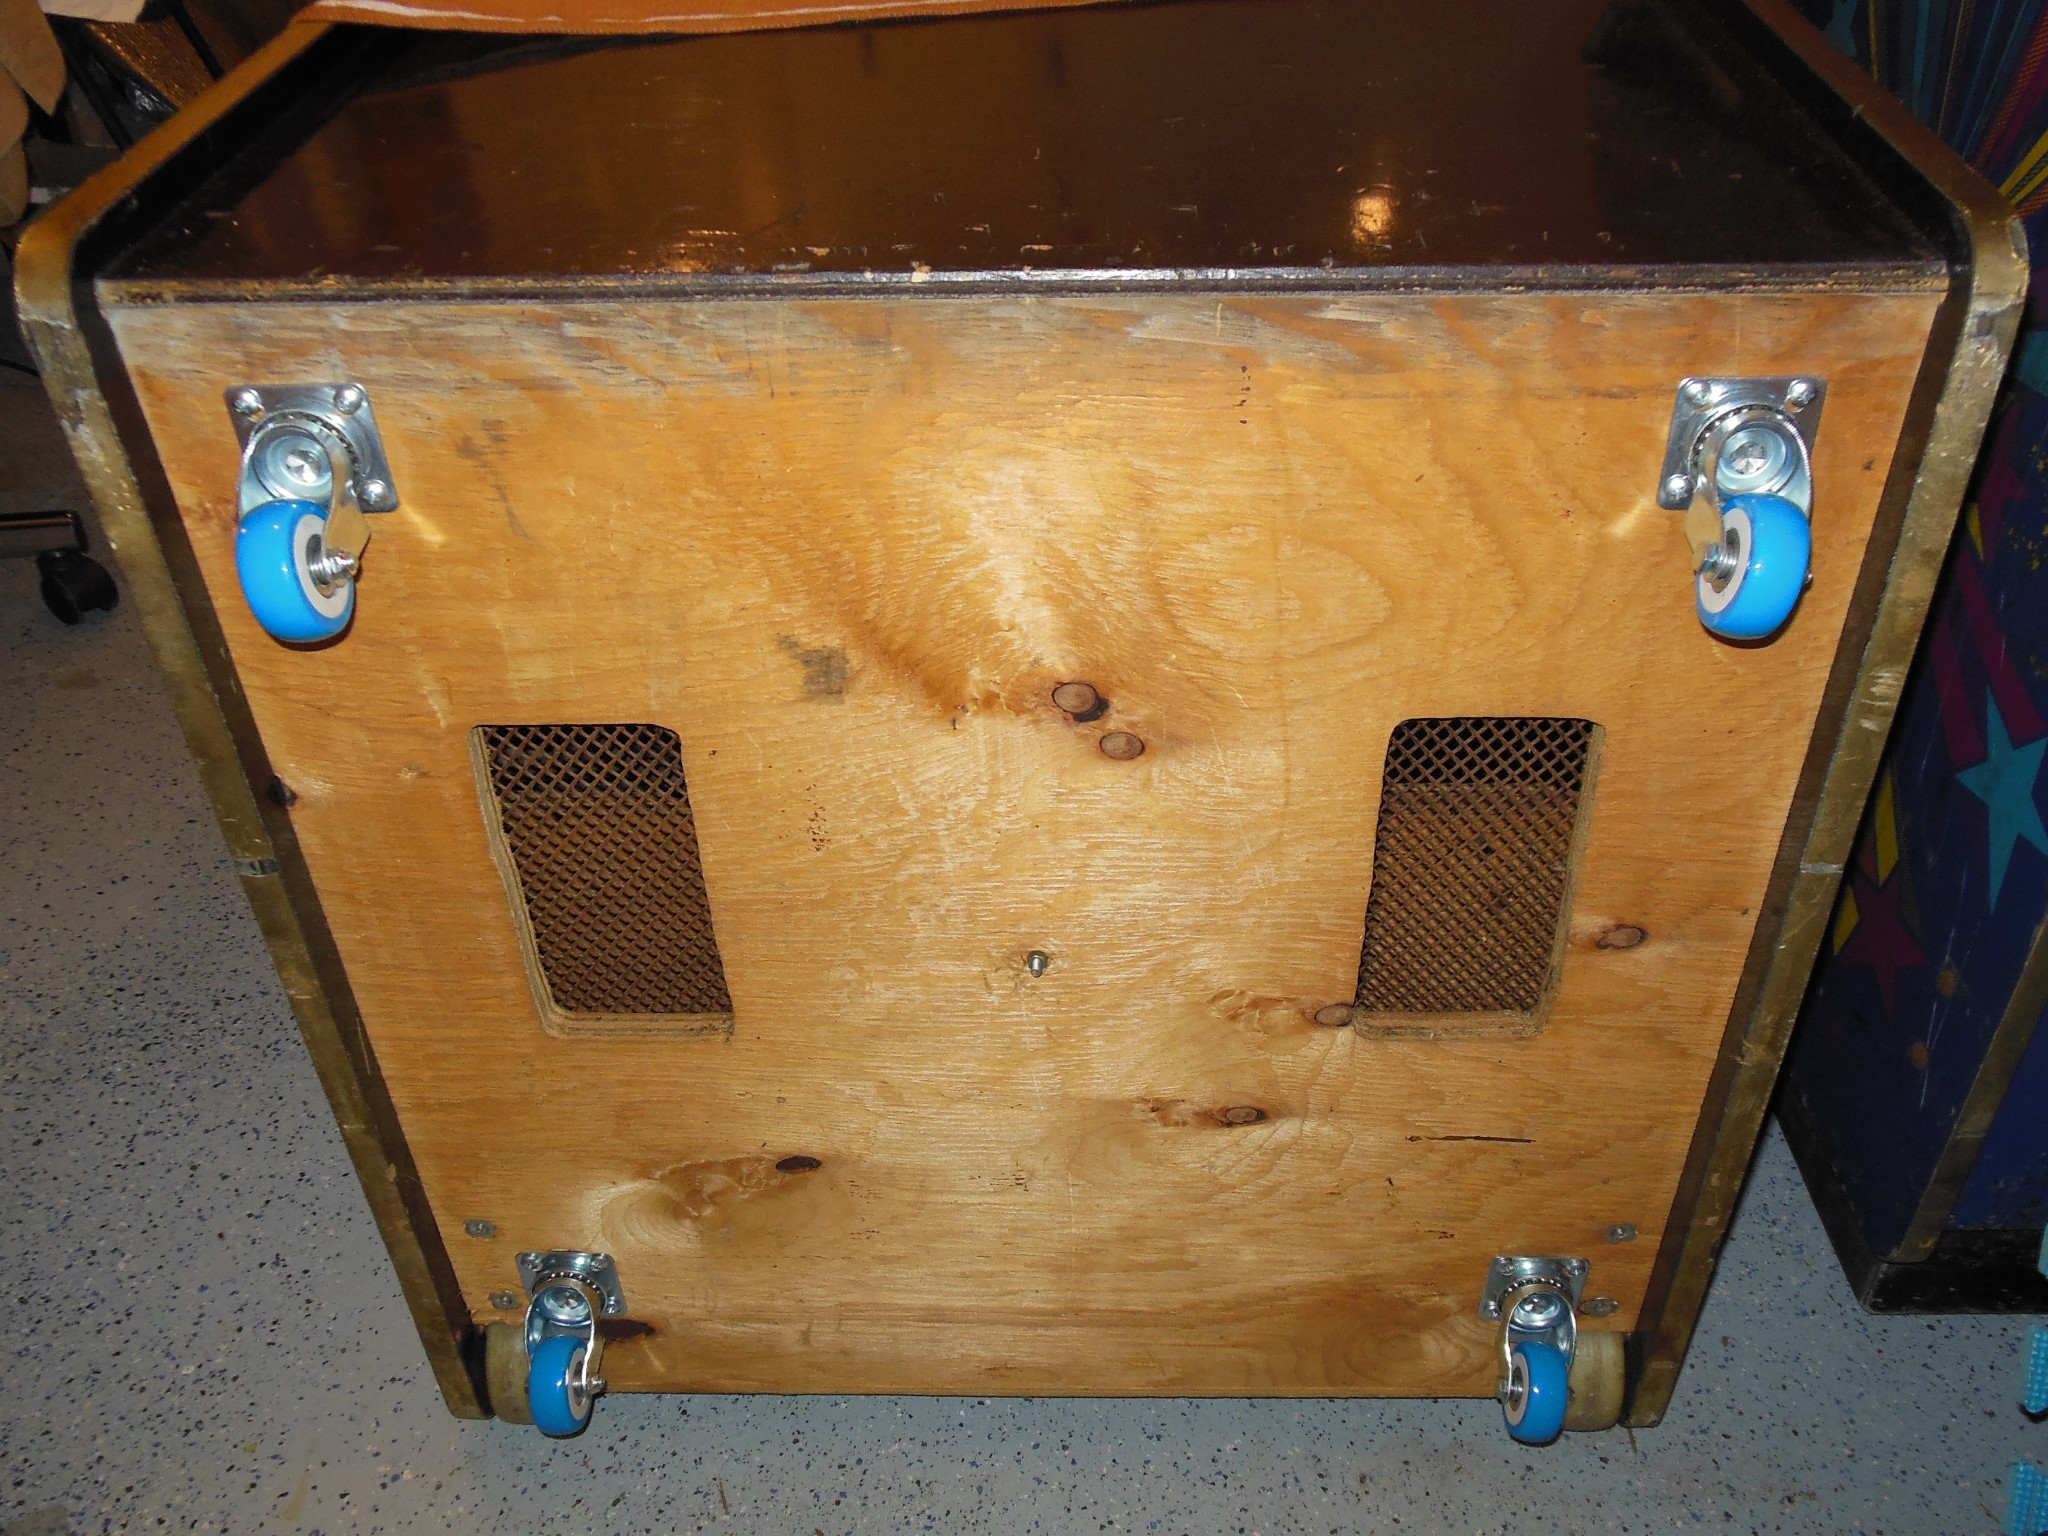
The cabinet fan was disassembled, cleaned and greased.

|
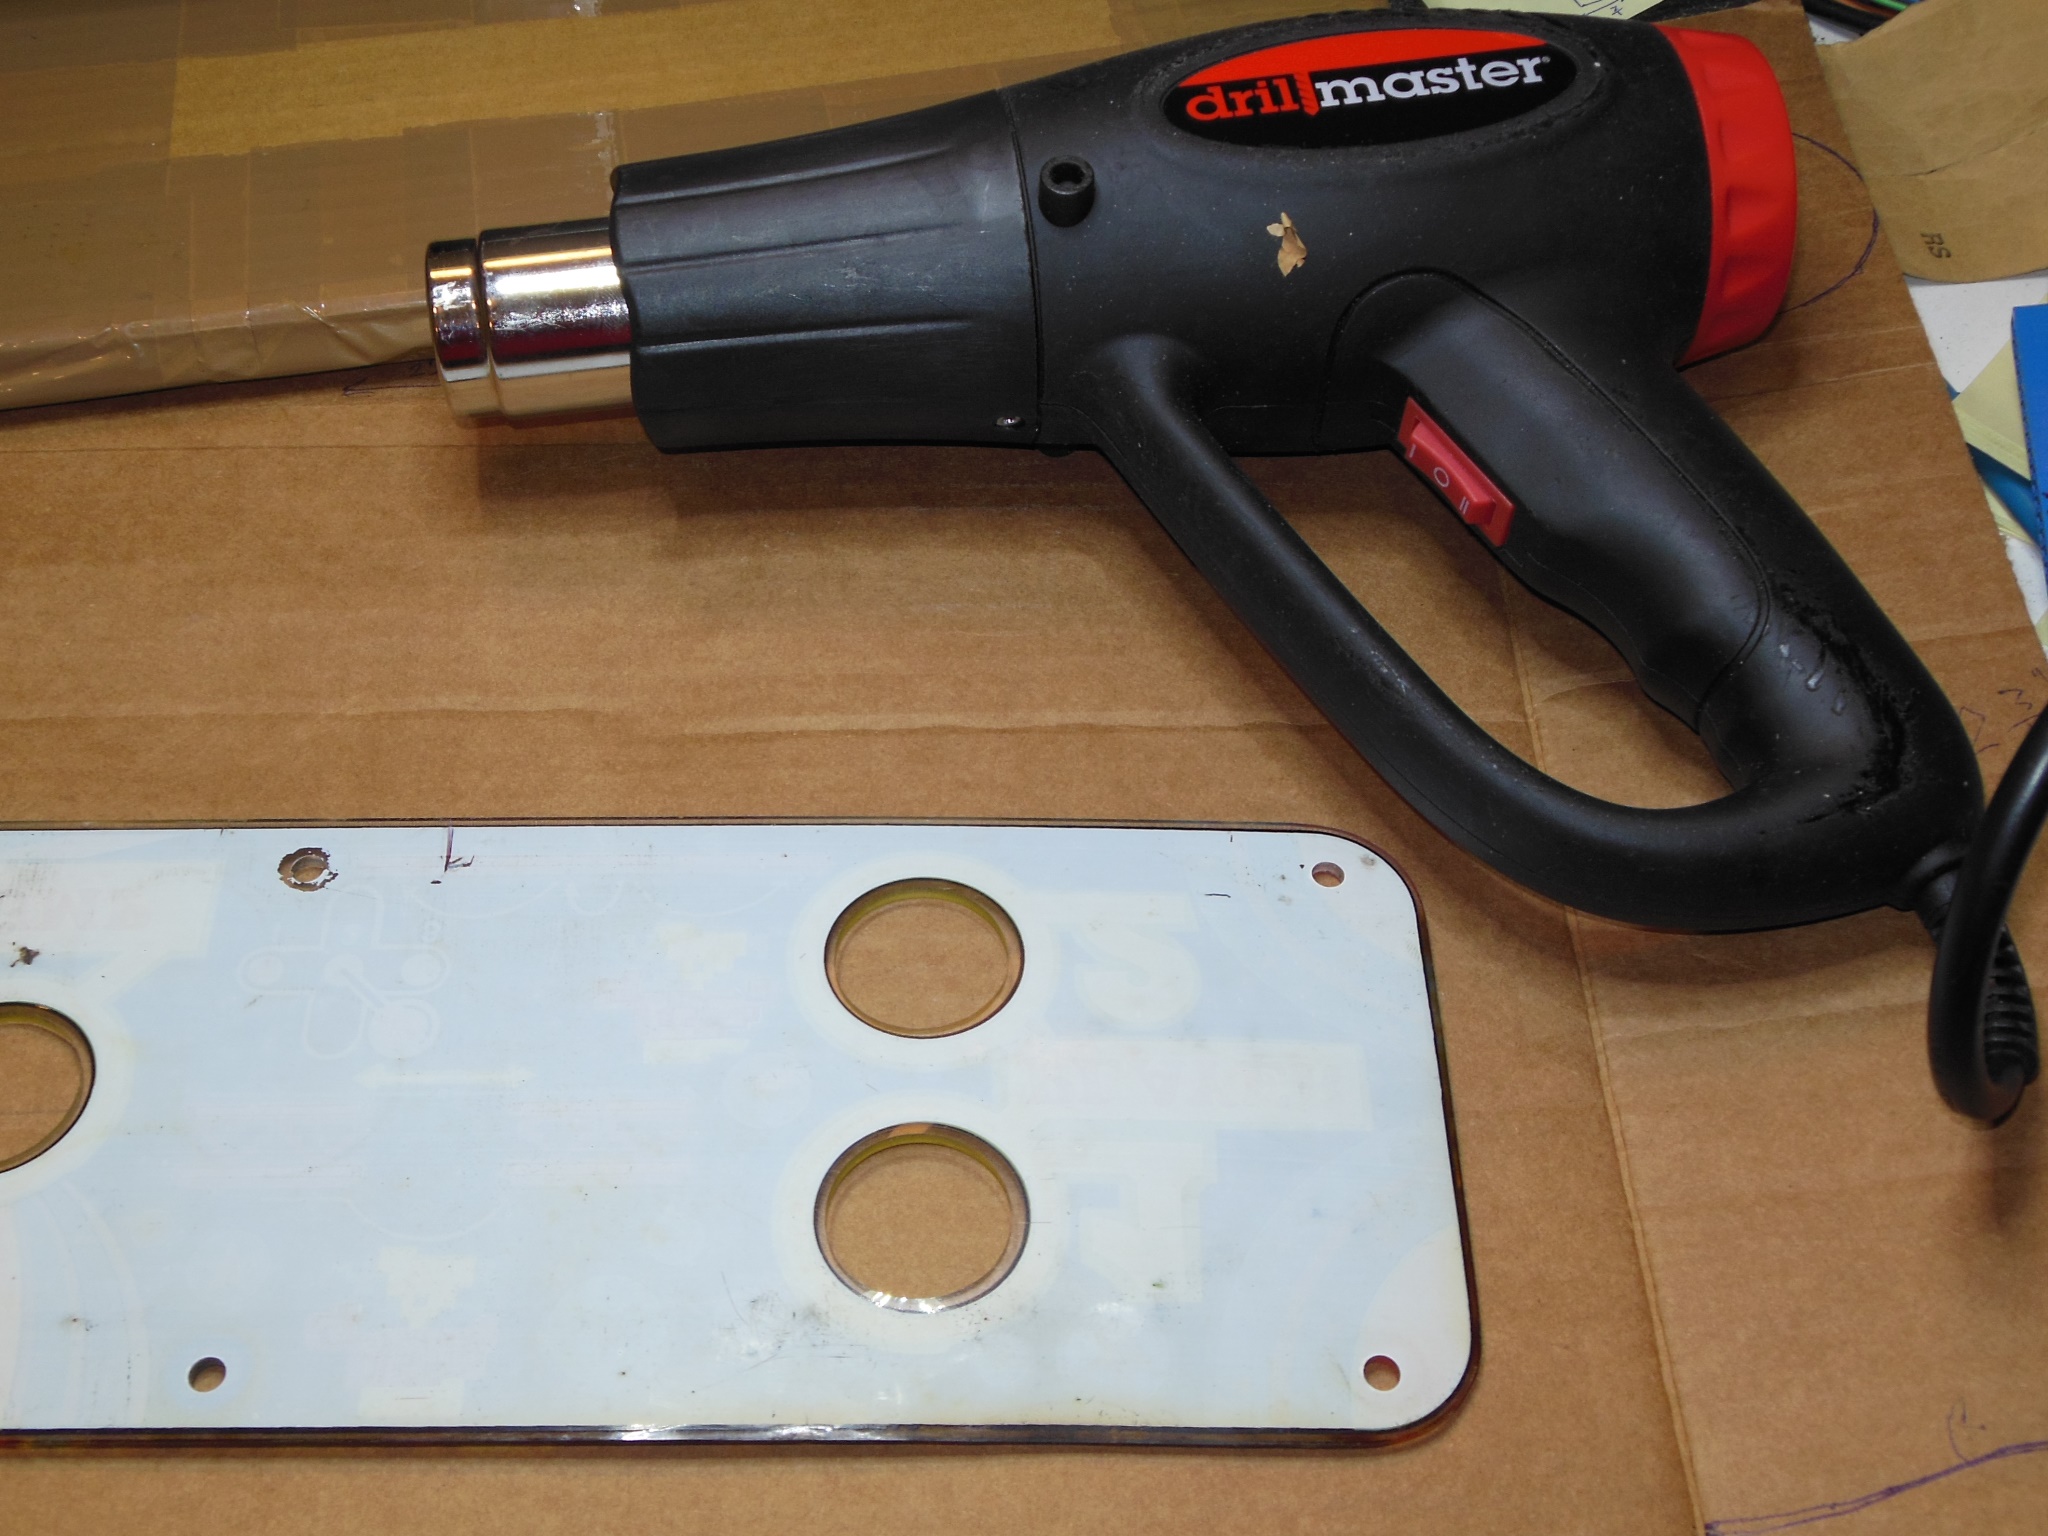
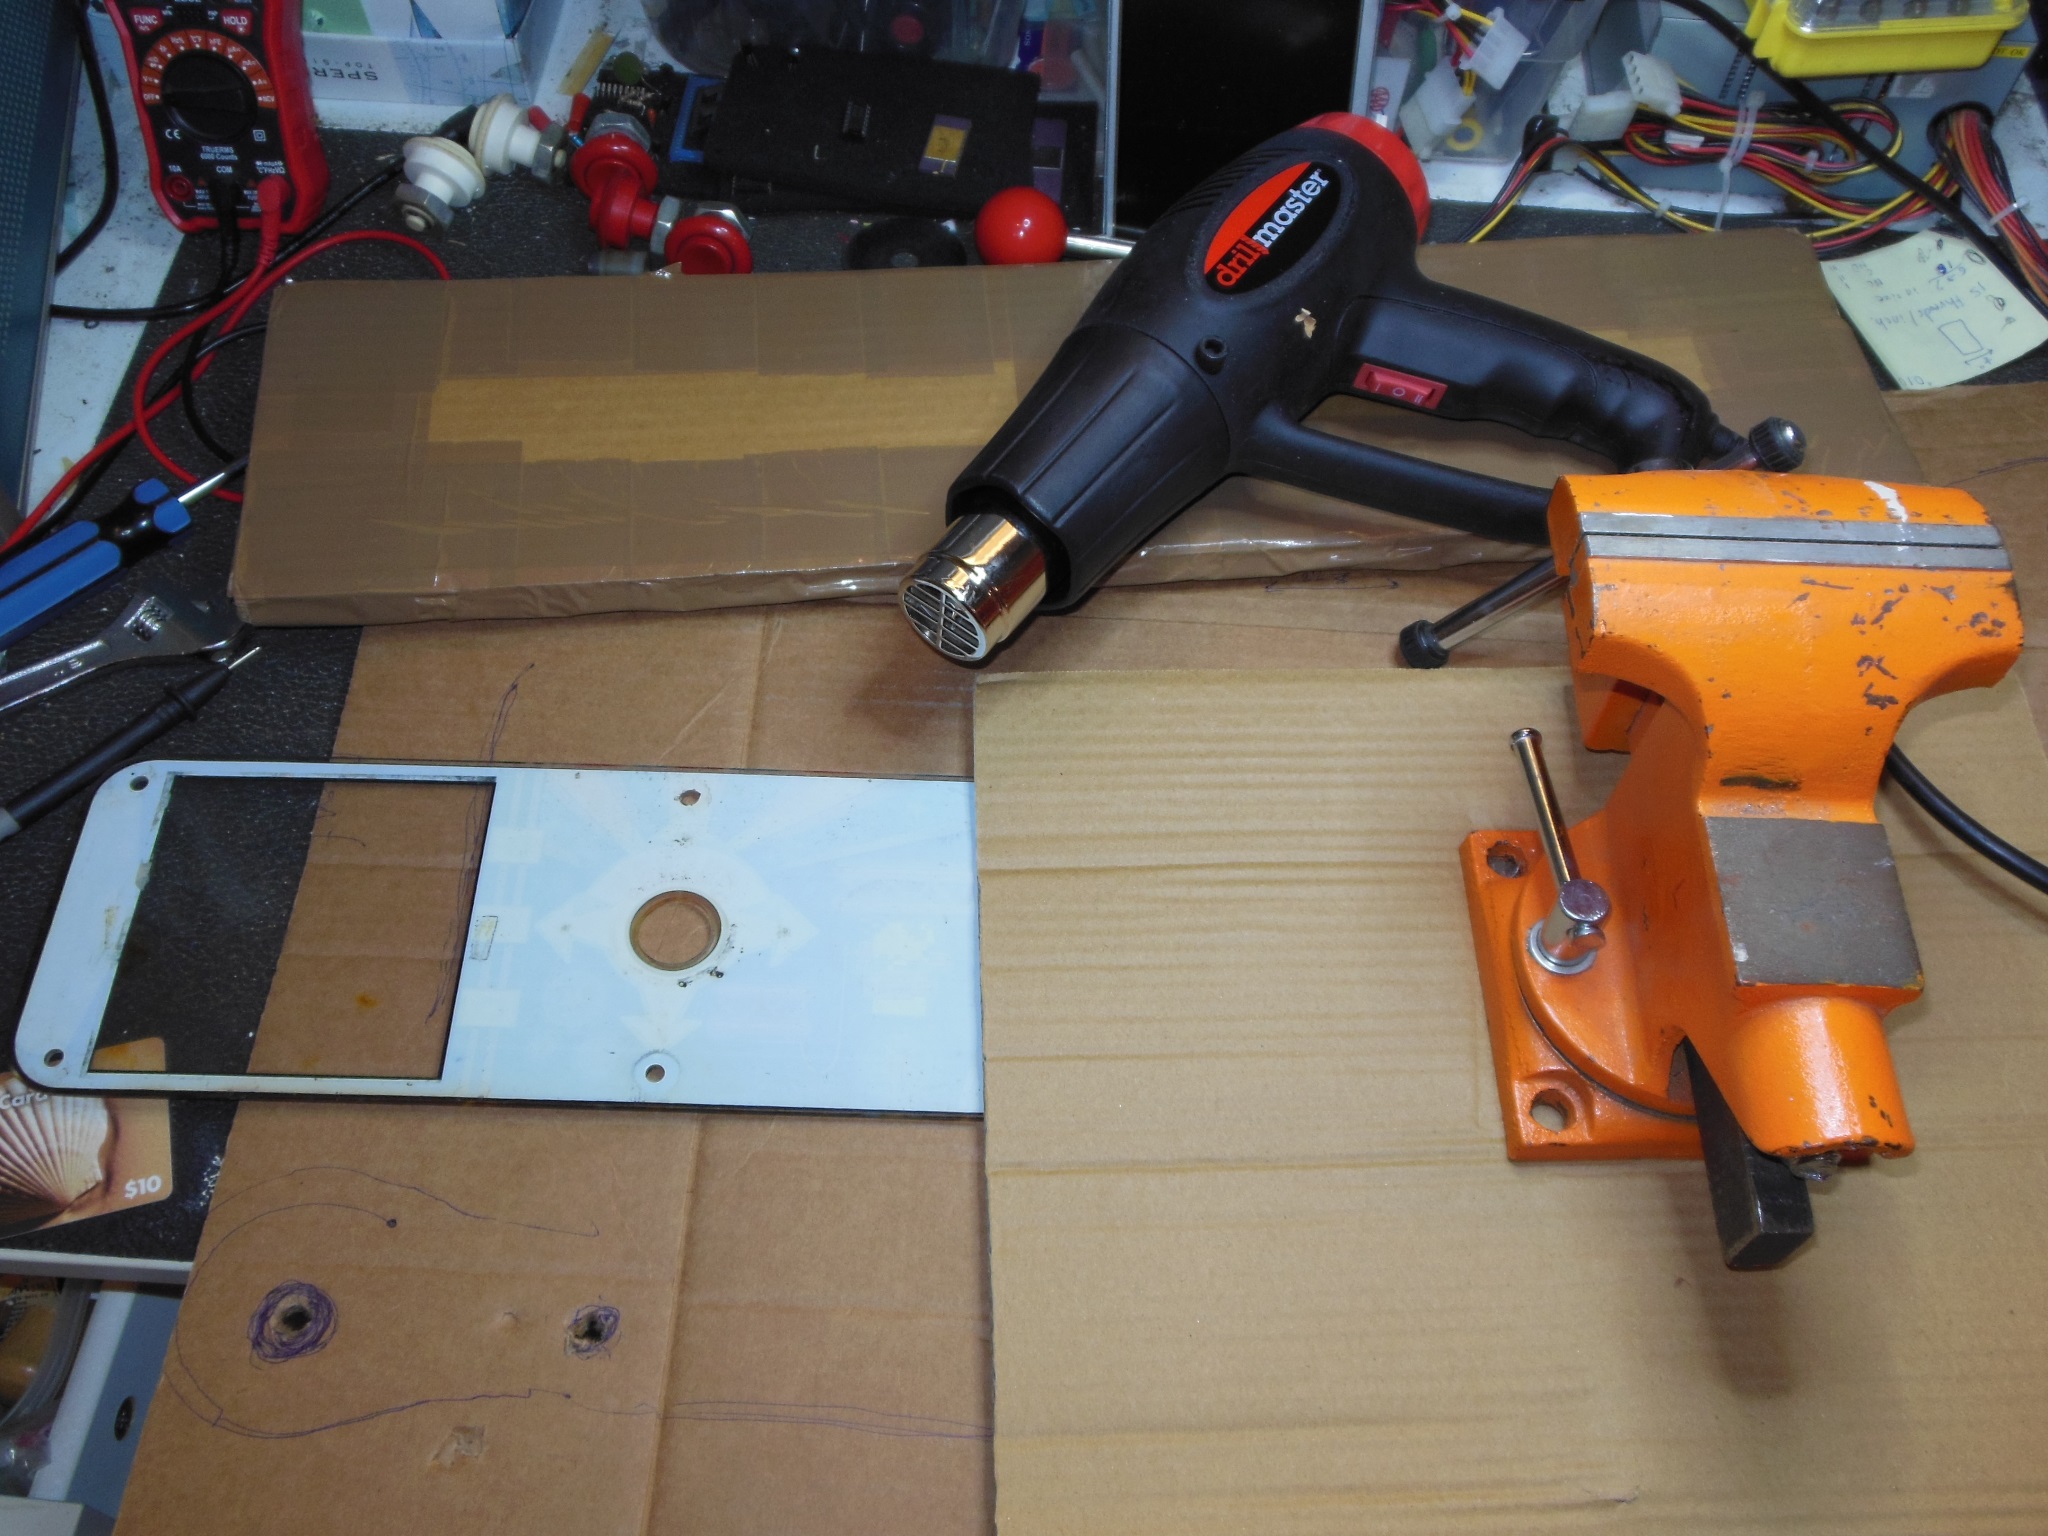
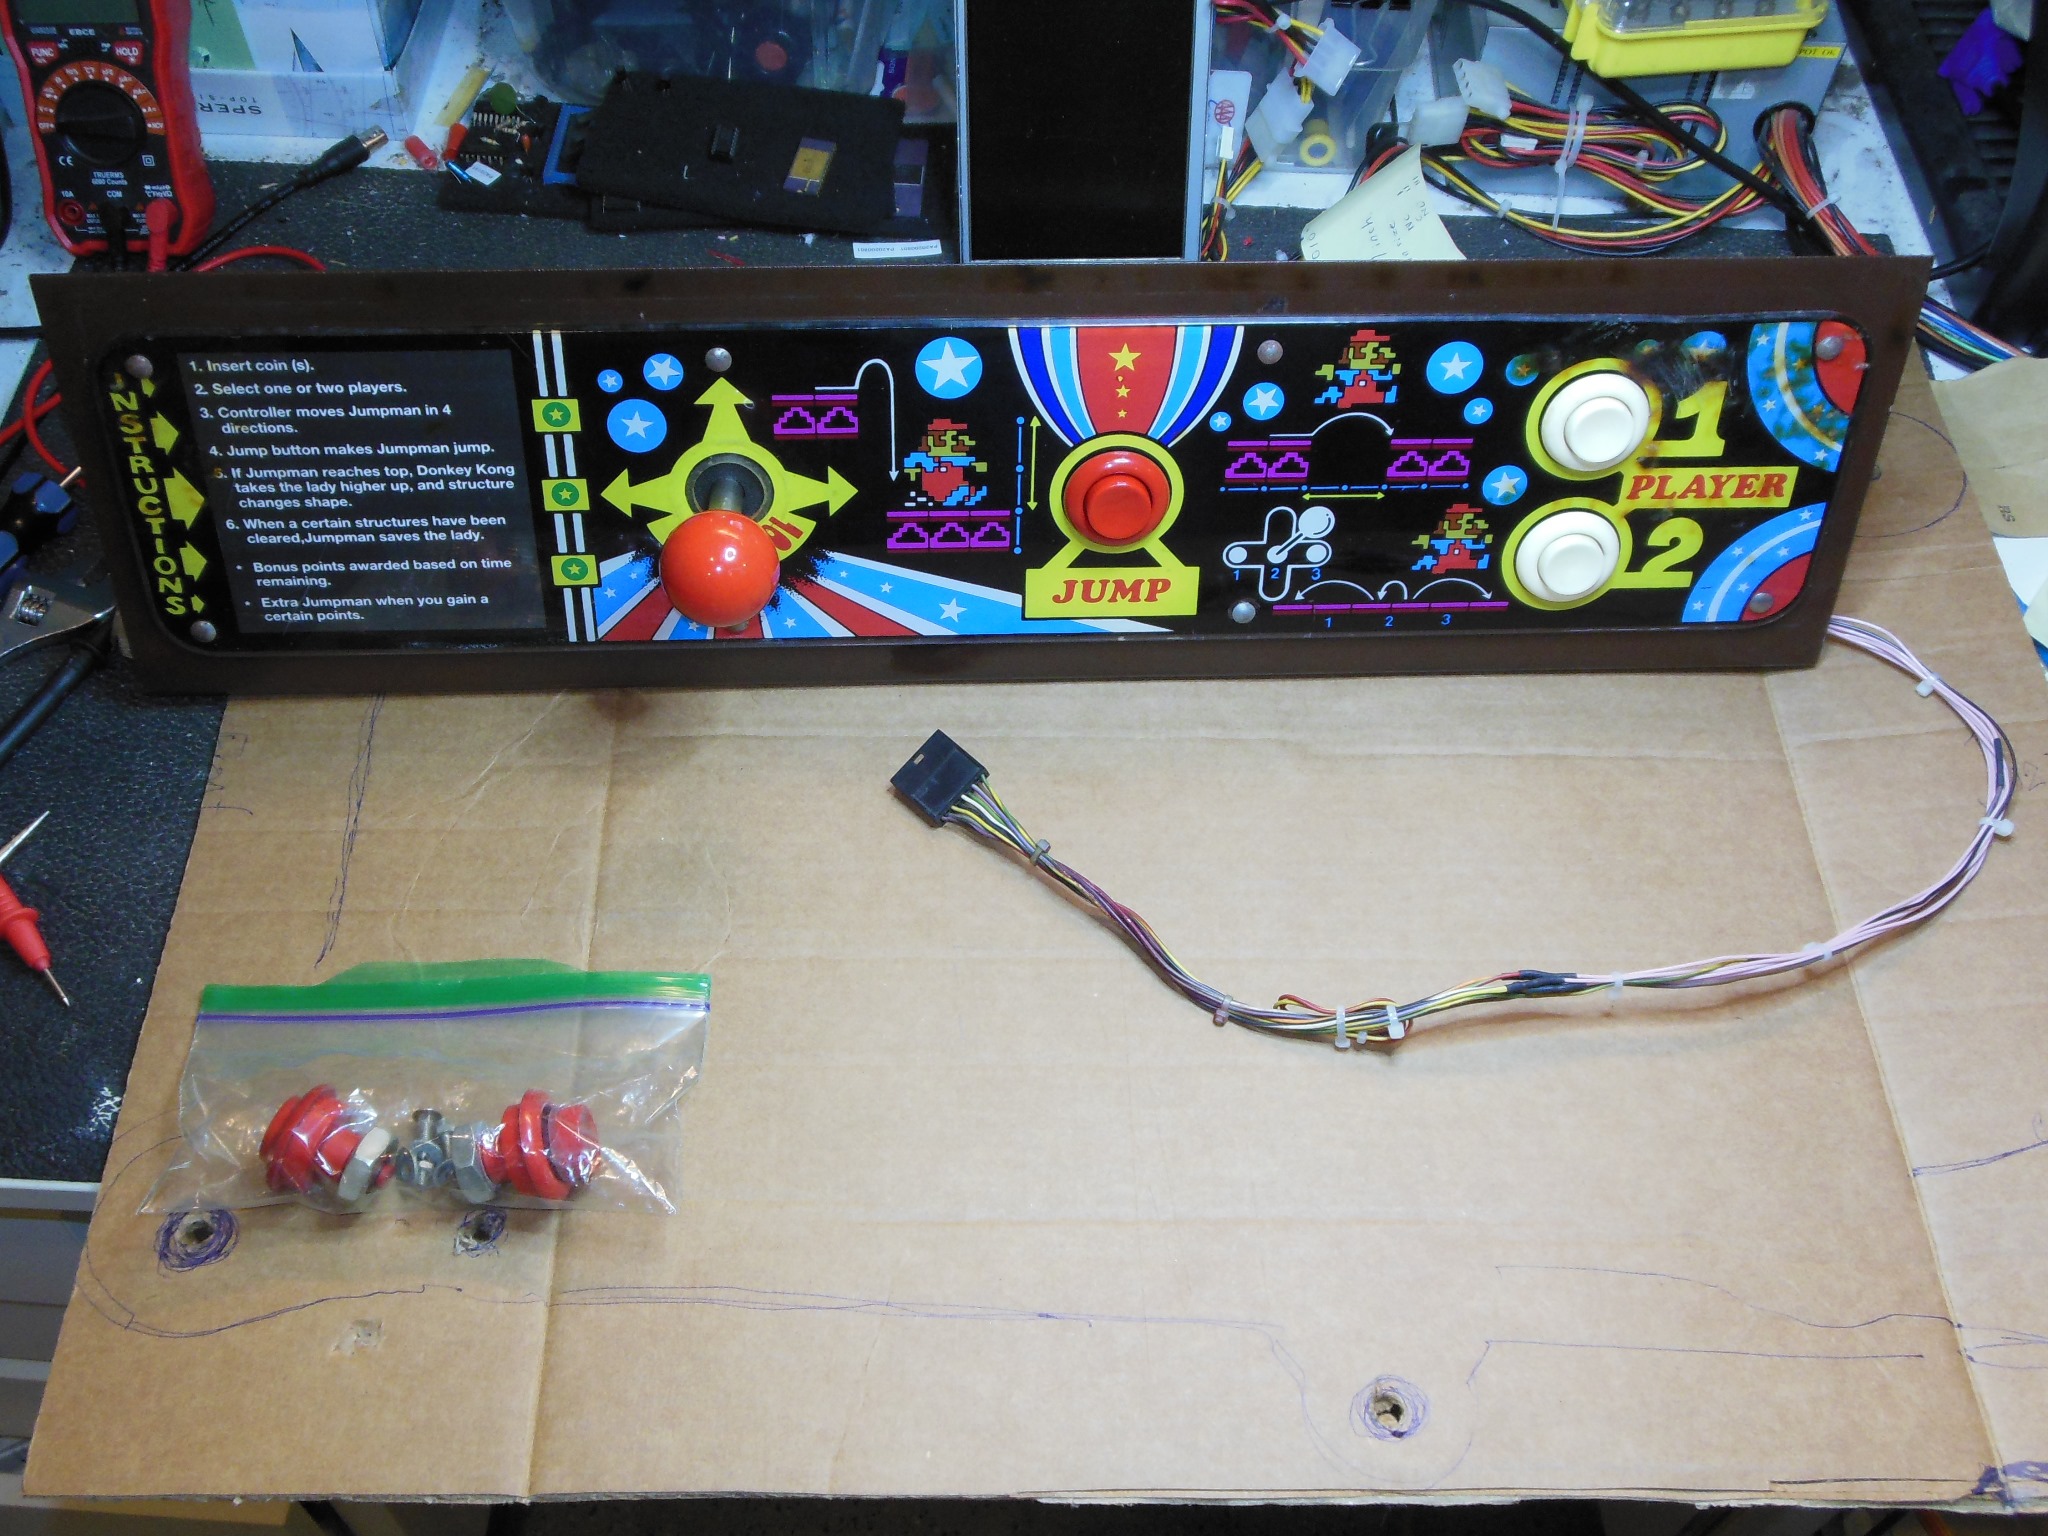
Several years ago I'd acquired a control panel overlay for this game. It was in good condition aside from cigarette burns above the player start buttons that had also caused the plastic deform and curl up. Using a heat gun on low setting the plastic was softened and then pressed flat.
|
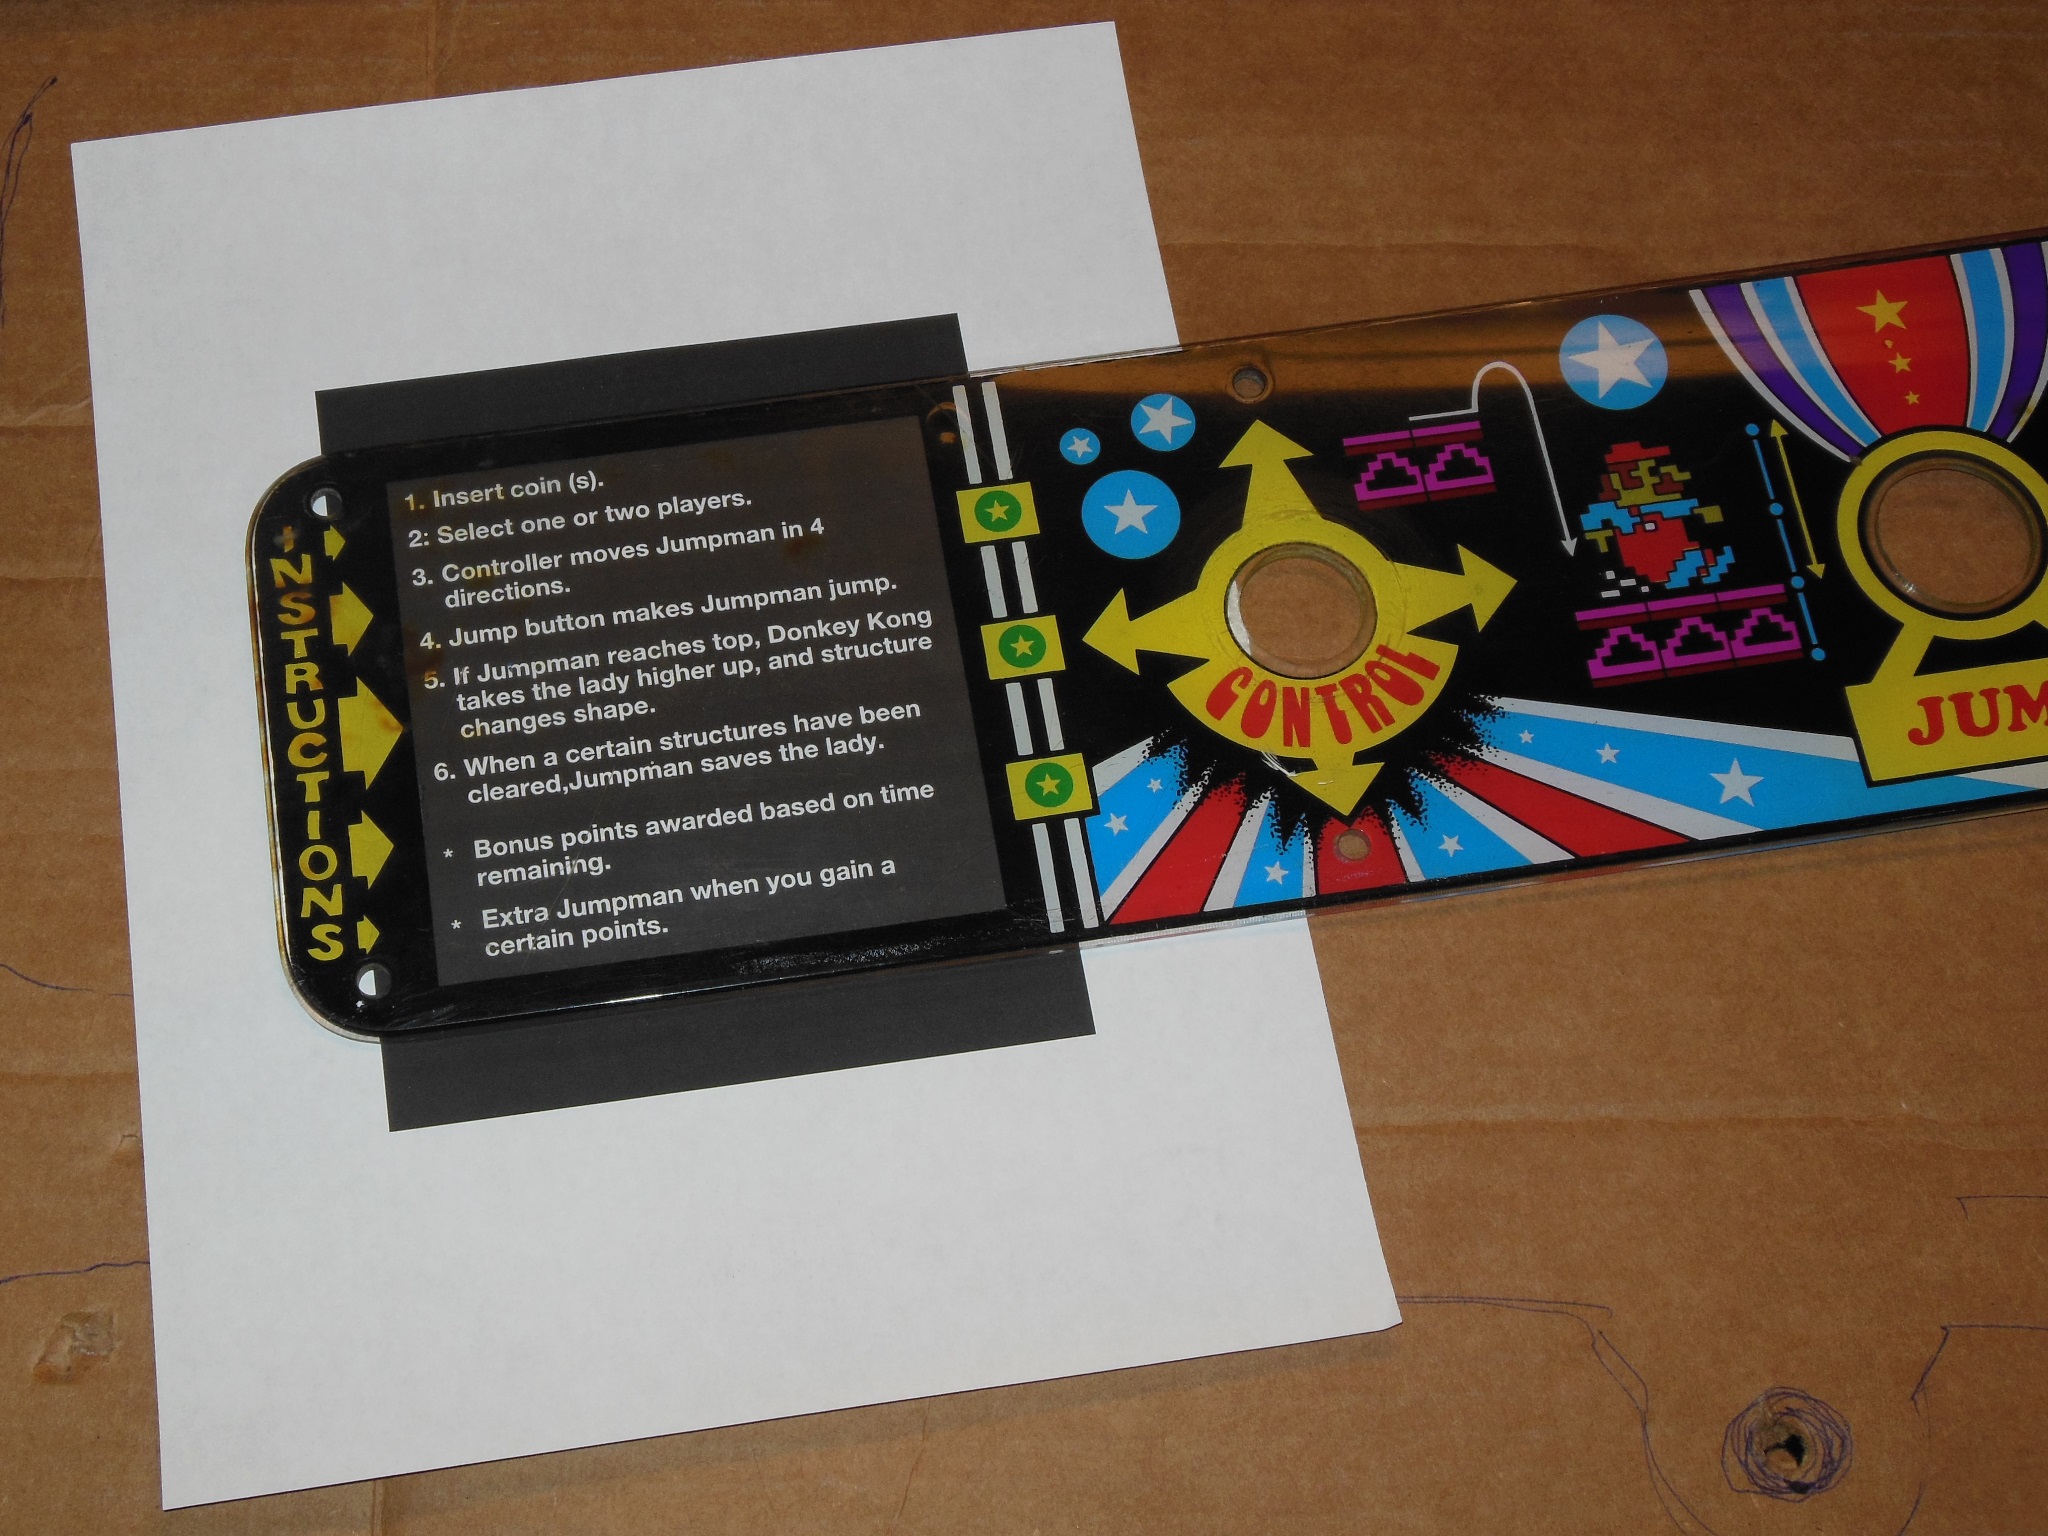
A fellow collector on the Dragons Lair Fans forum already had reproduction artwork for this control panel from which the instruction card was extracted and printed to fit under the control panel overlay. The overlay was fitted onto the panel and the panel fitted back into the cabinet.
|
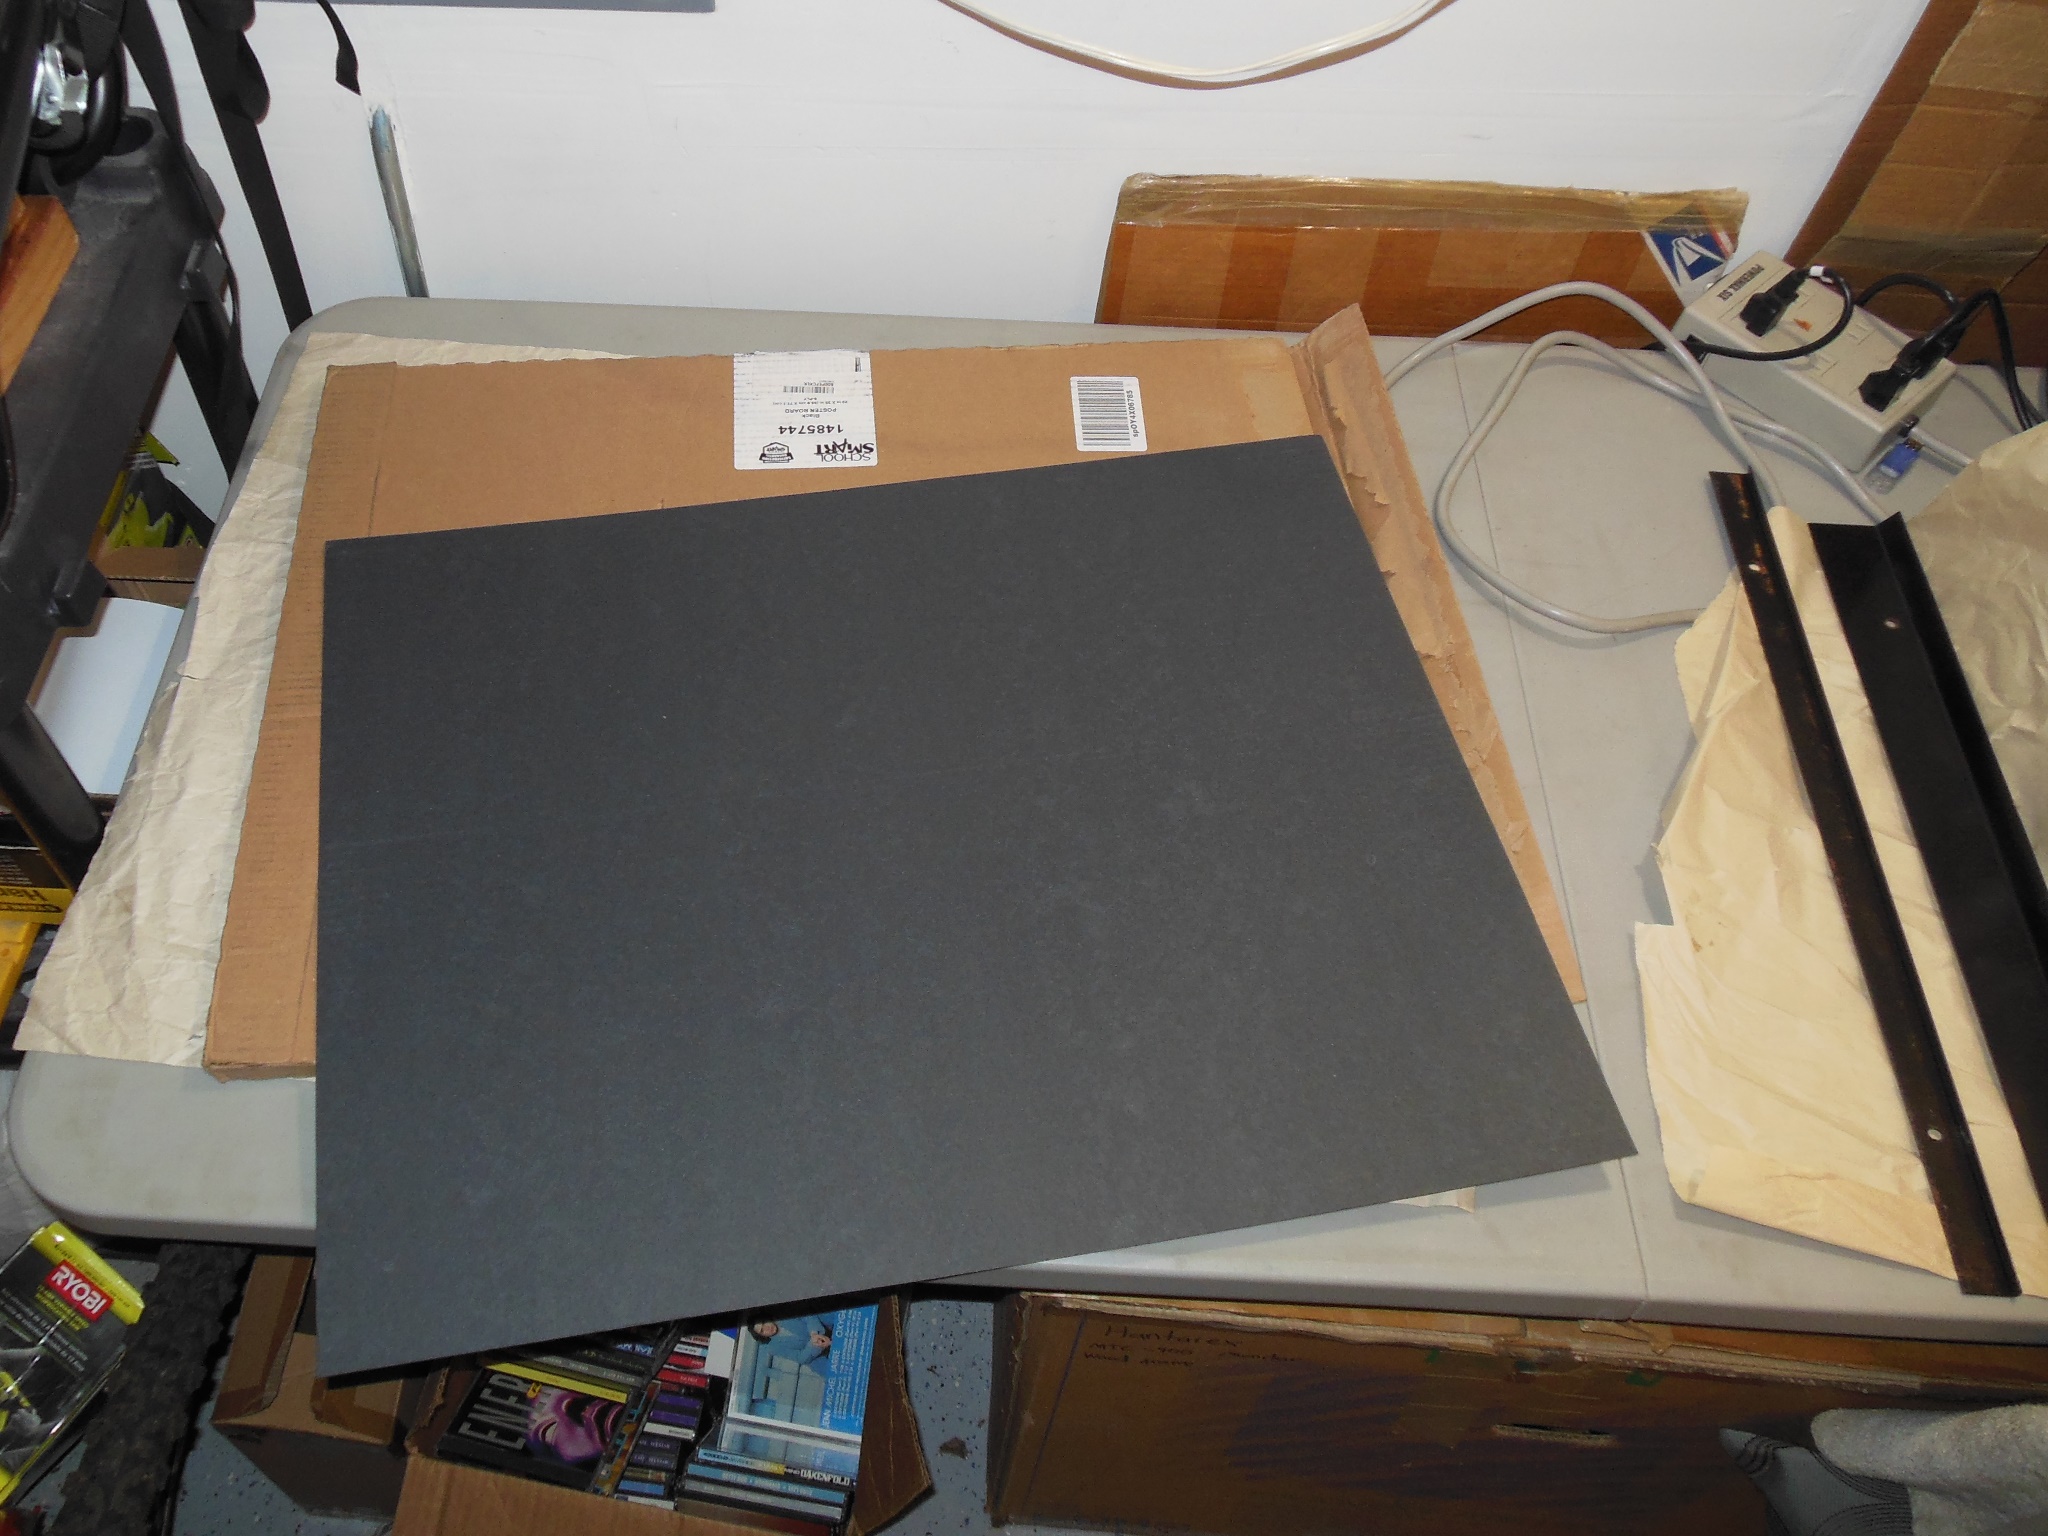
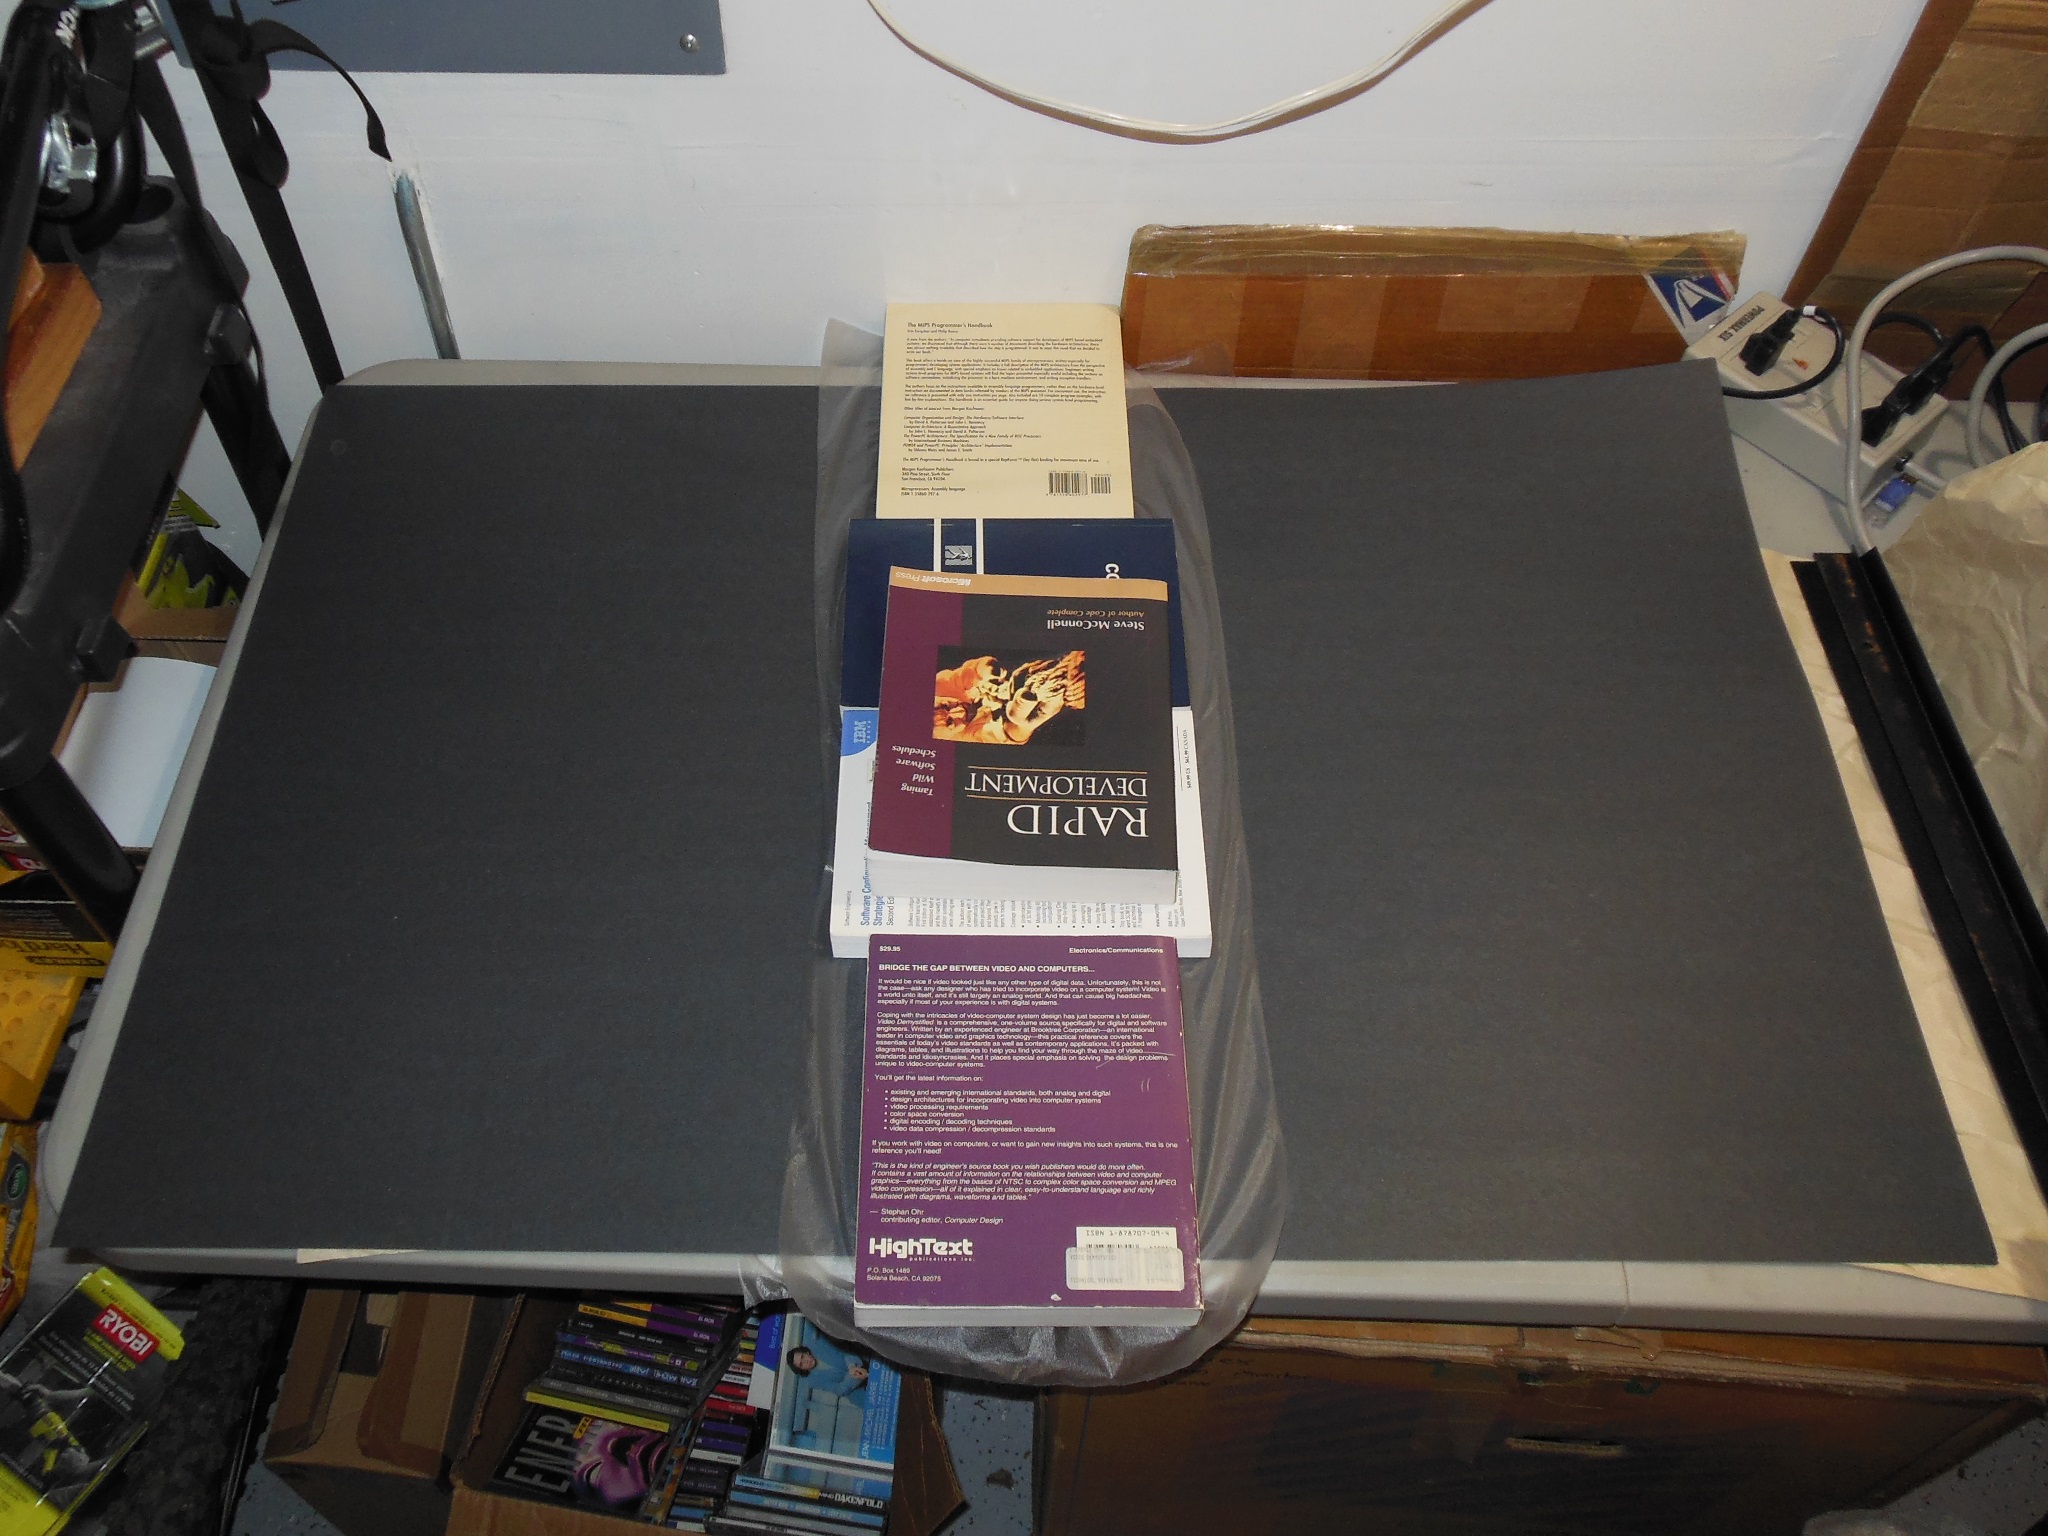
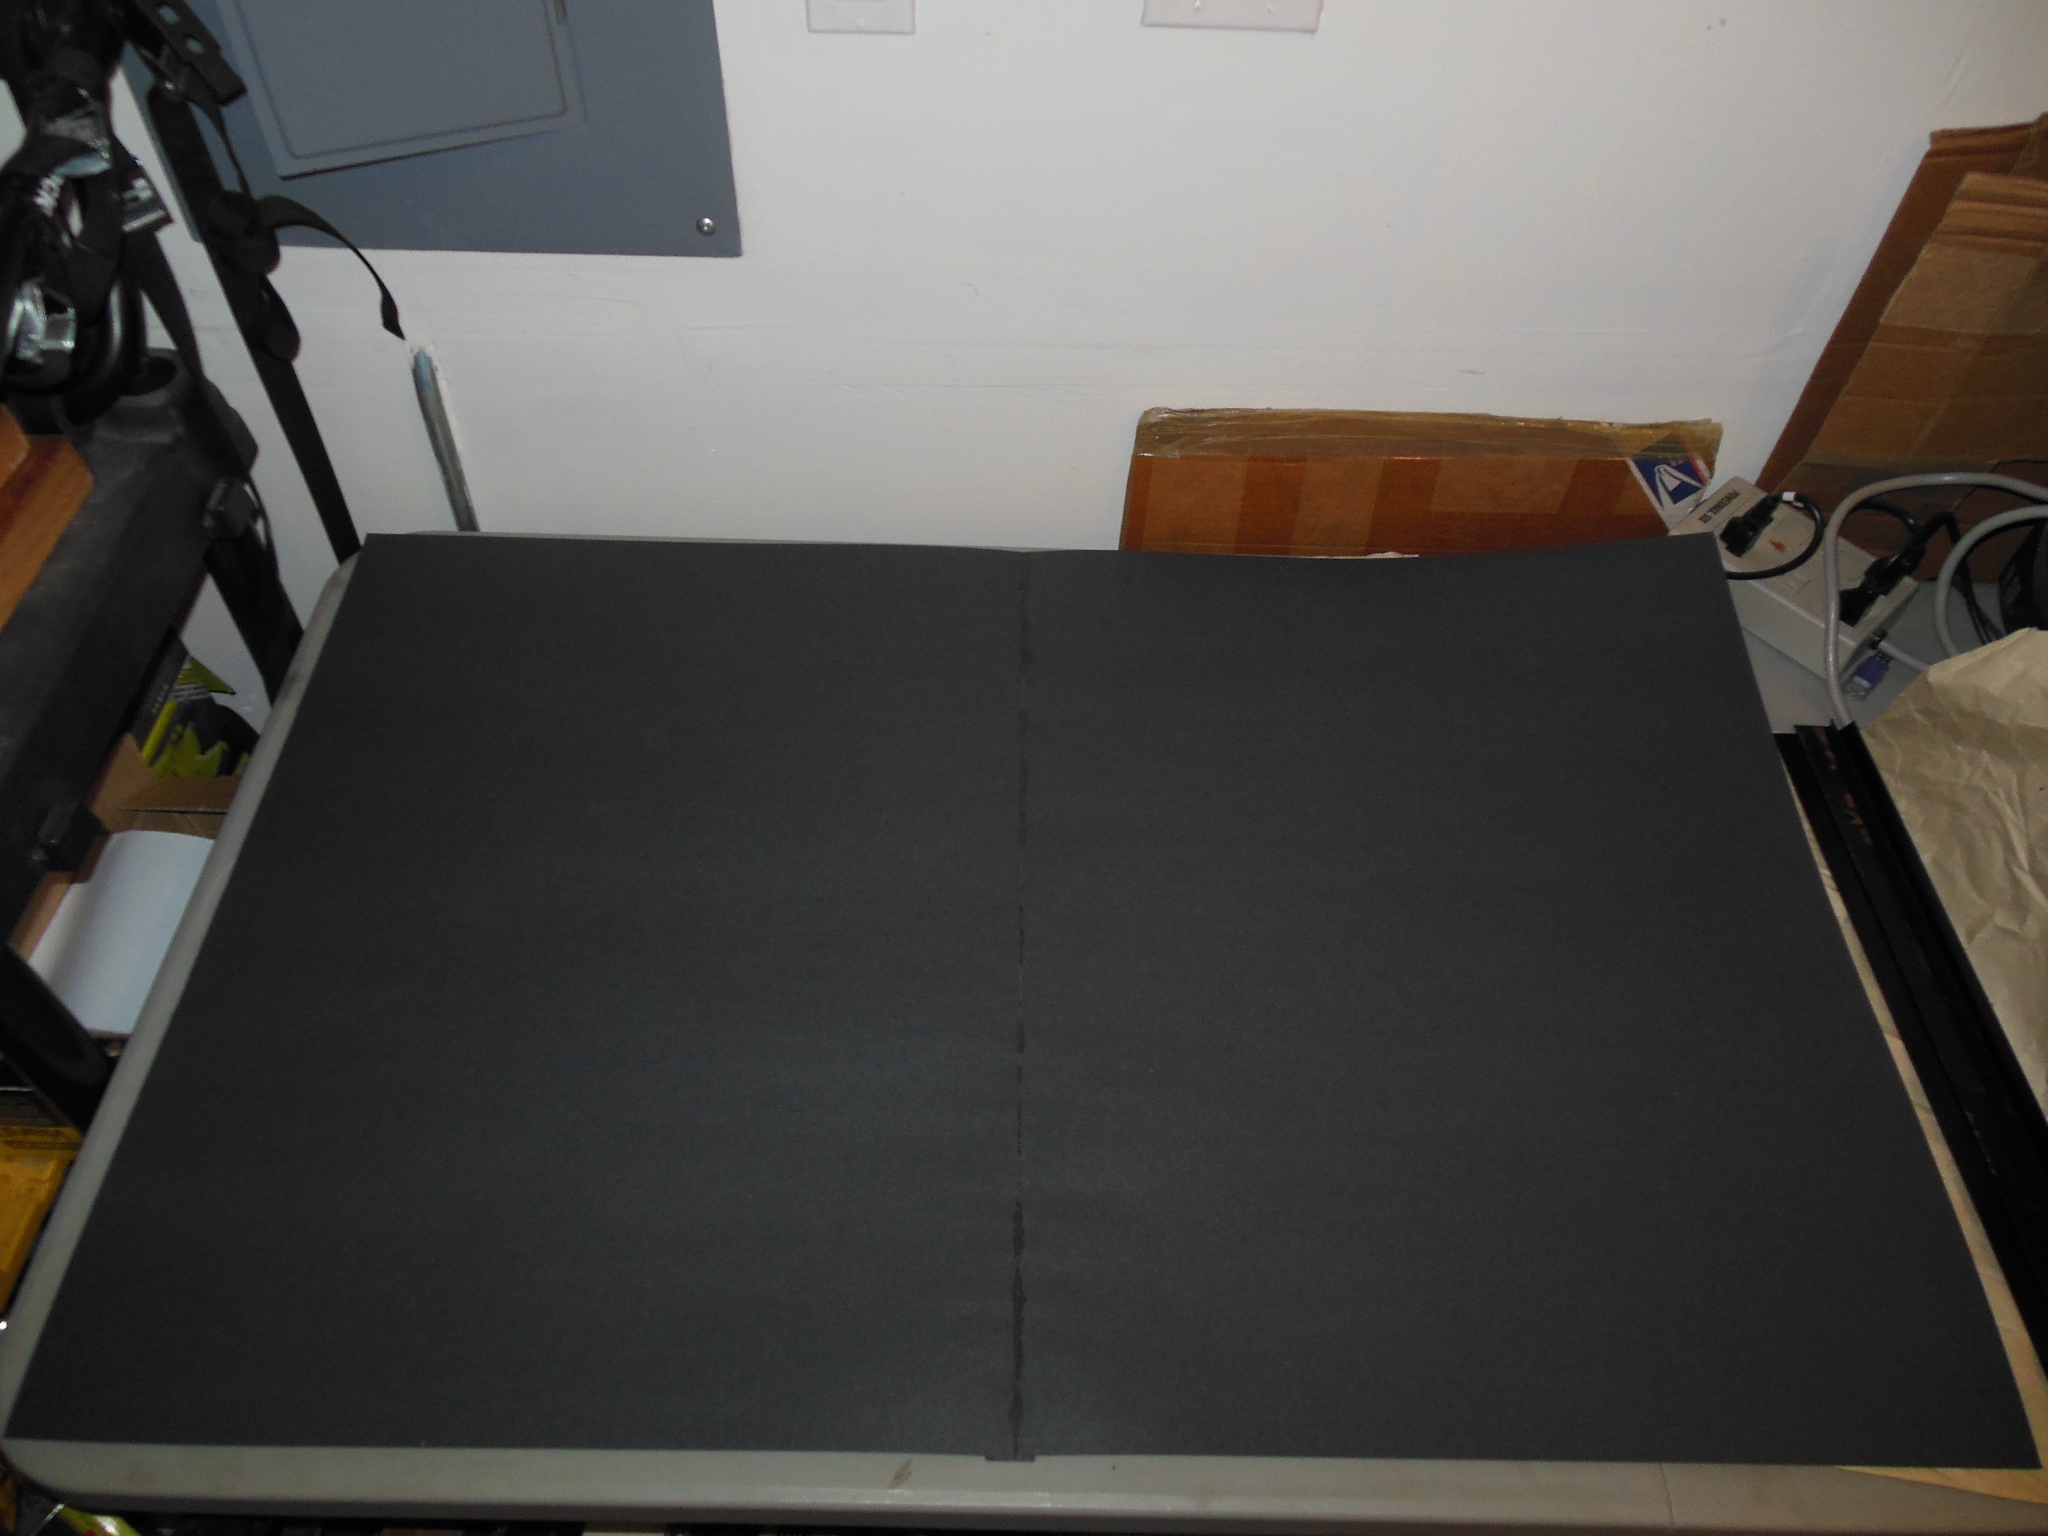
A prior reproduction monitor surround had been made from a single panel of cardboard from a local crafts store. That panel had a texturing versus the plain original. This time with COVID-19 closing many none-essential stores I went with "School Smart 1485744 Railroad Board, 6-ply Thickness, 22" x 28", Black" off Amazon that was almost identical to the original board but would need two panels joined to make a single panel large enough for a surround. A small strip was trimmed off one of the panels and used as a seam to join the two together with paper glue.
|
Using one of the aluminum sheets previously ordered from Online Metals the game PCB was mounted & properly fitted into the cabinet.

|
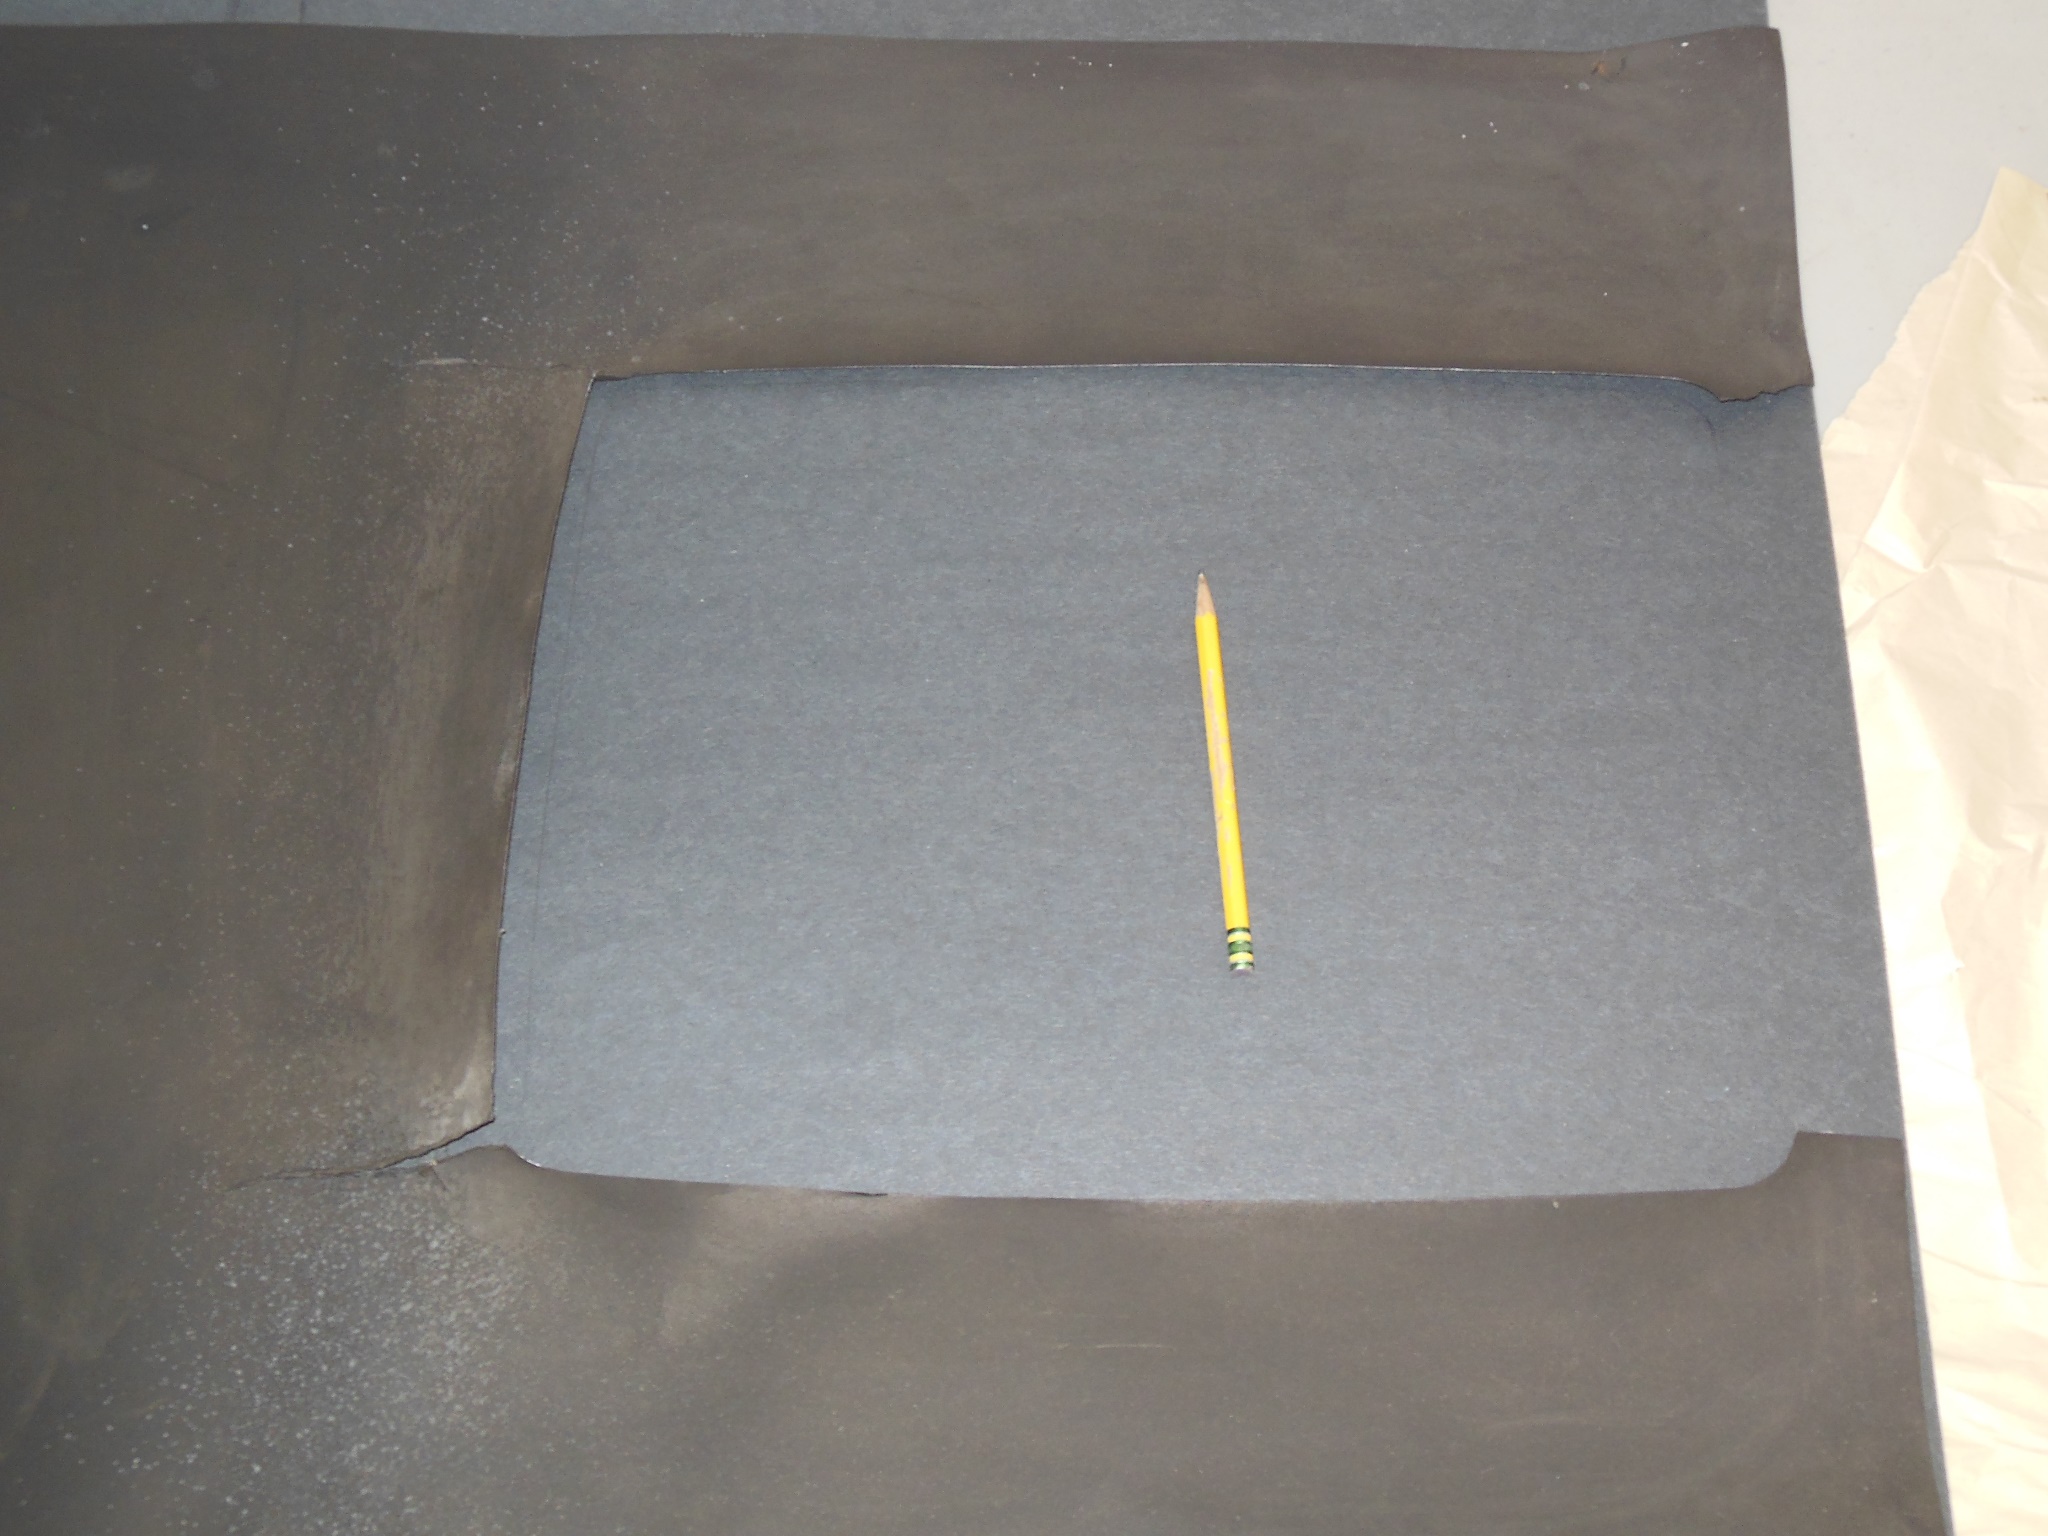
After trimming the width to match the cabinet cavity a damaged spare surround was used as a template to mark & cut the CRT cut out.
|
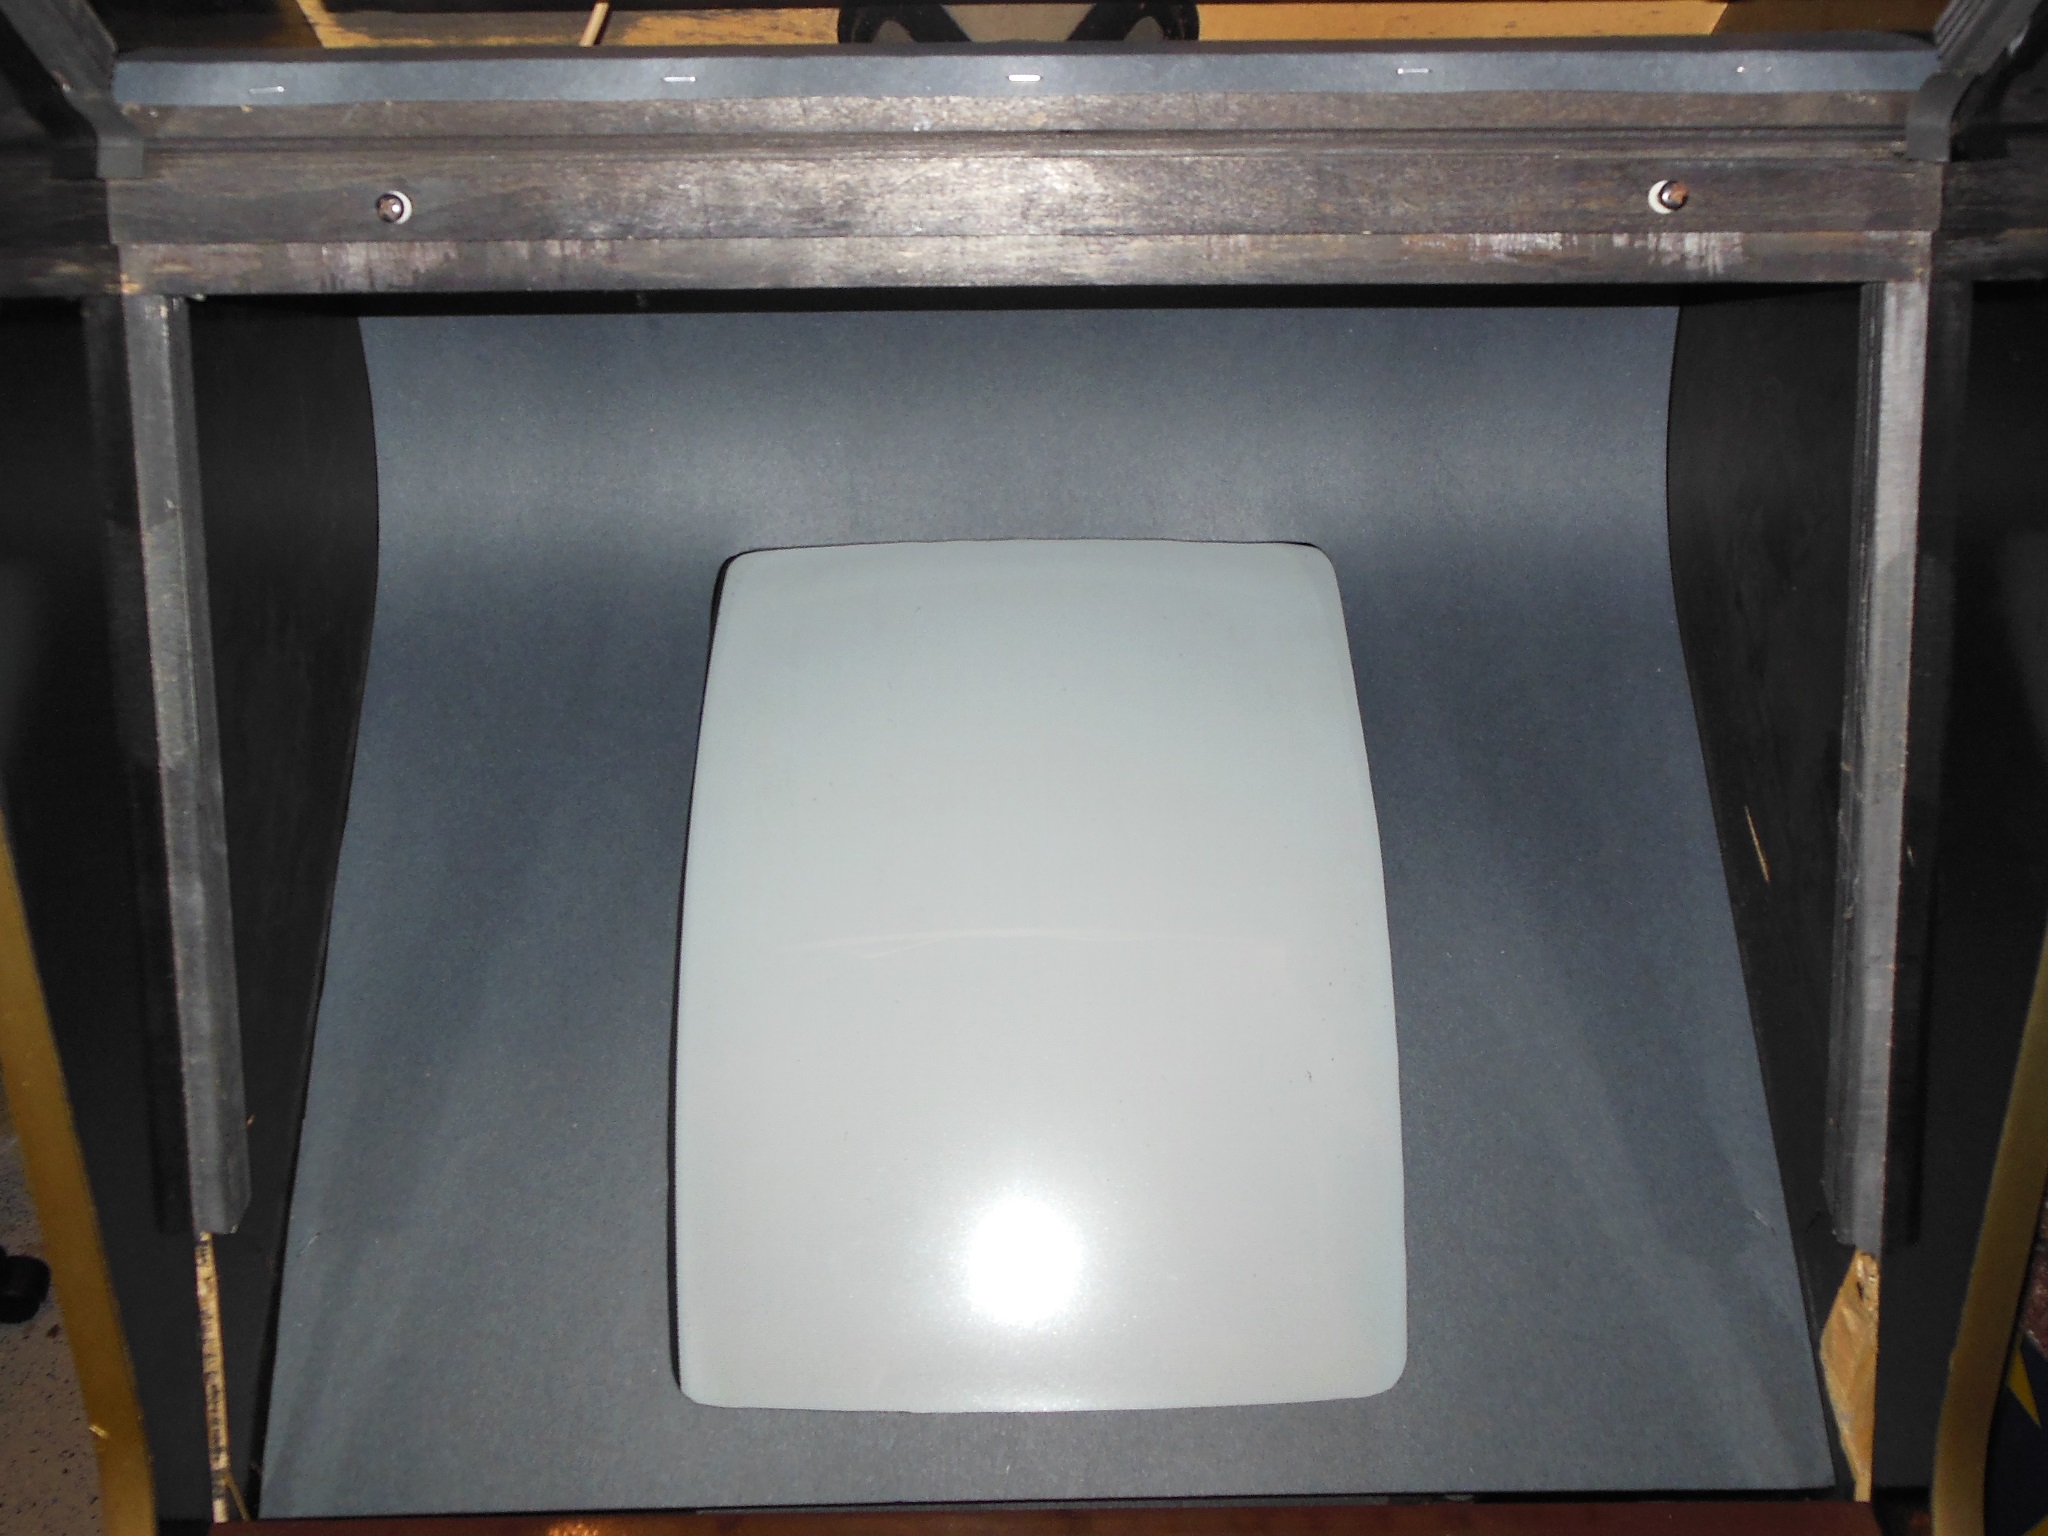
The surround was then fitted into the cabinet to mark & cut the length. A crease was also made to fold over the top tab before final stapling into the cabinet. Four foam spacers were fitted to the side supports for the monitor glass.
|
The soldered edge connector adaptor on the Solomons Key PCB was removed and the edge connector cleaned up using solder braid. Testing on the bench found it working but the sound was very faint. The PCB was set aside for now.
|
Castors were fitted on the base.
|
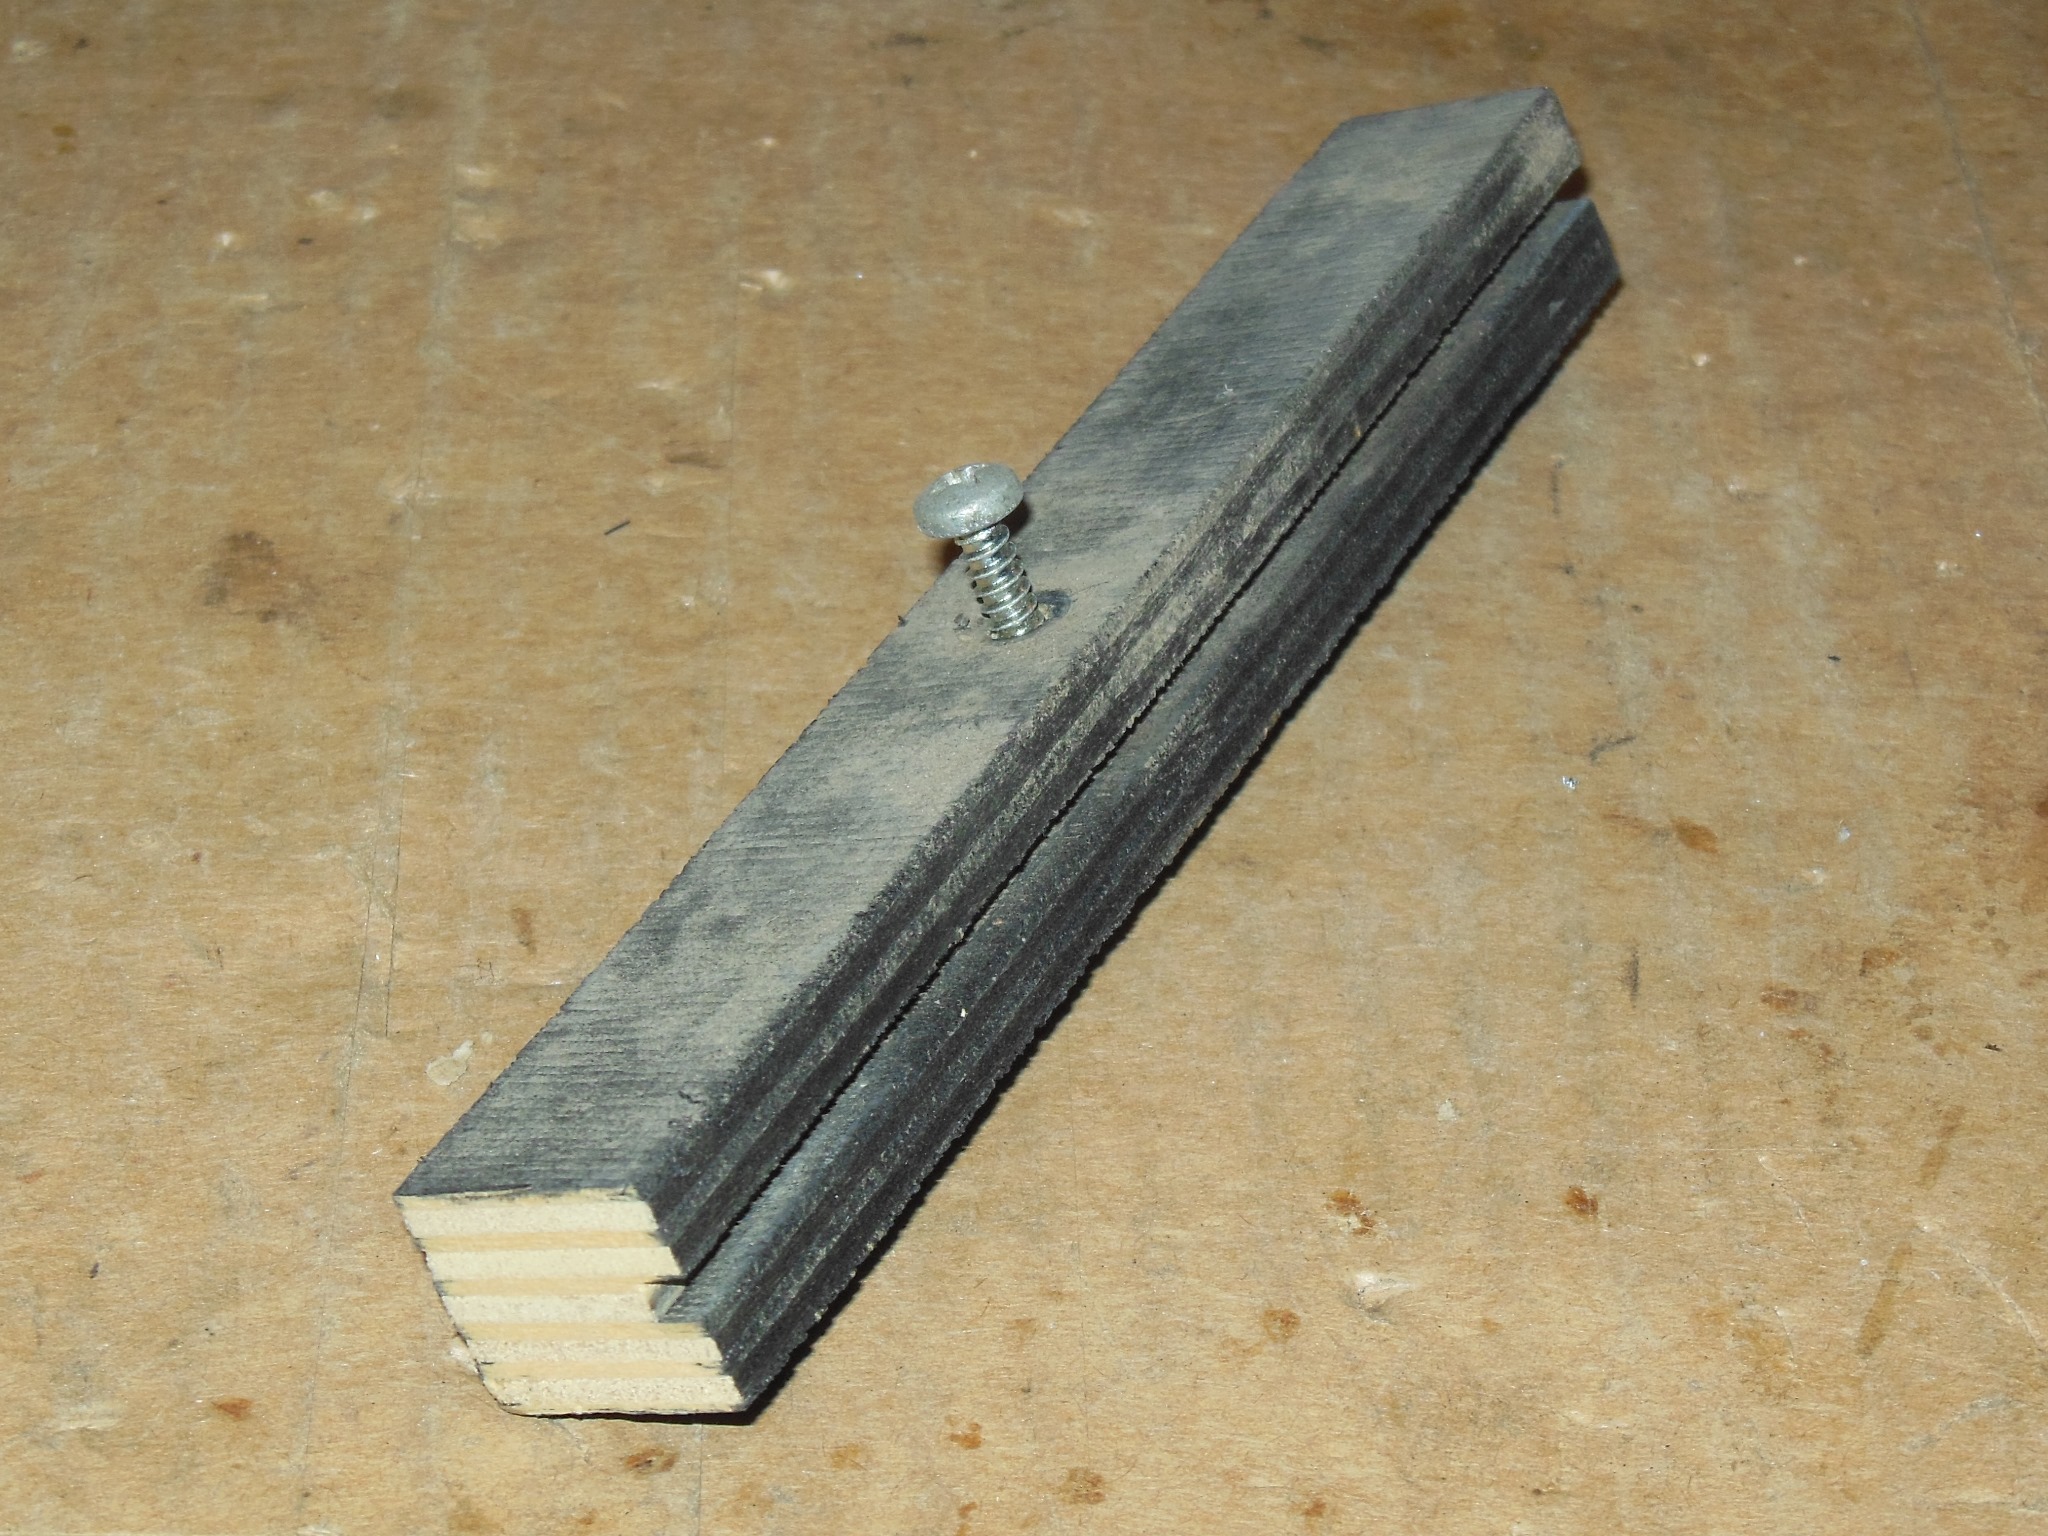
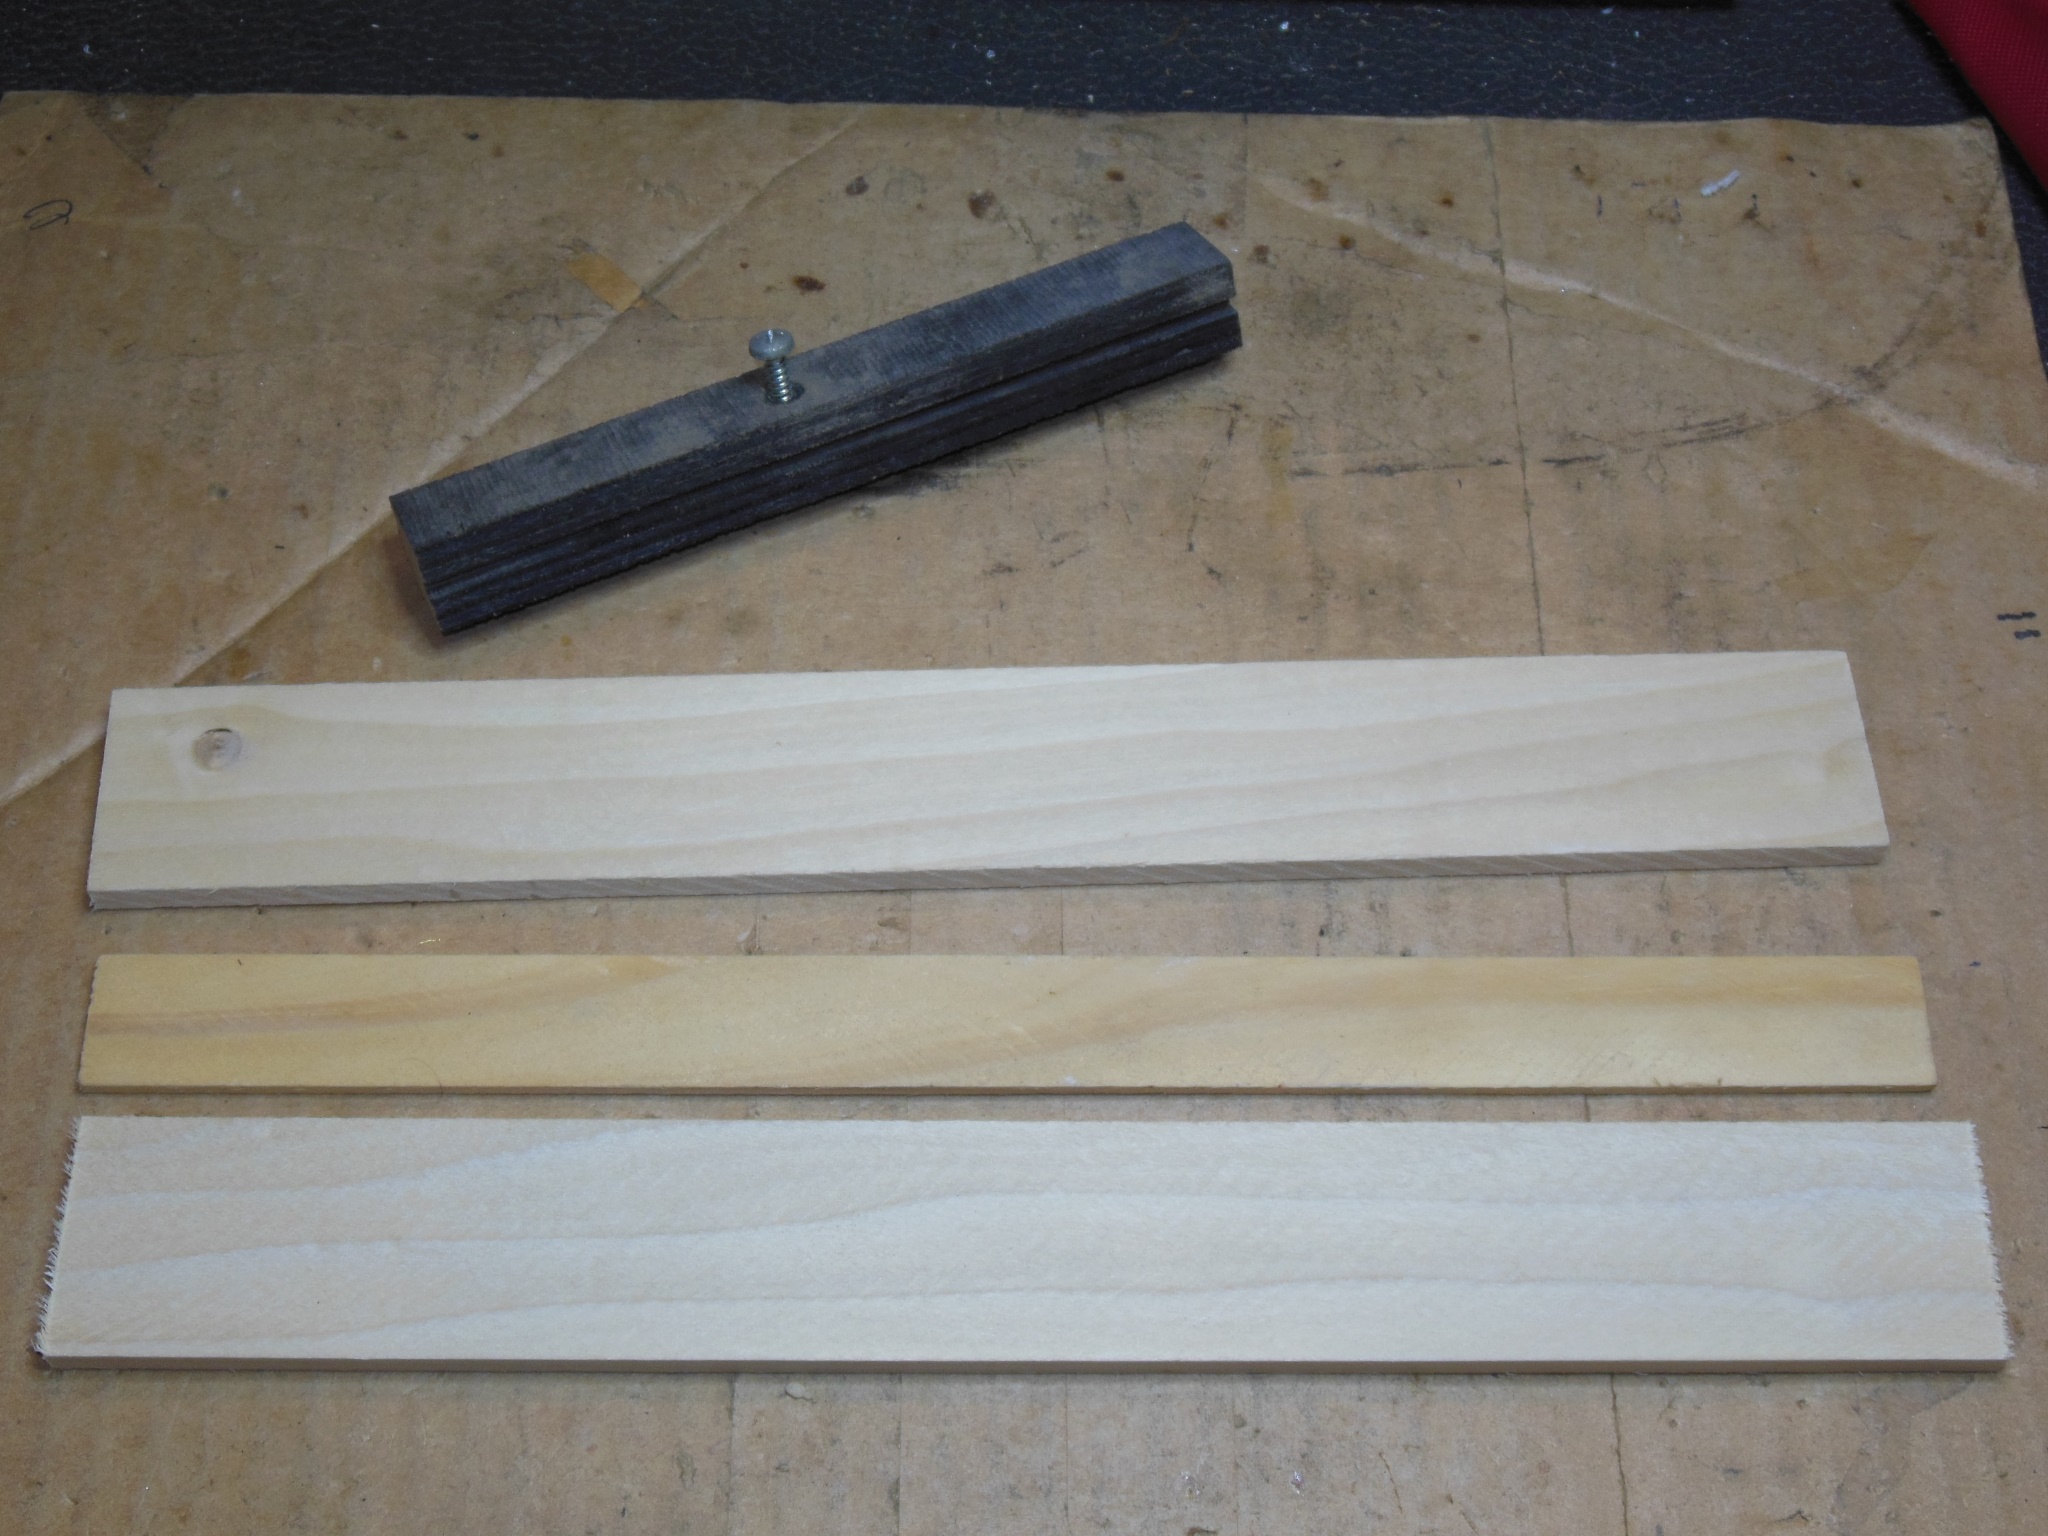
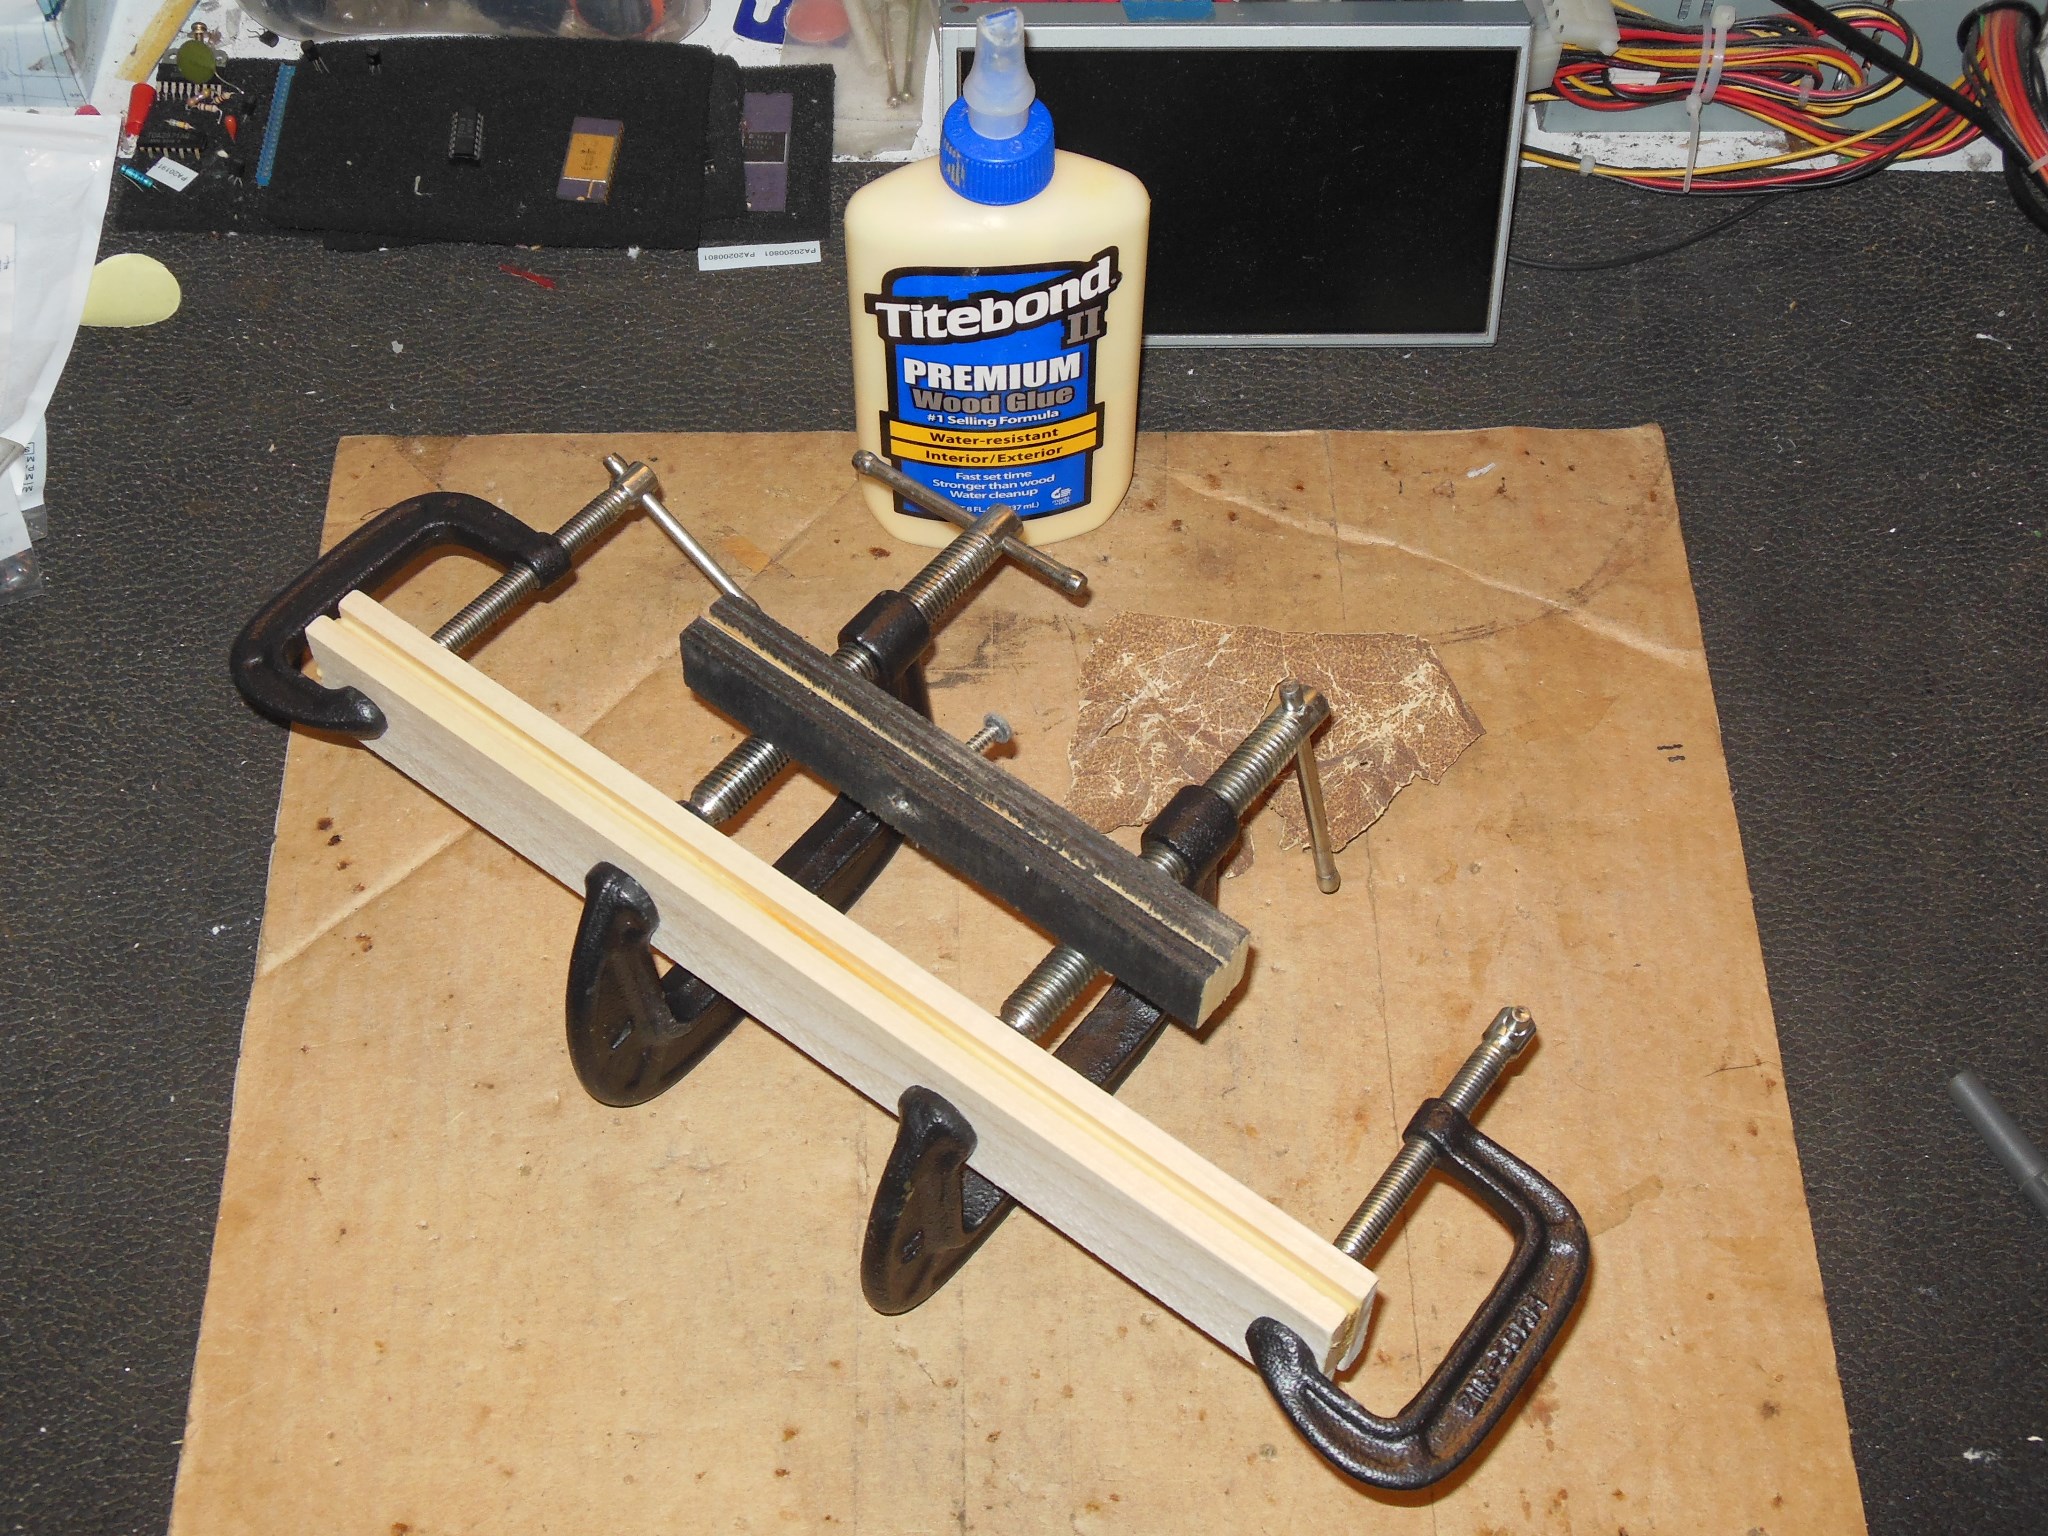
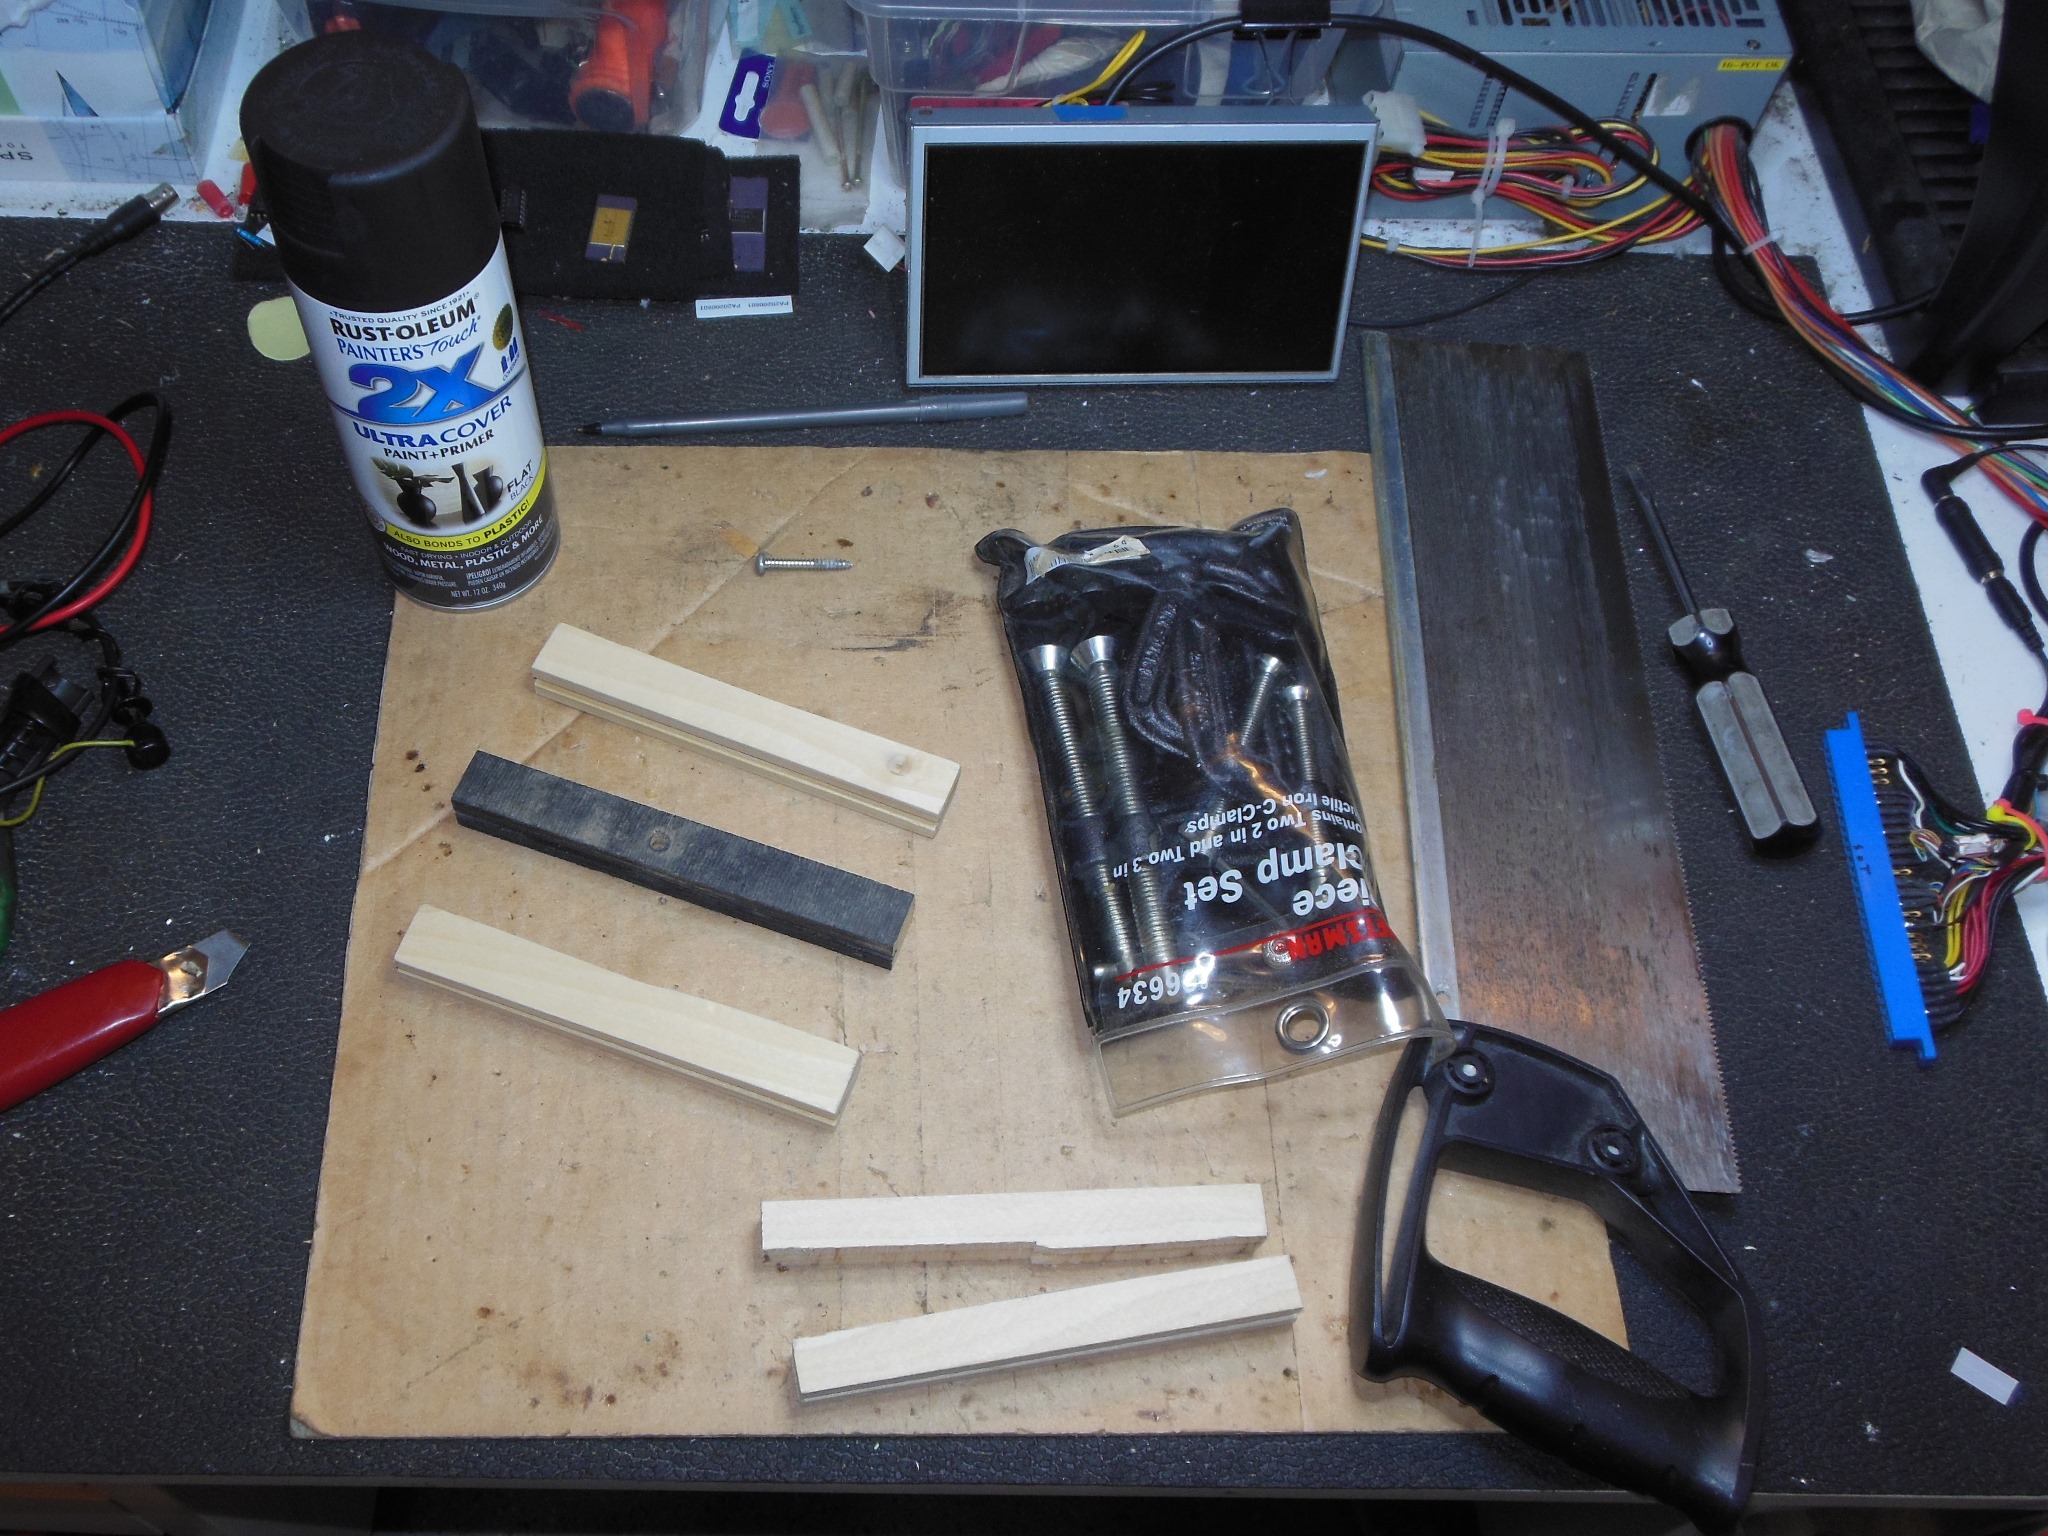
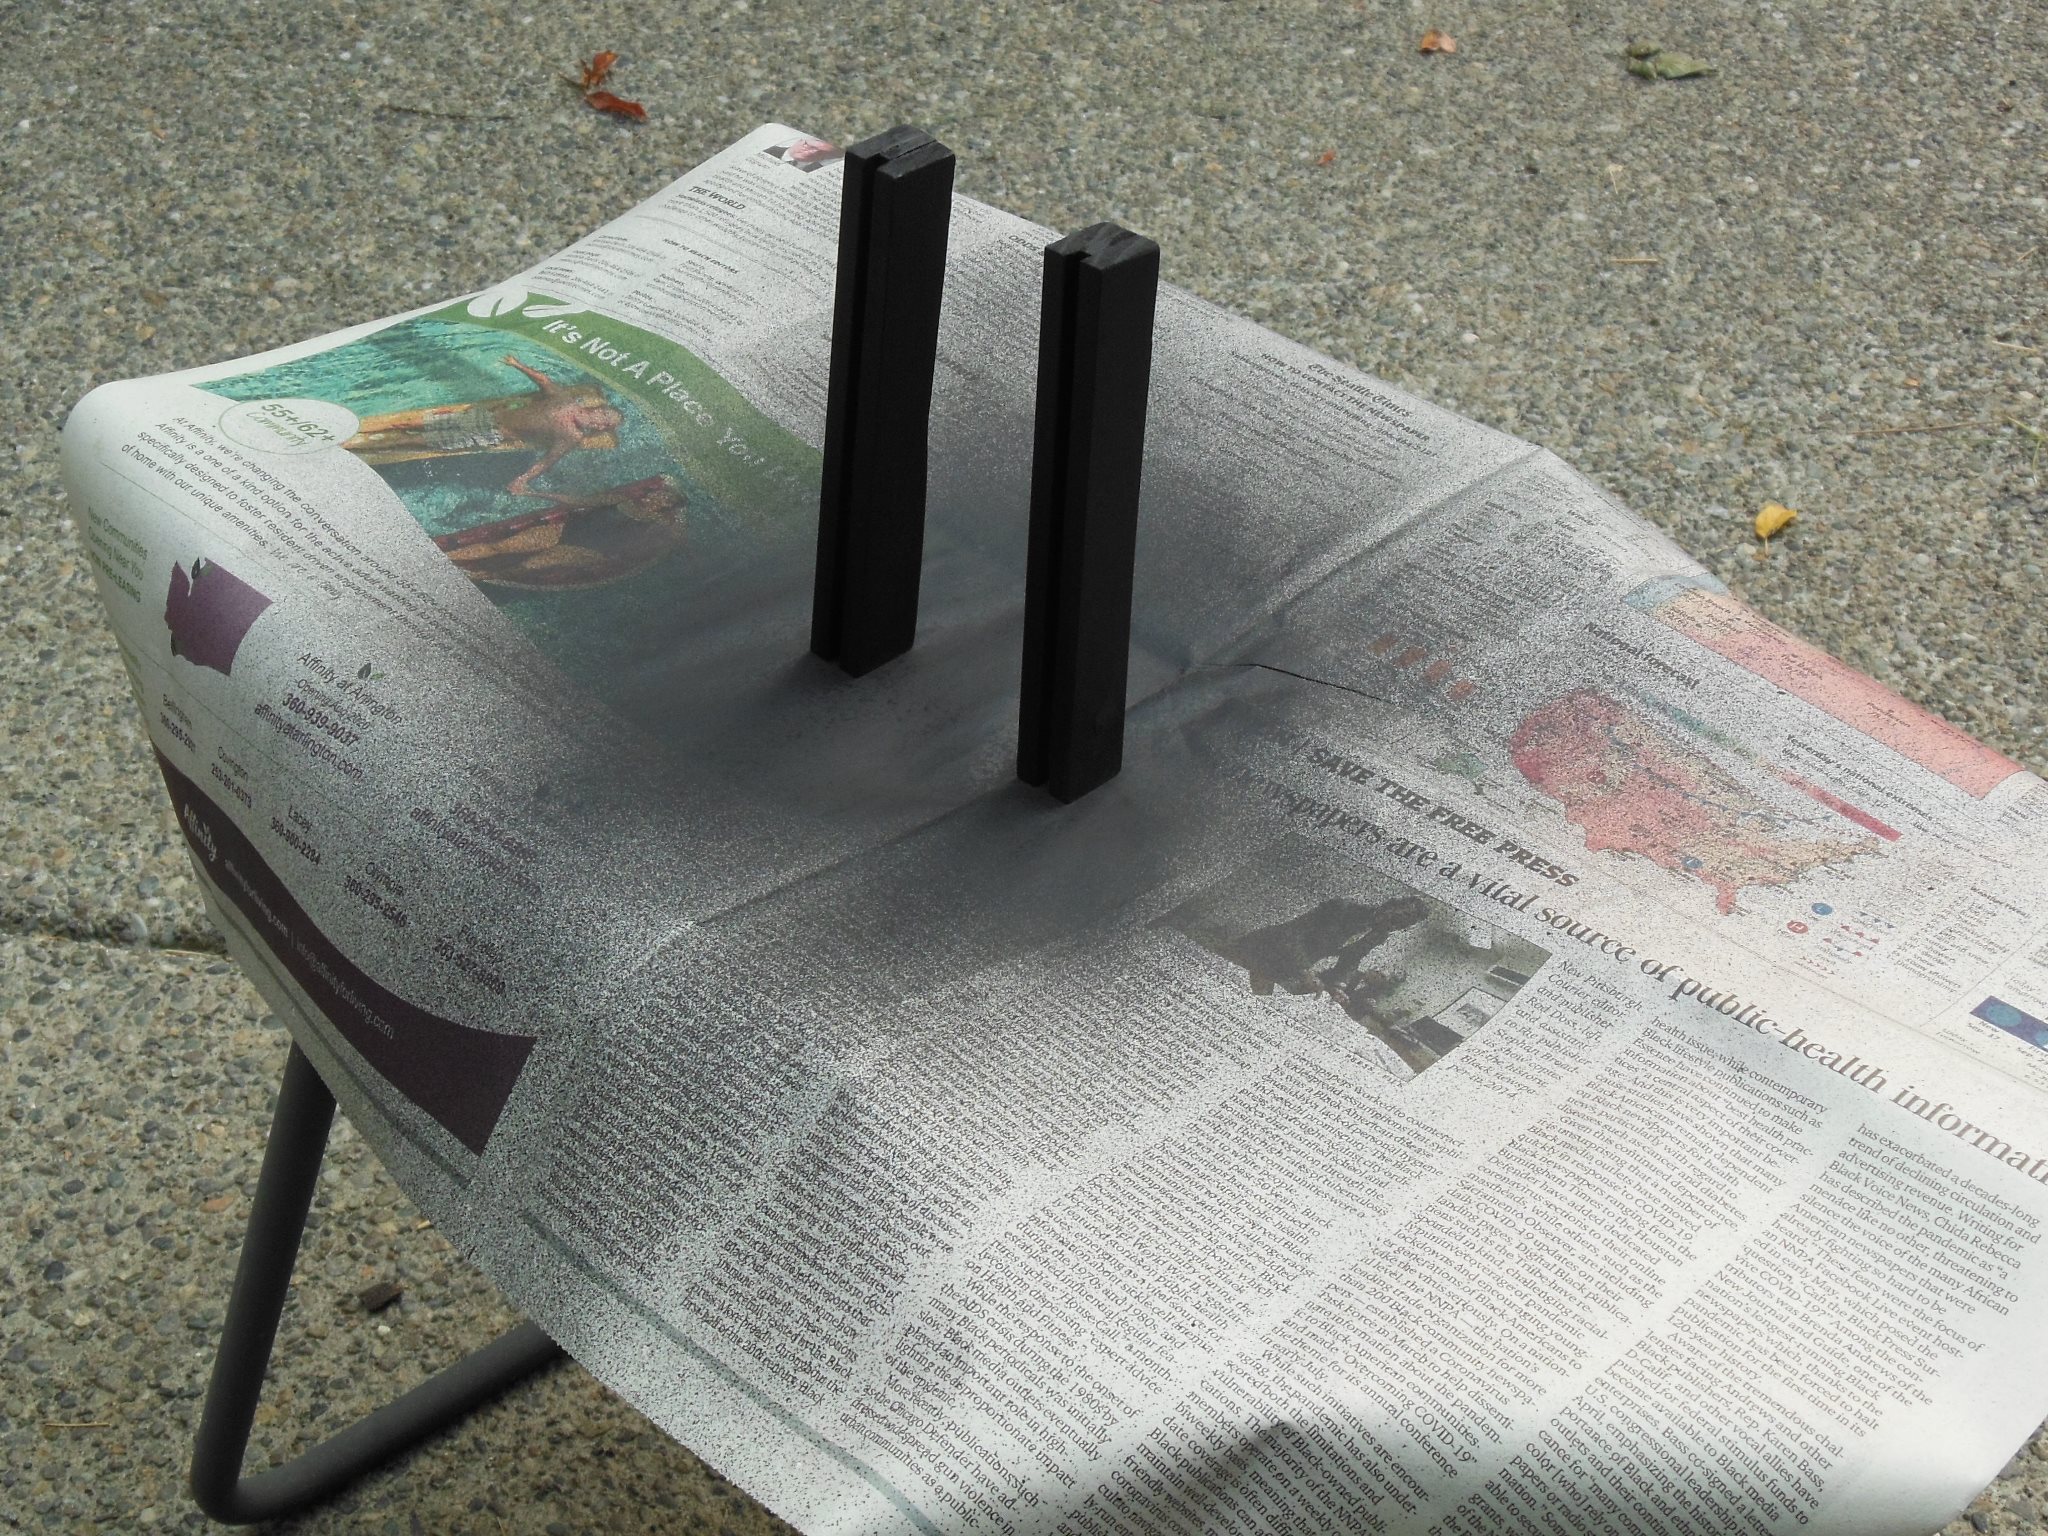
The wood support piece for the 1B1126 regulator PCB was missing so I borrowed one from another cabinet to use as a template to make a reproduction. I didn't have any slot cutting equipment and instead found thin paint stirrer strip for the middle between two thicker strips to make something the right height and with the right slot size. The three strips were wood glued together and set.
|
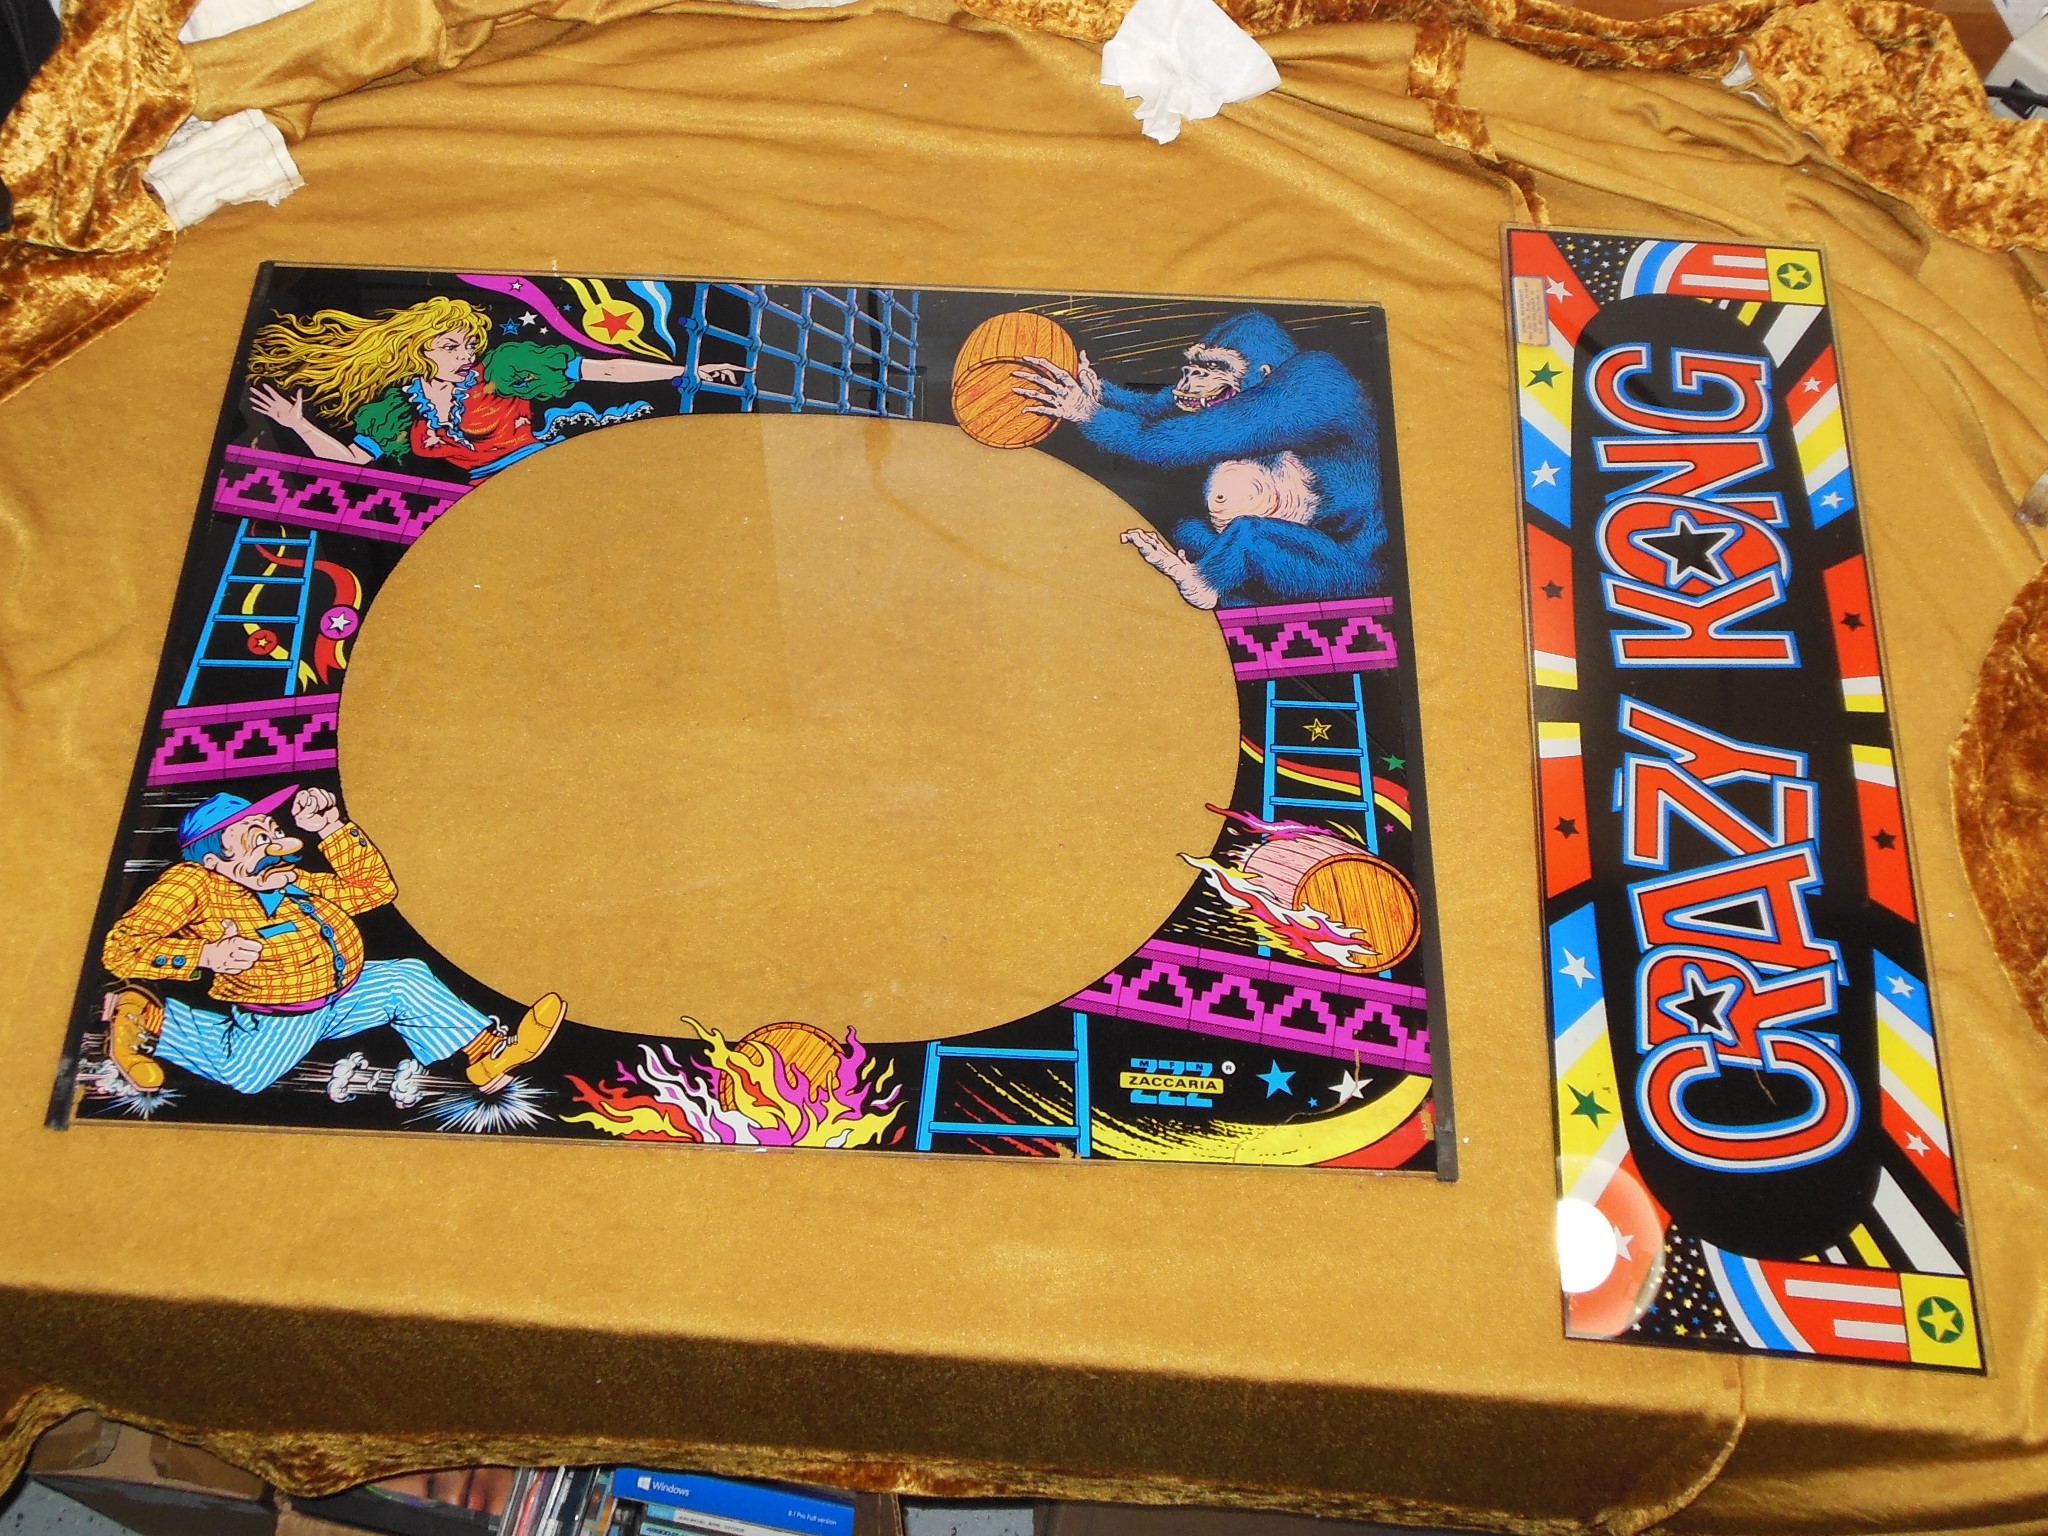
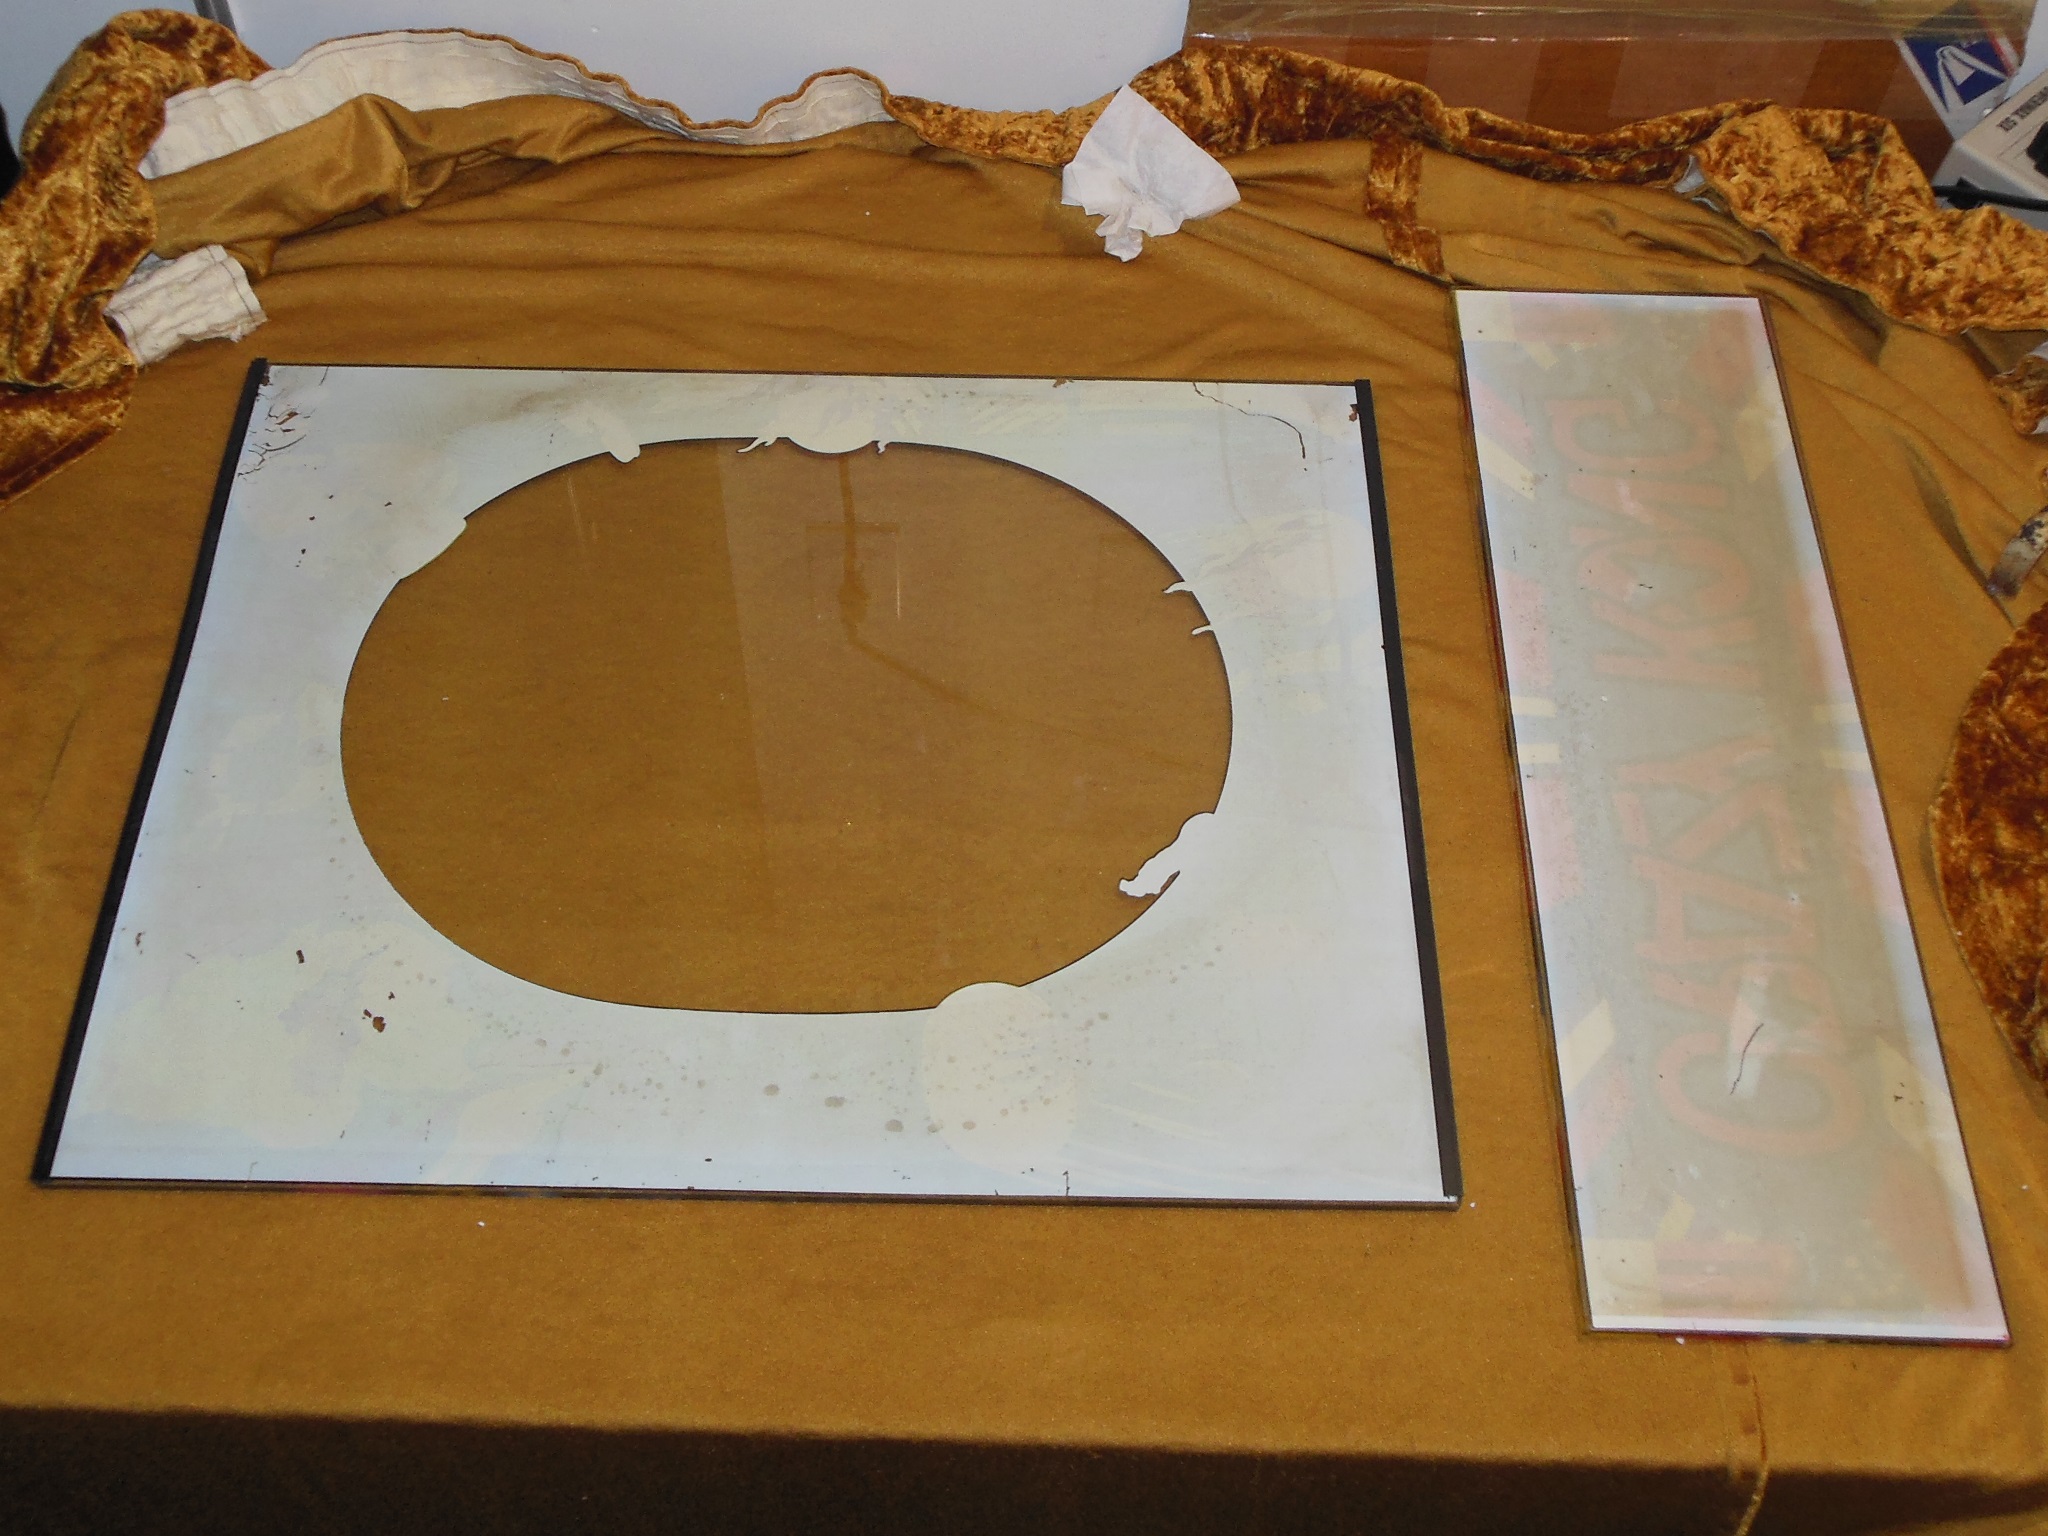
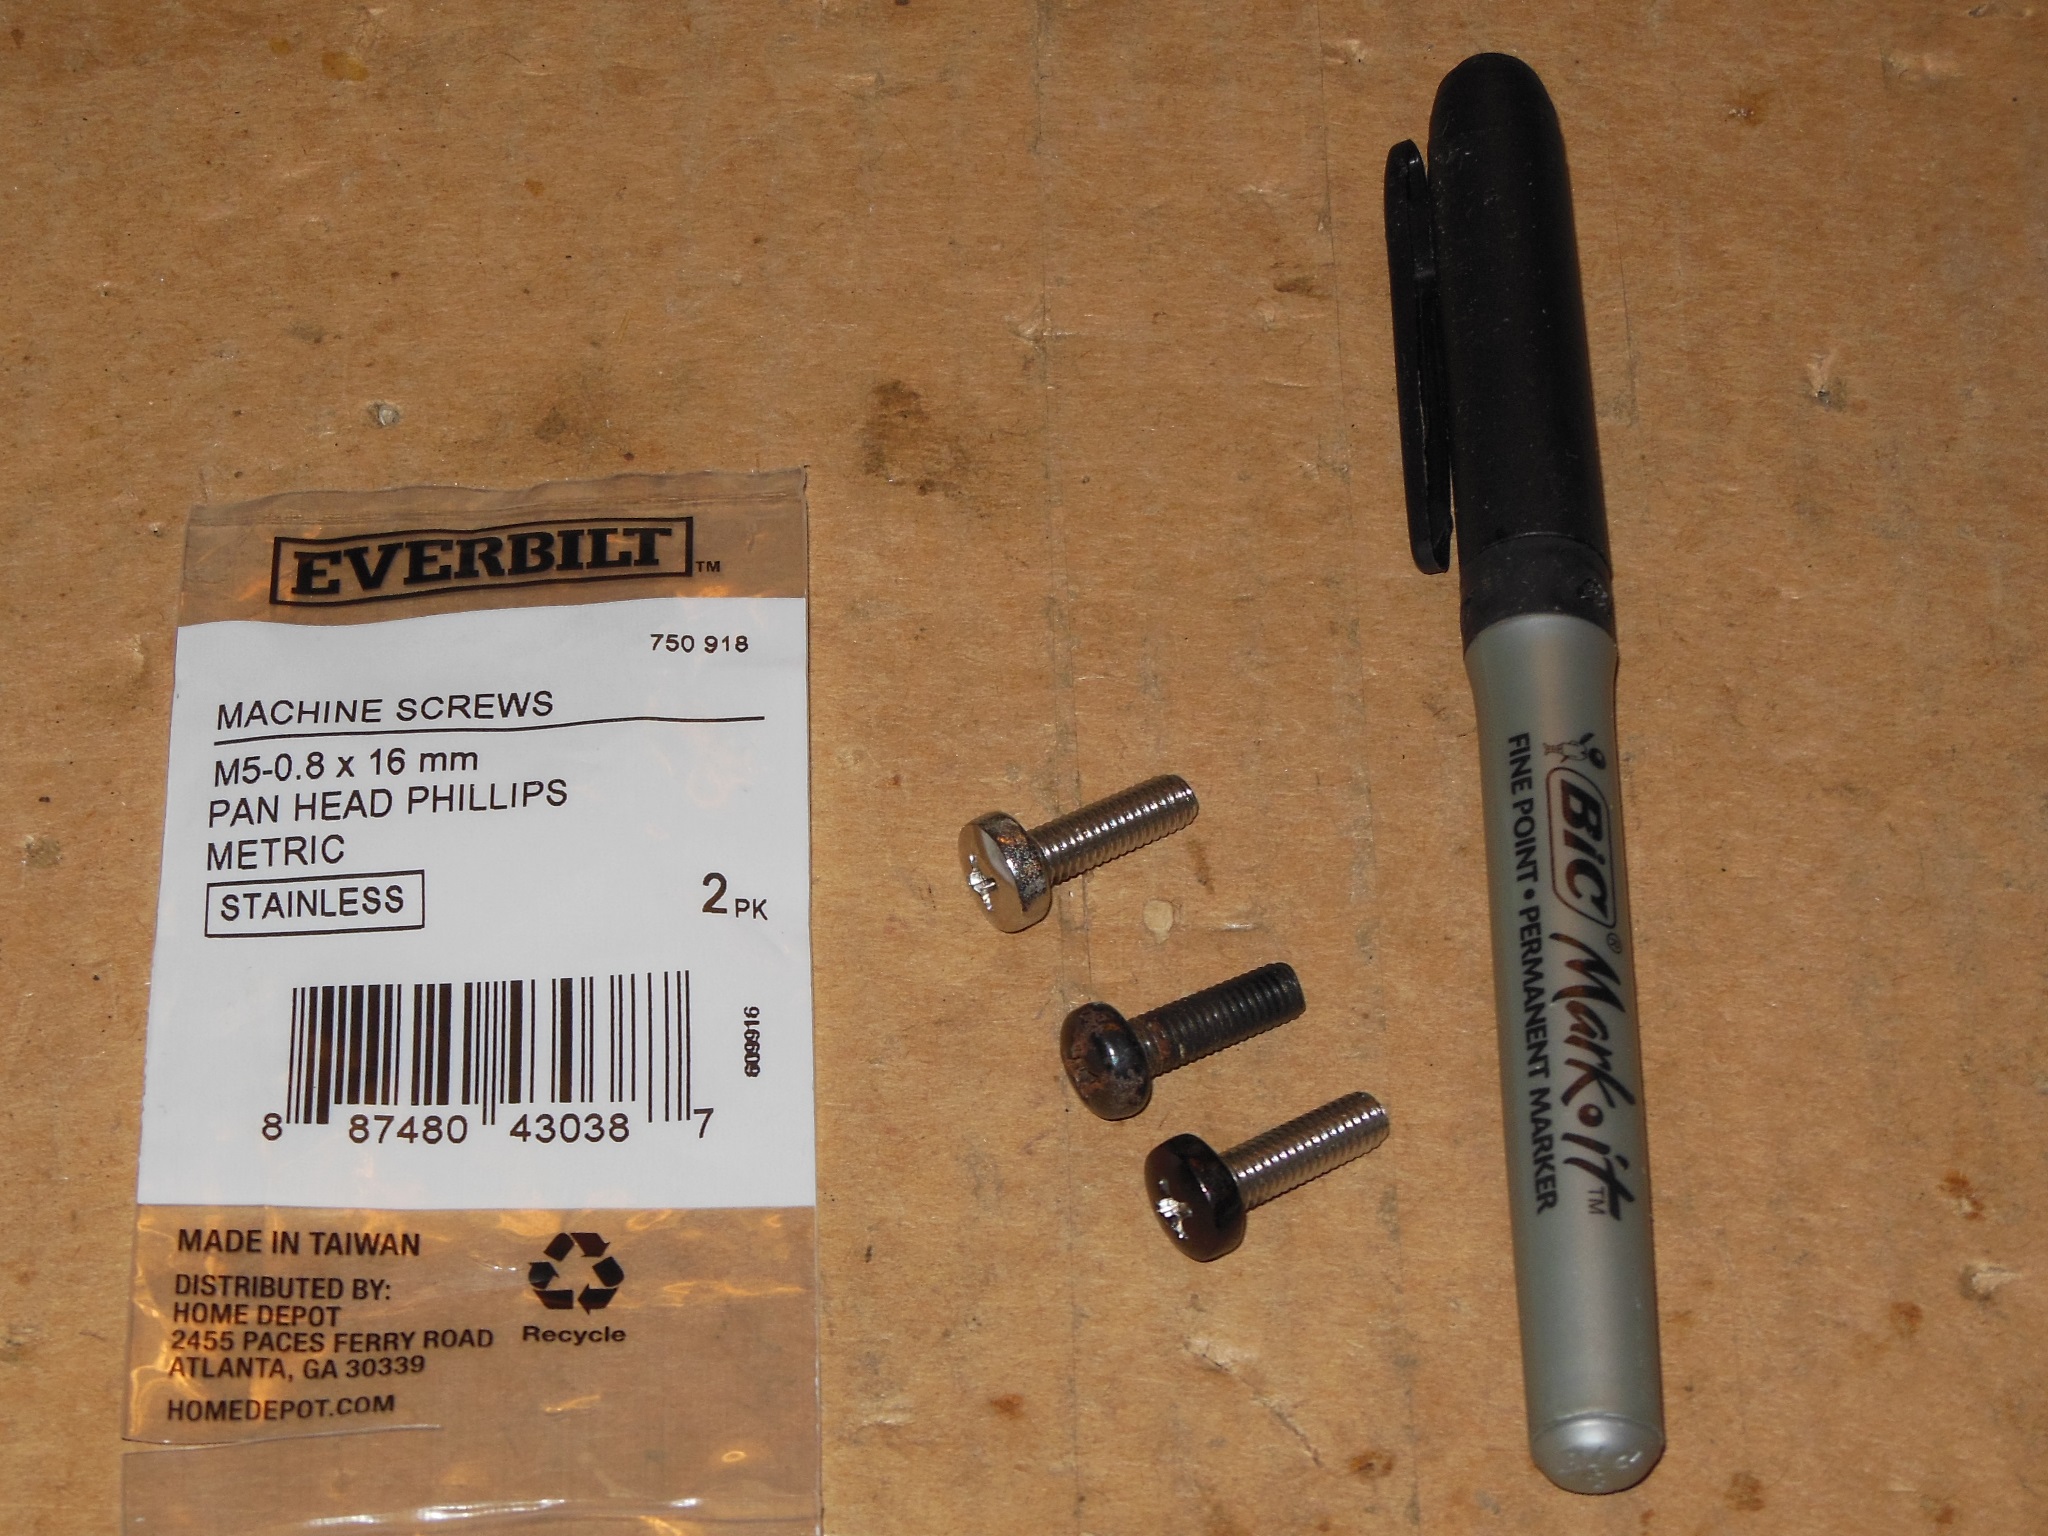
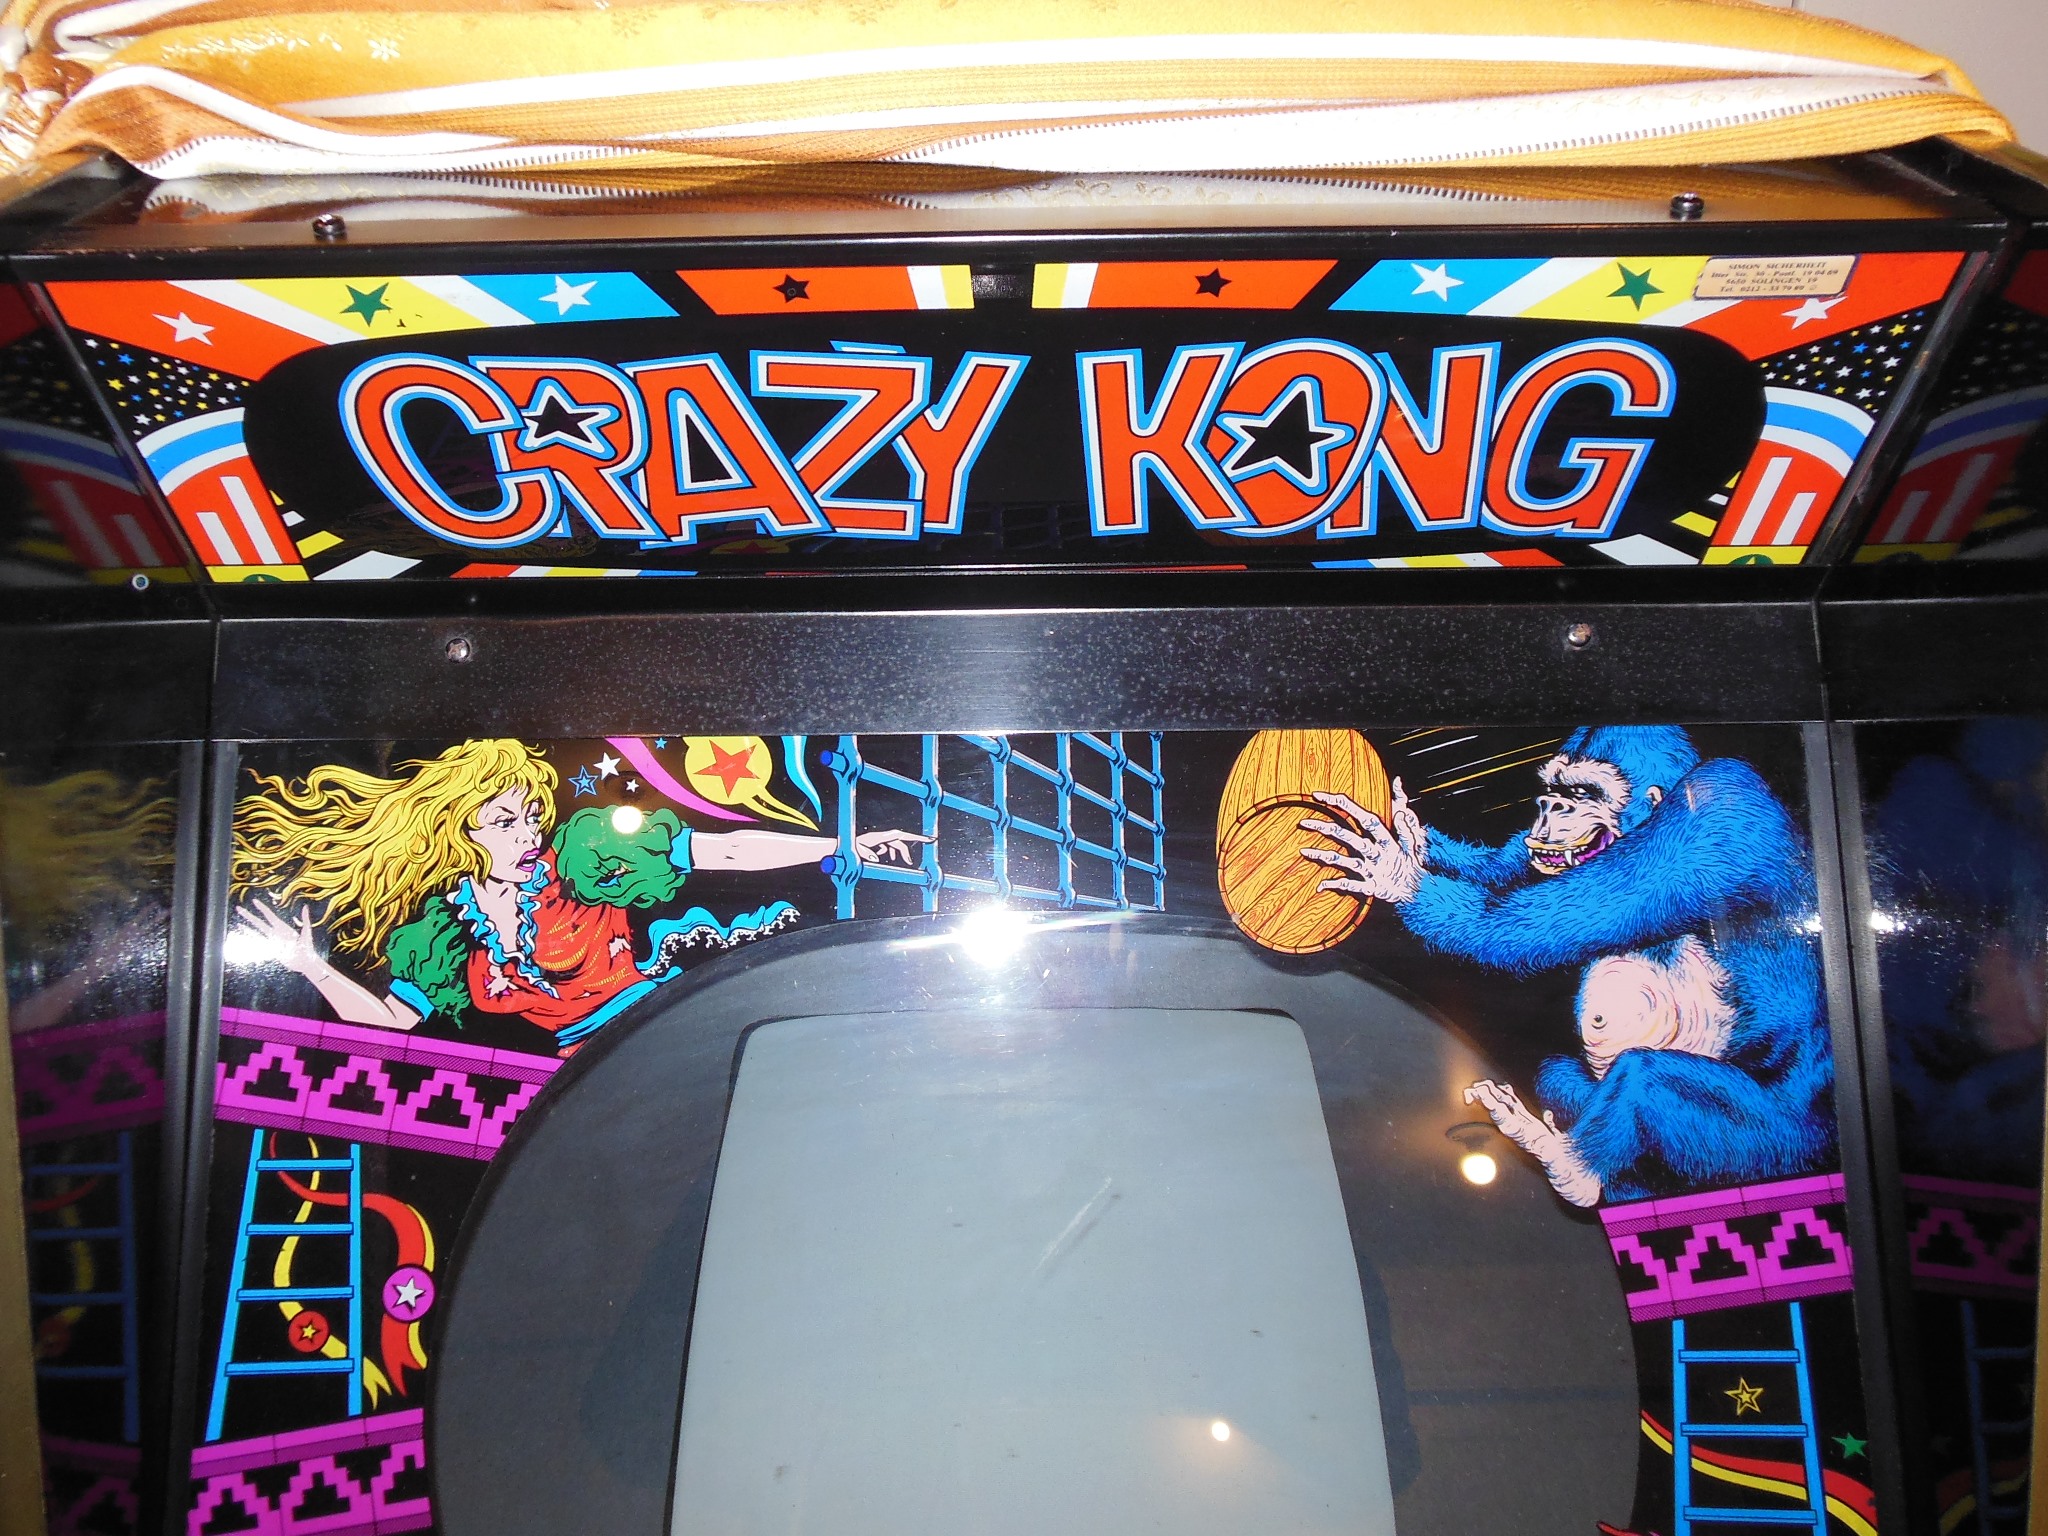
The previously acquired monitor glass & marque were in reasonable condition aside from scratches and some flaking in the corner of the monitor glass. Both were cleaned ready for install but I chose to leave the original operators label in the corner of the marque. Some of the original marque screws were missing and matching plain replacements from Home Depot were coloured over with a black marker to match the original black anodized colour.
|
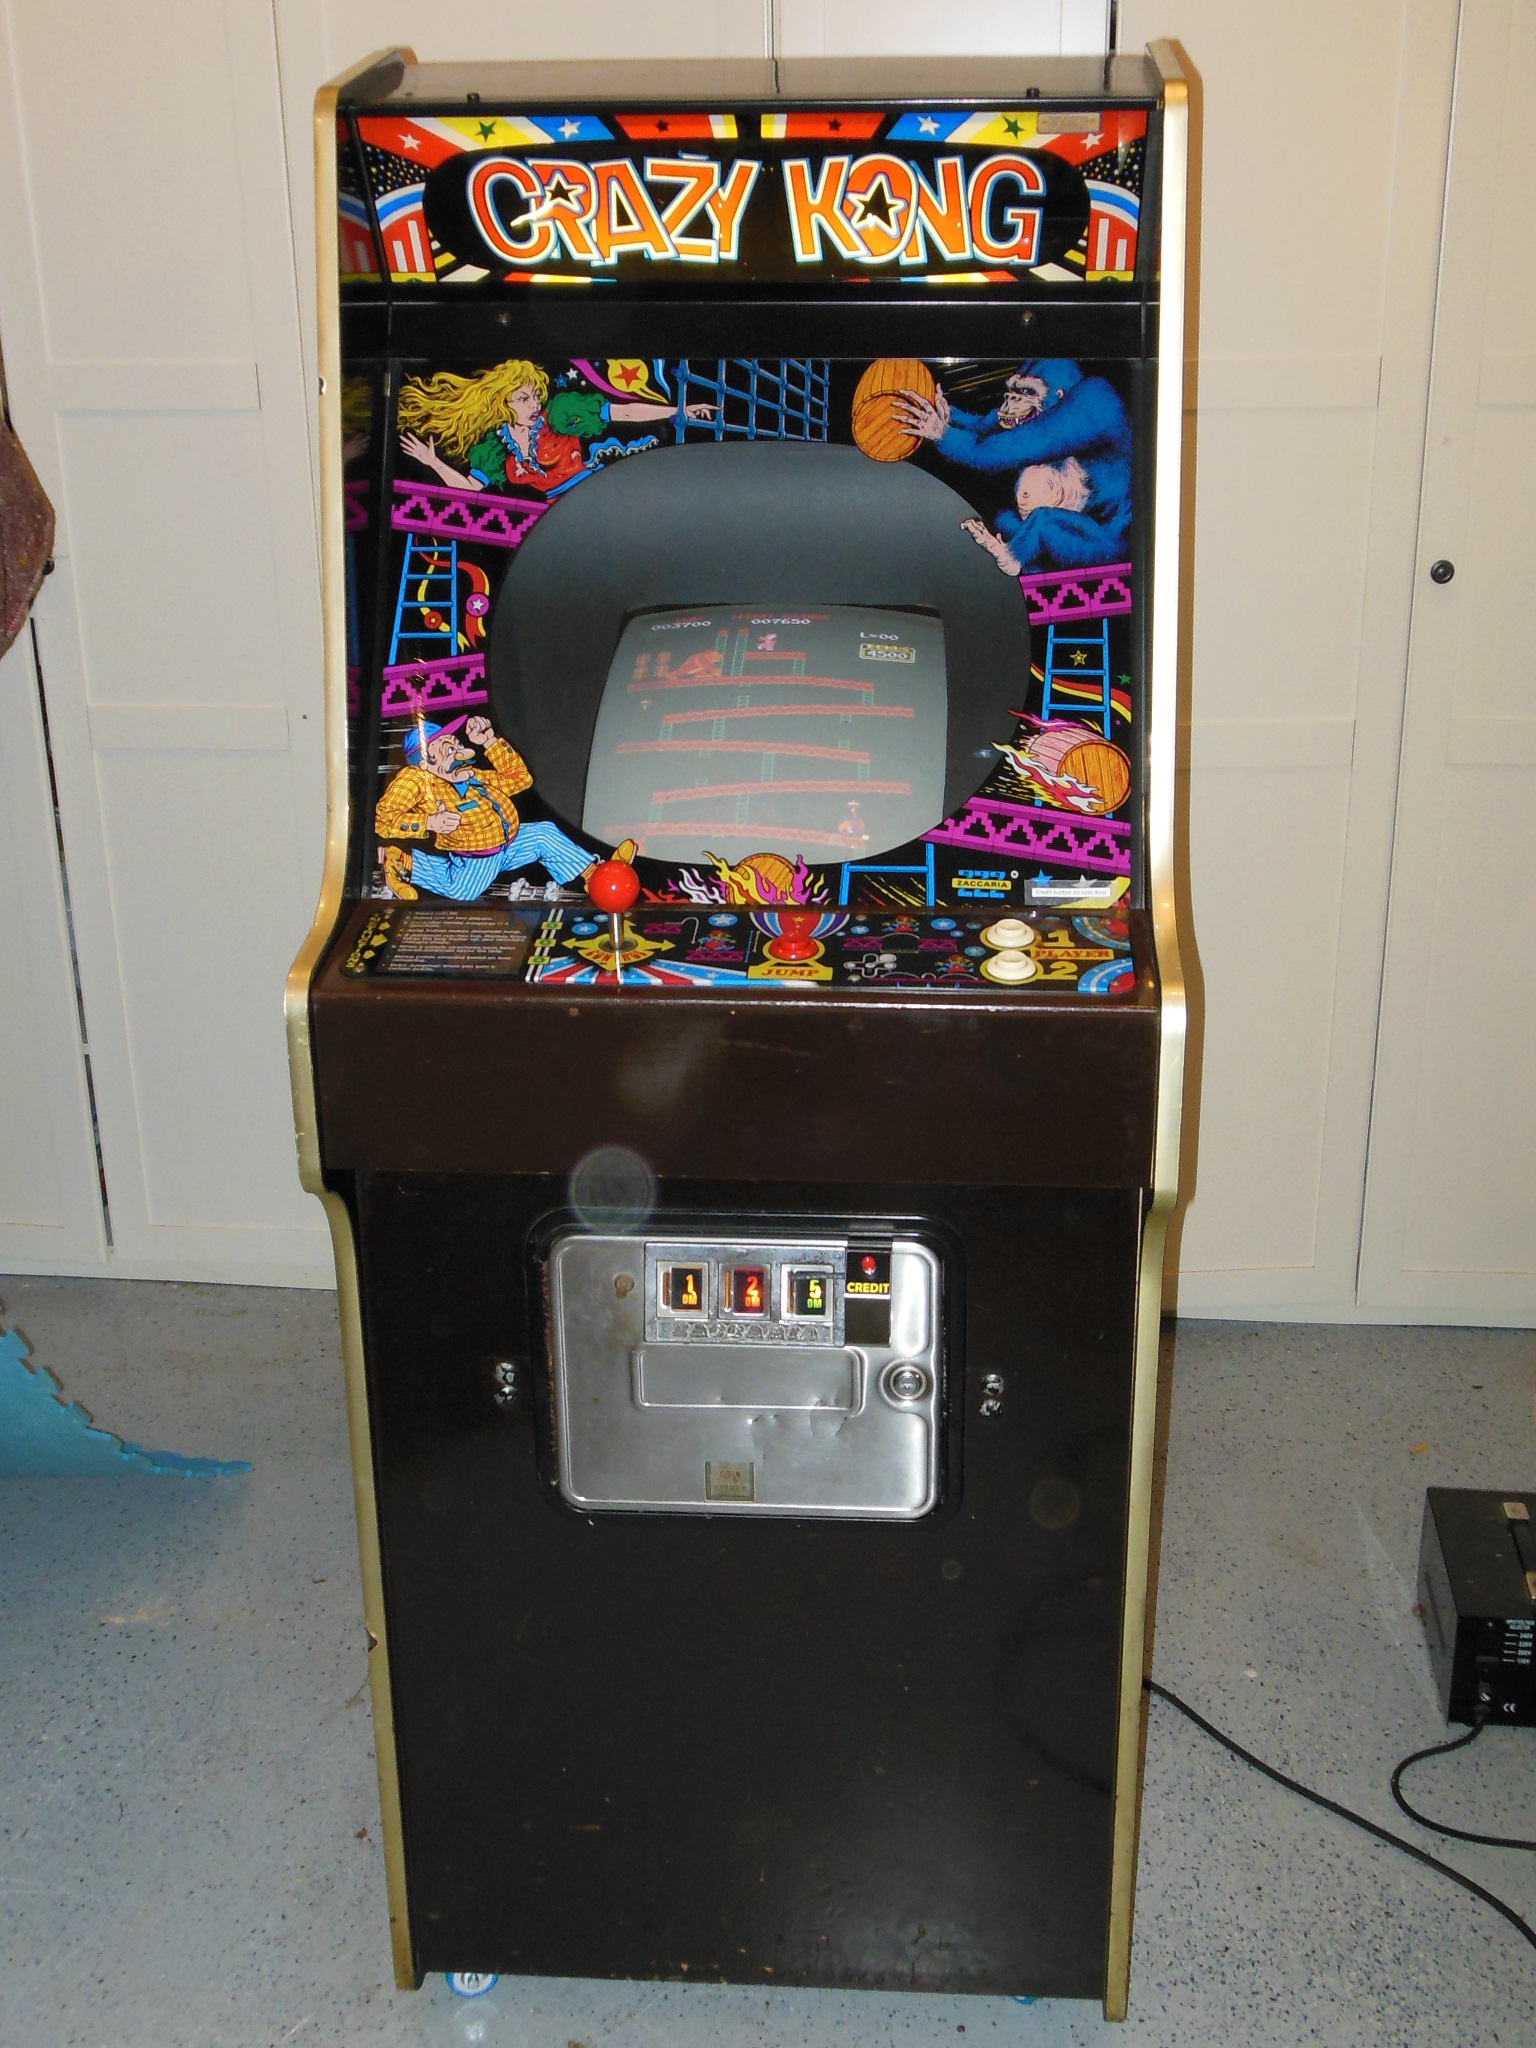
Installation of the glass & marque completed the exterior restoration of the cabinet.
|
After a few days of set time the assembly was cut into two and the width trimmed down to match the original (one near perfect, one a bit miscut). They were spray painted matt black, a mounting screw hole drilled and one was fitted into the cabinet to secure the regulation PCB.
|

|
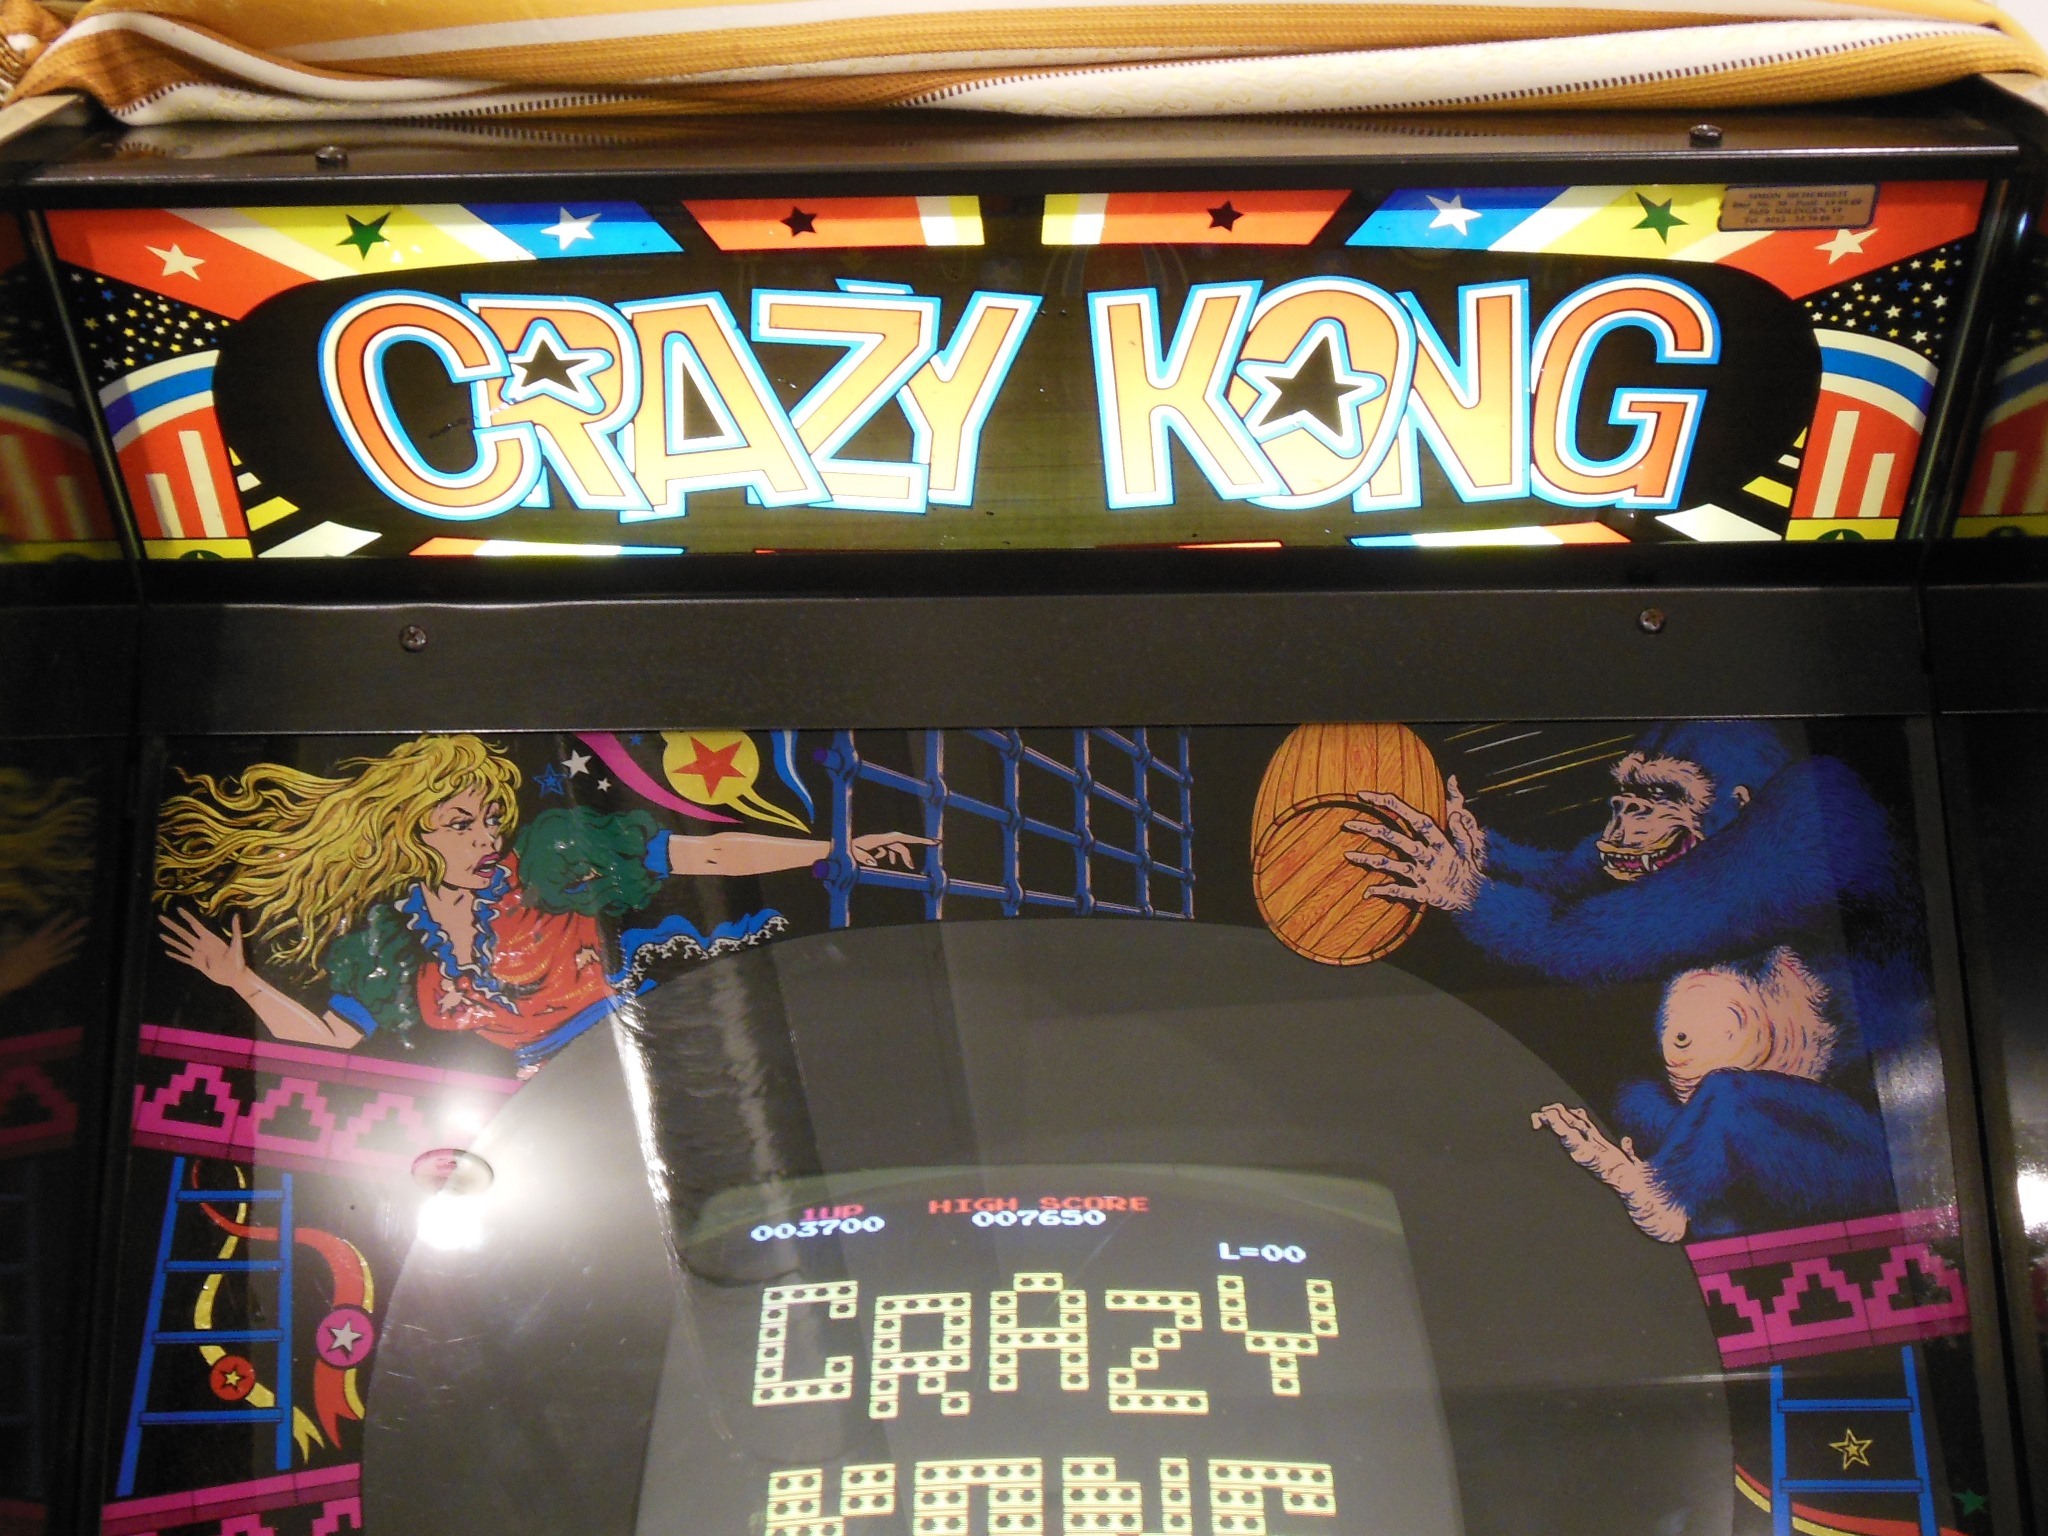
One final cleaning of the whole cabinet completed the restoration and a full day burn-in test encountered no issues.
|
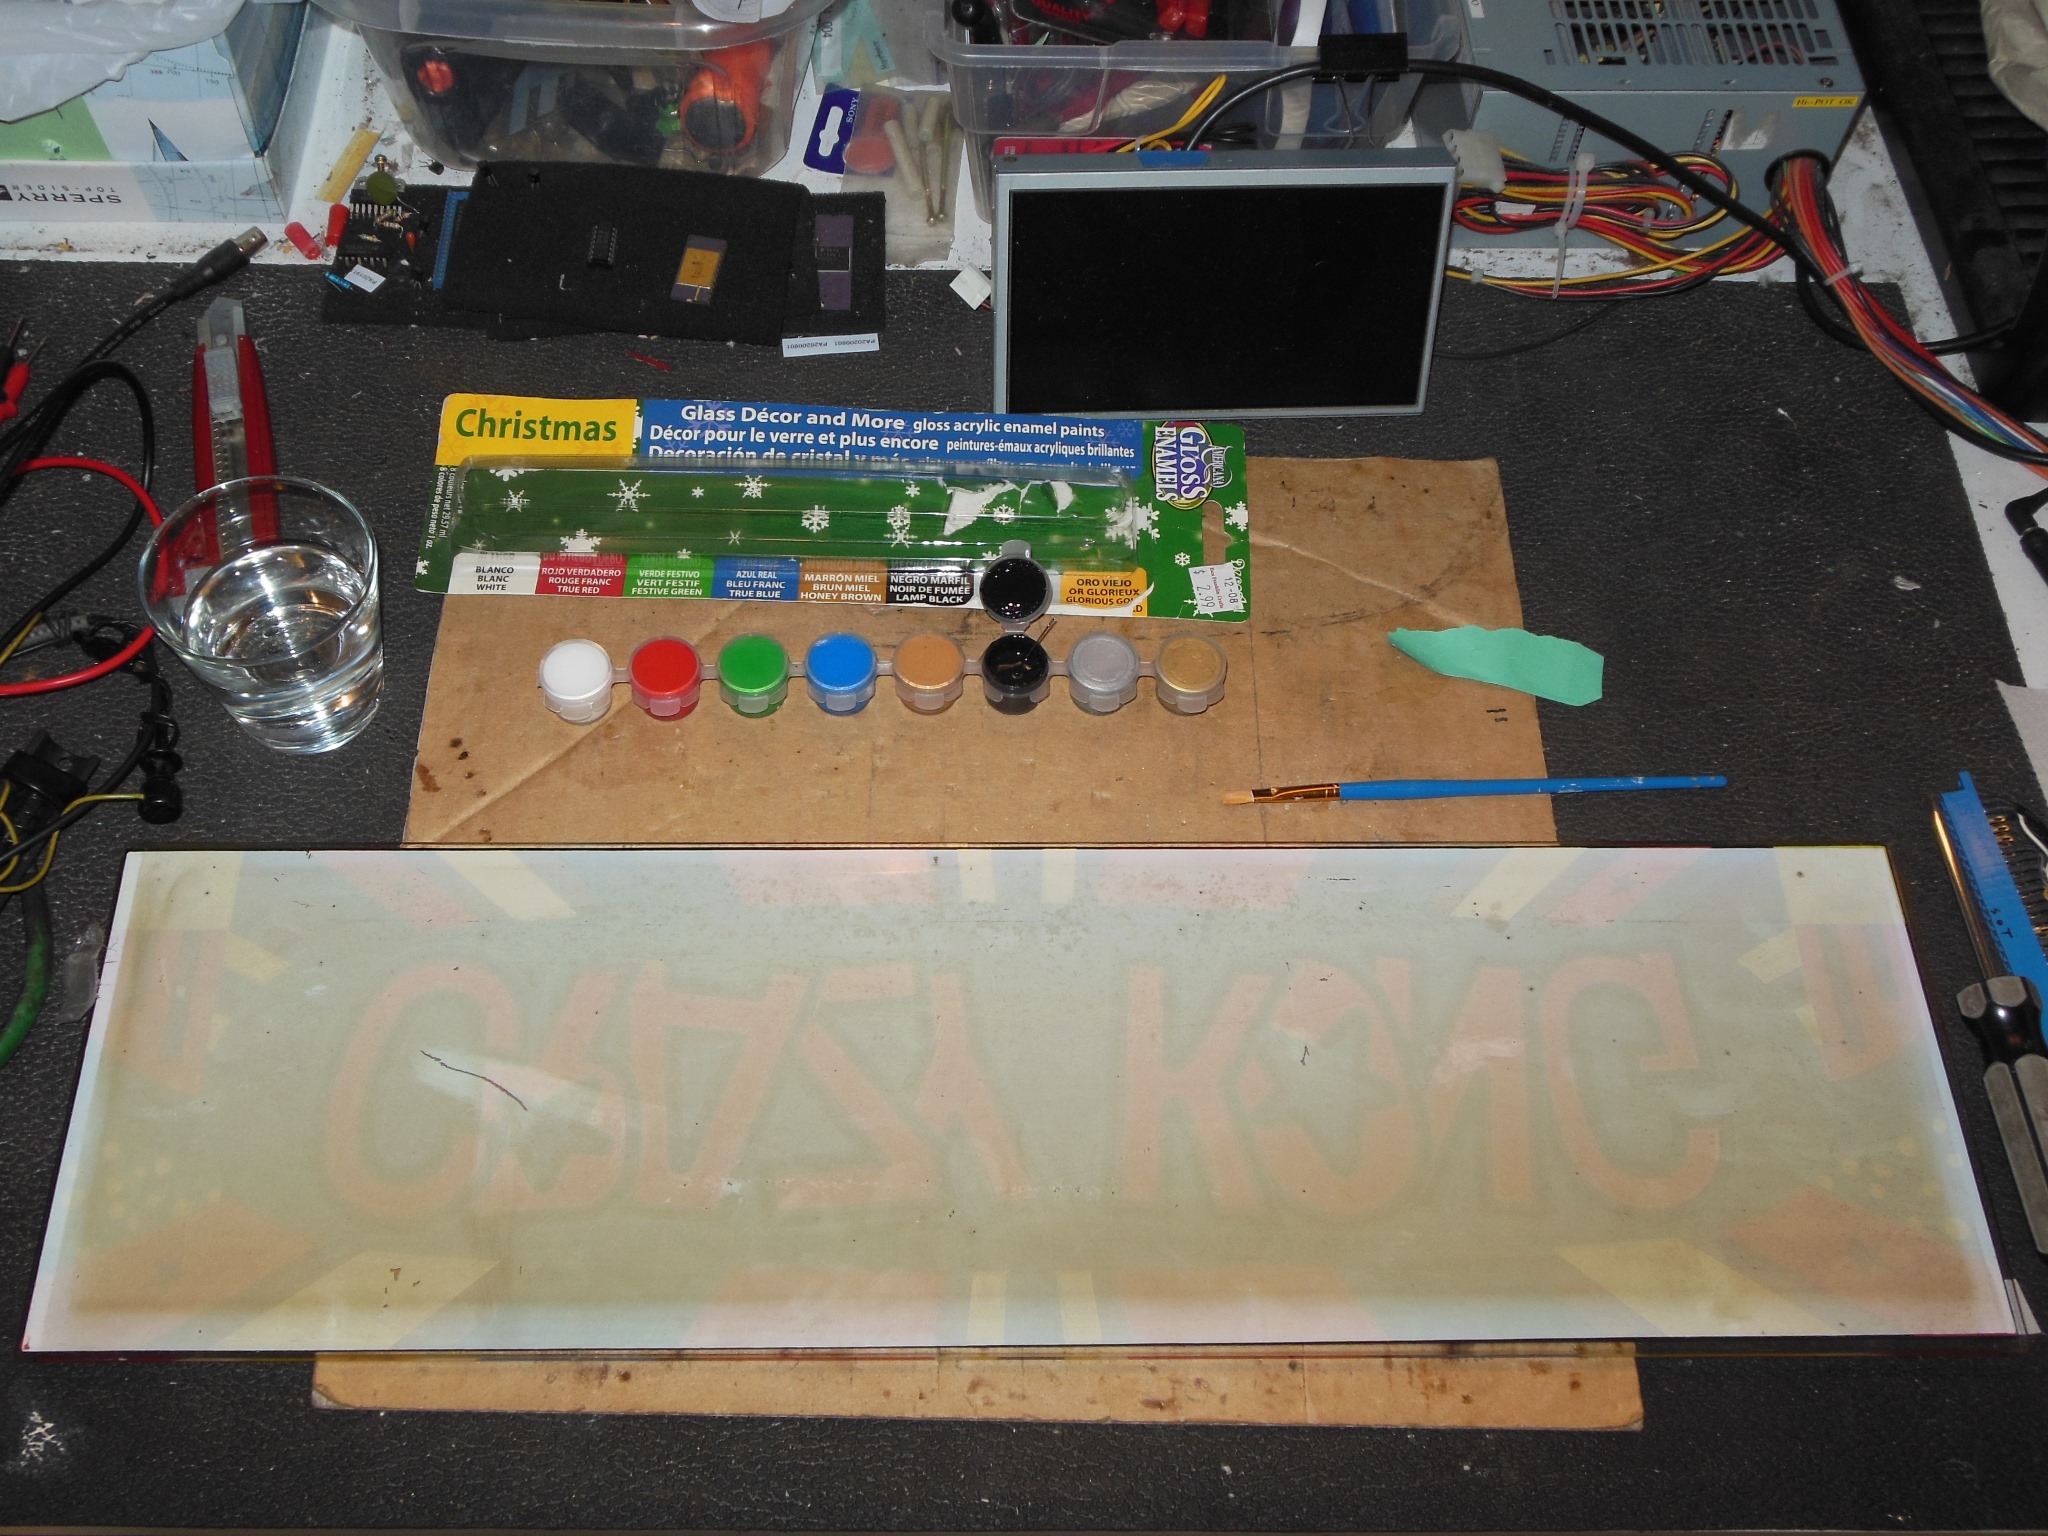
The damage to the marque was very noticeable when backlit and I decided to attempt a touch up using a set of acrylic glass paints. The areas to touch up were all simple black, red, white, blue & yellow colours of which I was missing yellow in my set that I left as is. The most noticeable was the large scratch through the 'C' and 'R' that was much less noticeable both lit and unlit after touch up.