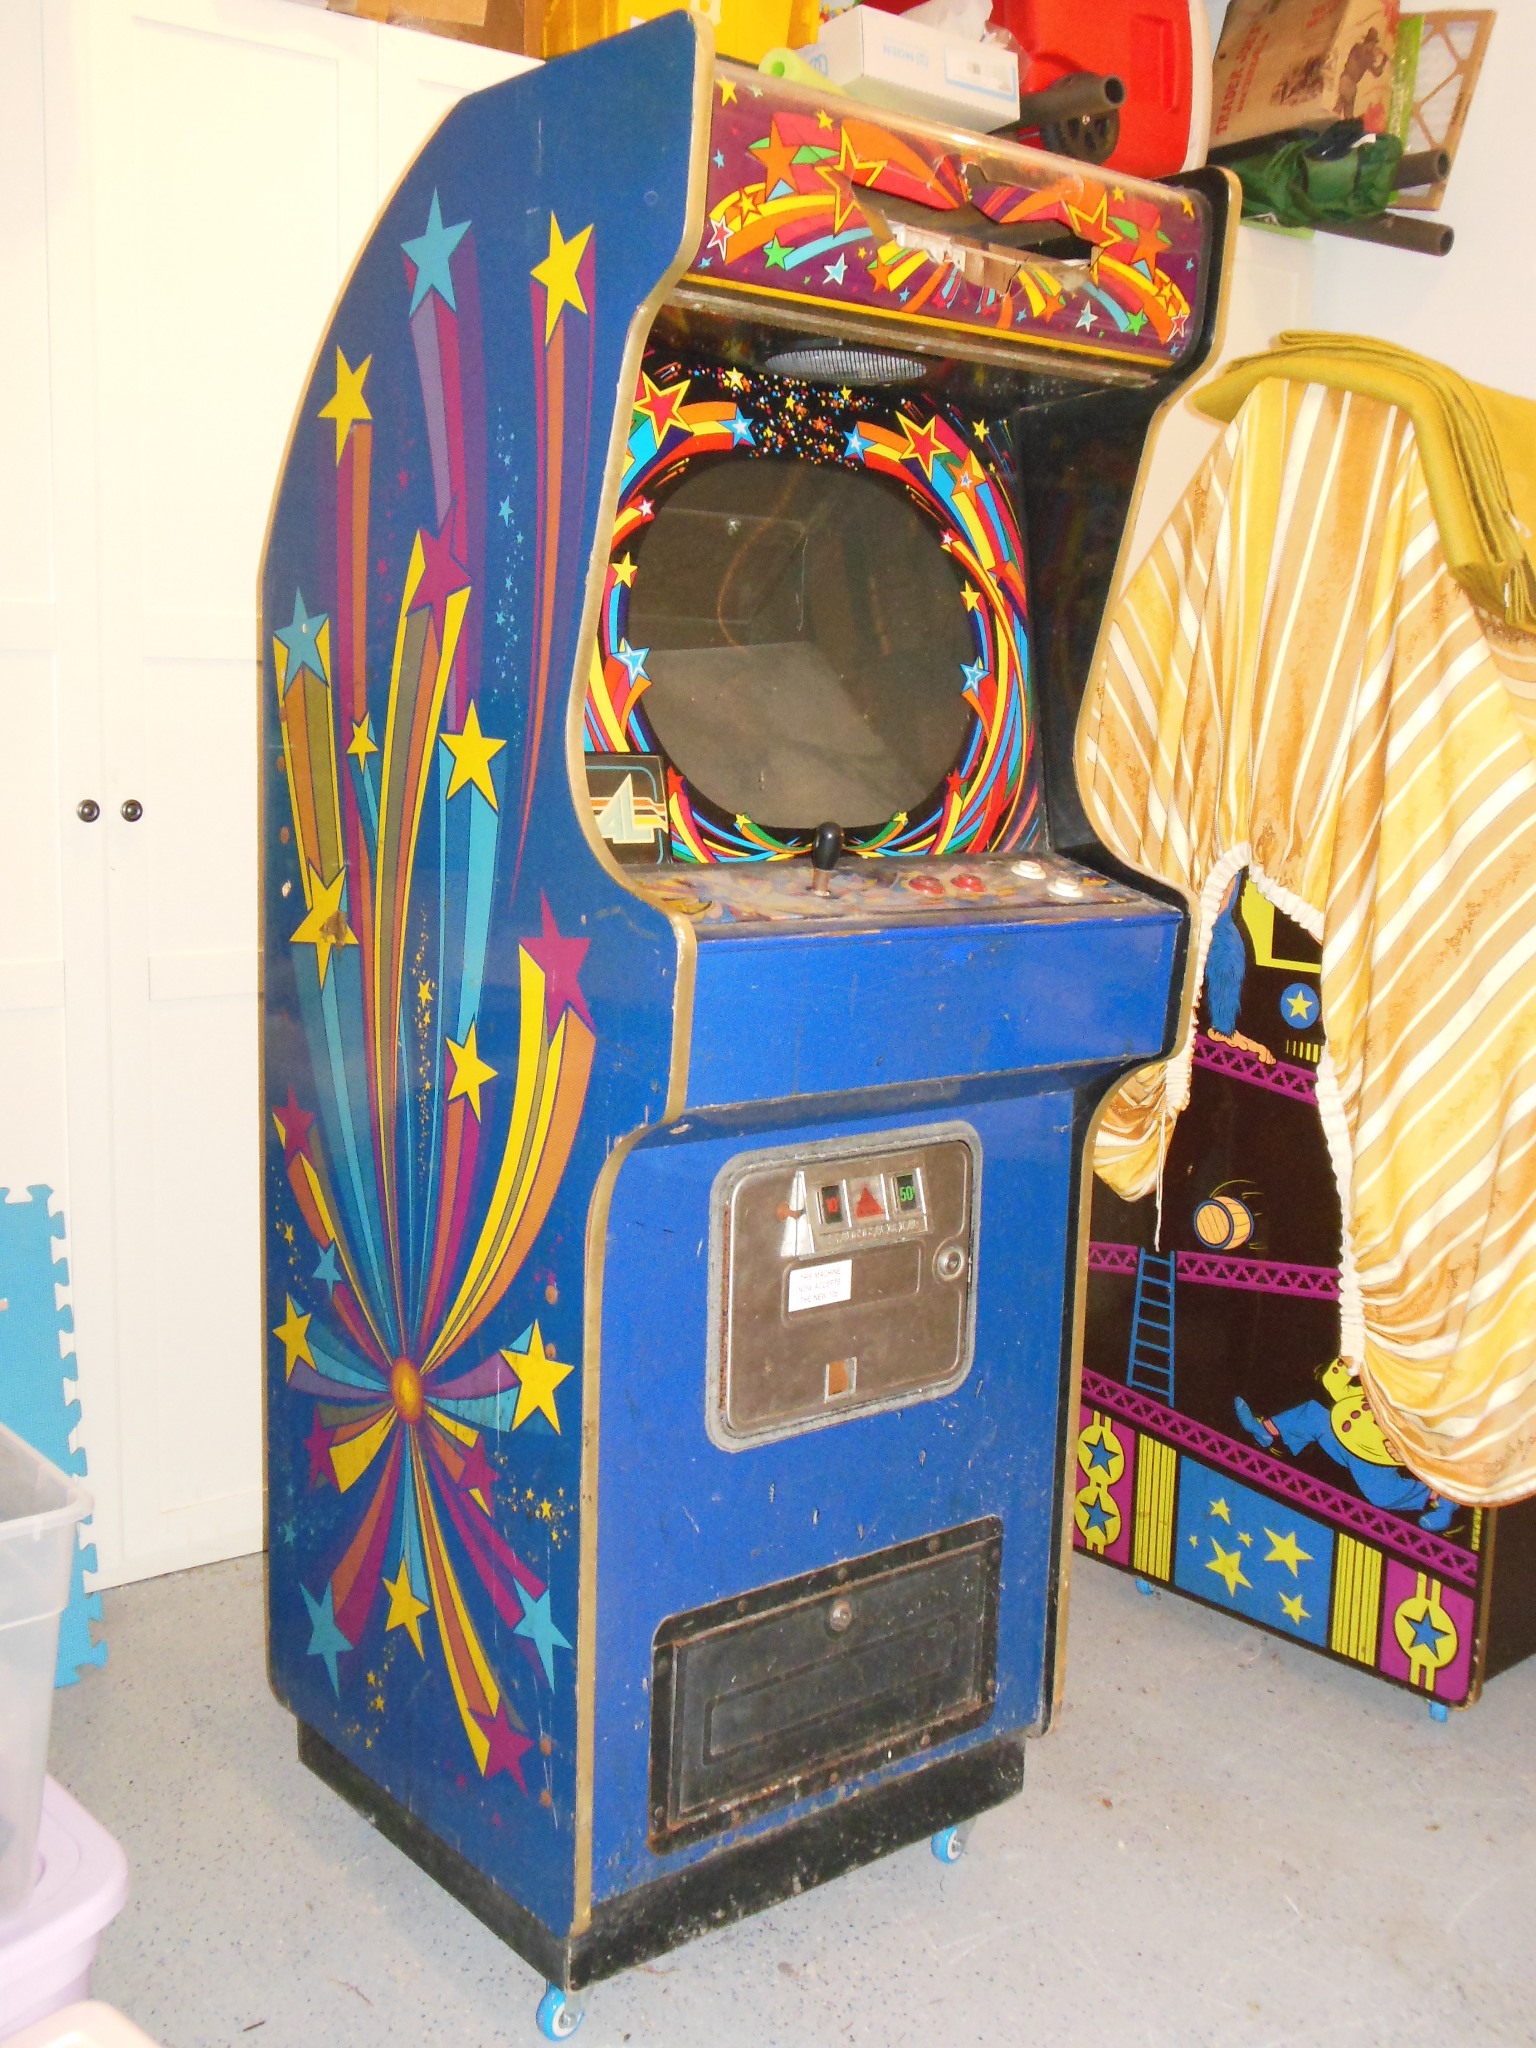
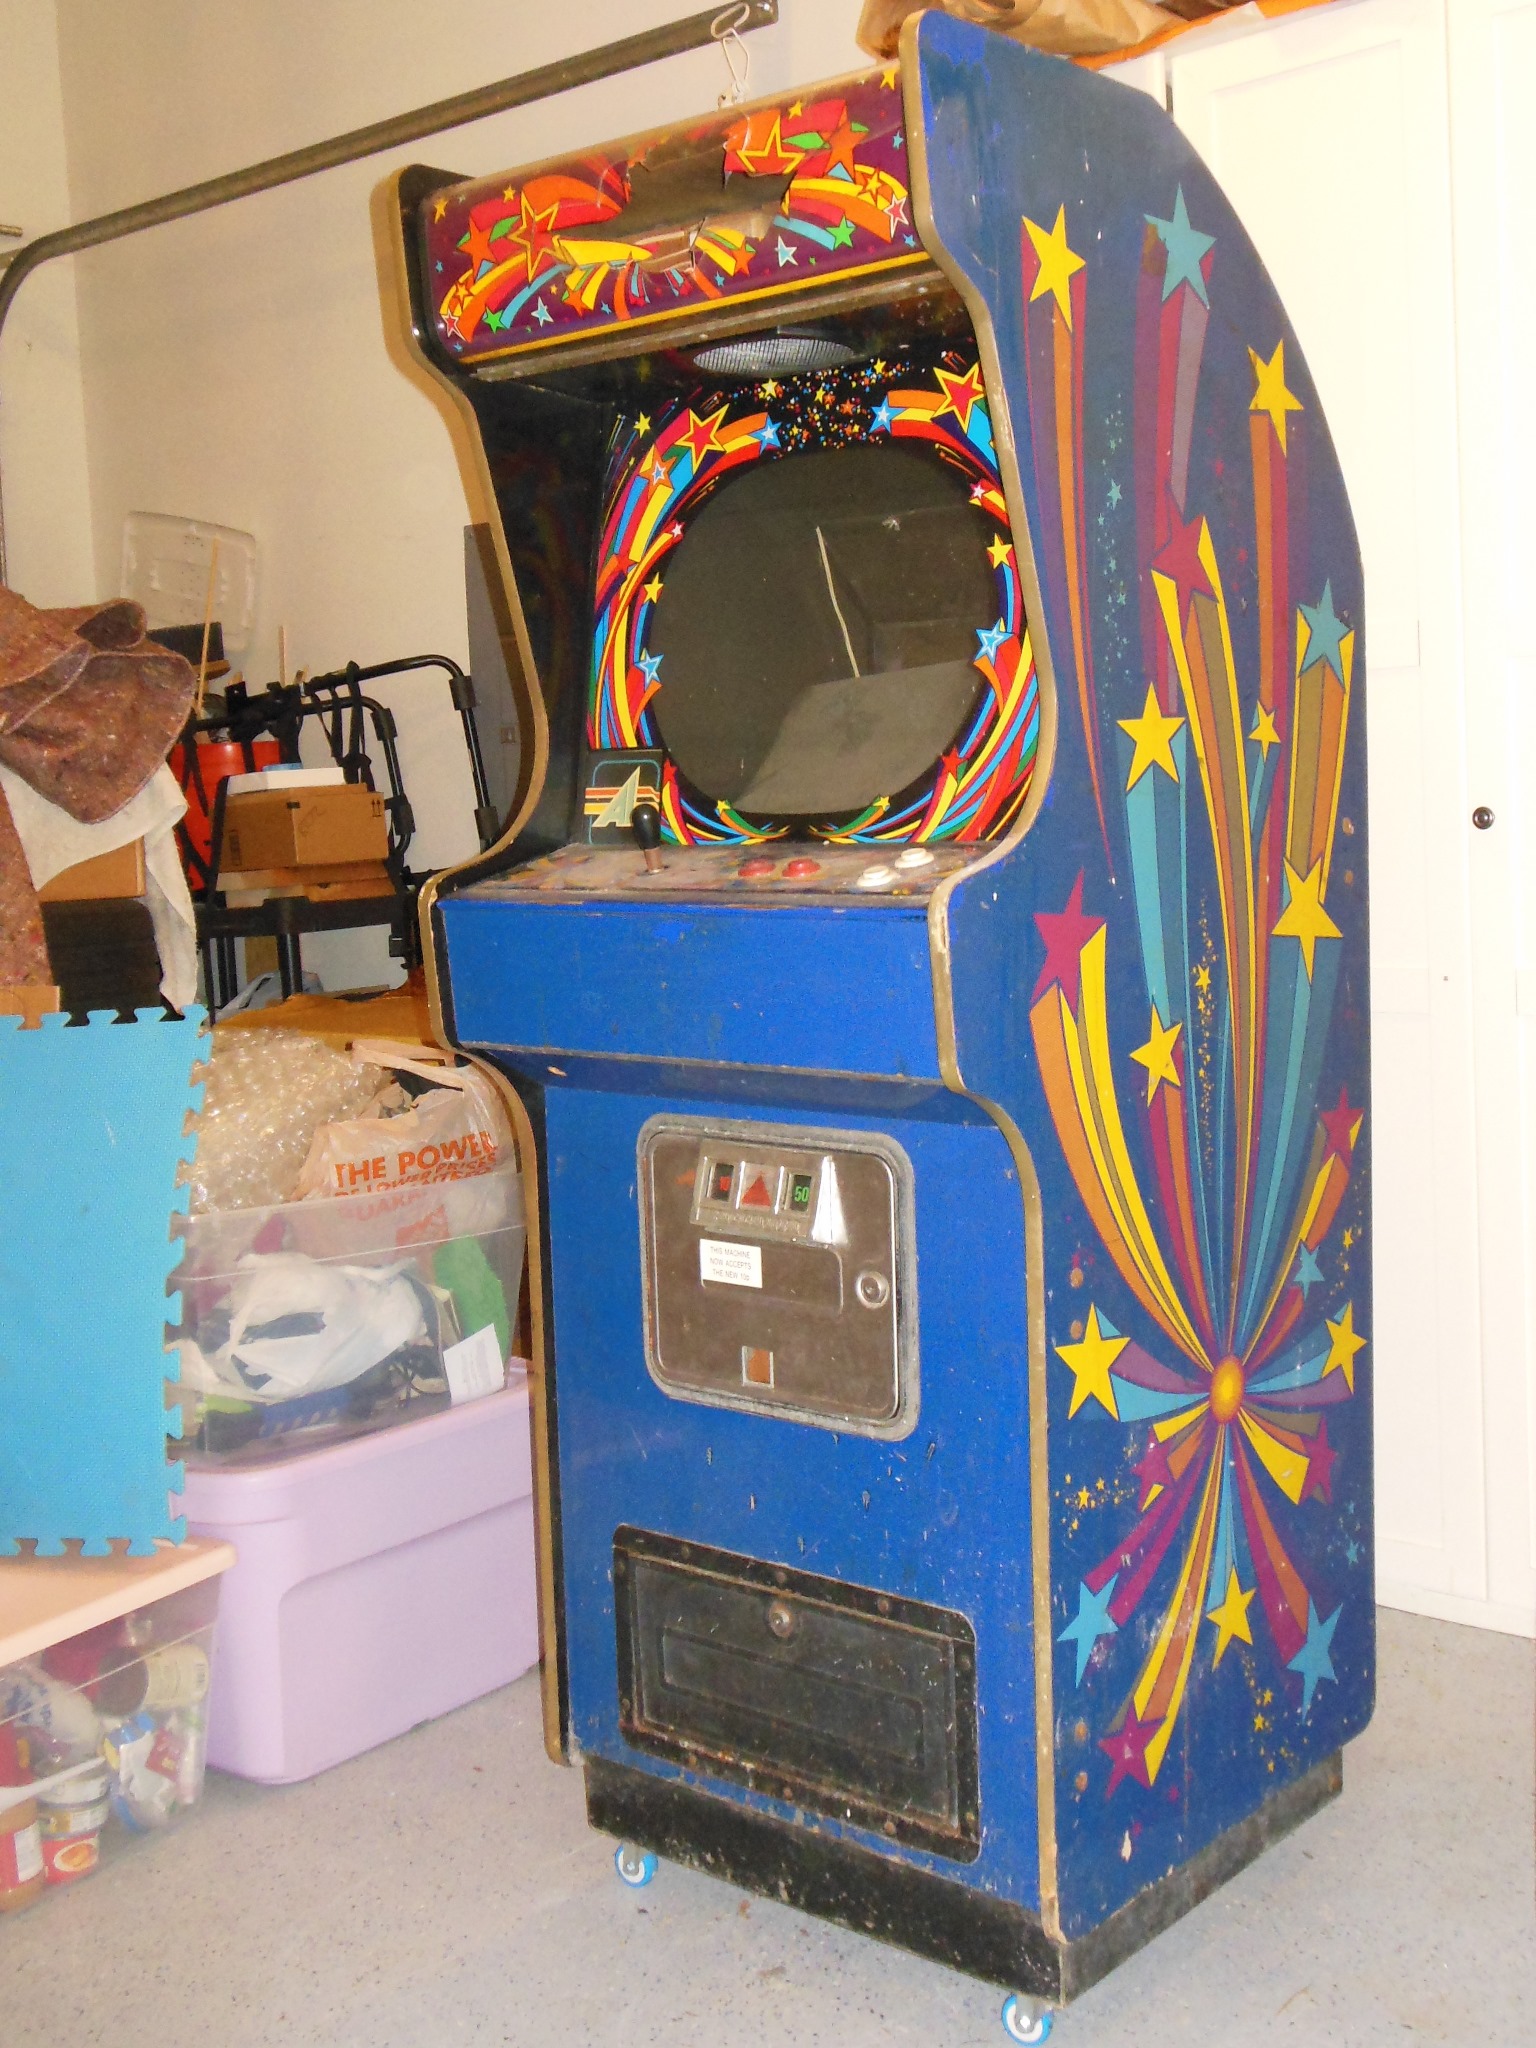
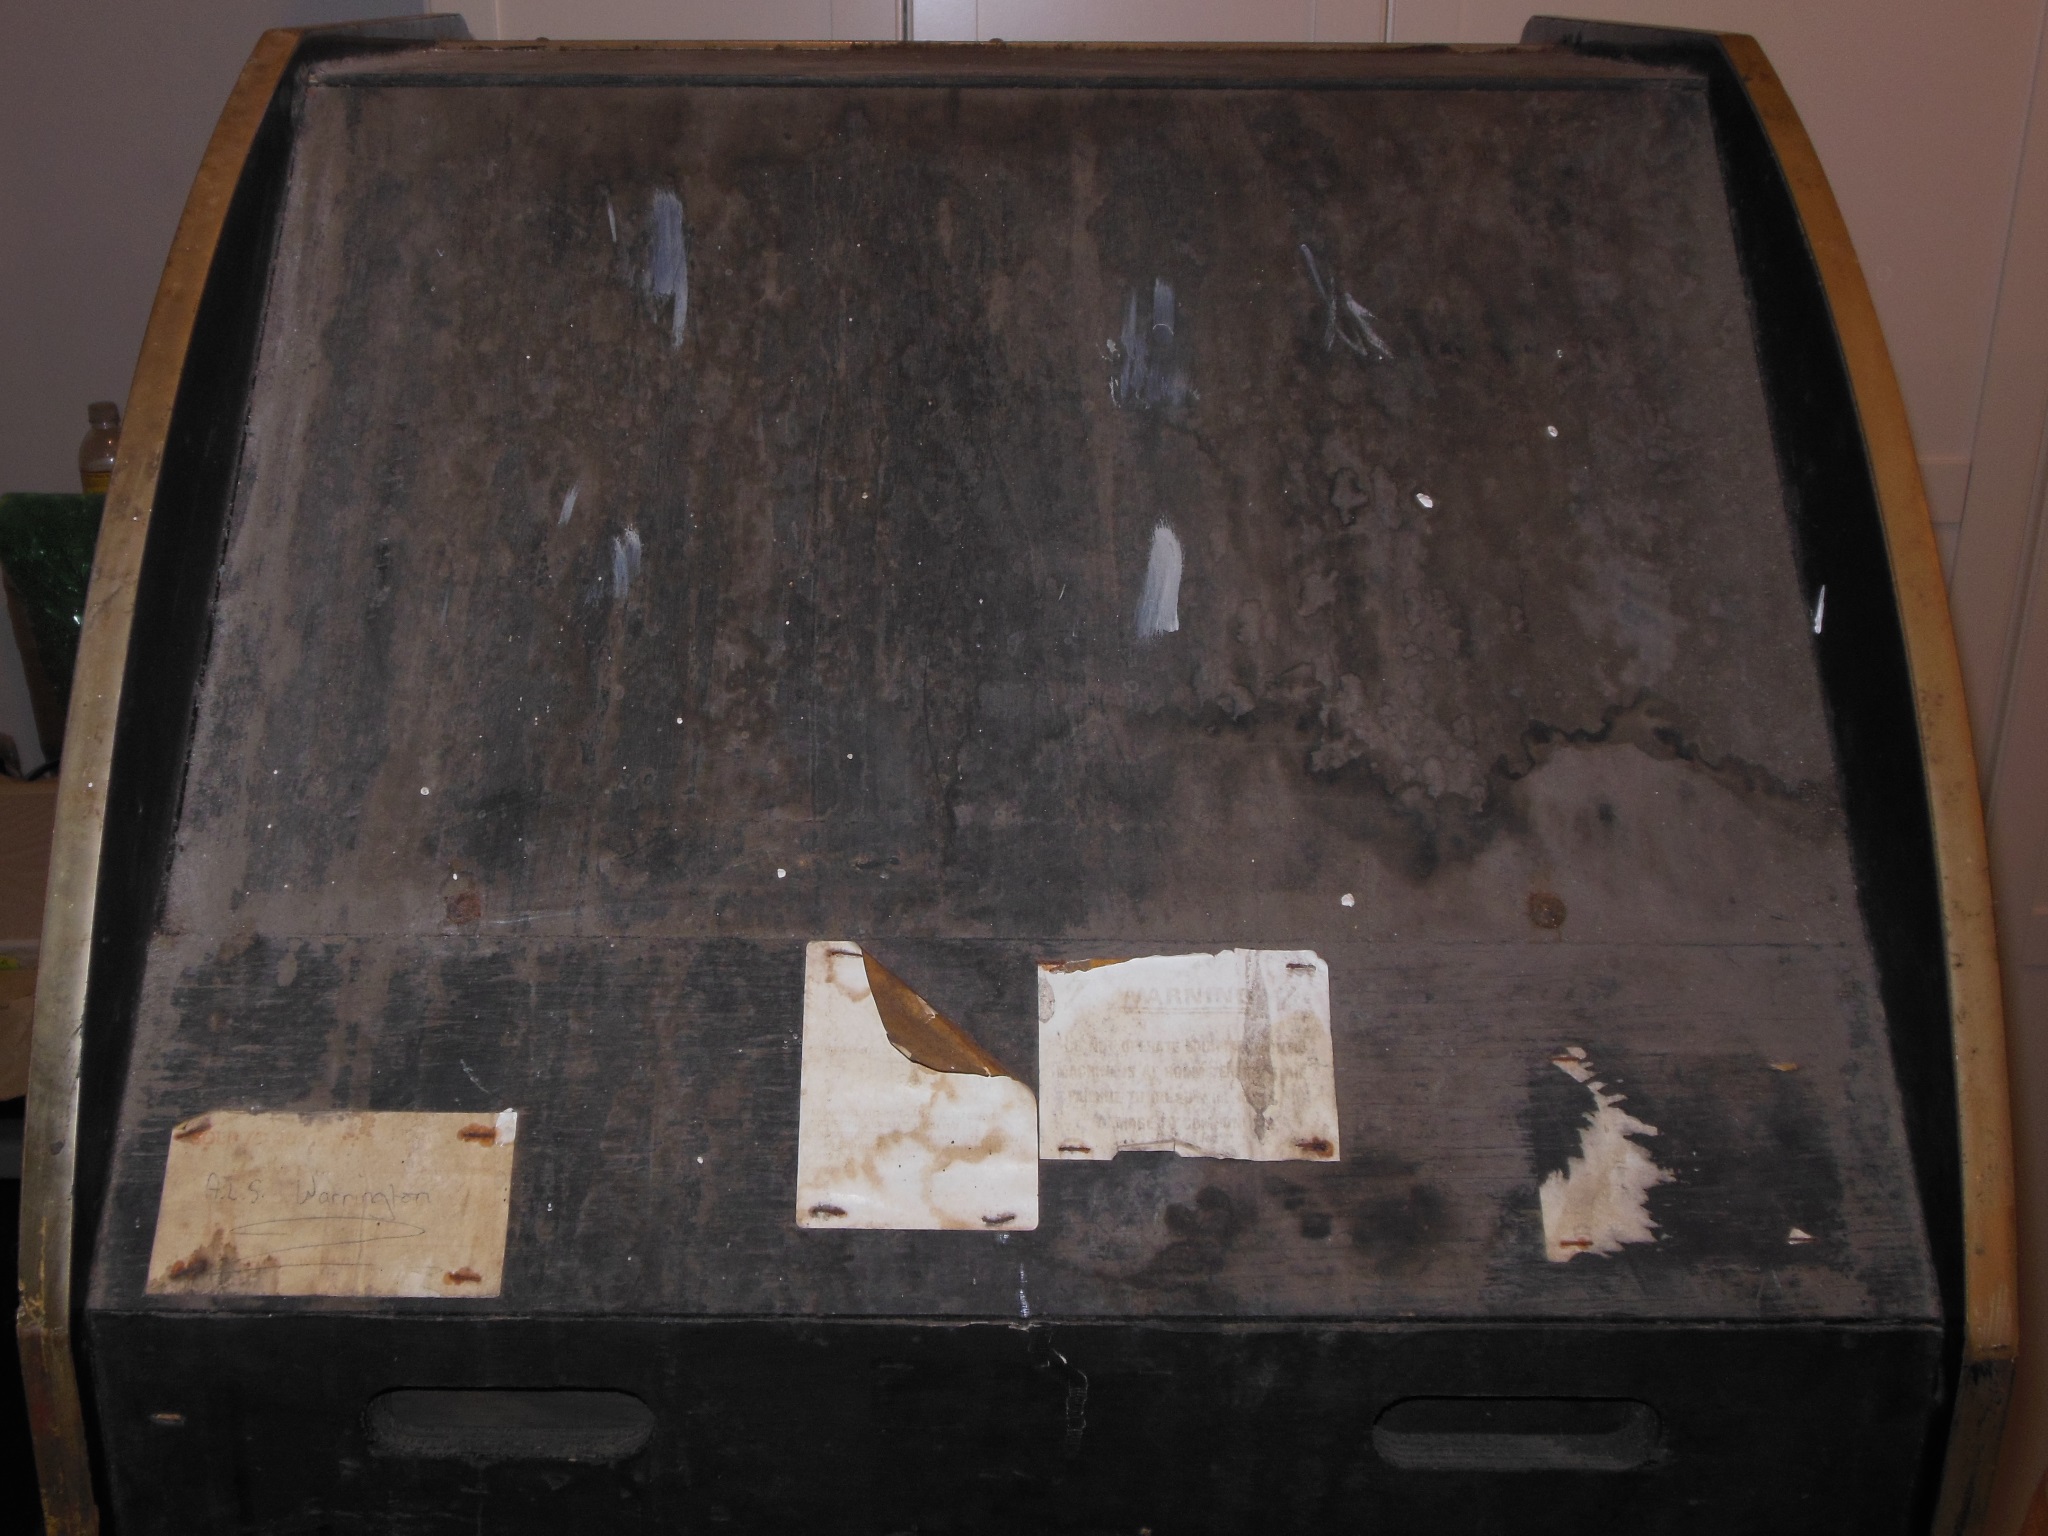
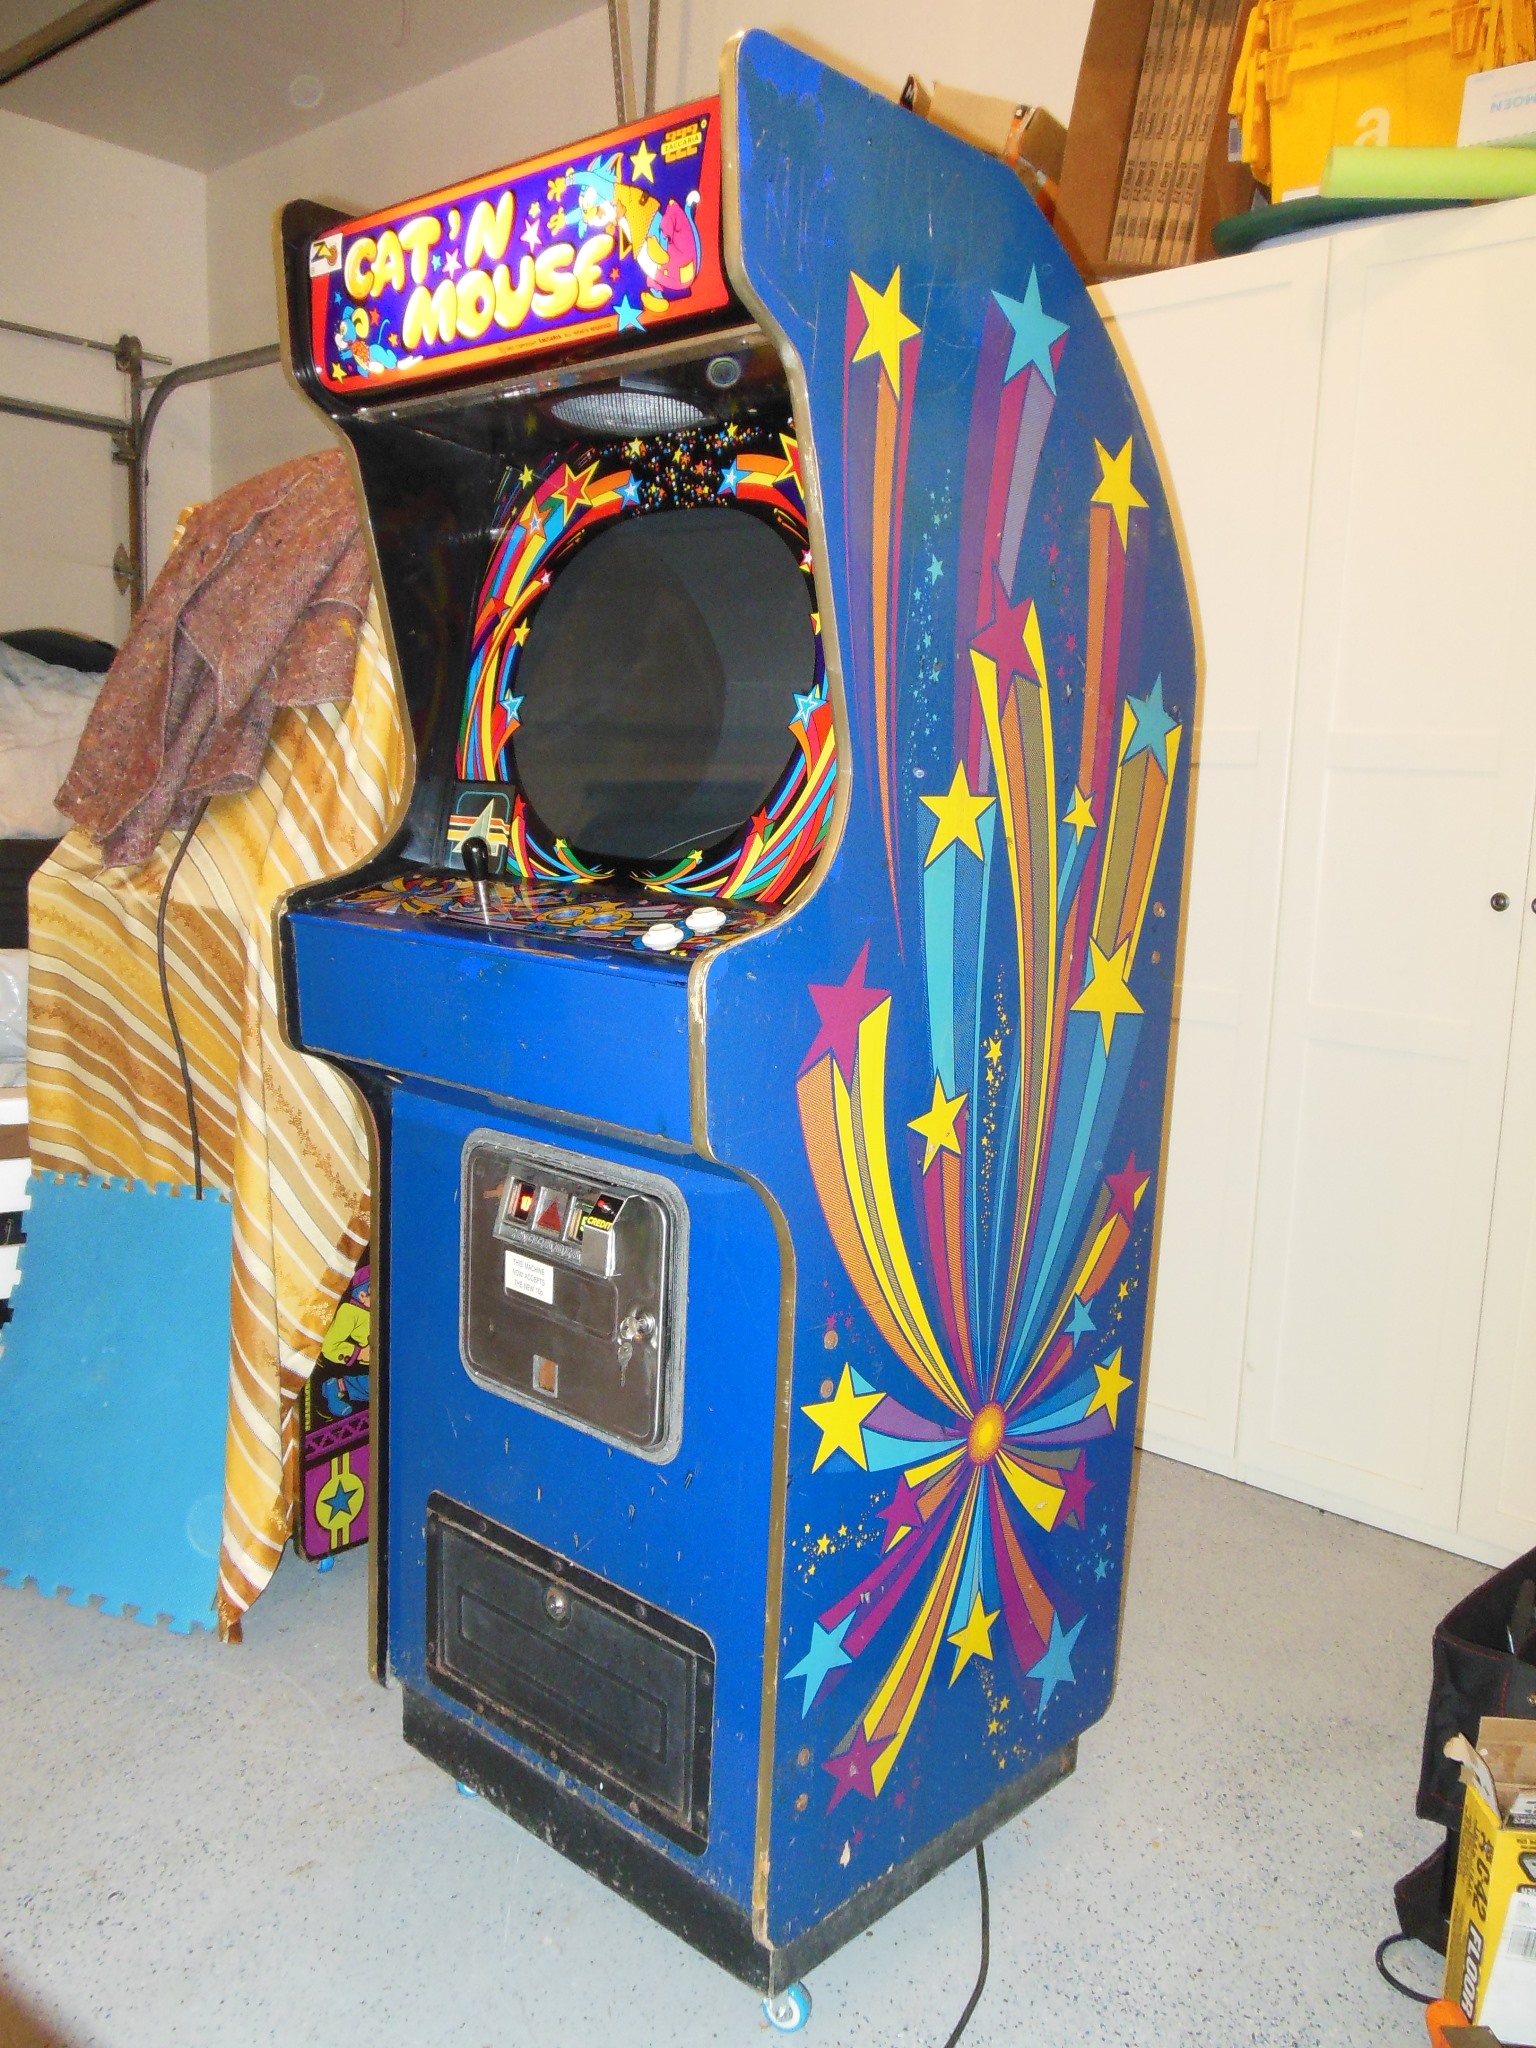
This dirty & battered Universal Type B0 cabinet came from the north of England.
|
|
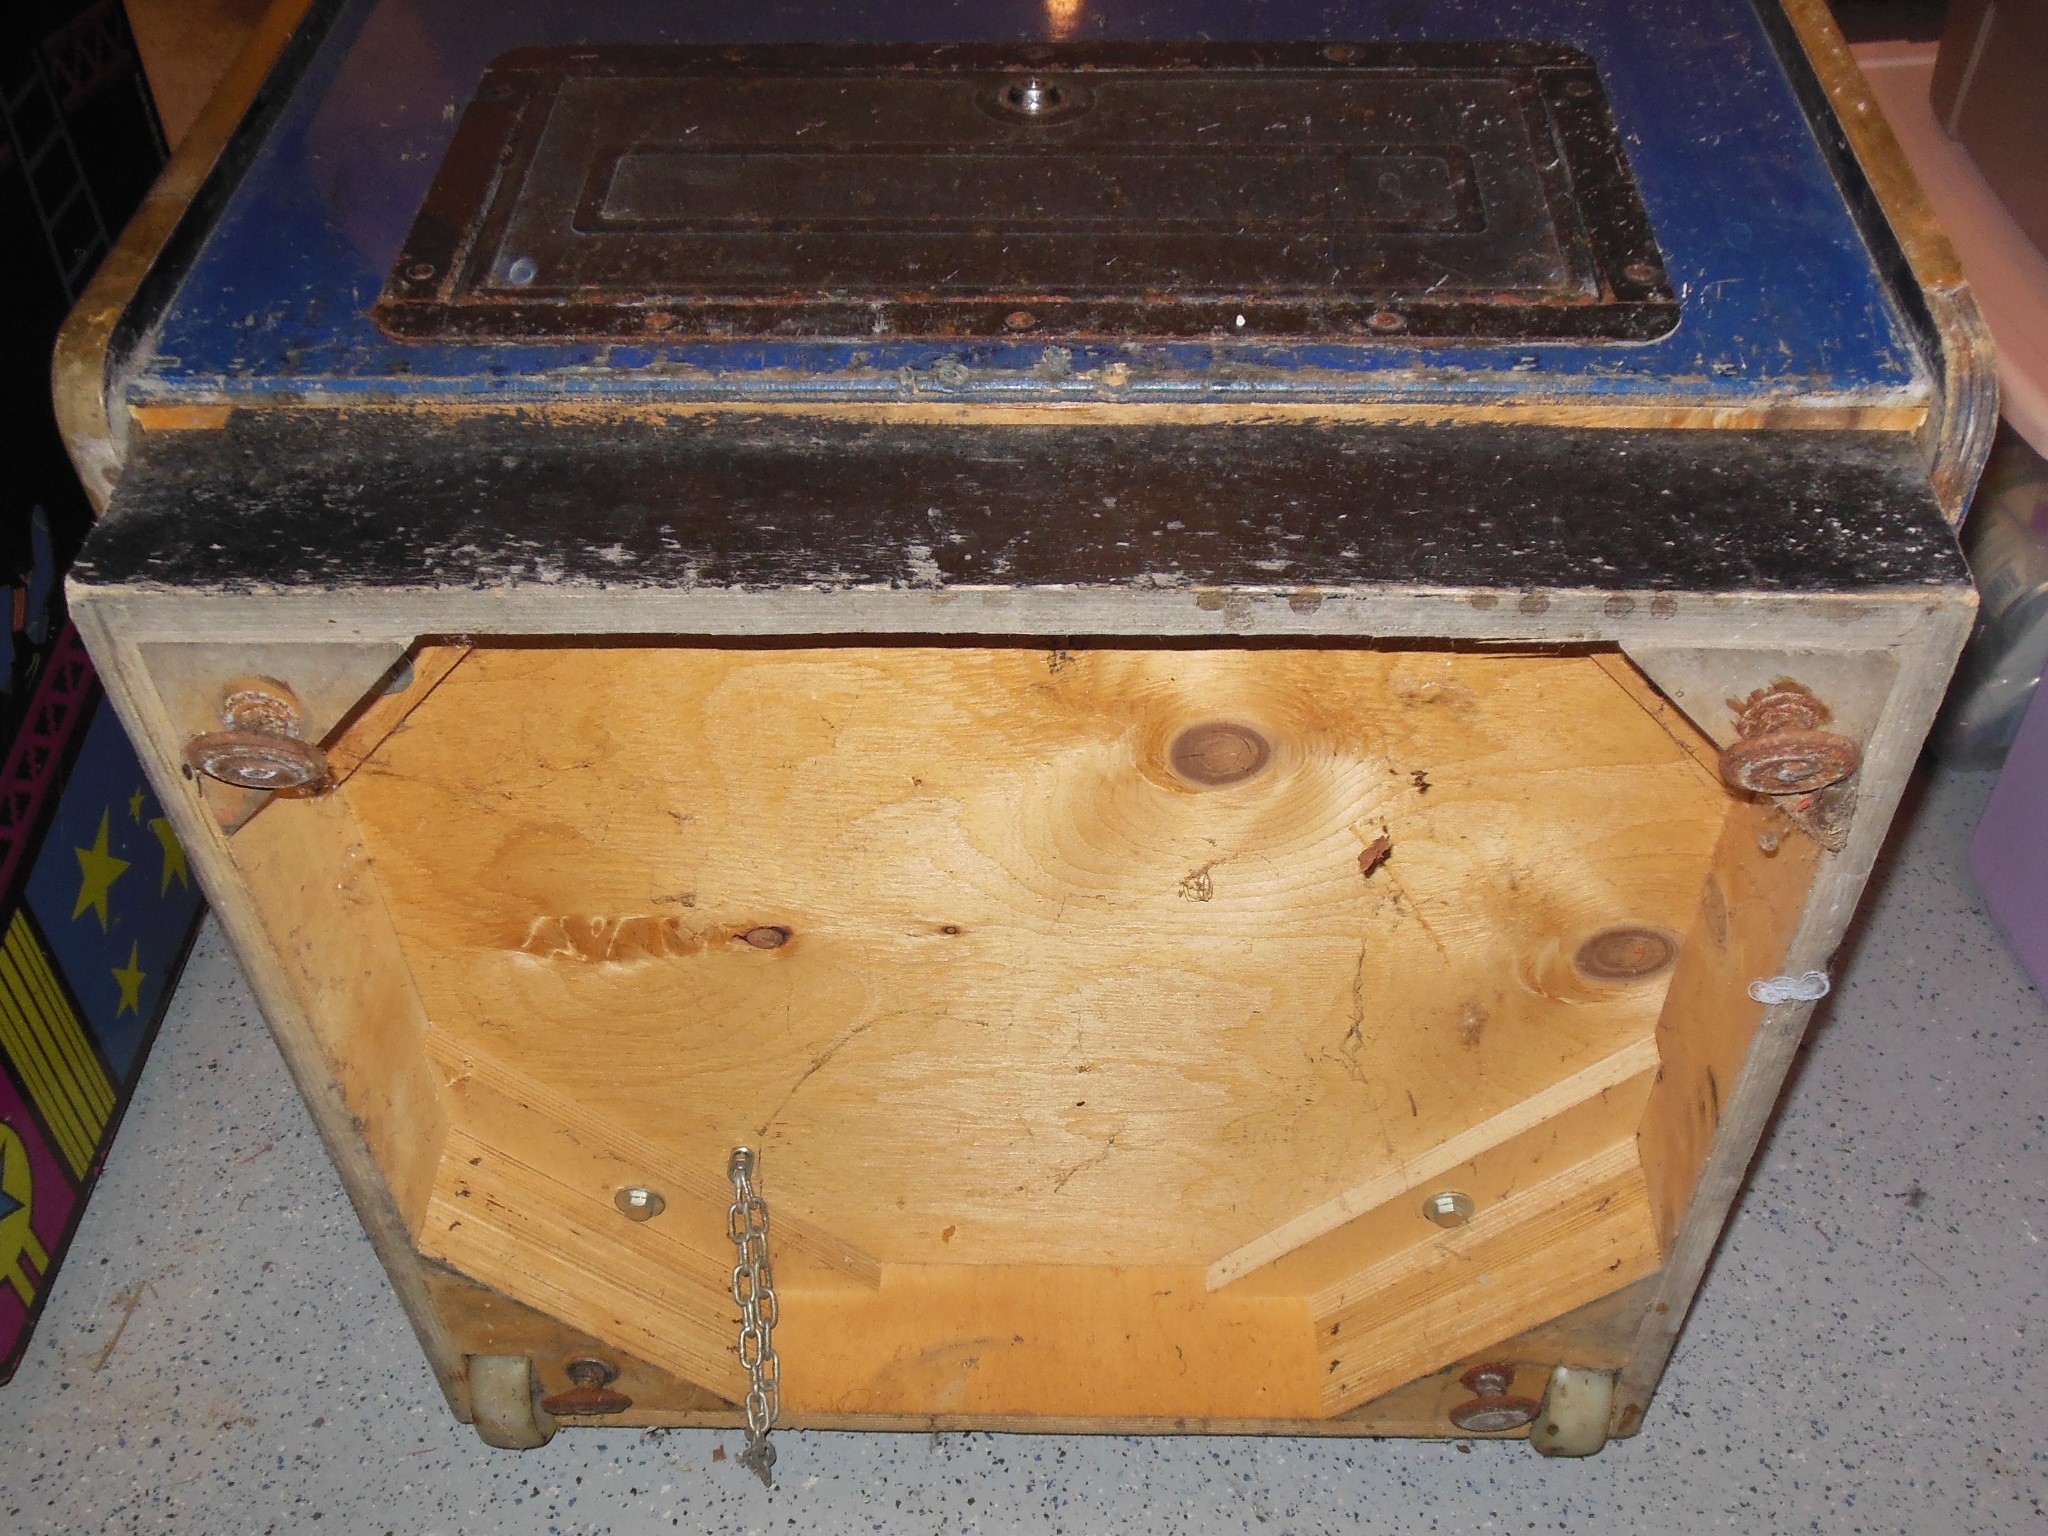
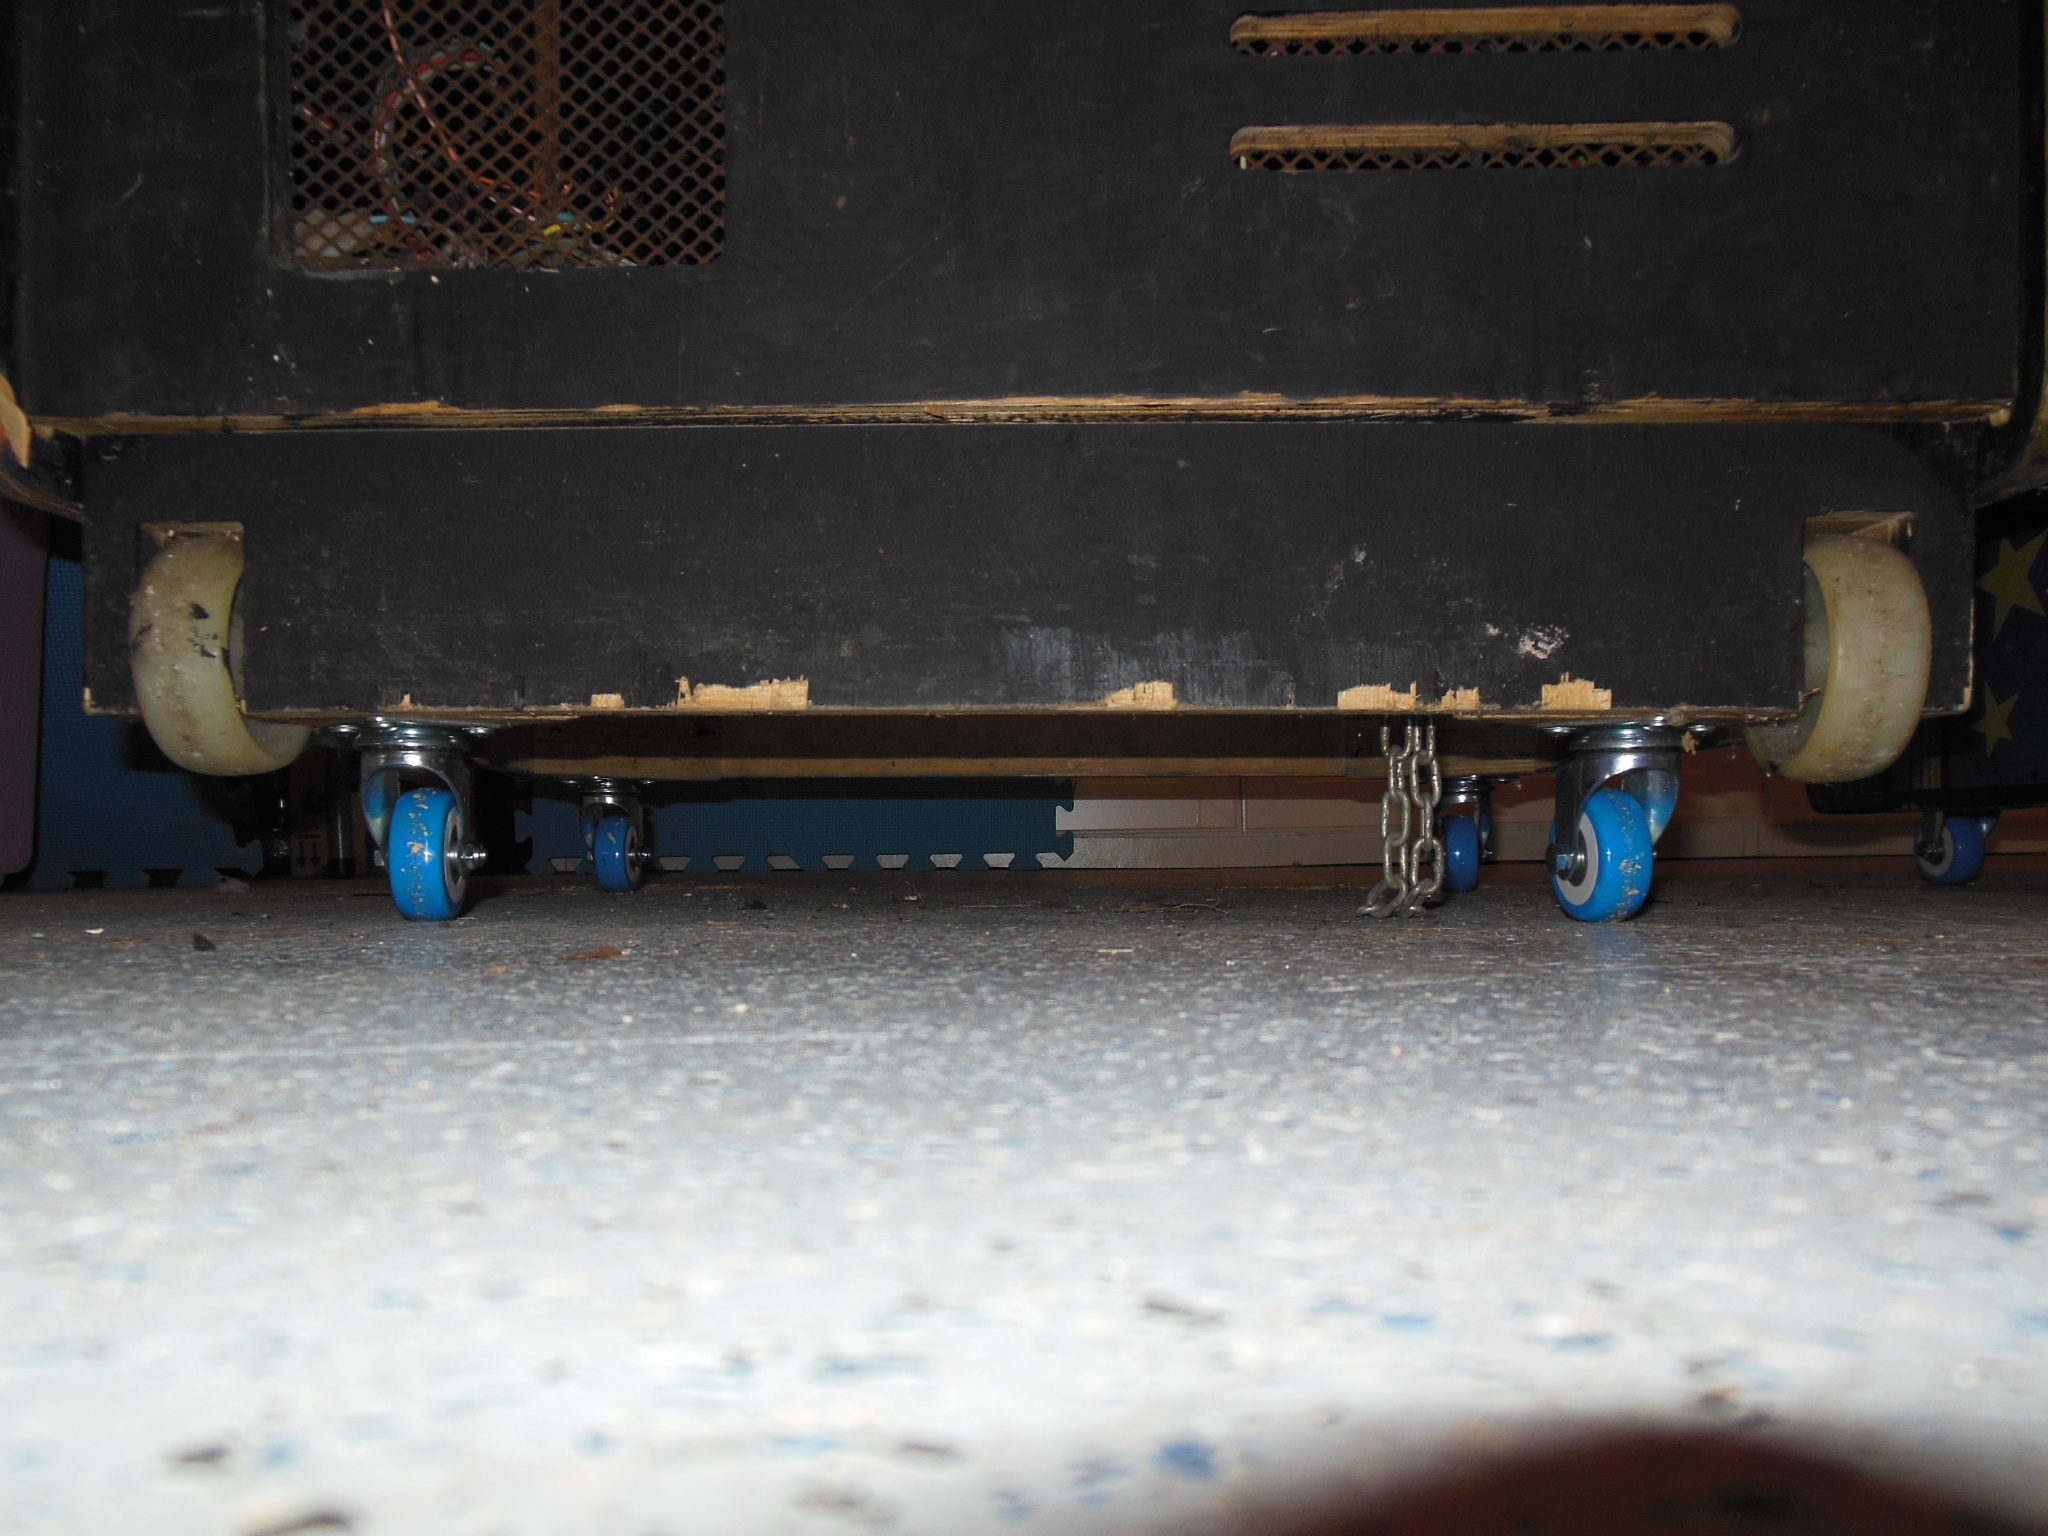
Since this was next to a Crazy Kong being restored and castored I castored this cabinet at the same time.
|
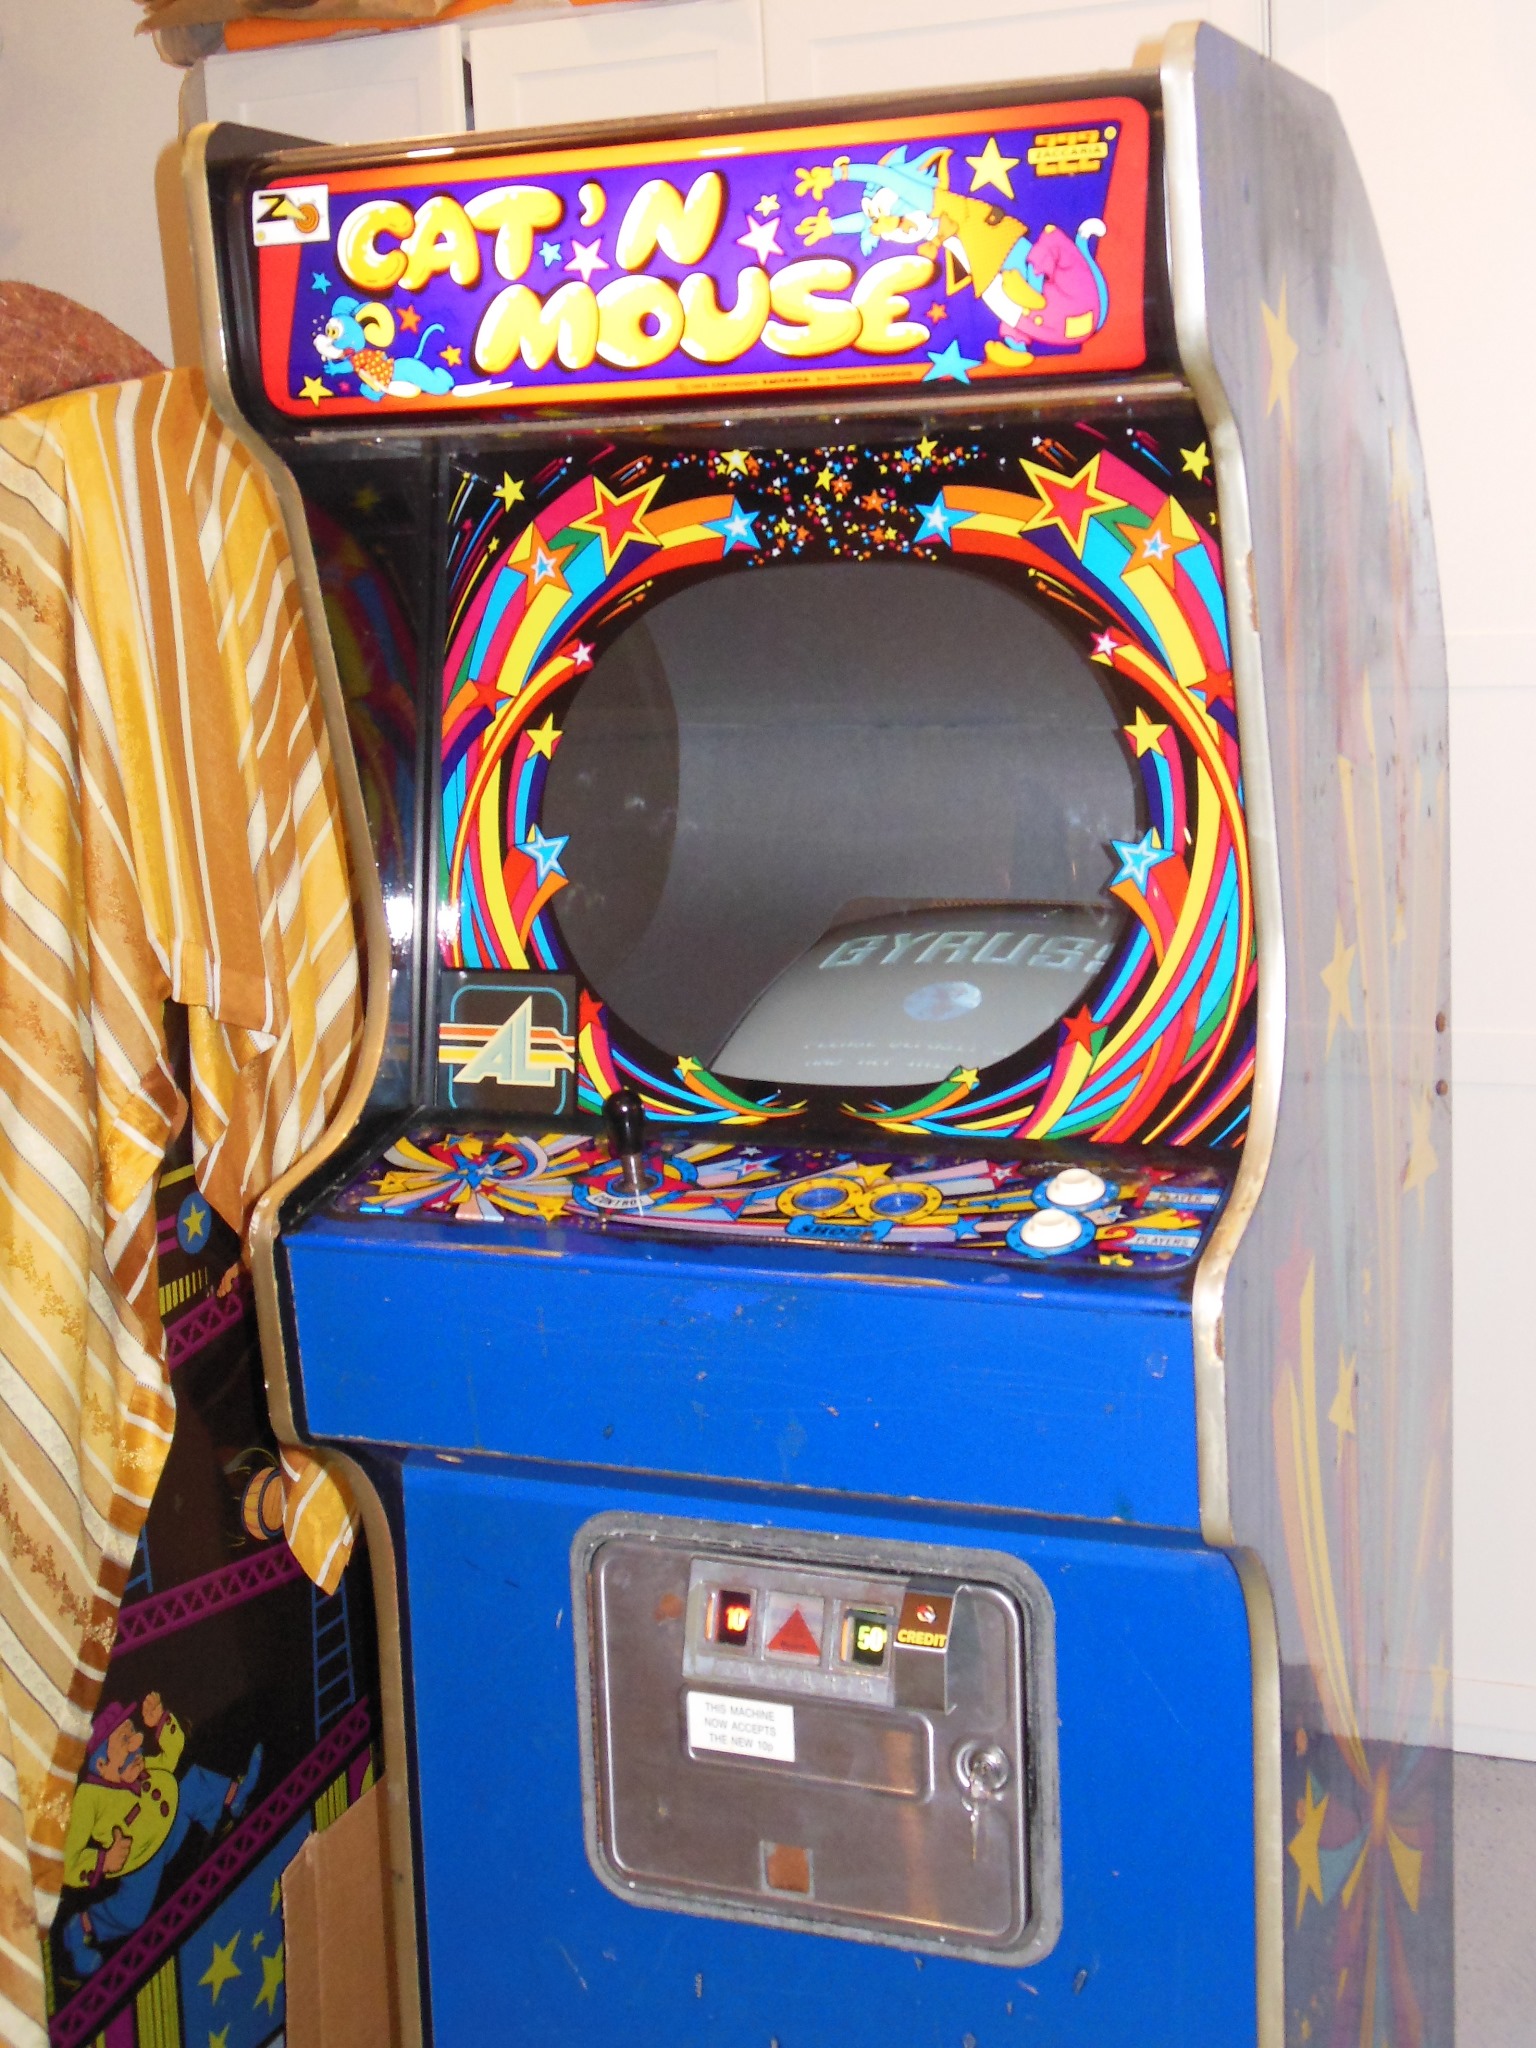
The cabinet was complete and original. Both the front and rear of the sides had several bolts suggesting that it had been bolted to a wall or had an extensive lock-bar arrangement. The whole cabinet had scratches, dings, dirt and wear giving an overall "rough" look.

|
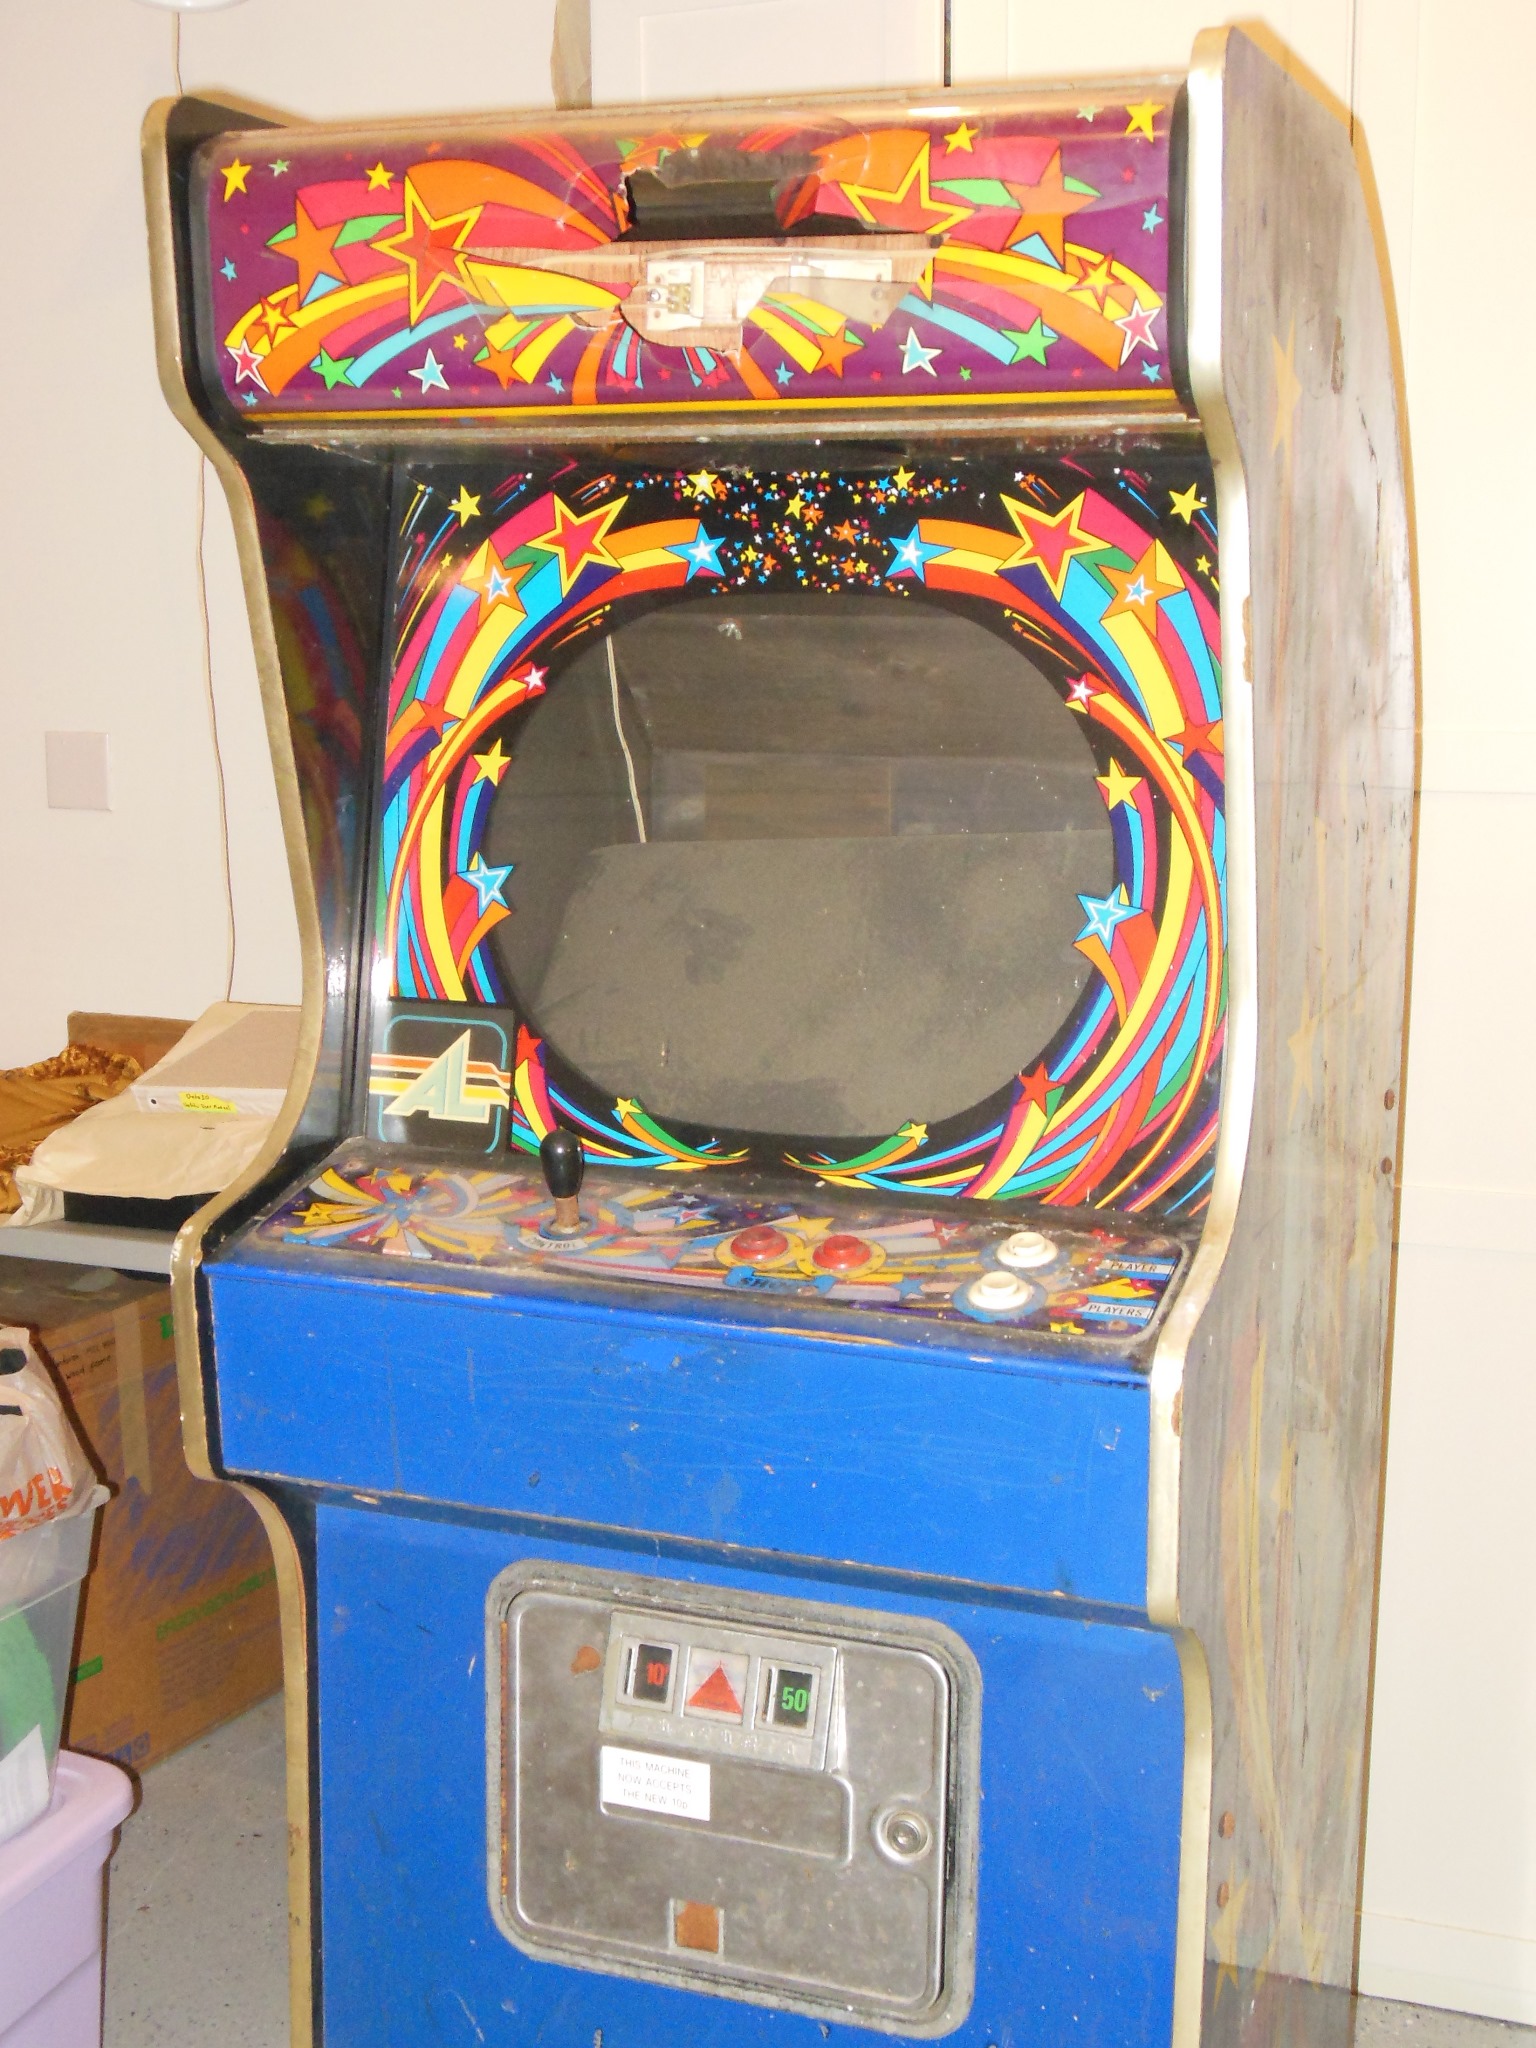
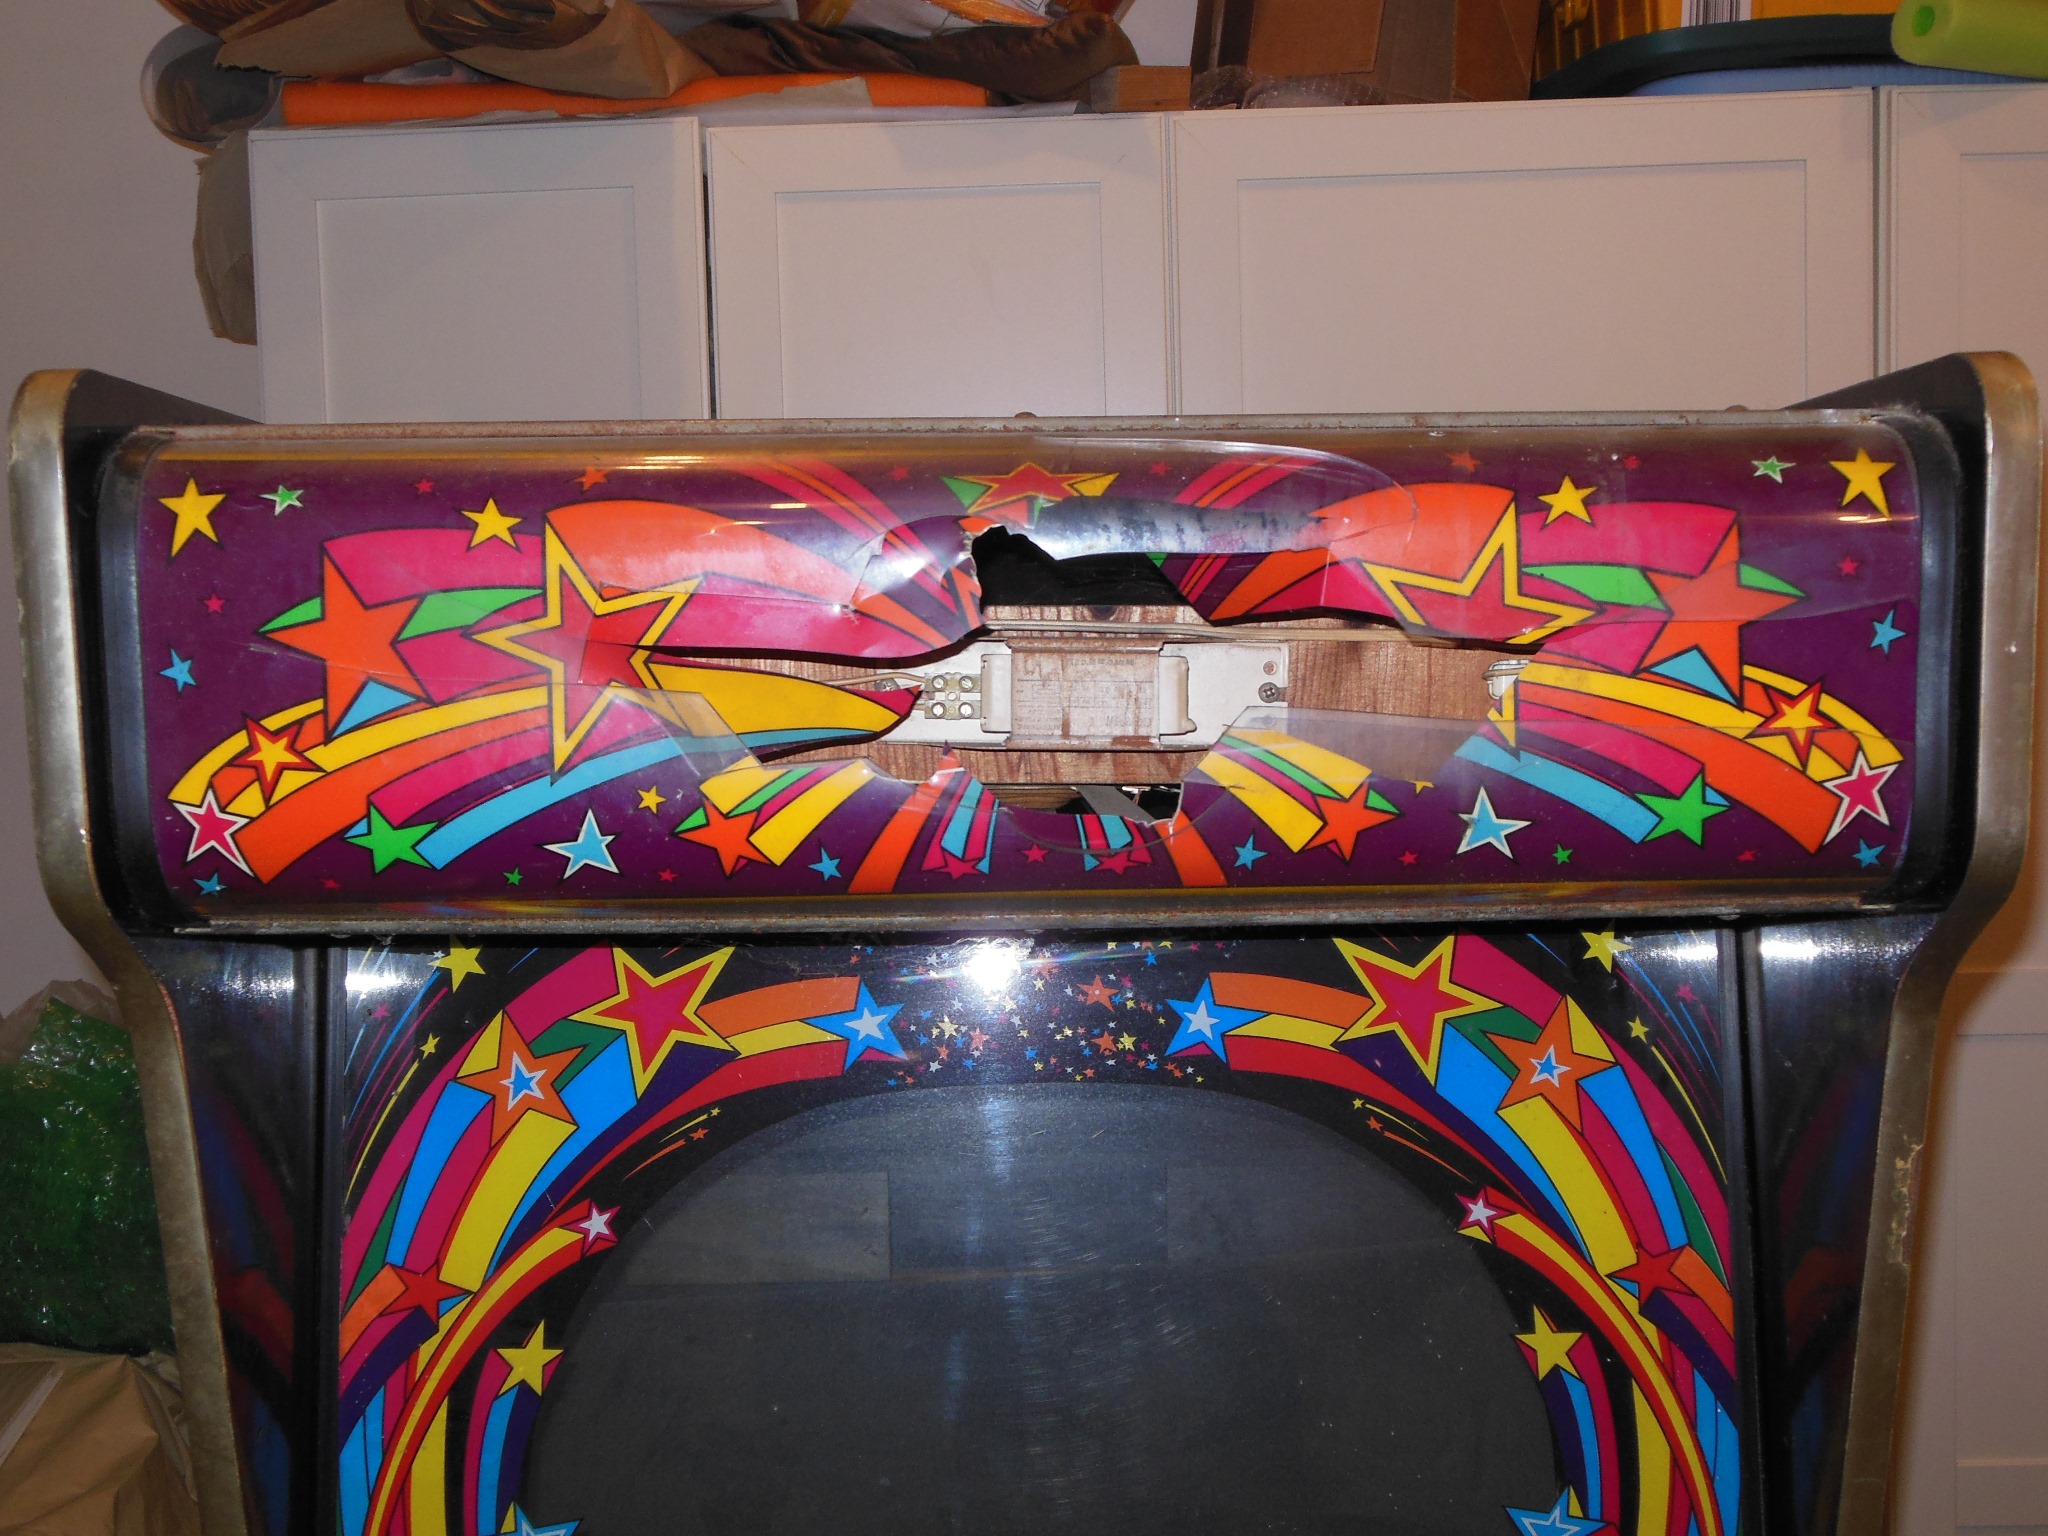
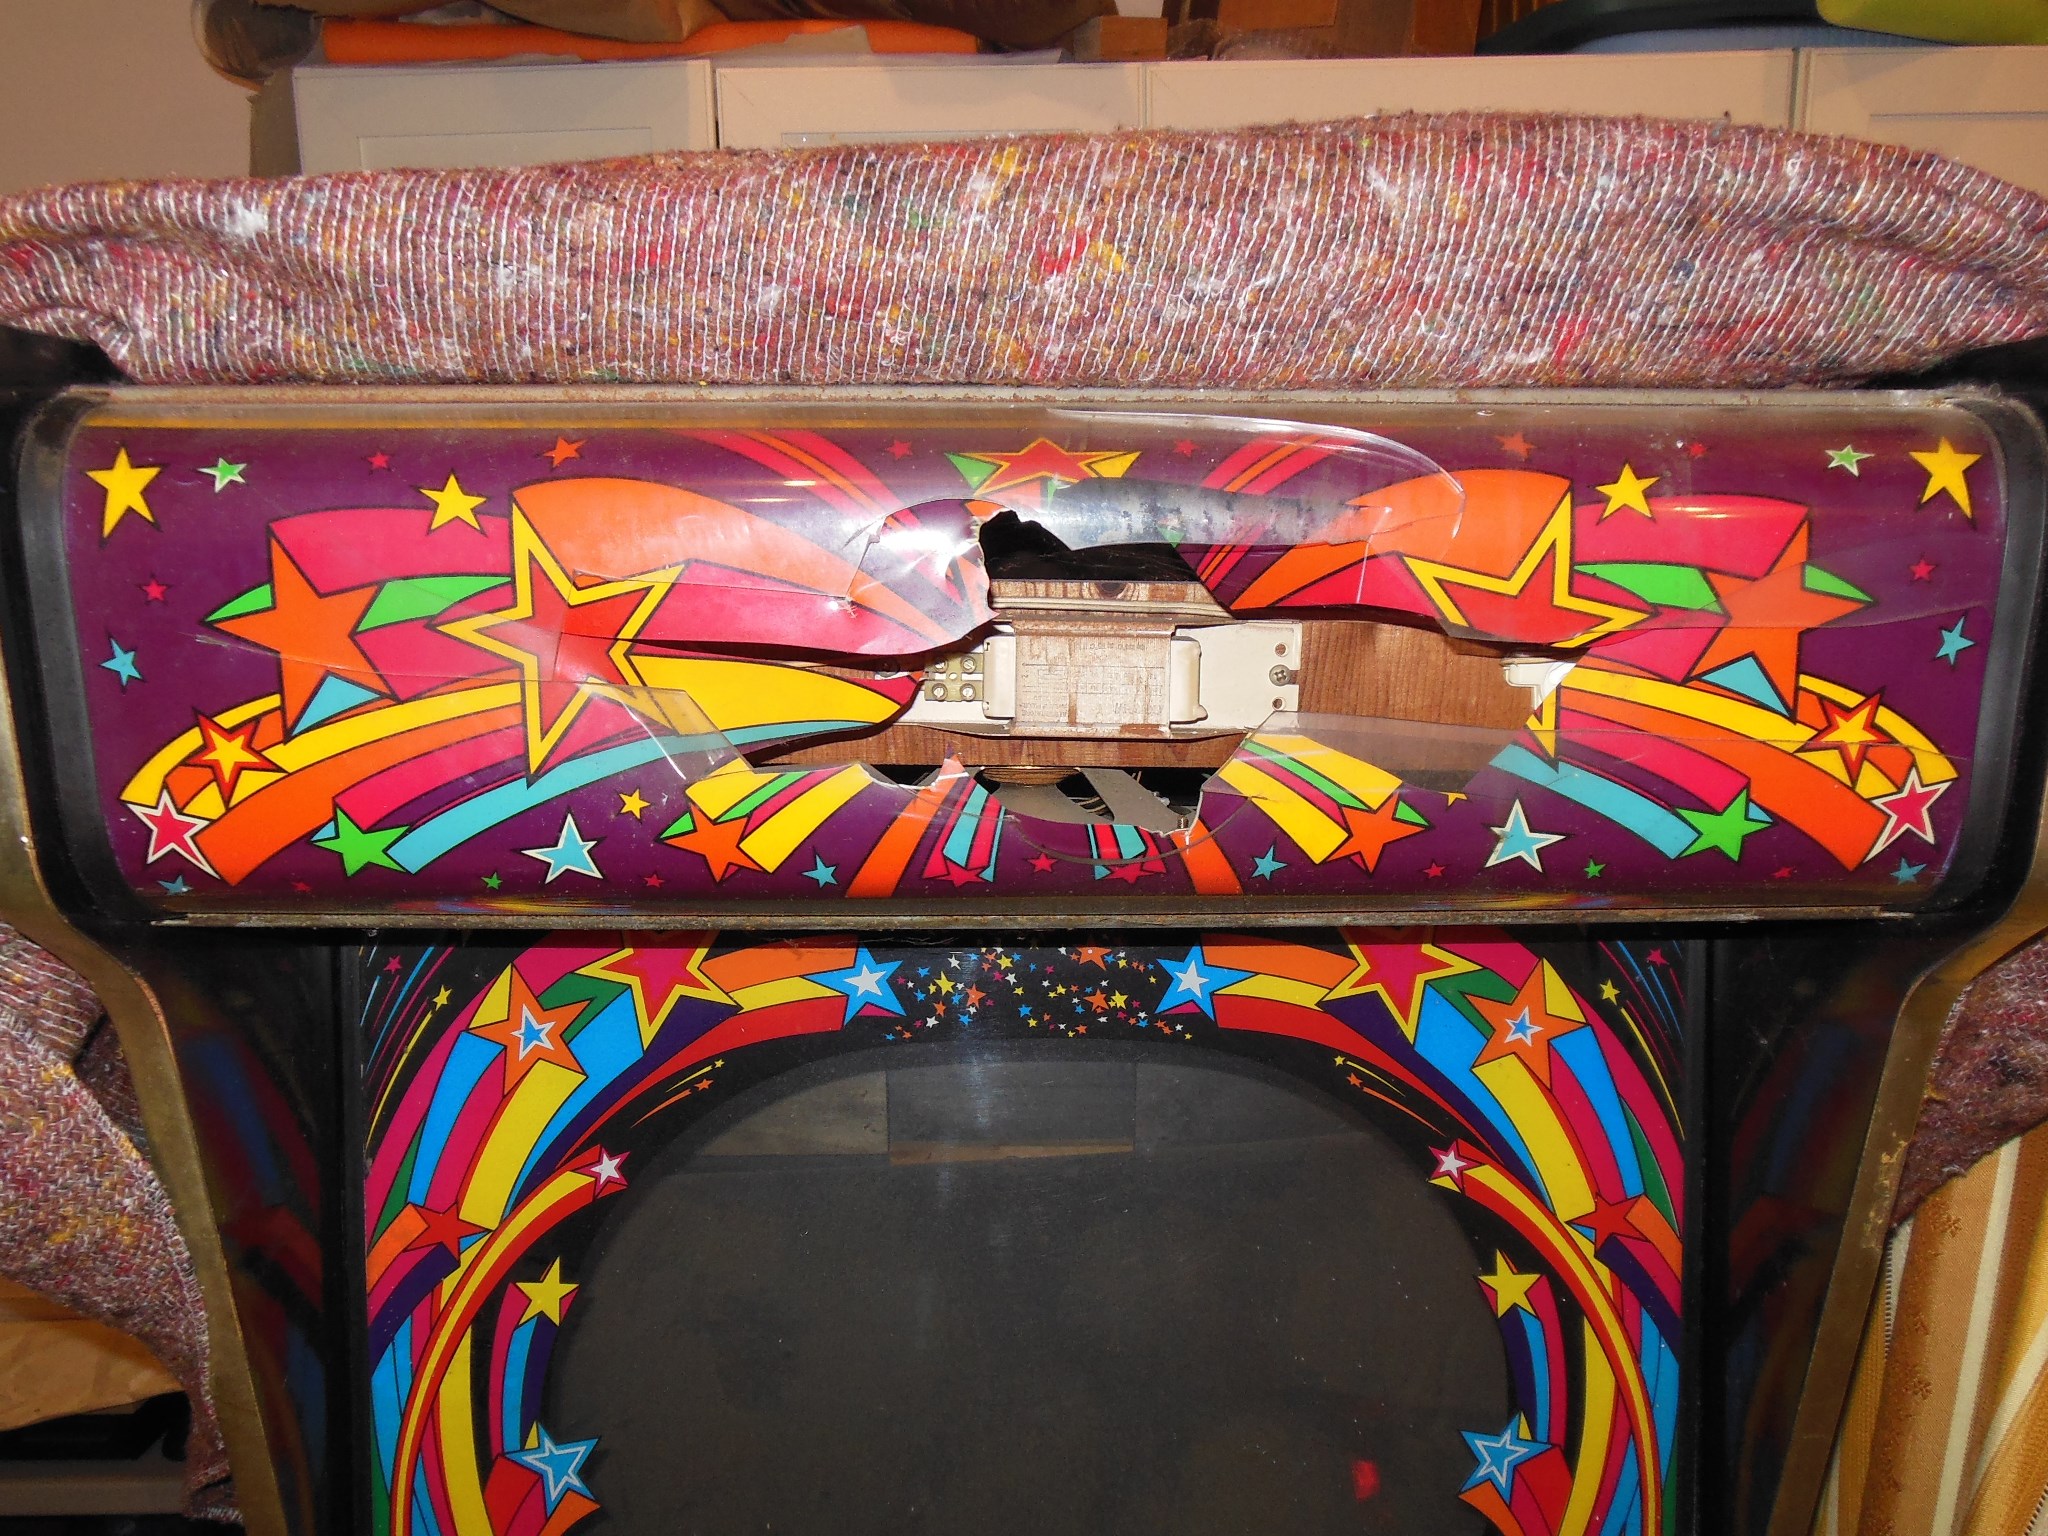
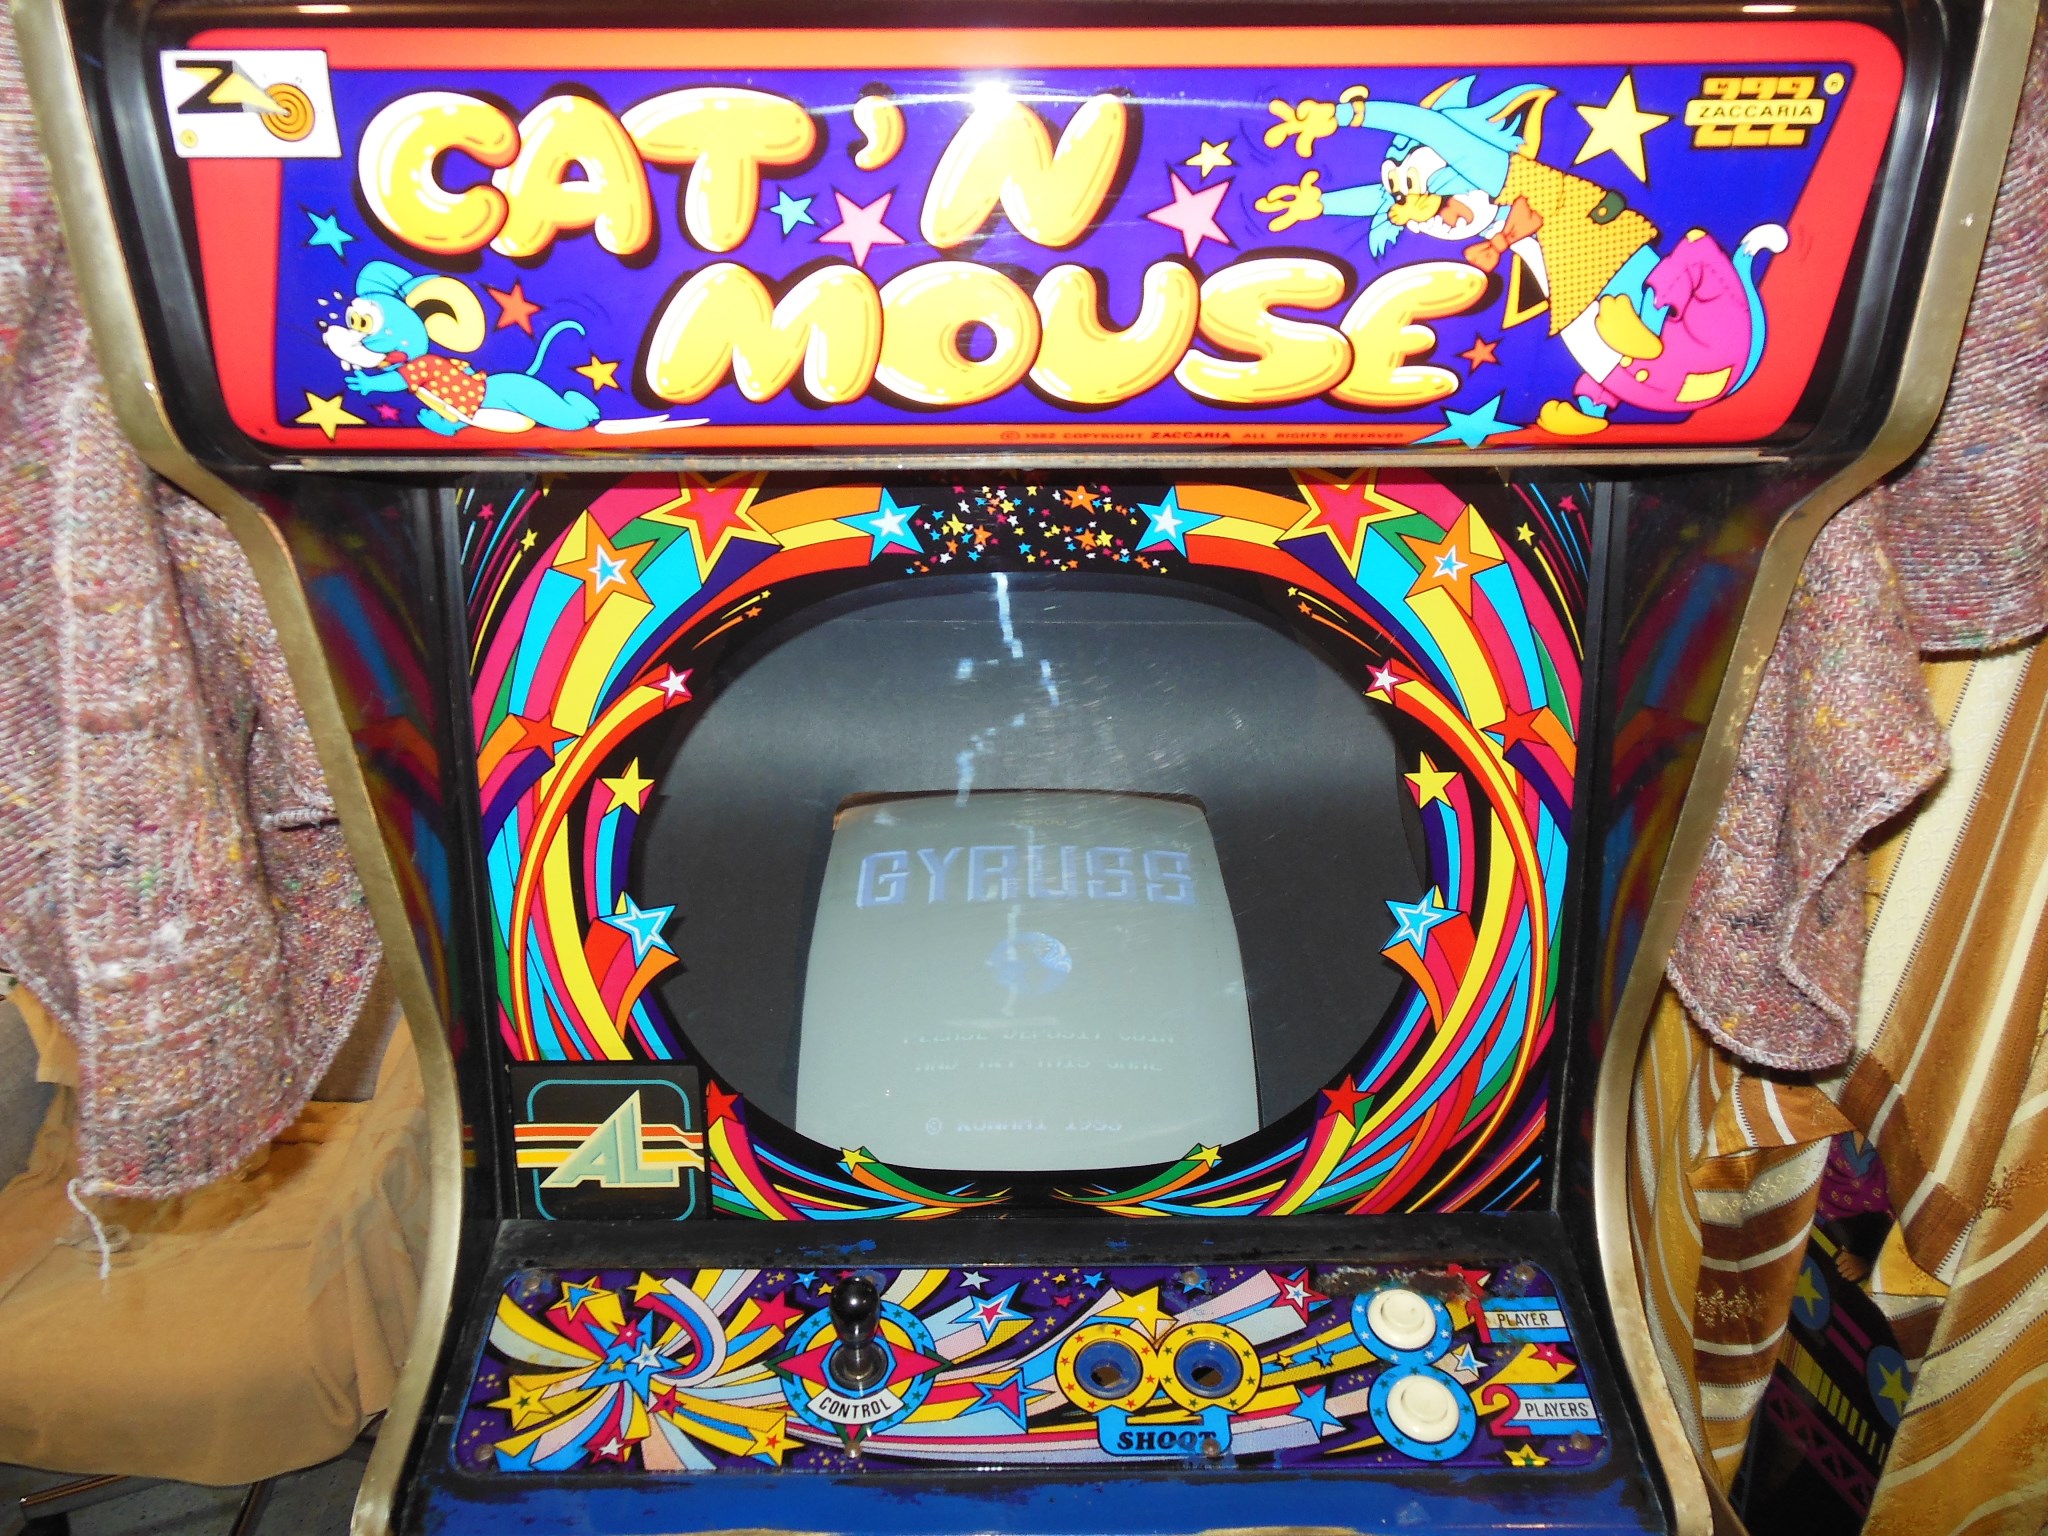
Clearly the marque was smashed that revealed it was clear plastic with a sheet of plexi-roll star artwork behind. Previous artwork was printed directly on the marque itself. The clear plastic marque presumably made it more convenient to use with plexi-roll marques supplied with game kits for universal cabinets.
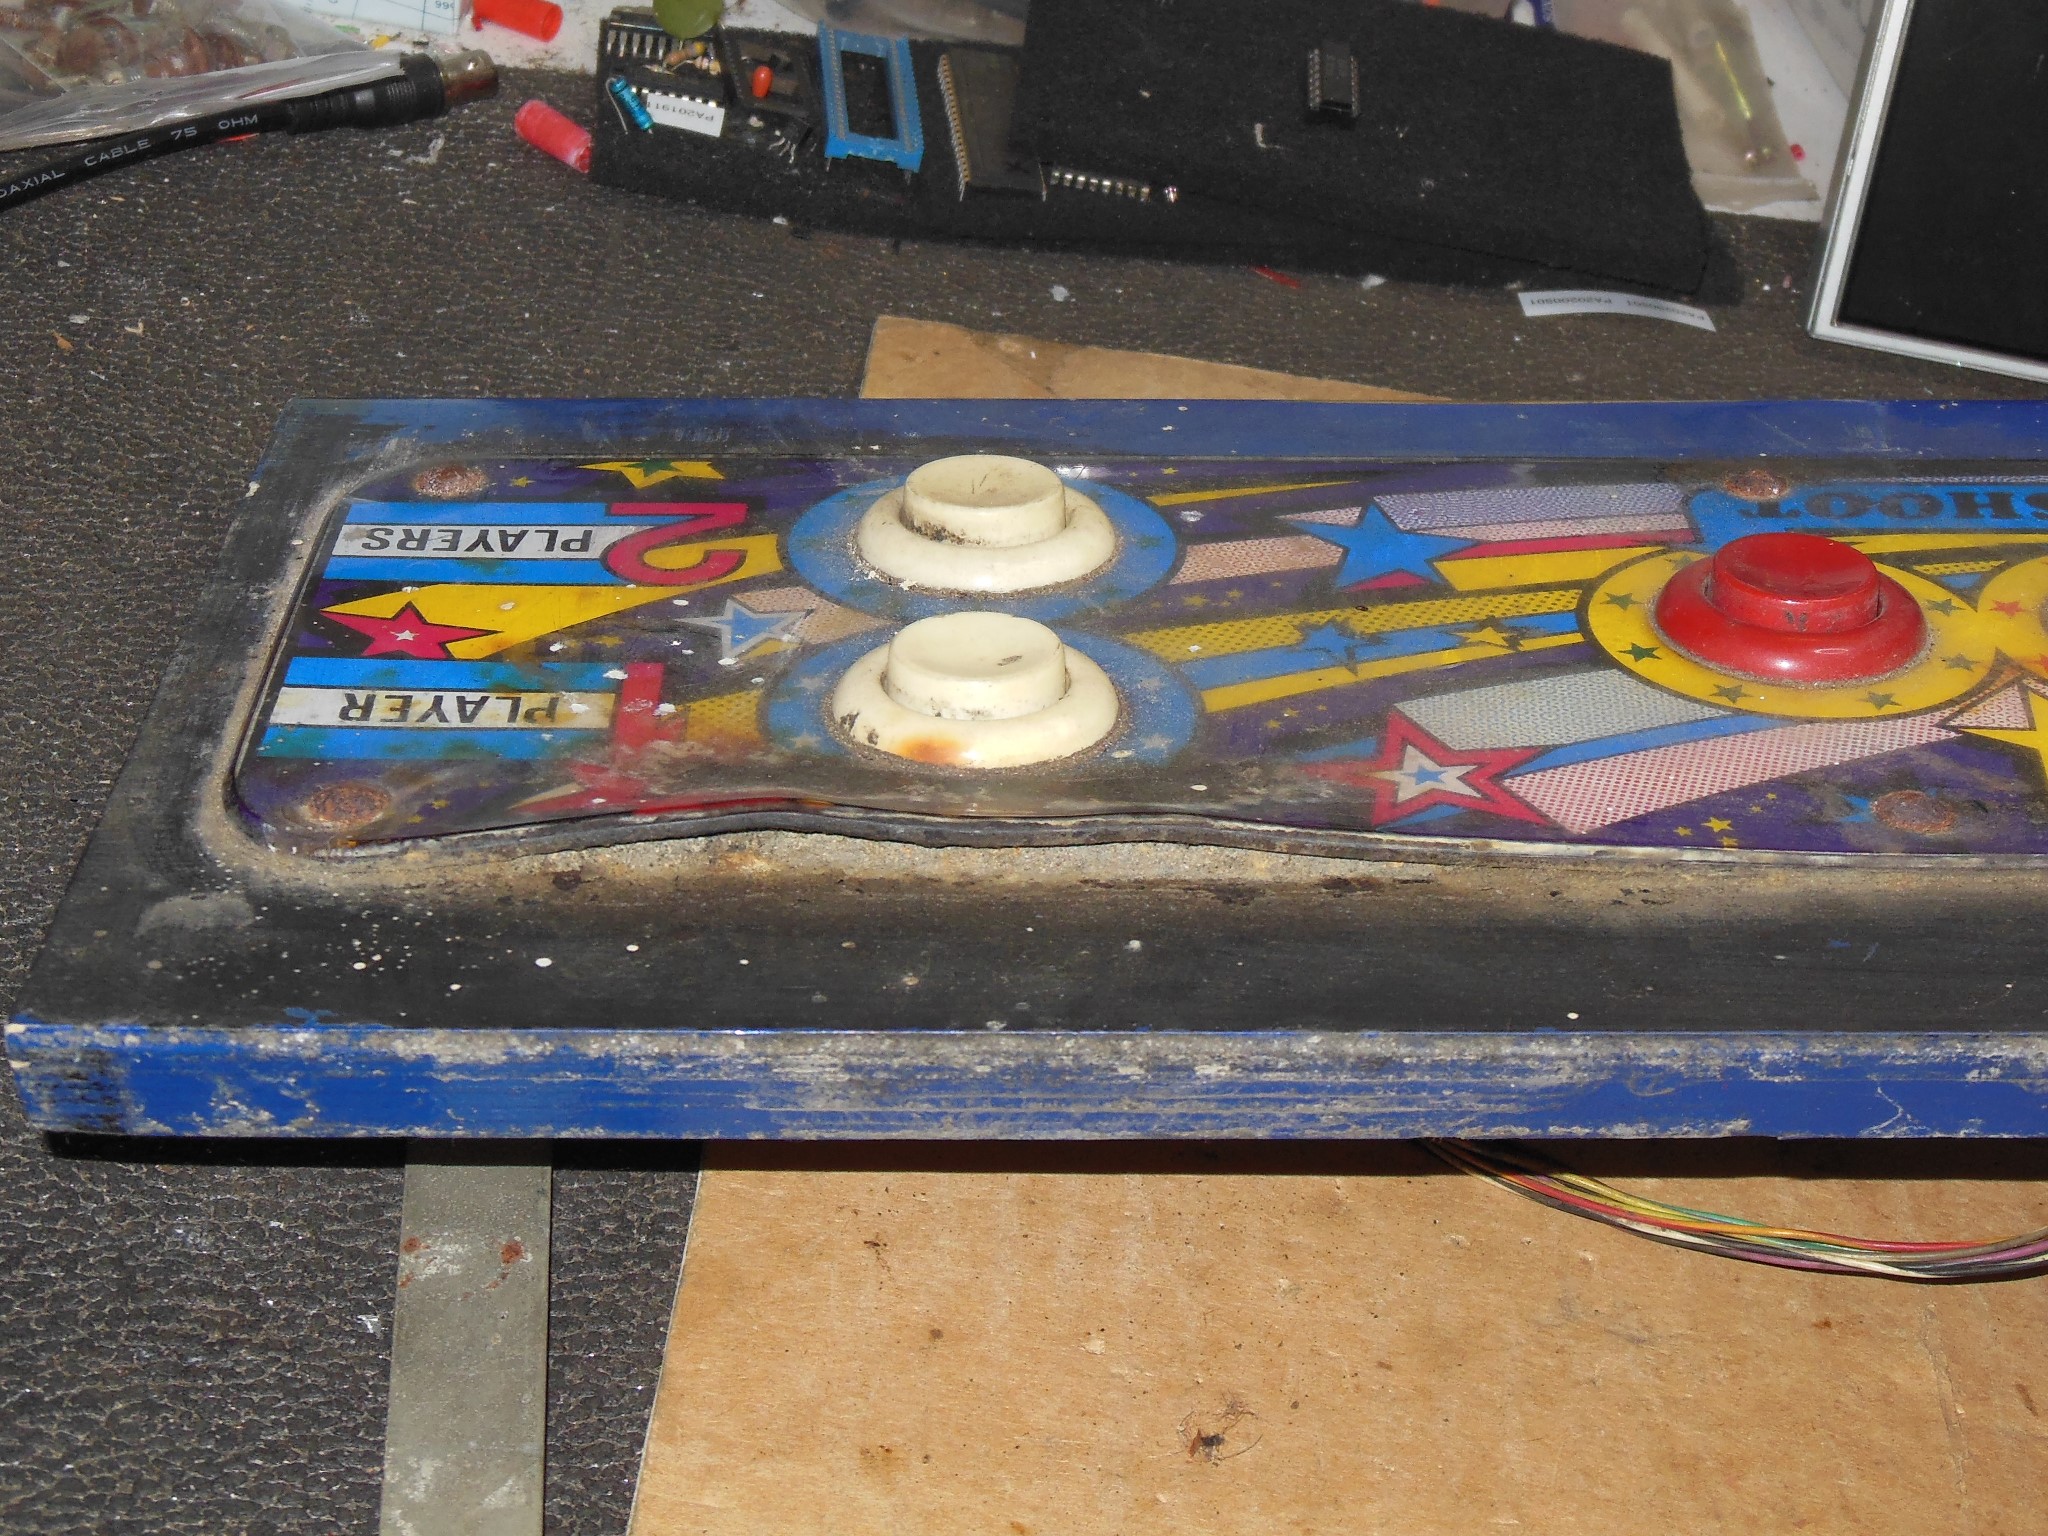
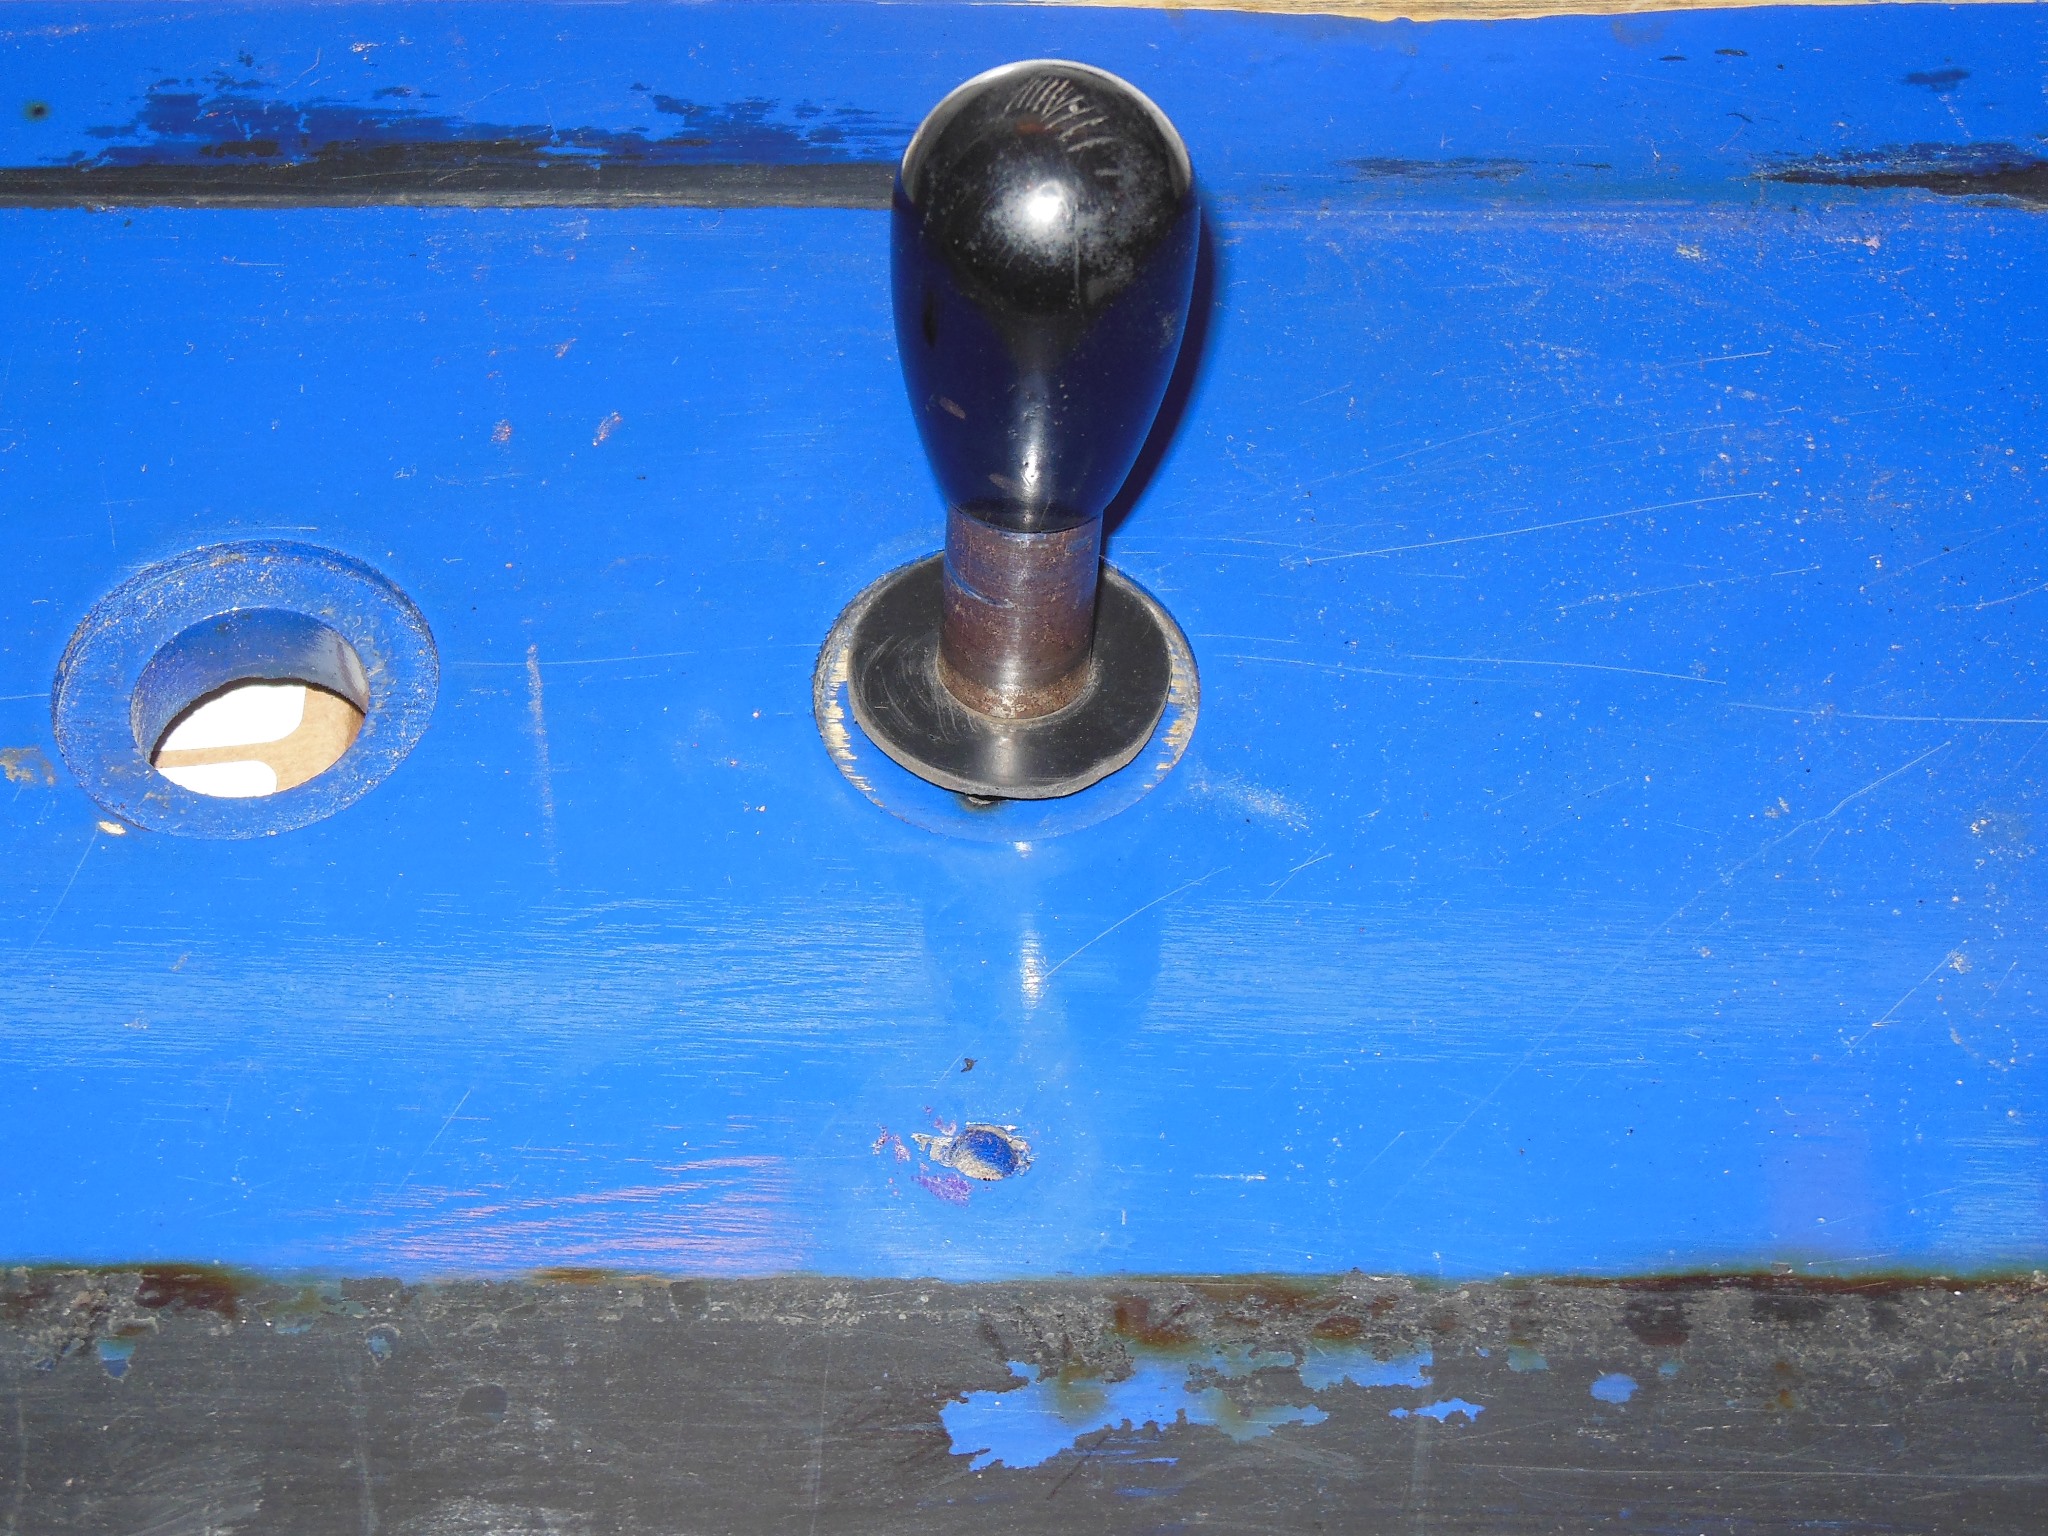
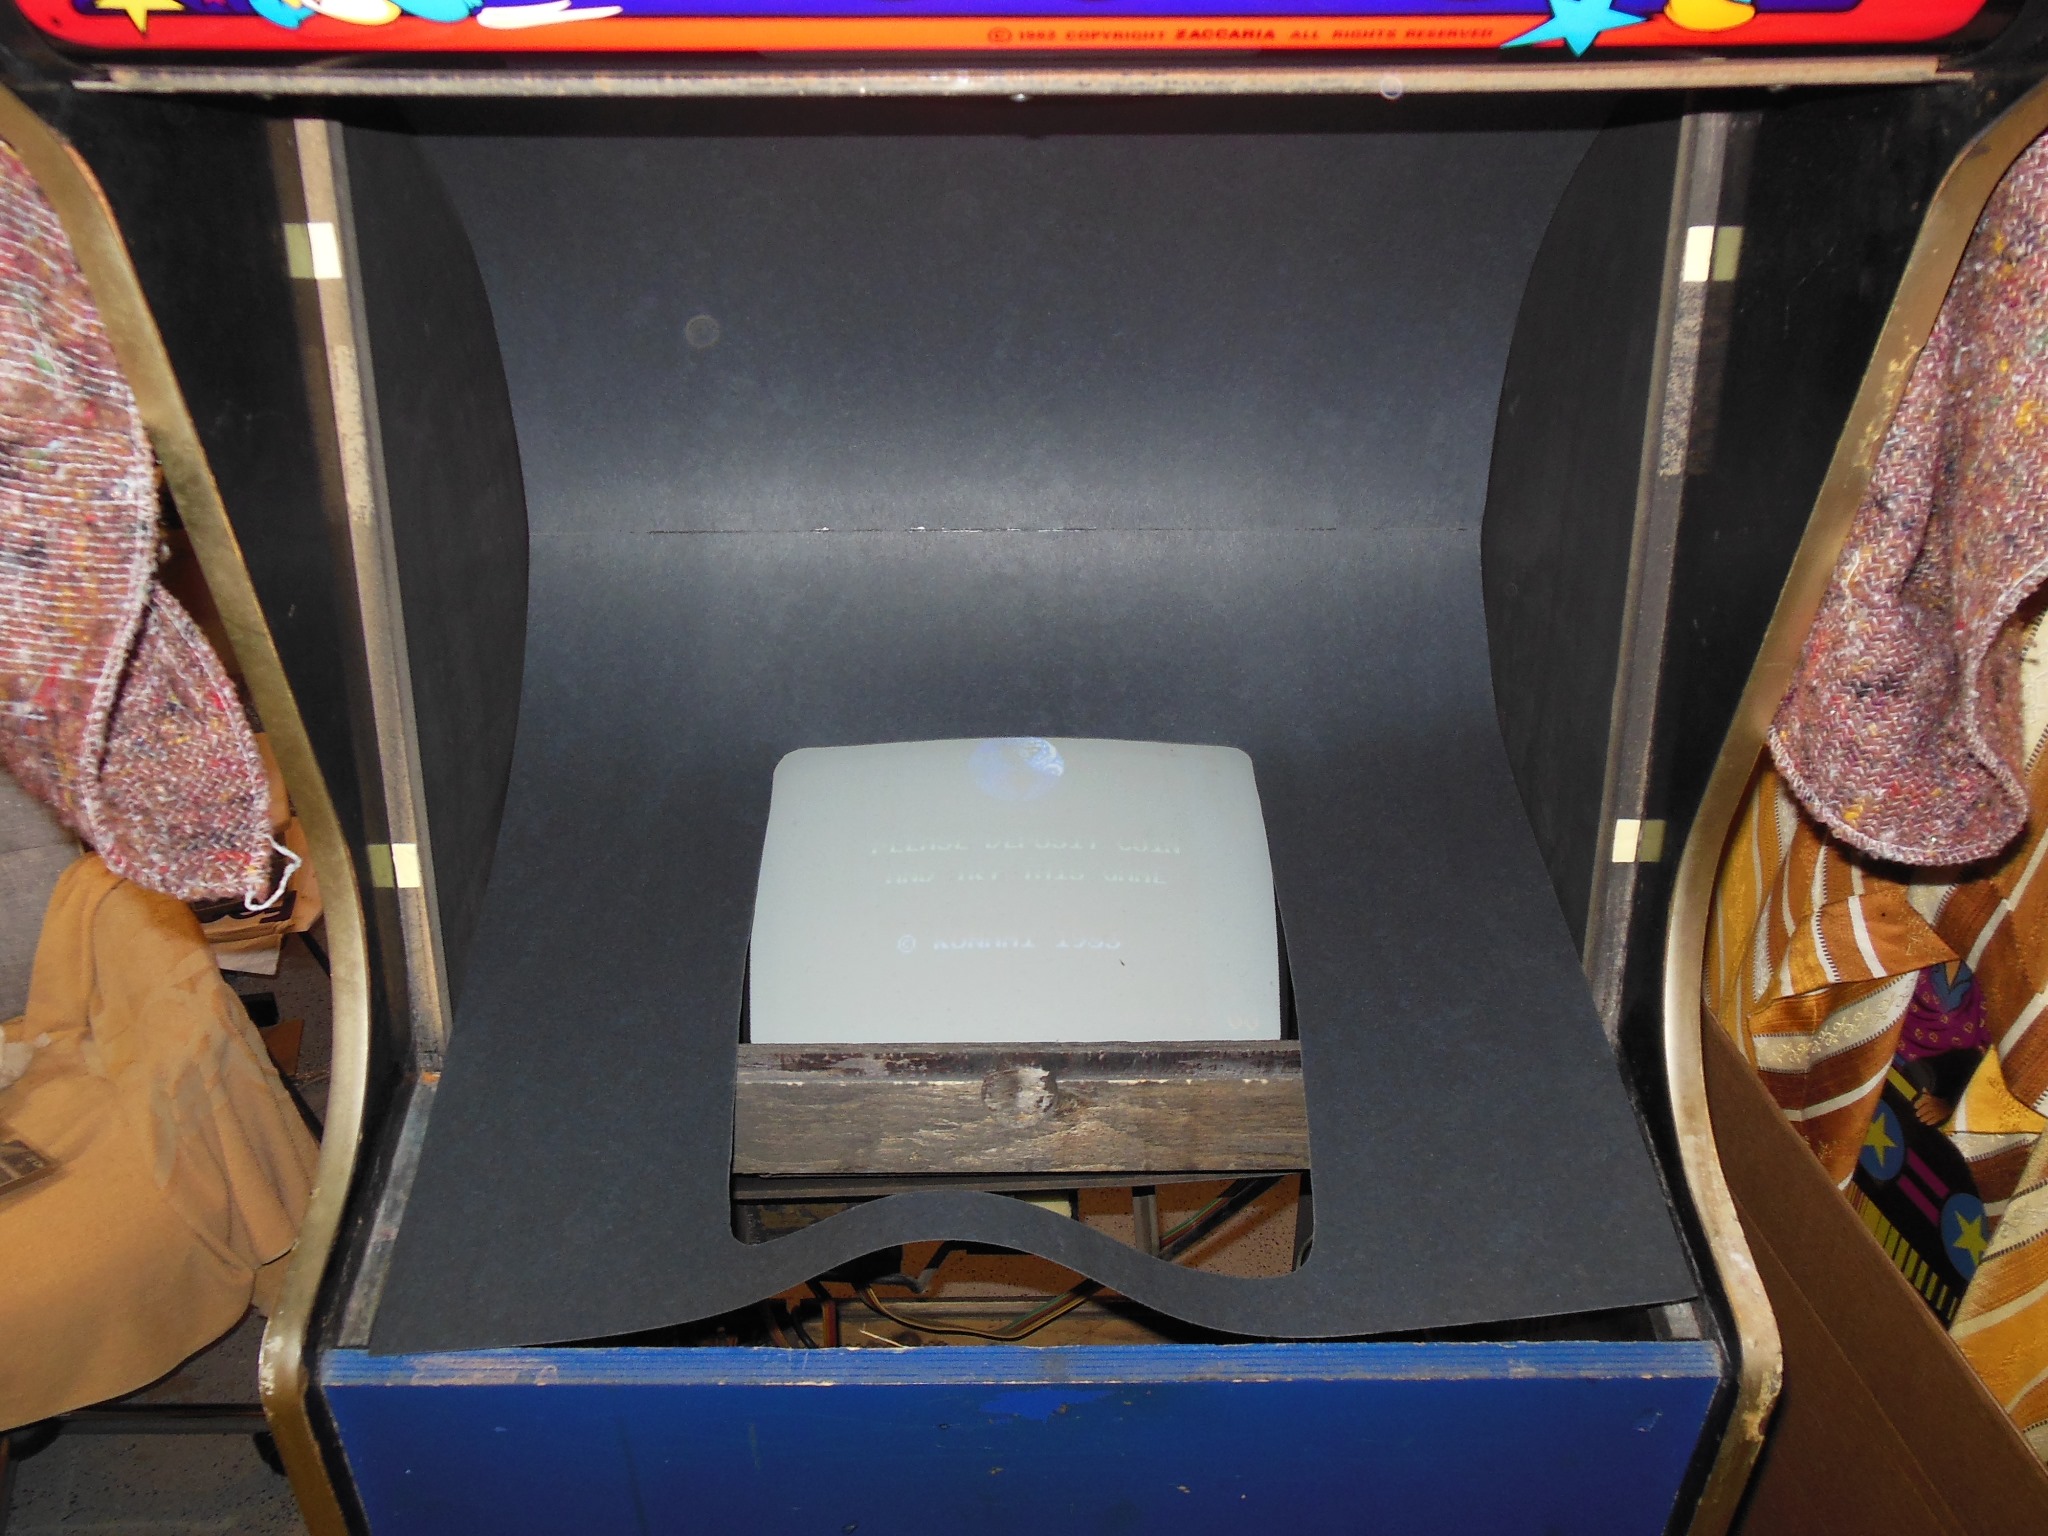
The control panel was complete and the overlay was in poor condition but original. There was significant cigarette damage above the player 1 start button. The instruction window in the monitor glass contained a plain "AL" logo card from Associated Leisure who distributed the cabinet.
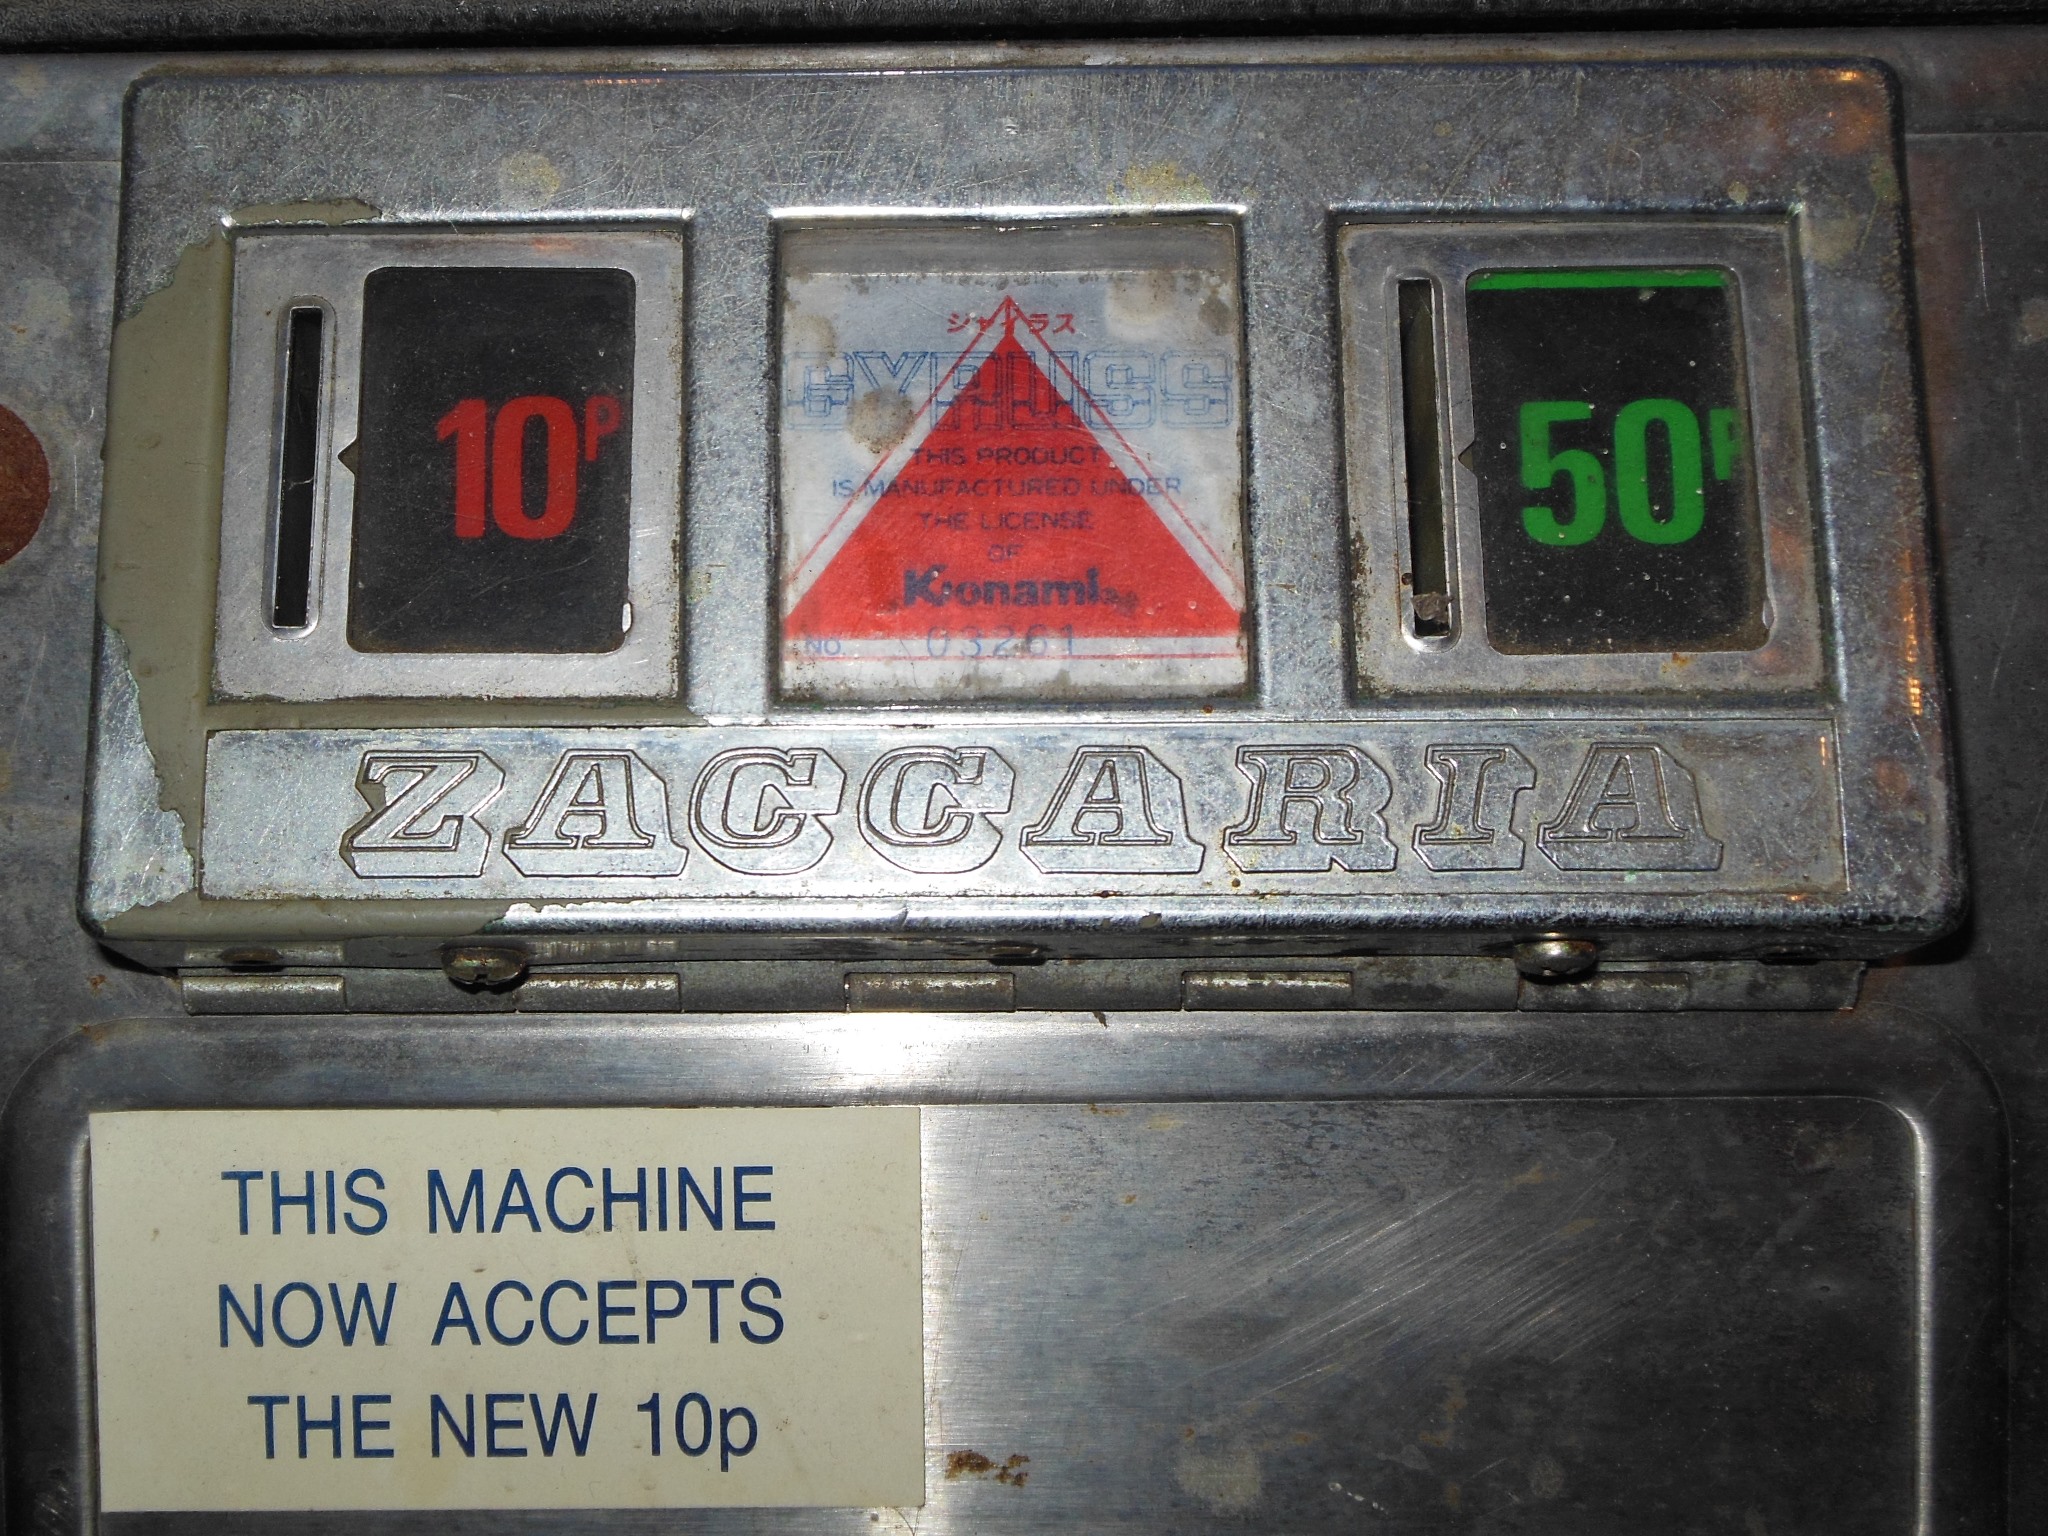
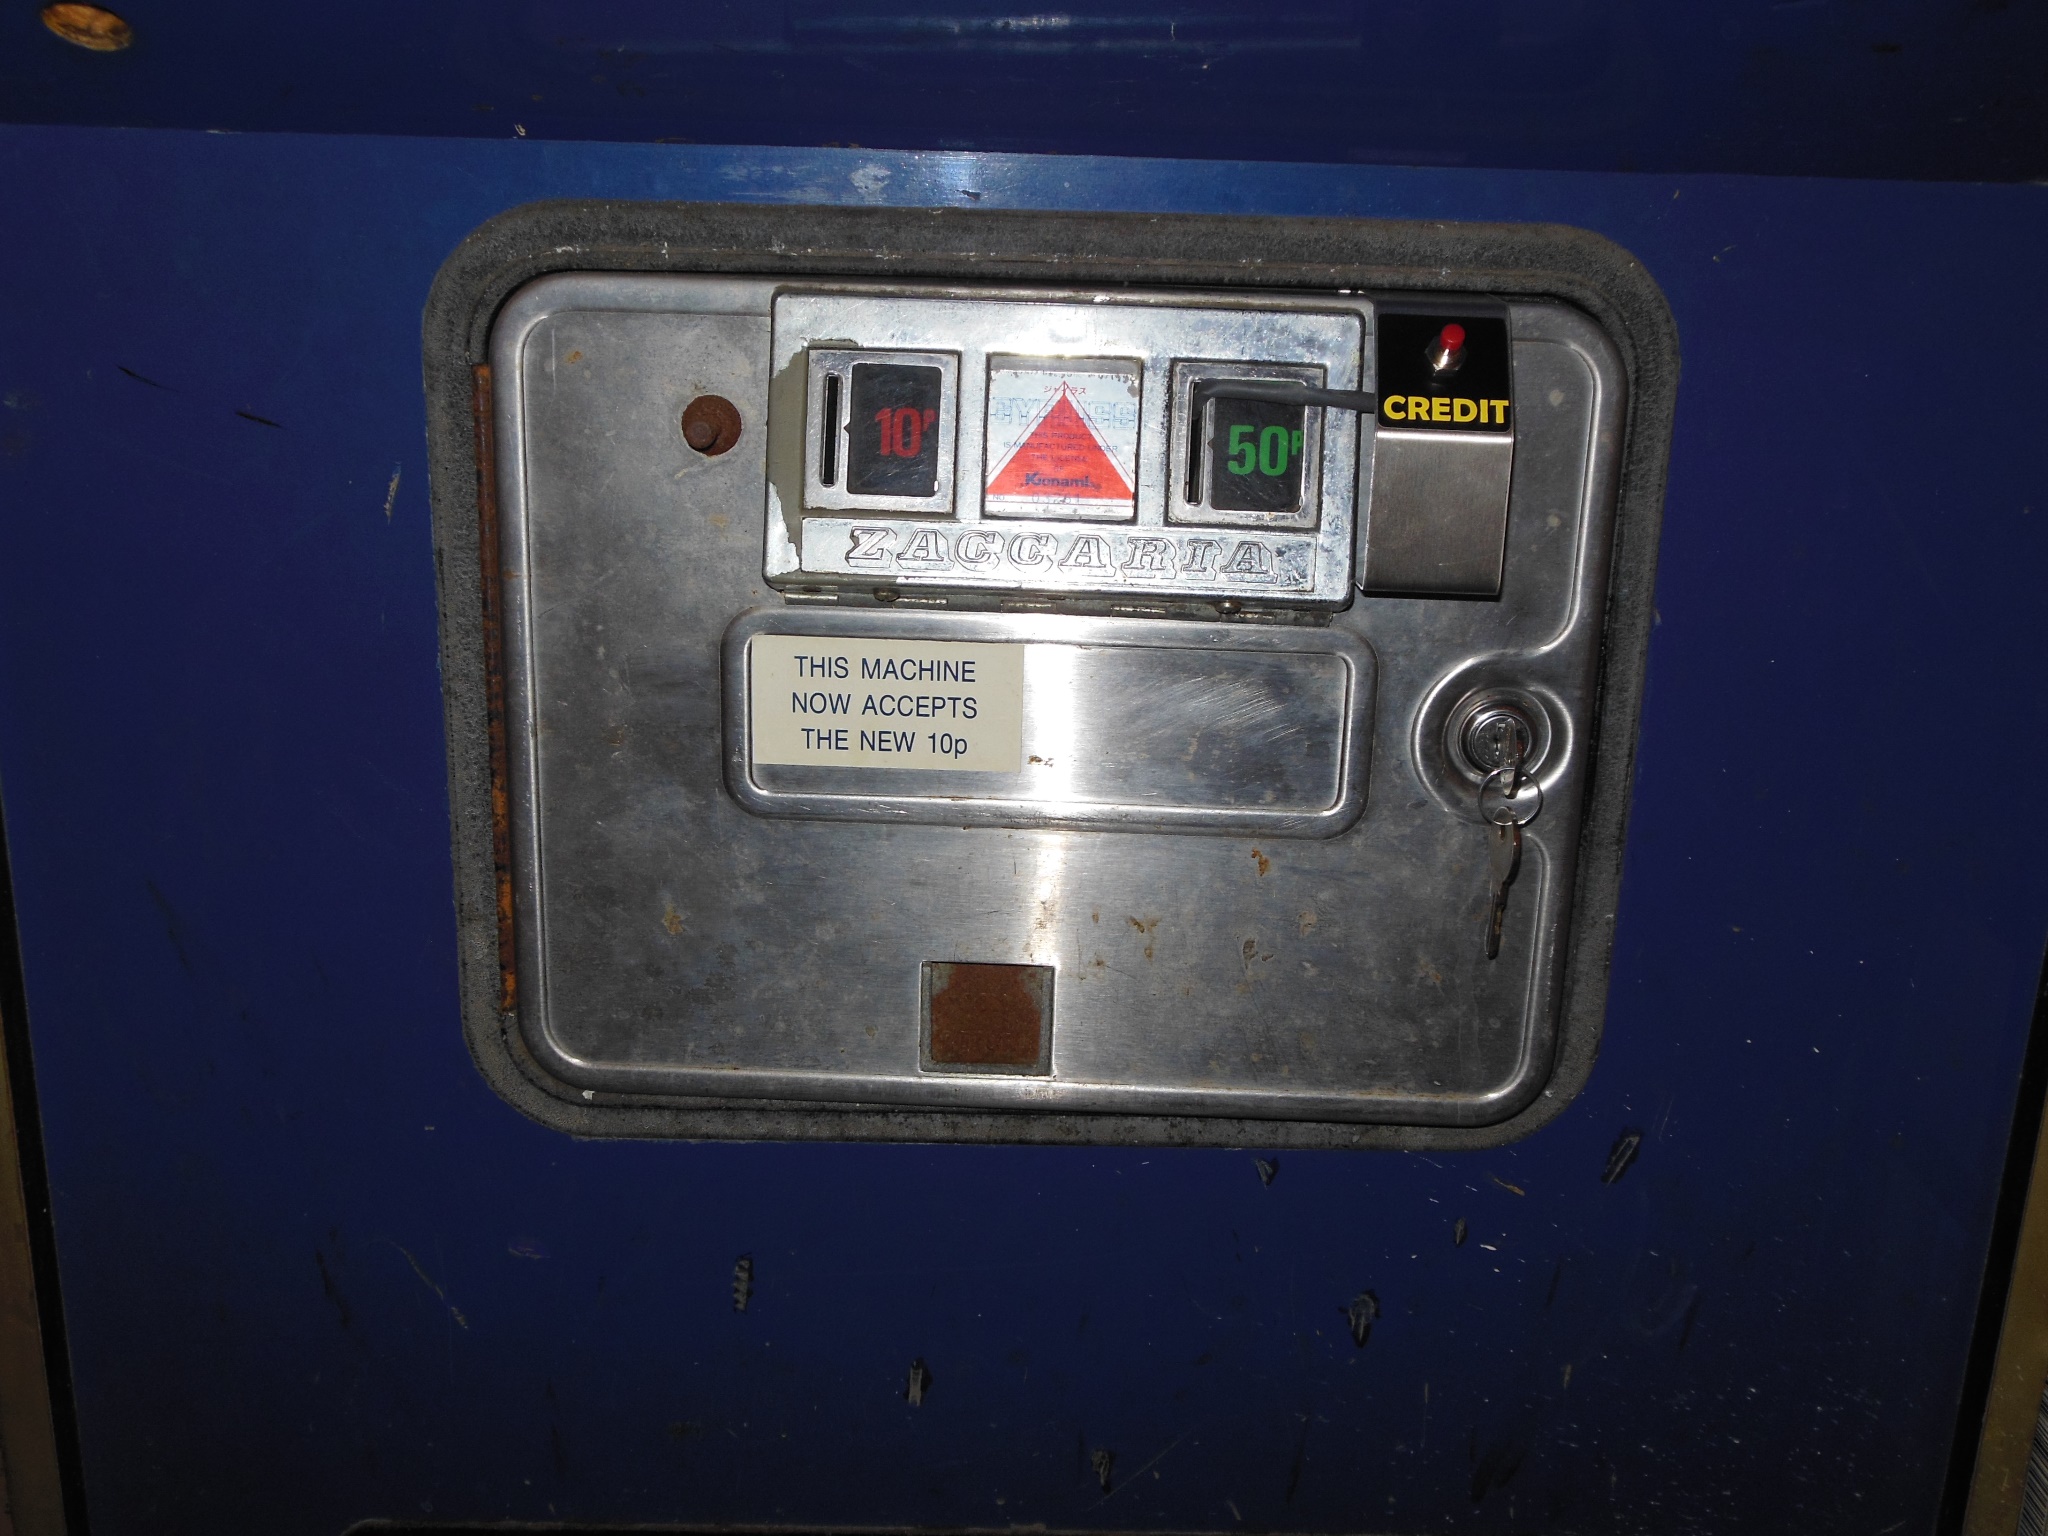
In the middle coin slot blanking plate was a Konami Gyruss license seal.
|
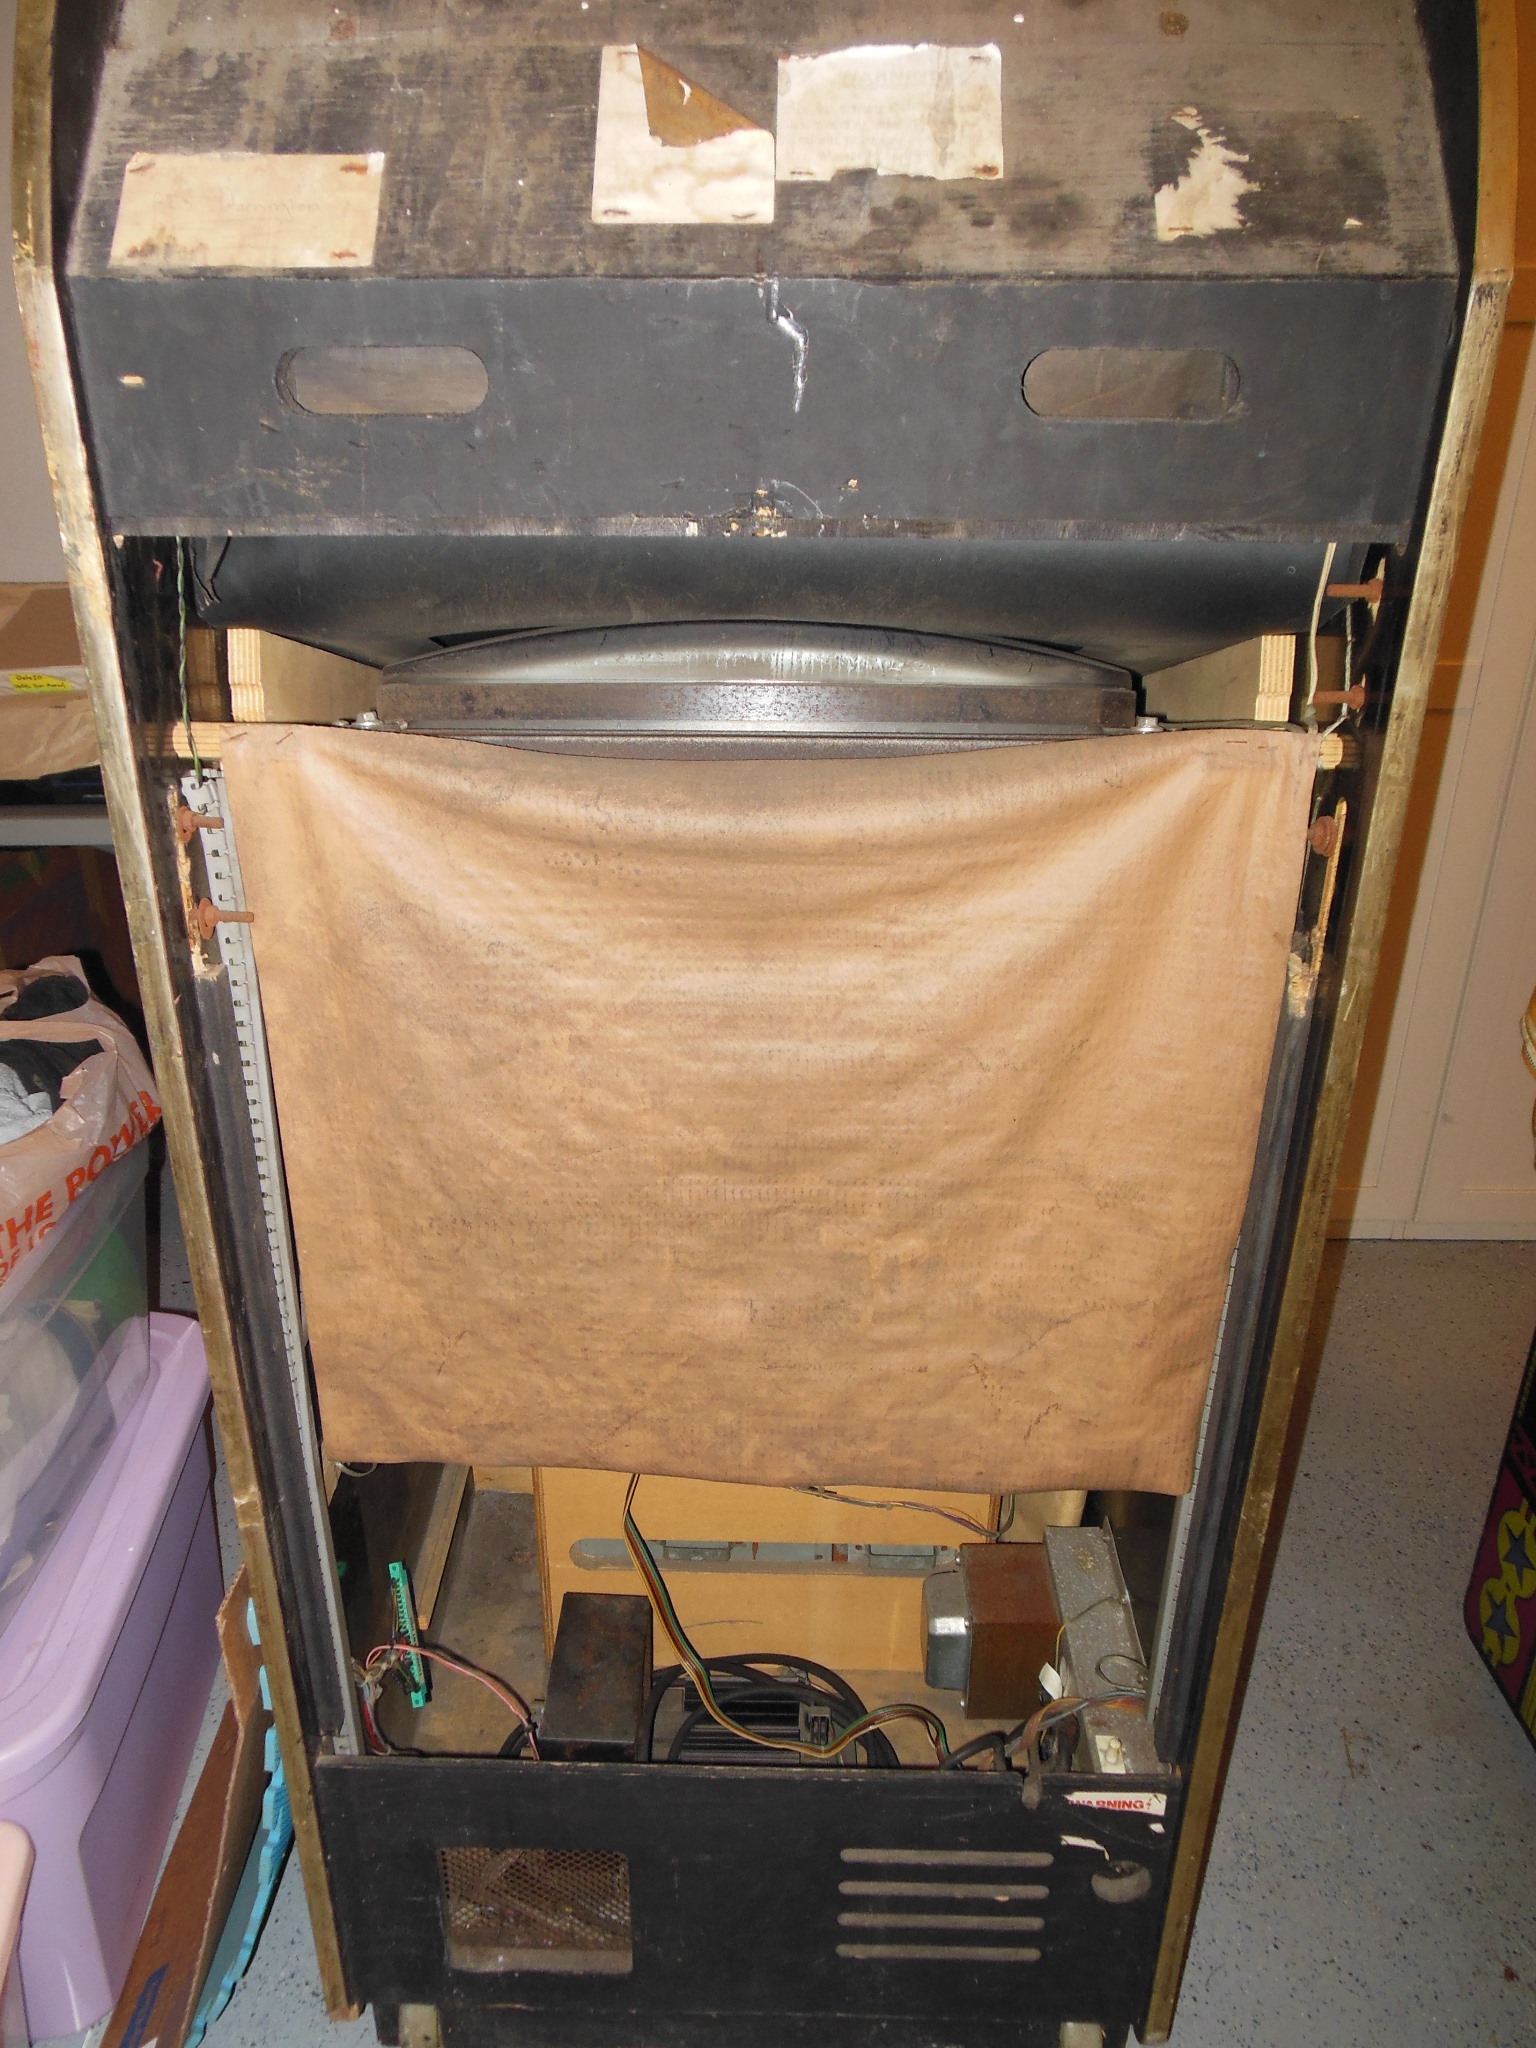
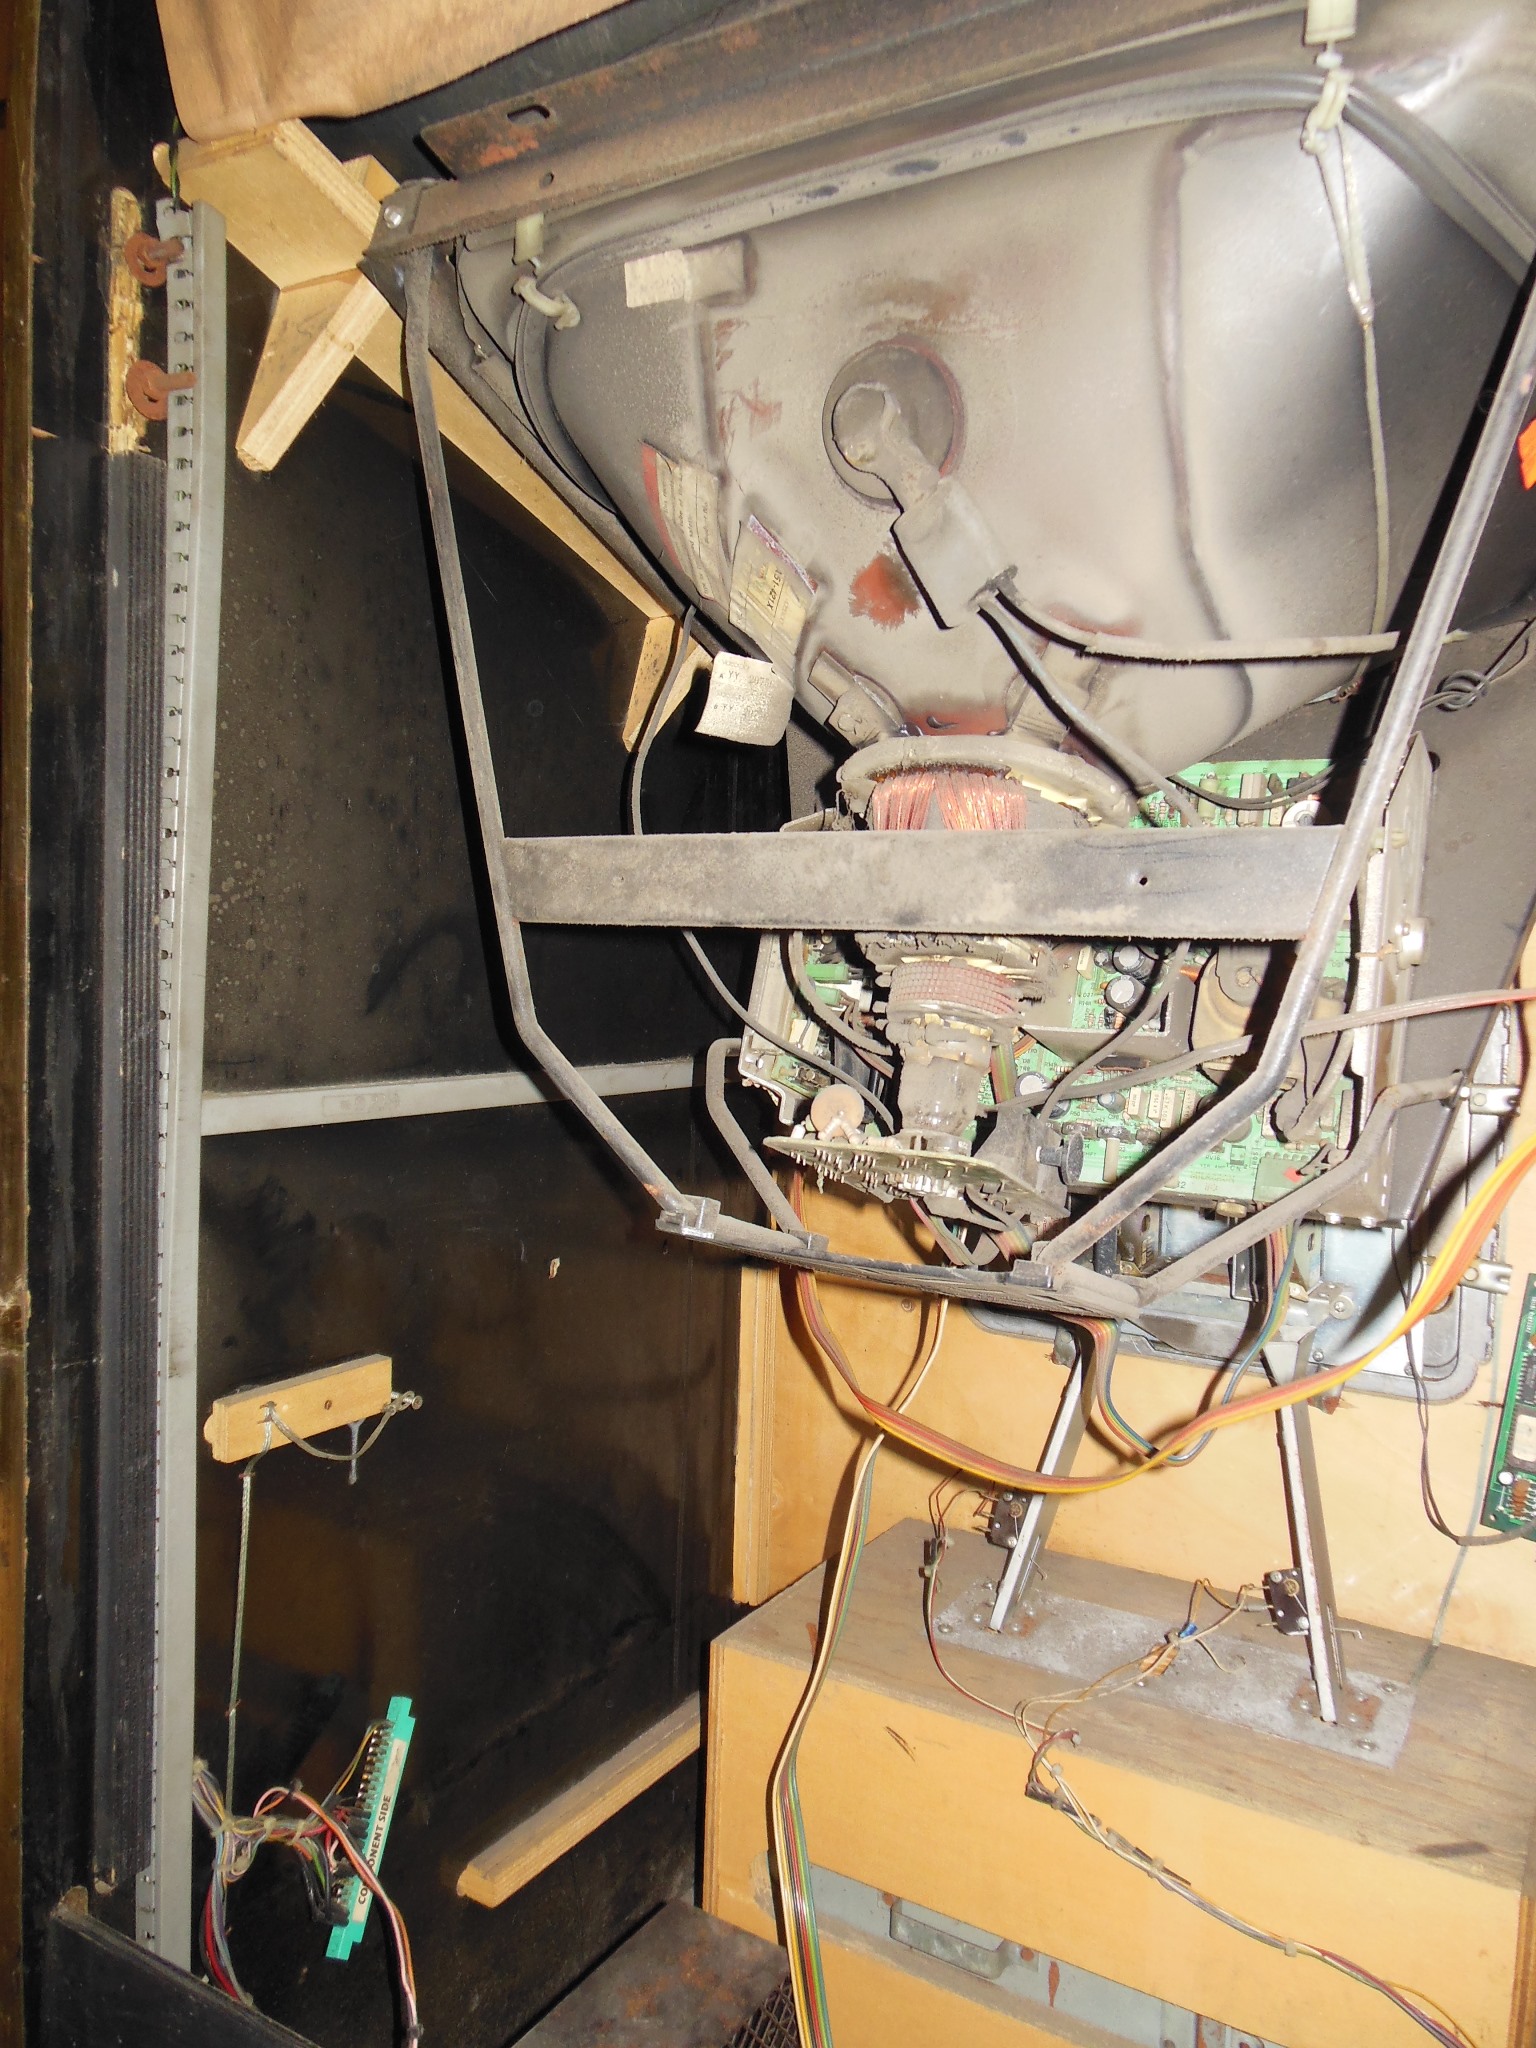
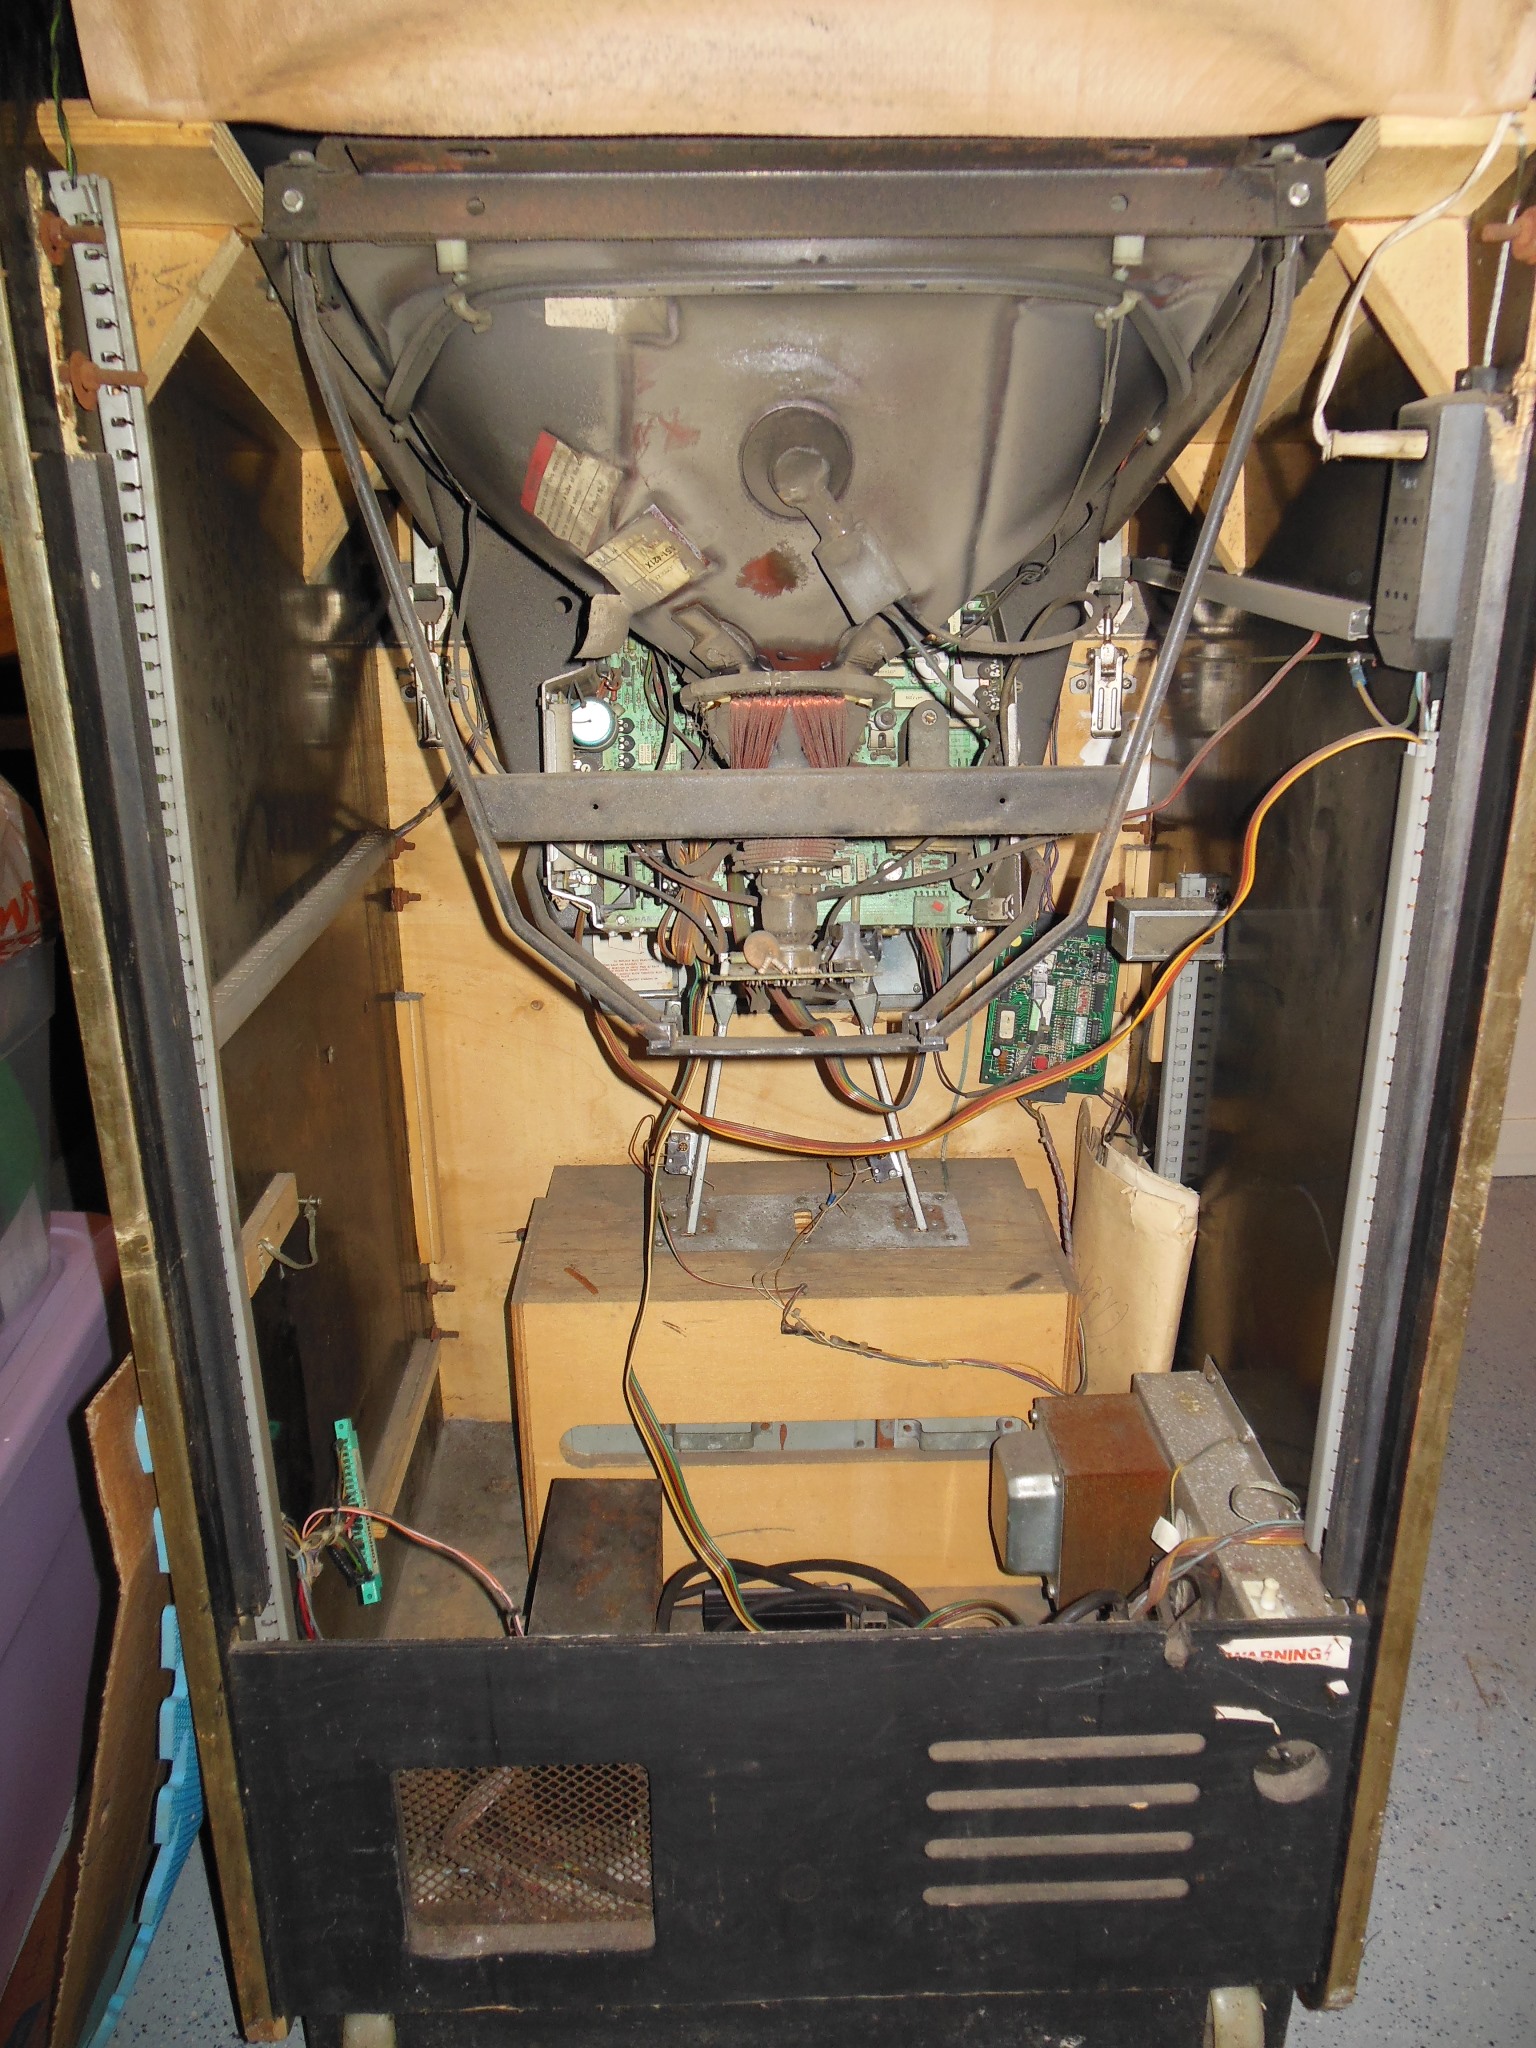
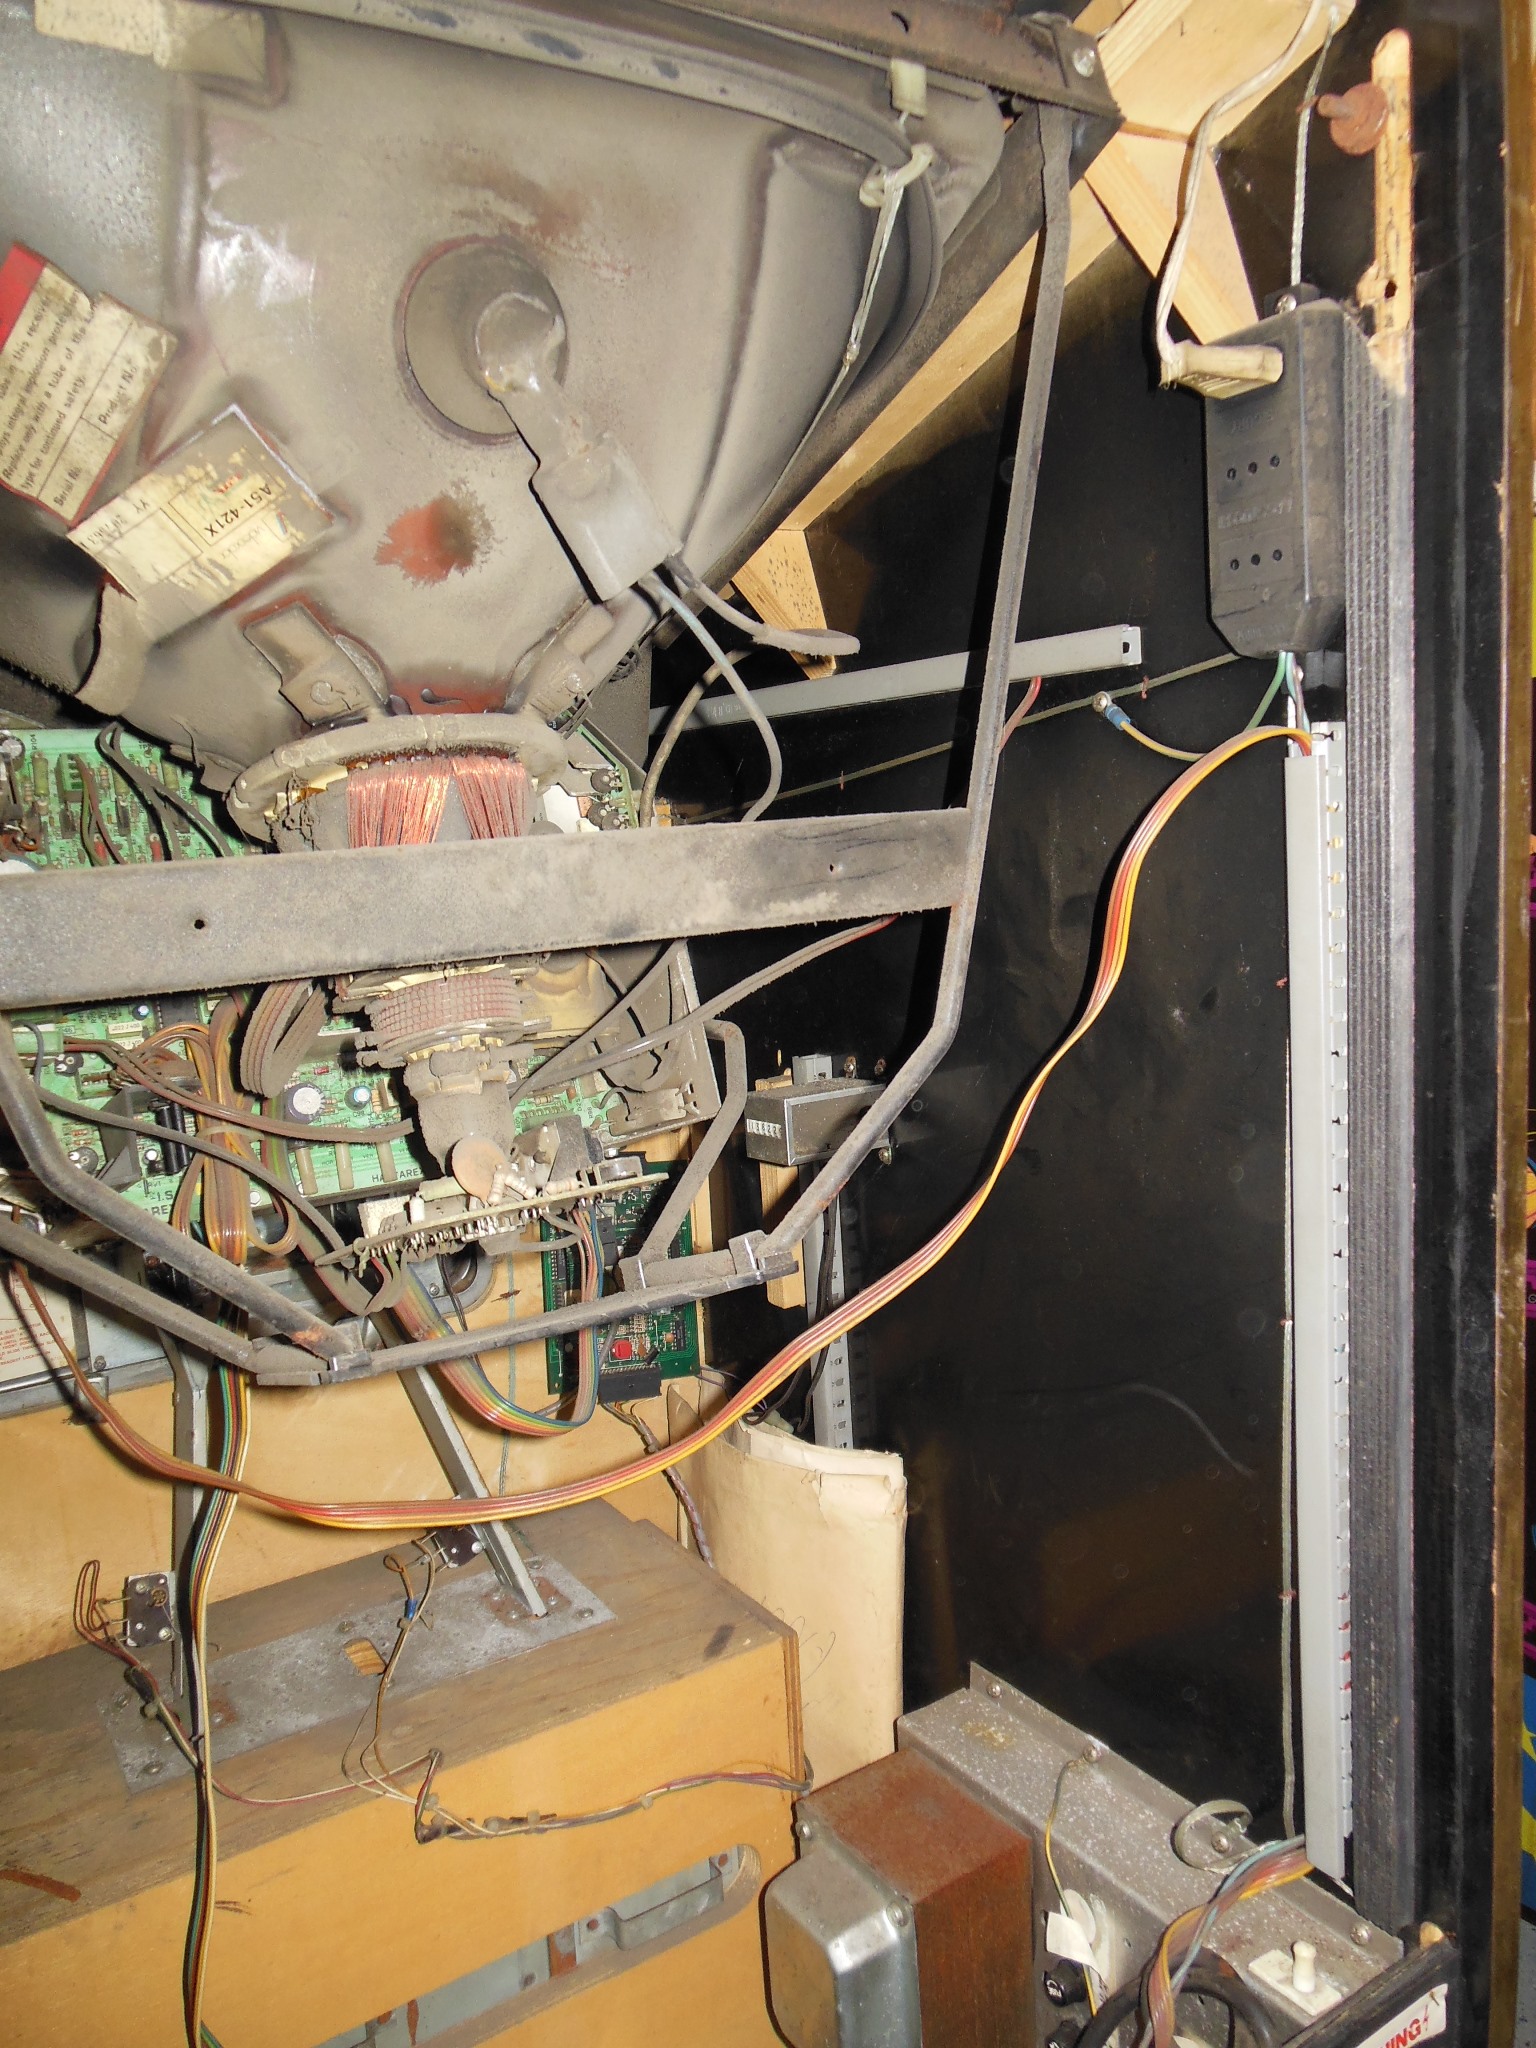
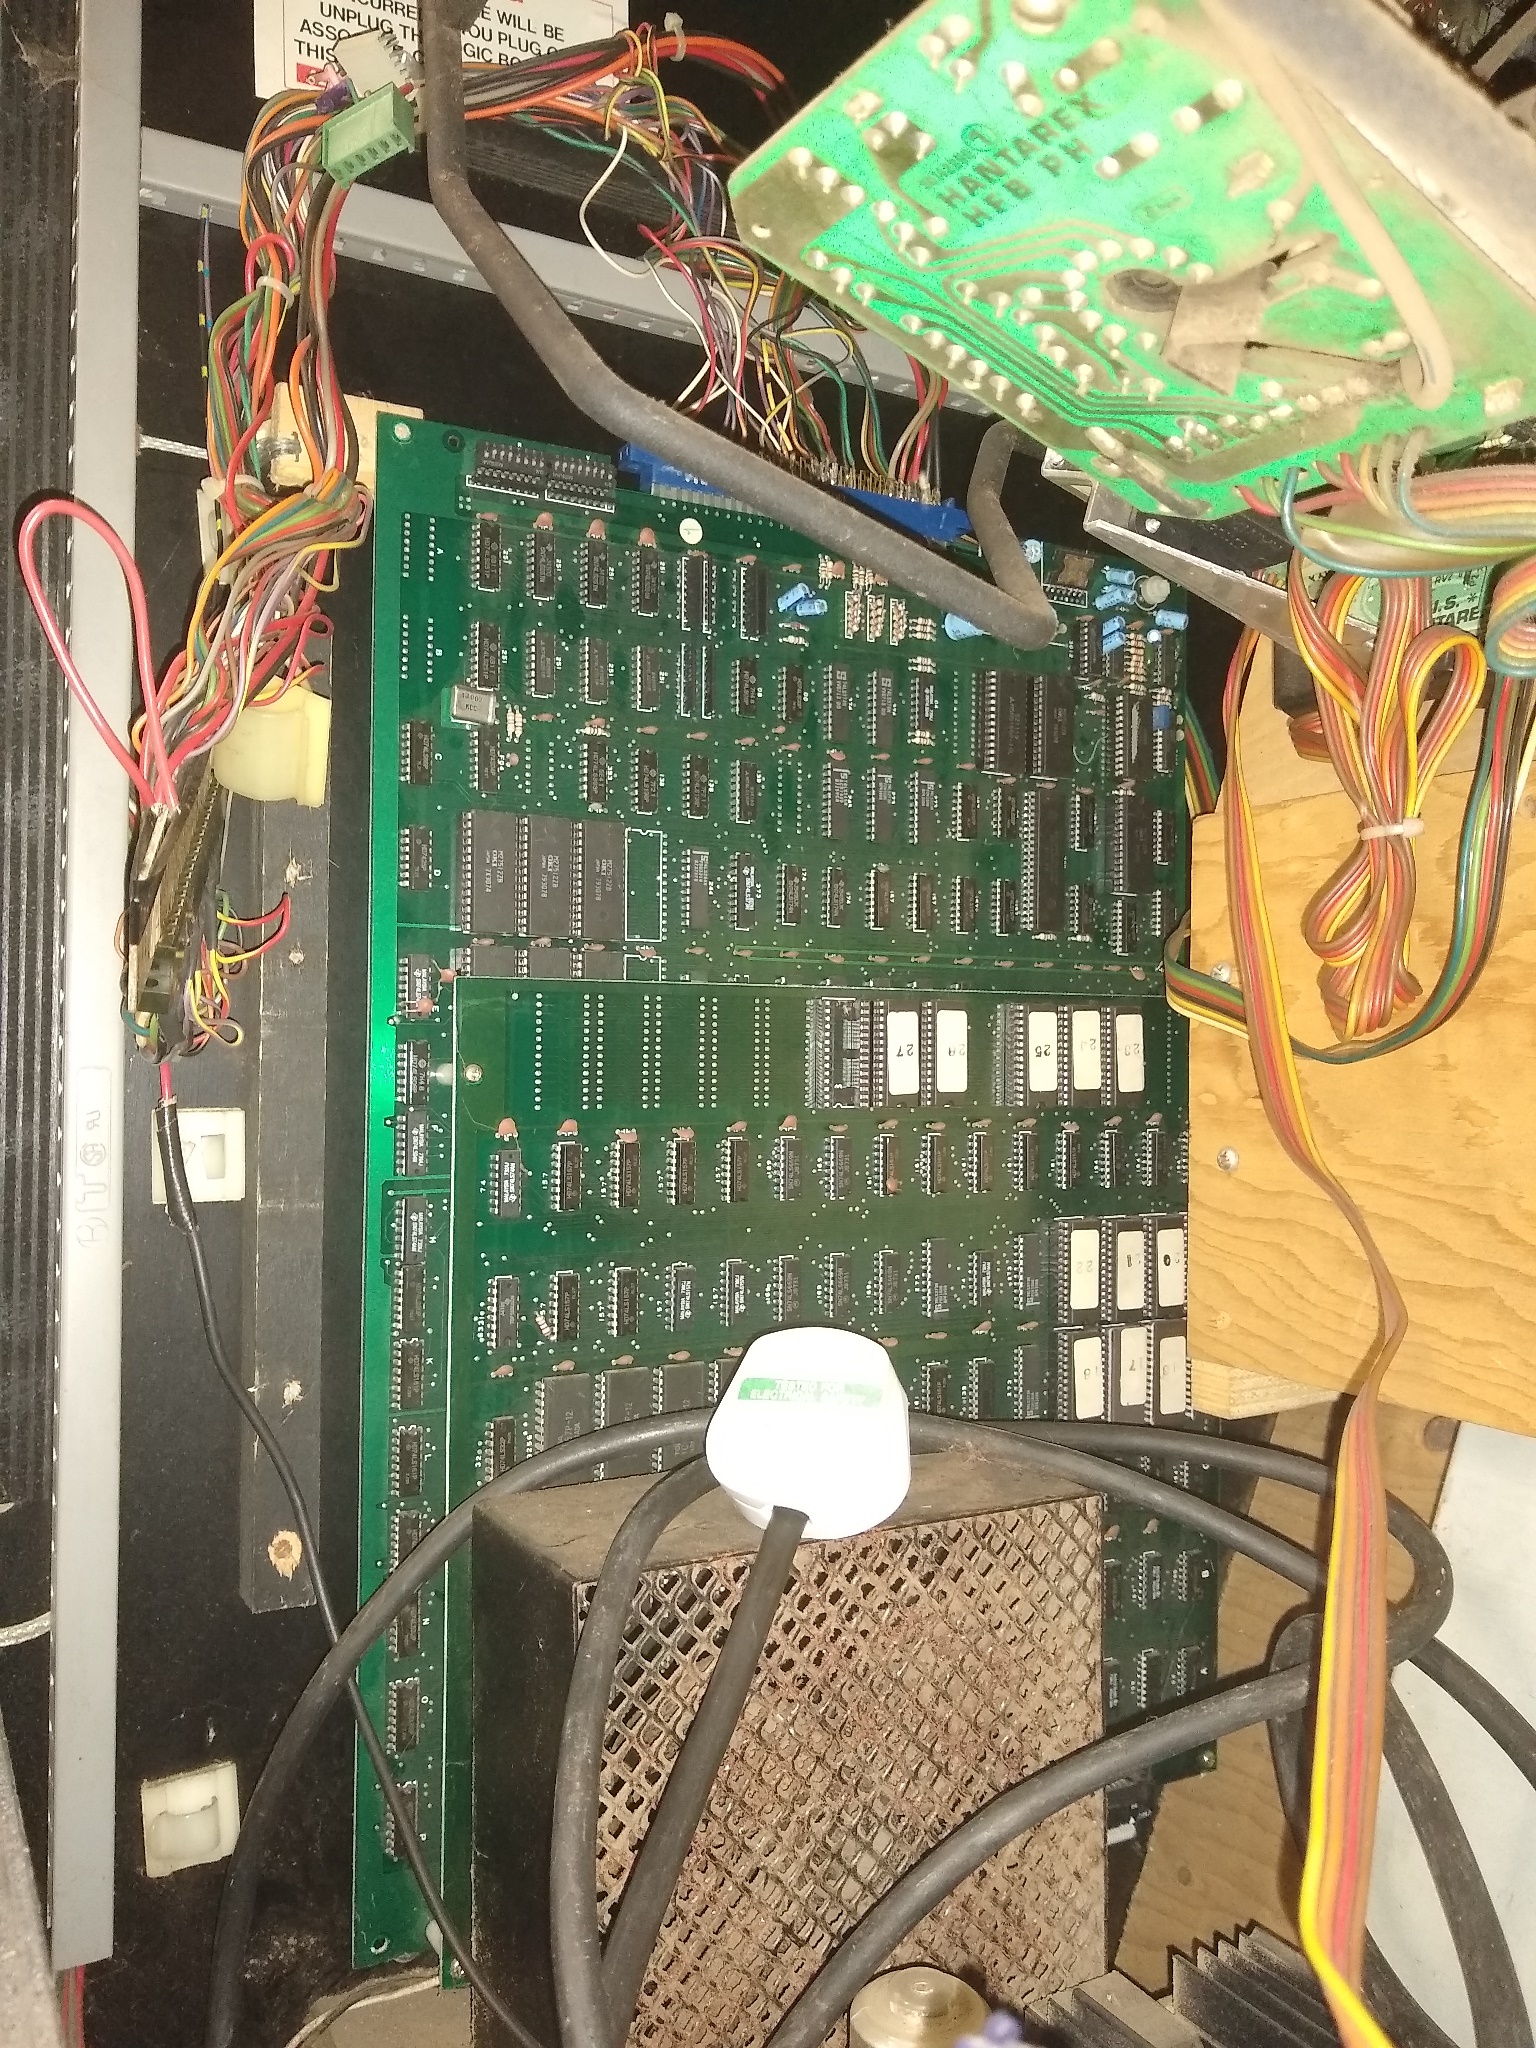
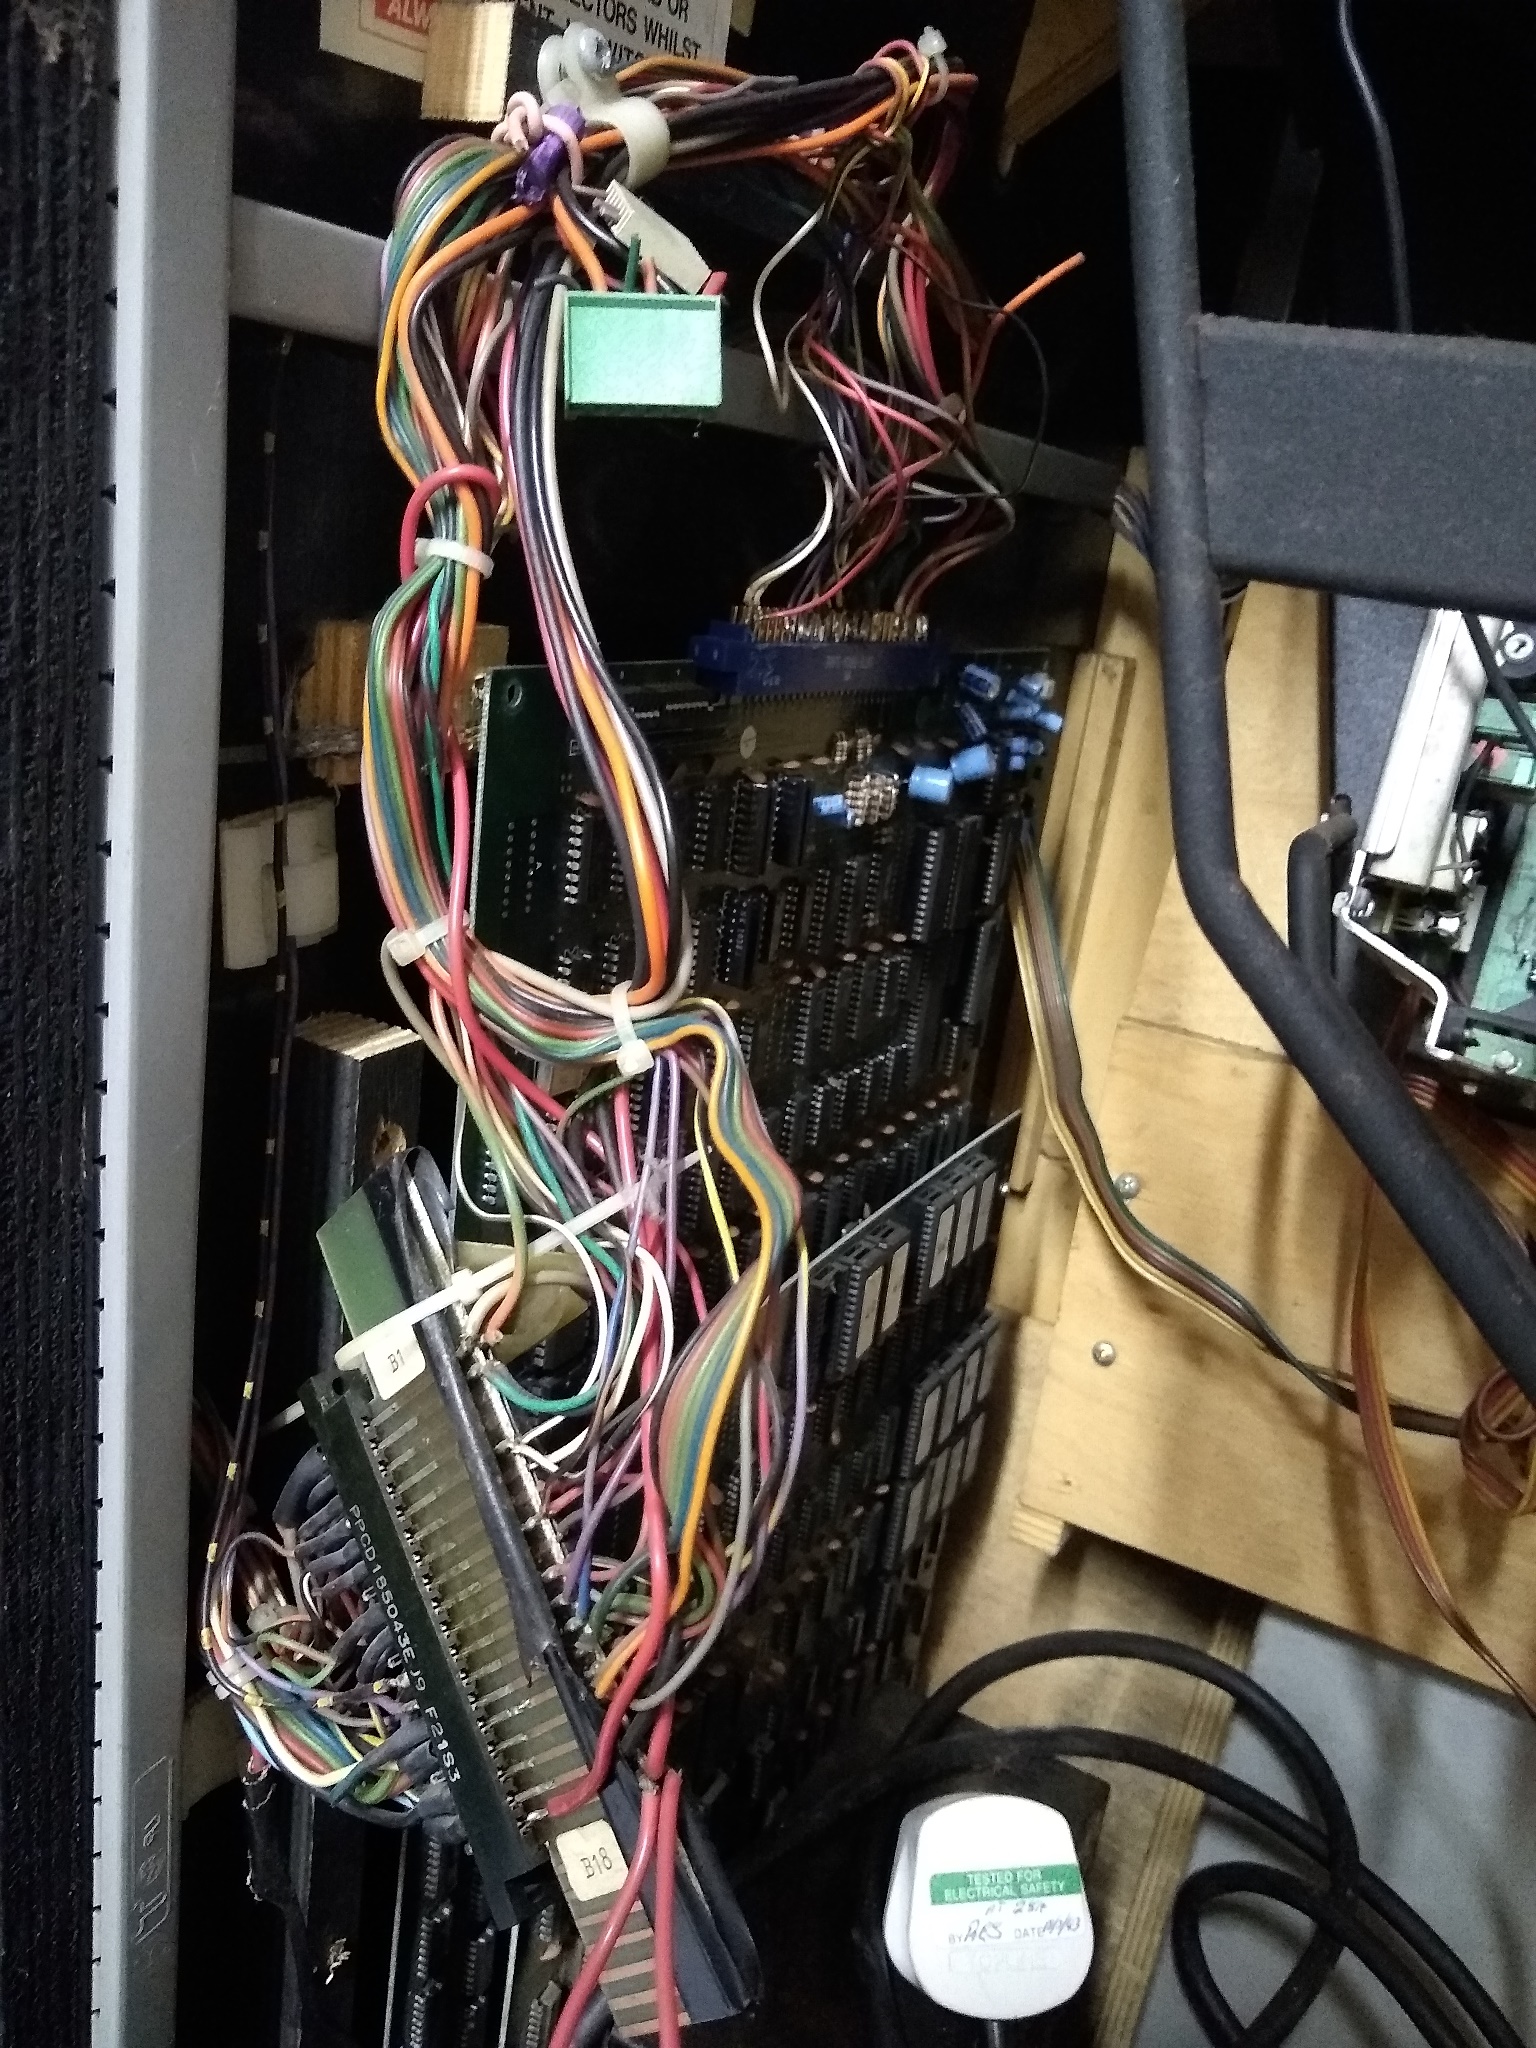
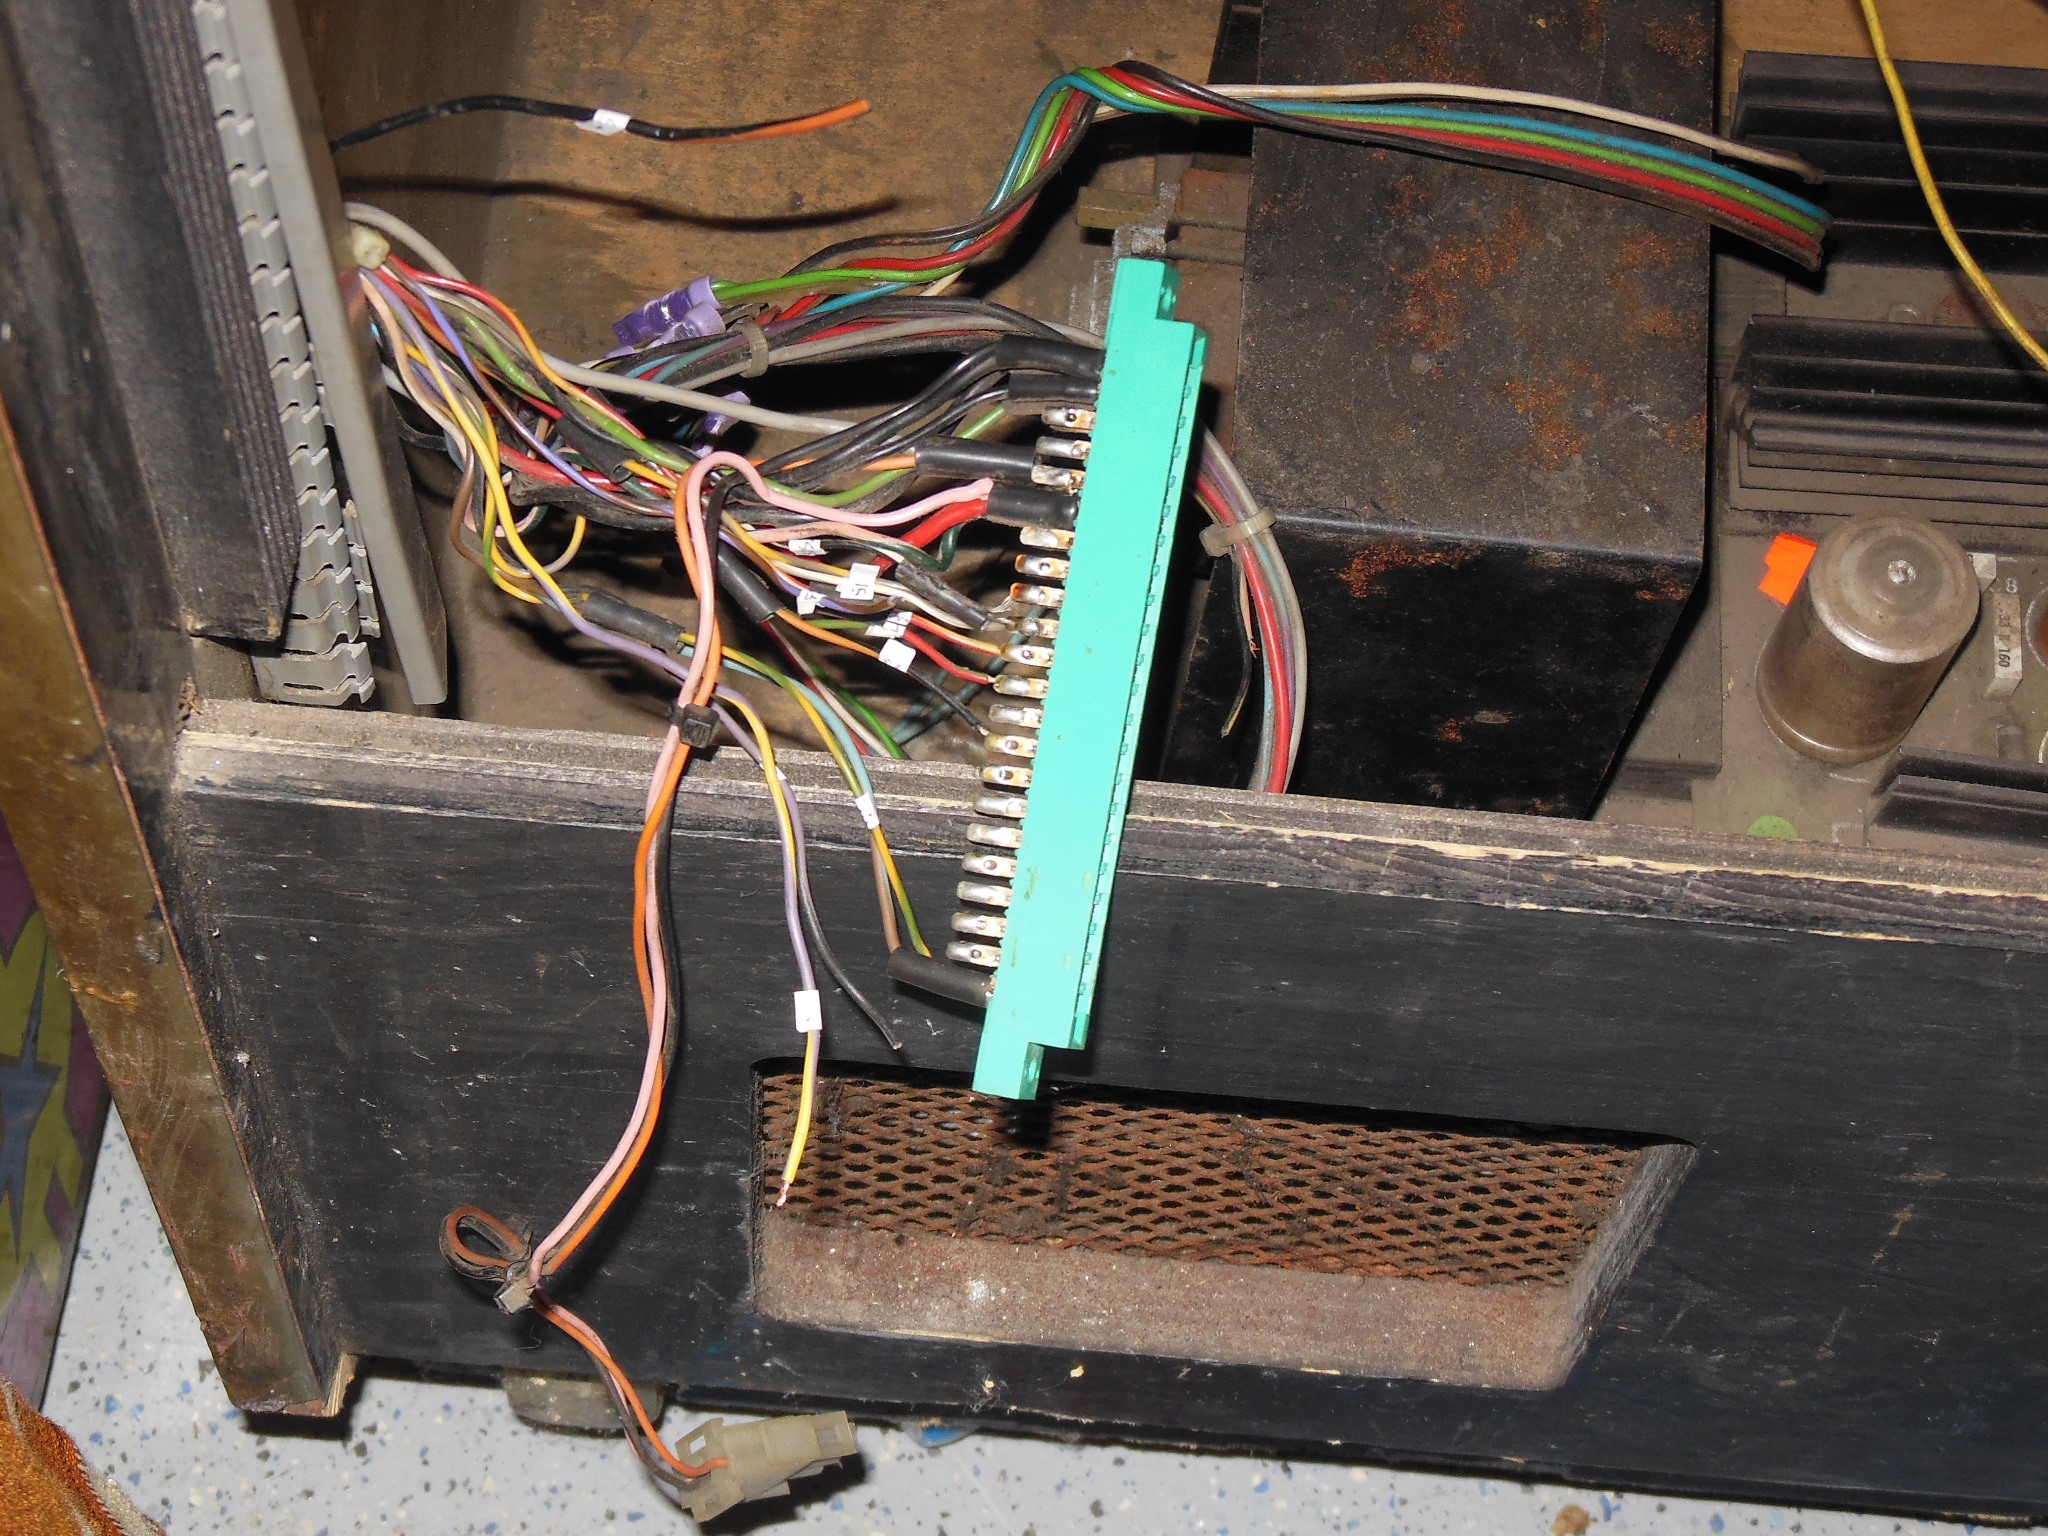
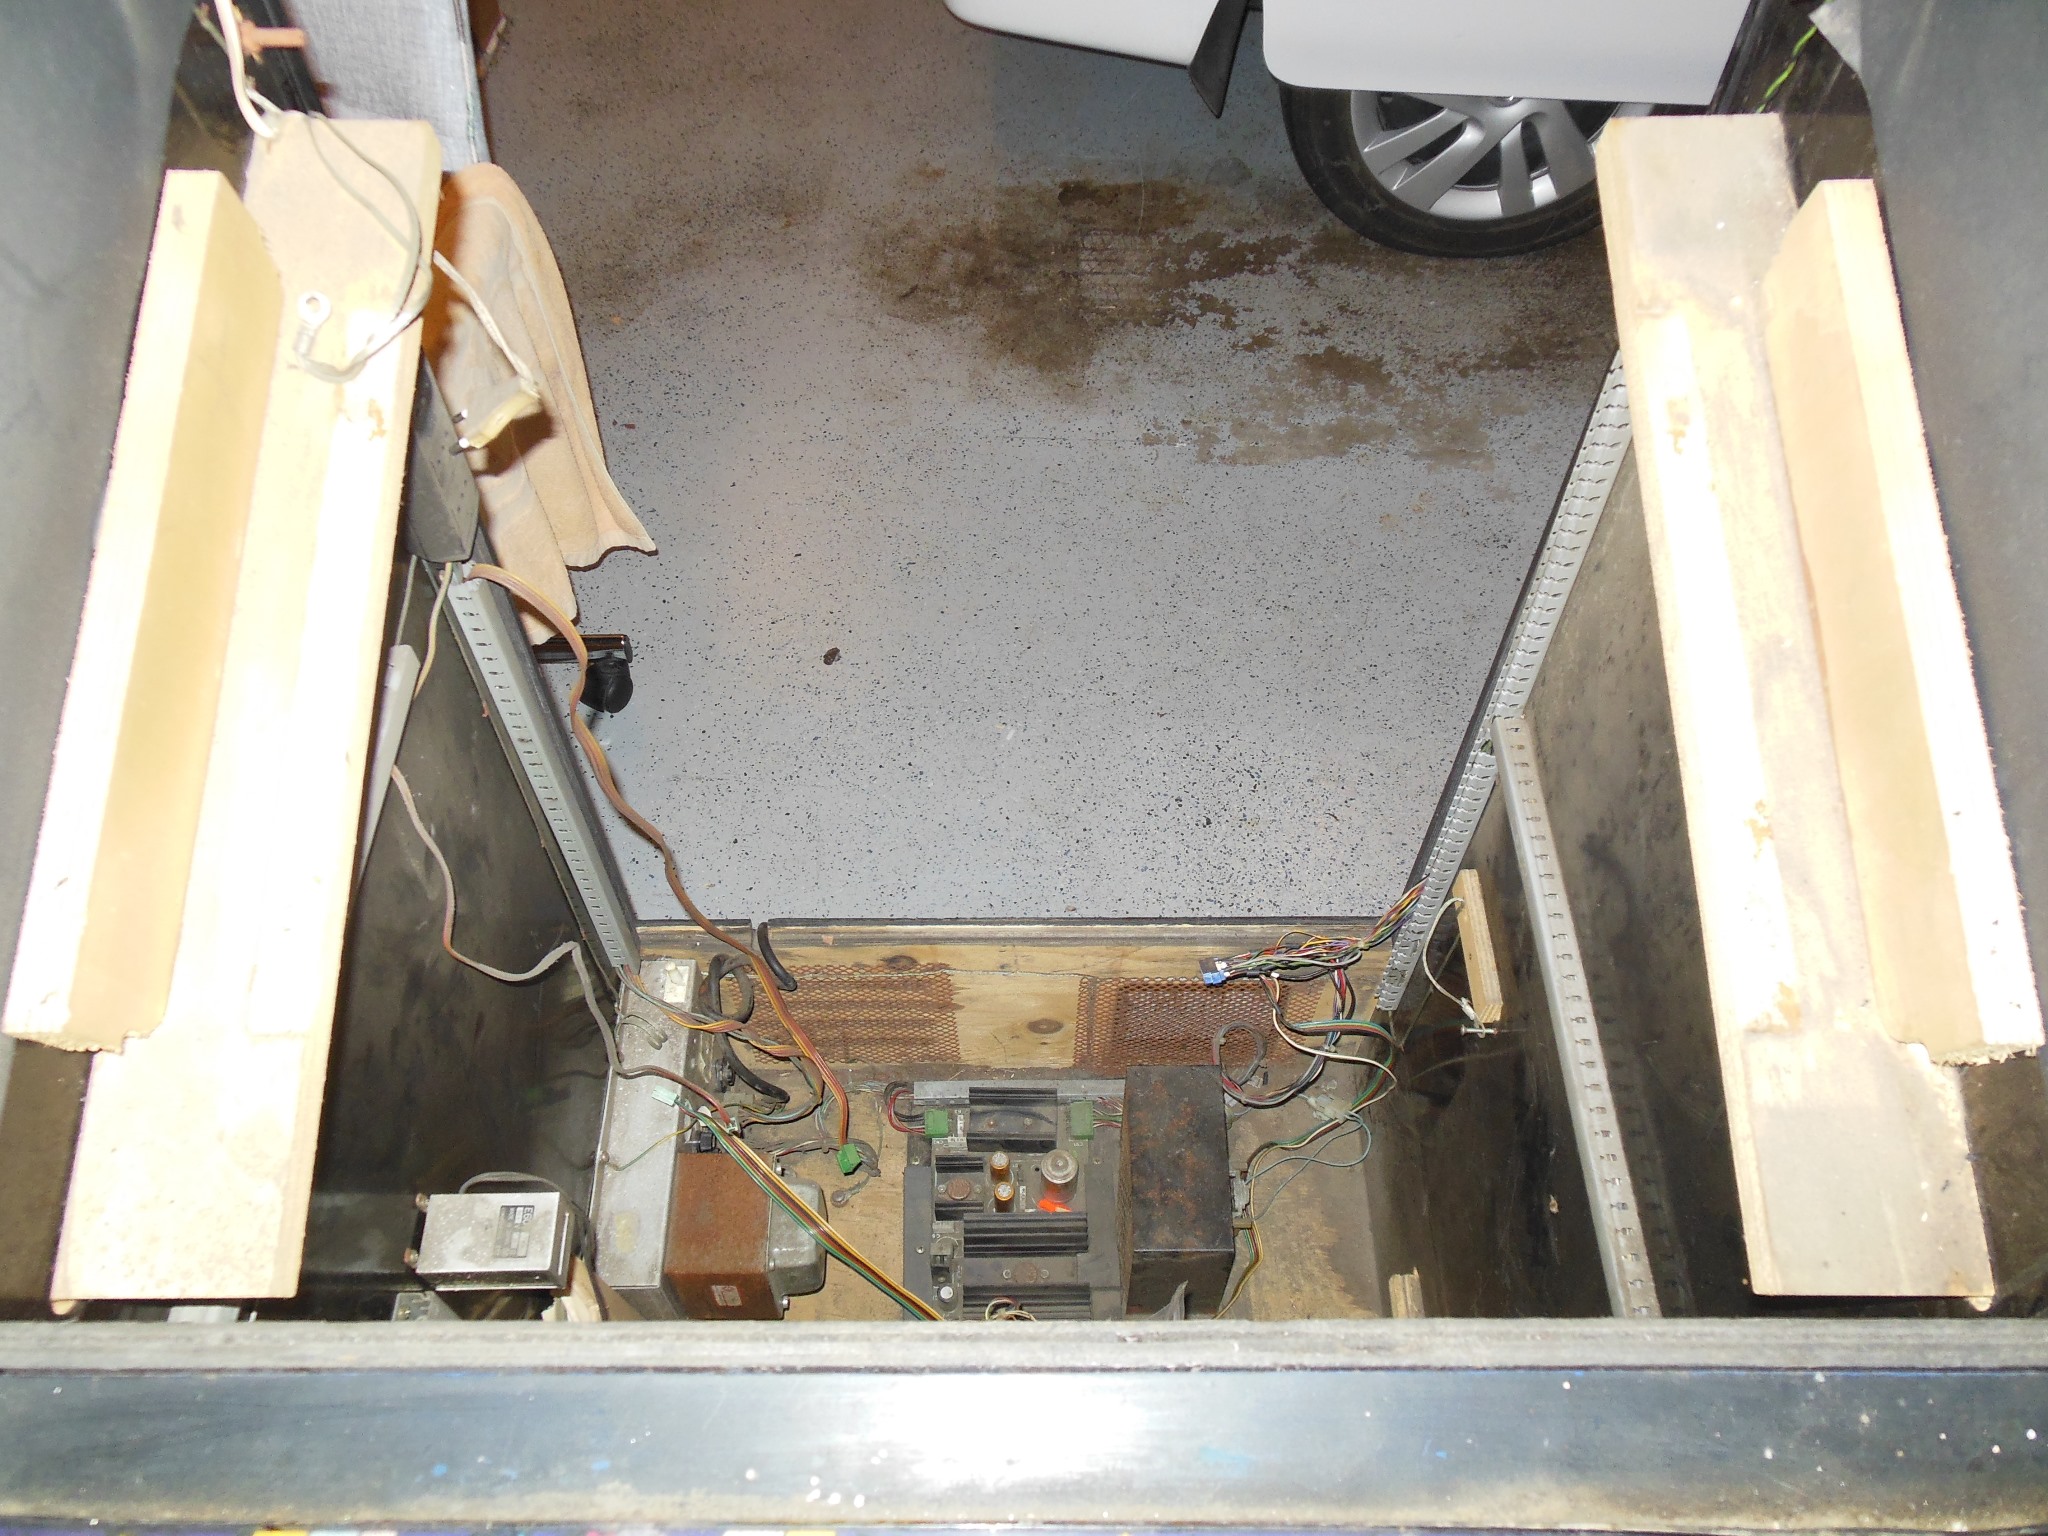
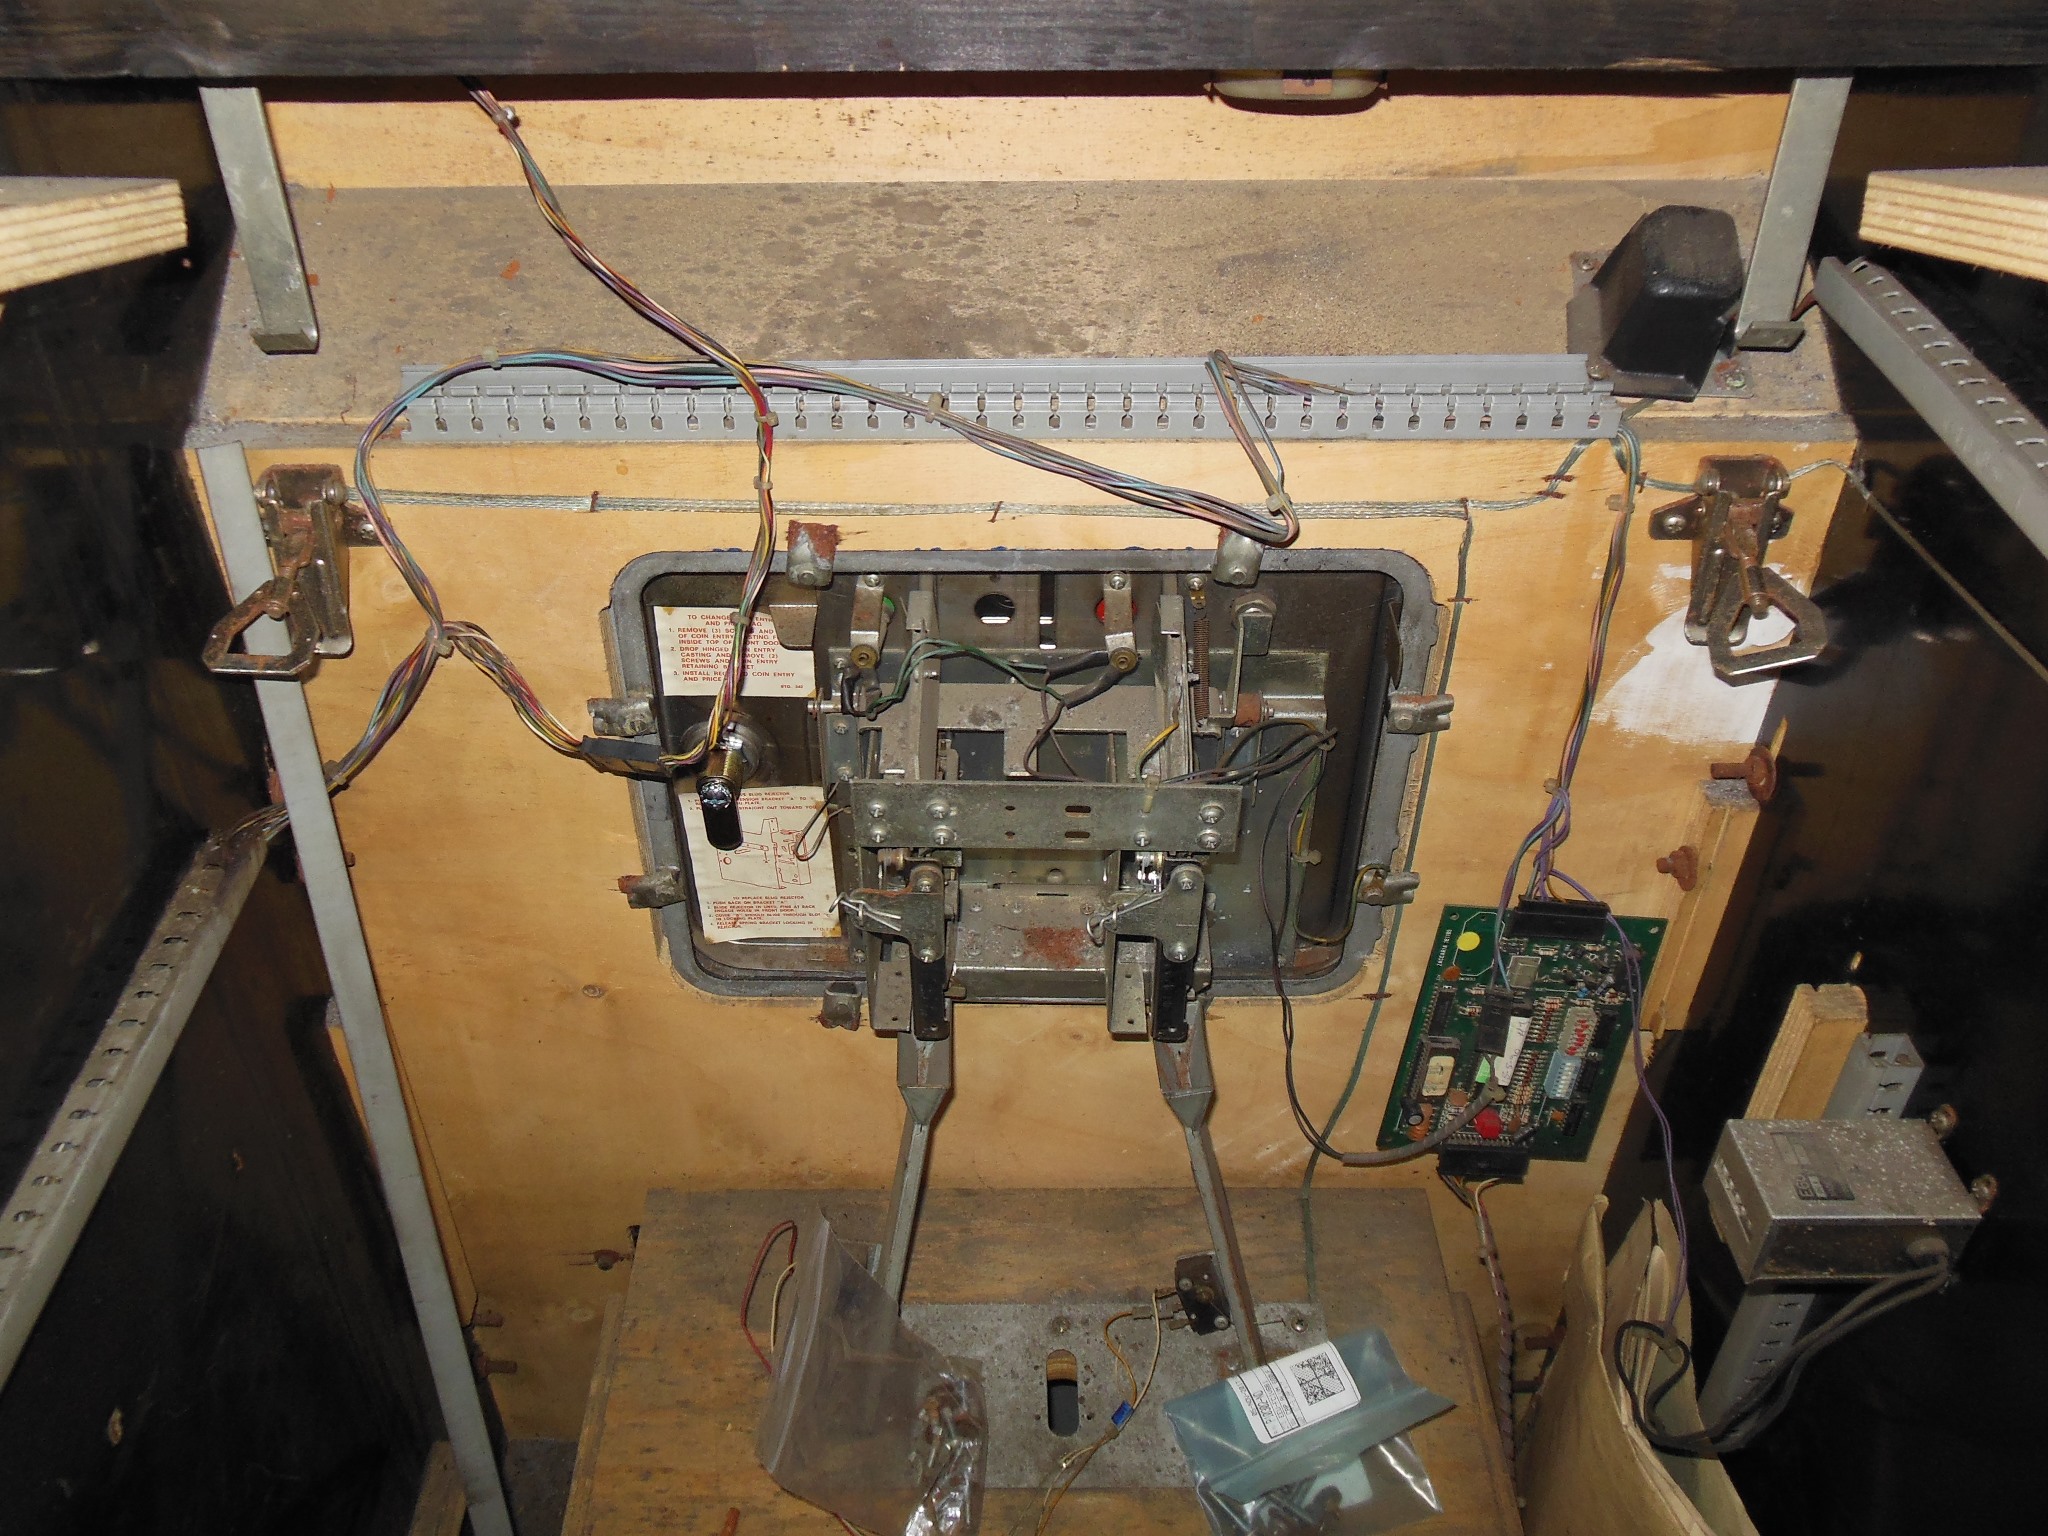
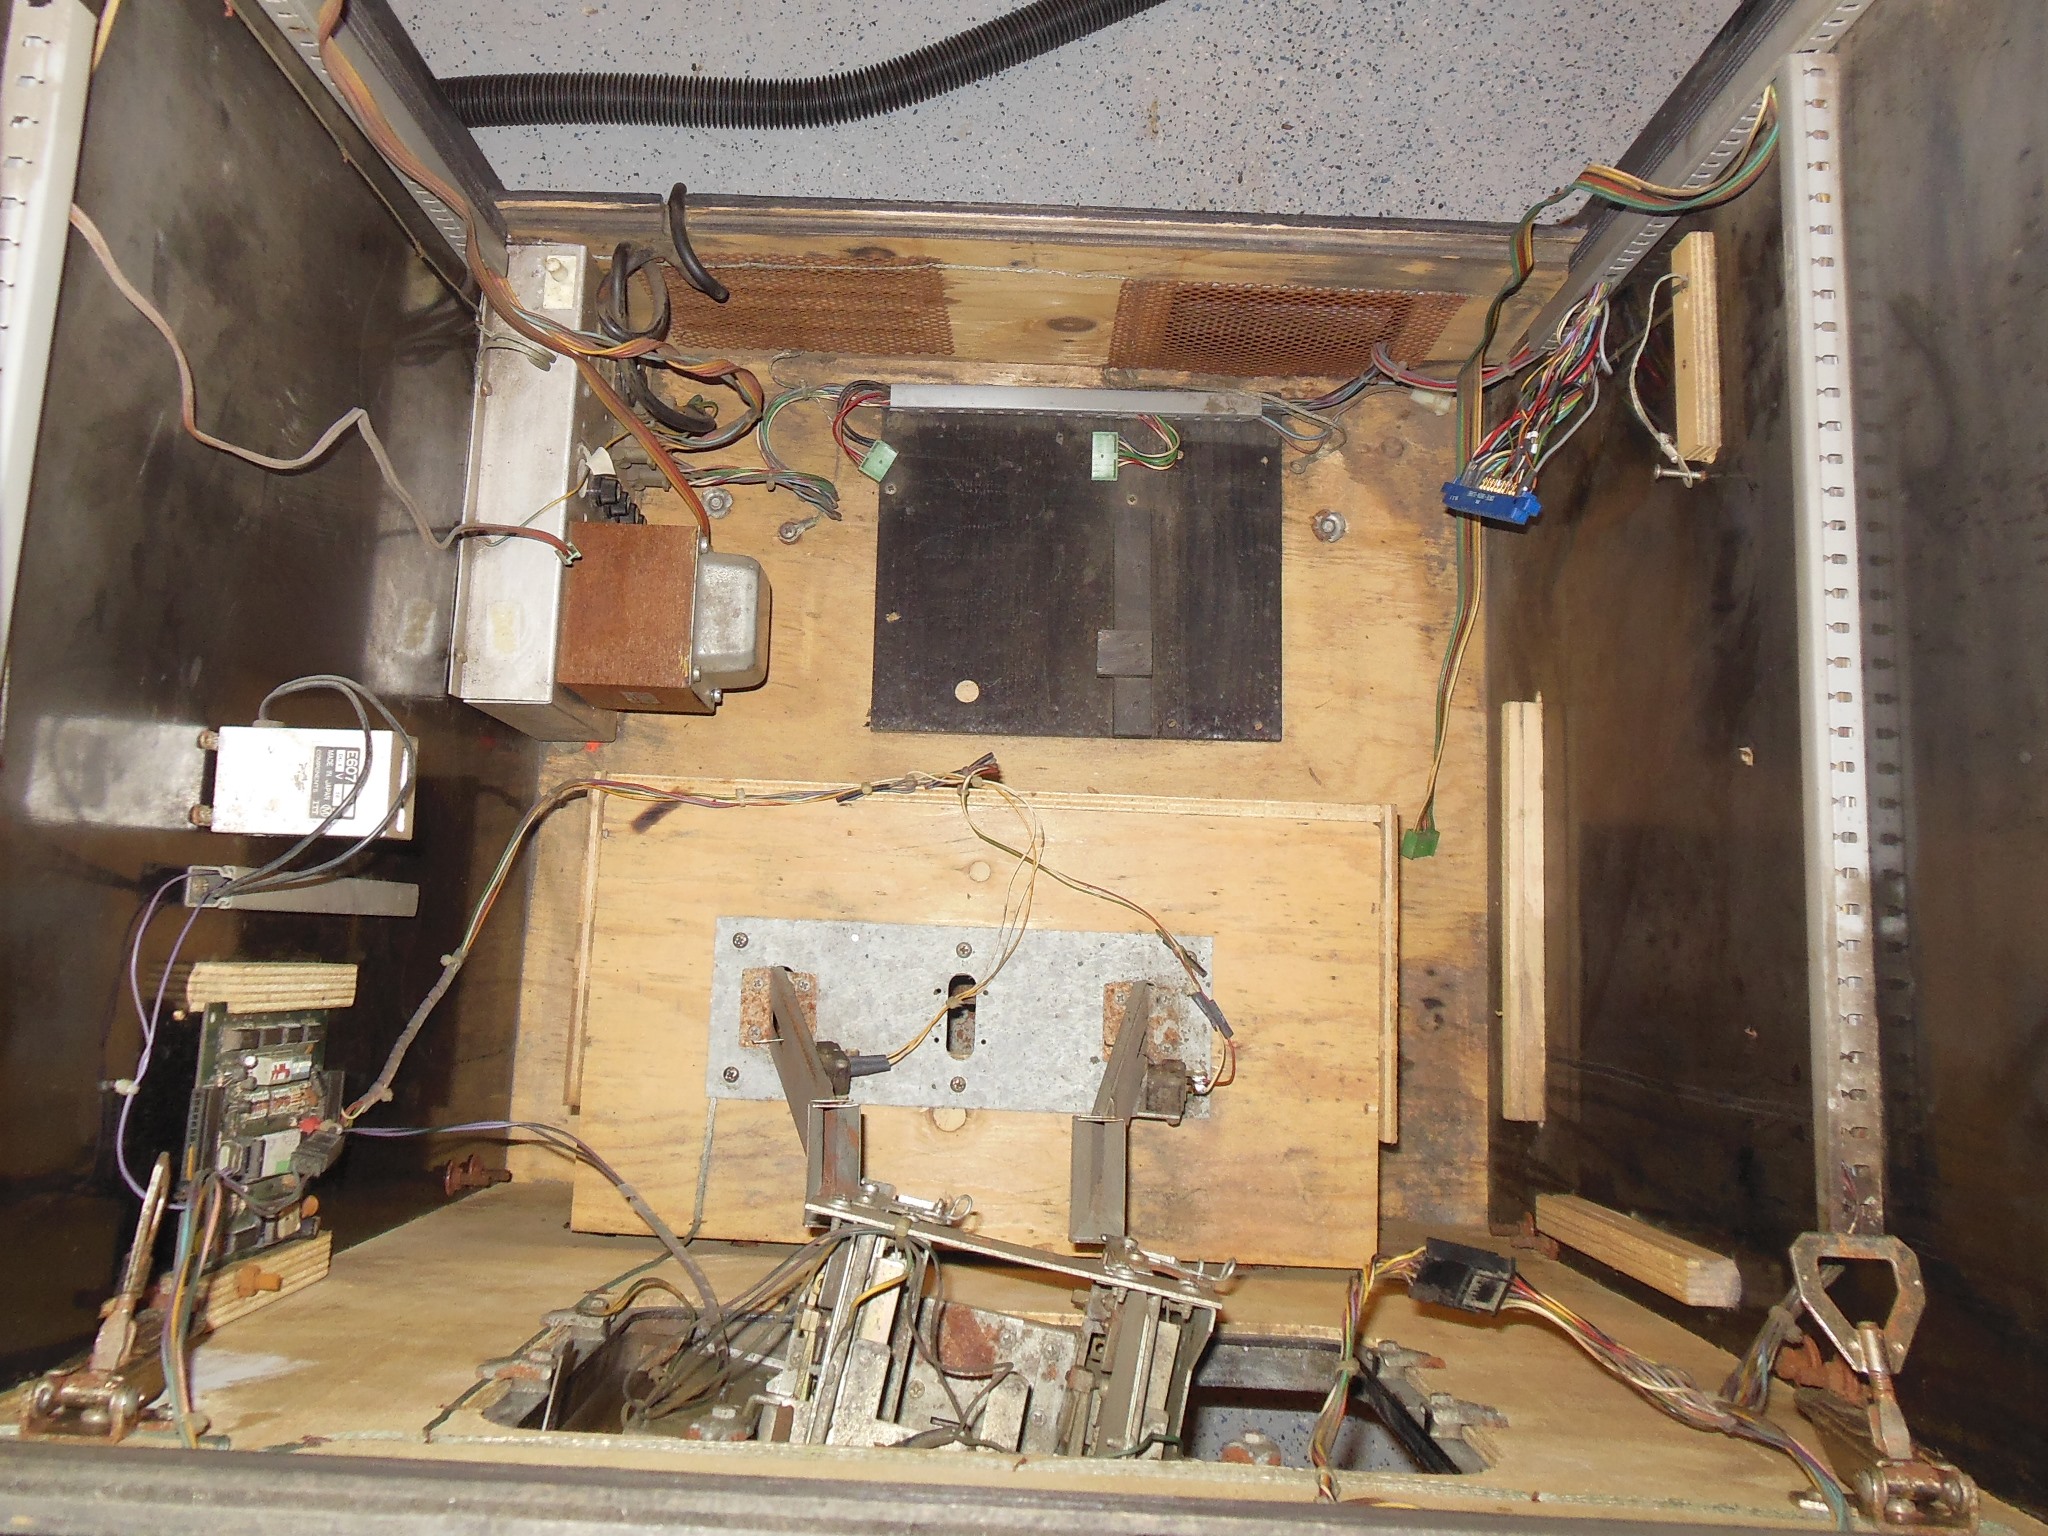
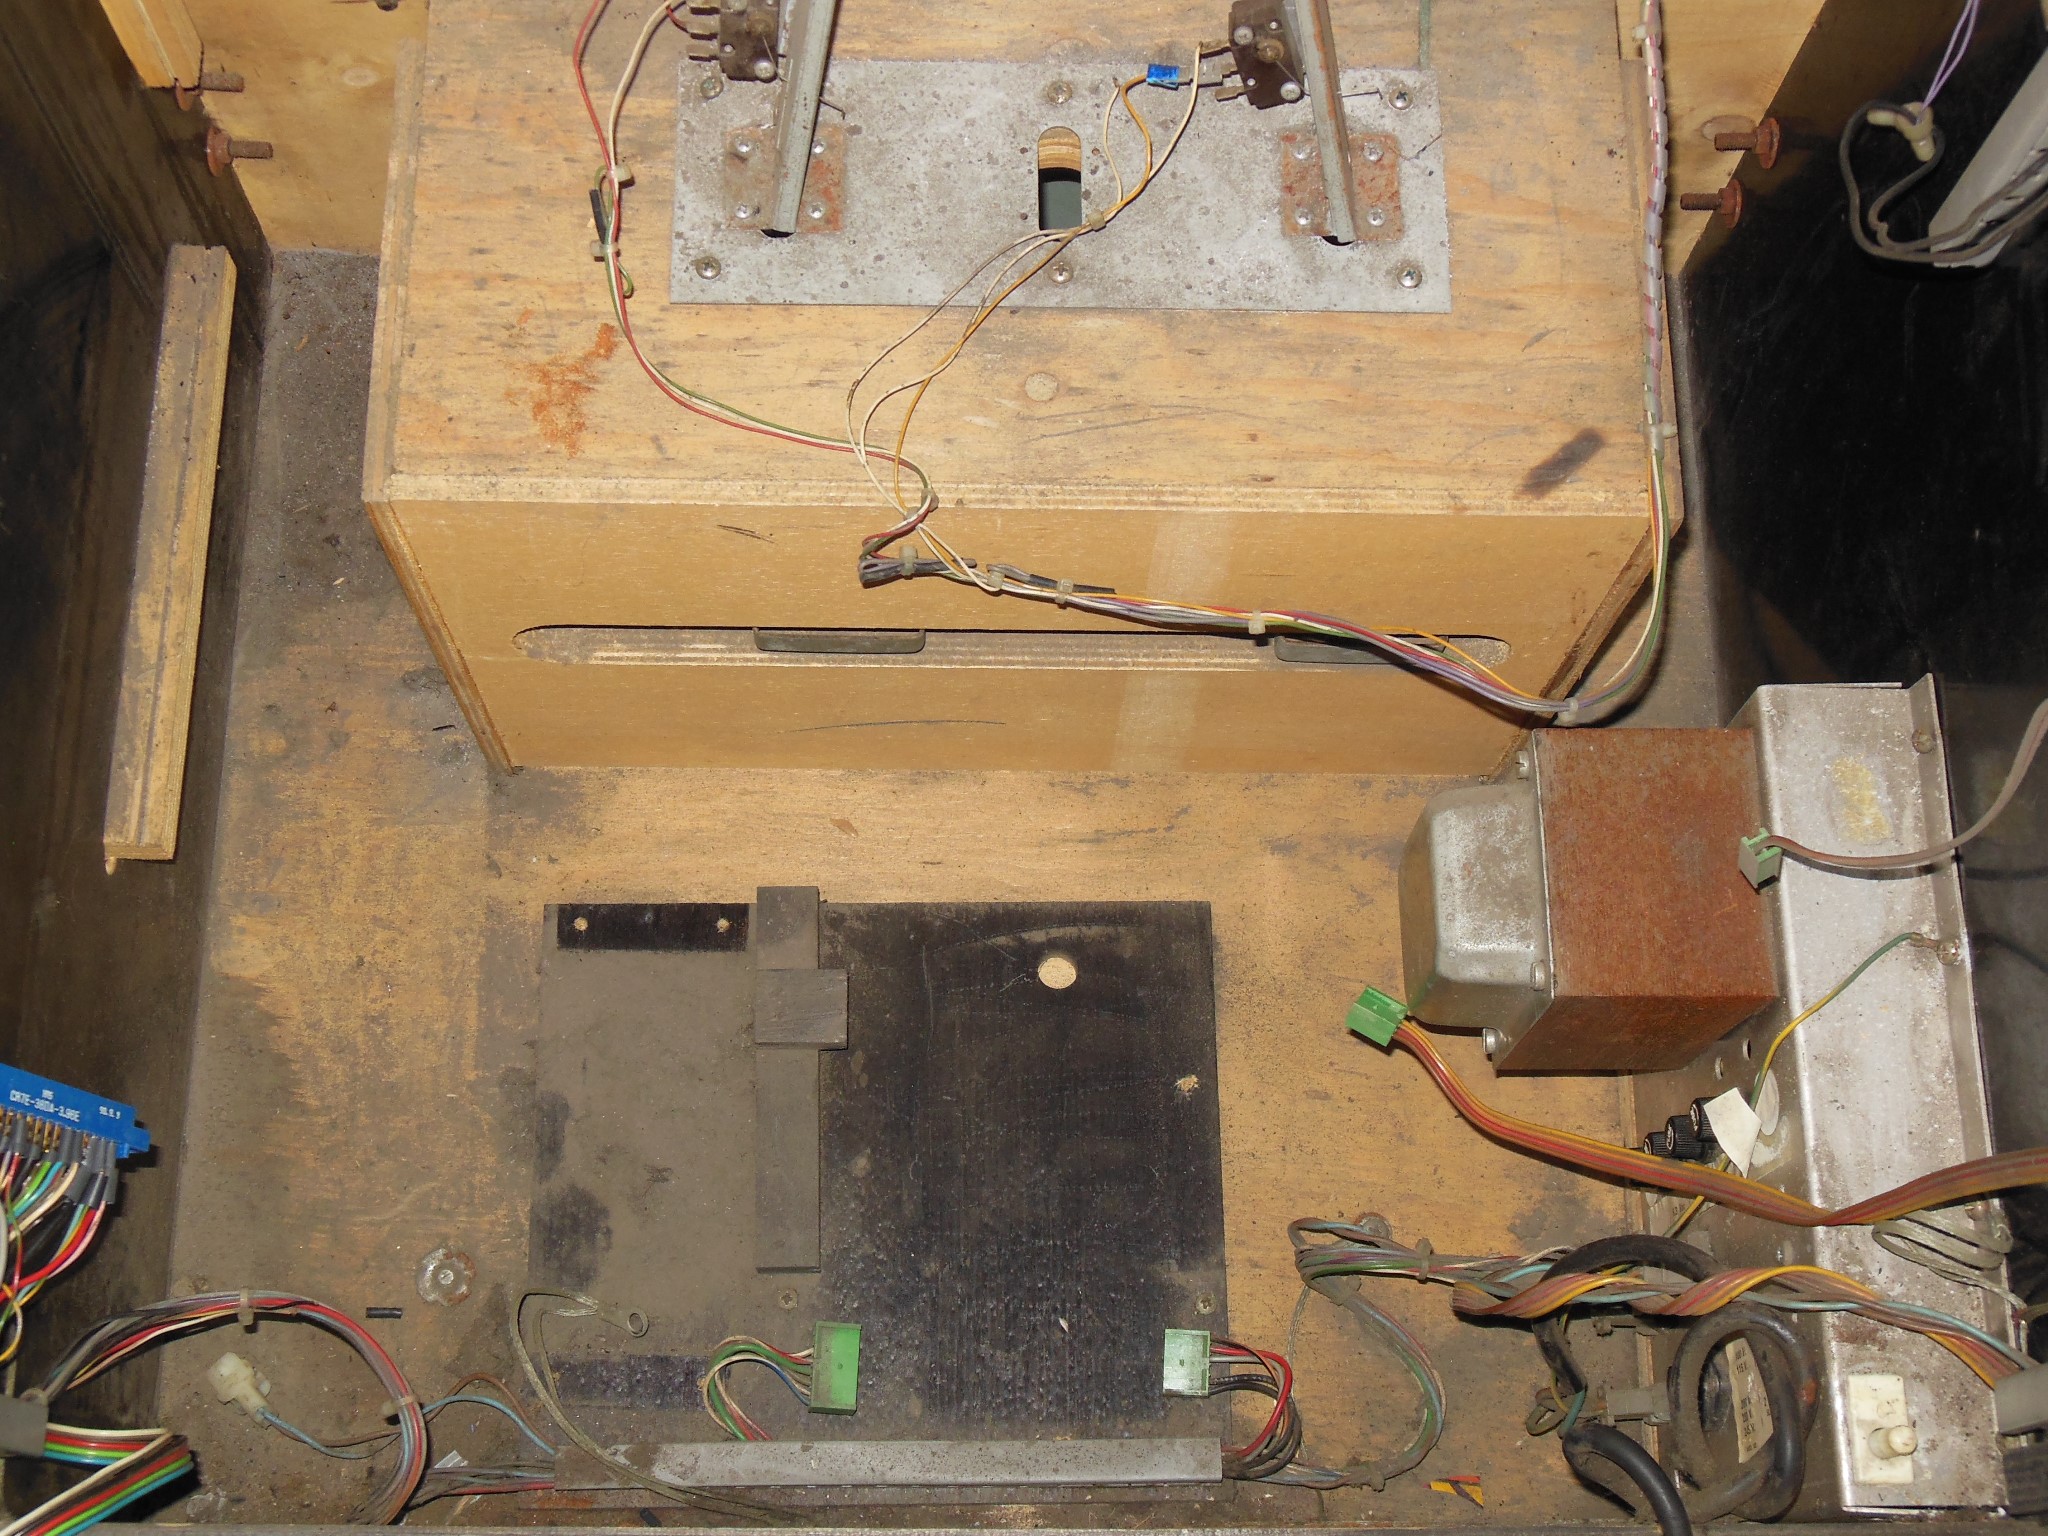
Internally the wiring appeared completed with no cuts or hacks. The monitor was horizontally mounted and The game PCB was missing. Everything was very dirty. There was internal woodwork damage in various places from the side wall bolts and the credit PCB was dangling due to a bolt fouling the credit PCB mounting.
|
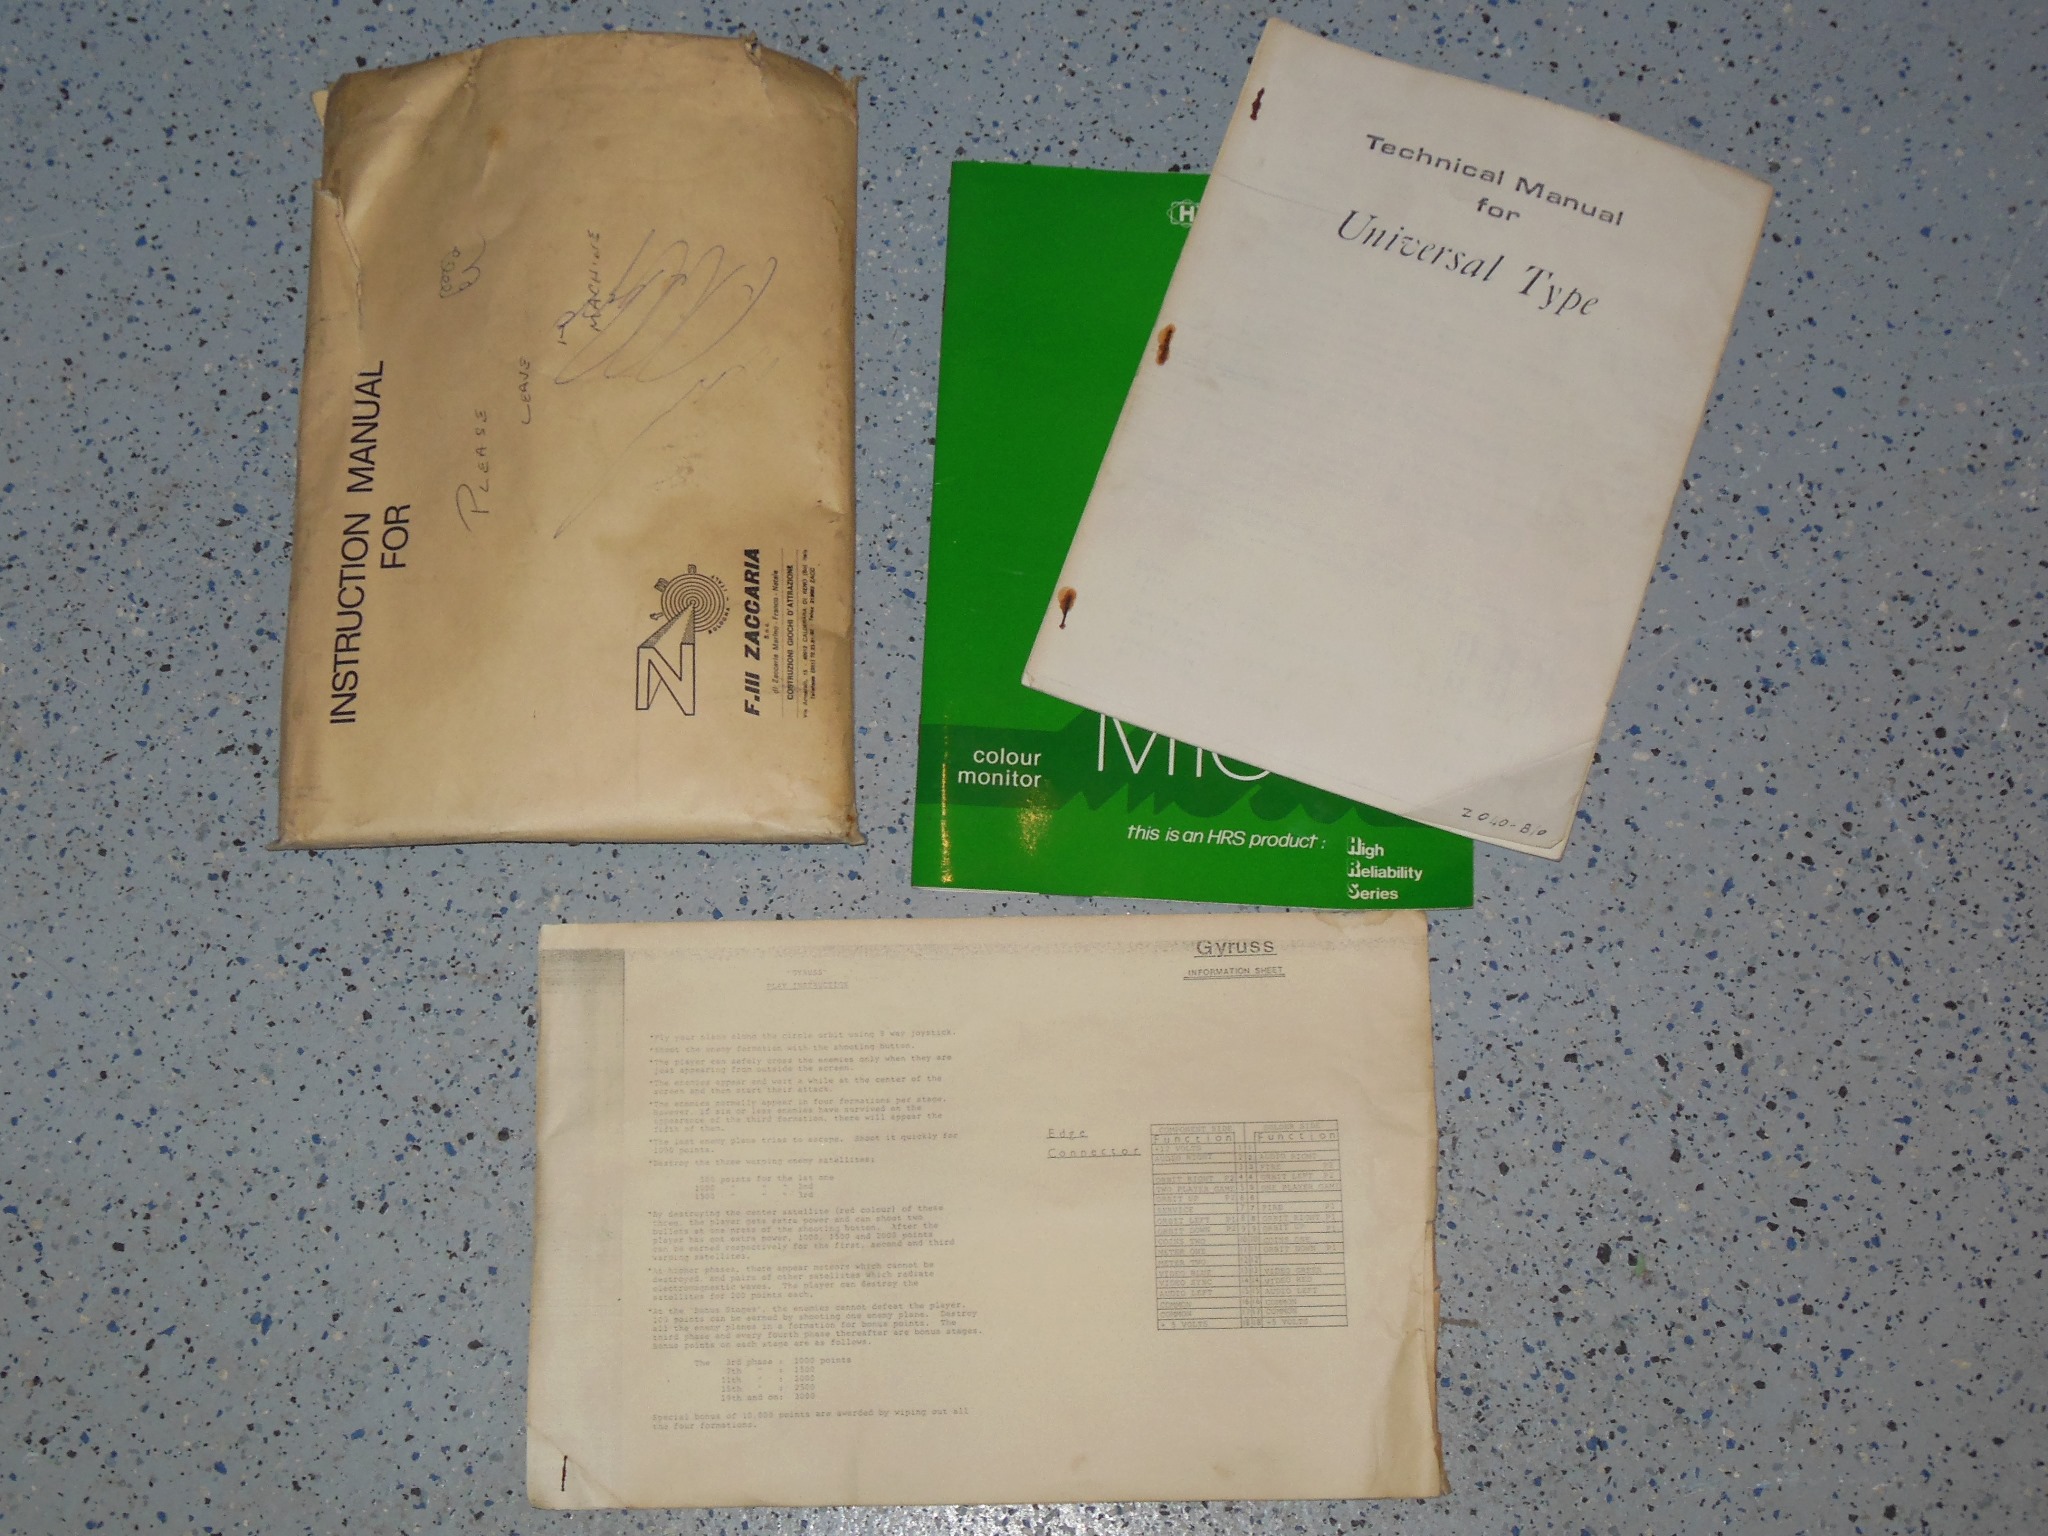
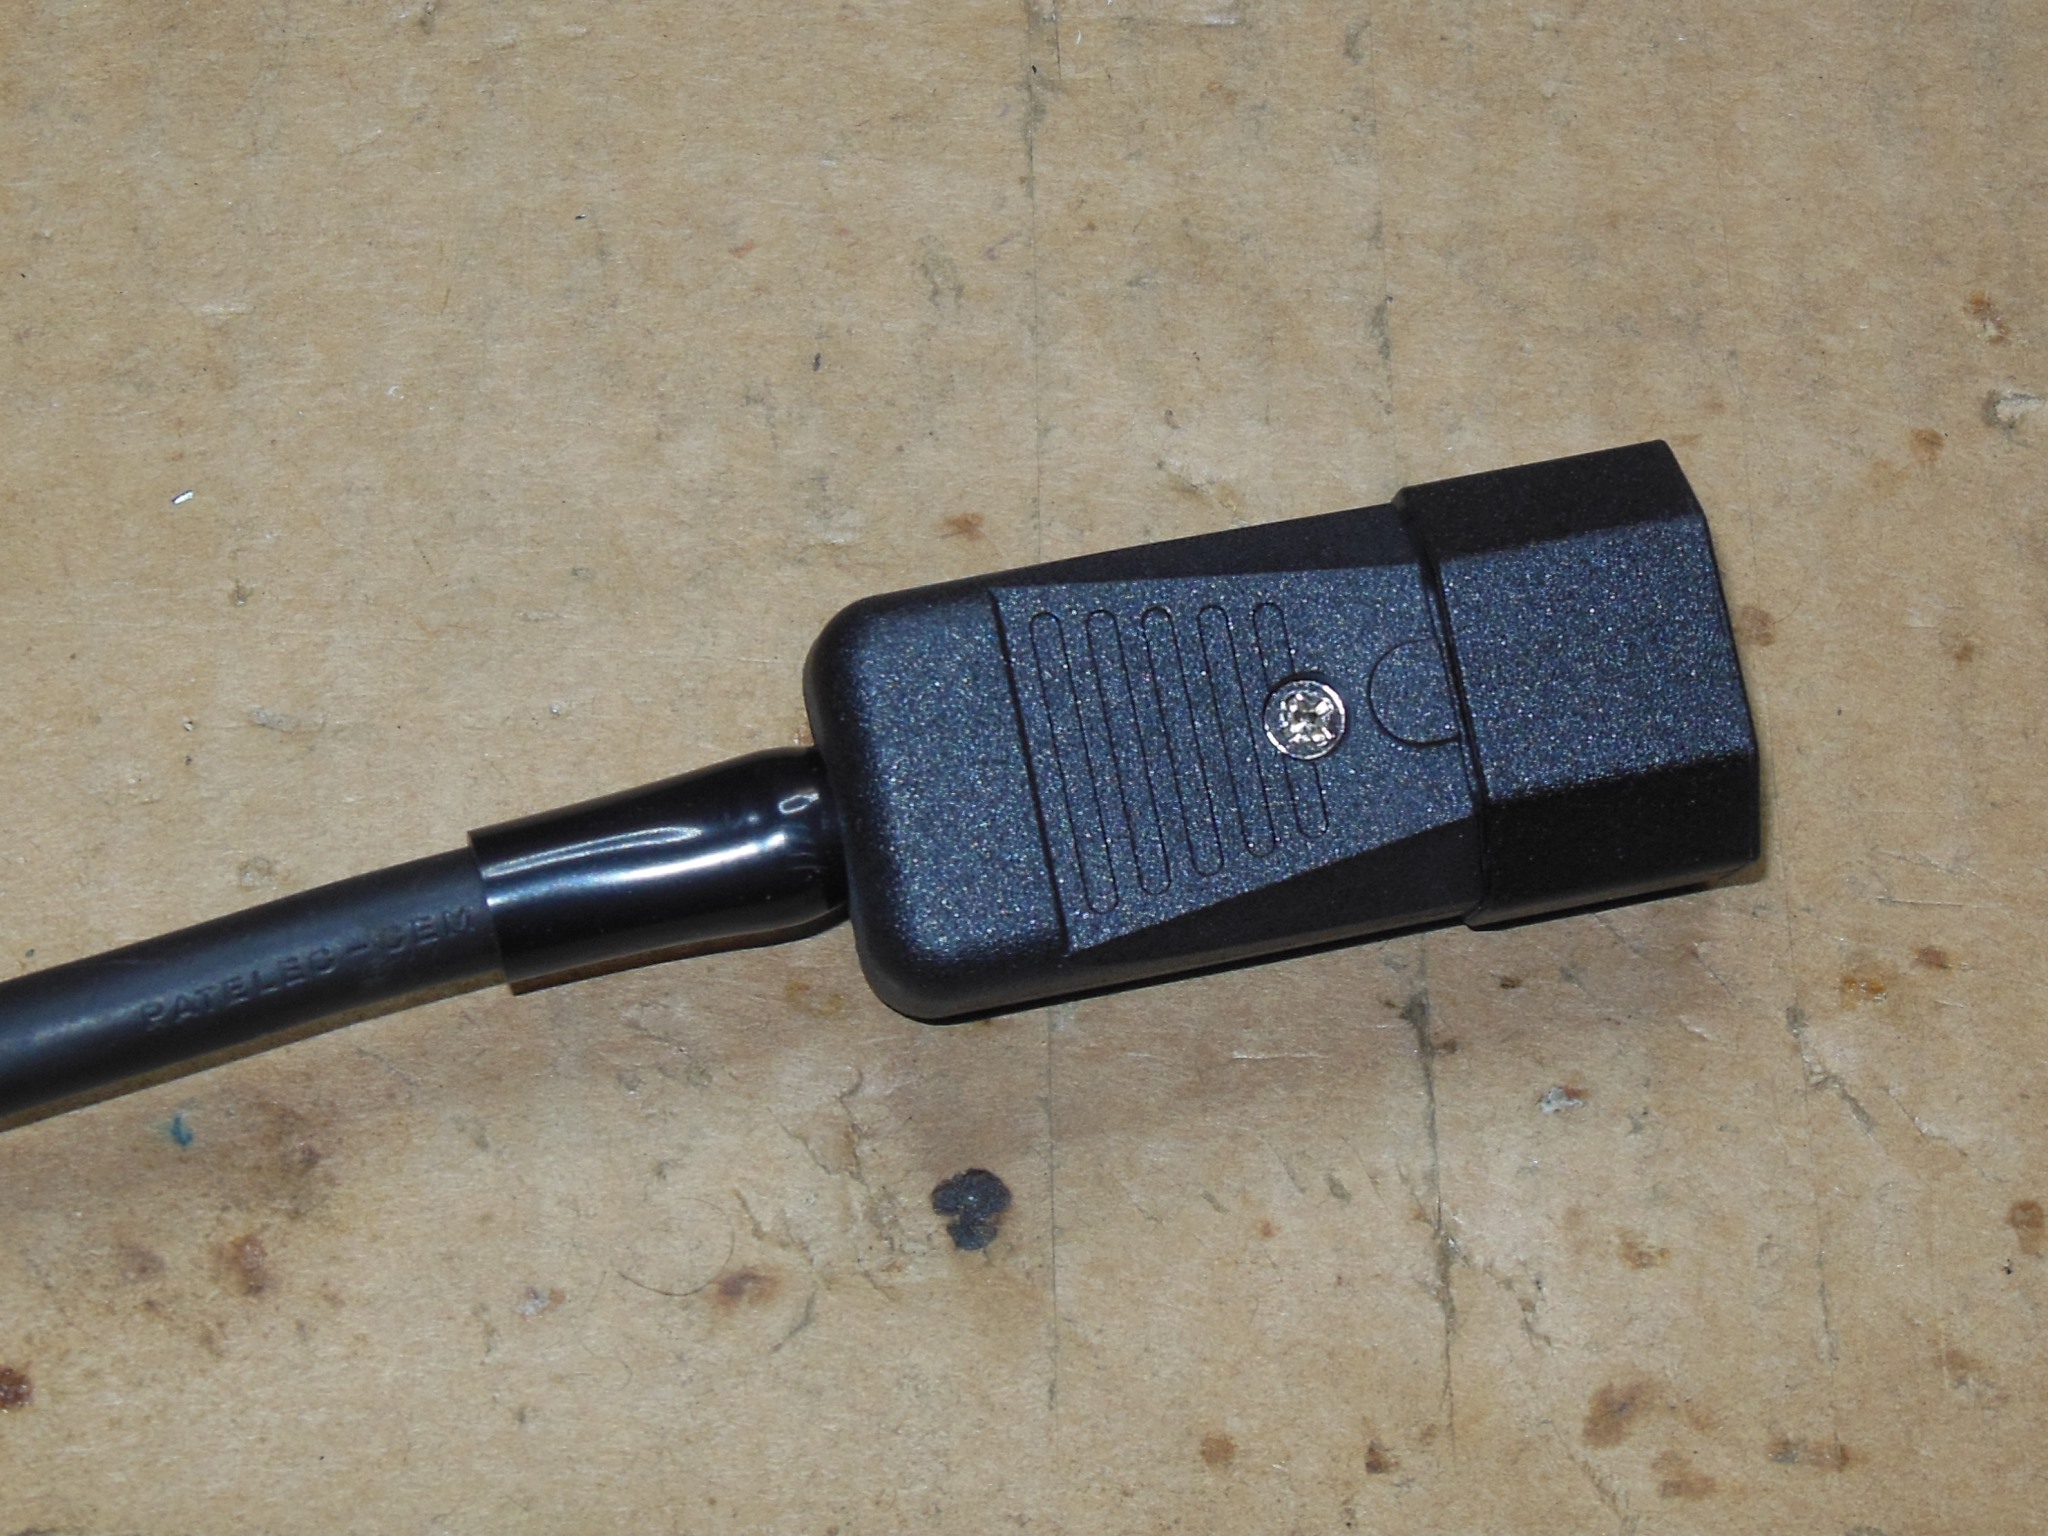
The game PCB connector had been swapped to a 22-way connector along with a 3-pin power connector and 6-pin video connector that I recognized as a Namco configuration (thus the cabinet had been converted from vertical Konami Gyruss to a horizontal Namco game). There was a manual packet containing the Universal Type, Hantarex MTC-900 and Gyruss manuals. On the back of the cabinet most of the labels were water damaged with an "ALS Warrington" tag still legible.
|
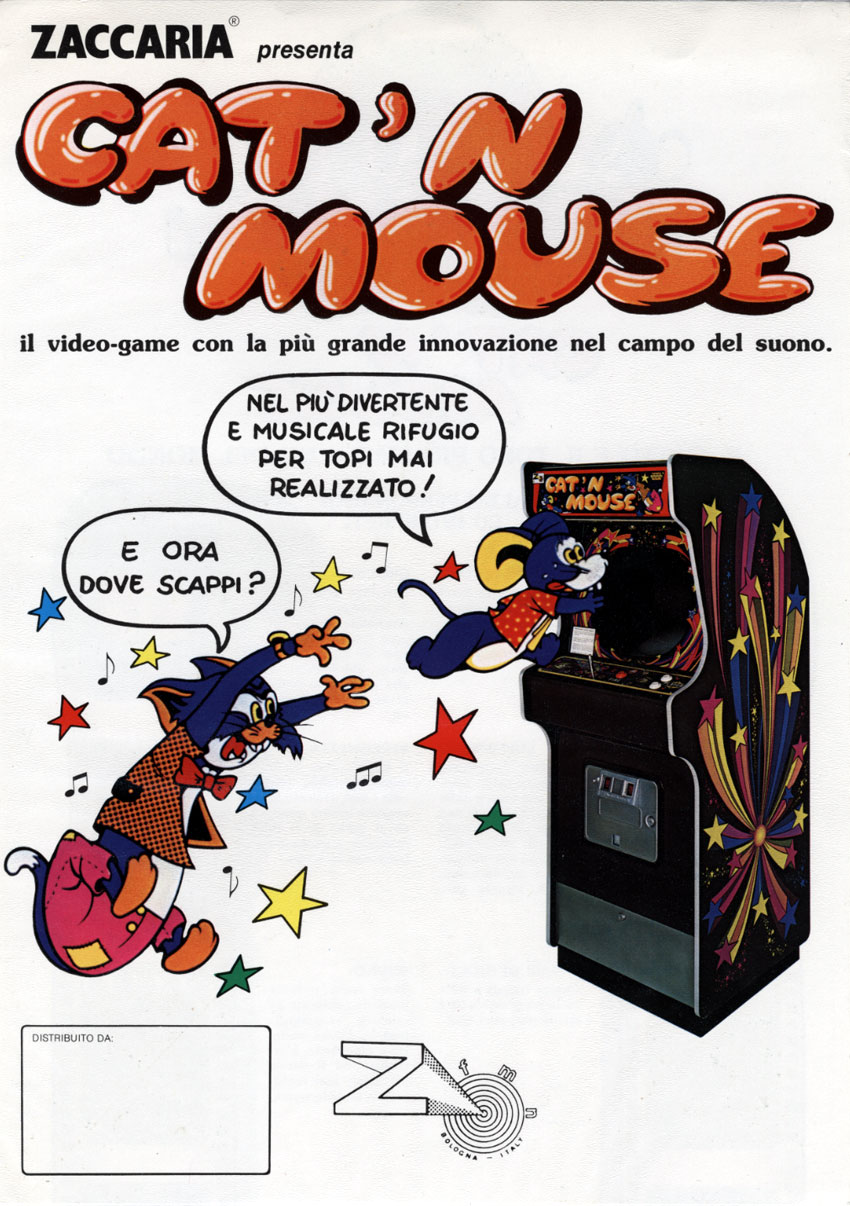
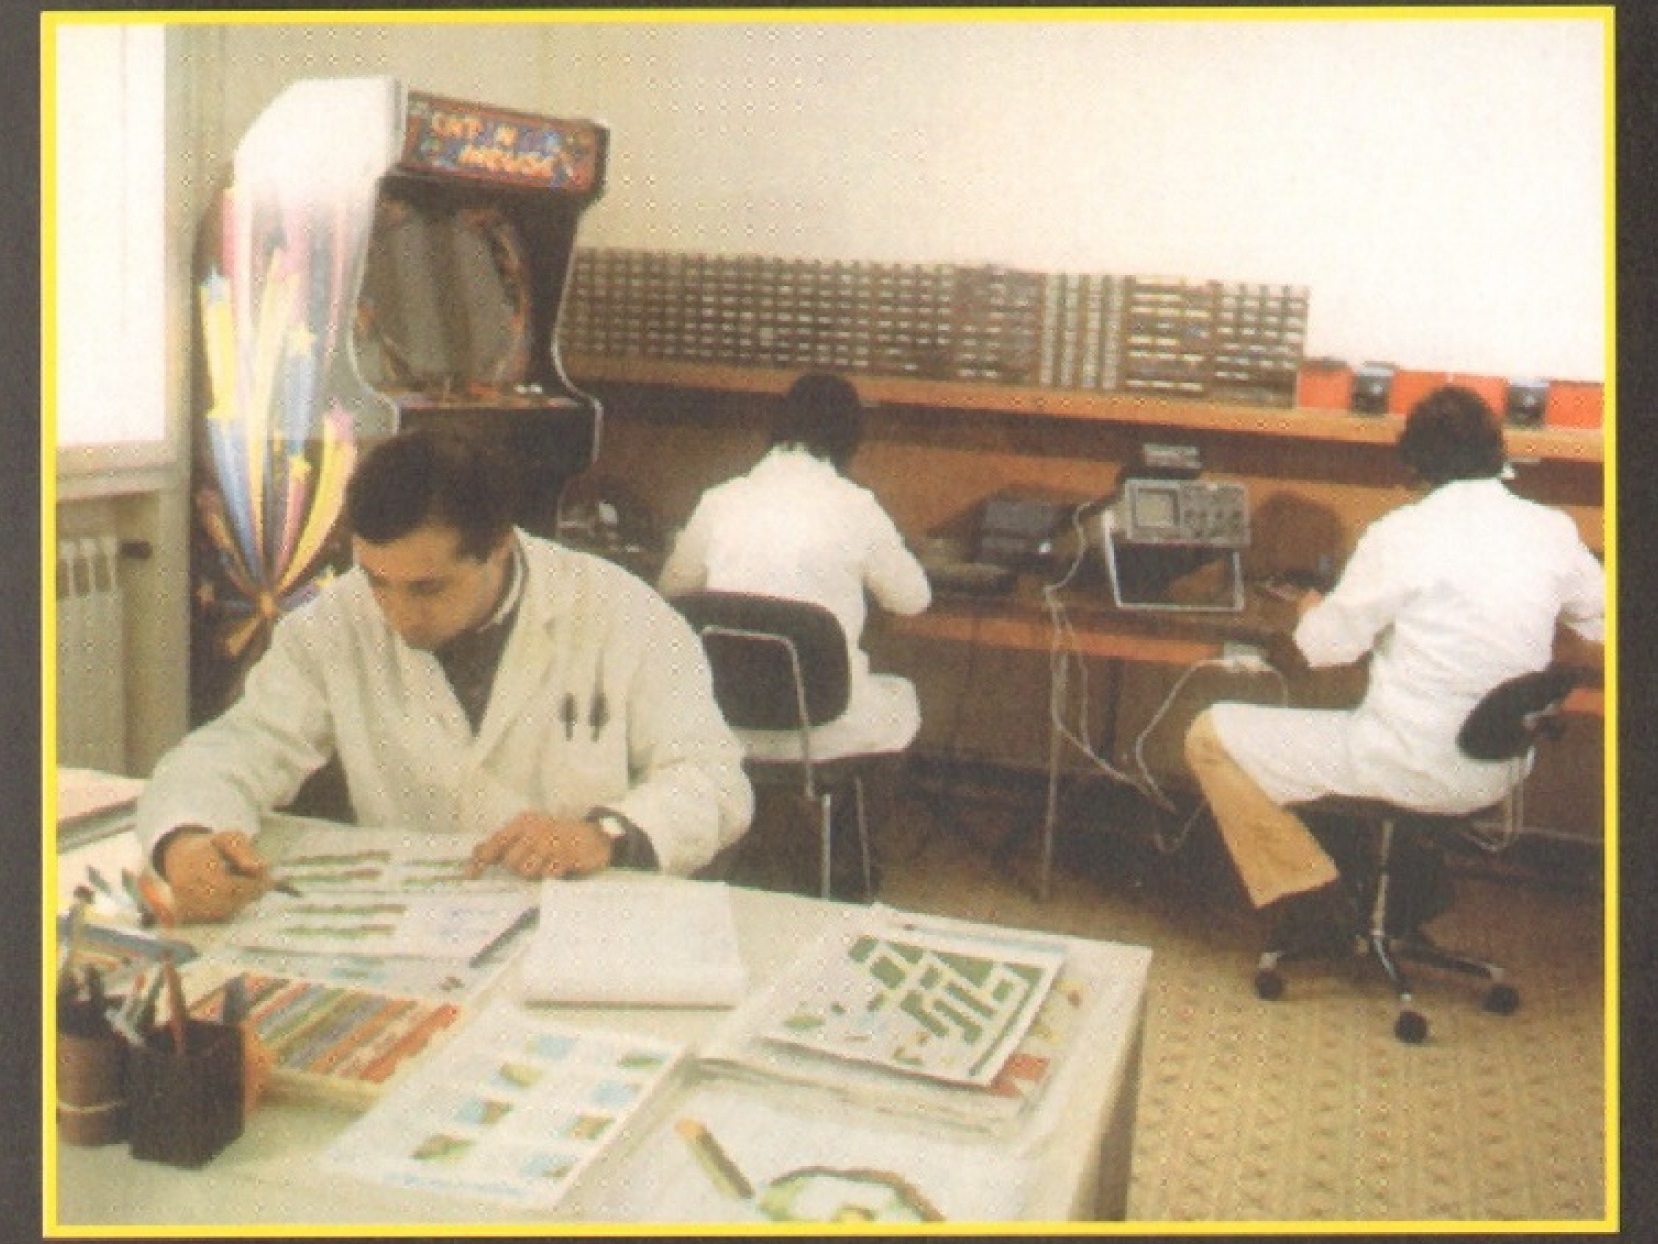
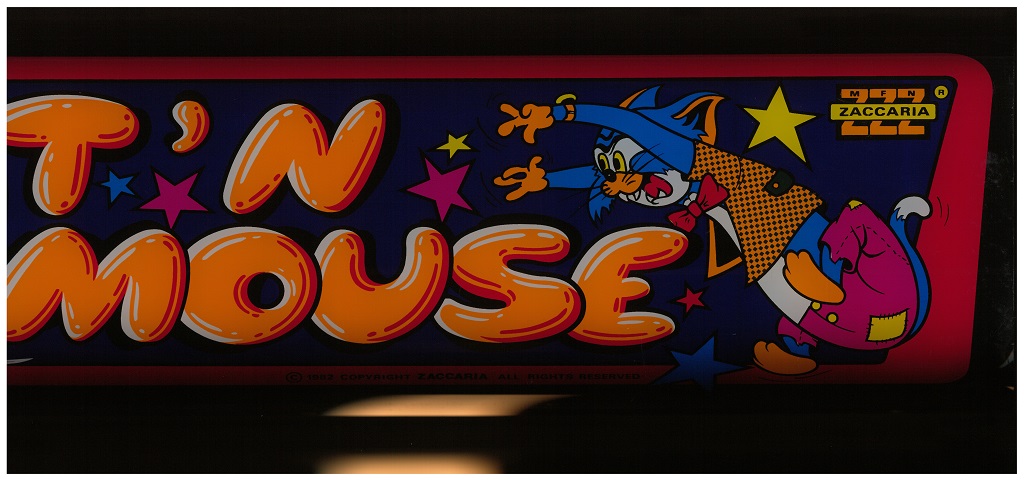
There aren't many photographs of the Cat'n Mouse upright, but the two common ones identify the cabinet style as a dark star splash that has a separate coin box with a steel veneered wood panel door. The cabinet I have is a medium blue star splash that has a separate coin box with a steel door. This Universal B0 is very similar to the light blue Money Money I have (that doesn't match the Money Money flyer). In terms of timeline Cat'n Mouse would have appeared after Laser Battle and before Money Money - the photos in the company brochure above that shows the Cat'n Mouse upright also shows game development & PCB manufacturing for Money Money. From the flyer it's just possible to make out a potentially dedicated control panel overlay paired with the dedicated marque.

|
Though the Zaccaria manual exists for Cat'n Mouse there isn't a lot of information about what the internal configuration looks like in an actual original cabinet. I'd acquired a Zaccaria Laser Battle upright in the UK a few years ago that yielded some clues.

|
Alas, the Laser Battle had been converted. Something didn't add up about this cabinet. The marque & control panel were Laser Battle but the internal wiring terminated in a Konami 18-way edge connector with a finger board adaptor to JAMMA. Additional PCB mounts that didn't look factory had been added that approximately matched the Laser Battle main & sound PCBs.


|
Looking more closely at the Konami to JAMMA adaptor found Laser Battle power & signal connectors still attached that proved the Konami to JAMMA adaptor was originally a Konami to Laser Battle adaptor. Further, the power brick had a "Super Cobra" sticker on it. Thus, the leading theory was that this was a Laser Battle conversion kit applied to a Super Cobra cabinet.
Since it looked like conversion kits did exist for Zaccaria games, the plan for this cabinet was a dual restoration - first back to a factory Universal B0 and then application of a conversion kit to Cat'n Mouse. The kit would comprise a marque, control panel & wiring adaptor similar to the Laser Battle conversion kit.
|
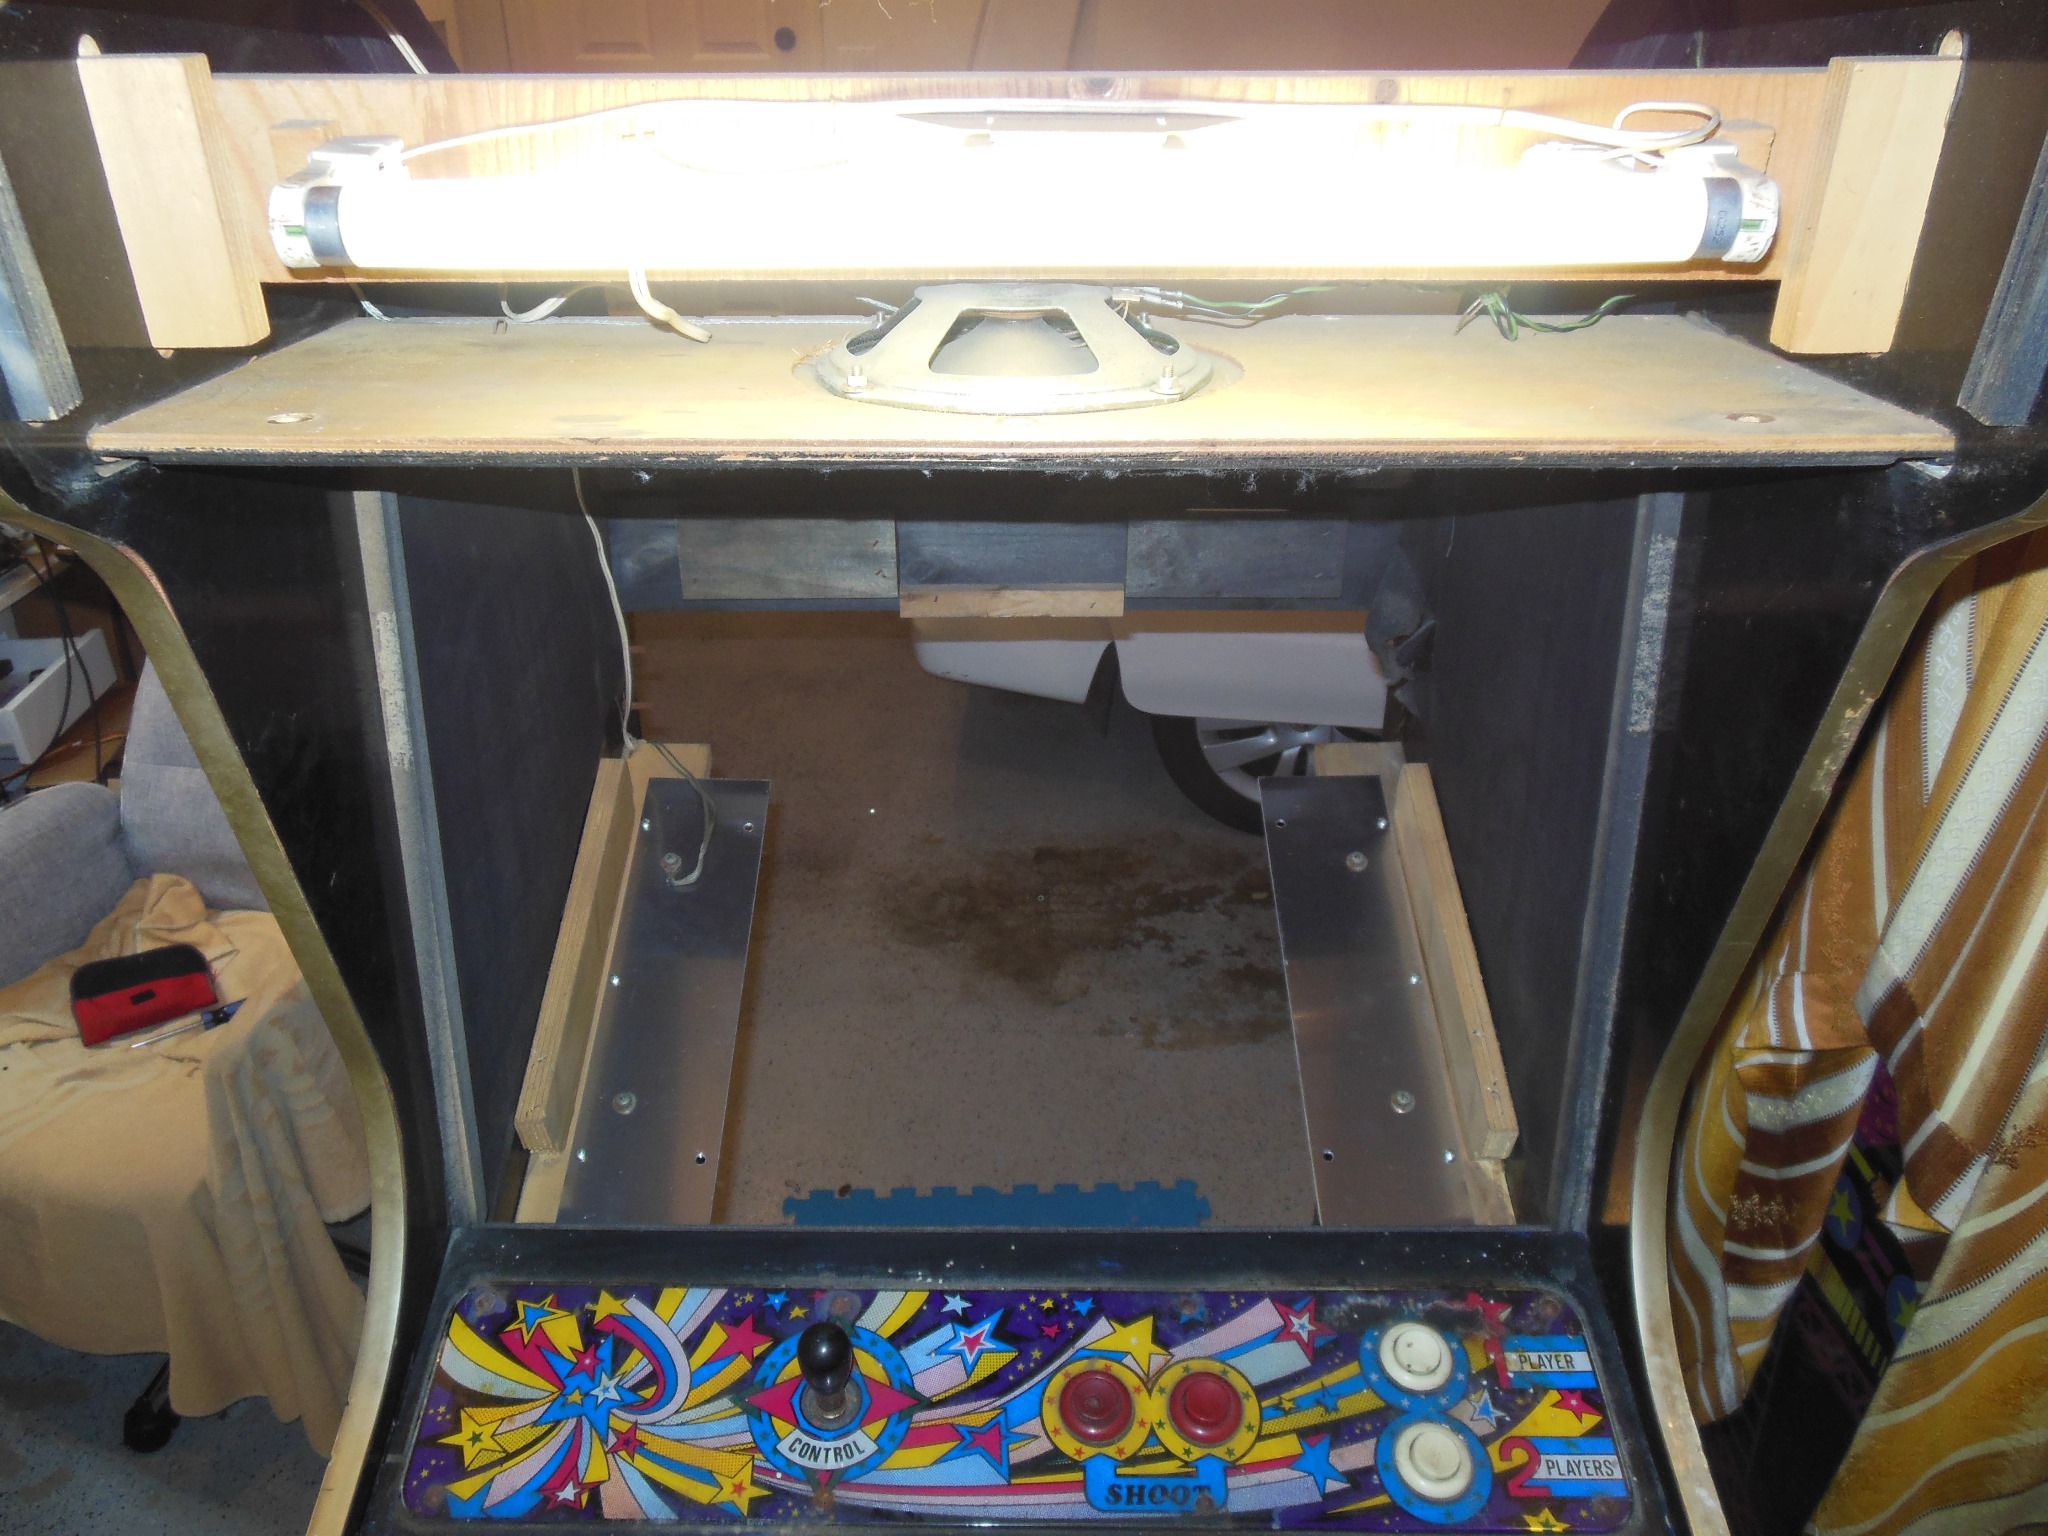
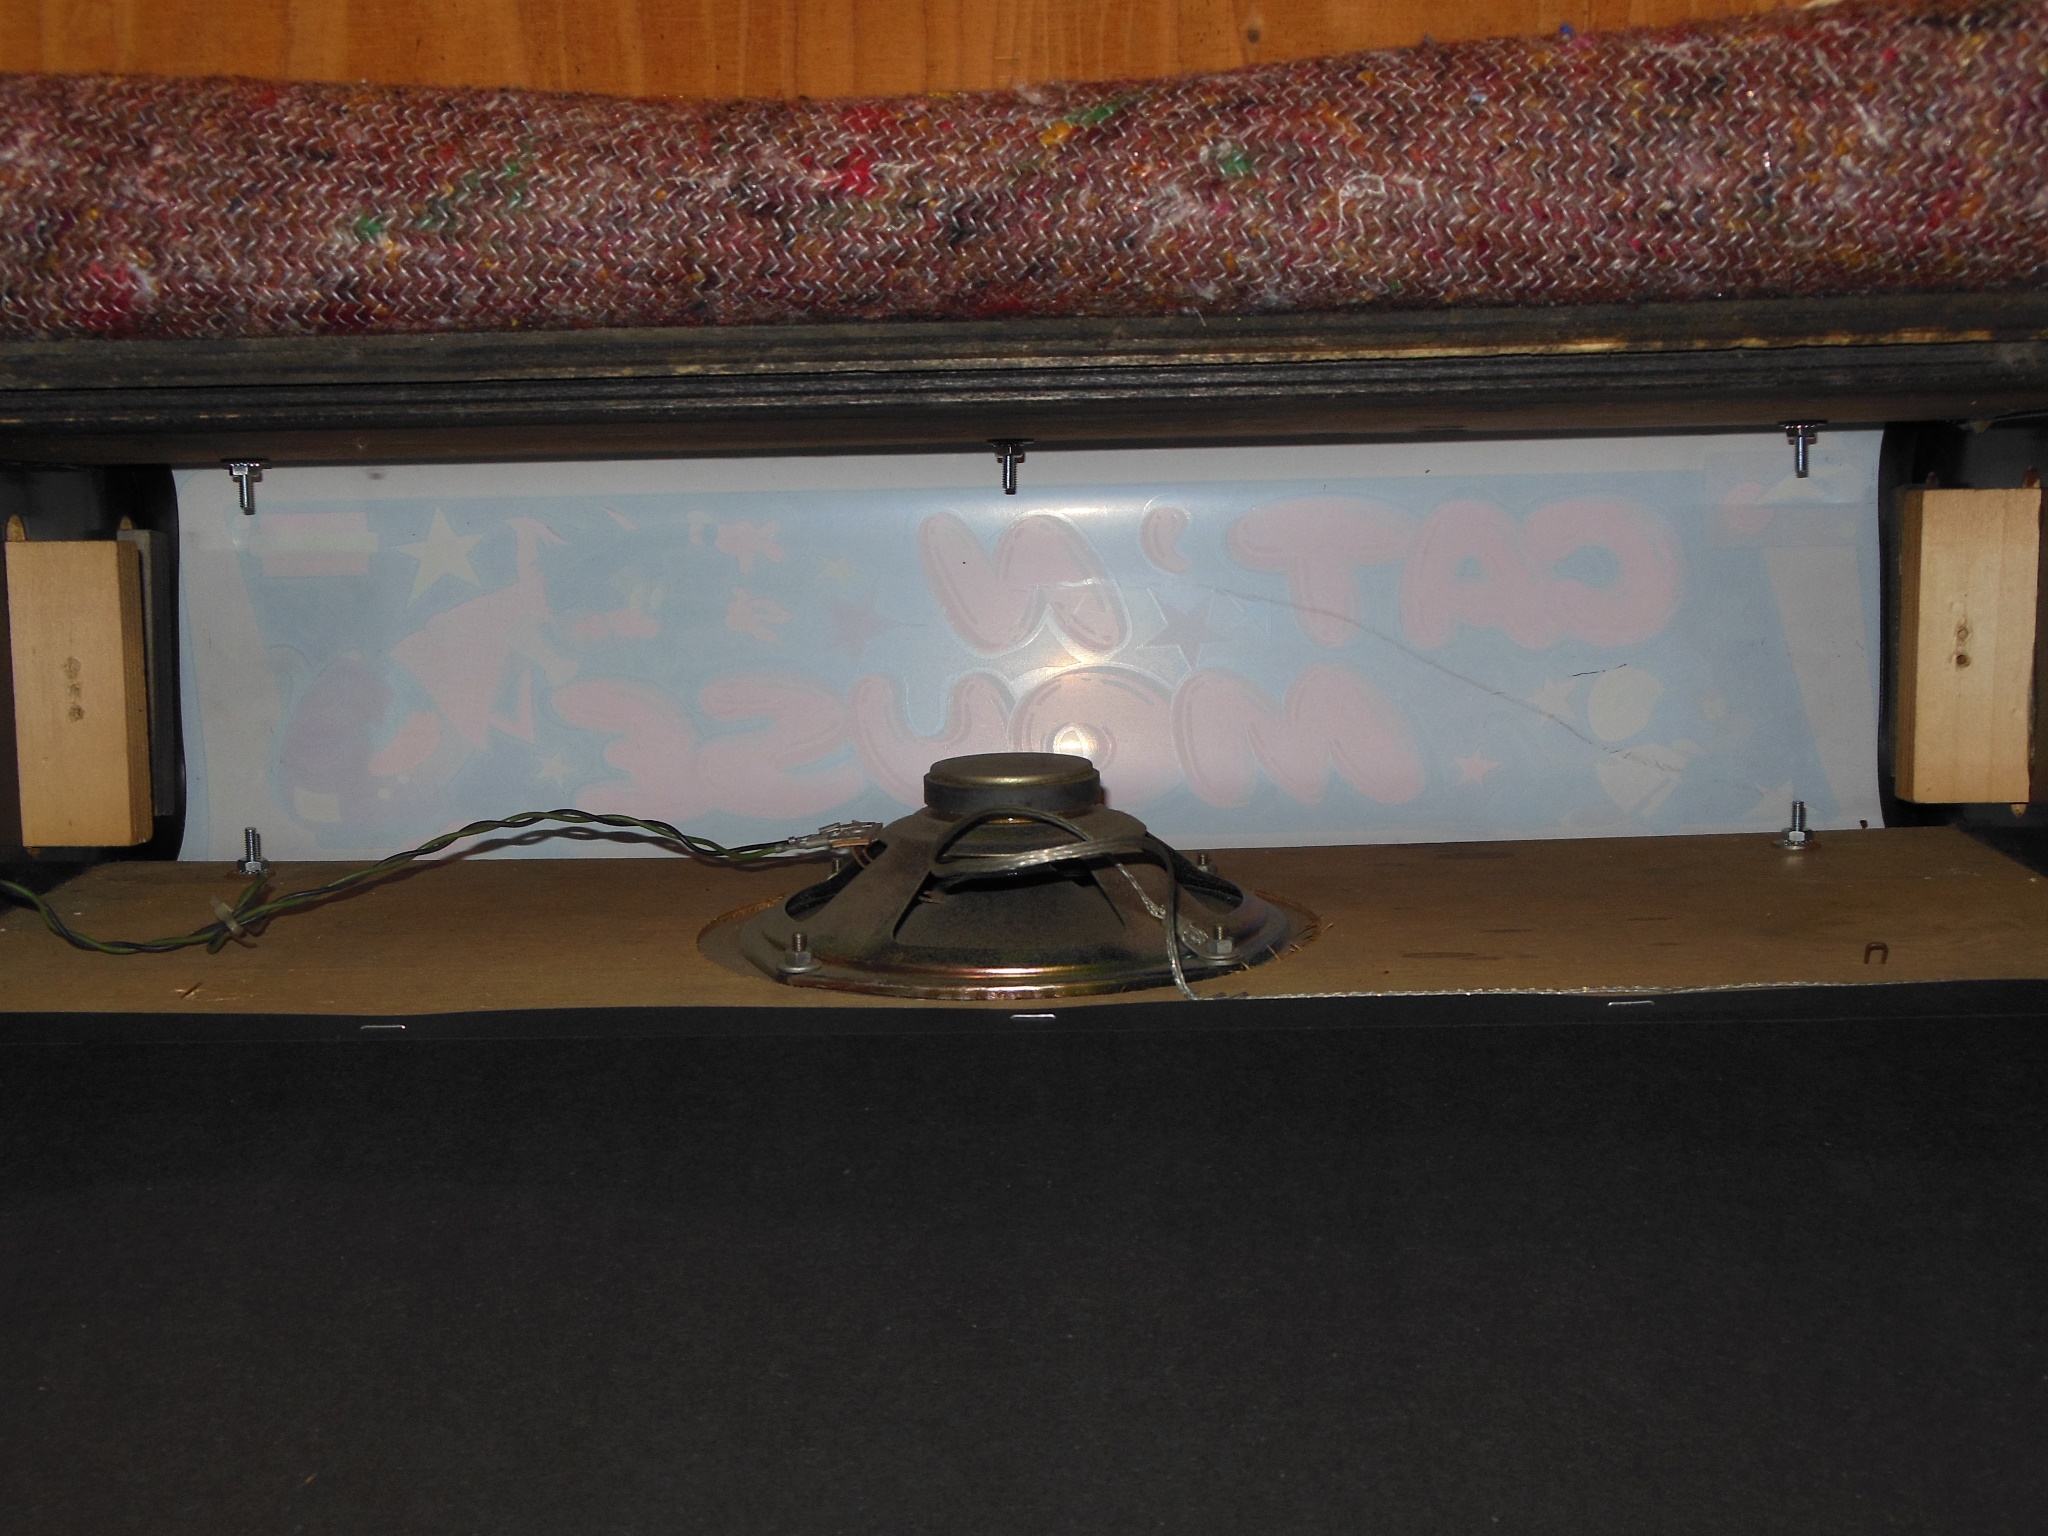
The marque was obviously a total loss but the marque light tube hadn't been broken (that would have left a nasty mess to clean up).
|
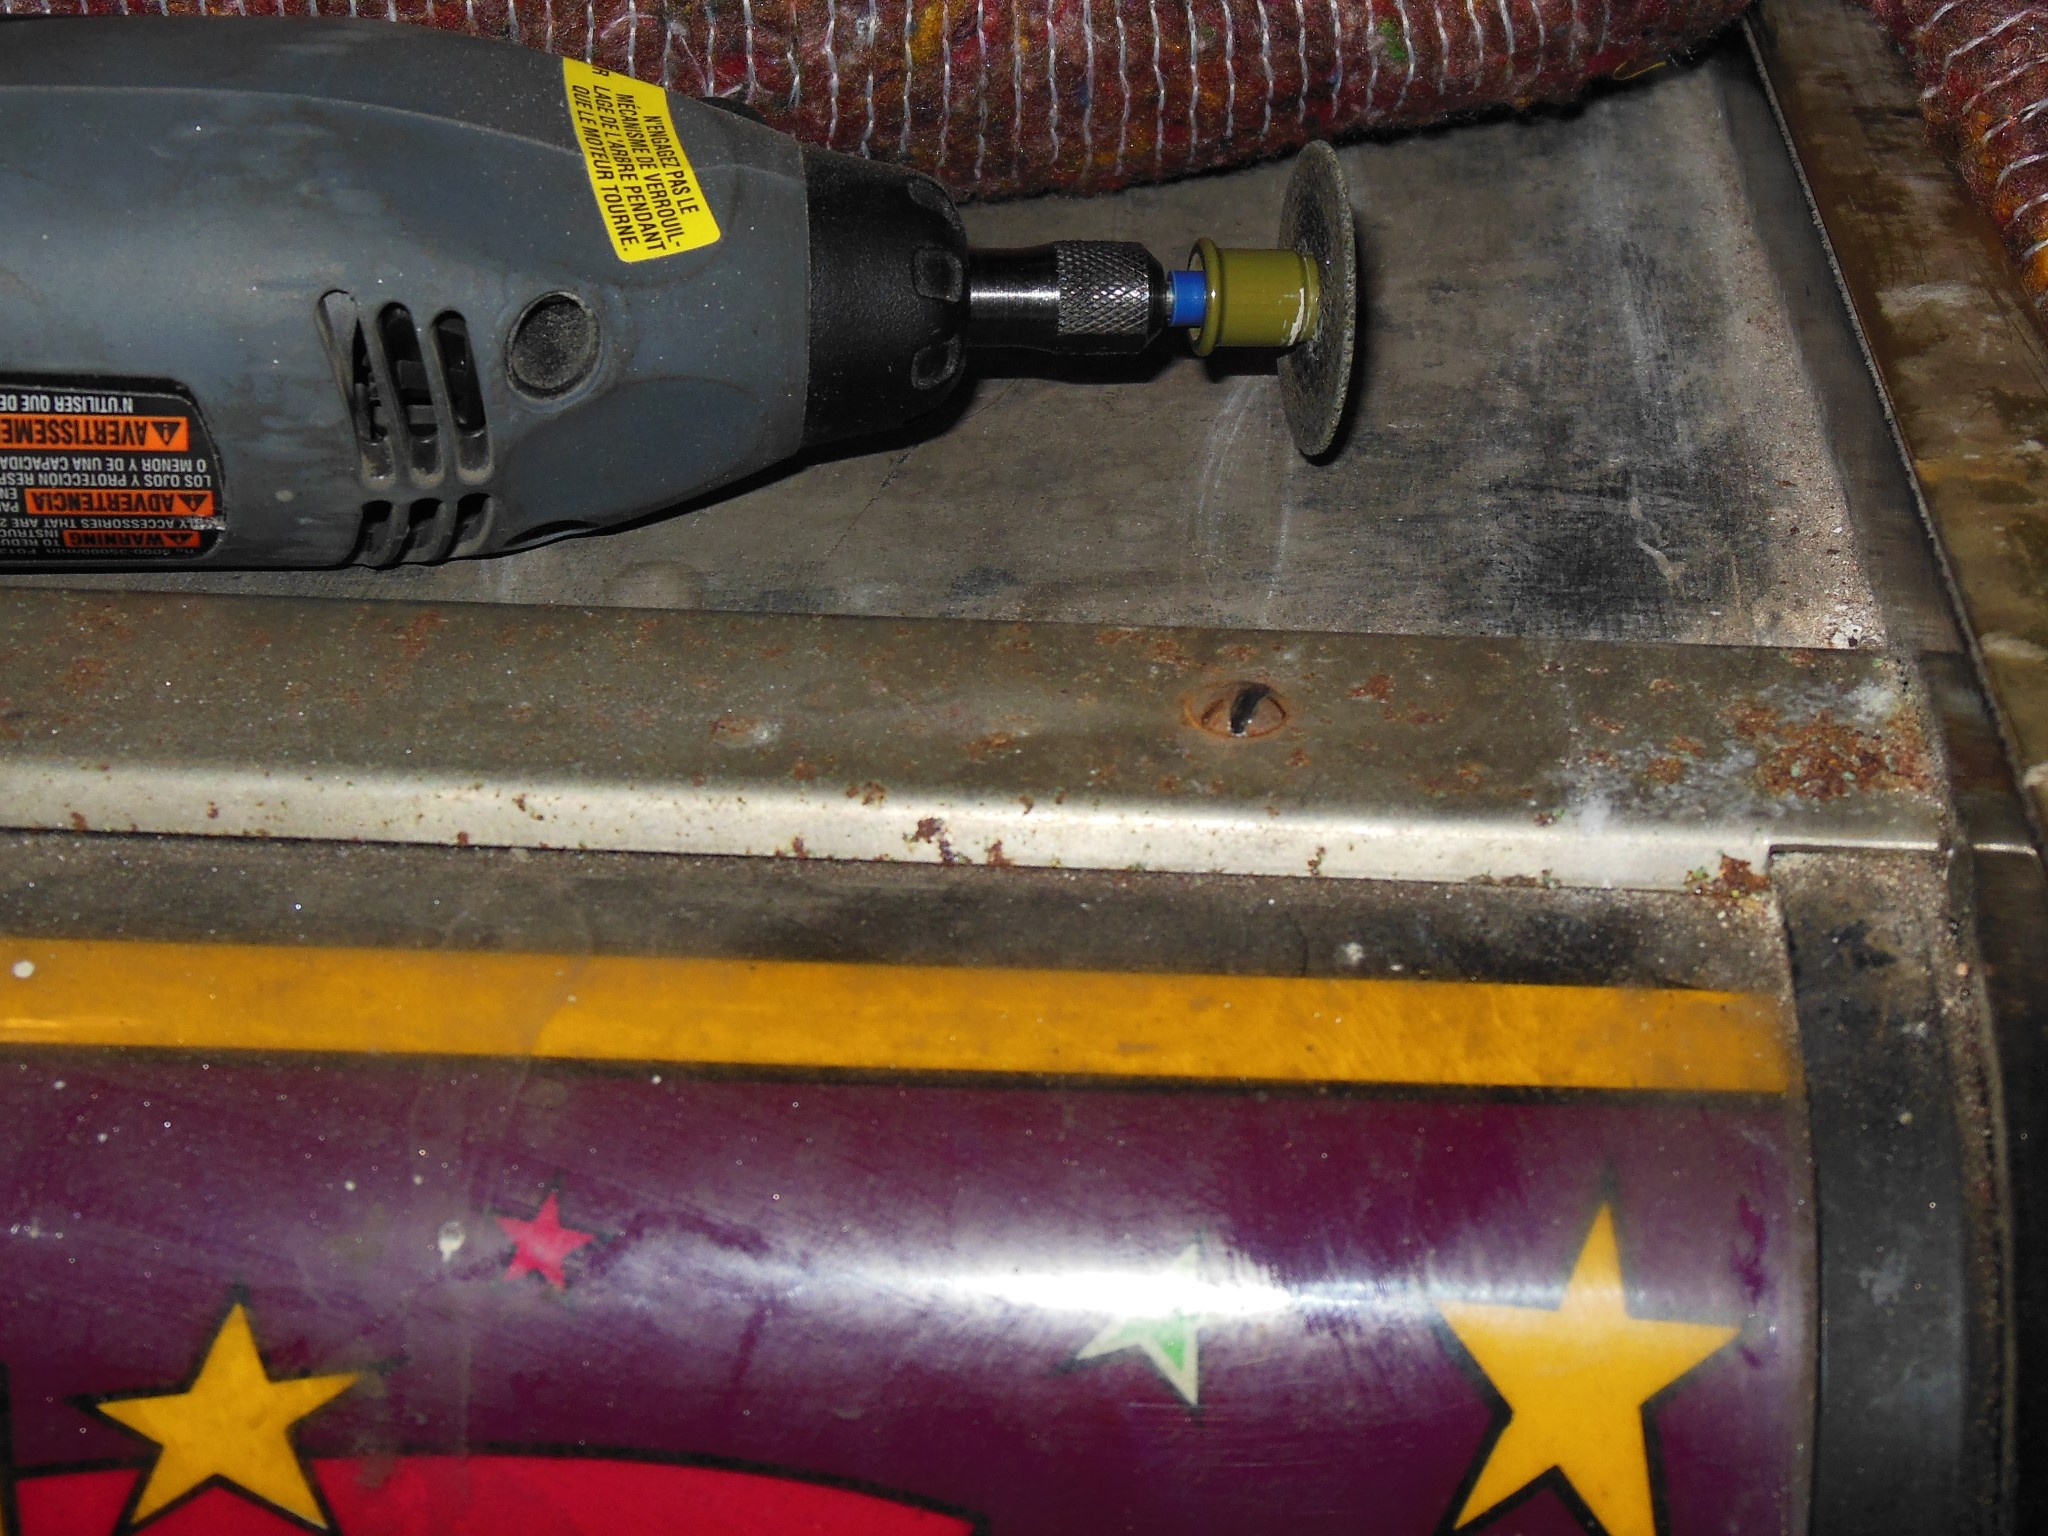
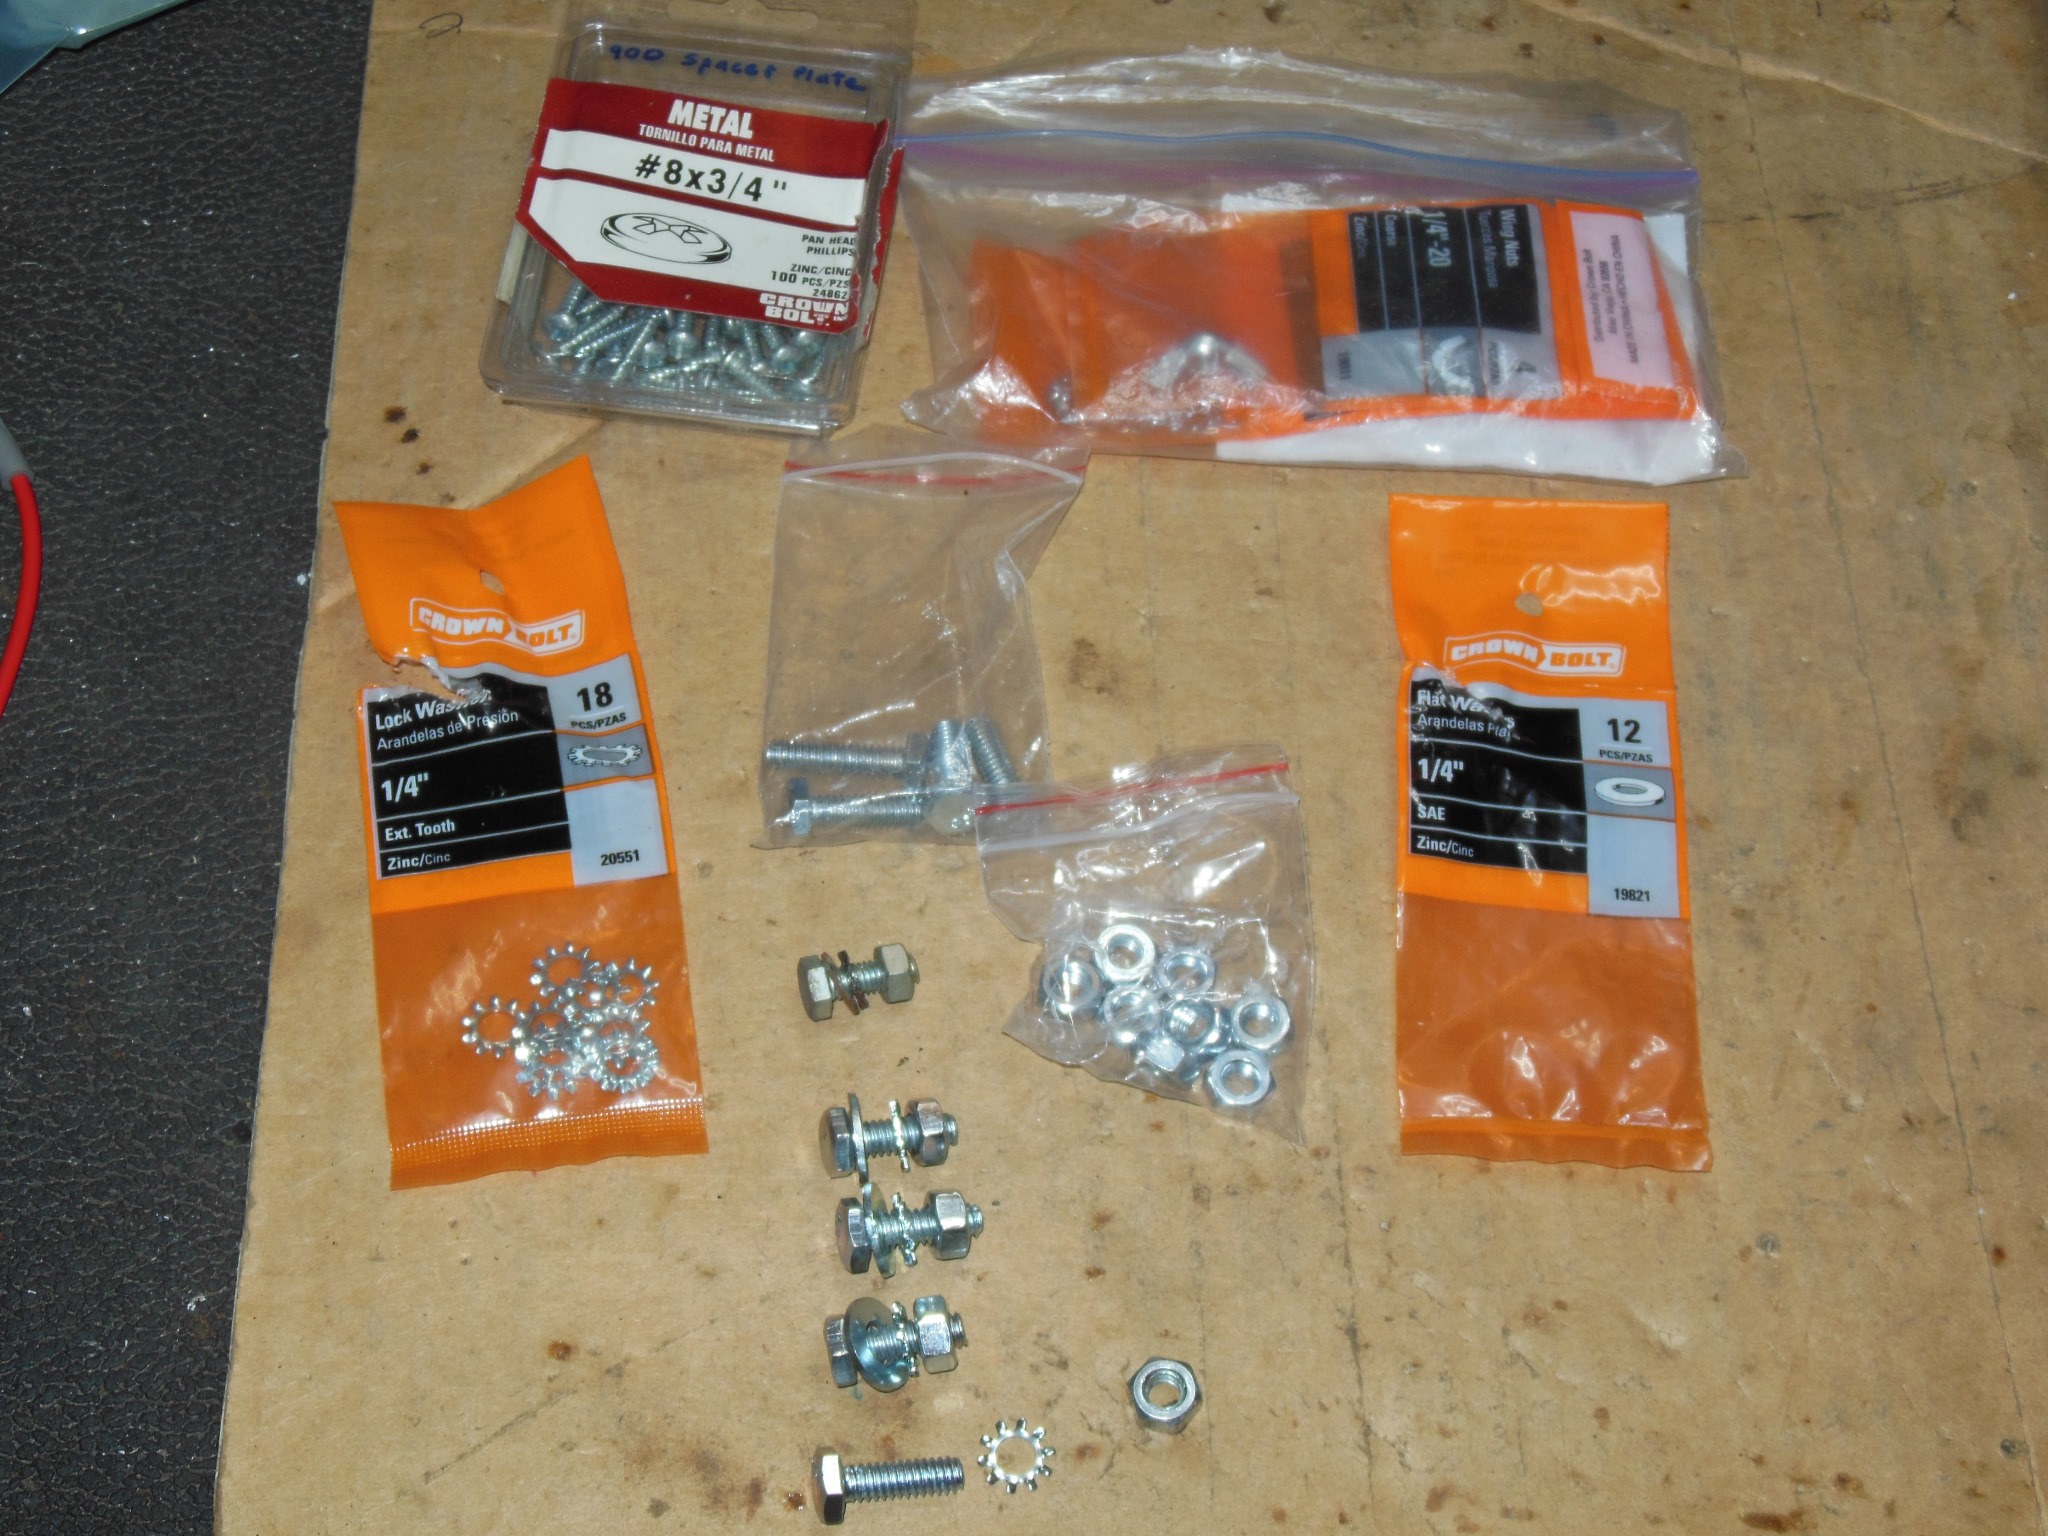
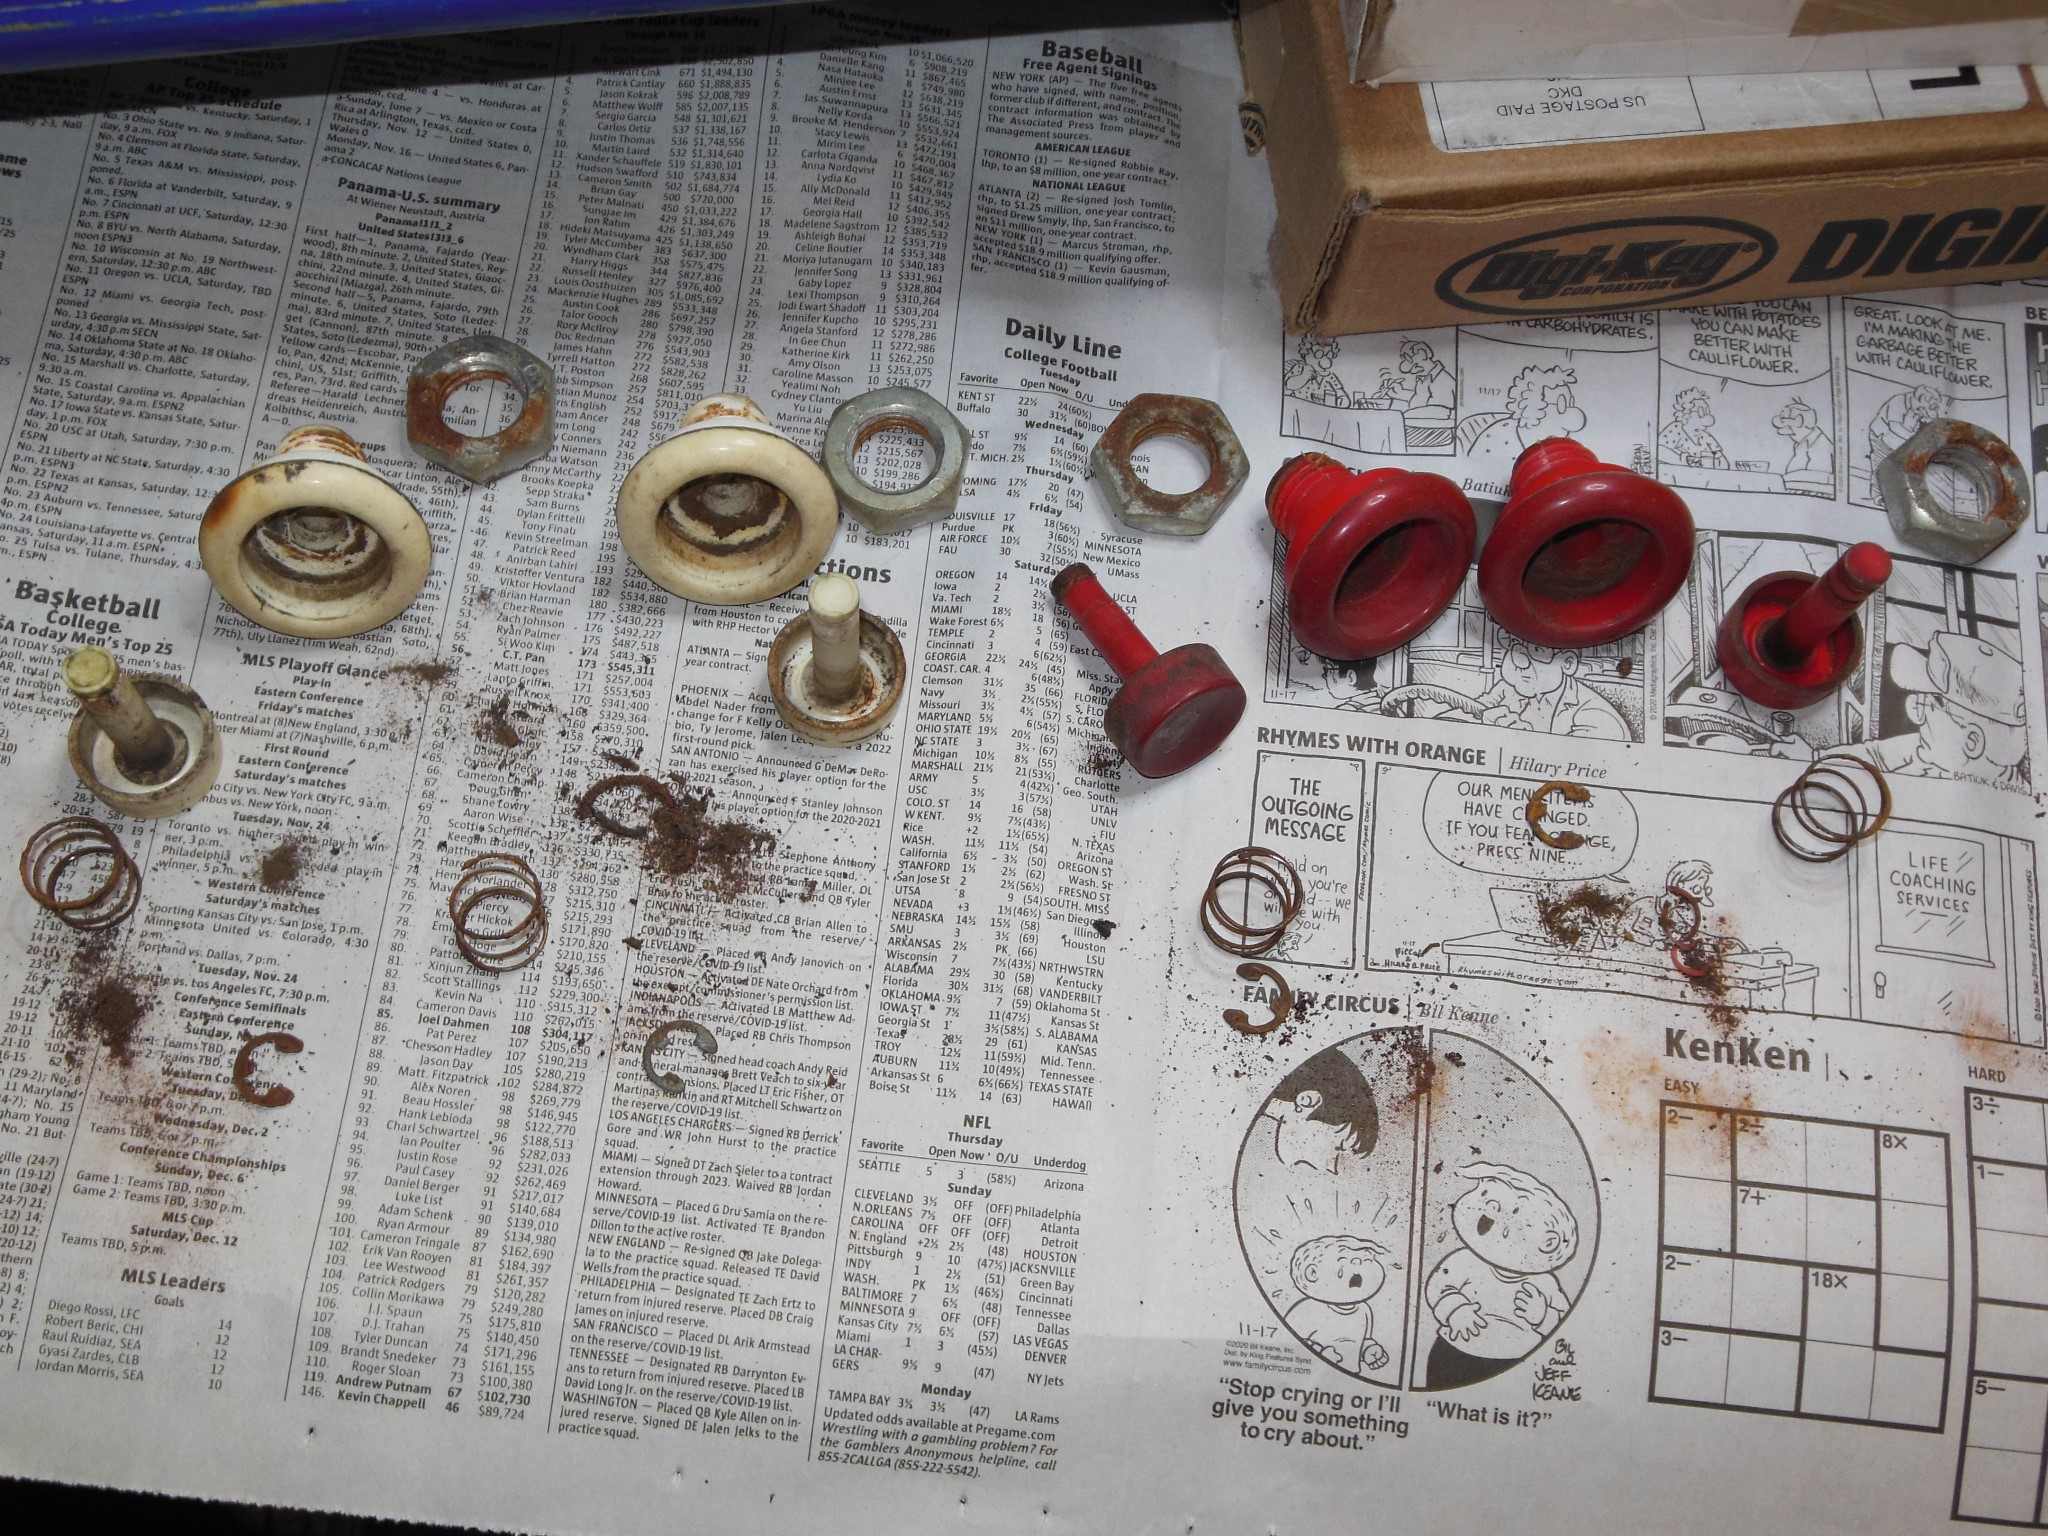
Widespread rust had seized the nuts necessitating the use of a Dremel to cut screw heads into the bolts to be able to undo them.
|
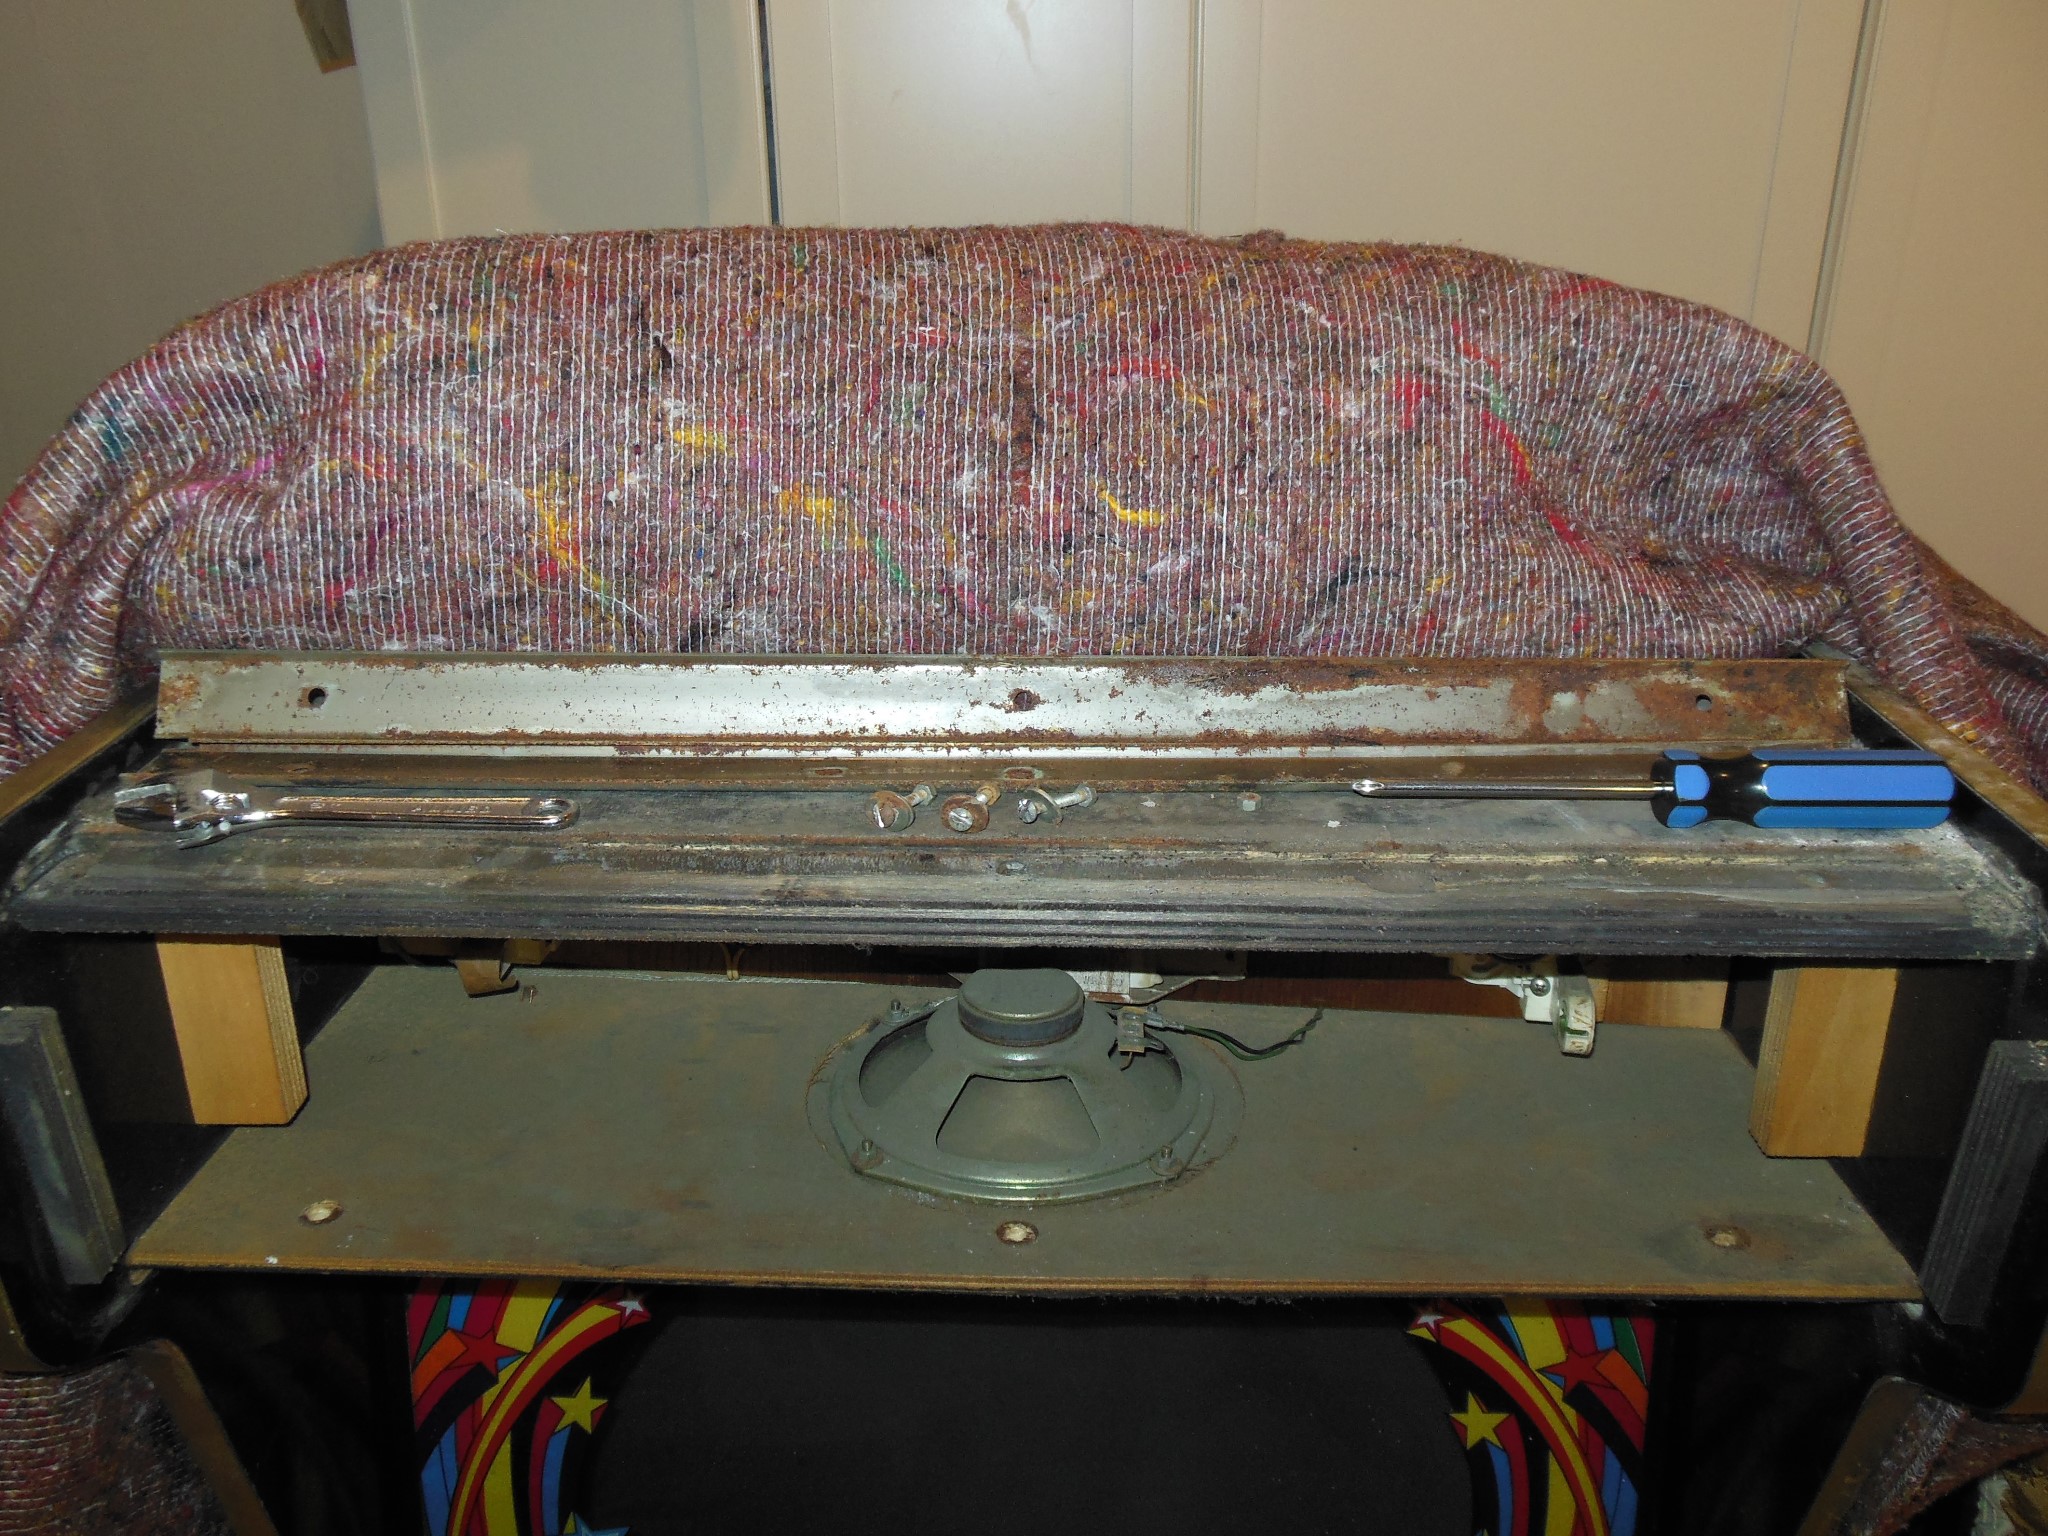
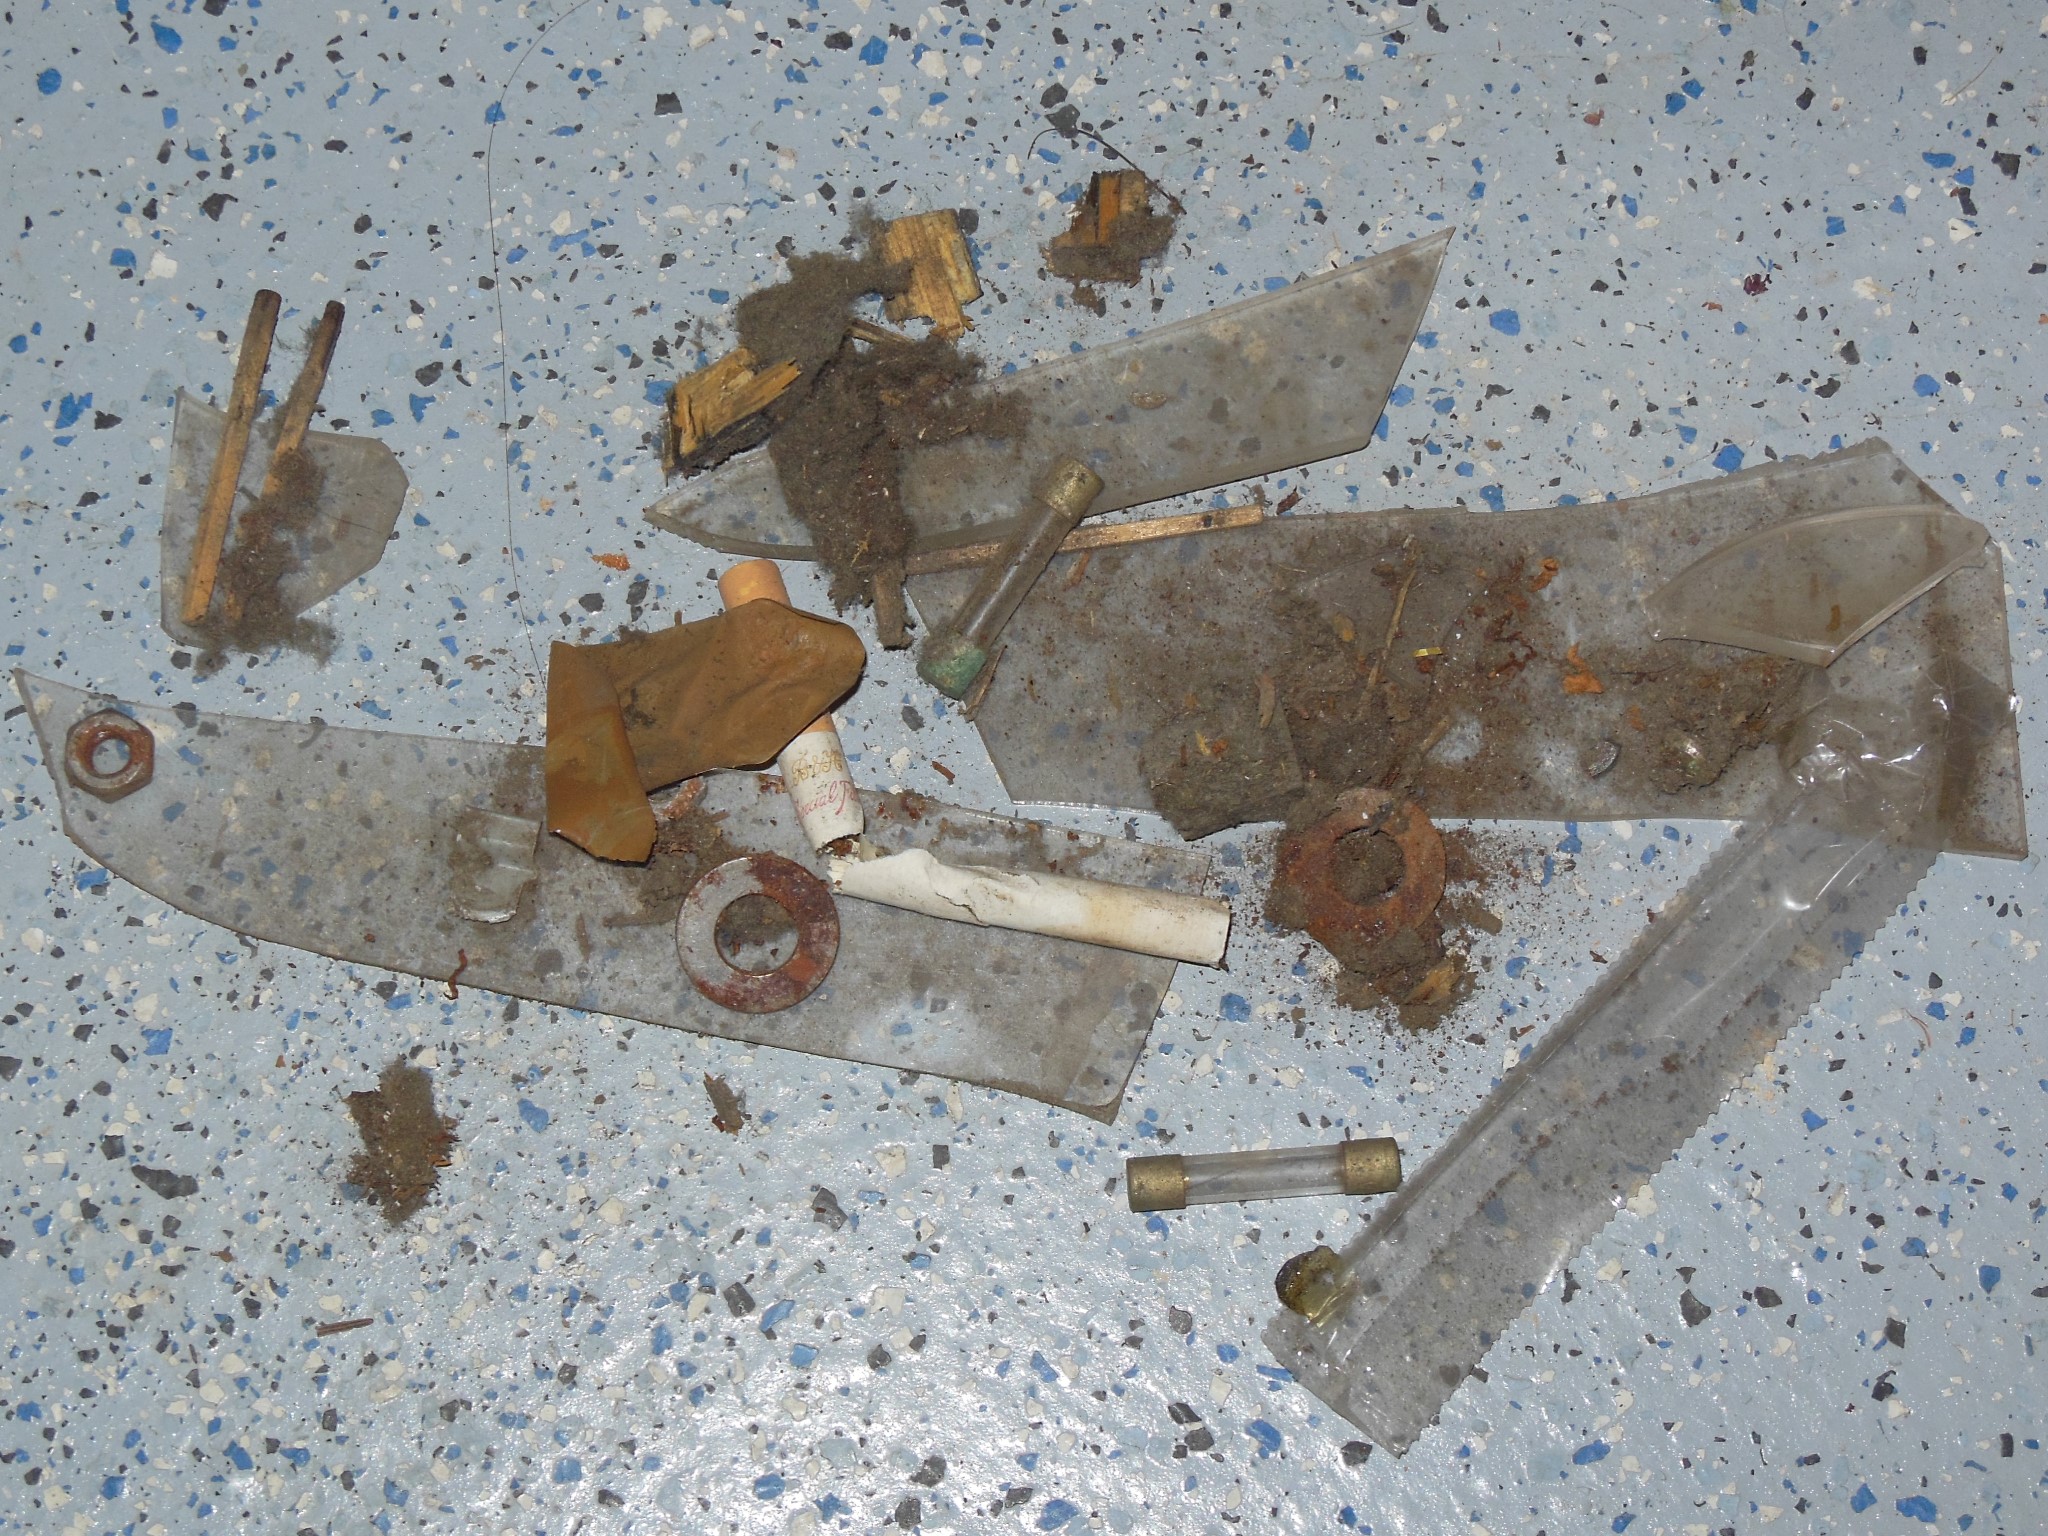
In the bottom of the cabinet were fragments of the marque, old nuts, washers, fuses, cigarettes & matches. These were removed so as not to damage the vacuum cleaner later.
|
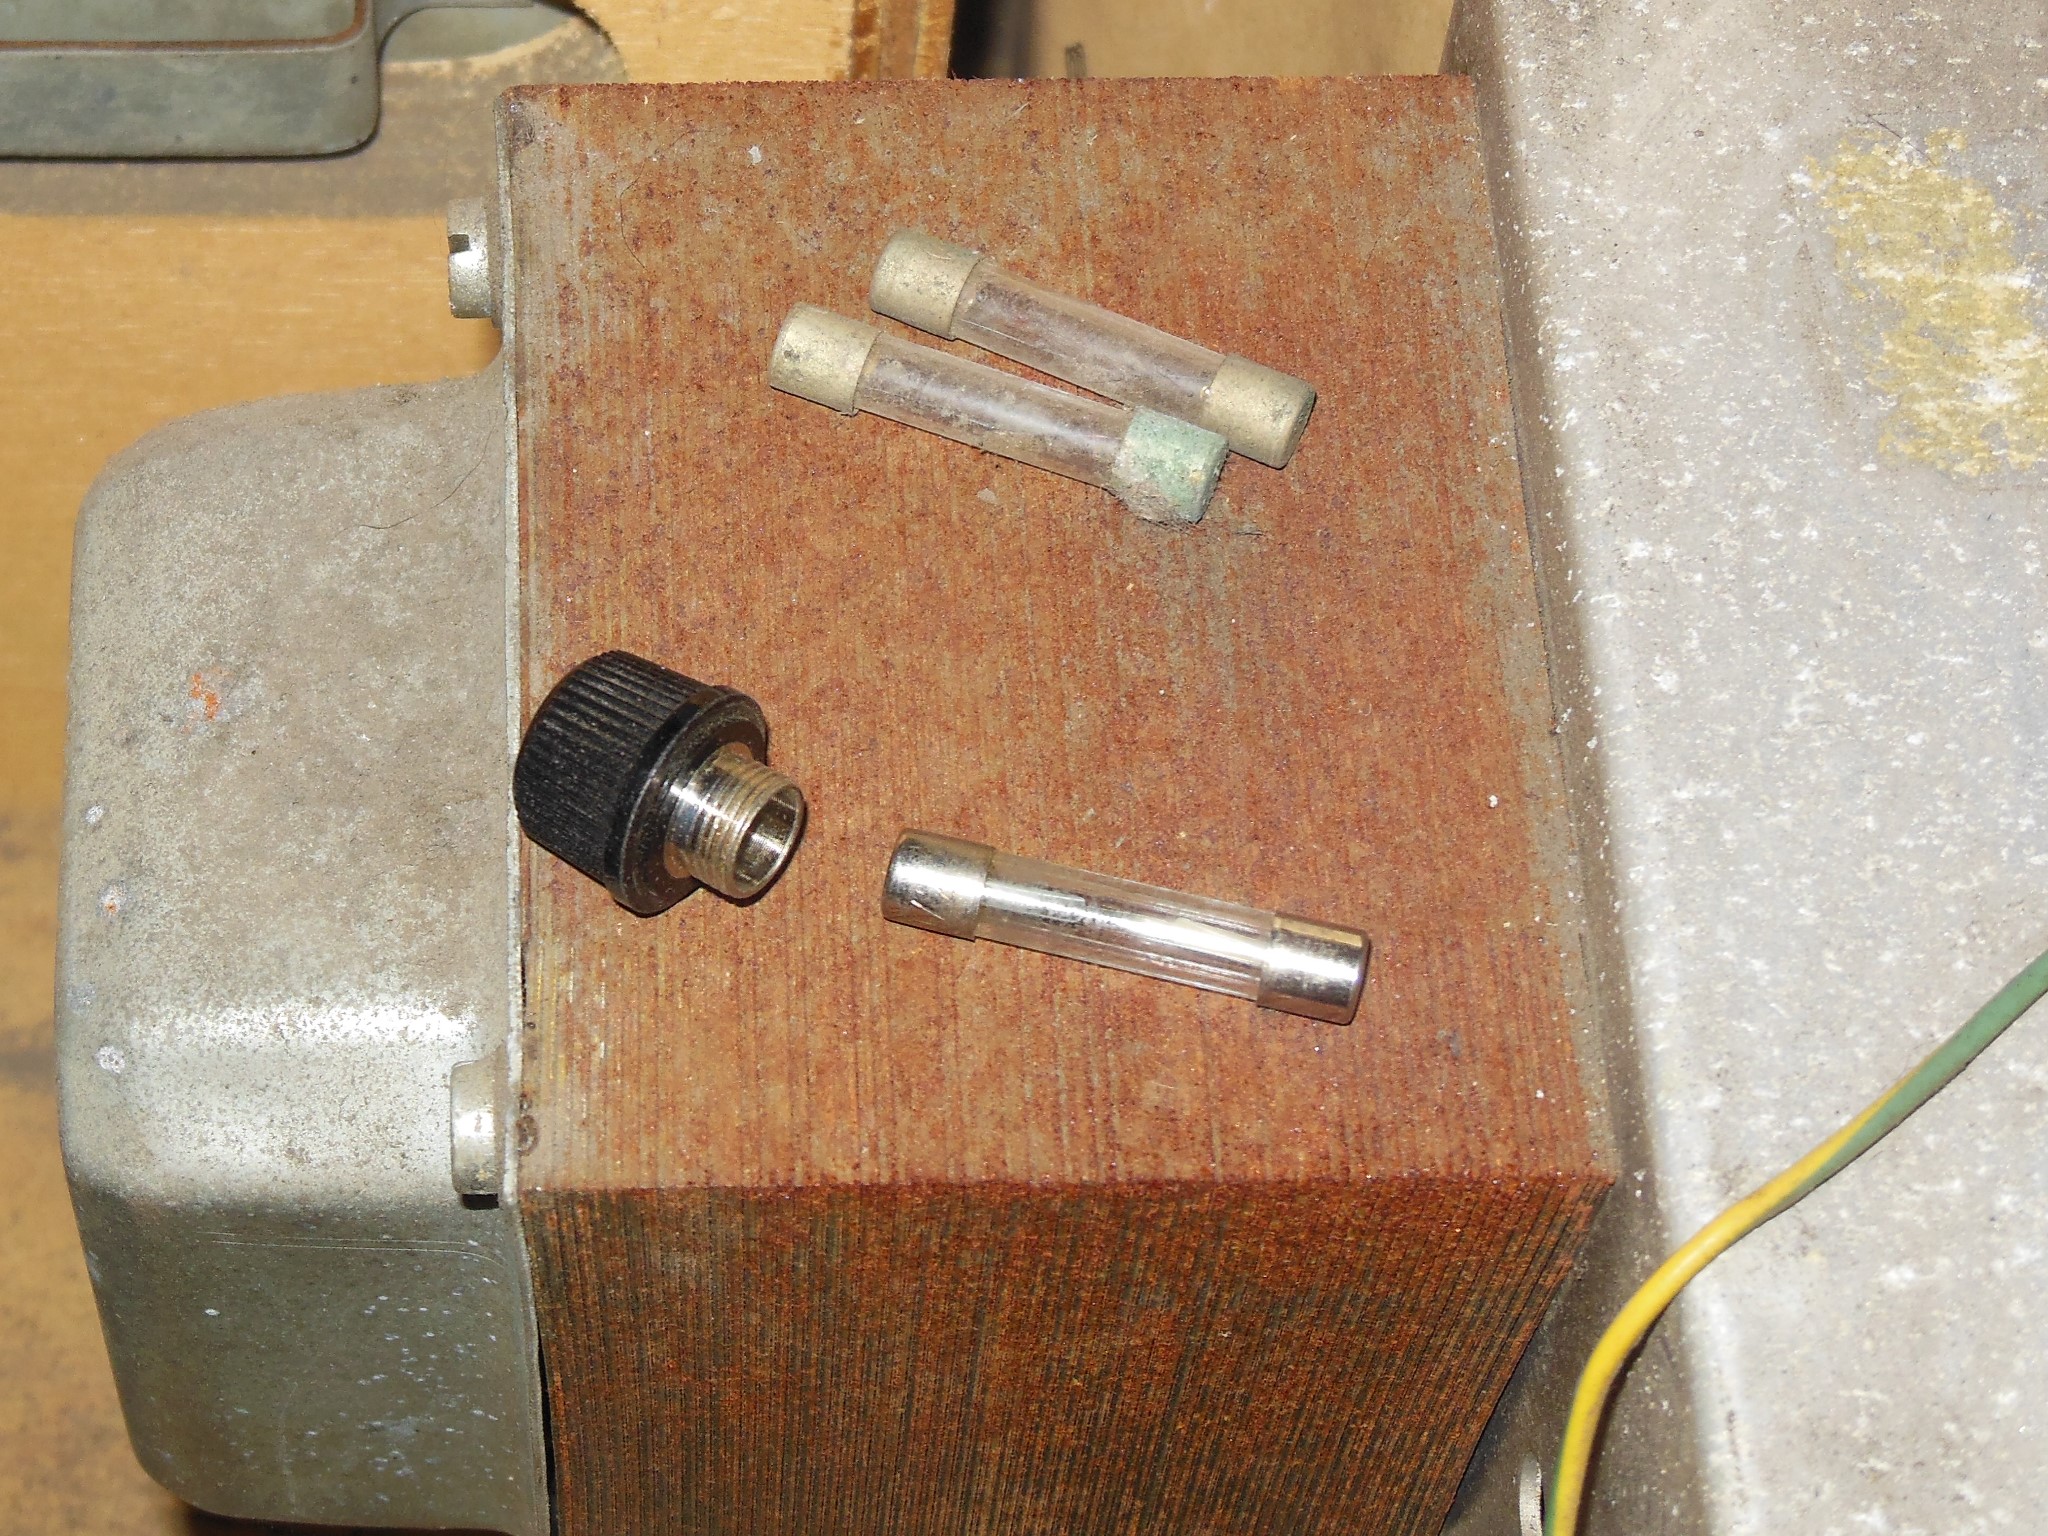
Since I'd found old fuses the in the bottom of the cabinet I verified that all the fuses were correct & intact. One was overrated that I replaced with the correct value.
|
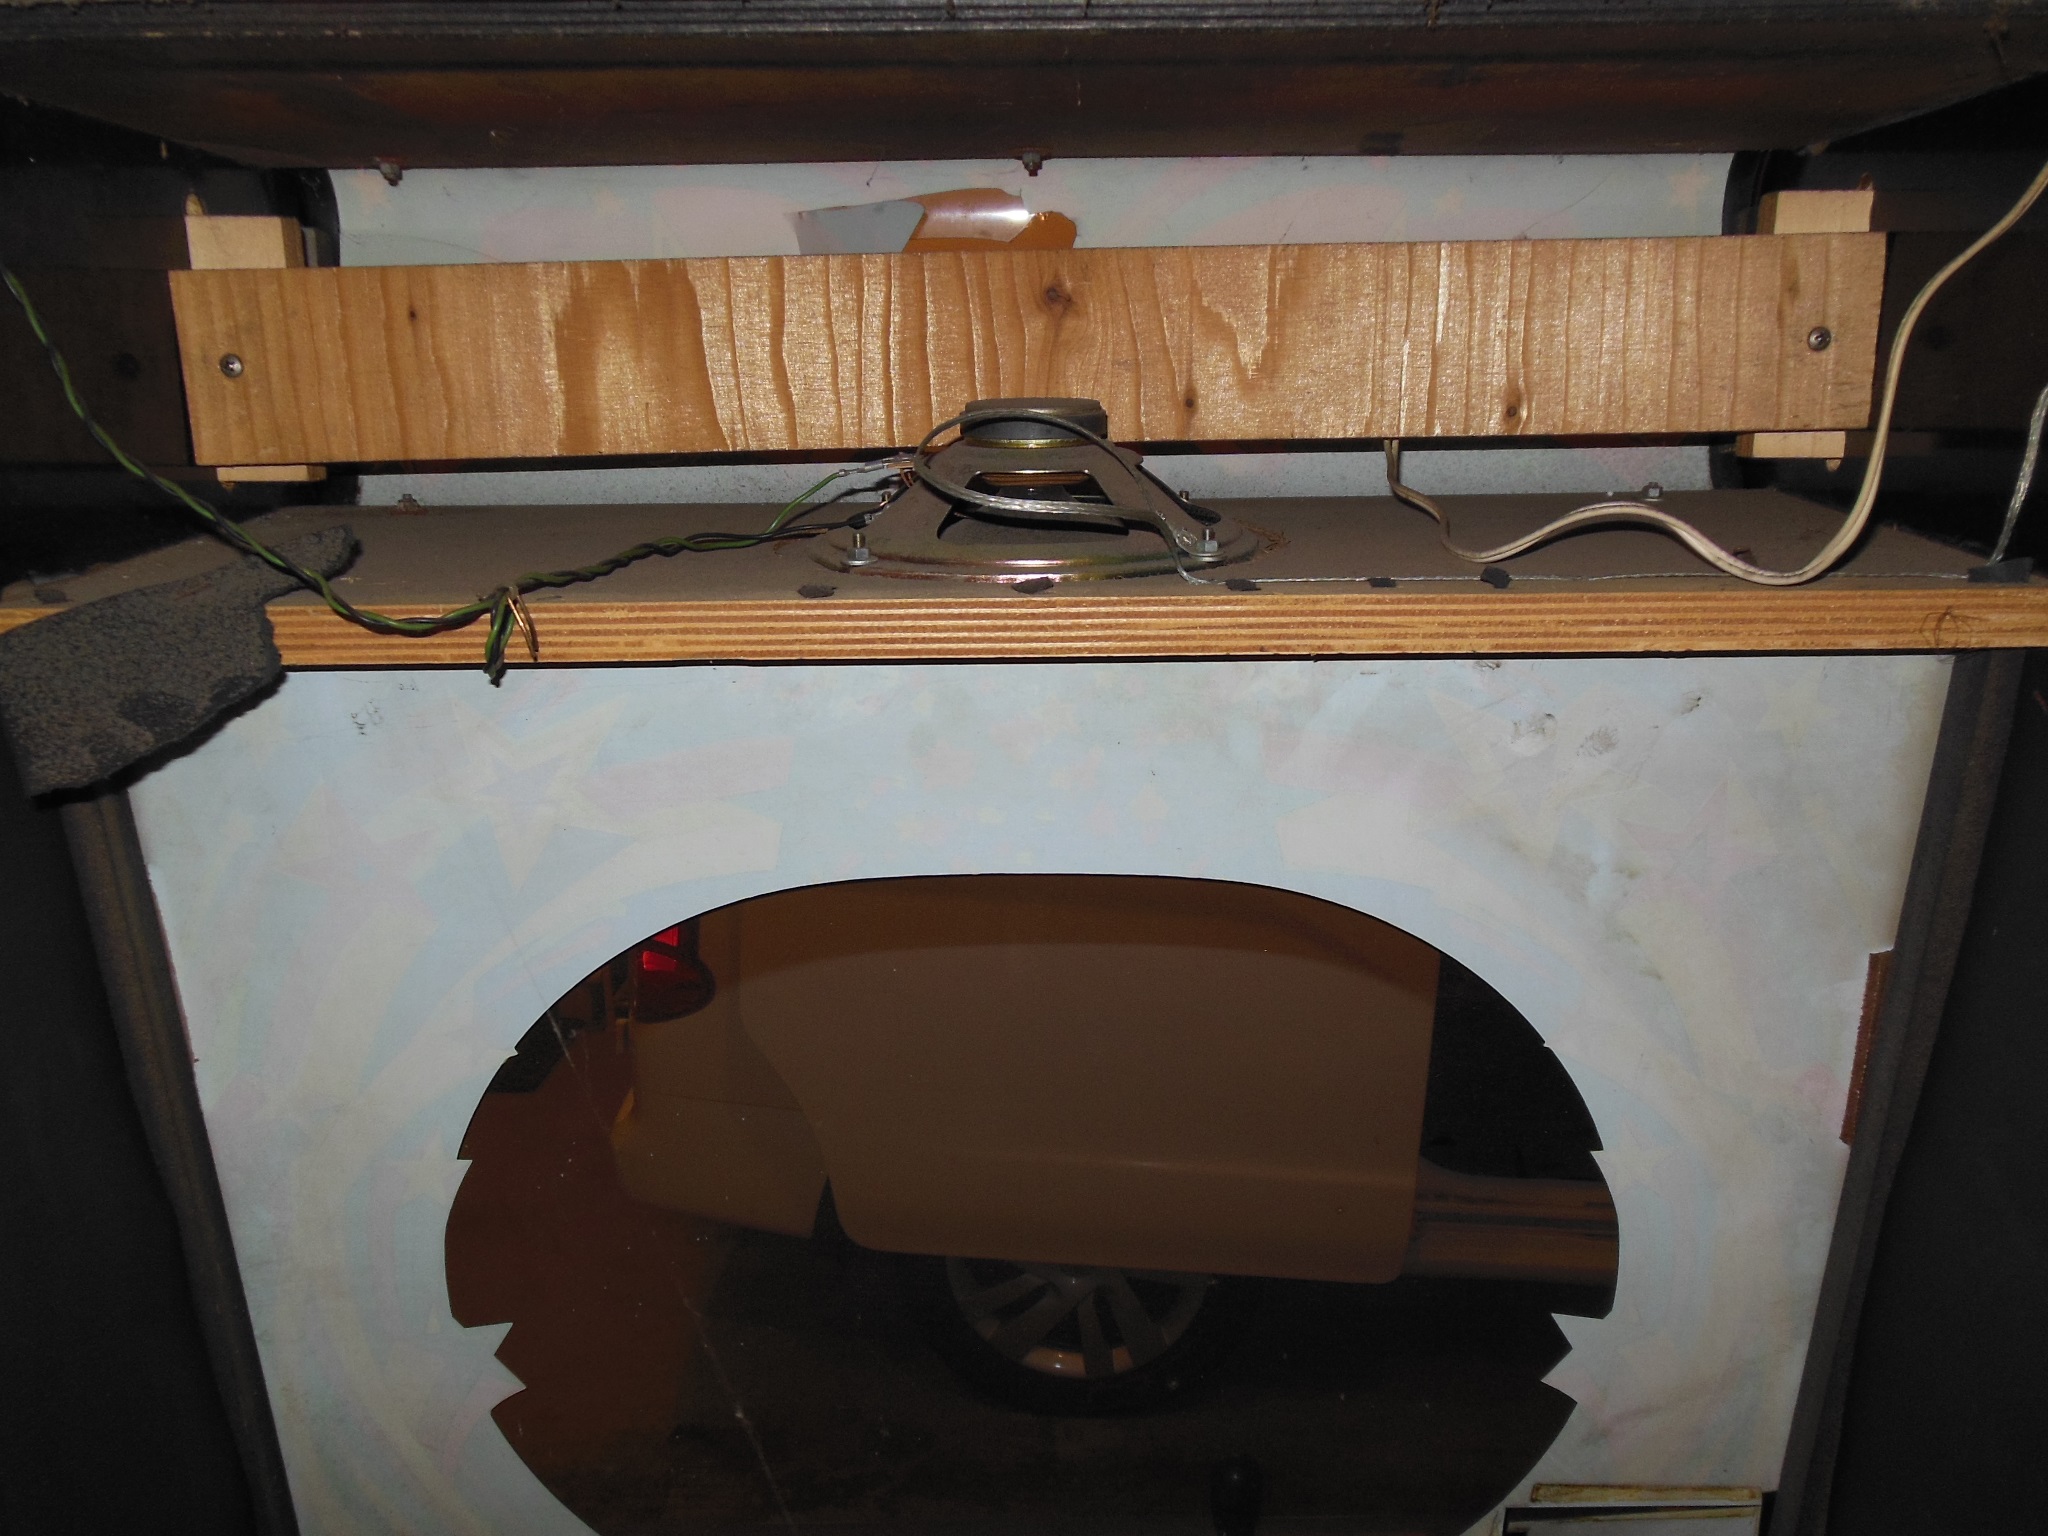
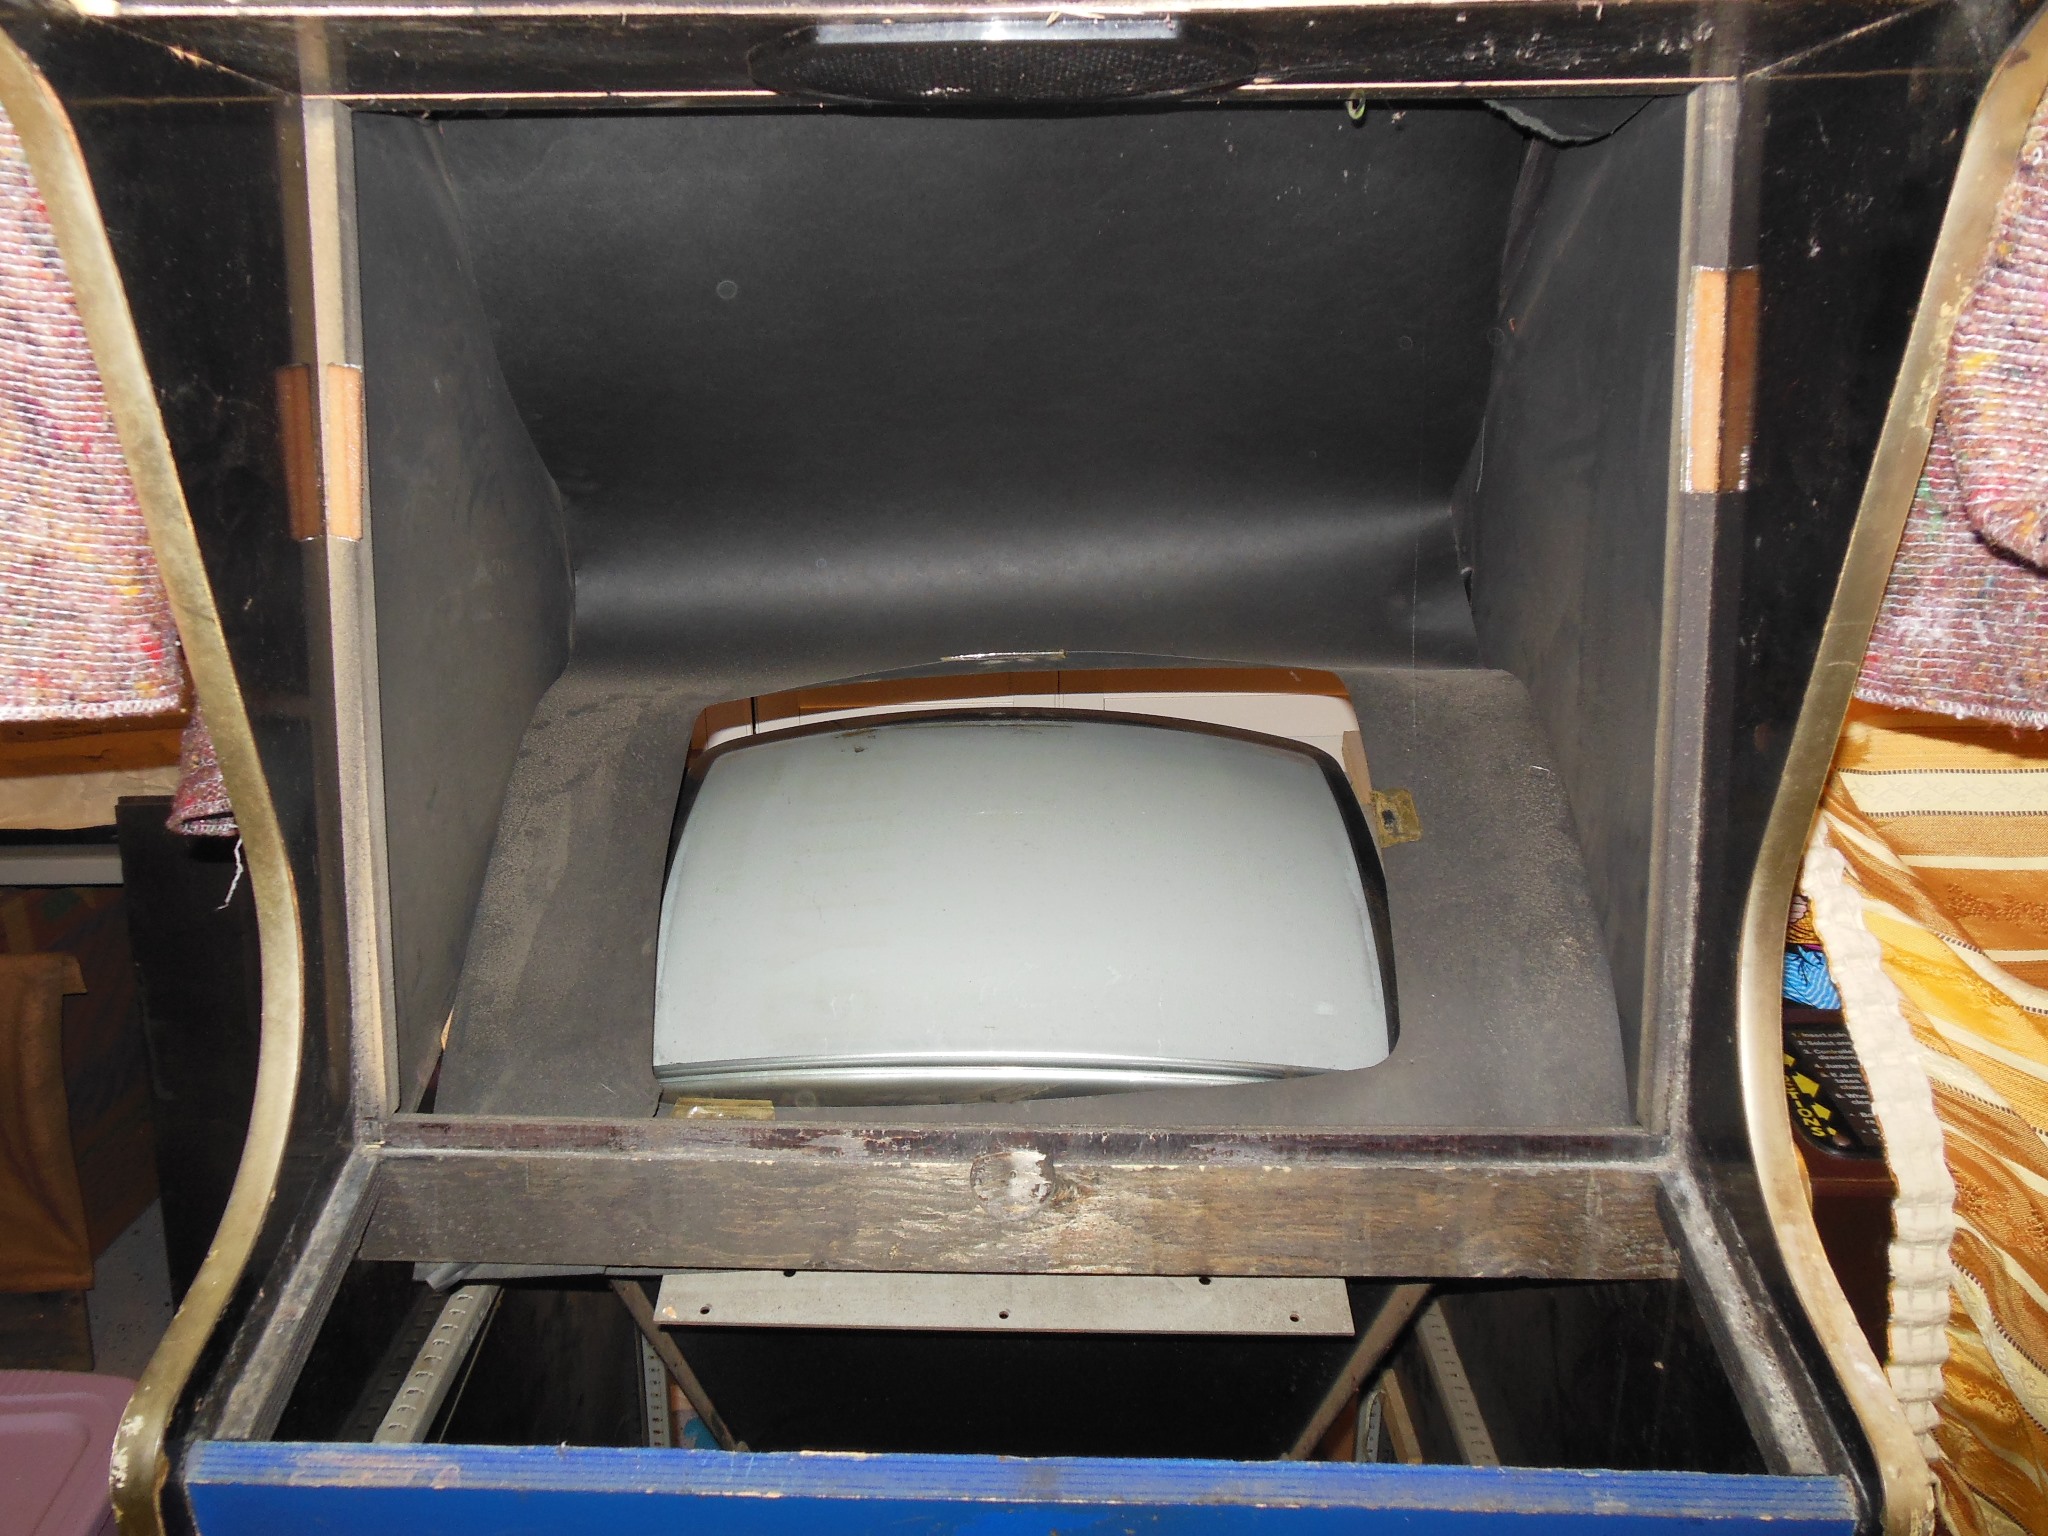
I was expecting the monitor surround to be the cut up vertical one but in fact it looked like a whole new dedicated horizontal surround had been used. The surround was removed and set aside. There were some fragments of the original vertical surround still stapled to the top shelf that were also removed.
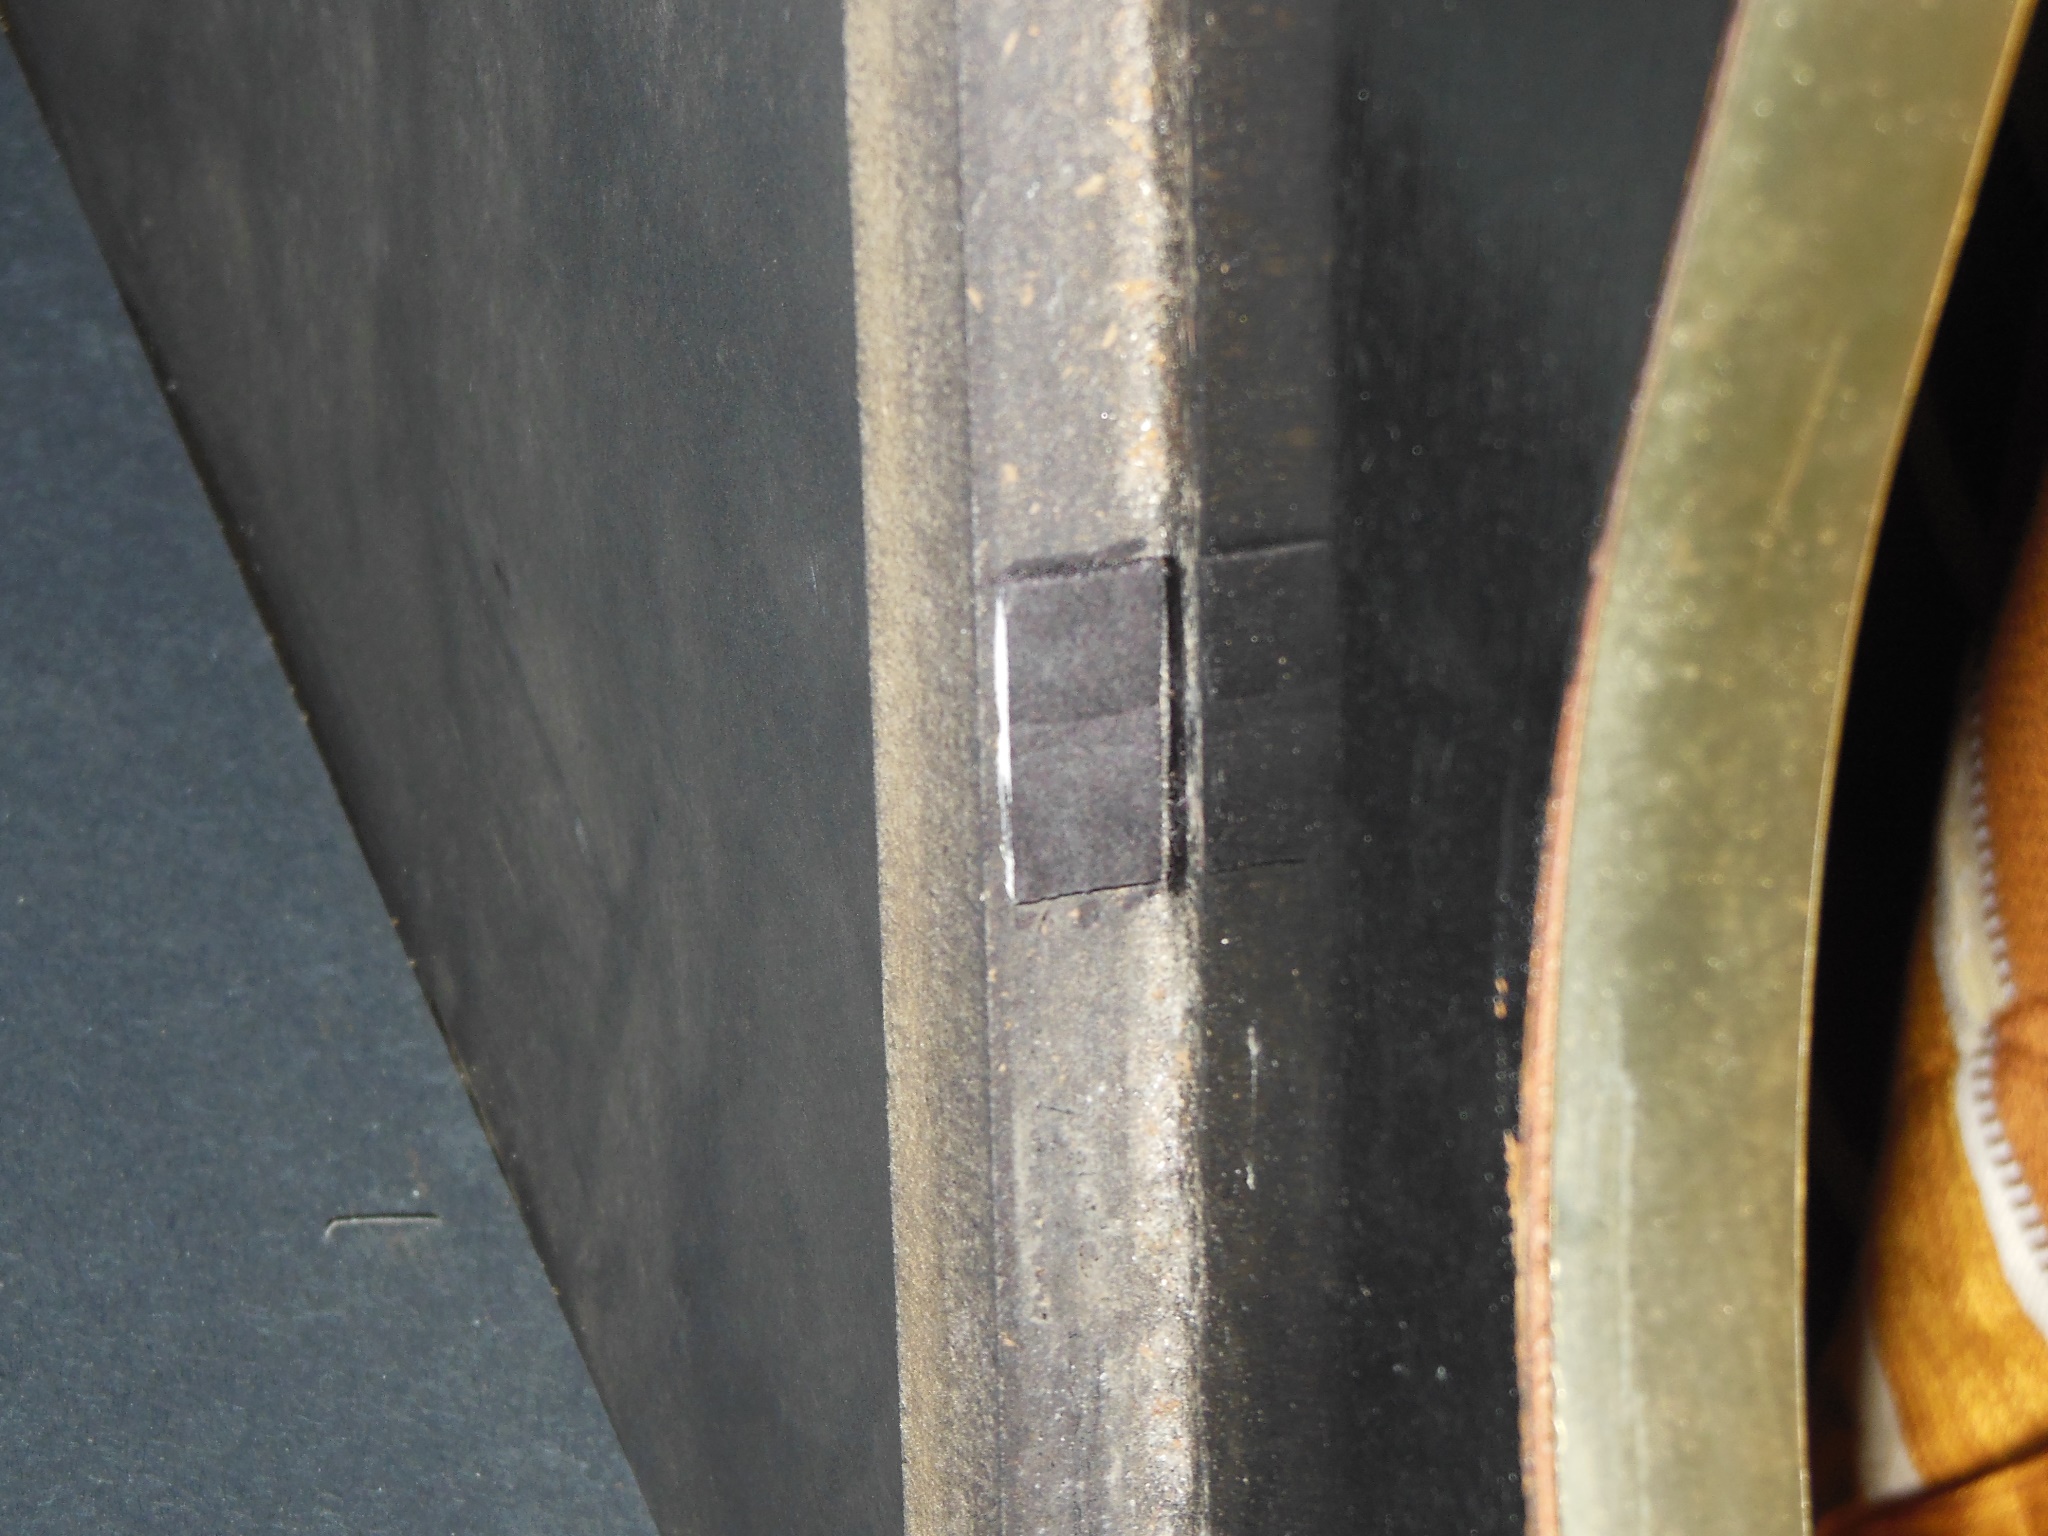
There was some damage to the right side wall cardboard at the very back, where bolts had been fitted through the cabinet.
|
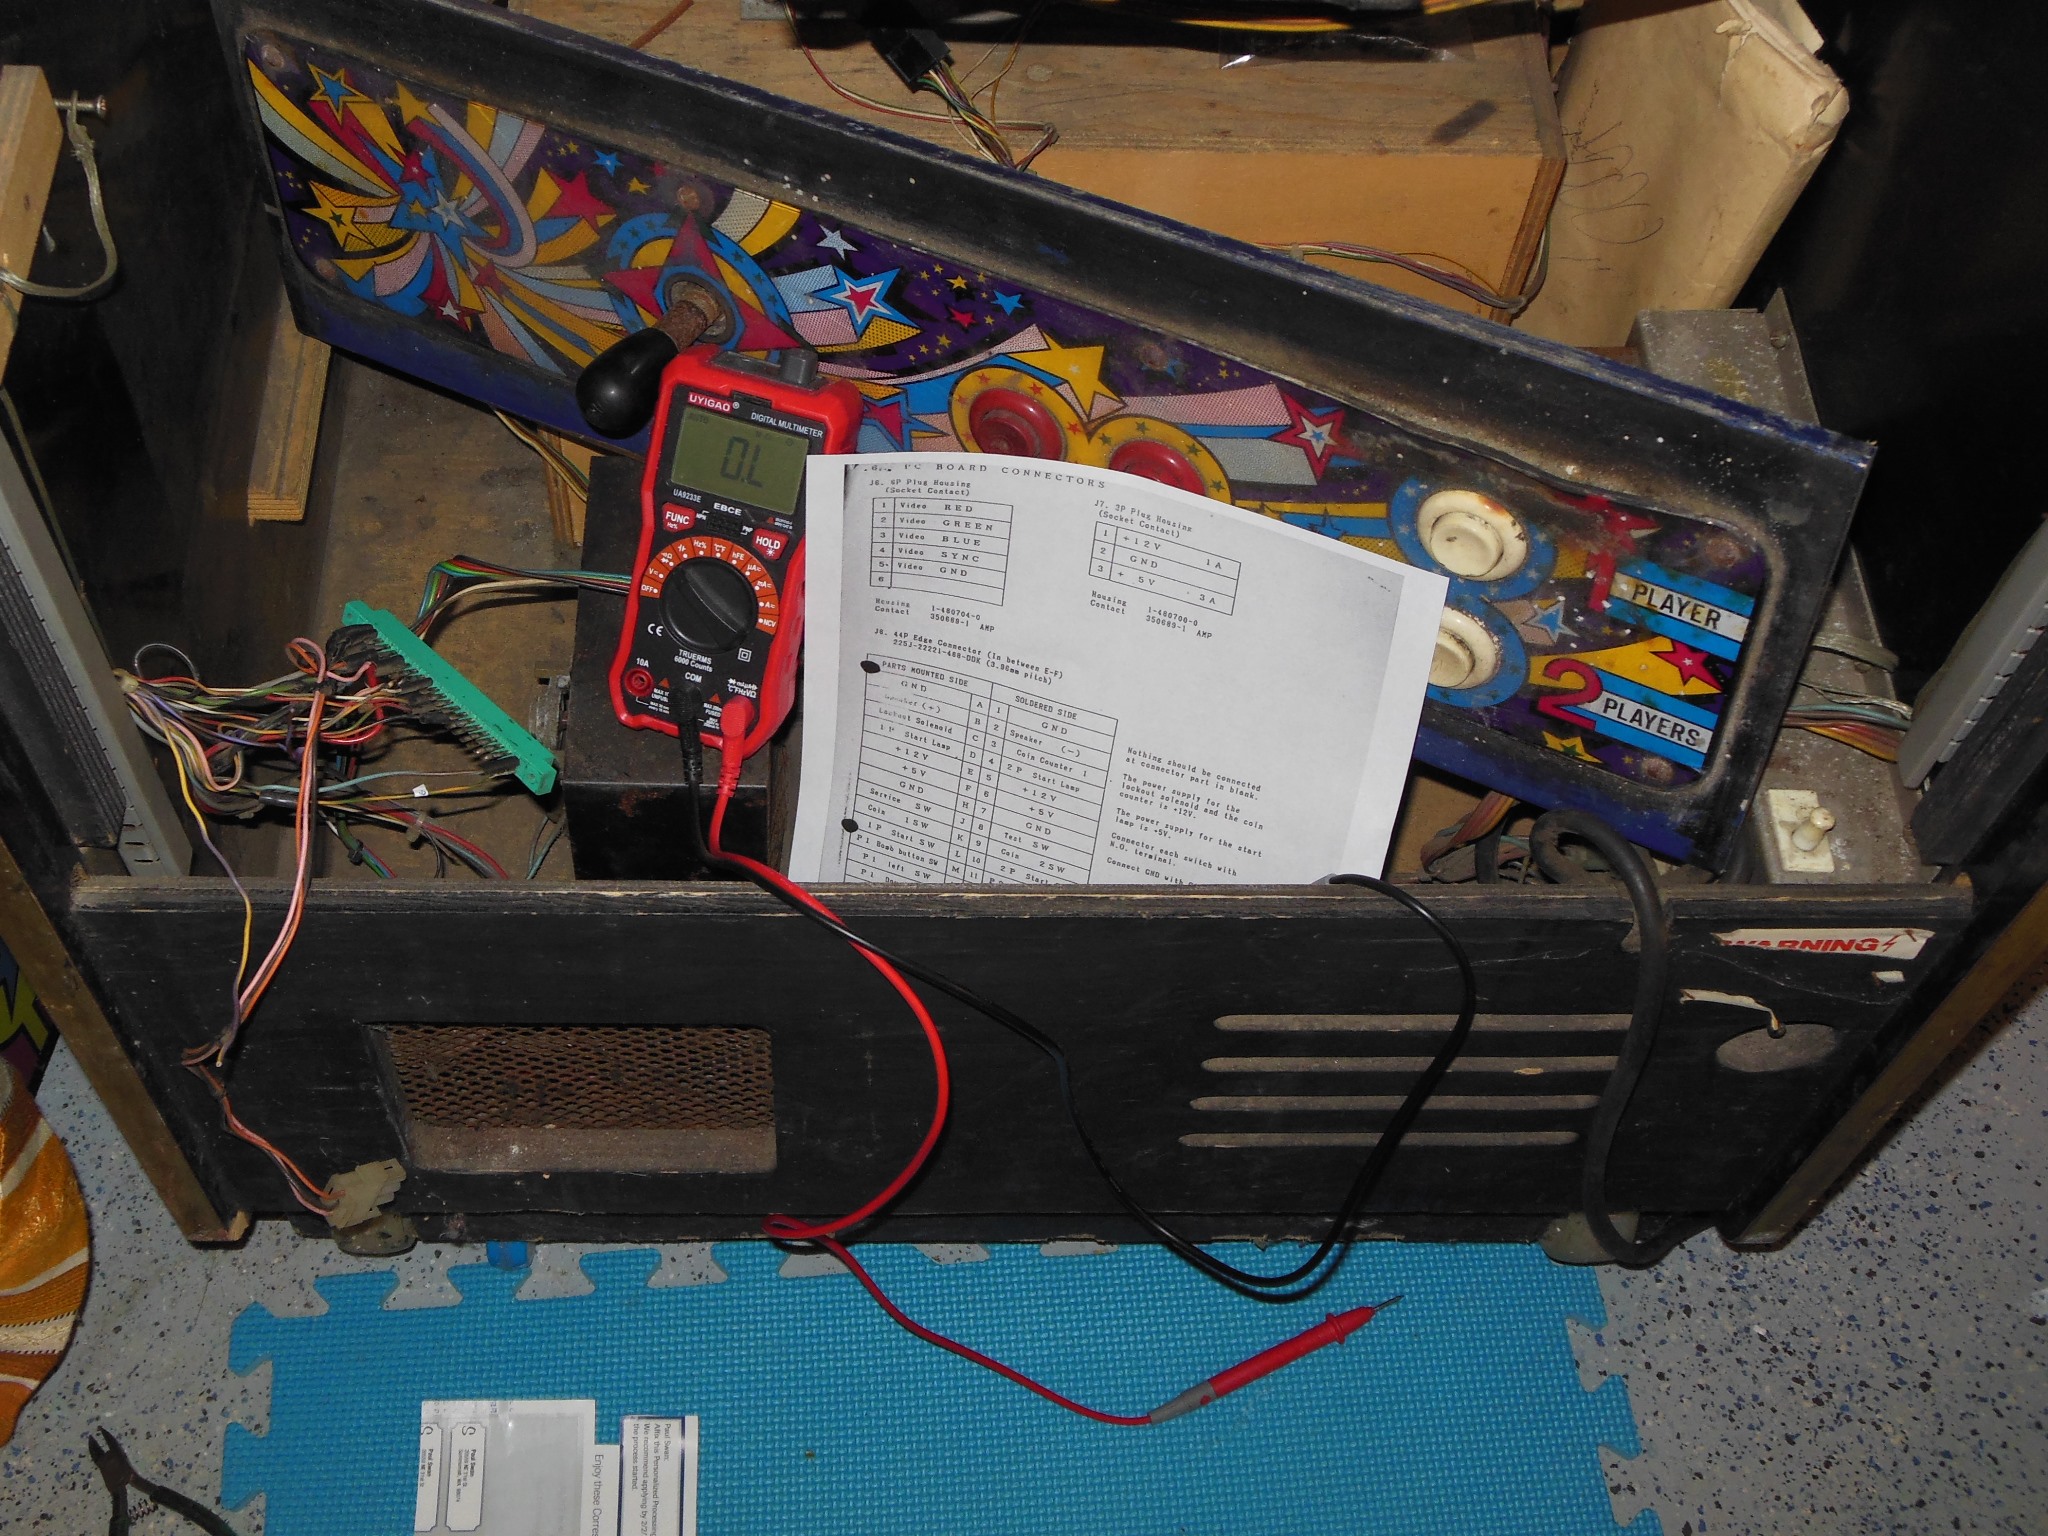
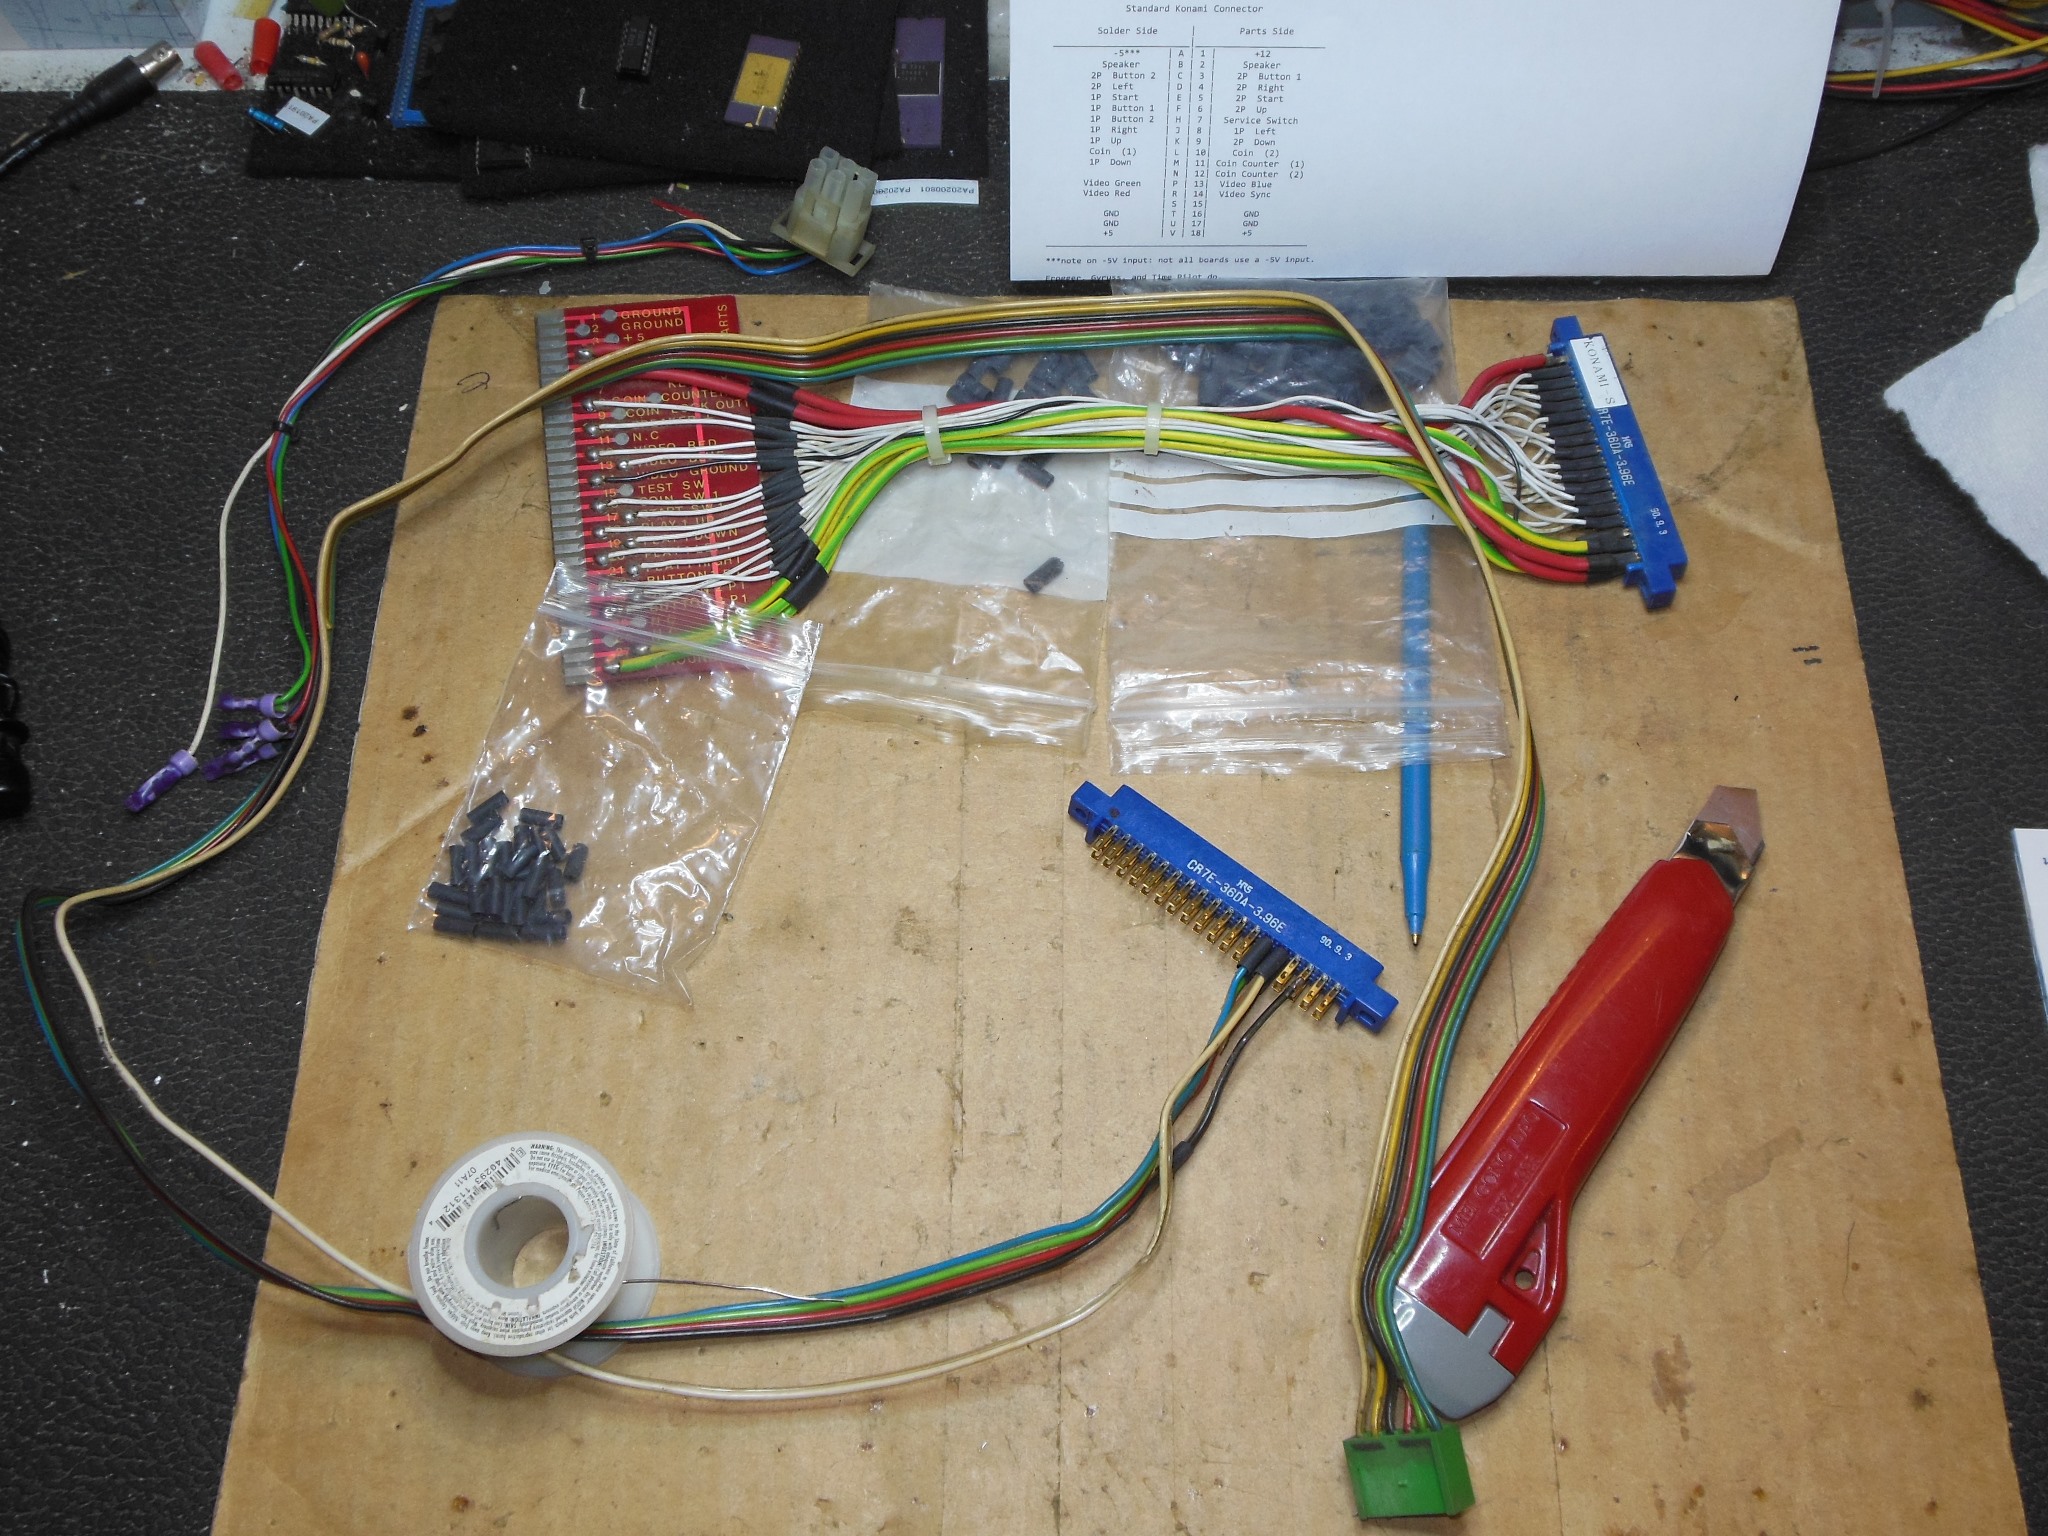
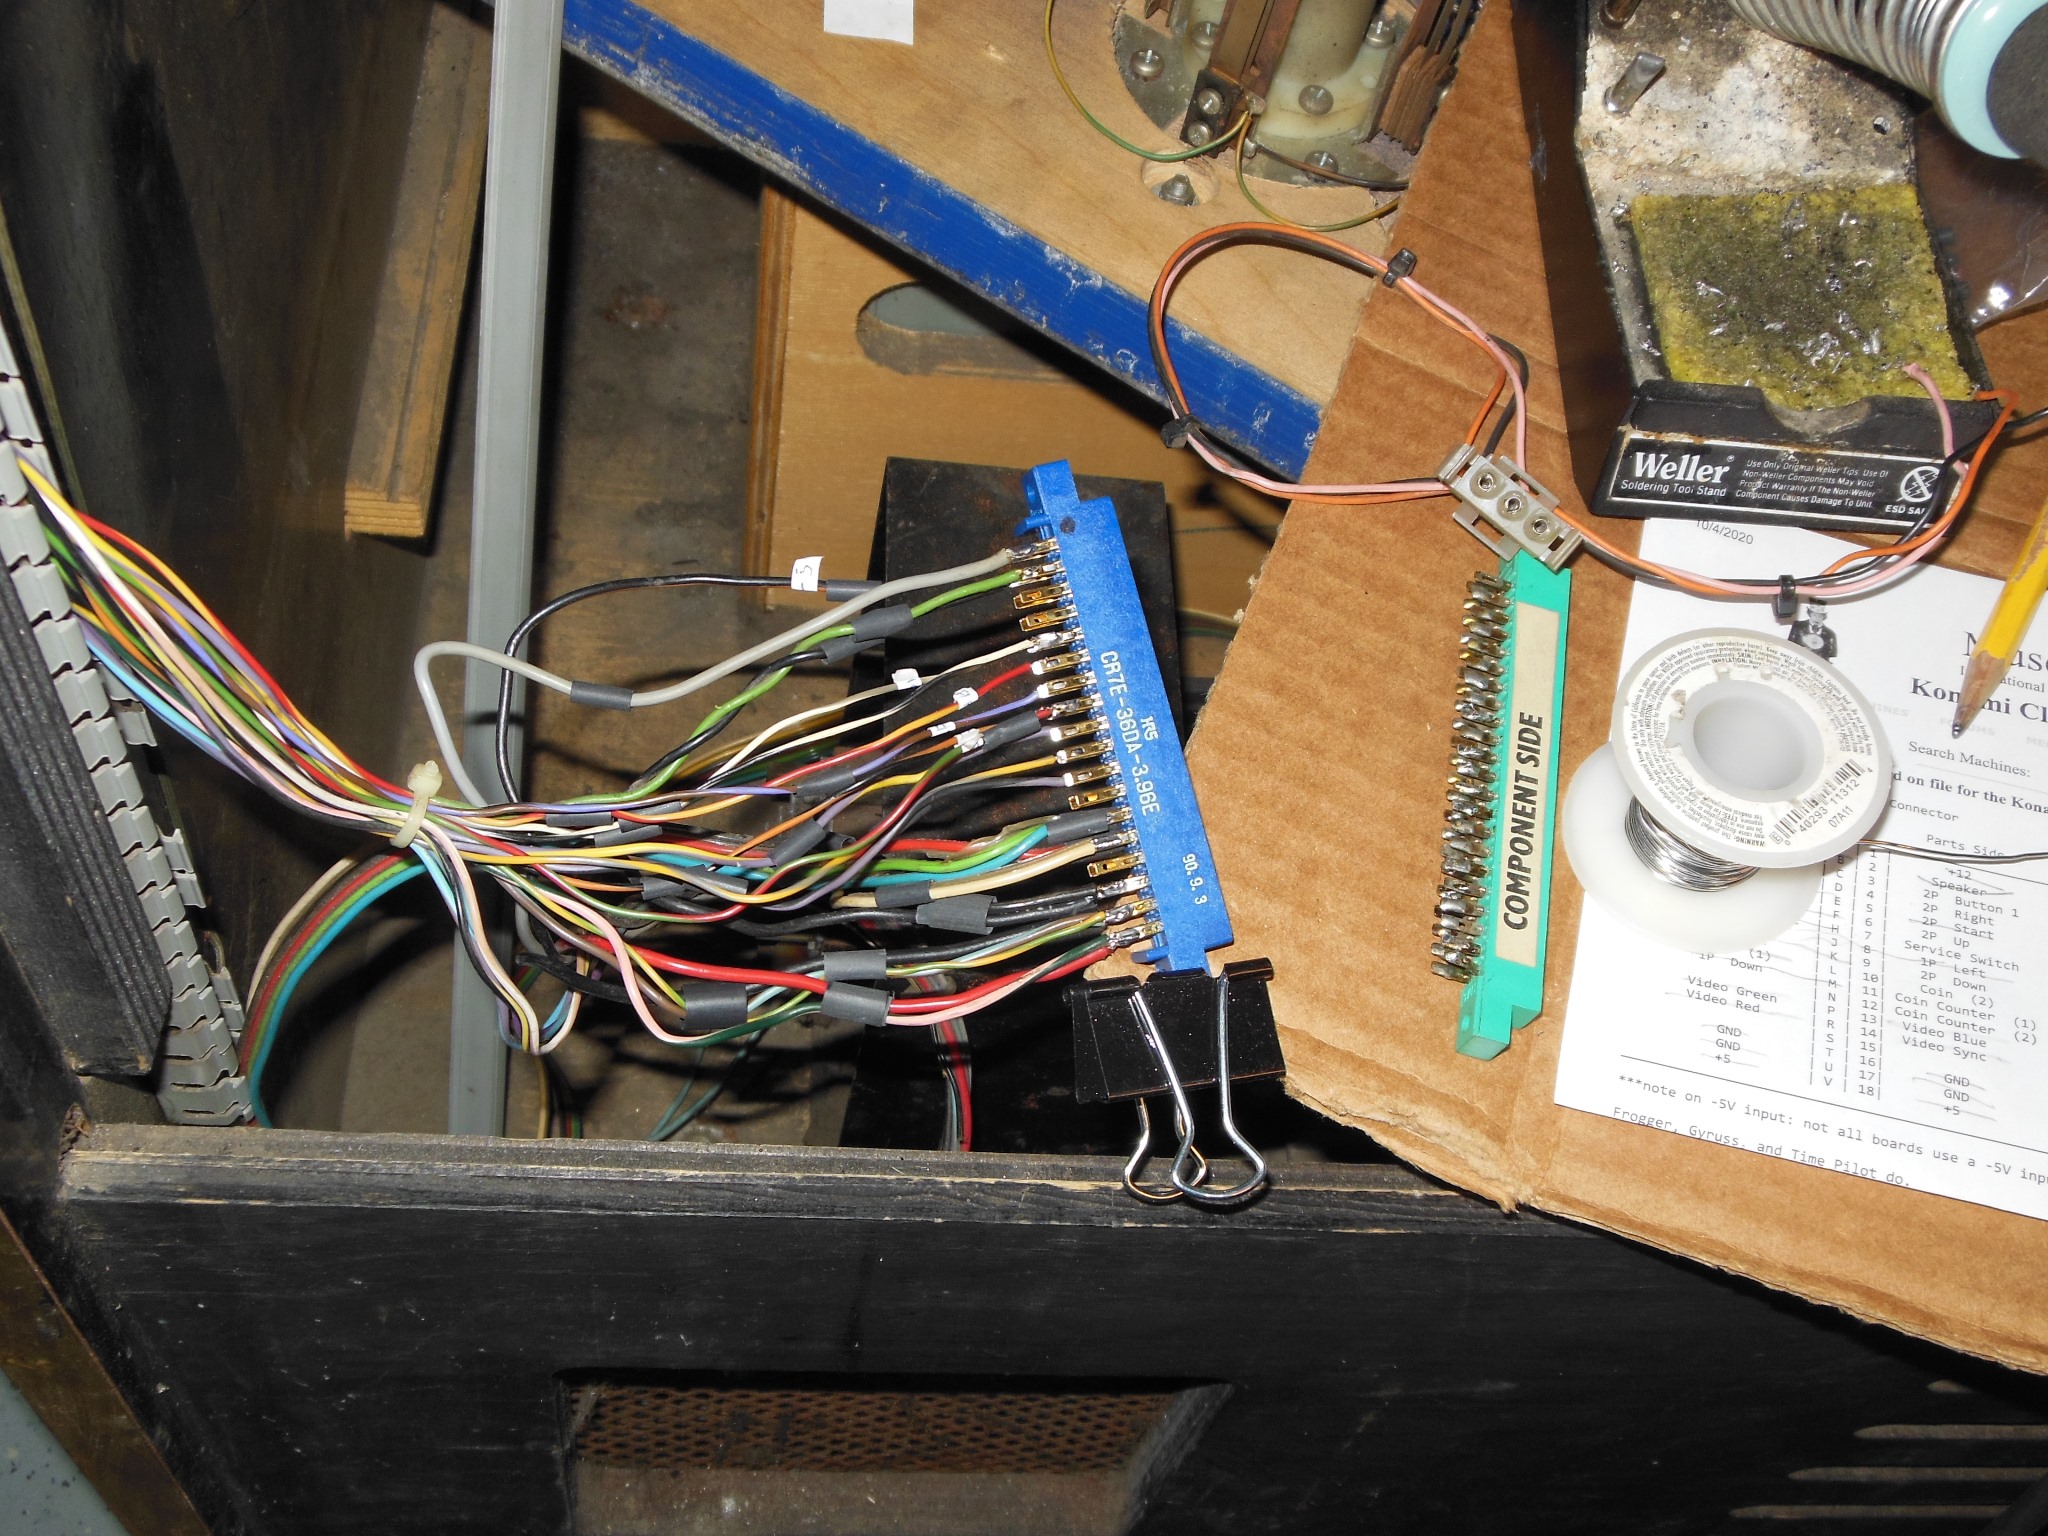
Comparing the Namco pinout in the cabinet with known pinouts found the Namco connector only had left, right and fire with no -5V. With the control panel nearby the remaining up, down and 2nd button loose wires were tagged along with -5V. The remaining cabinet wires on the edge connector were also verified & tagged.
|
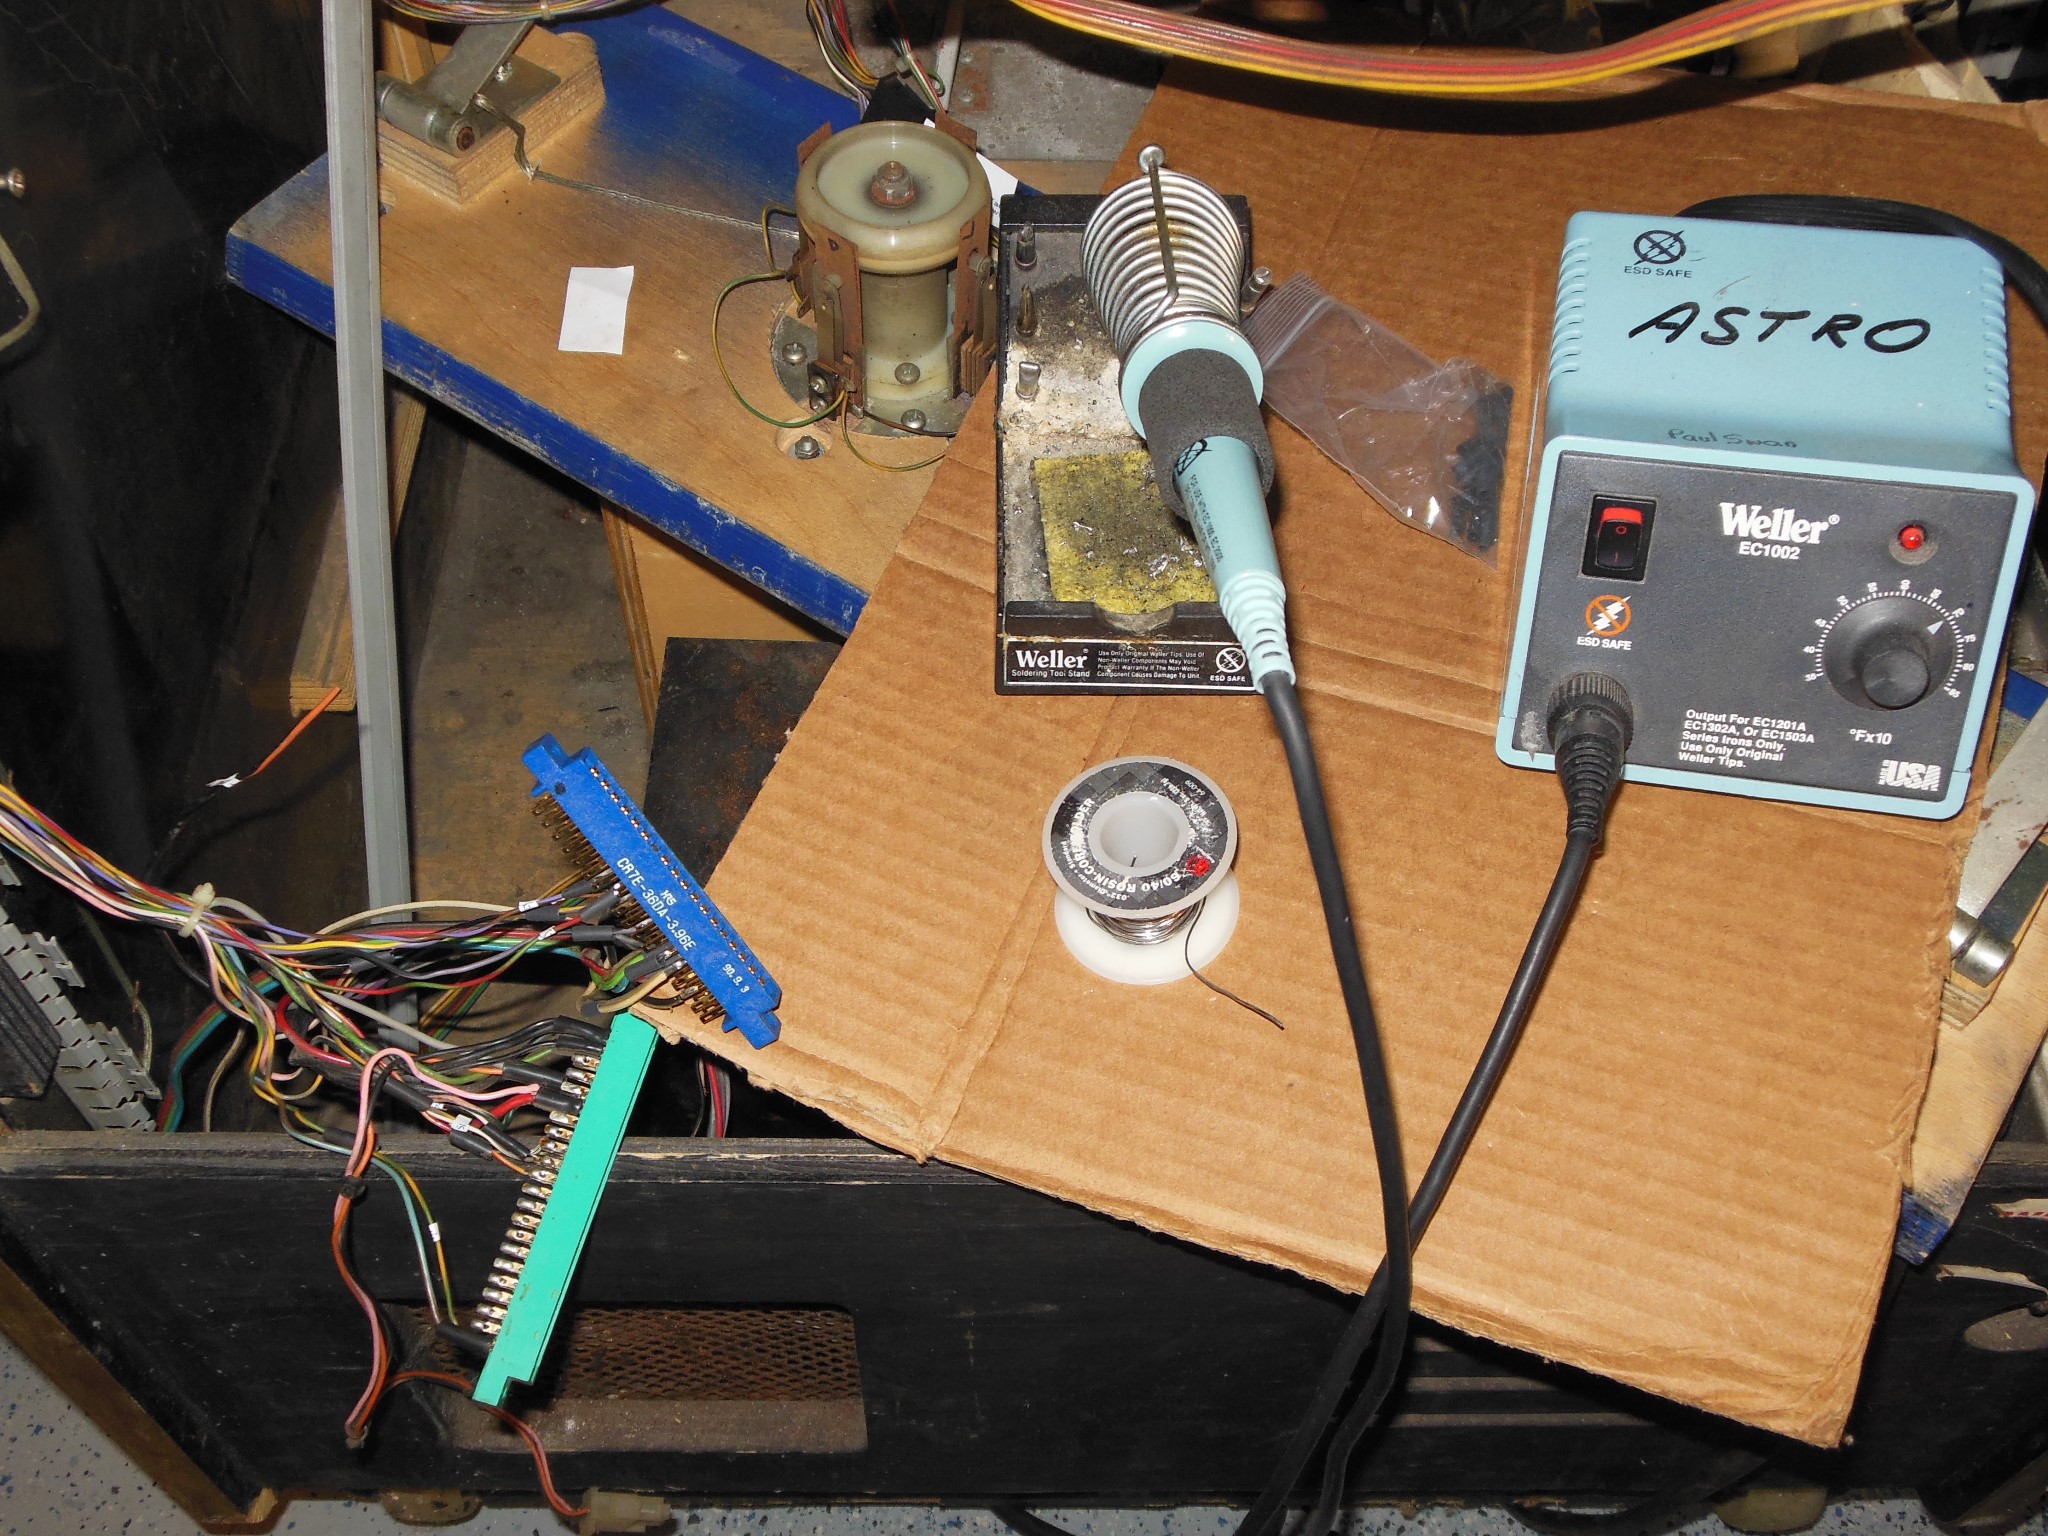
The Hantarex video cable was connected on the bench and then the remaining wires migrated from the Namco to the Konami connector in the cabinet.
|
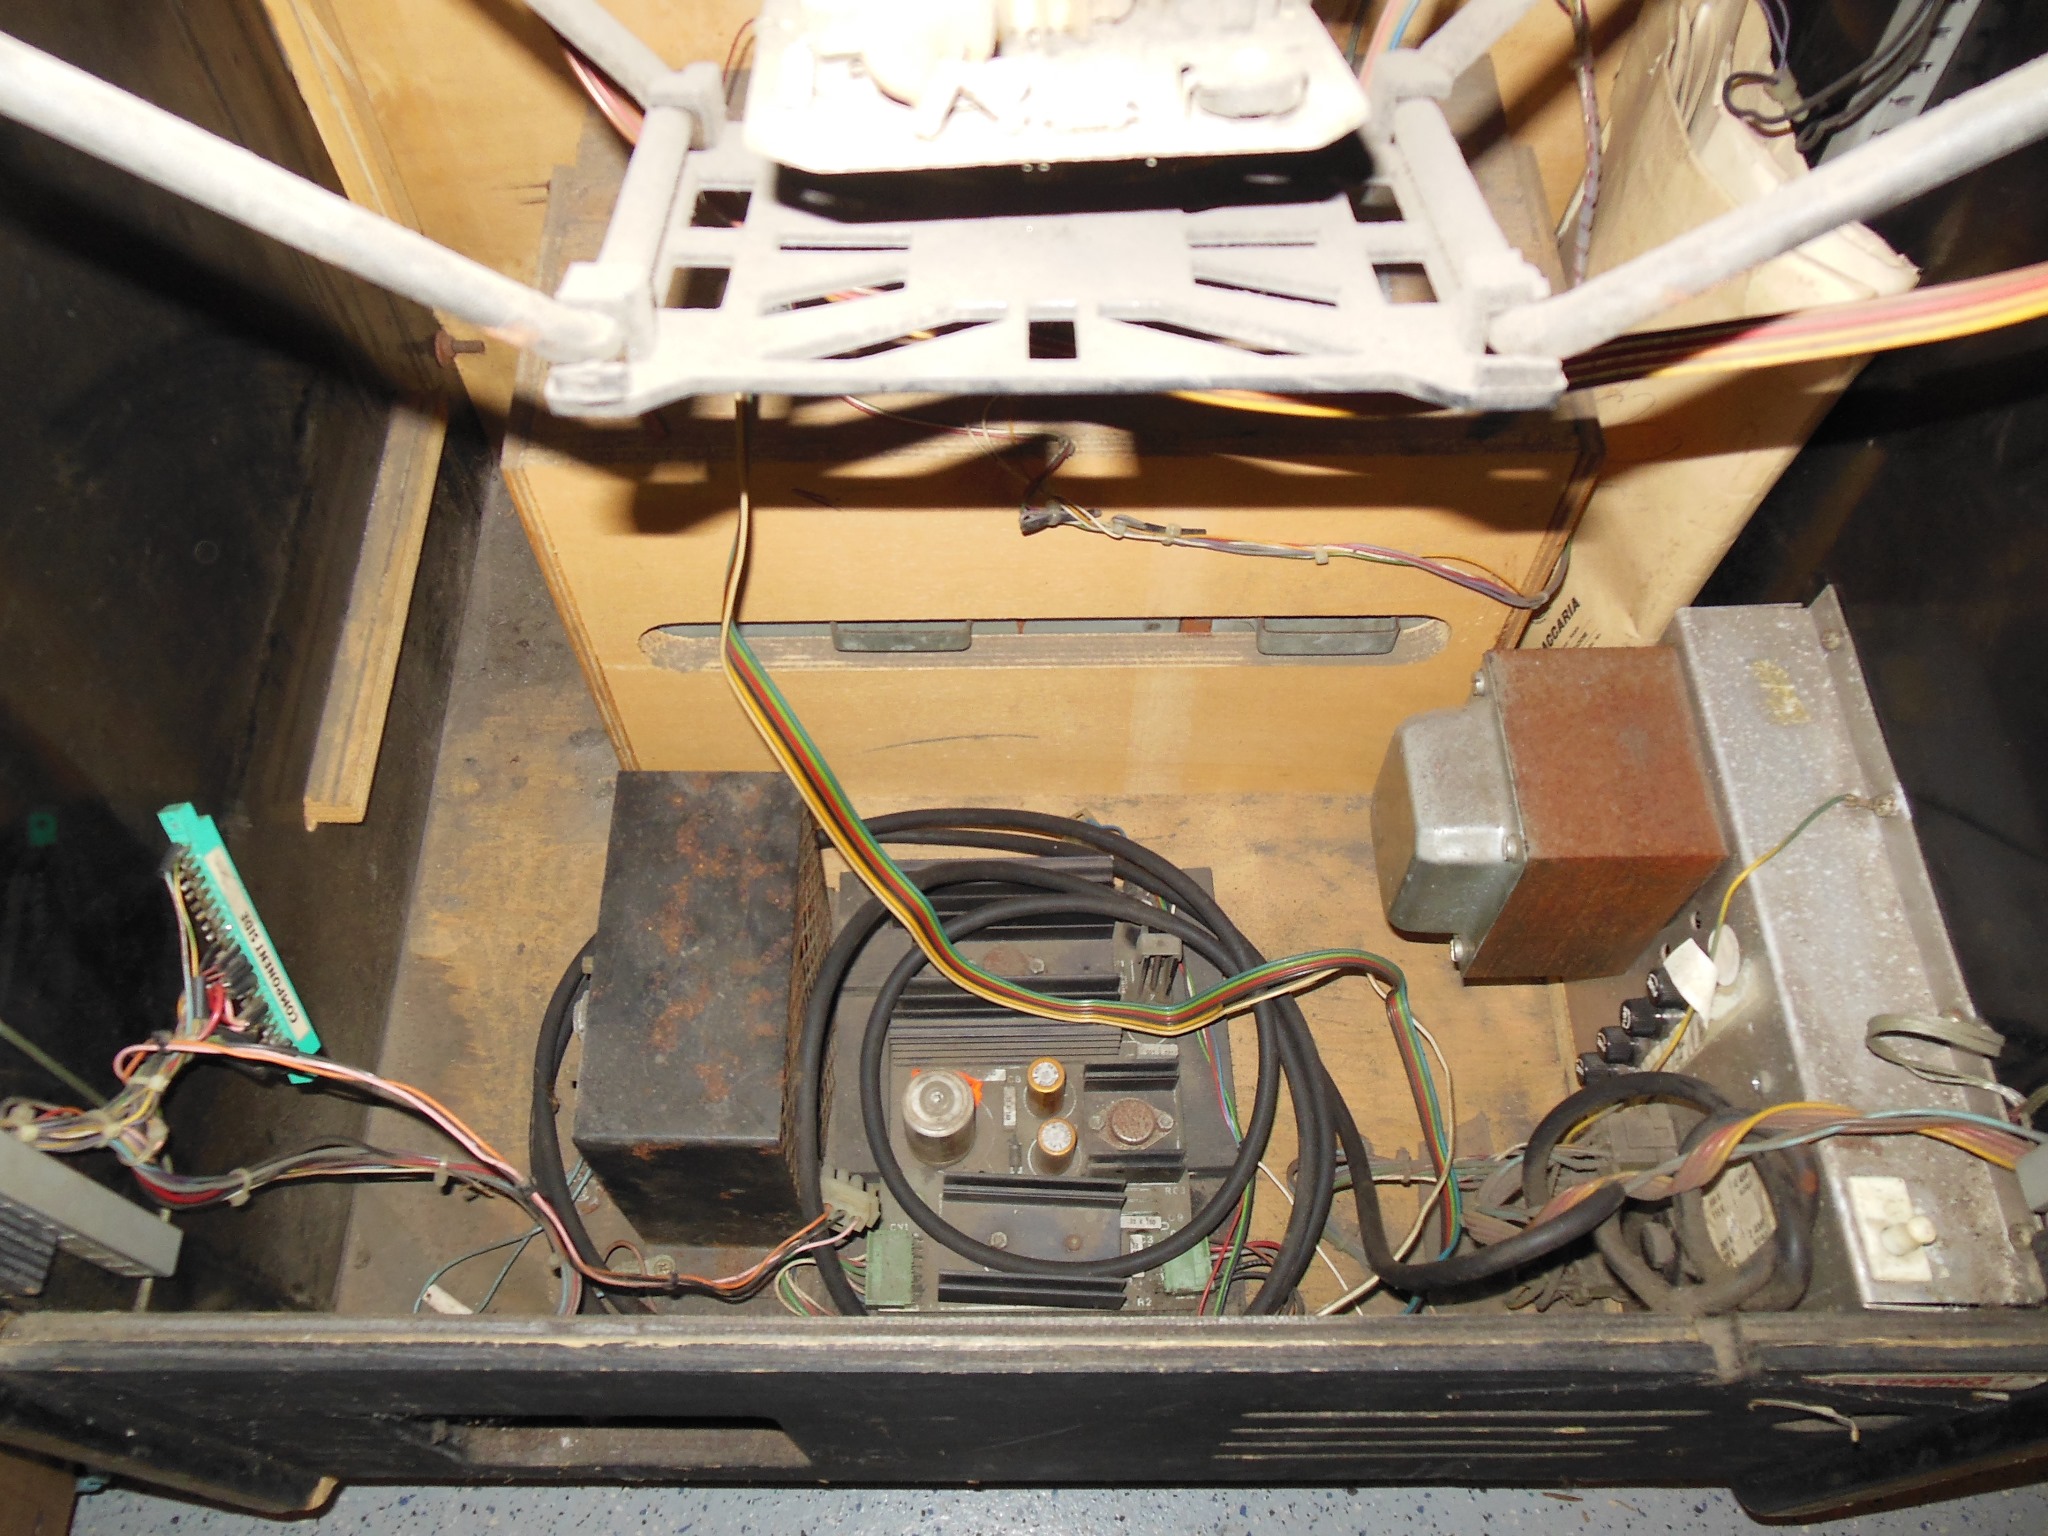
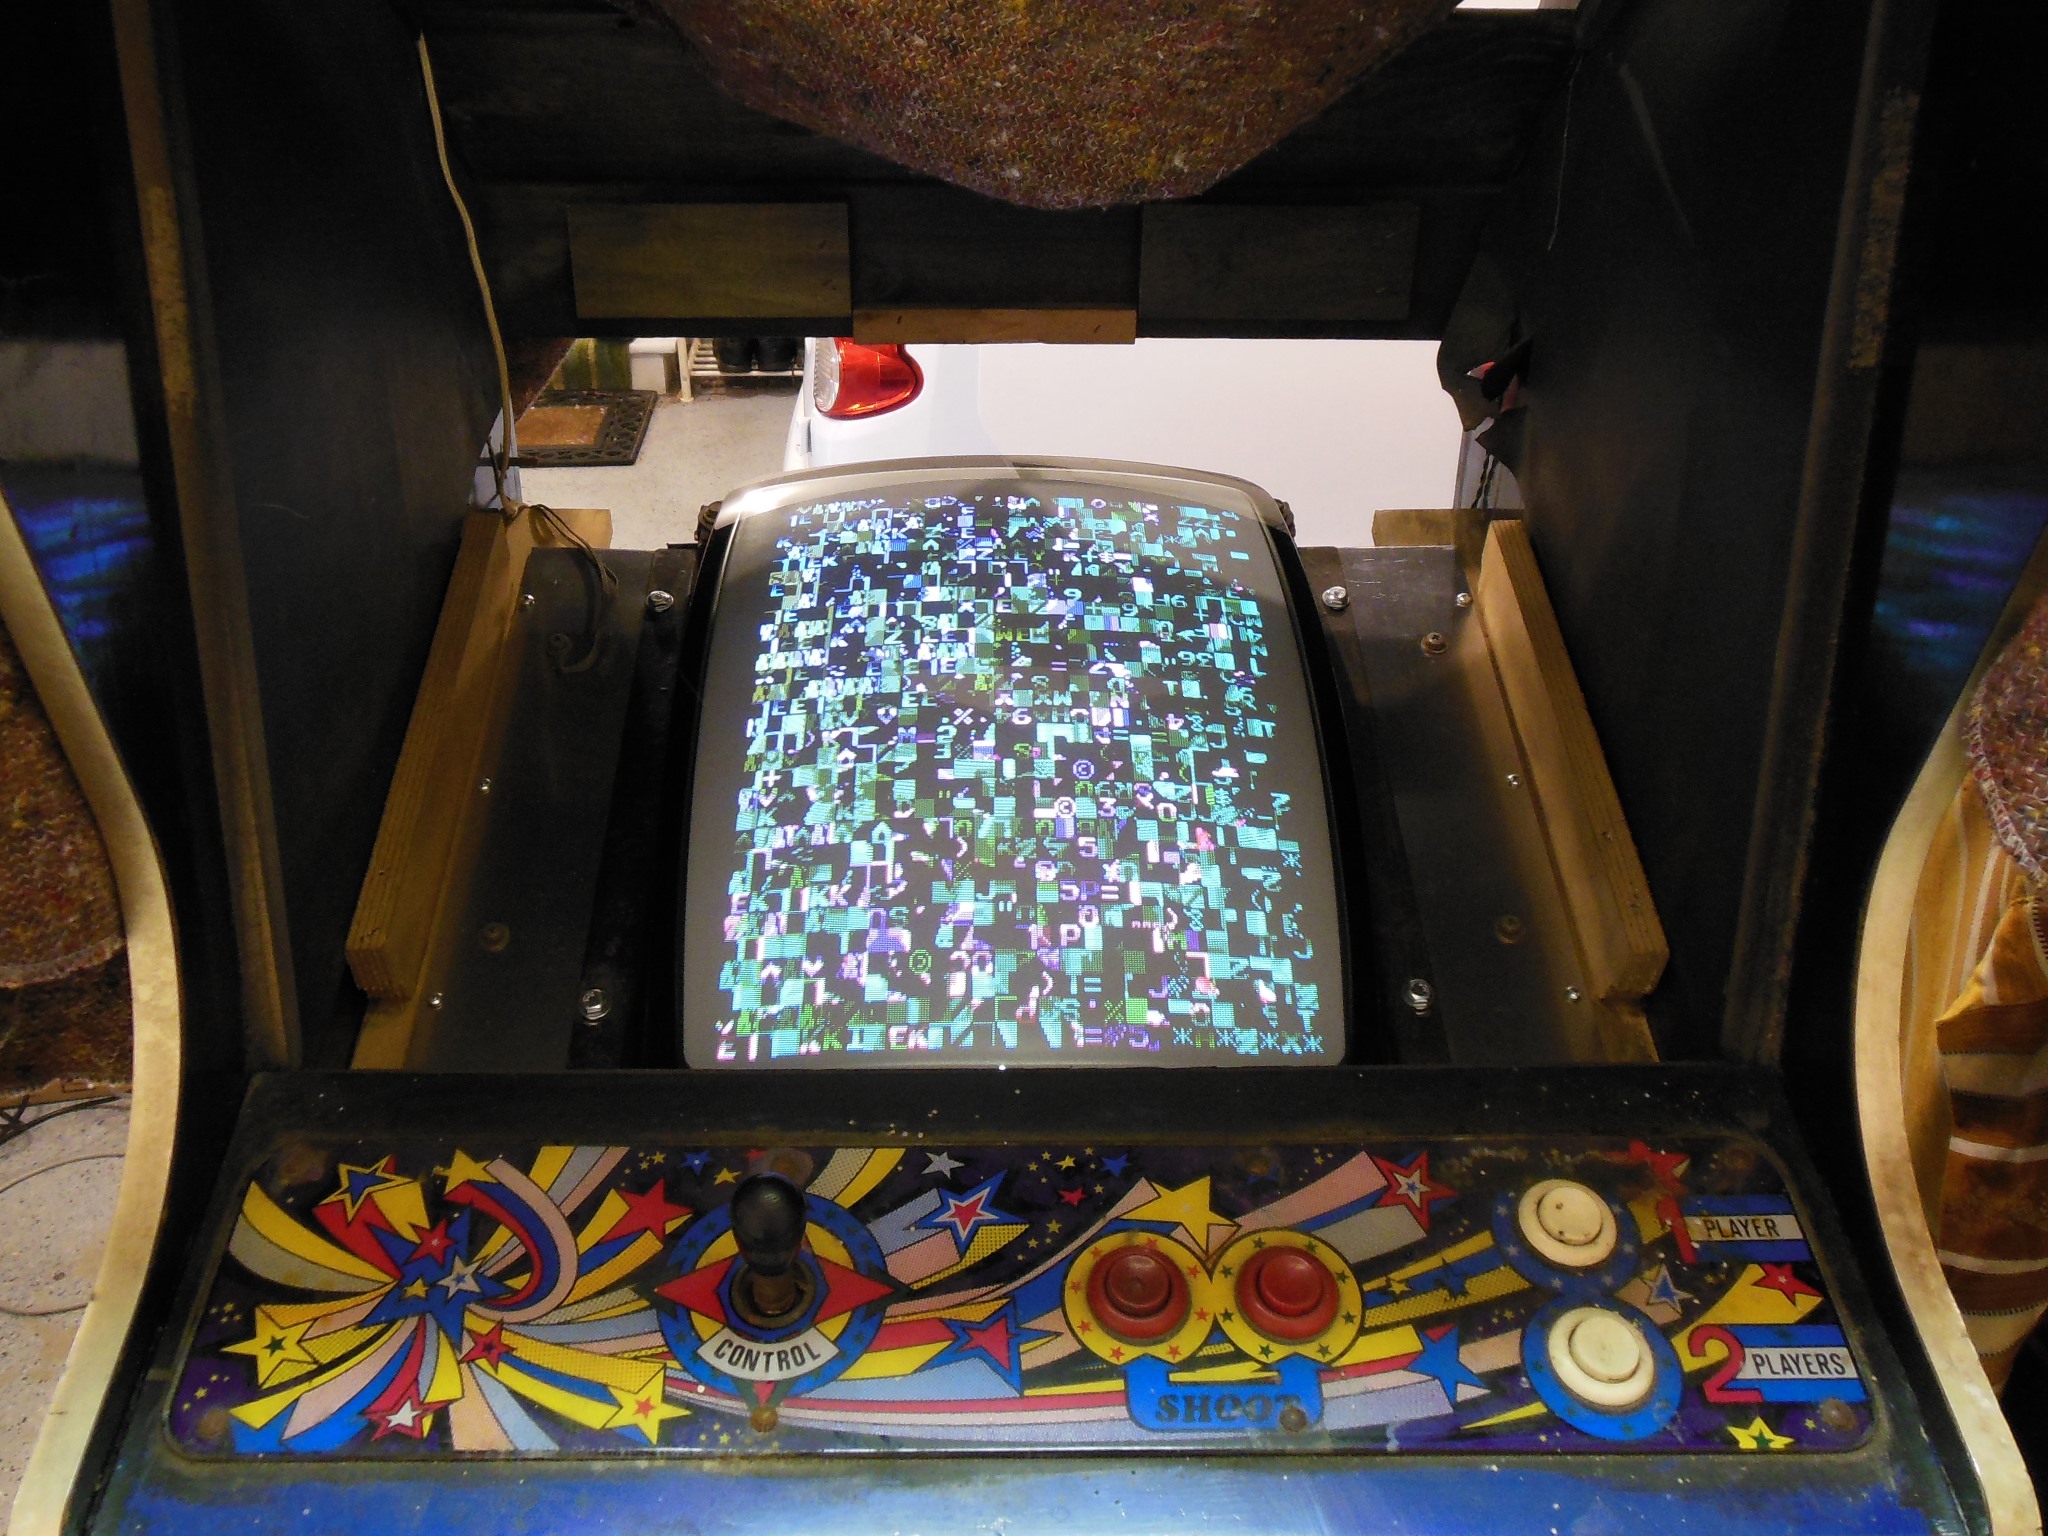
On first power on there was no obvious life aside from a hum from the cabinet fan. The fan wasn't spinning and appeared to be seized so I disconnected it for now. With no game PCB, the +5V/+12V/-5V power supplies all measured OK. Checking the monitor power confirmed 215VAC & 128VAC at the power plug and thus the monitor was dead. One coin switch triggered two bumps of the coin counter that confirmed the credit board was active.
|
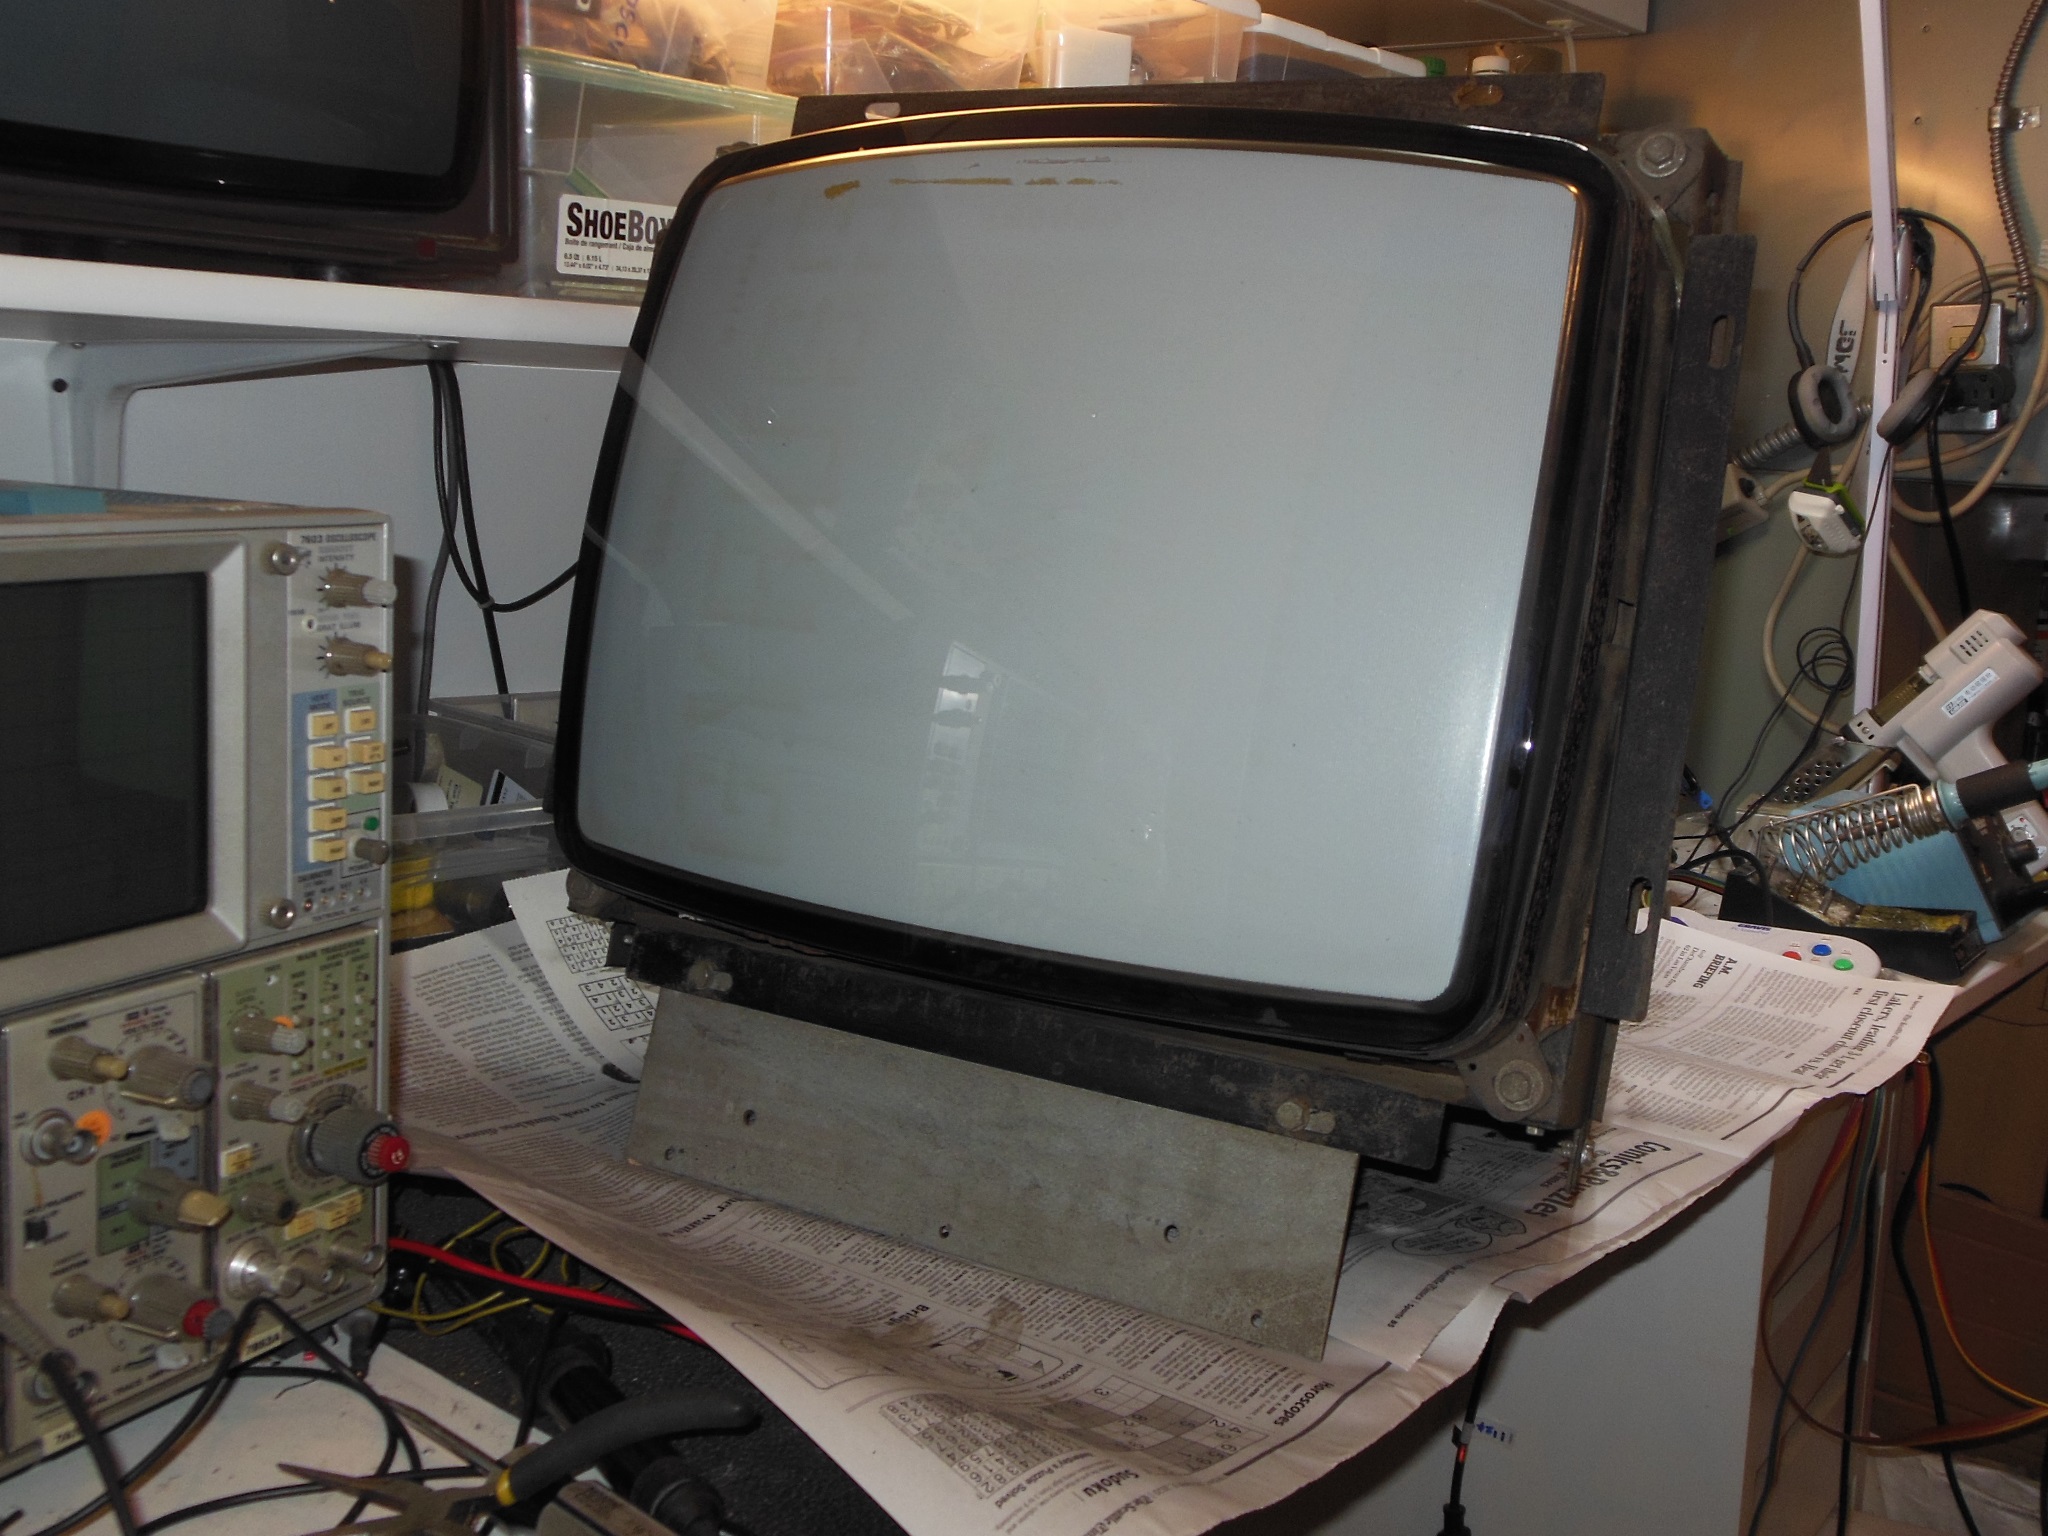
The monitor was removed for repair. There were no hacks associated with the horizontal configuration in this cabinet because it was already intended to support both horizontal and vertical monitor mounts unlike previous dedicated cabinets that were mostly fixed vertical.
|
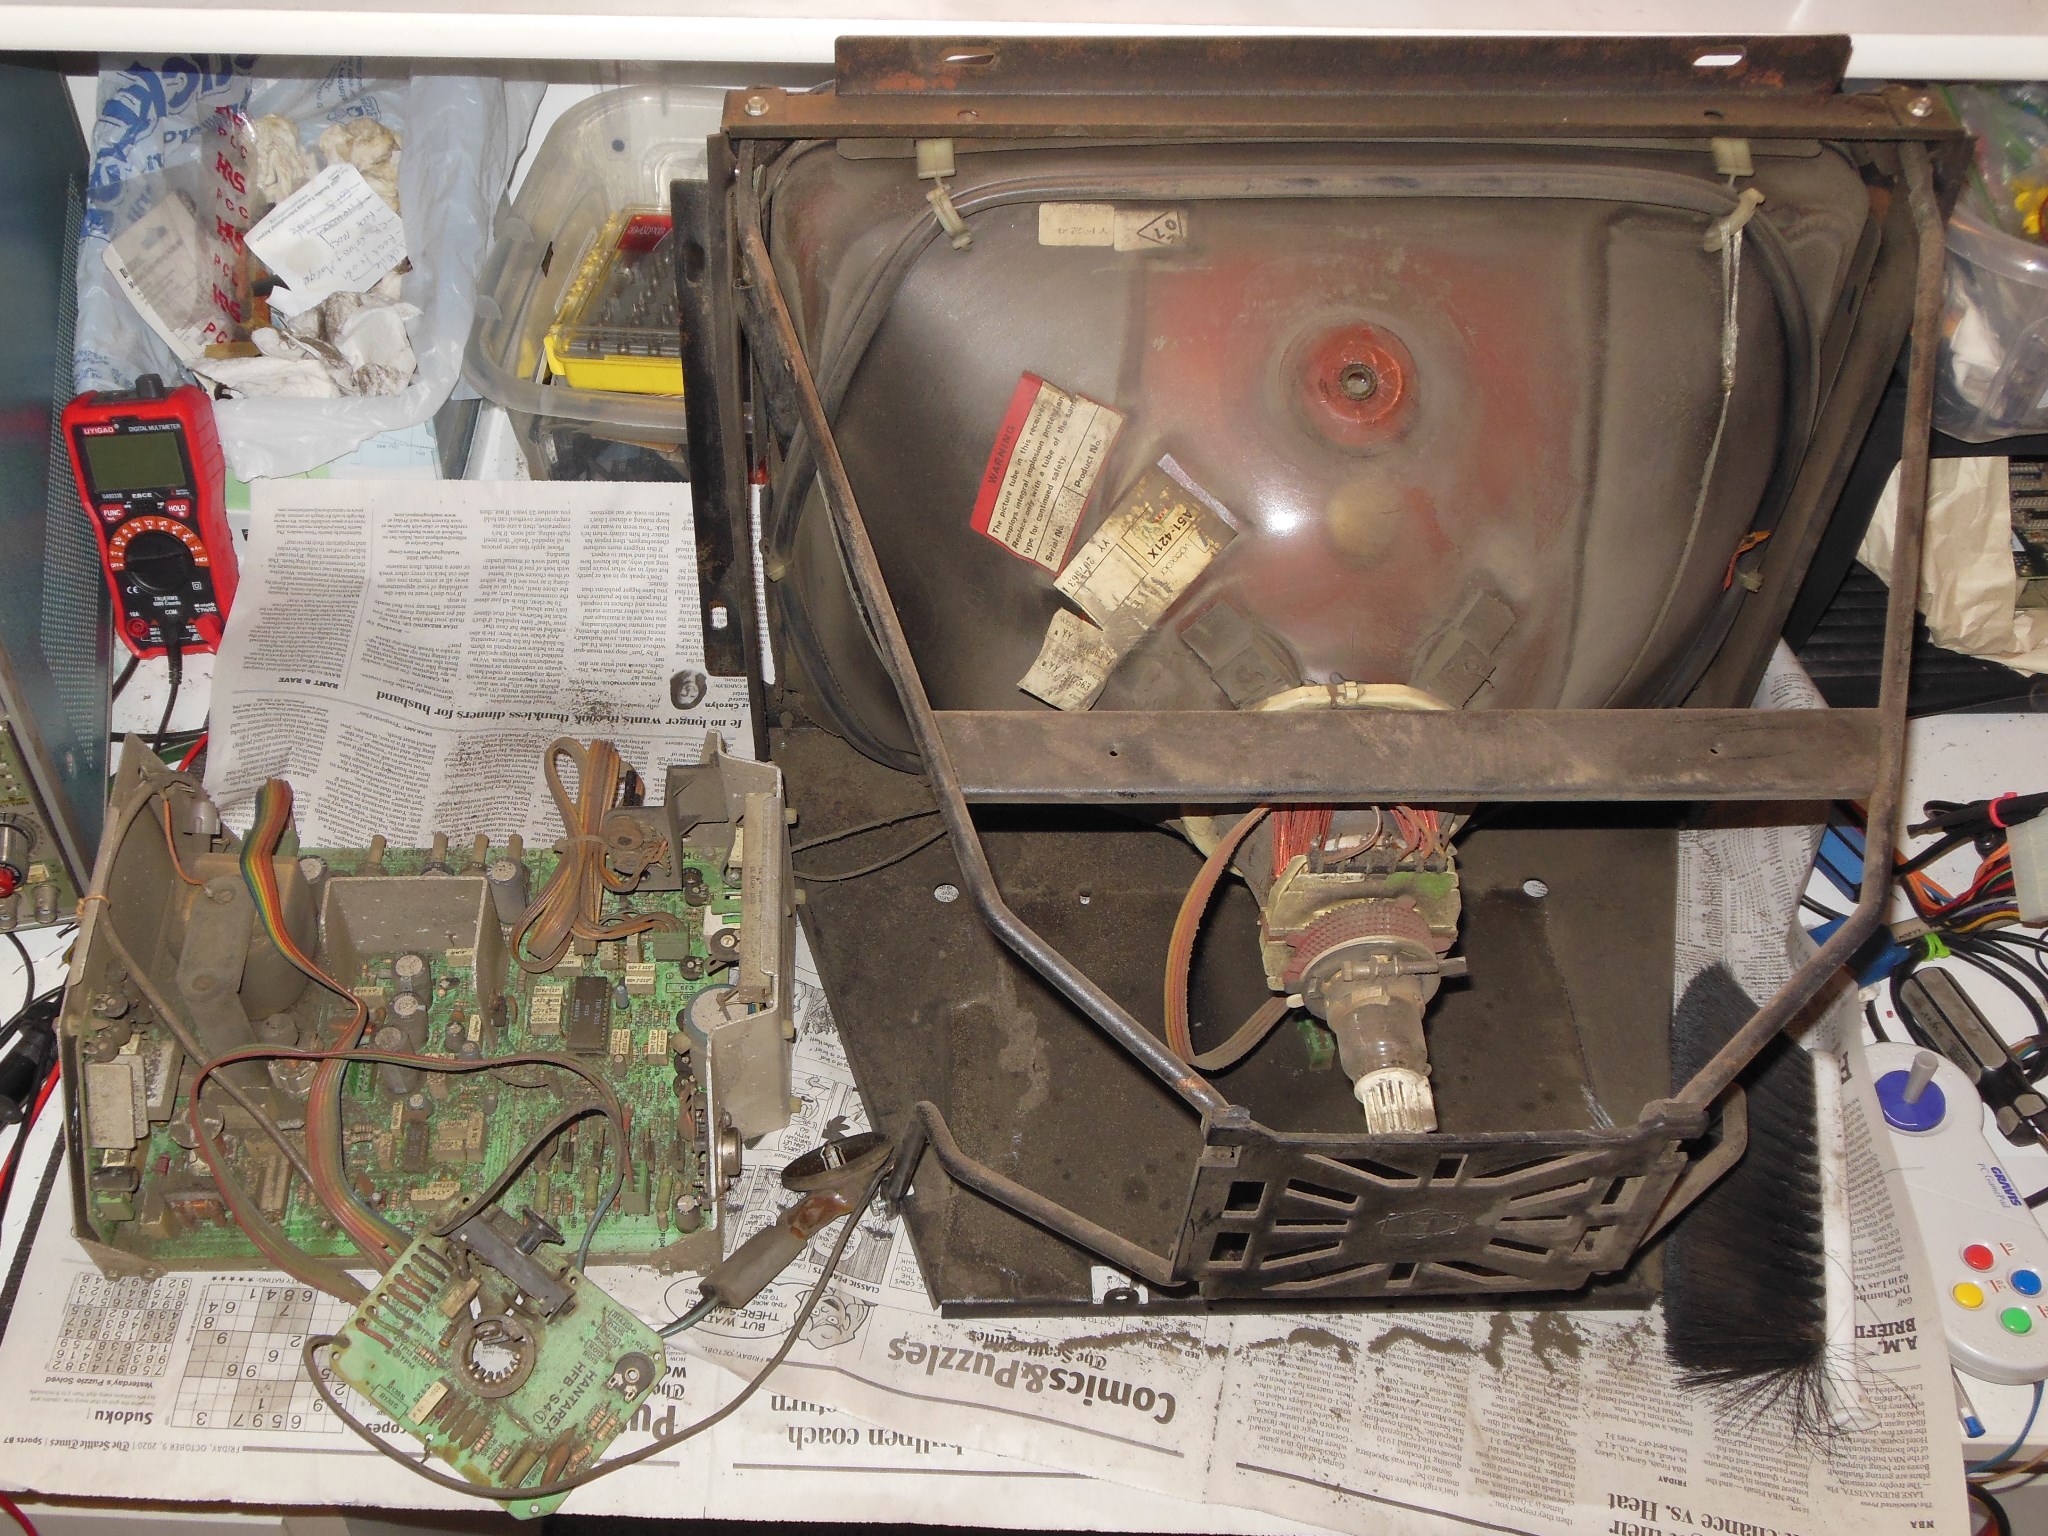
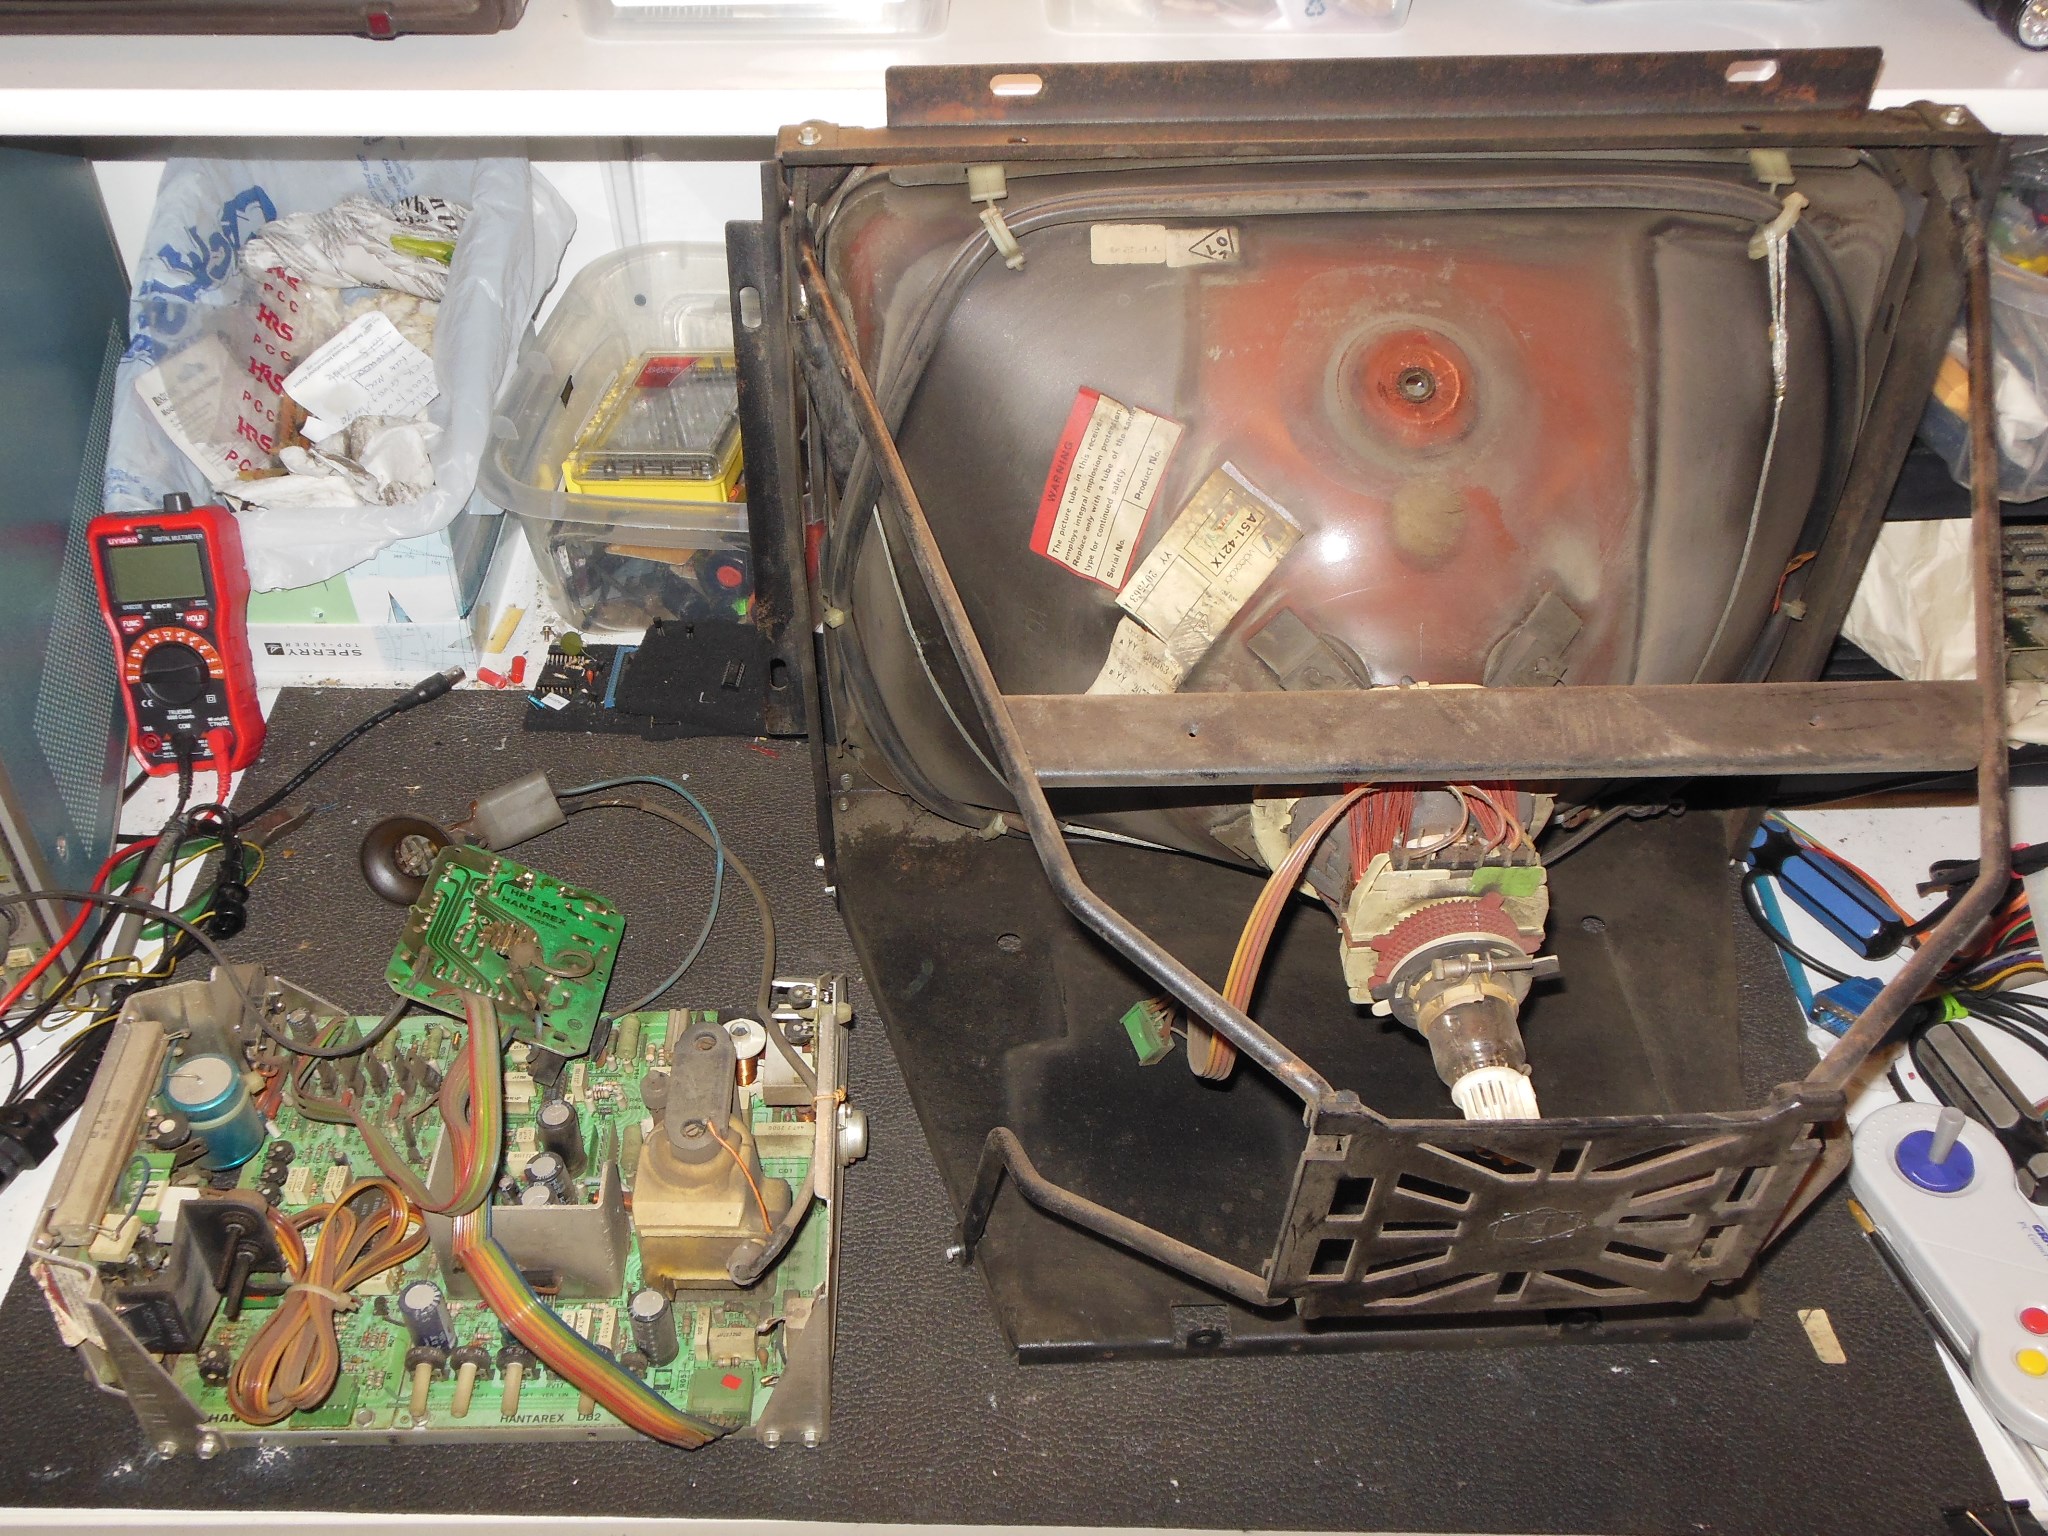
Like the rest of the cabinet the monitor was very dirty and cleaned off with large soft brush.
|
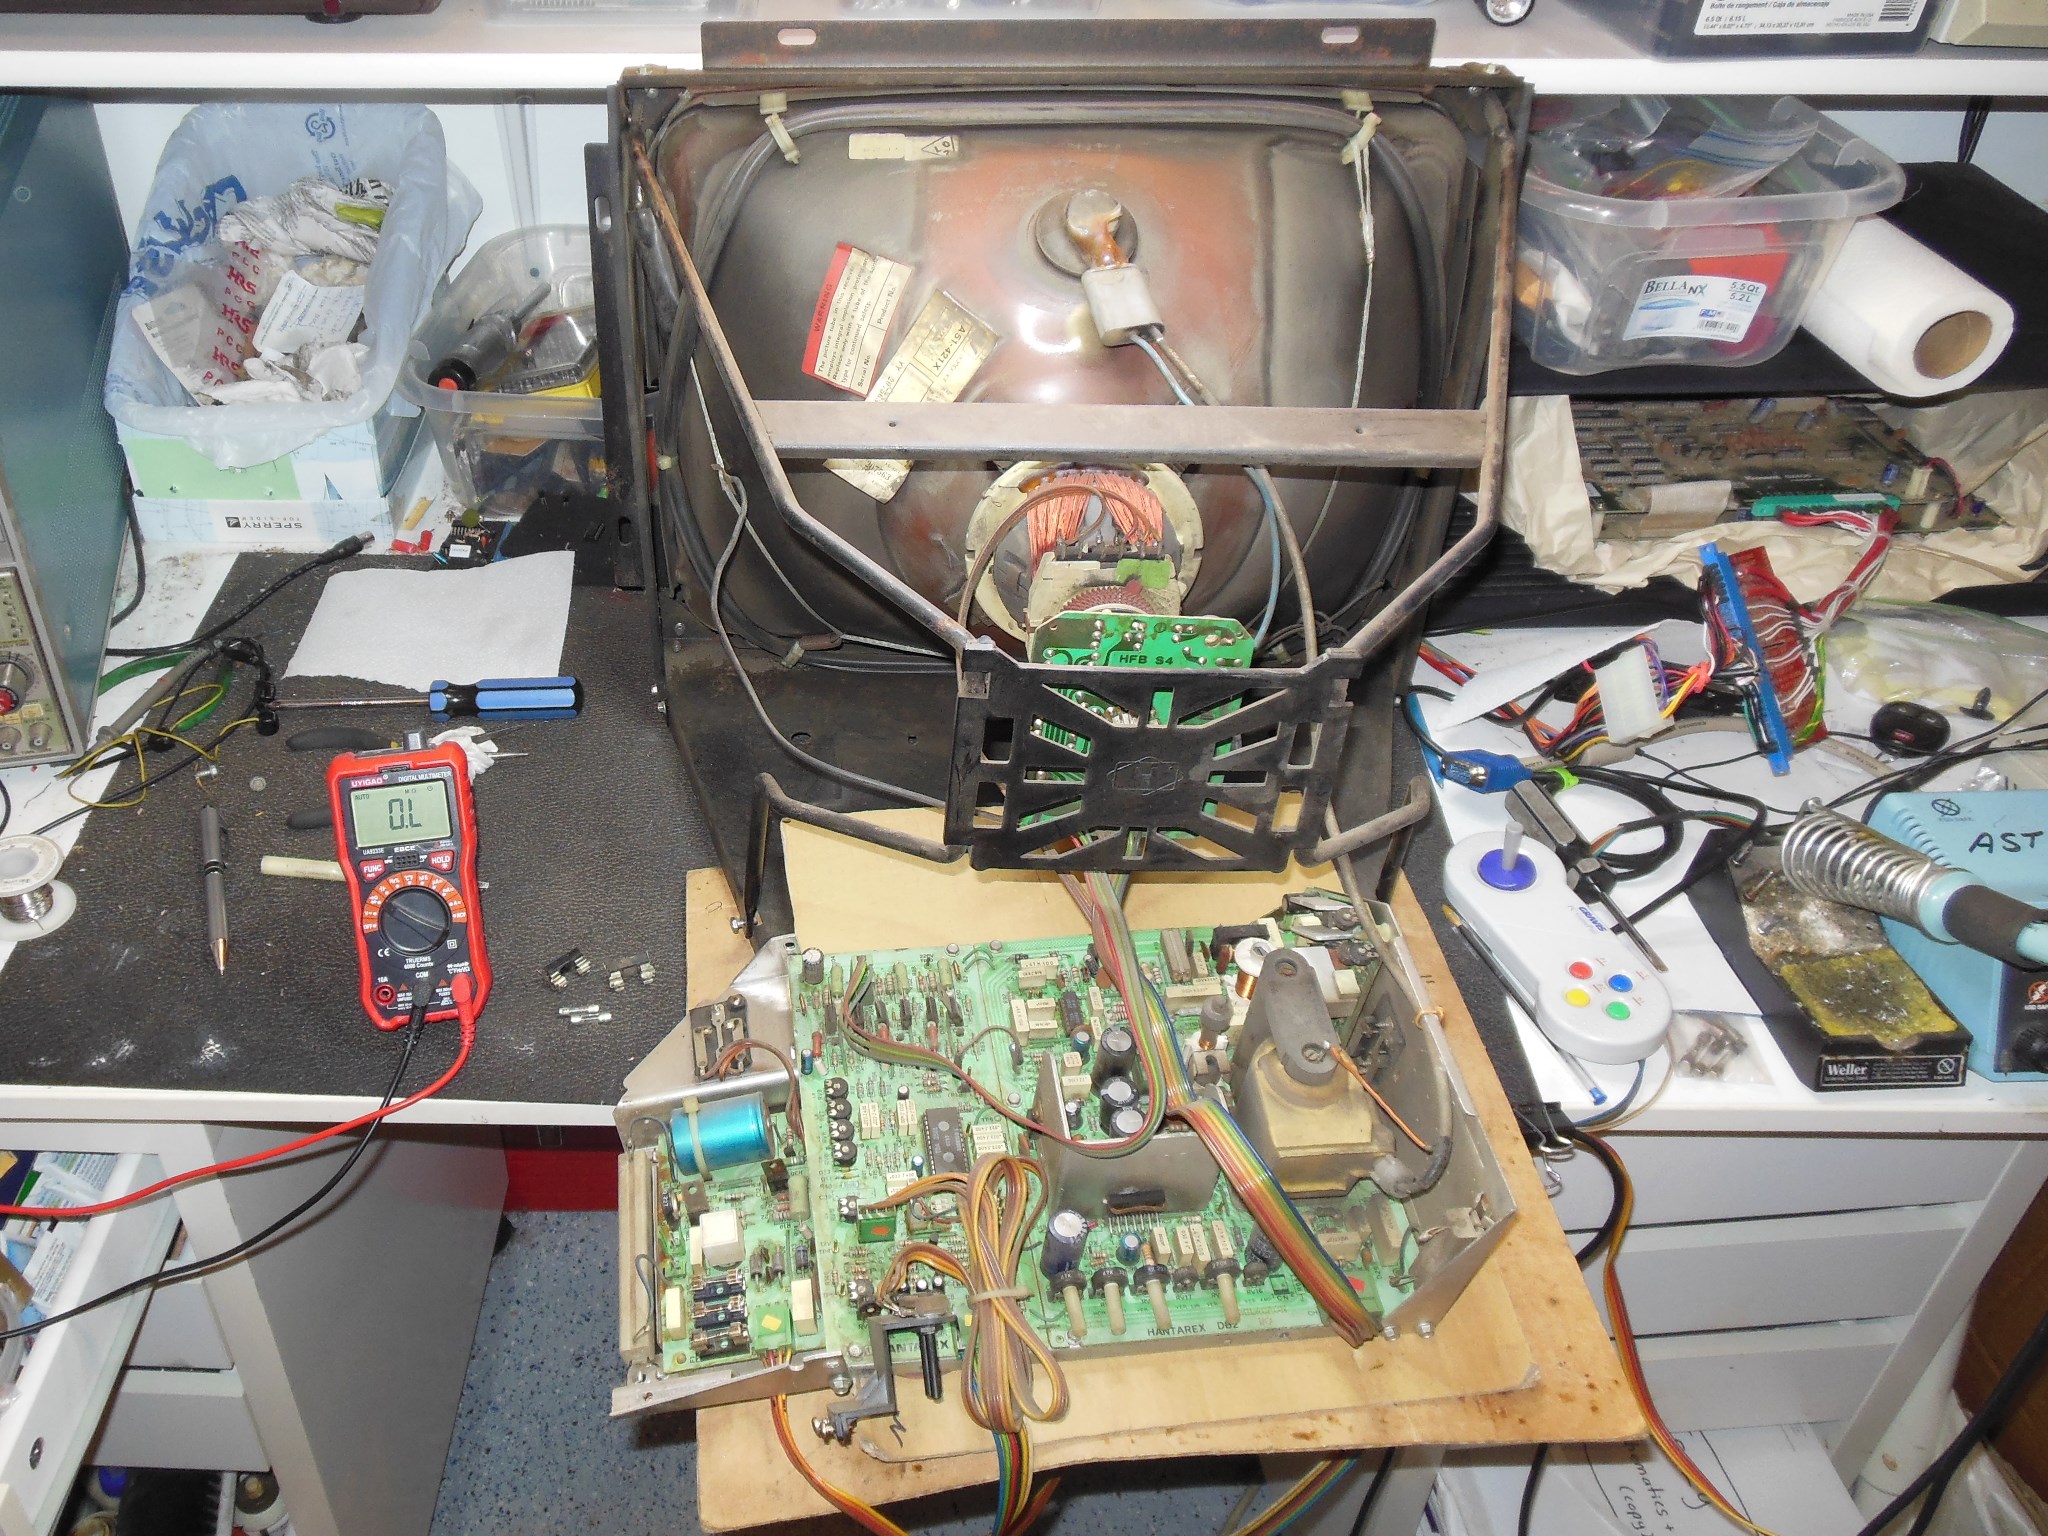
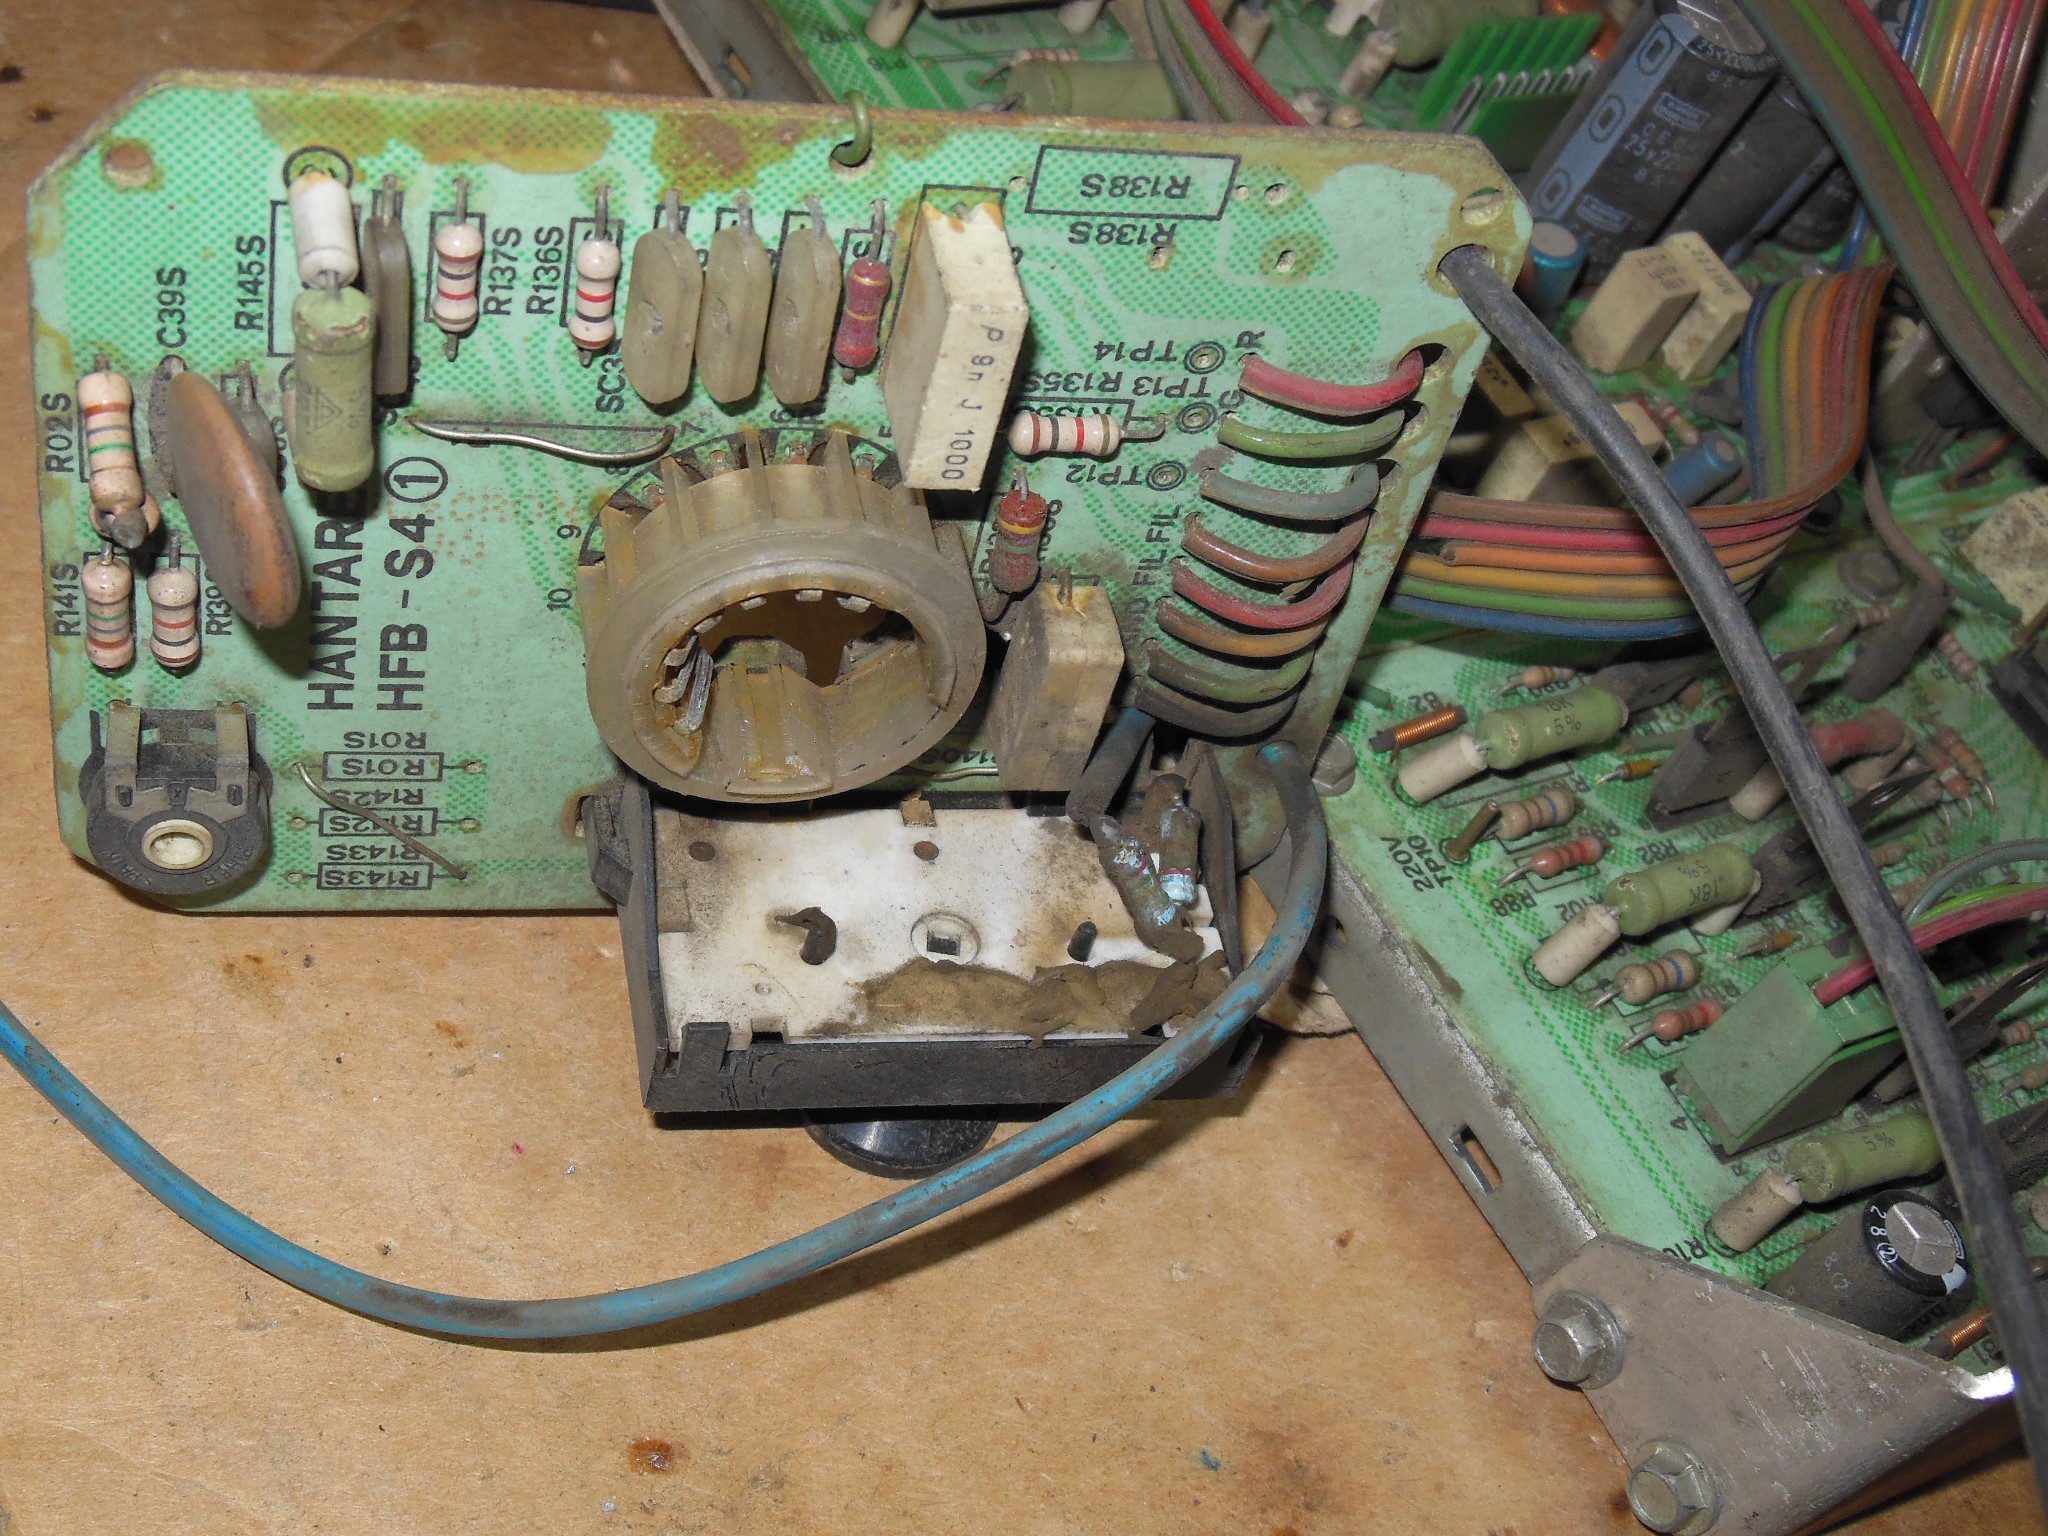
The cleaning revealed corroded fuses & holders that a multimeter measured open. After replacing both the monitor was still dead. Checking B+ at the yoke found 183VDC that was likely with no-load open voltage. Checking the boot strap voltage at IC2 (TDA2593) pins 1 & 2 found 7.44V OK and output drive pin 3 active. Checking TH2 found no signal on the 180VDC size. A meter check on TH2 found that it appeared open circuit. The left pair measured 720KOhm versus 81.2Ohm on a scrap chassis, both in circuit. Looking closely with a magnifier I was able to make out snapped wire on the TH2 post and replacing TH2 brought the chassis to life. After some minor adjustments the picture looked good.
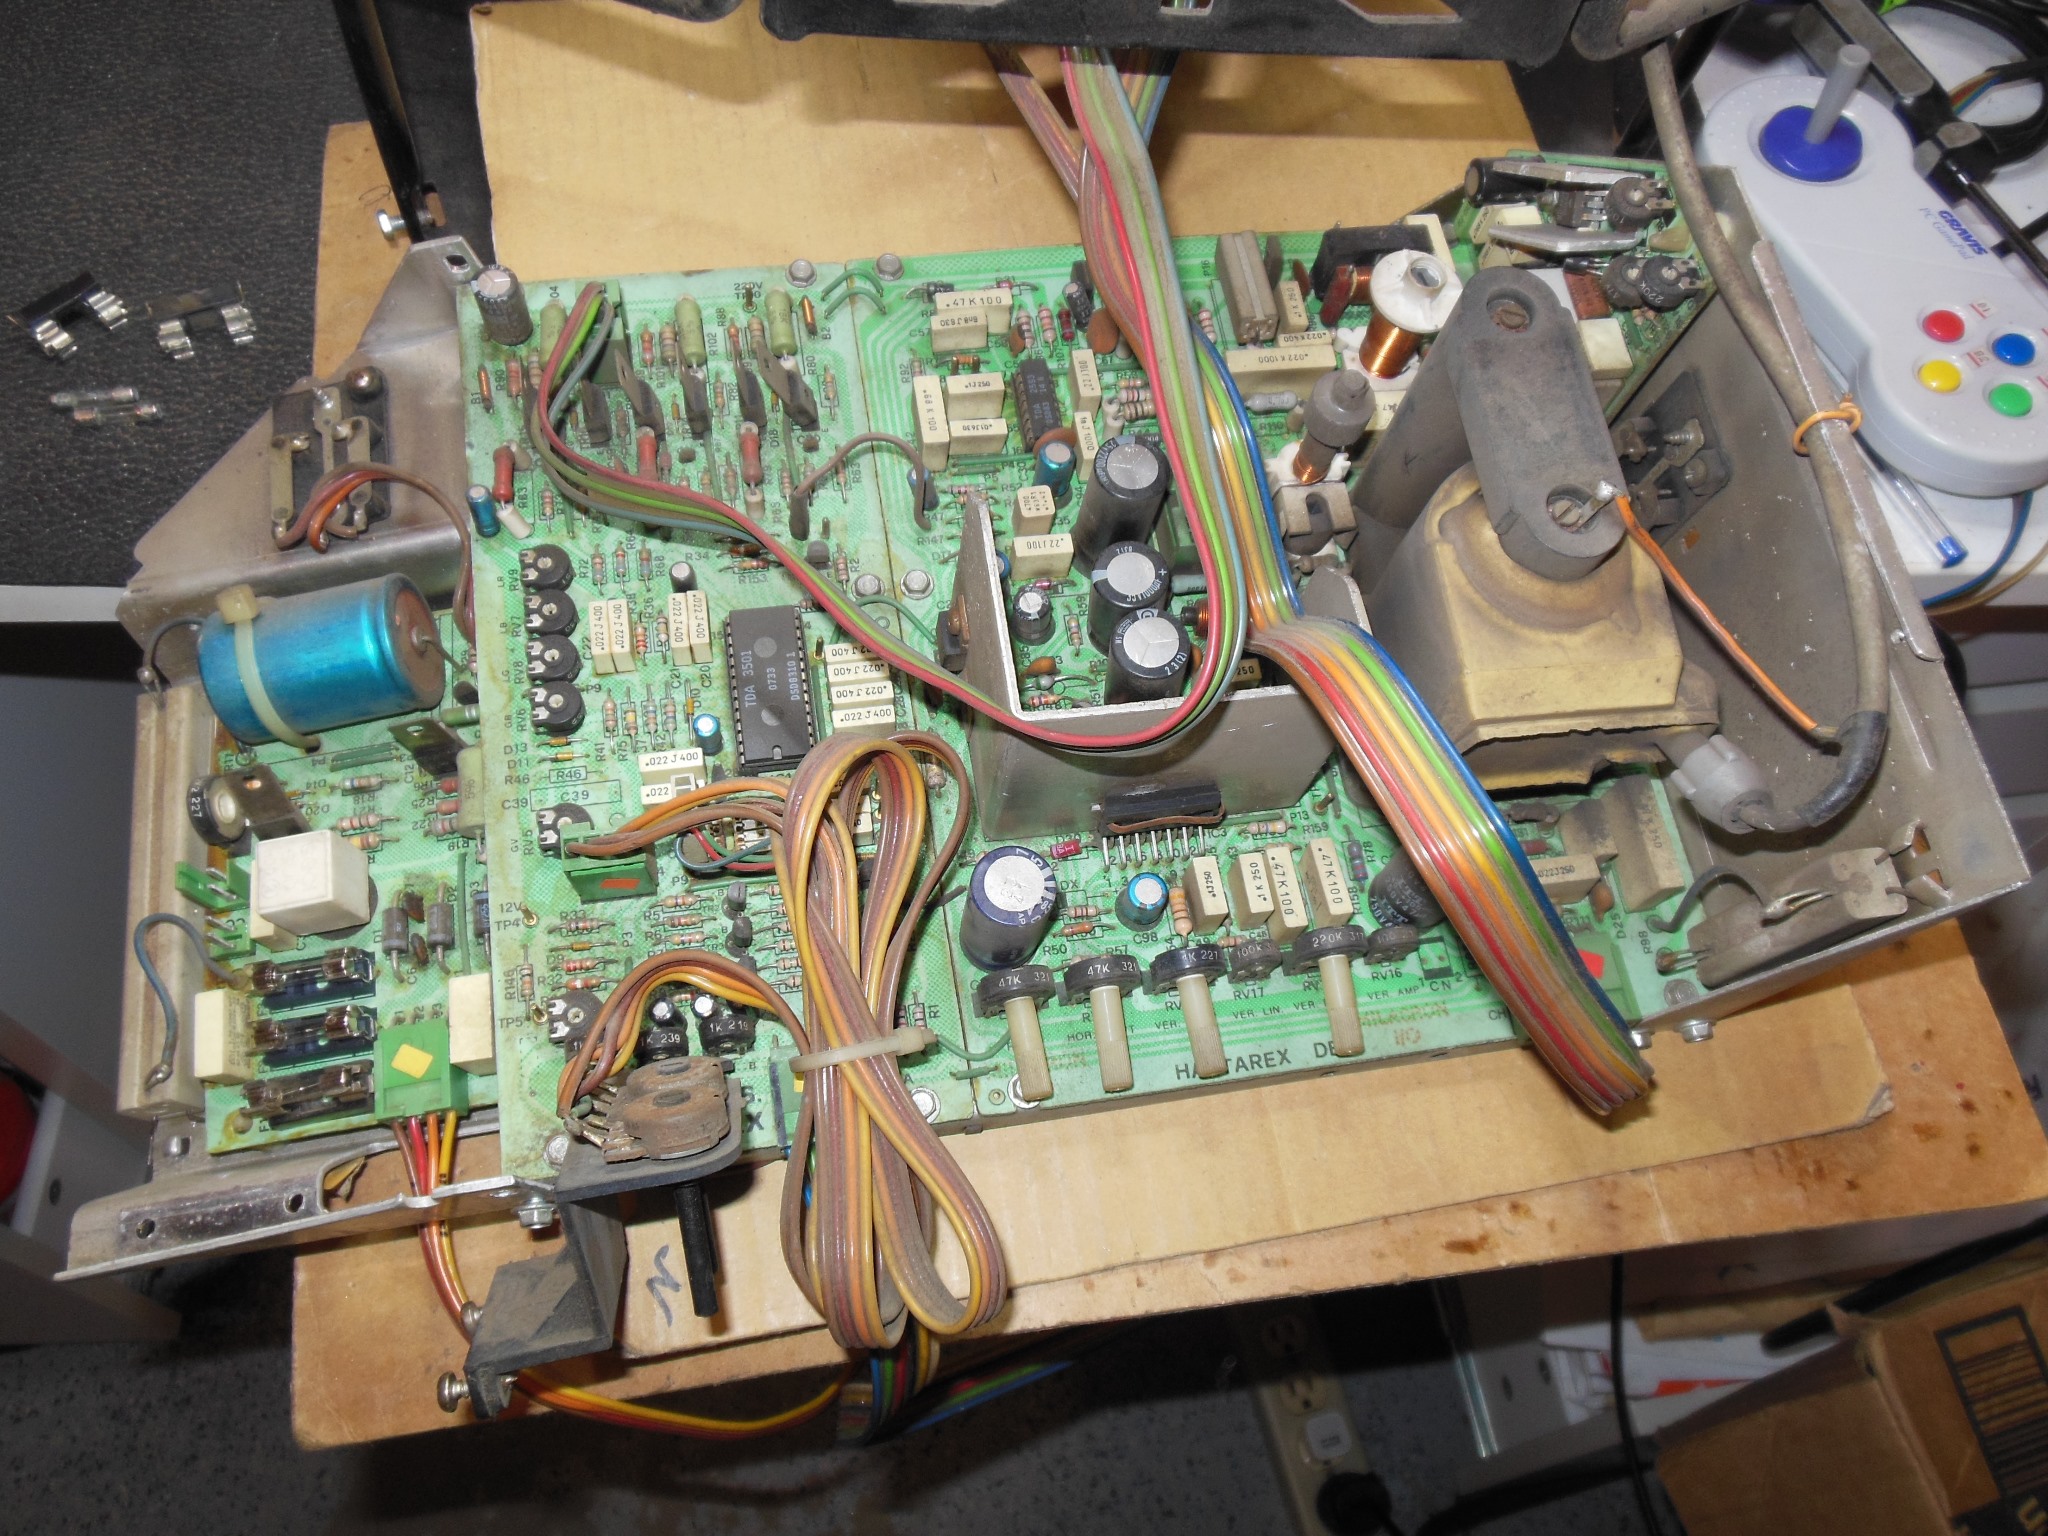
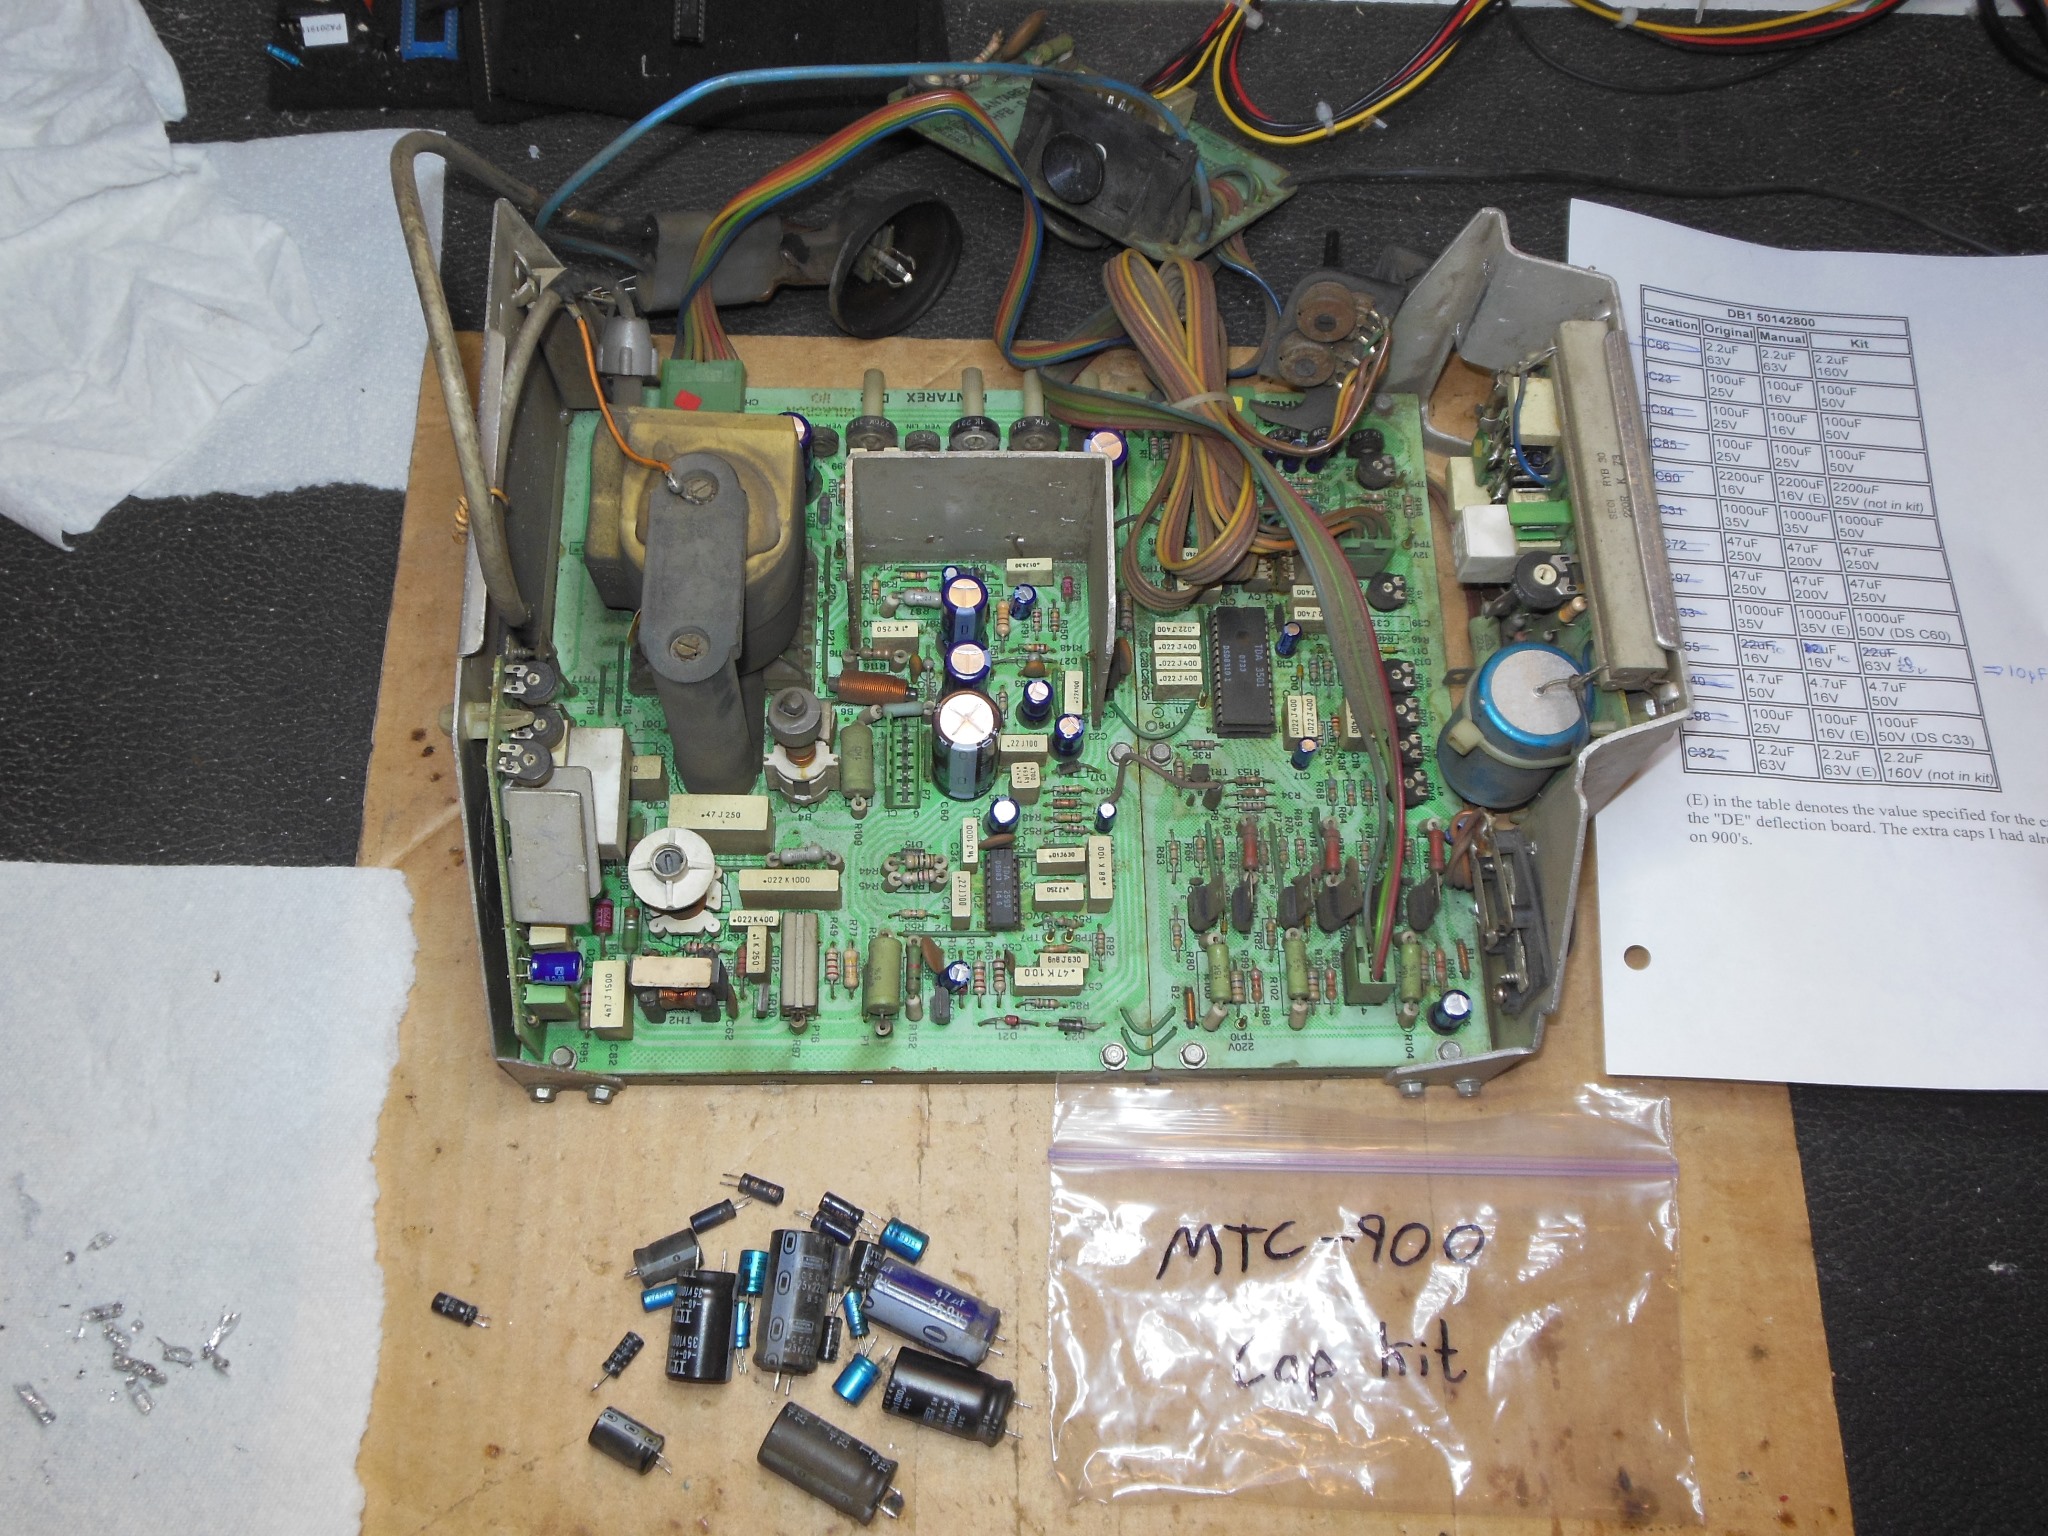
This example of the Hantarex MTC-900 was a later design that utilized the TDA2653A deflection IC rather than the TDA1470. The TDA2653A was also used on the later MTC-900E monitor and thus the deflection portion of this chassis was very similar to that of the 900E. I'd never seen schematics for the TDA2653A based 900. This cabinet had an MTC-900 manual in it that looked like a standard MTC-900 manual but on closer inspection found that it was for this specific chassis. The only difference on the cover from the older manual was on the back, bottom left corner in small text "M. 900.03 (10-82)". The deflection PCB itself was coded "DB 1" versus "DS 3" on the older version though the particular chassis in this cabinet was coded "DB 2".
Scanned in the Hantarex MTC-900.03 (10-82) manual.
300 DPI Hantarex MTC-900.03 (10-82) manual scan (52.0MB)
|
Whilst inspecting the chassis I noticed that the focus input had some extra resistors fitted but didn't know if these were factory or an operator kludge for a failed bleeder. The anode cap & bleeder had been sealed so possibly the latter. Either way, the chassis appeared to be working properly with no HV leakage.
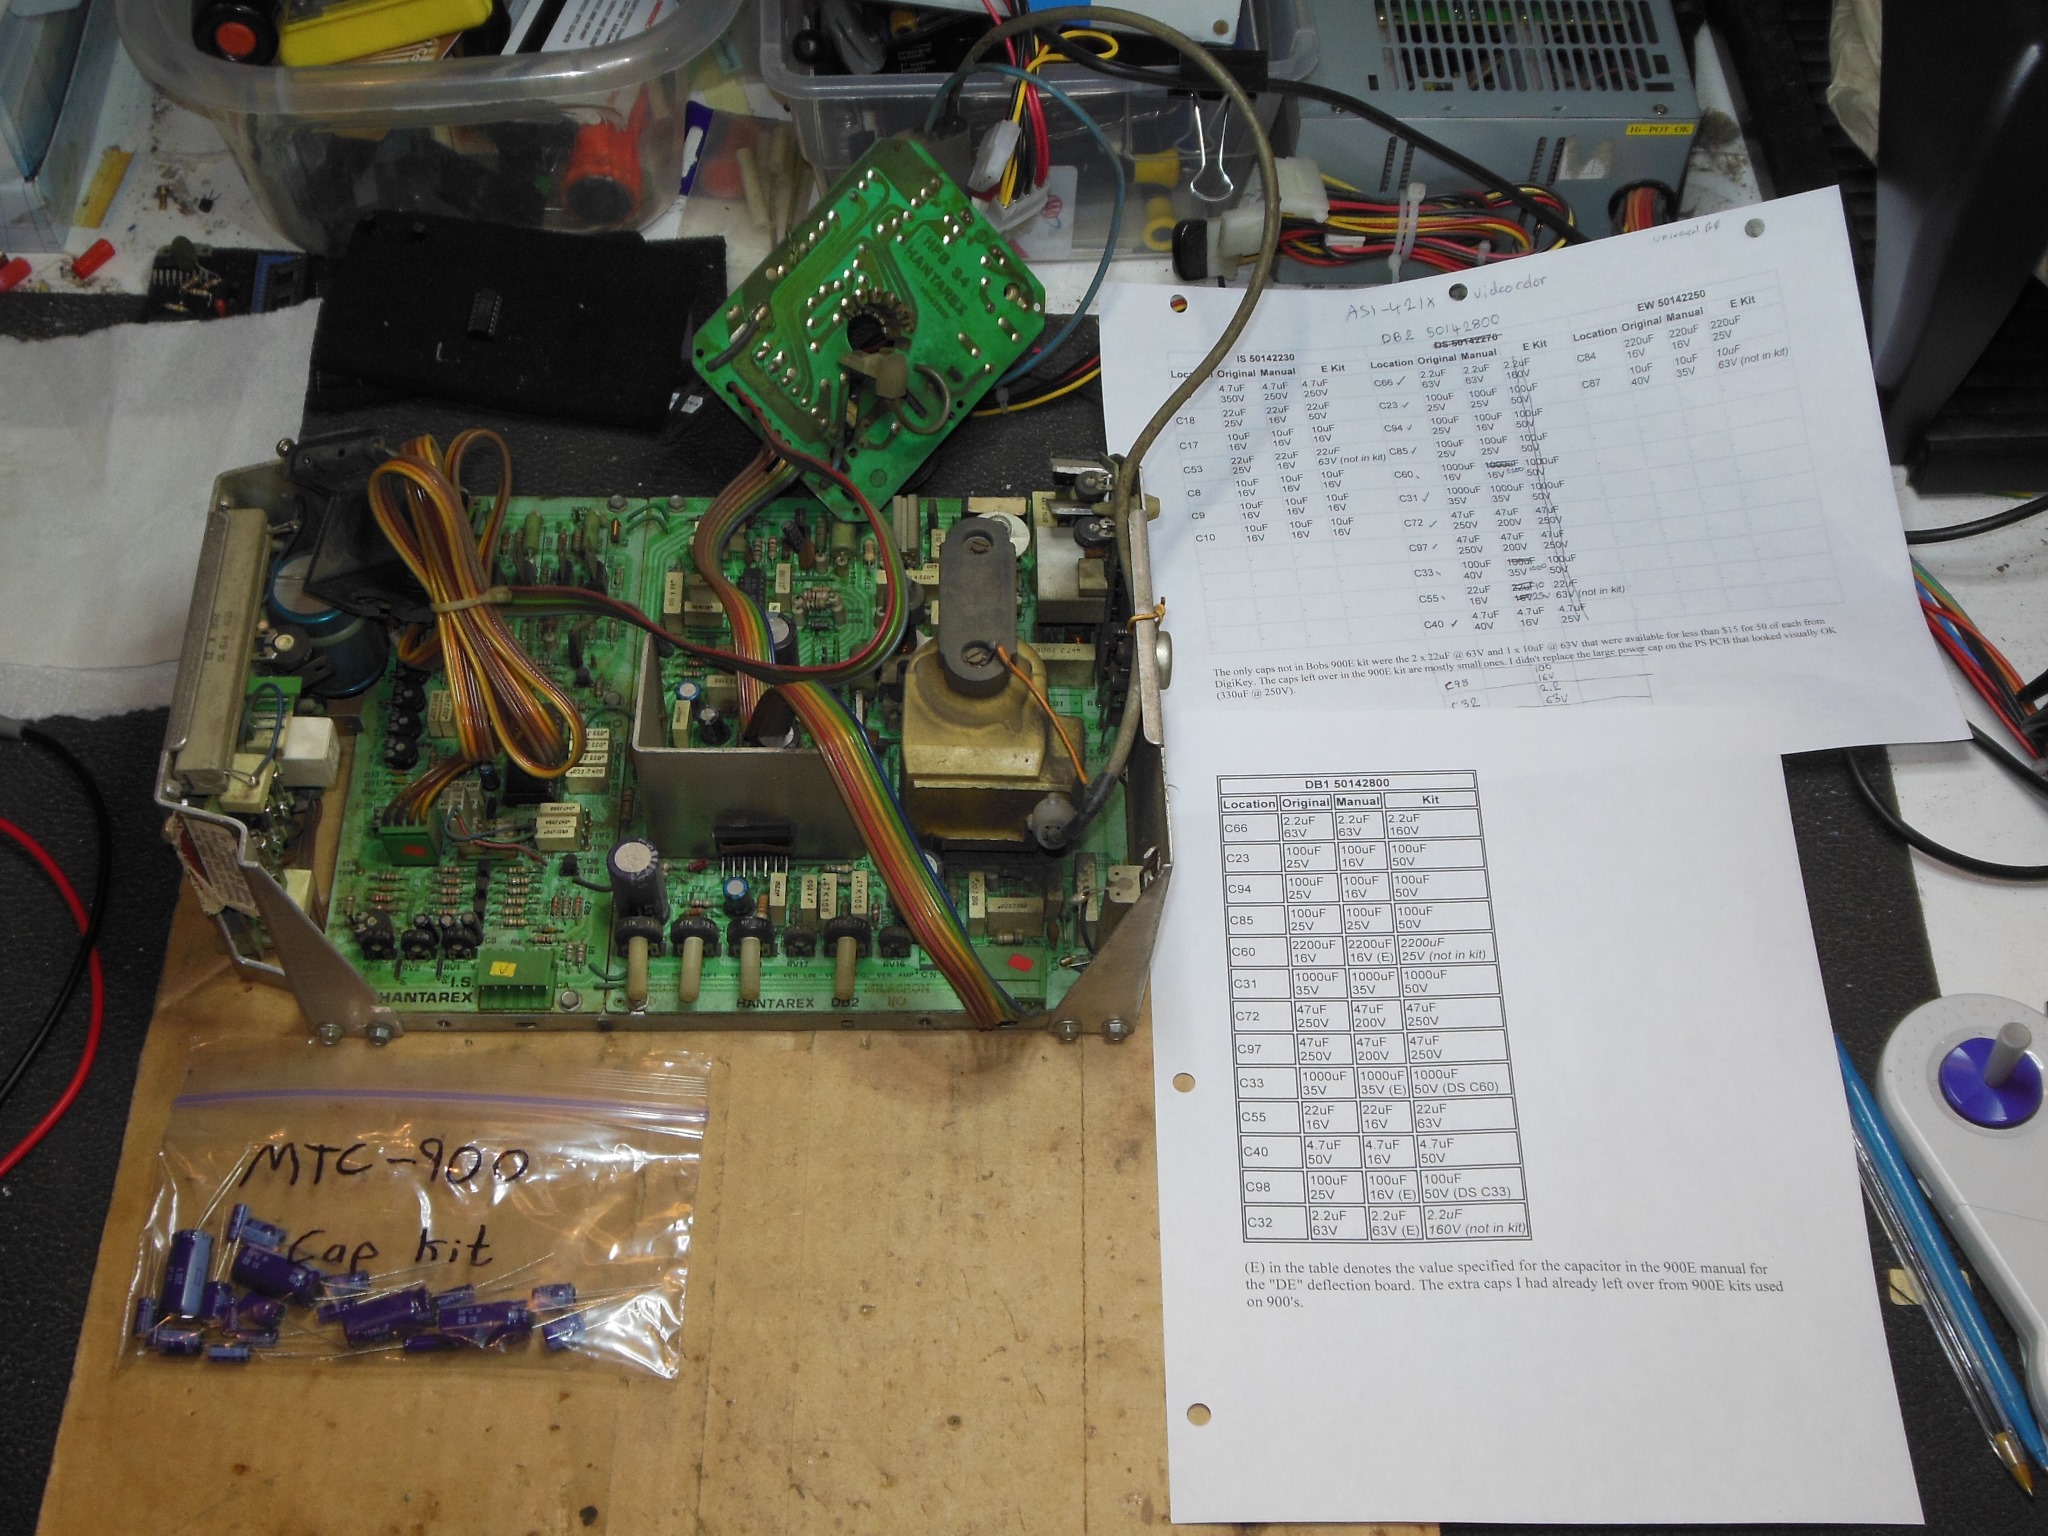
The standard MTC-900 cap kit needed a few substitutions for the "DB" deflection PCB and I updated my cap kit work sheet with official information from the manual.

|
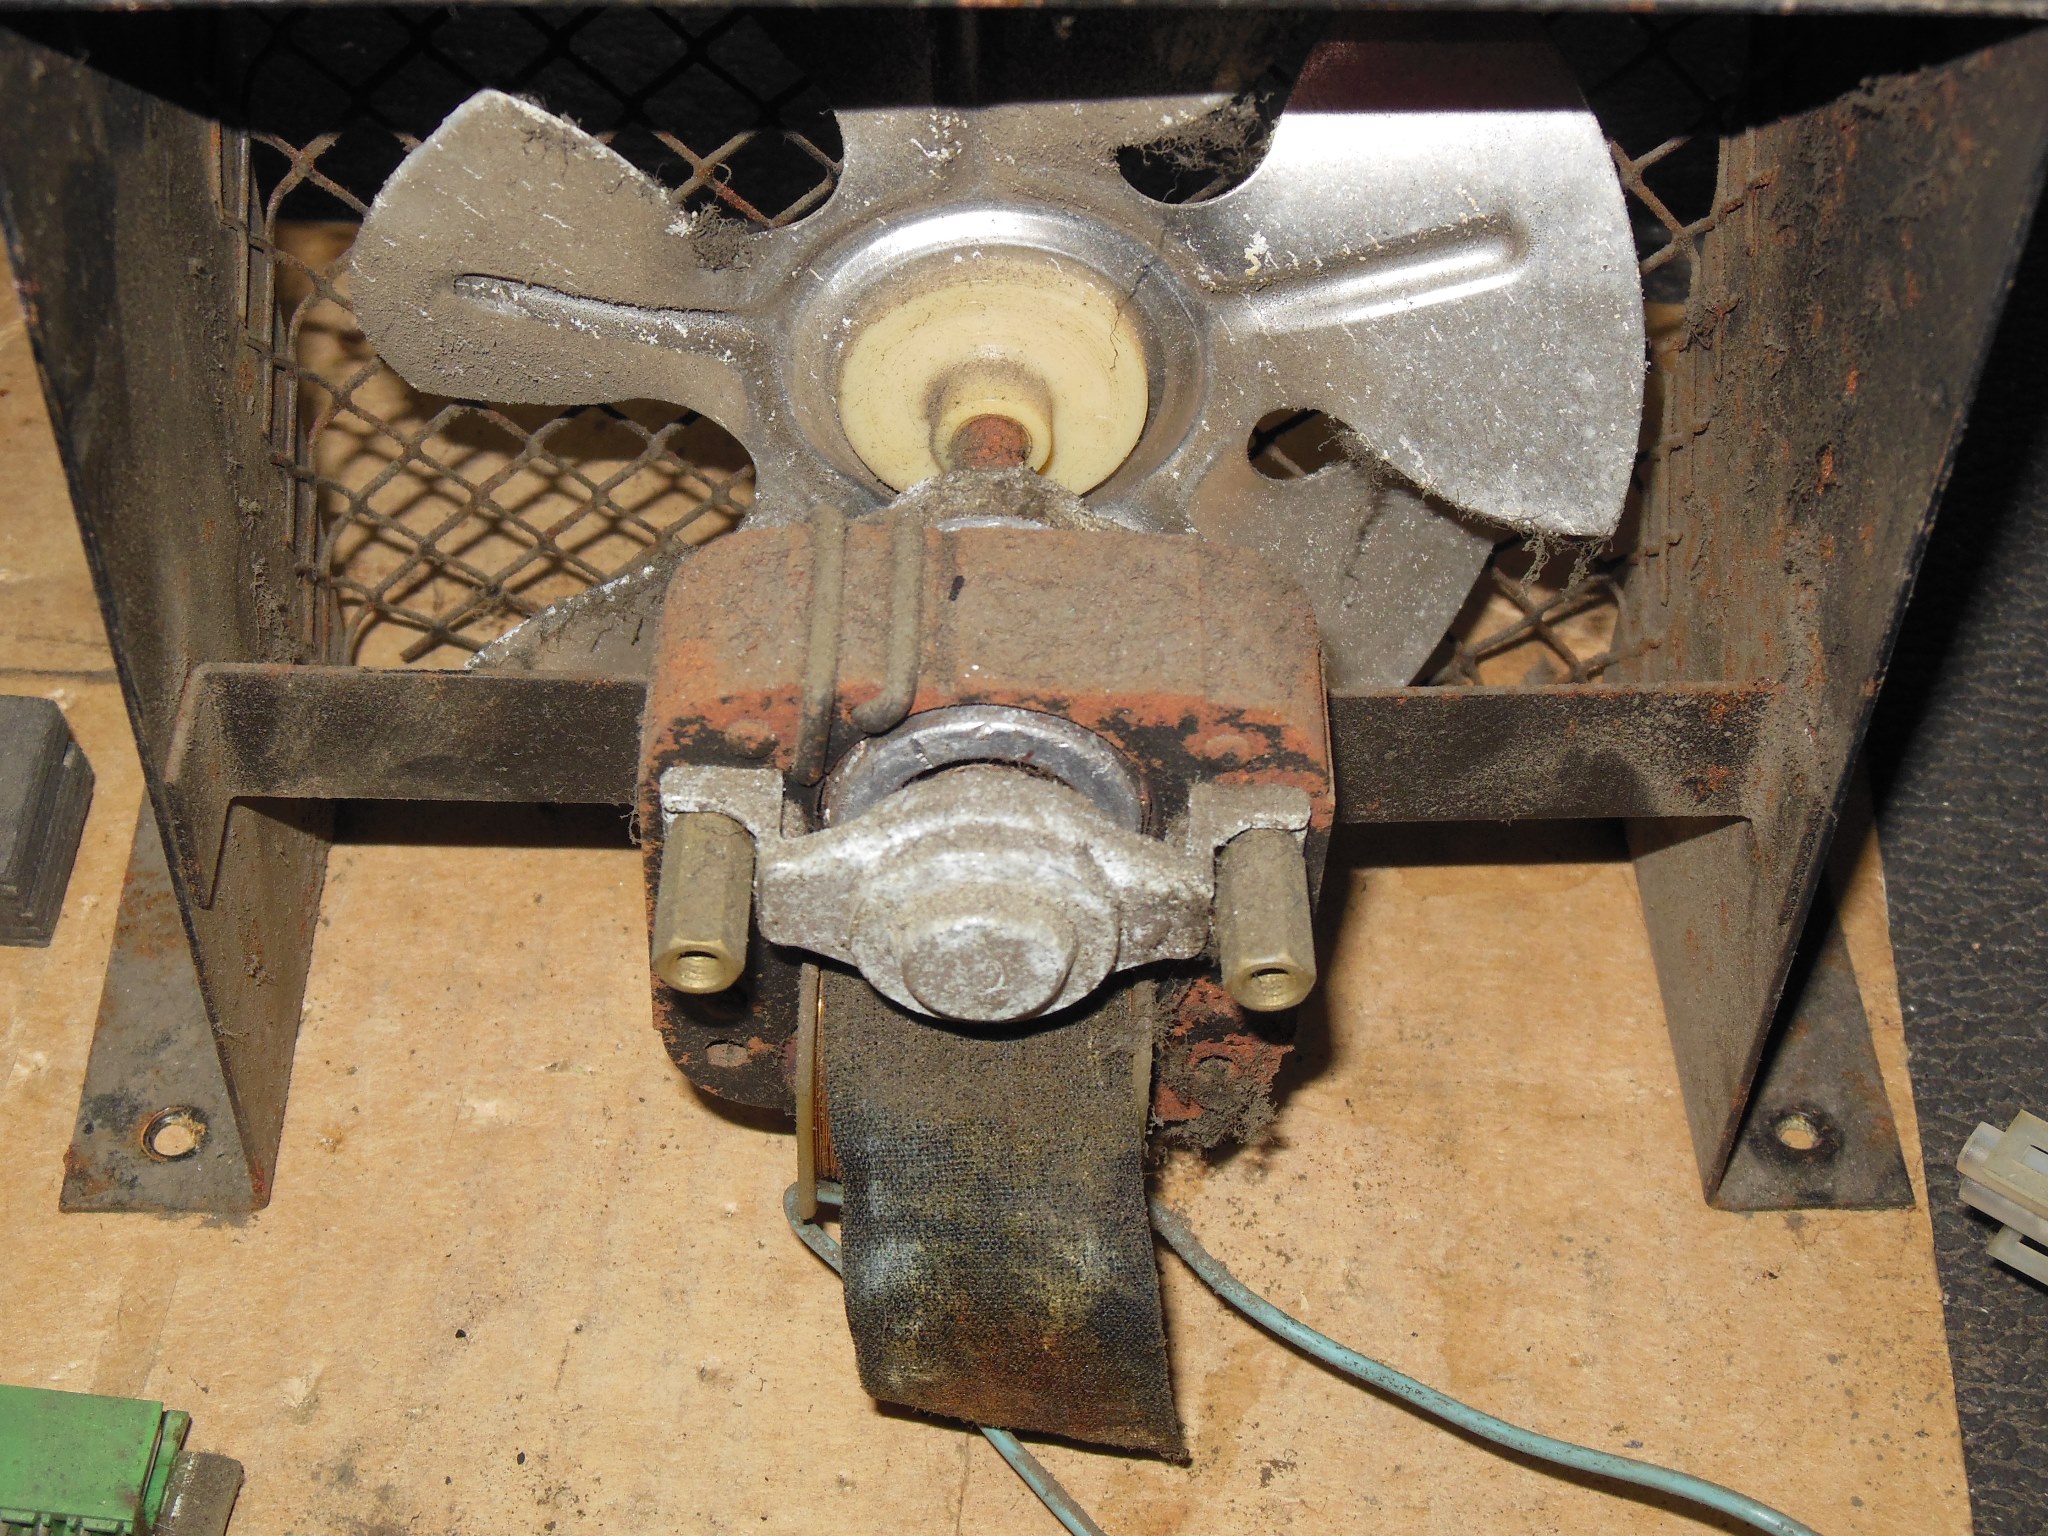
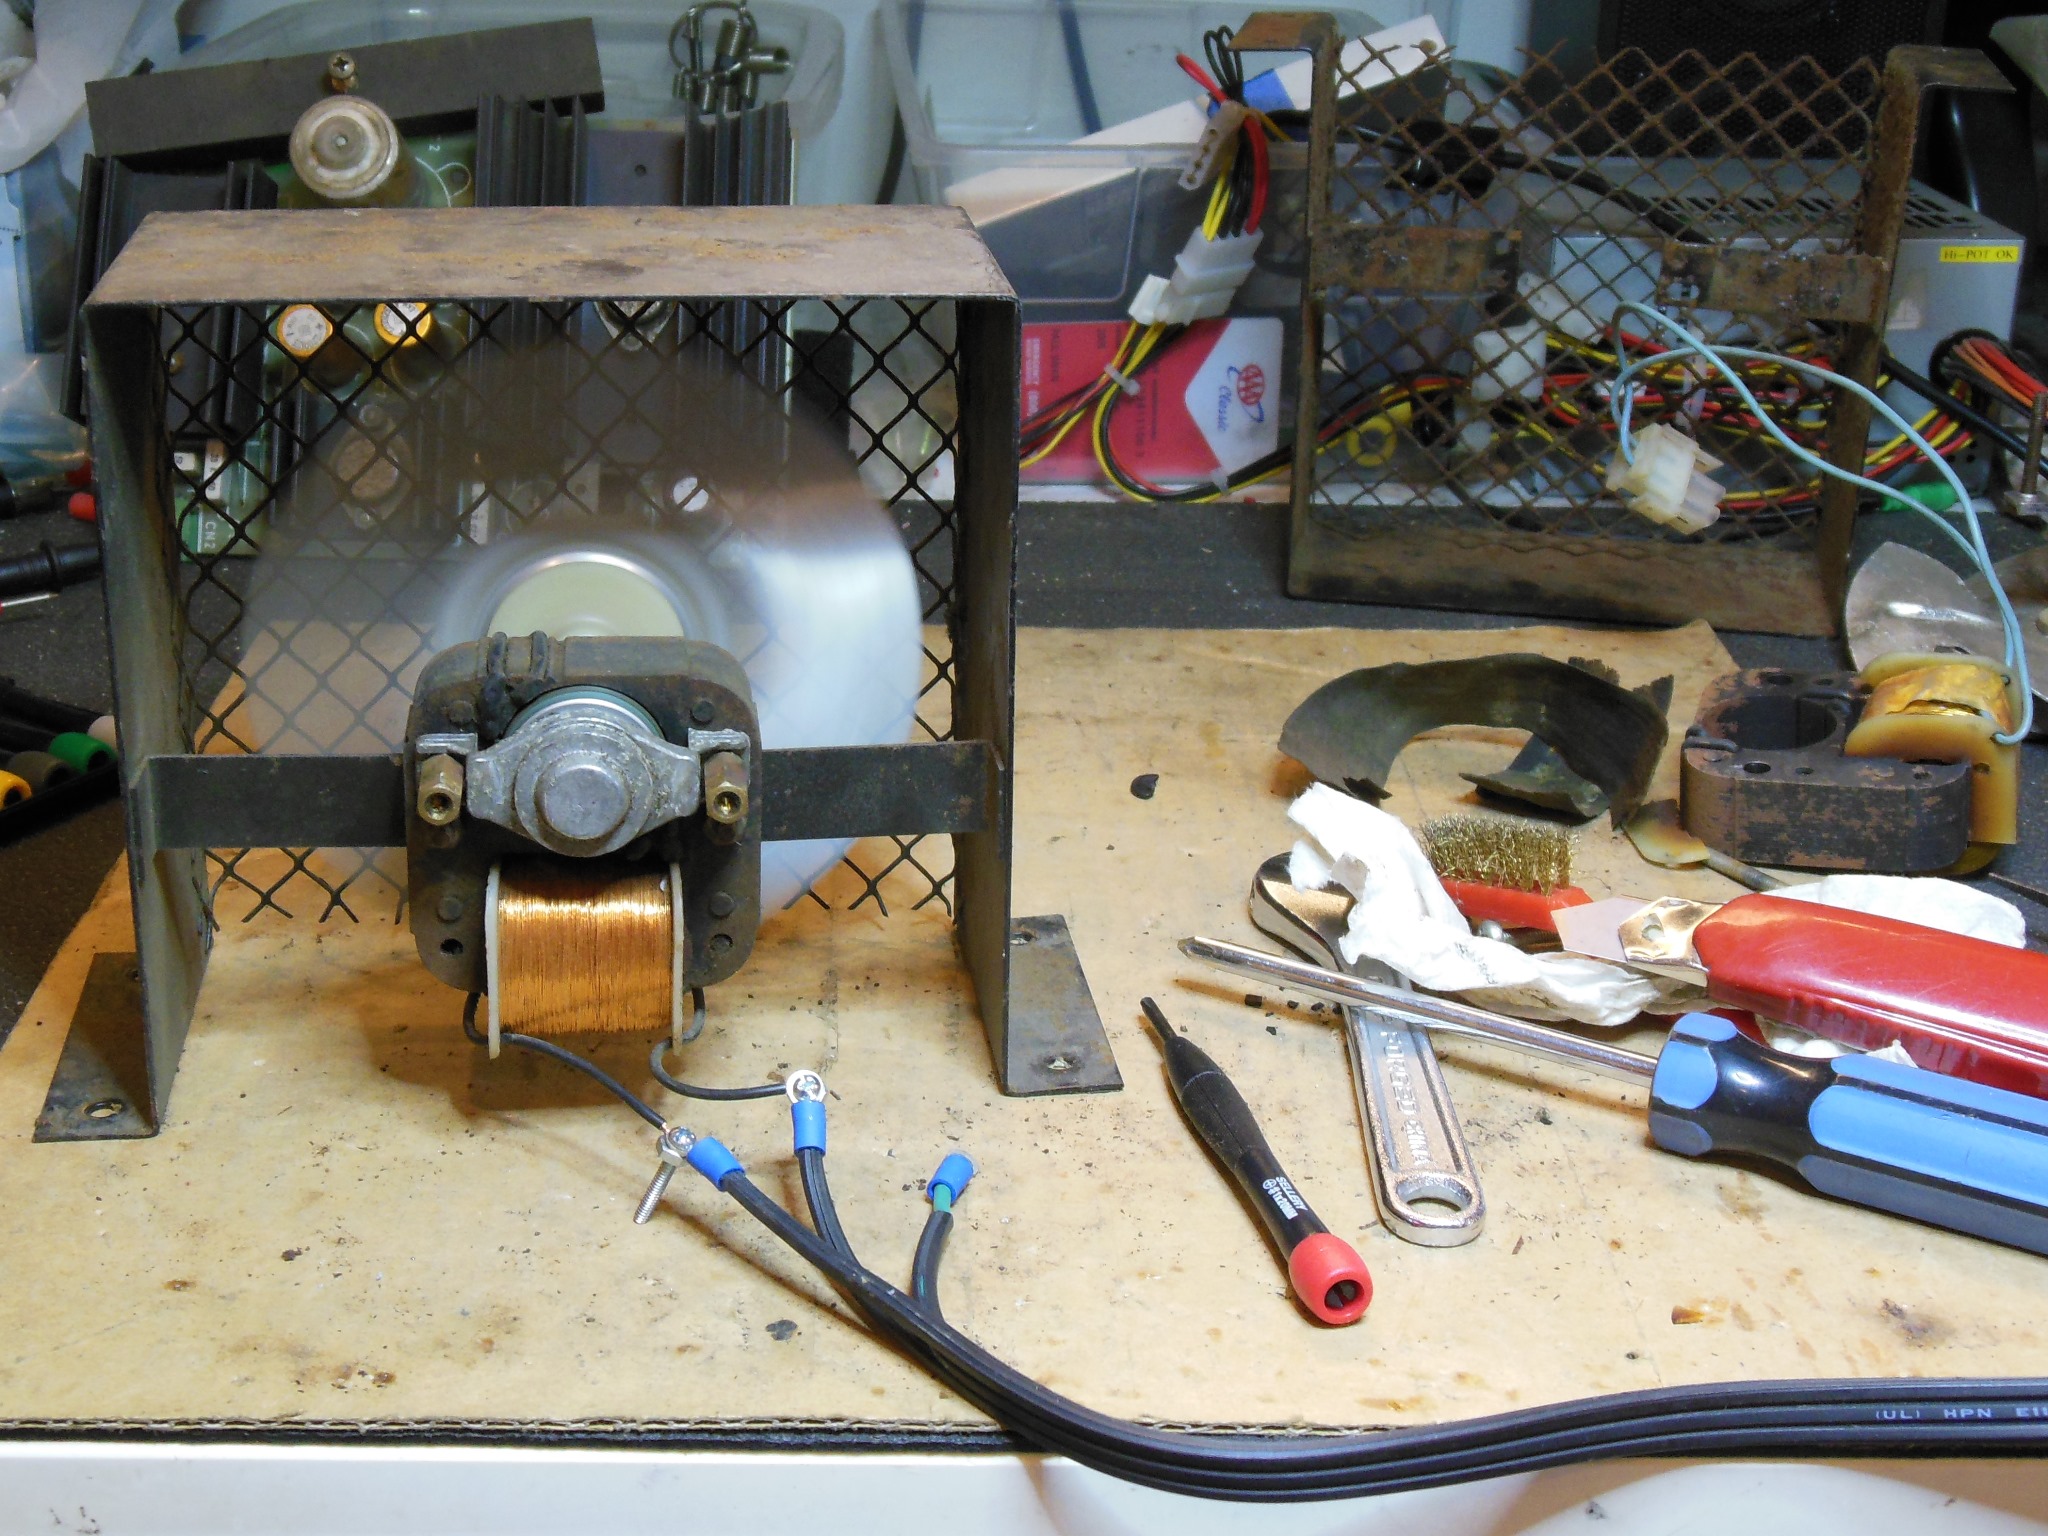
Corrosion had siezed the fan motor but the housing & grill were still in usable condition. Conversely I had a recycled fan that had a moving motor but a badly rusted housing and crumbling grill. Thus, the starting point for the restoration was the recycled motor that was cleaned and bearings greased before fitting into the good housing. Testing on the bench confirmed the fan was working OK.
|
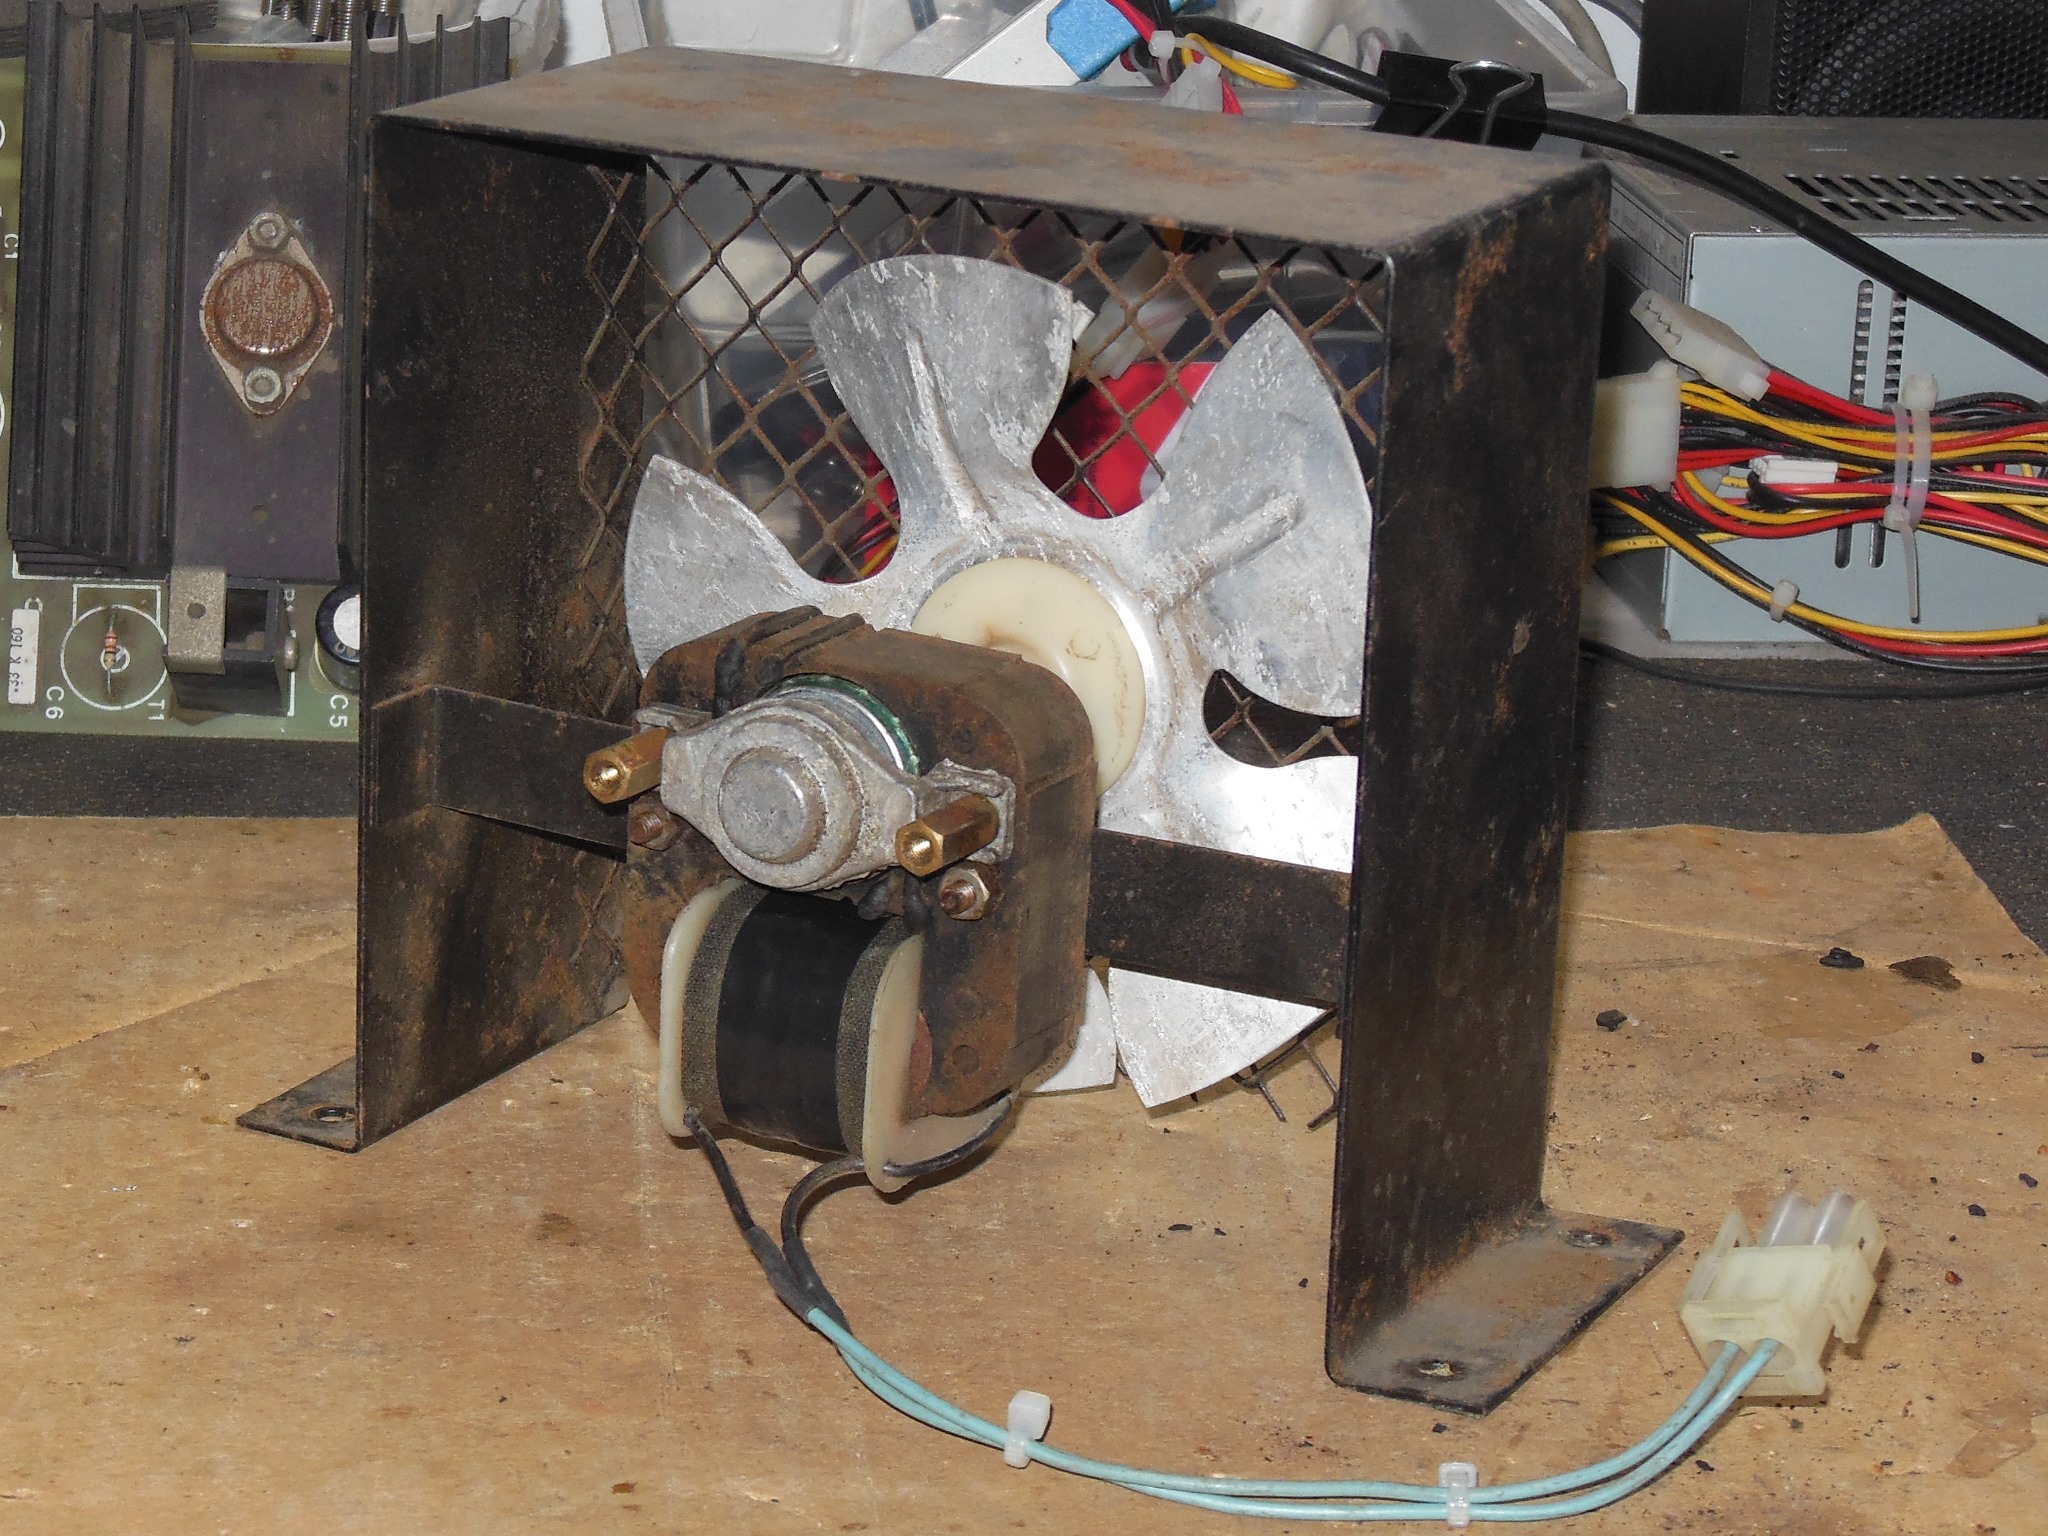
The protective coil wrap was re-fitted and the power plug was moved over from the old motor to complete the fan restoration.
|
Any loose dirt & debris was vacuumed out of the cabinet bottom ready for reassembly.
|
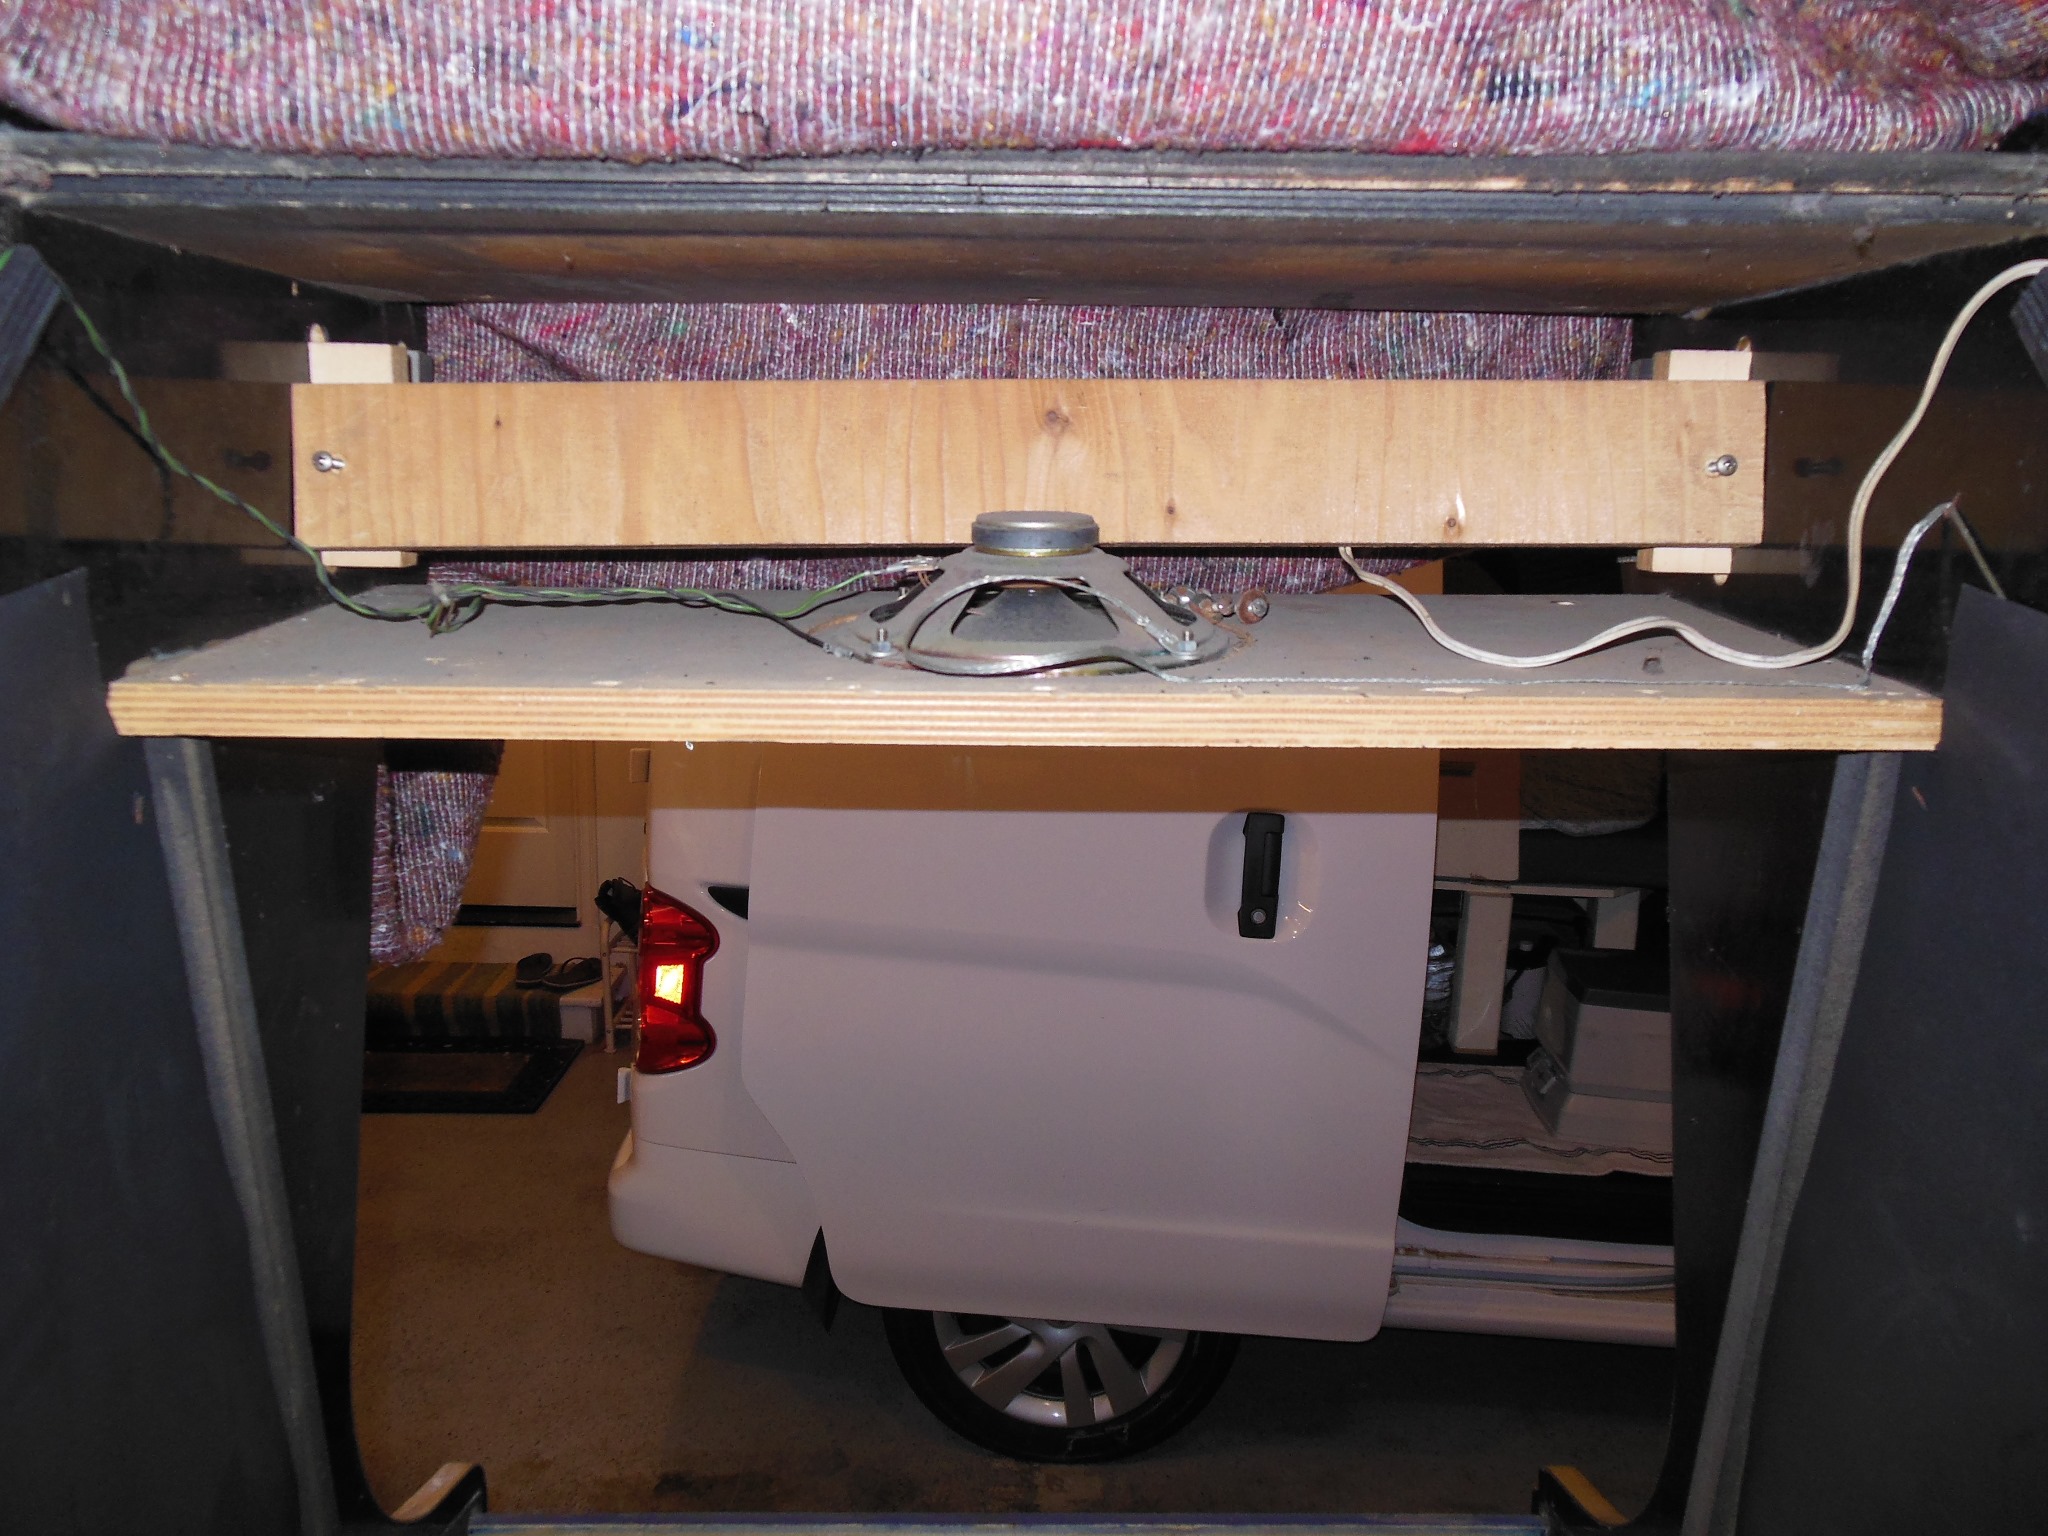
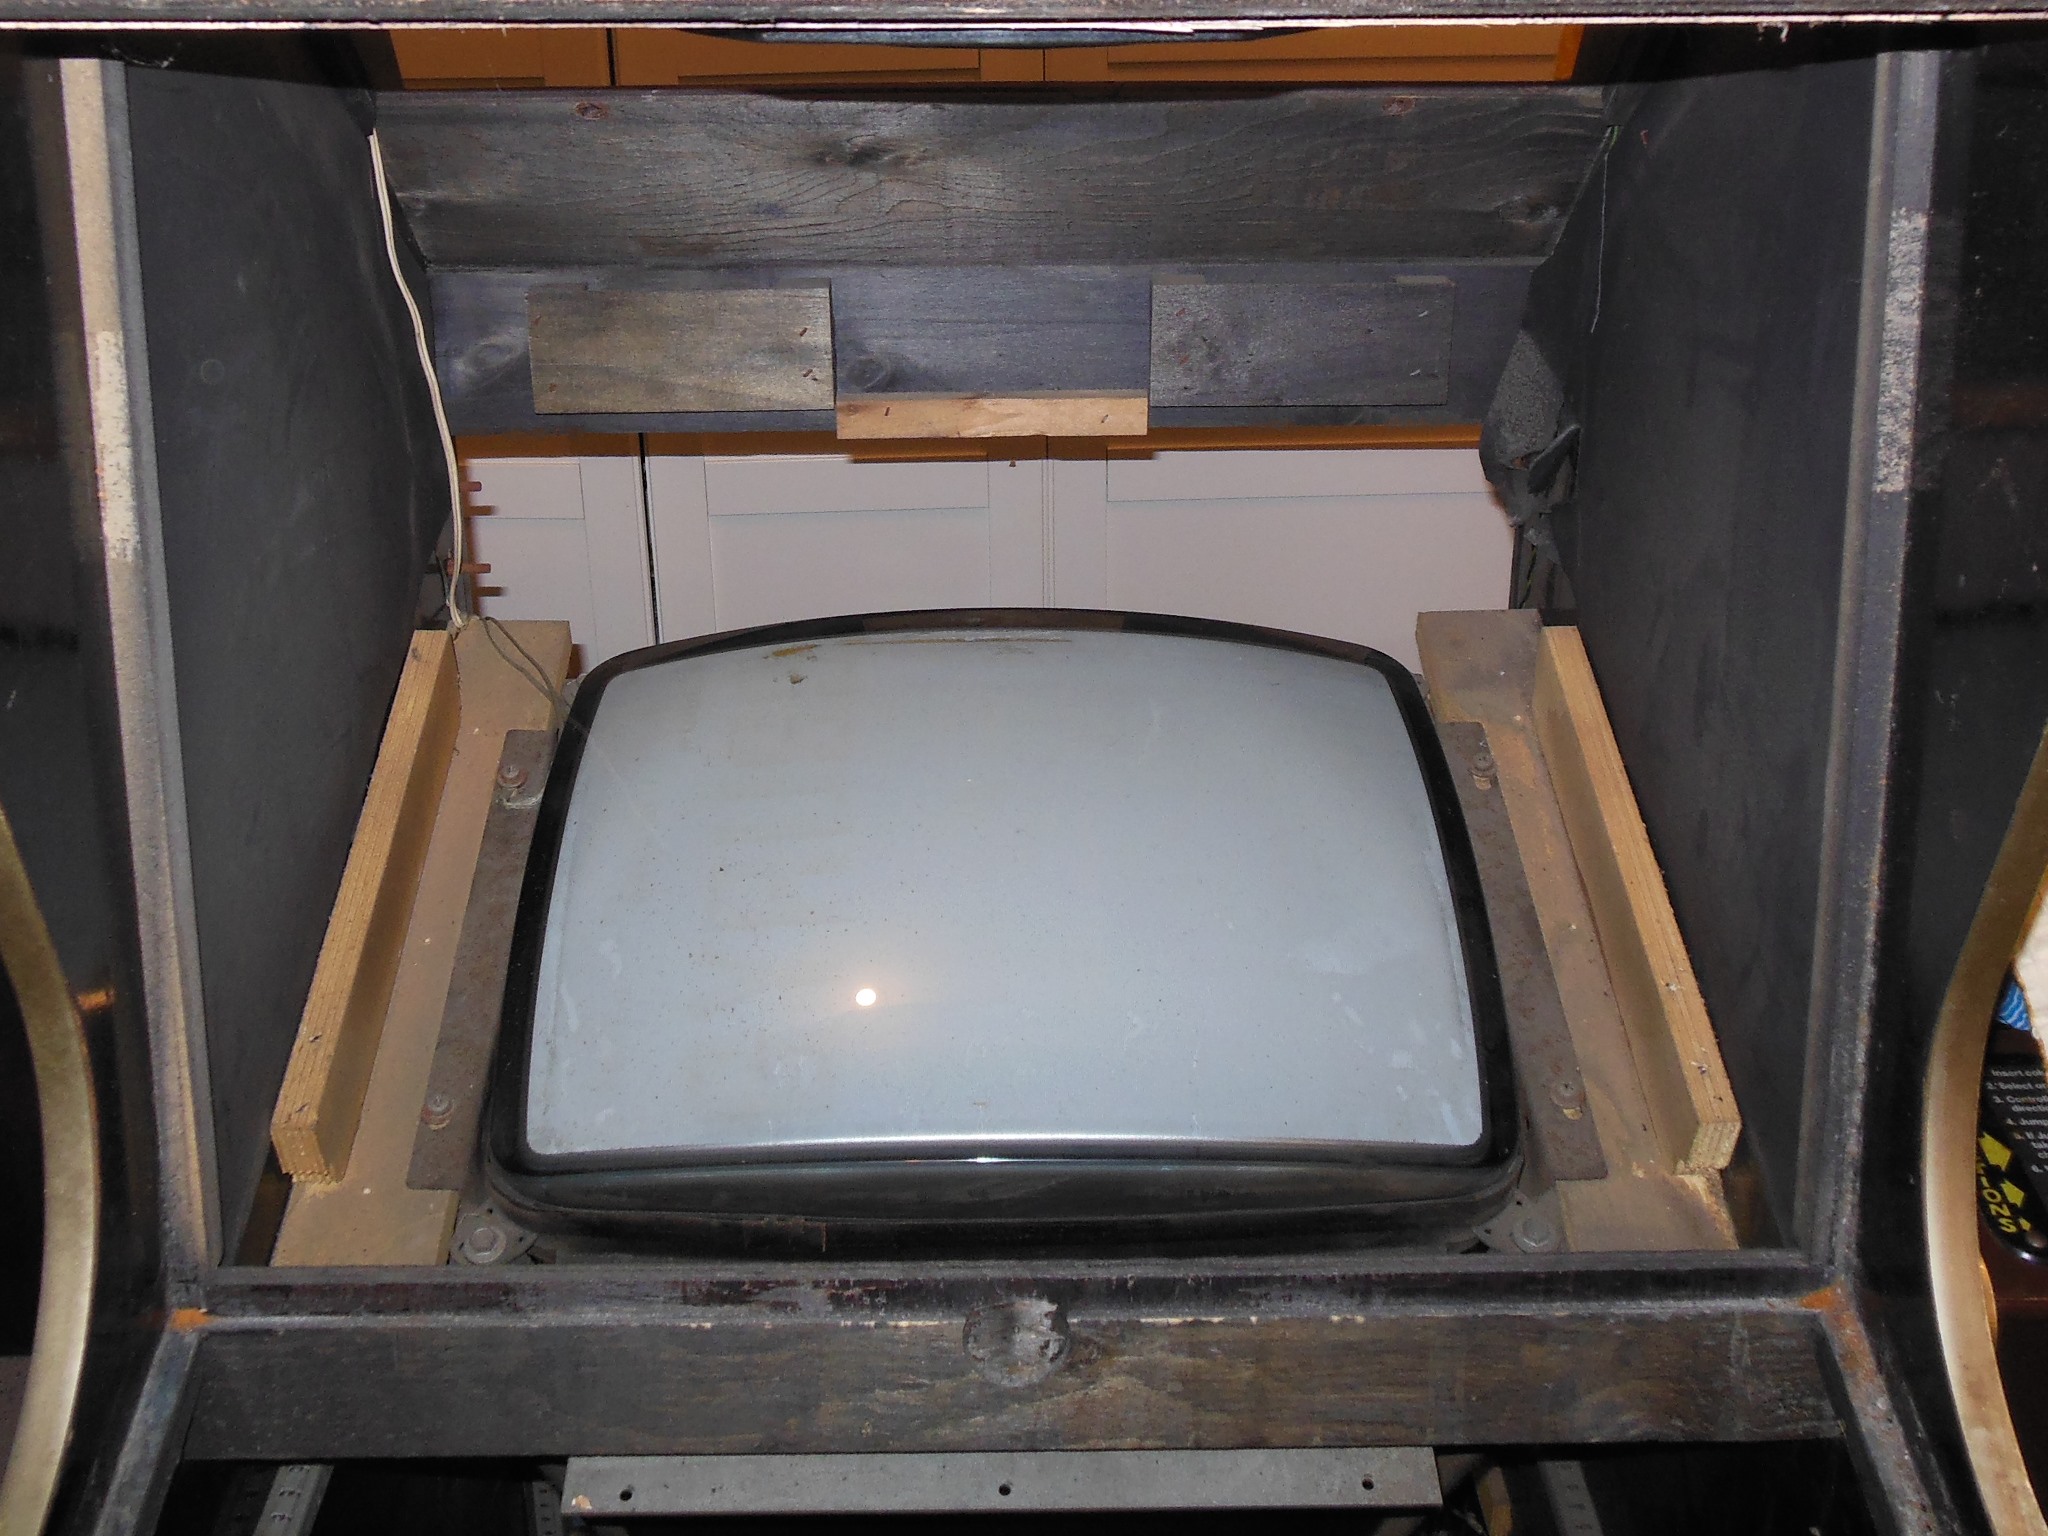
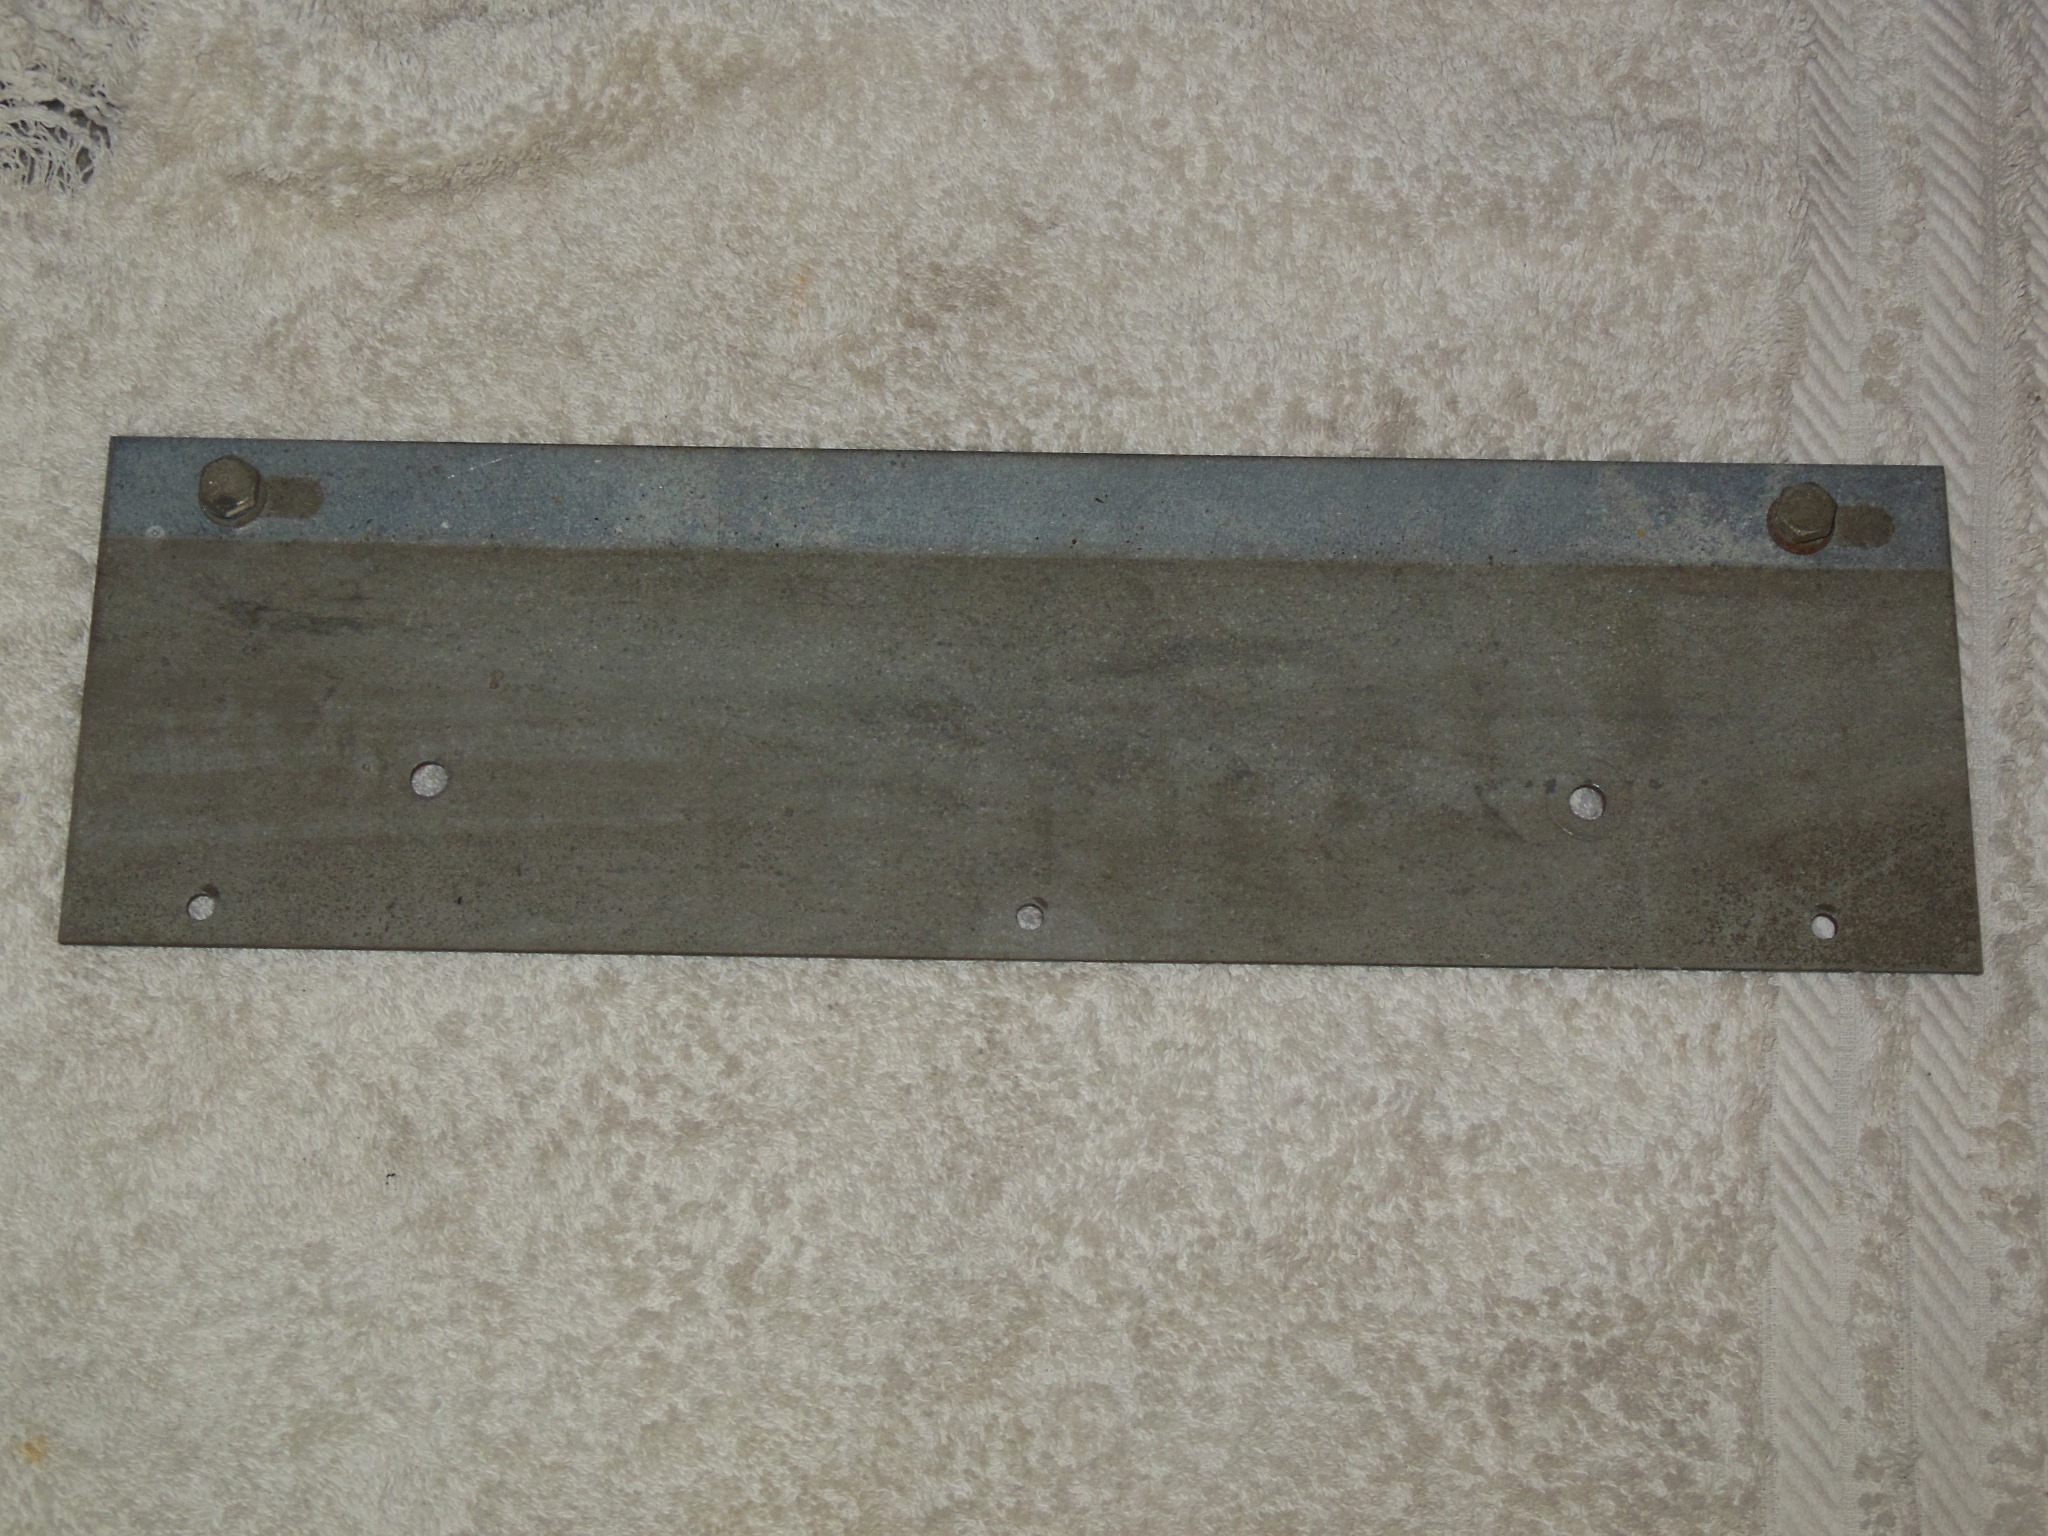
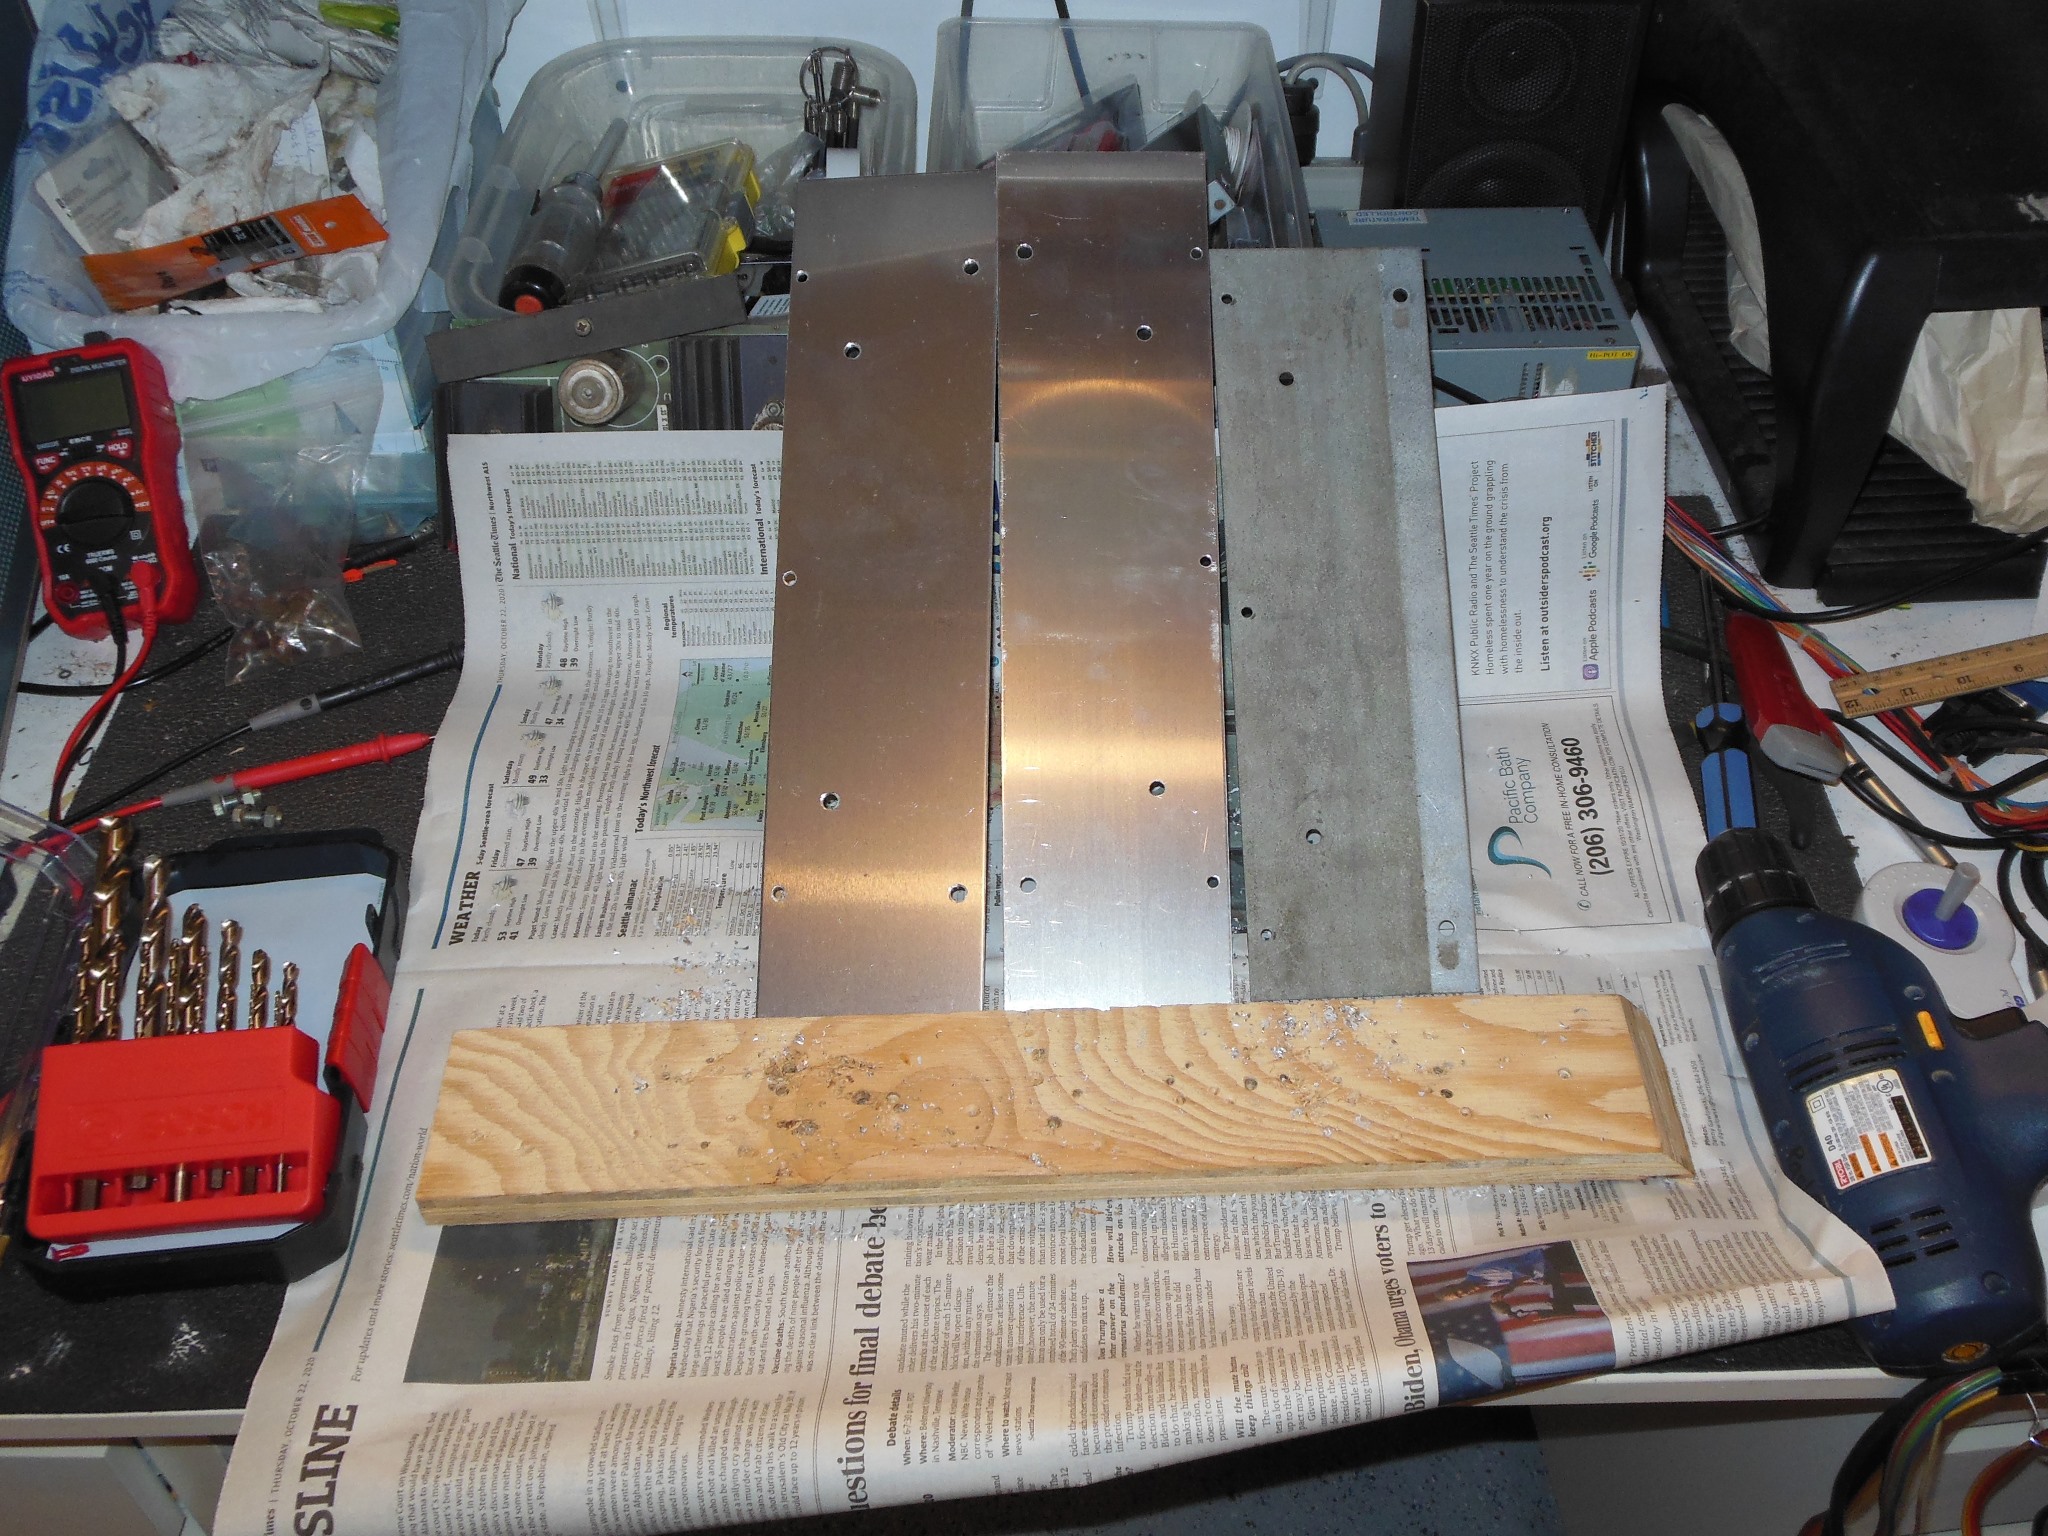
I'd already reproduced the side support plates to allow the vertical mounting of the monitor as part of a previous Crazy Kong restoration. There was one plate still fitted to the monitor that I used as a bolt hole template to drill the holes in the repro plates to match and the plates were fitted to the cabinet shelf brackets.
|
The monitor was fitted back into the cabinet.
|
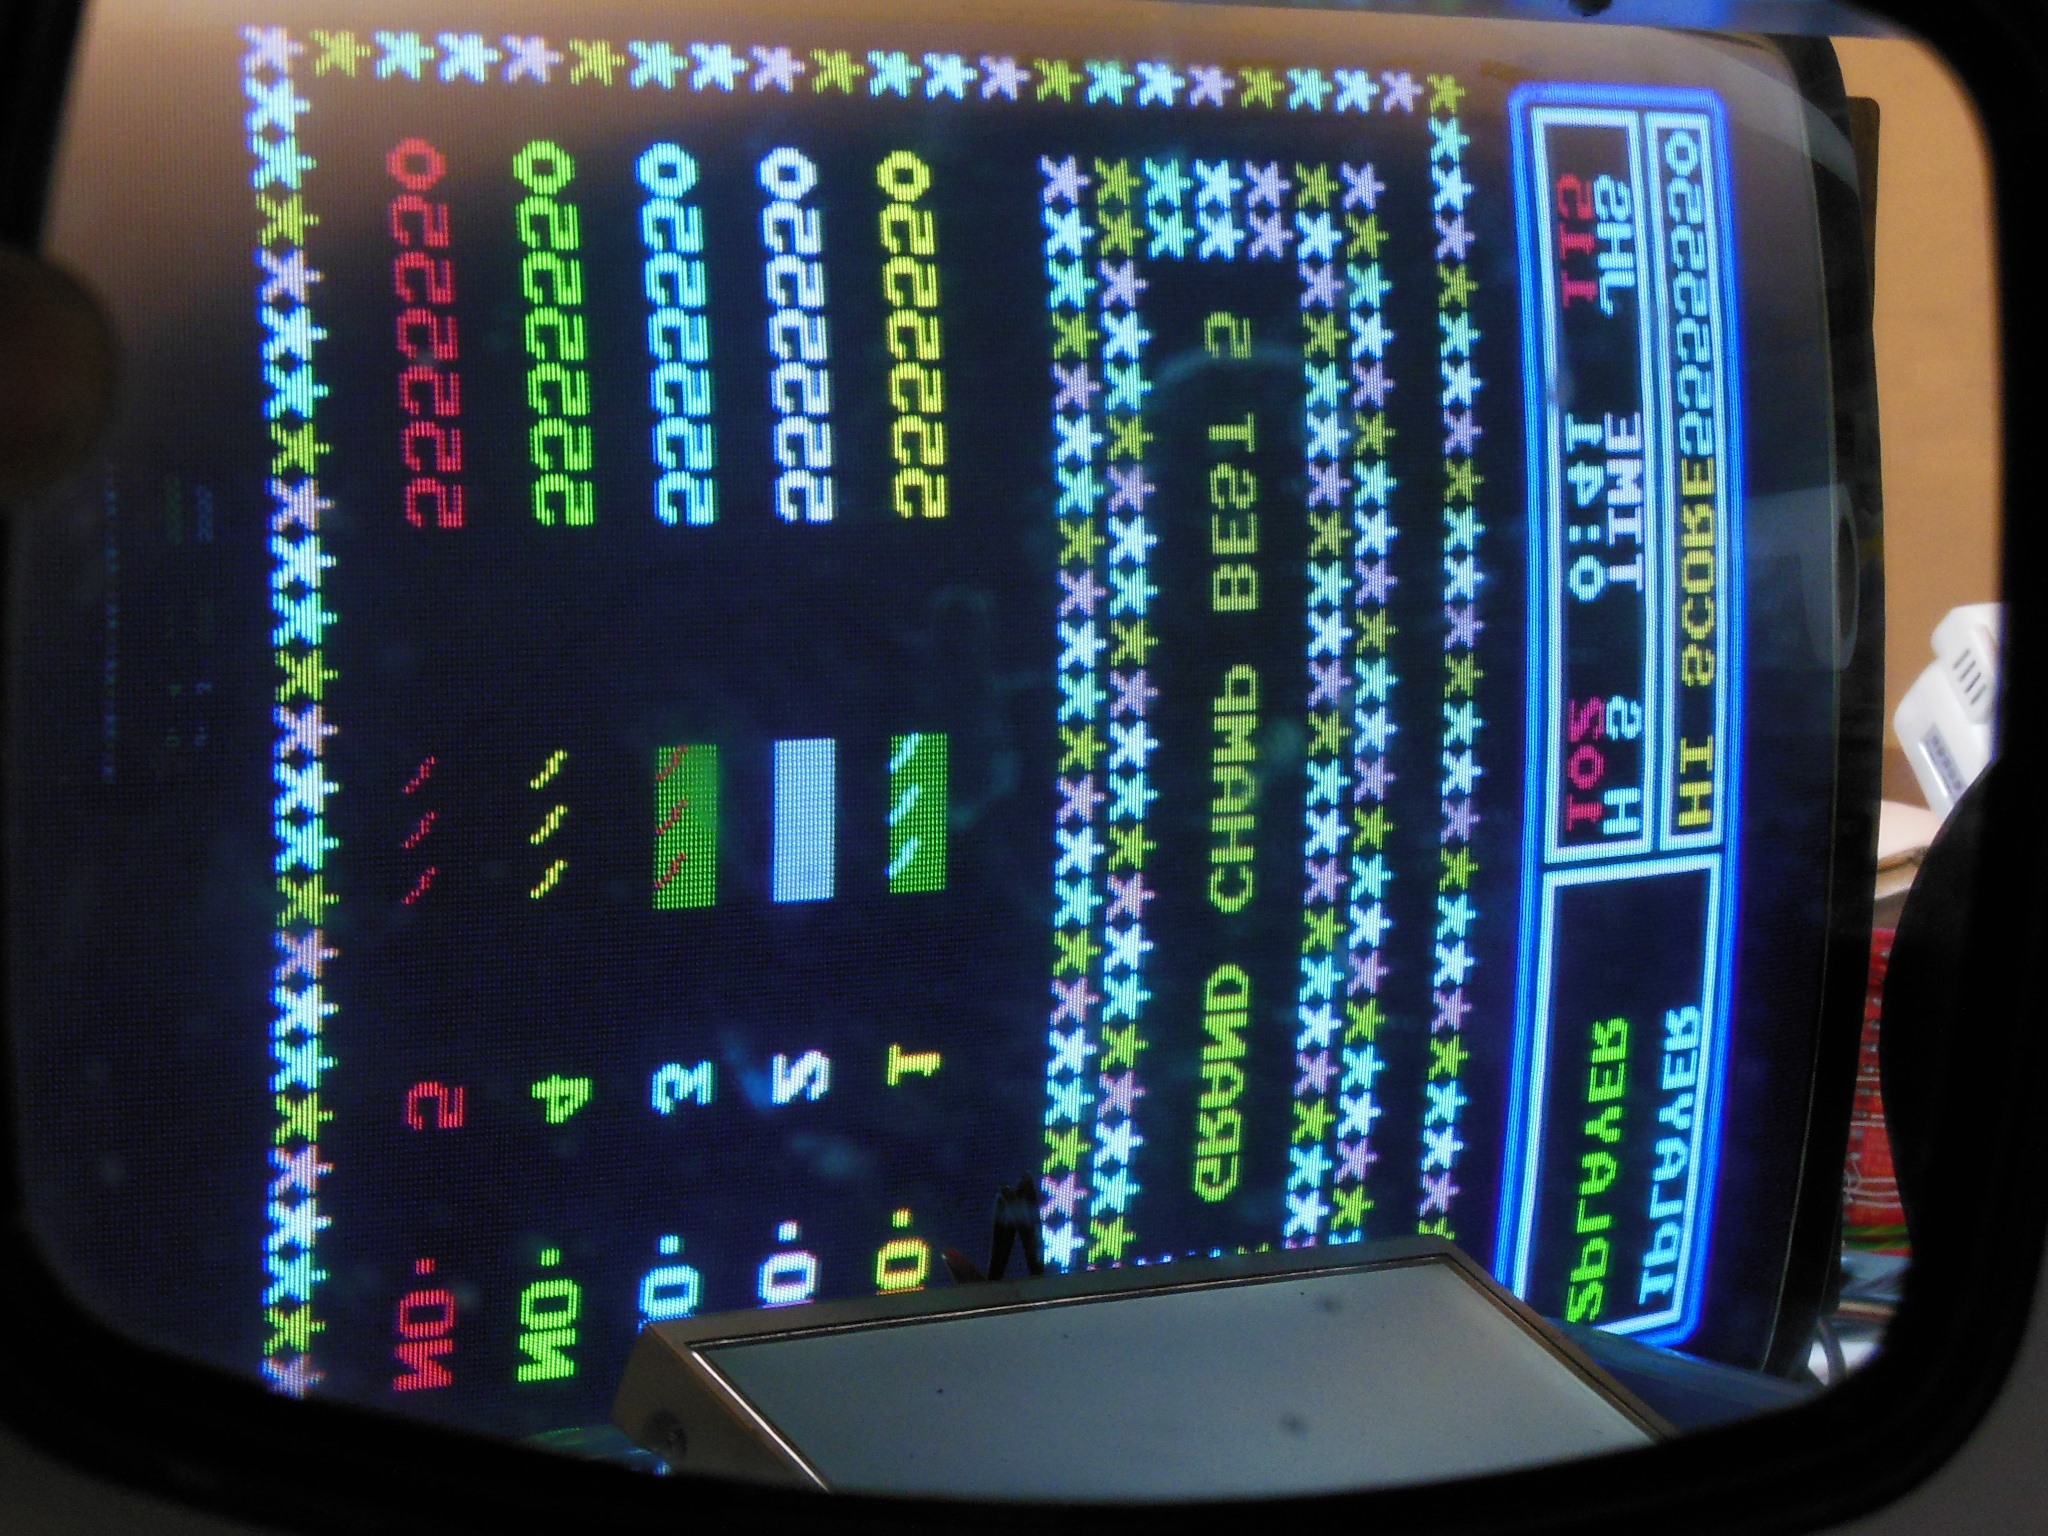
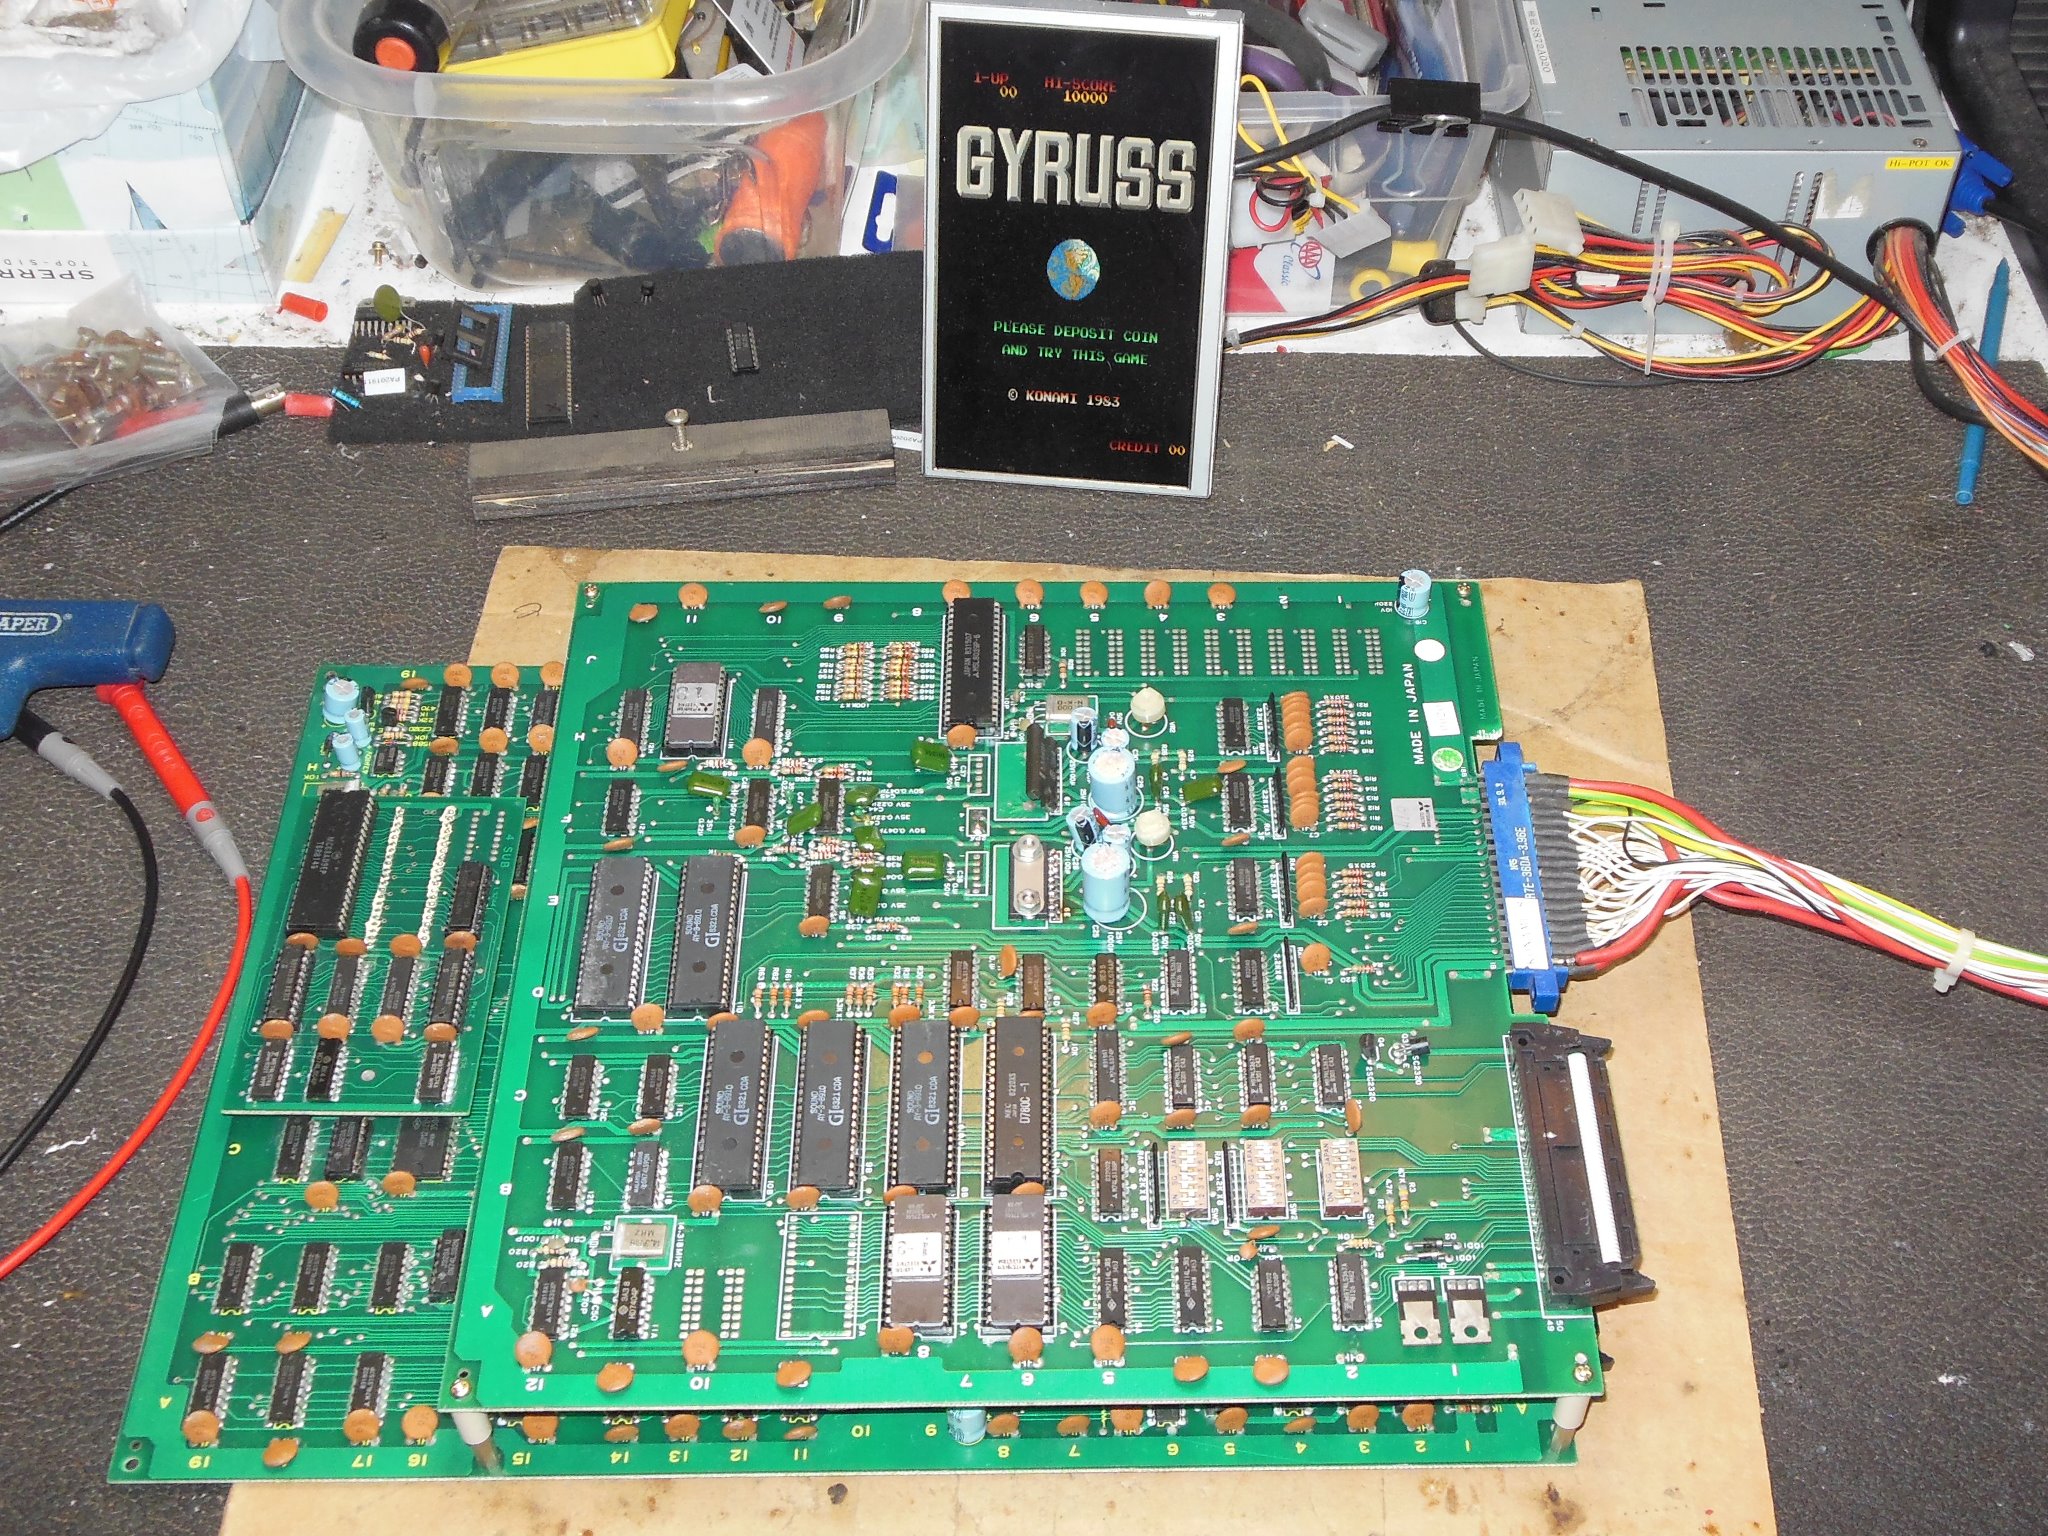
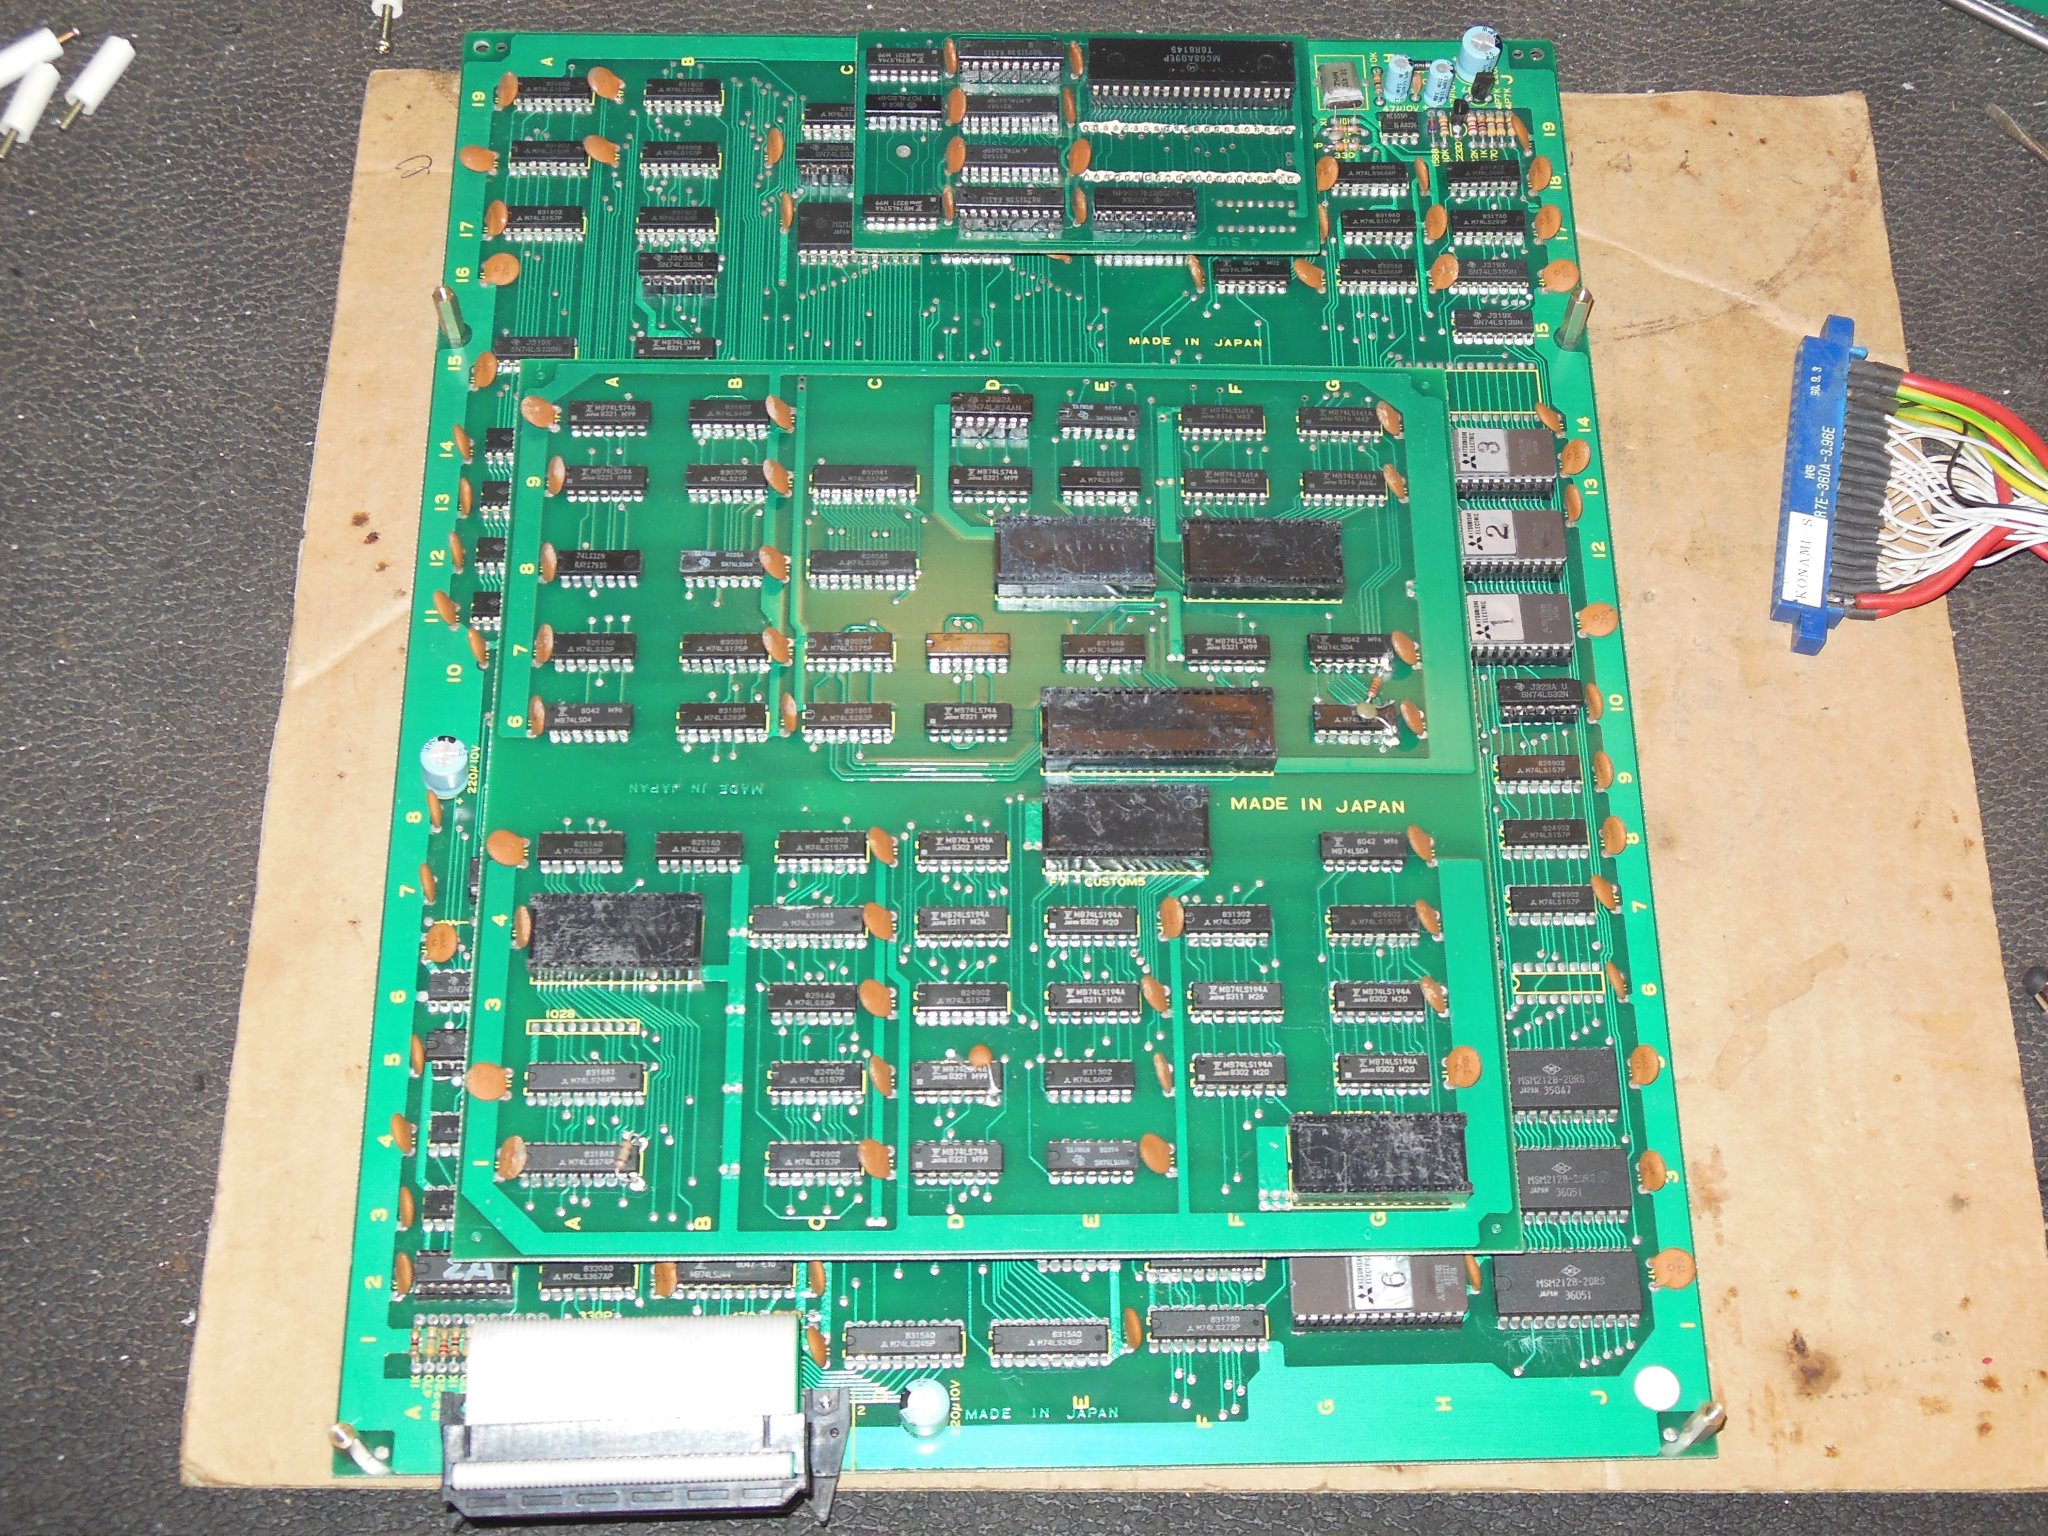
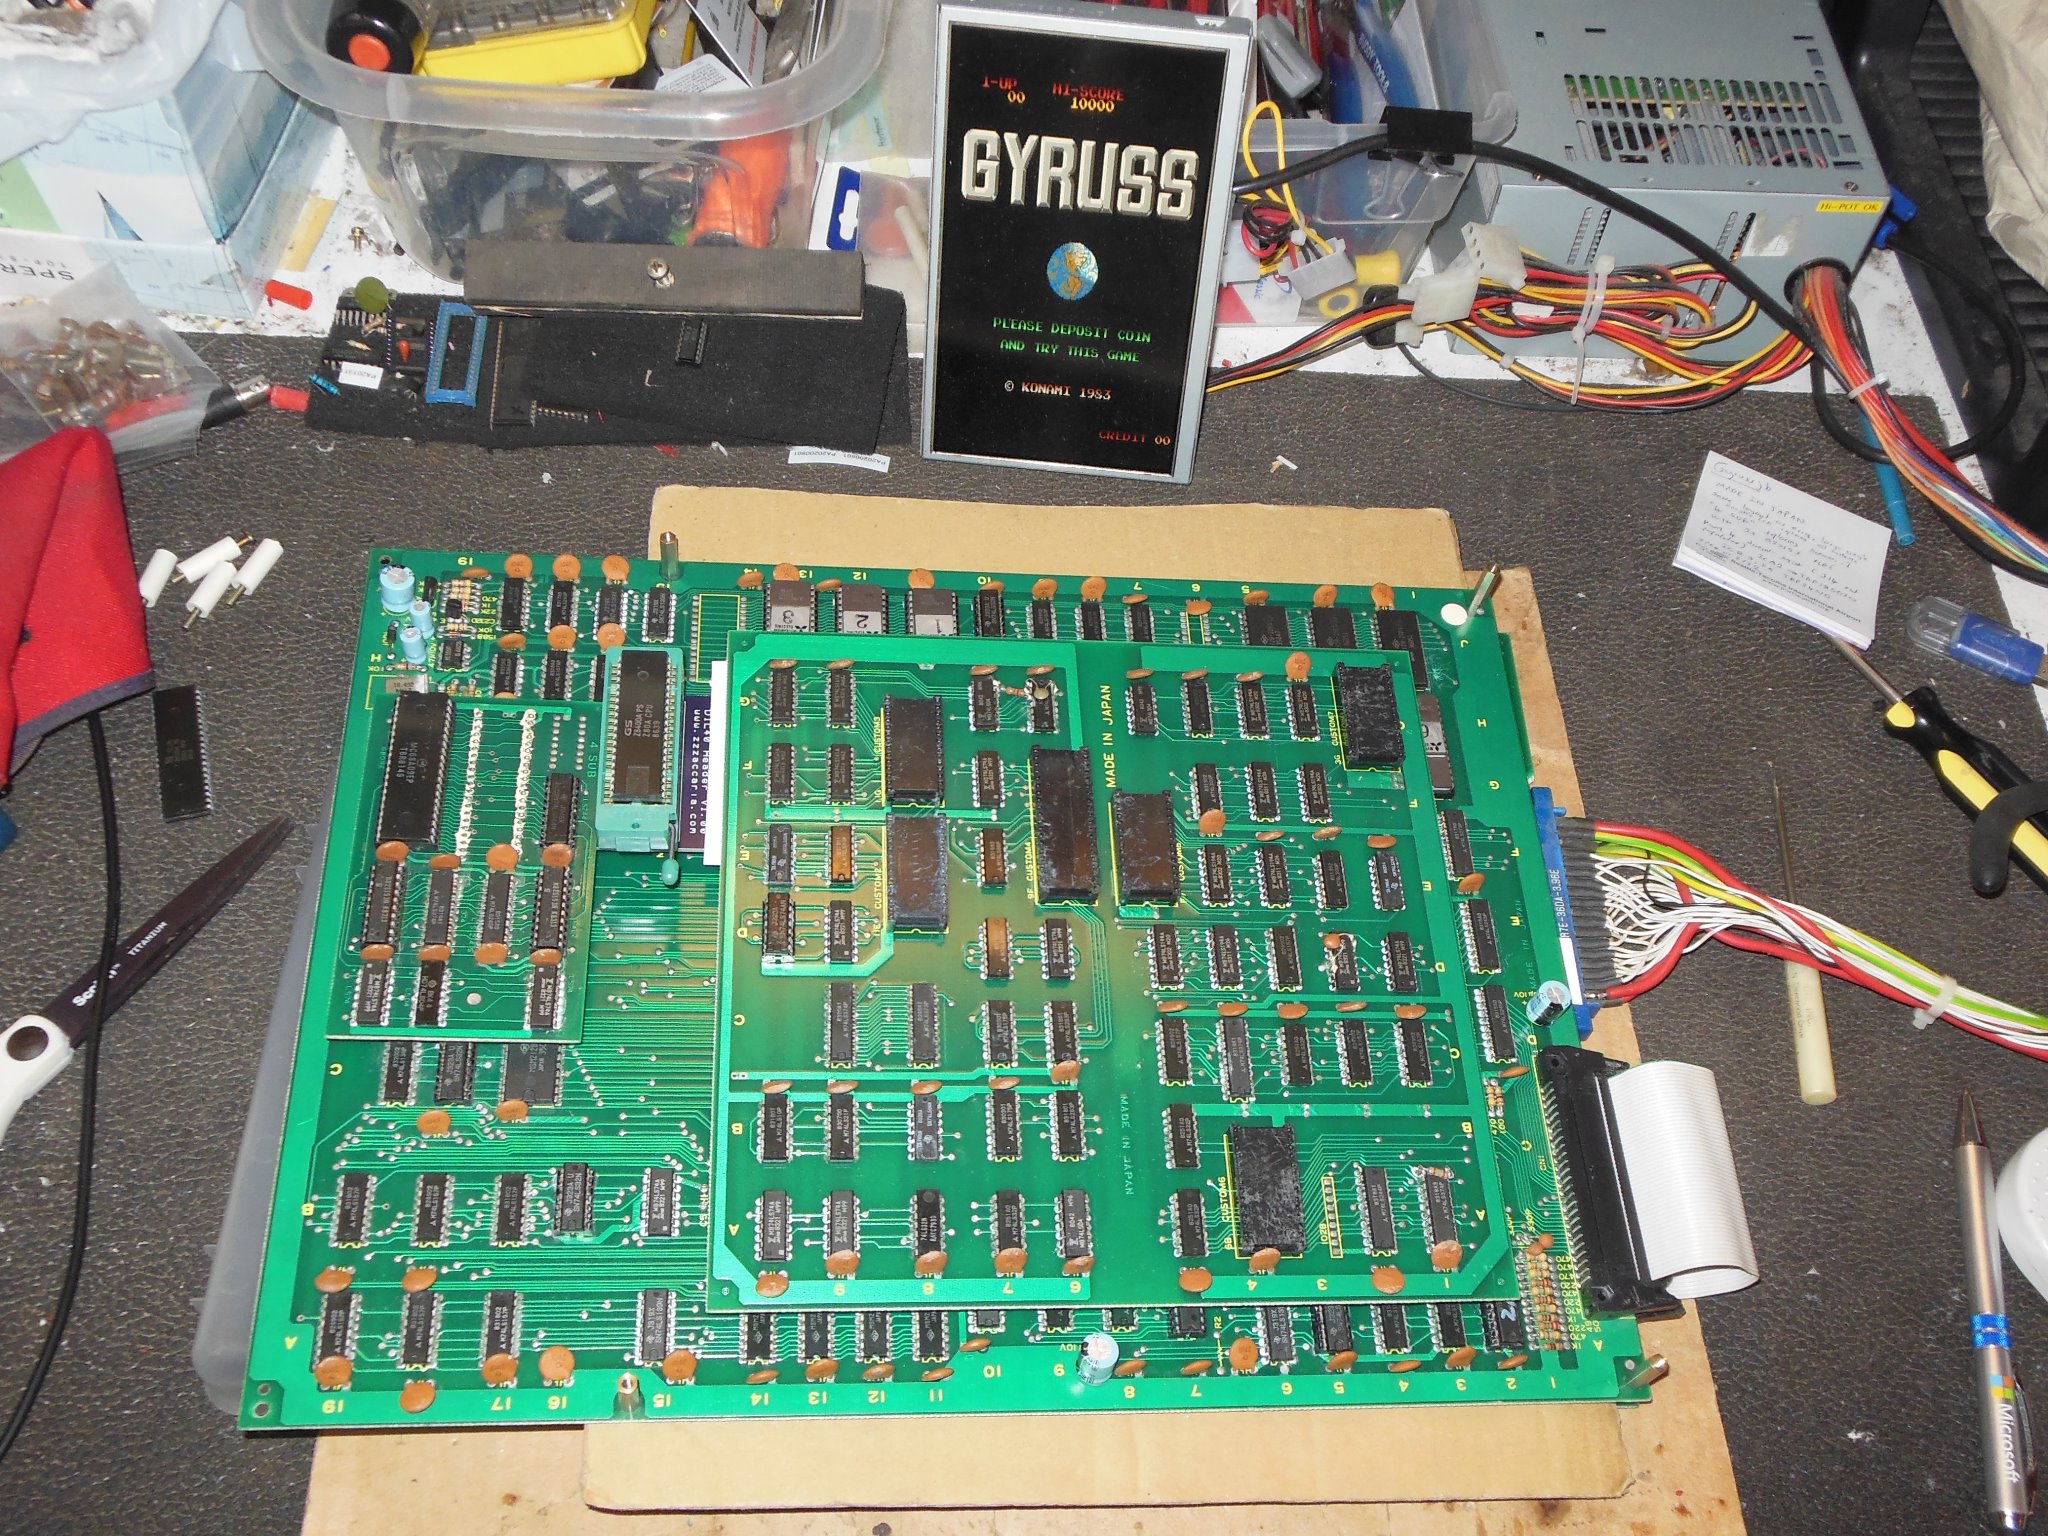
I had a bootleg Gyruss game PCB to use to verify the cabinet wiring was correct. The game ran fine for a few minutes on the bench but then stopped booting. In the cabinet the game still wasn't booting but the picture was good.
|
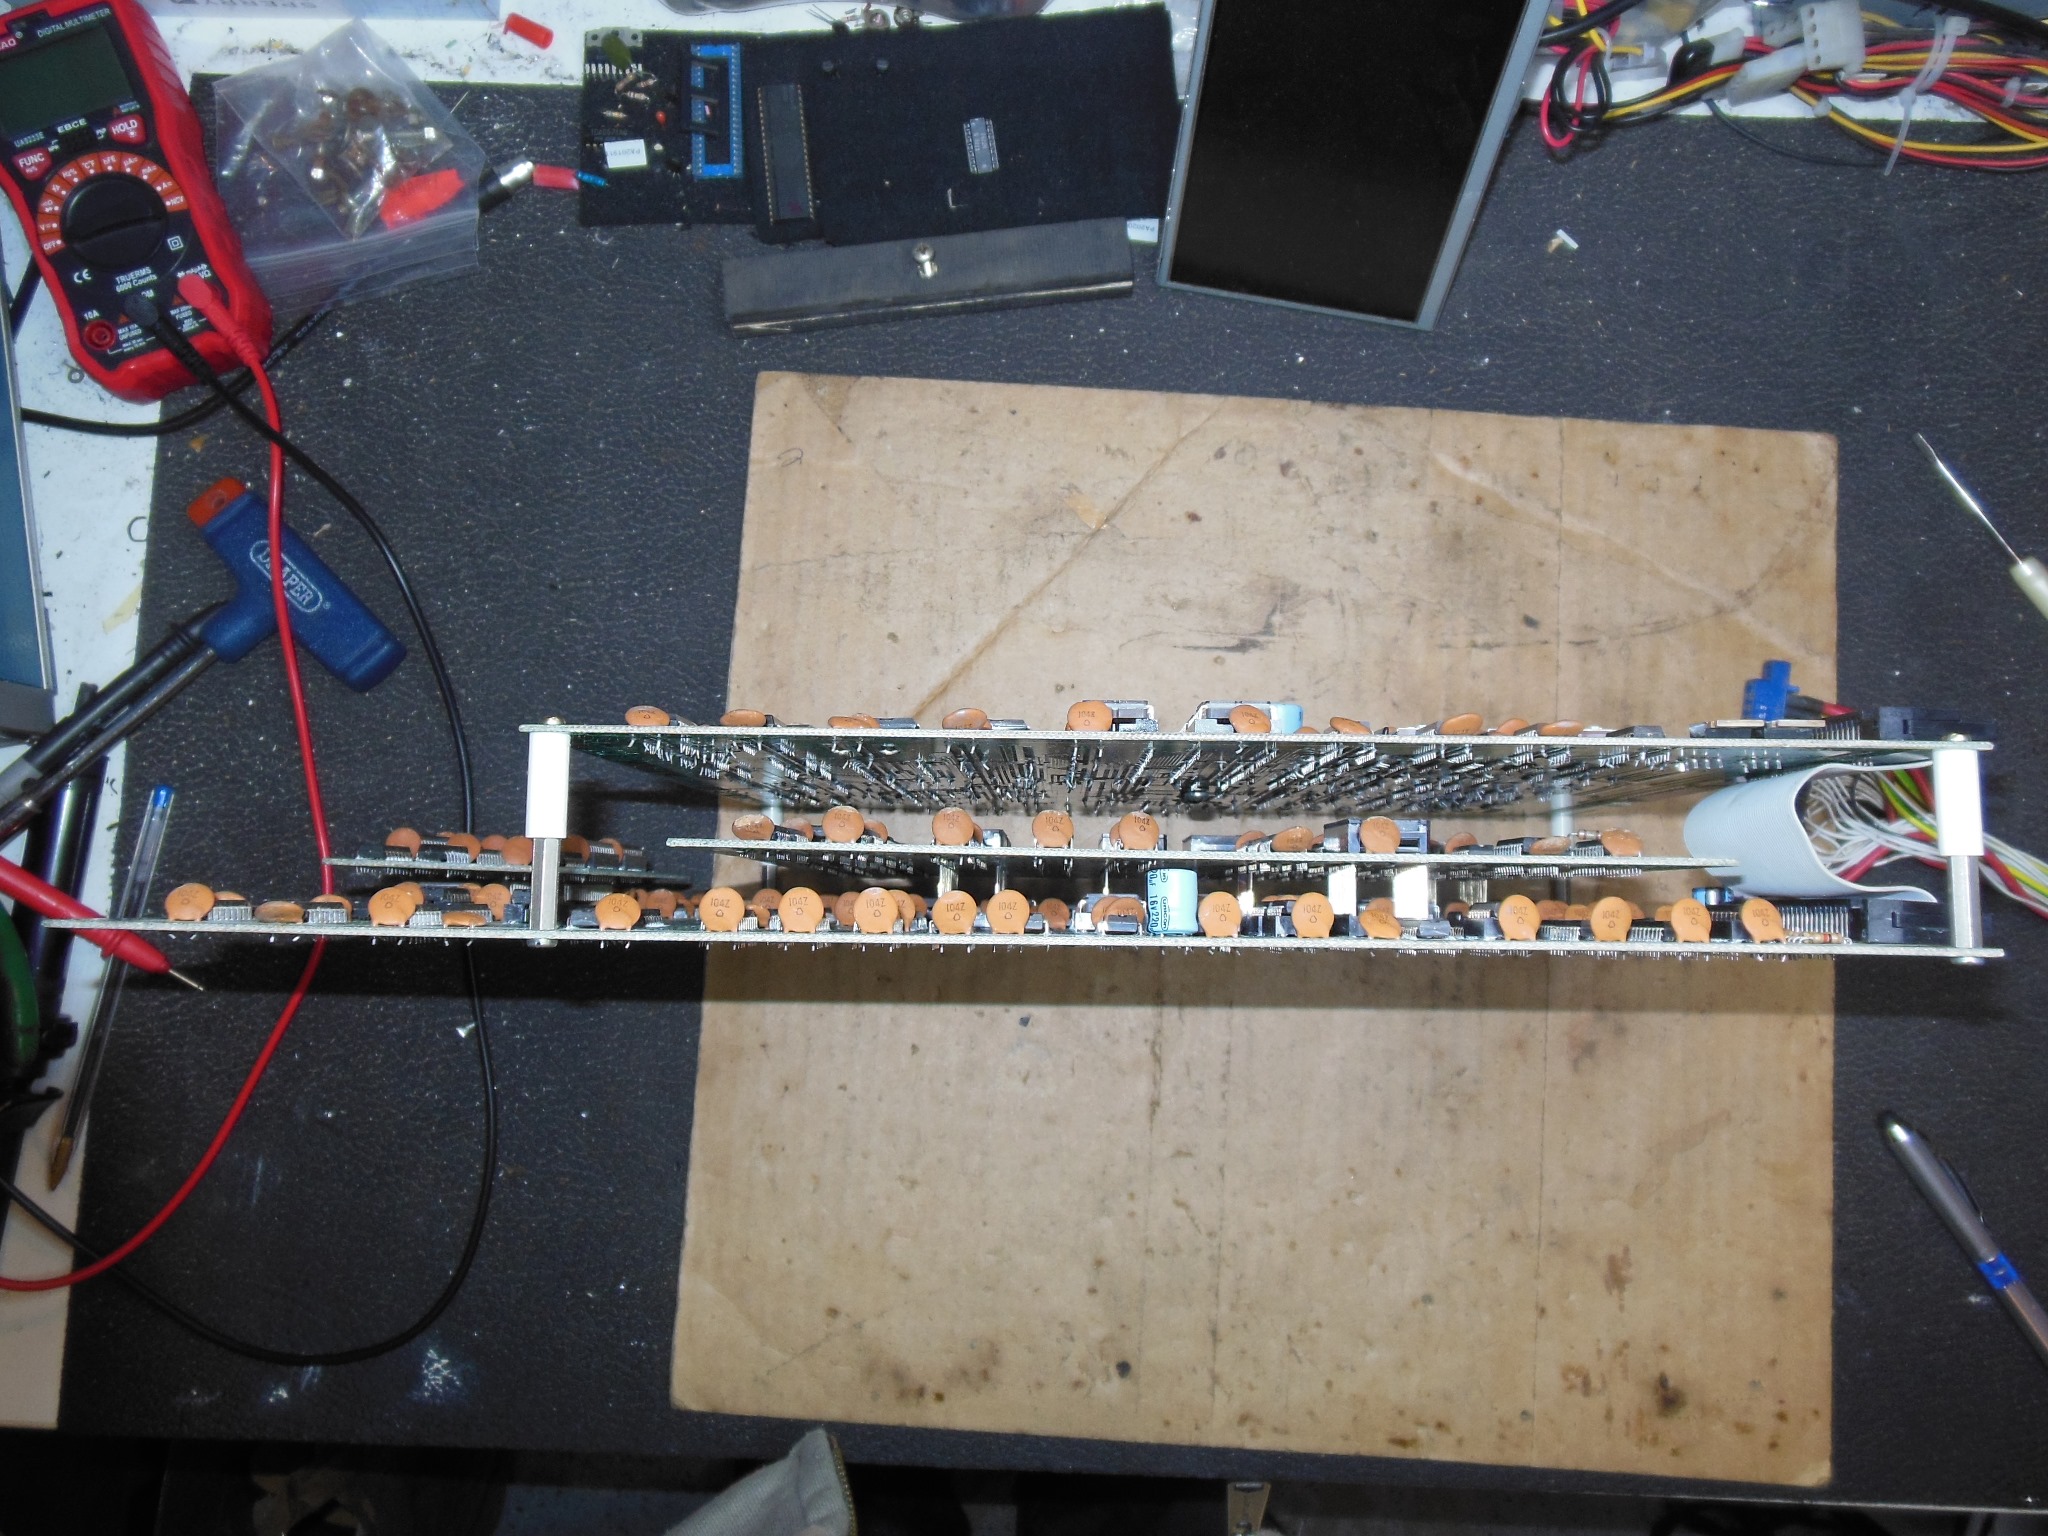
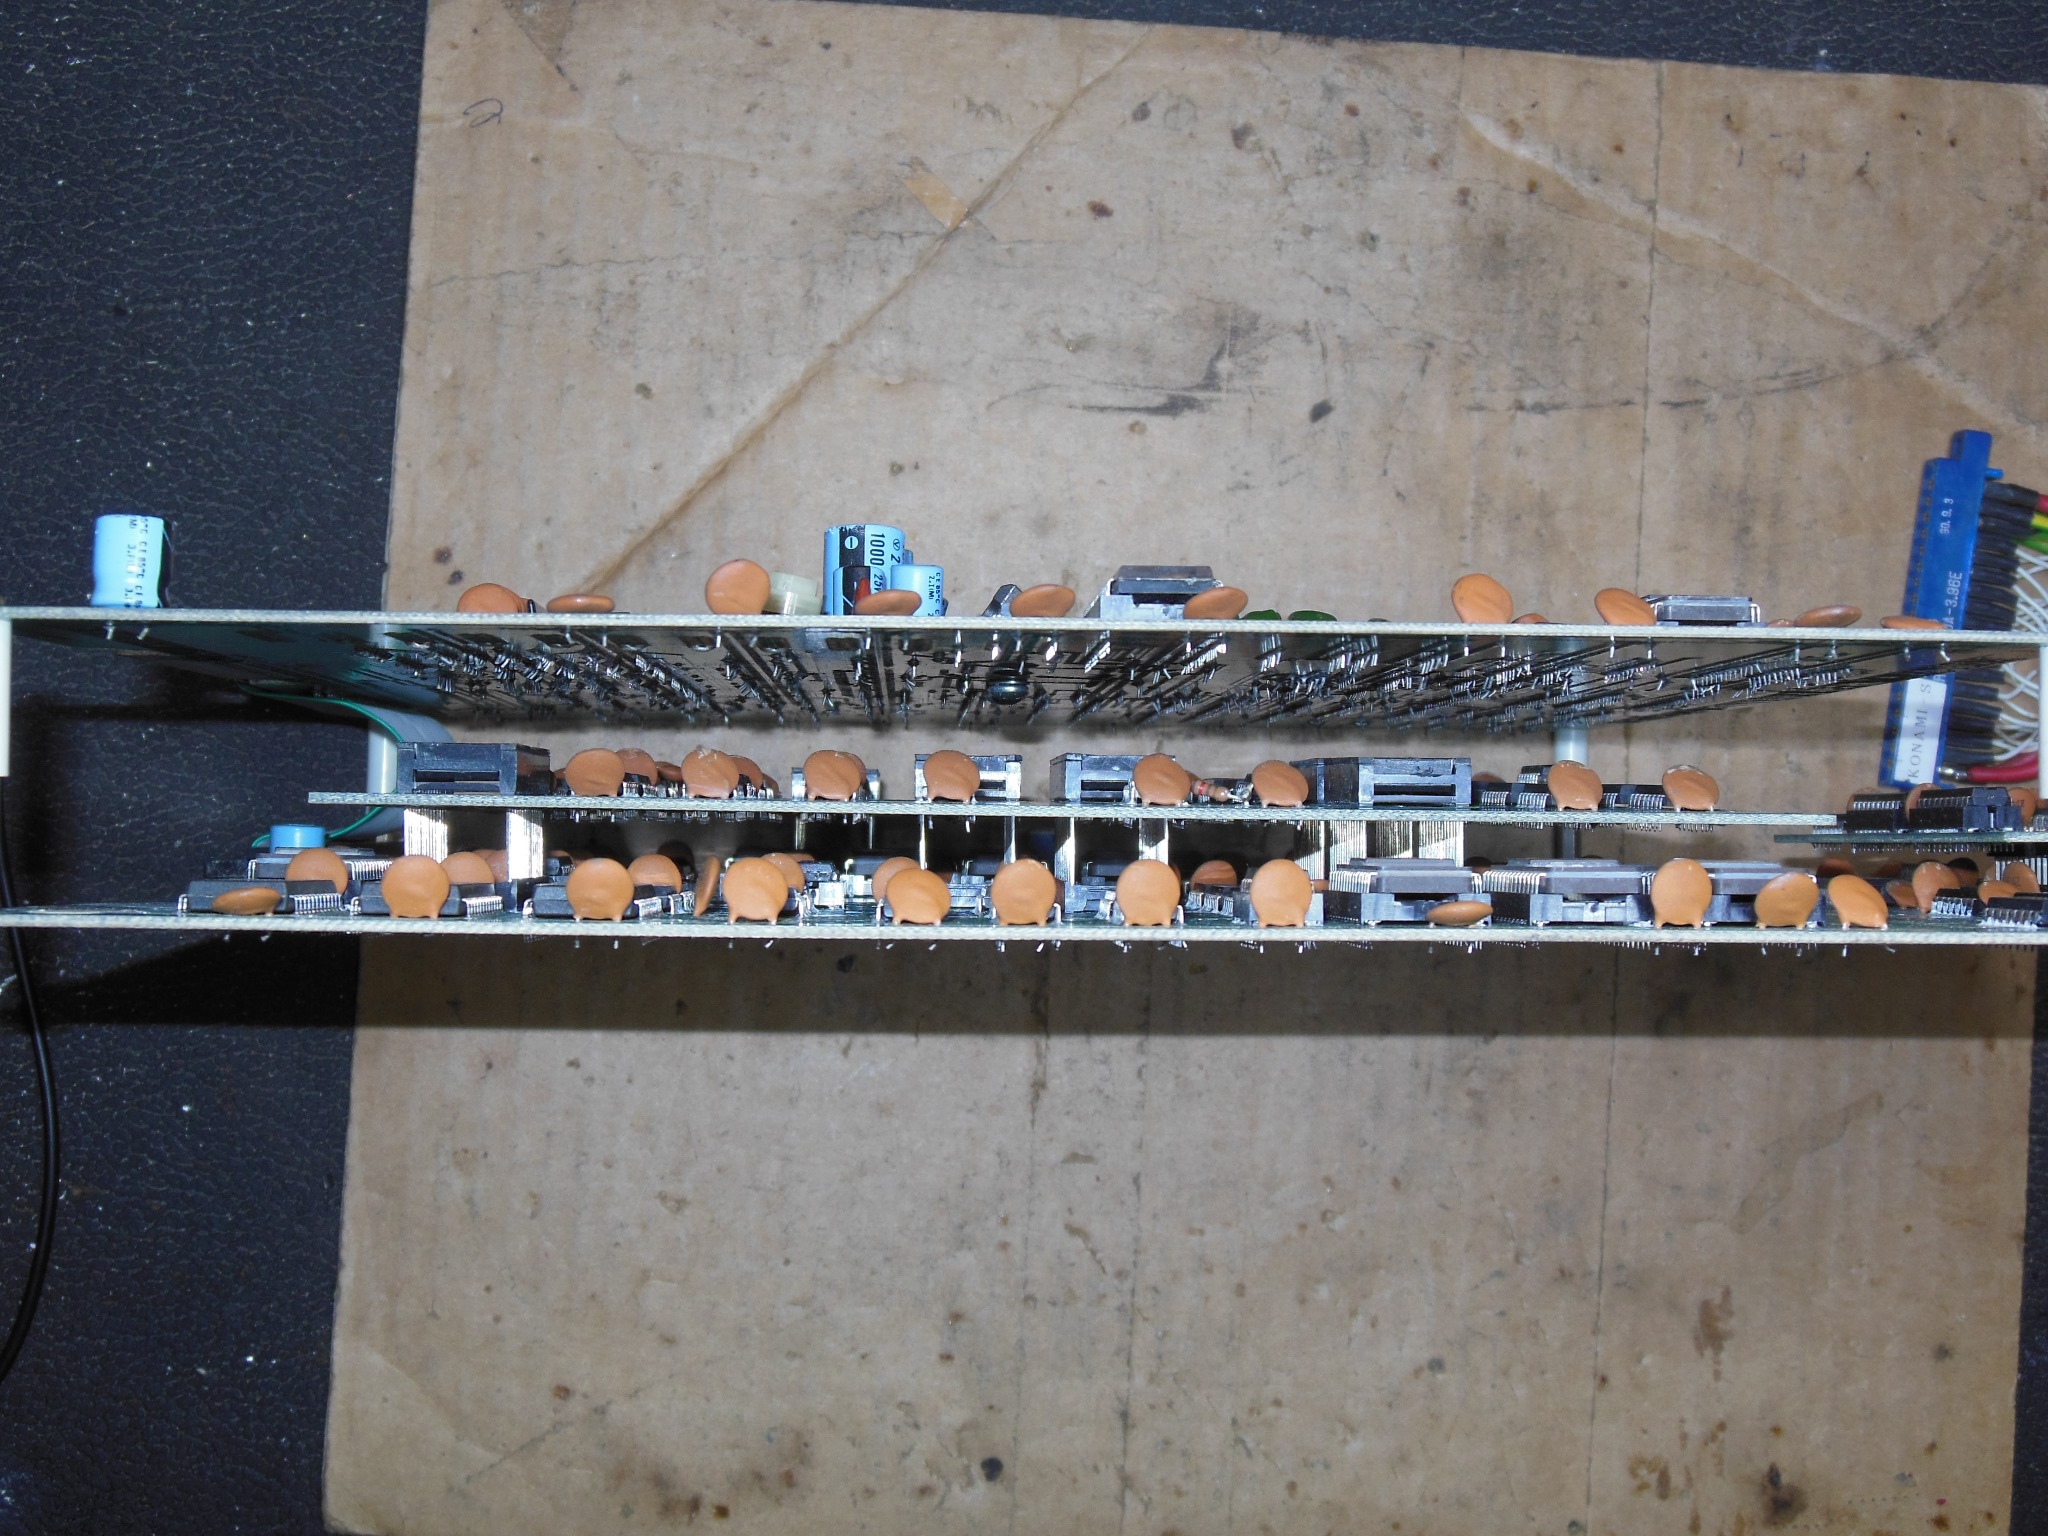
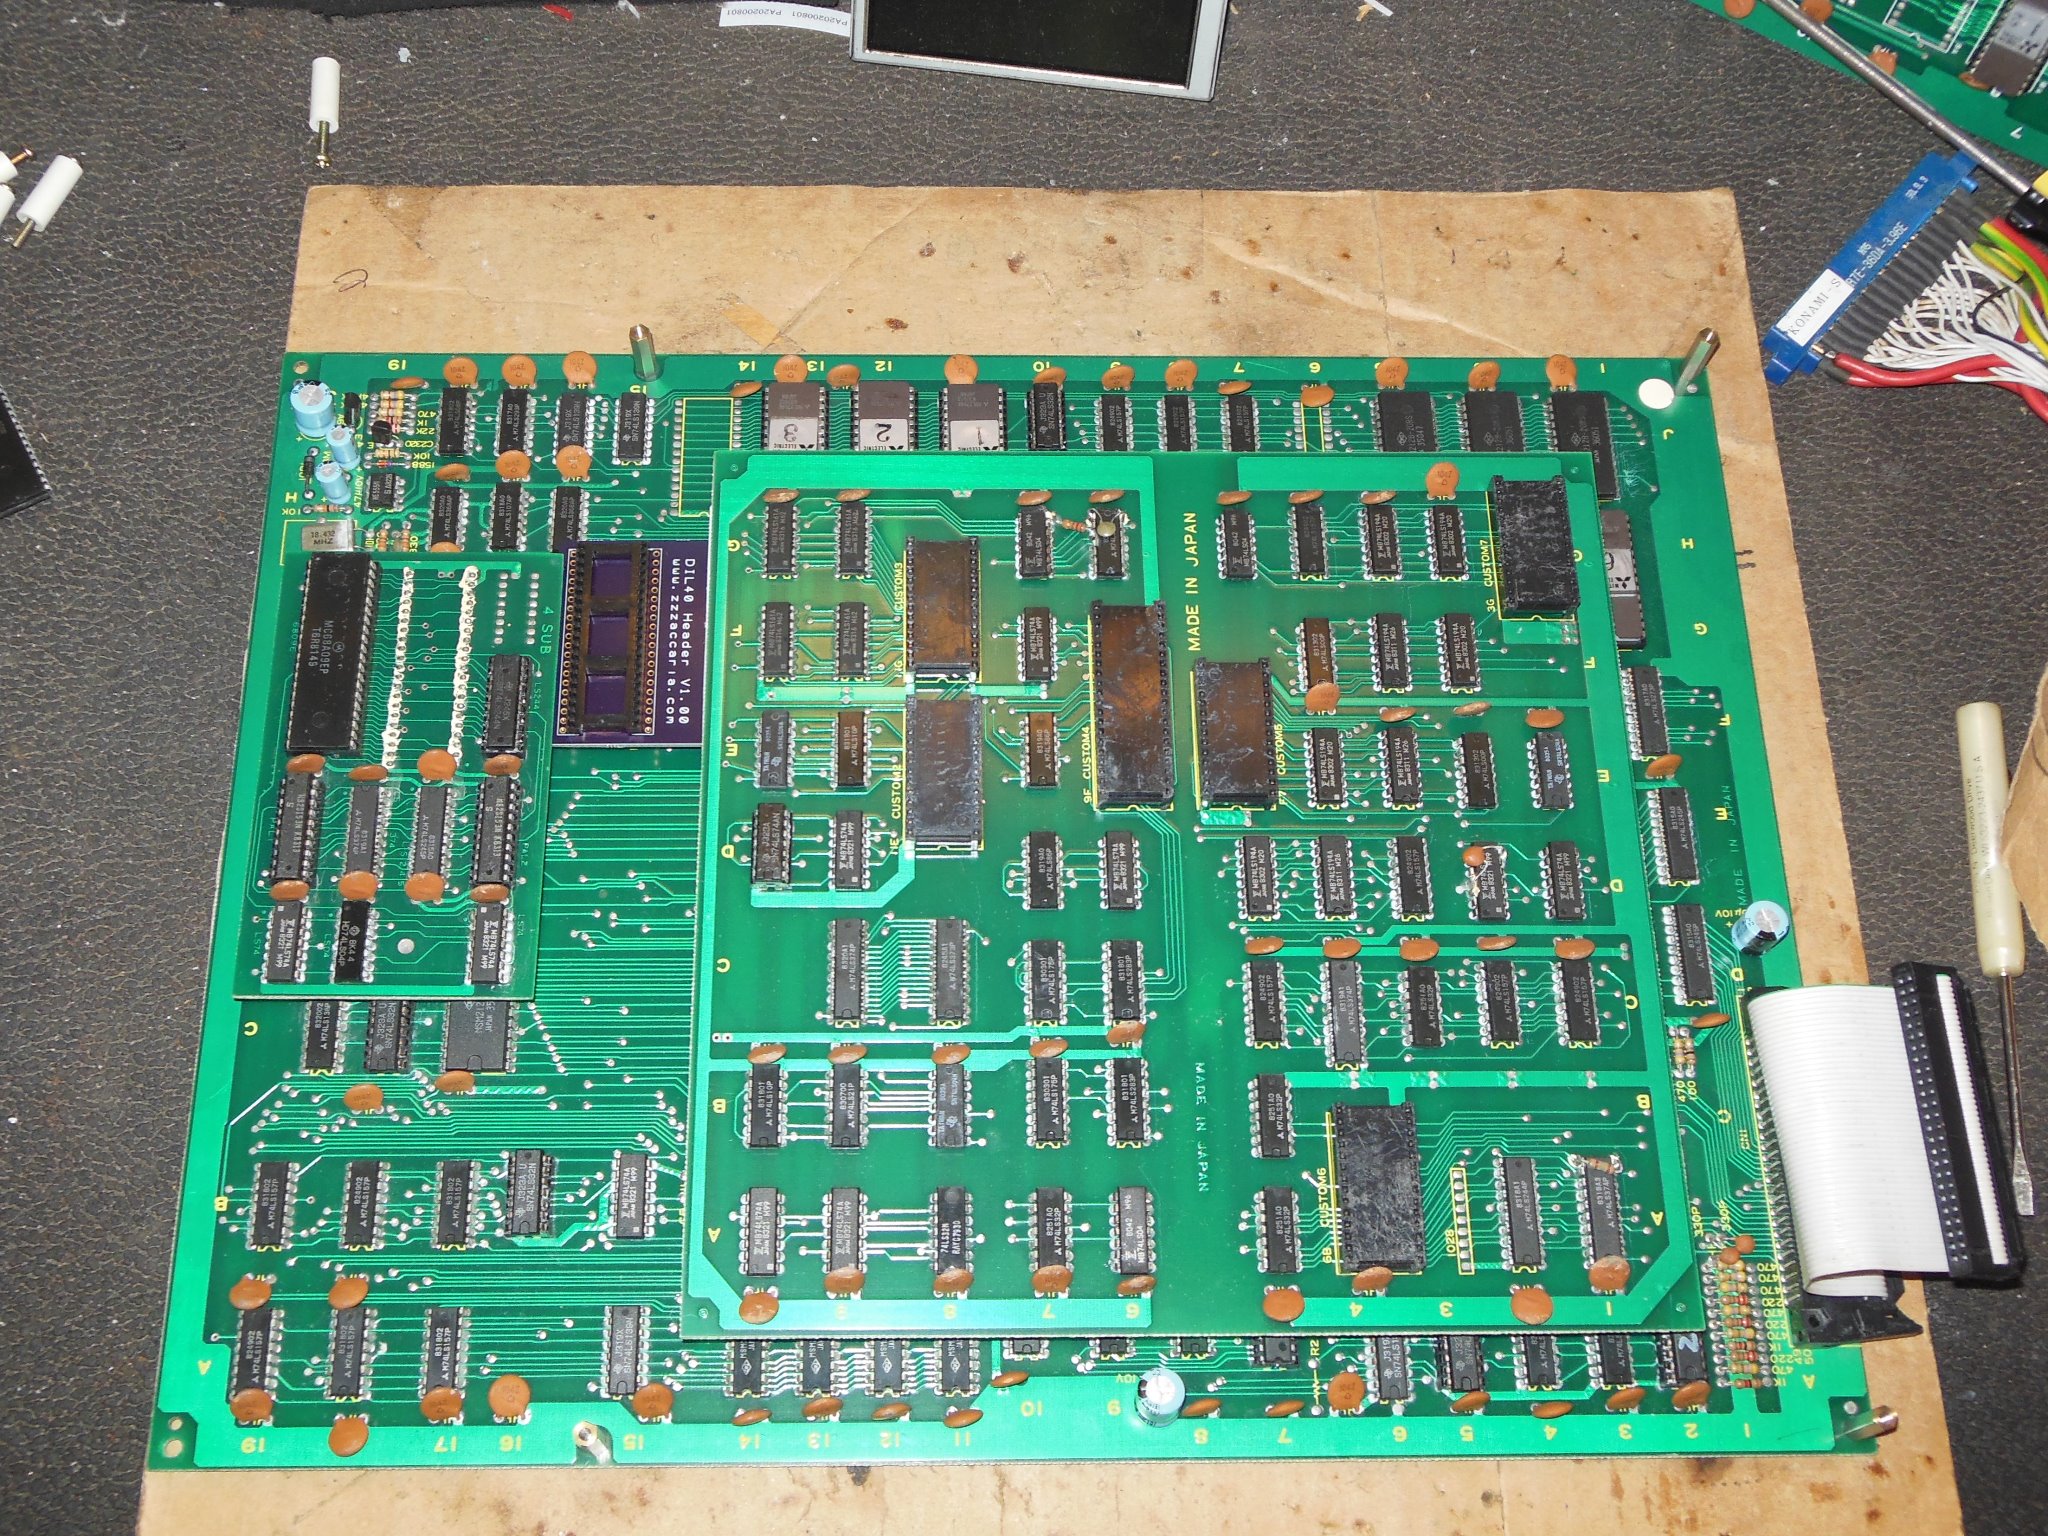
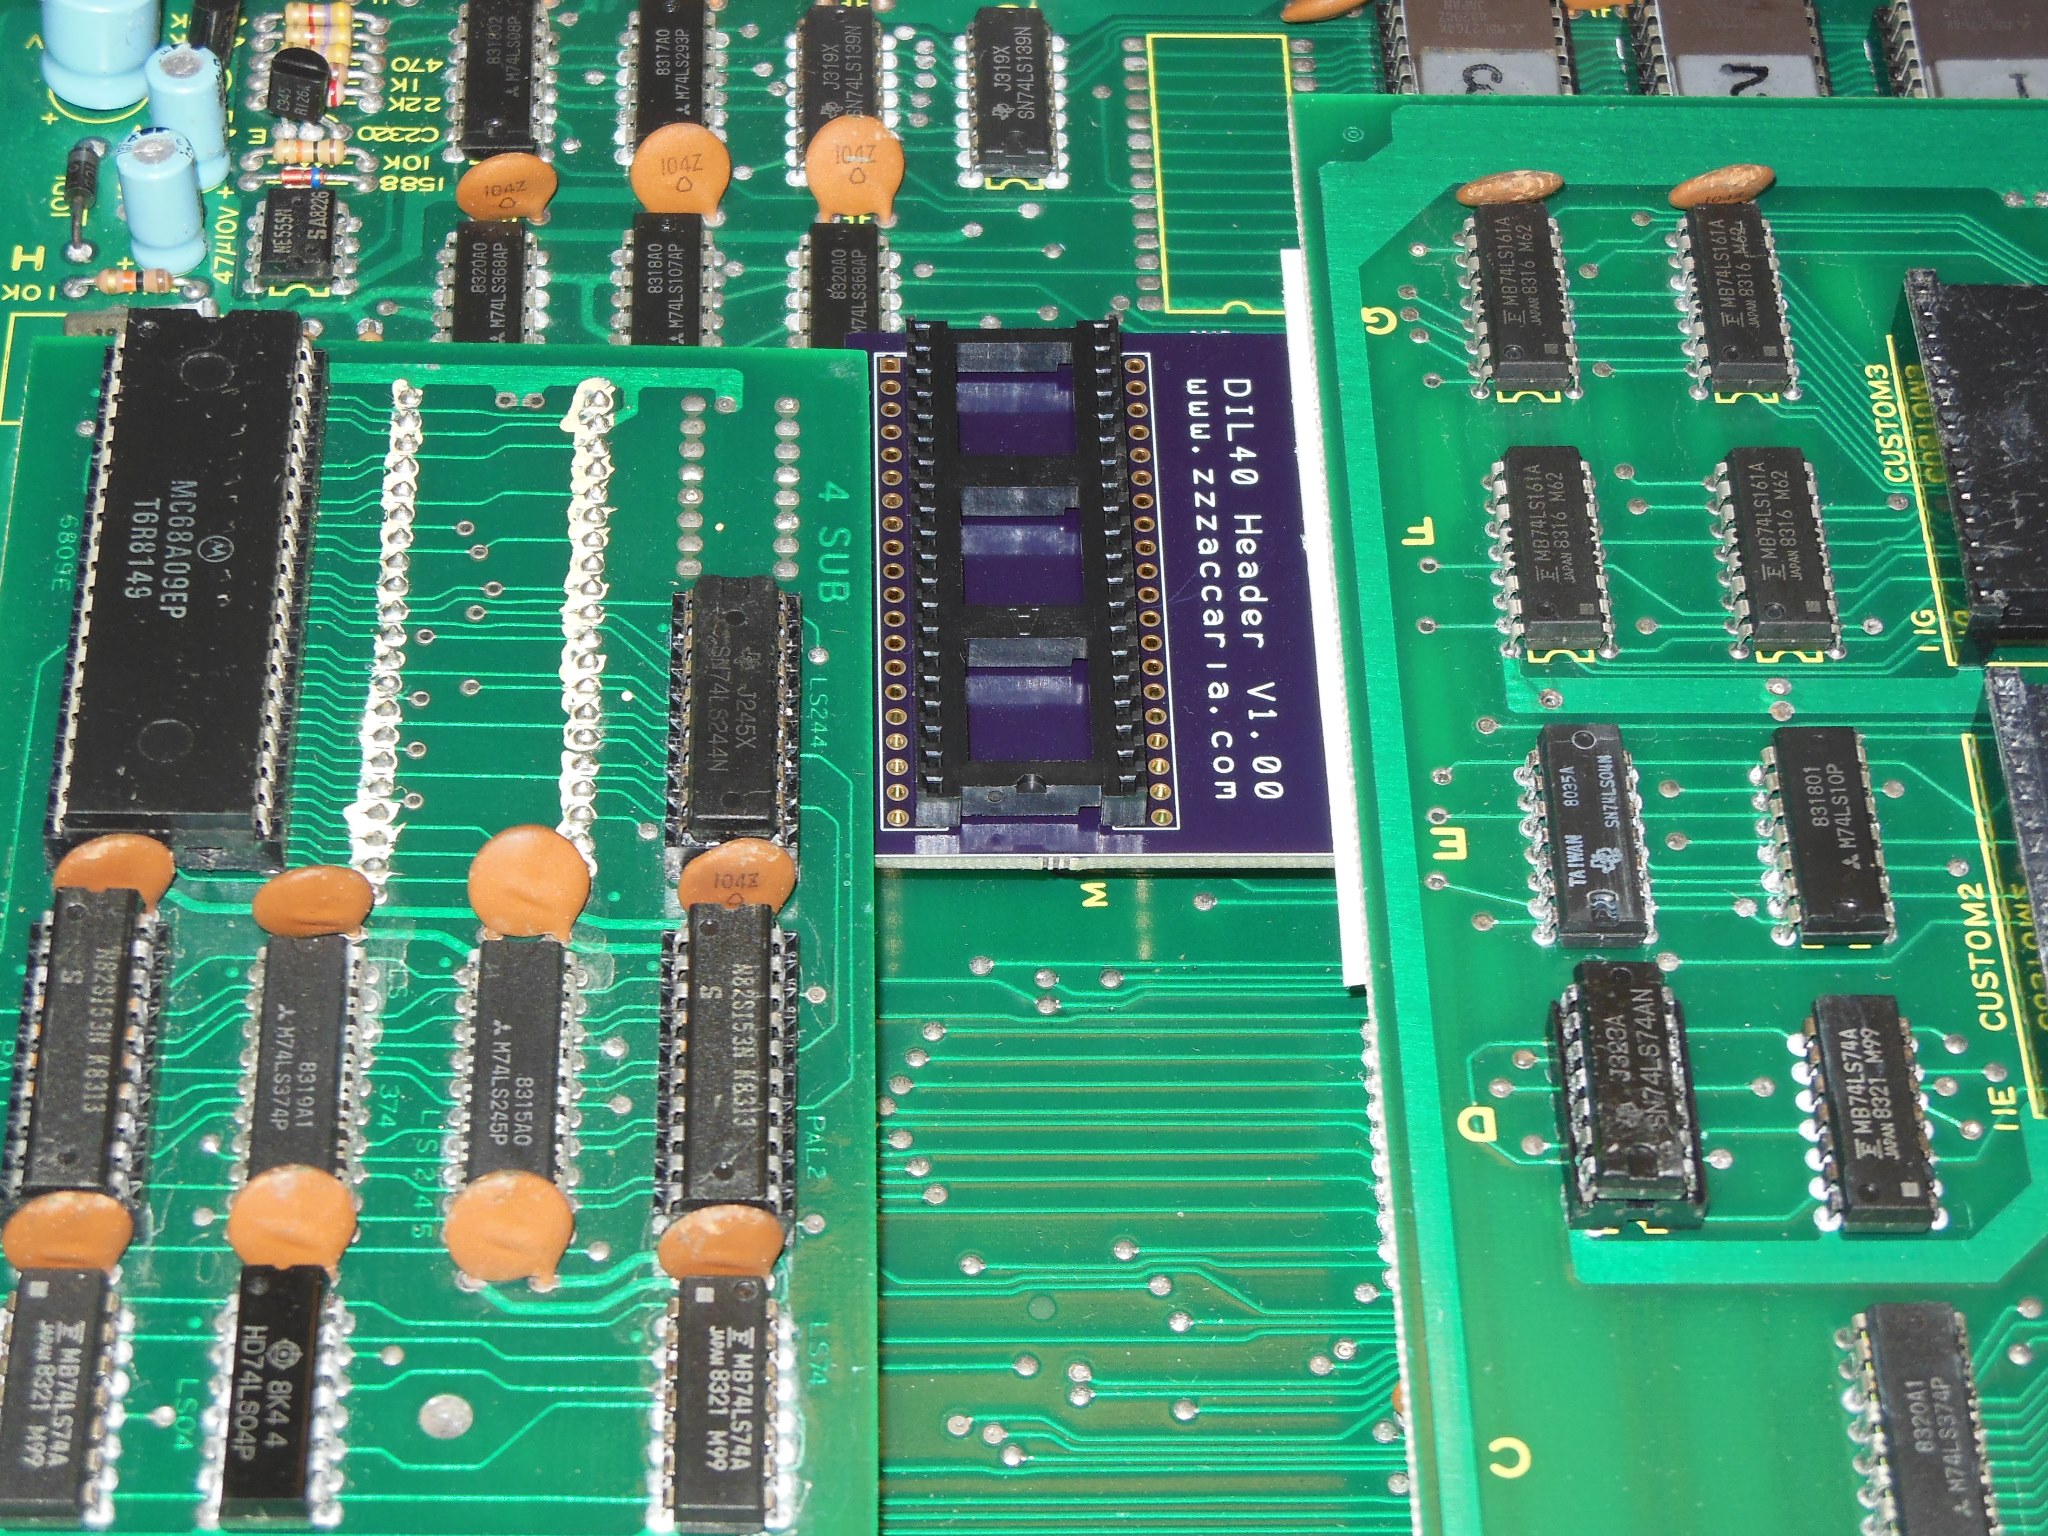
In order to investigate the fault I needed to attach the Arduino ICT but the large daughter PCB that replaced all the customs covered the Z80 CPU.
|
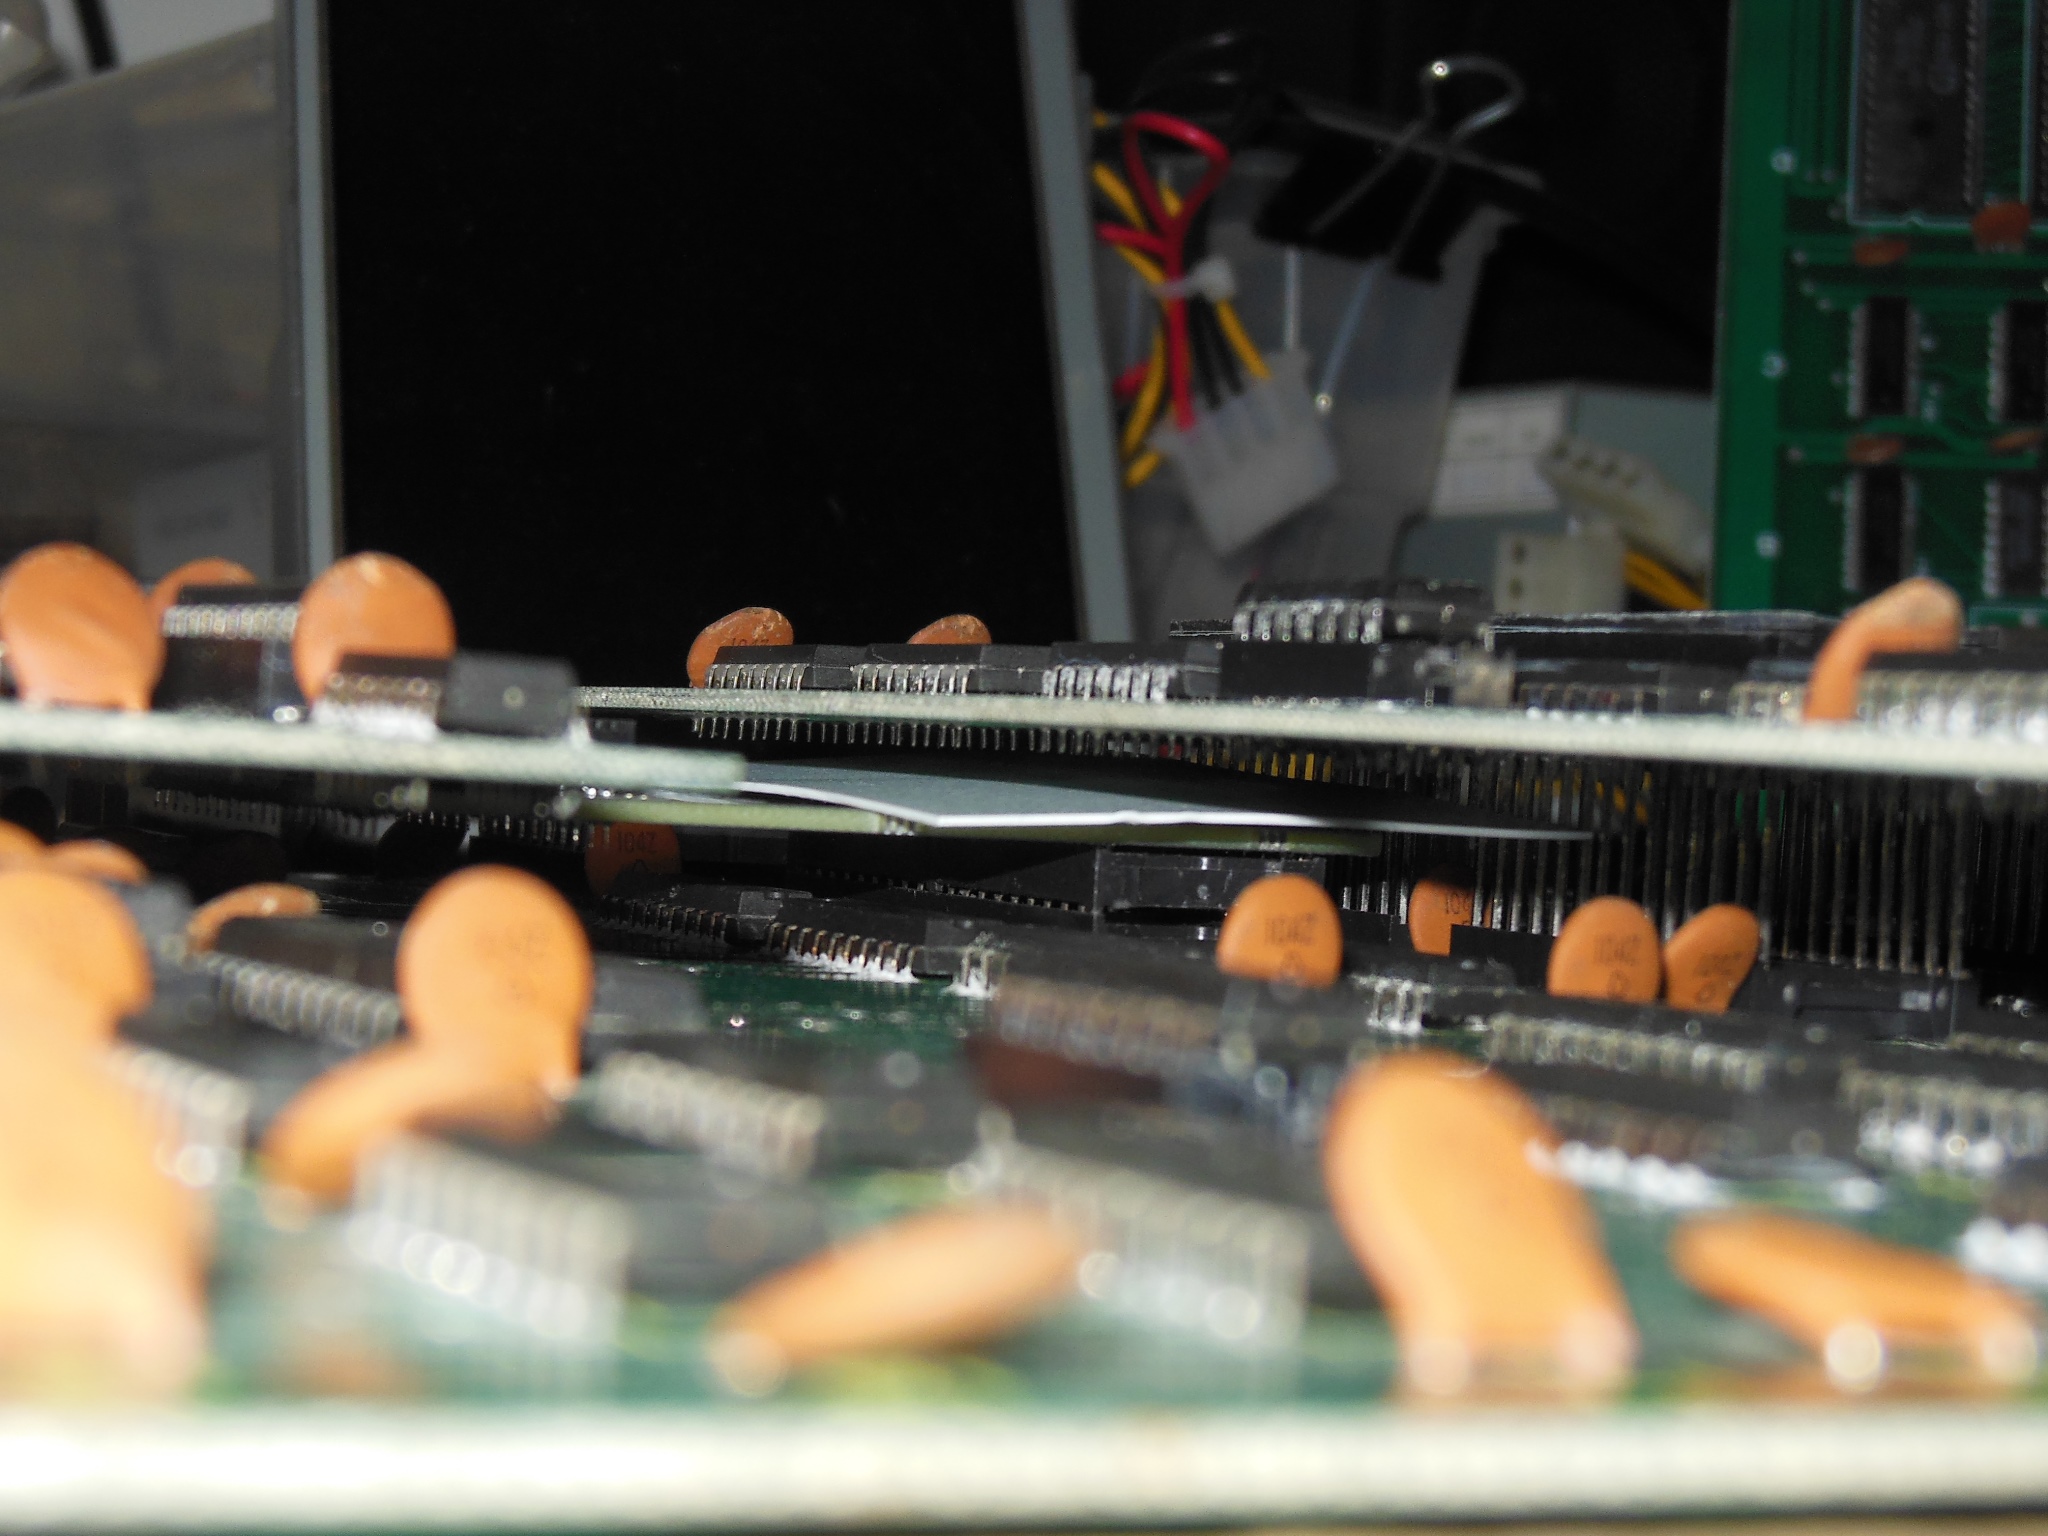
As part of a prior Dambusters restoration I'd made a small header PCB to move a Z80 CPU a couple of inches out from underneath a similar large daughter PCB. In a stroke of good luck that same PCB was a near perfect size to achieve the same on this PCB :) The vertical clearance was very narrow so the connector pins on the top had to be trimmed down and a plastic insulating separator was sandwiched in between to ensure the two boards didn't touch. The header PCB was secure enough to leave in place permanently

|
Testing the Z80 header discovered that the Z80 itself was bad and with a new Z80 the game booted and ran OK. There were still some issues with the sounds, however.
The ROMs were dumped but found to be the same as the set in MAME however the
two PALs are included from the Konami-1 SUB PCB.
Konami Gyruss (bootleg) ROM set

|
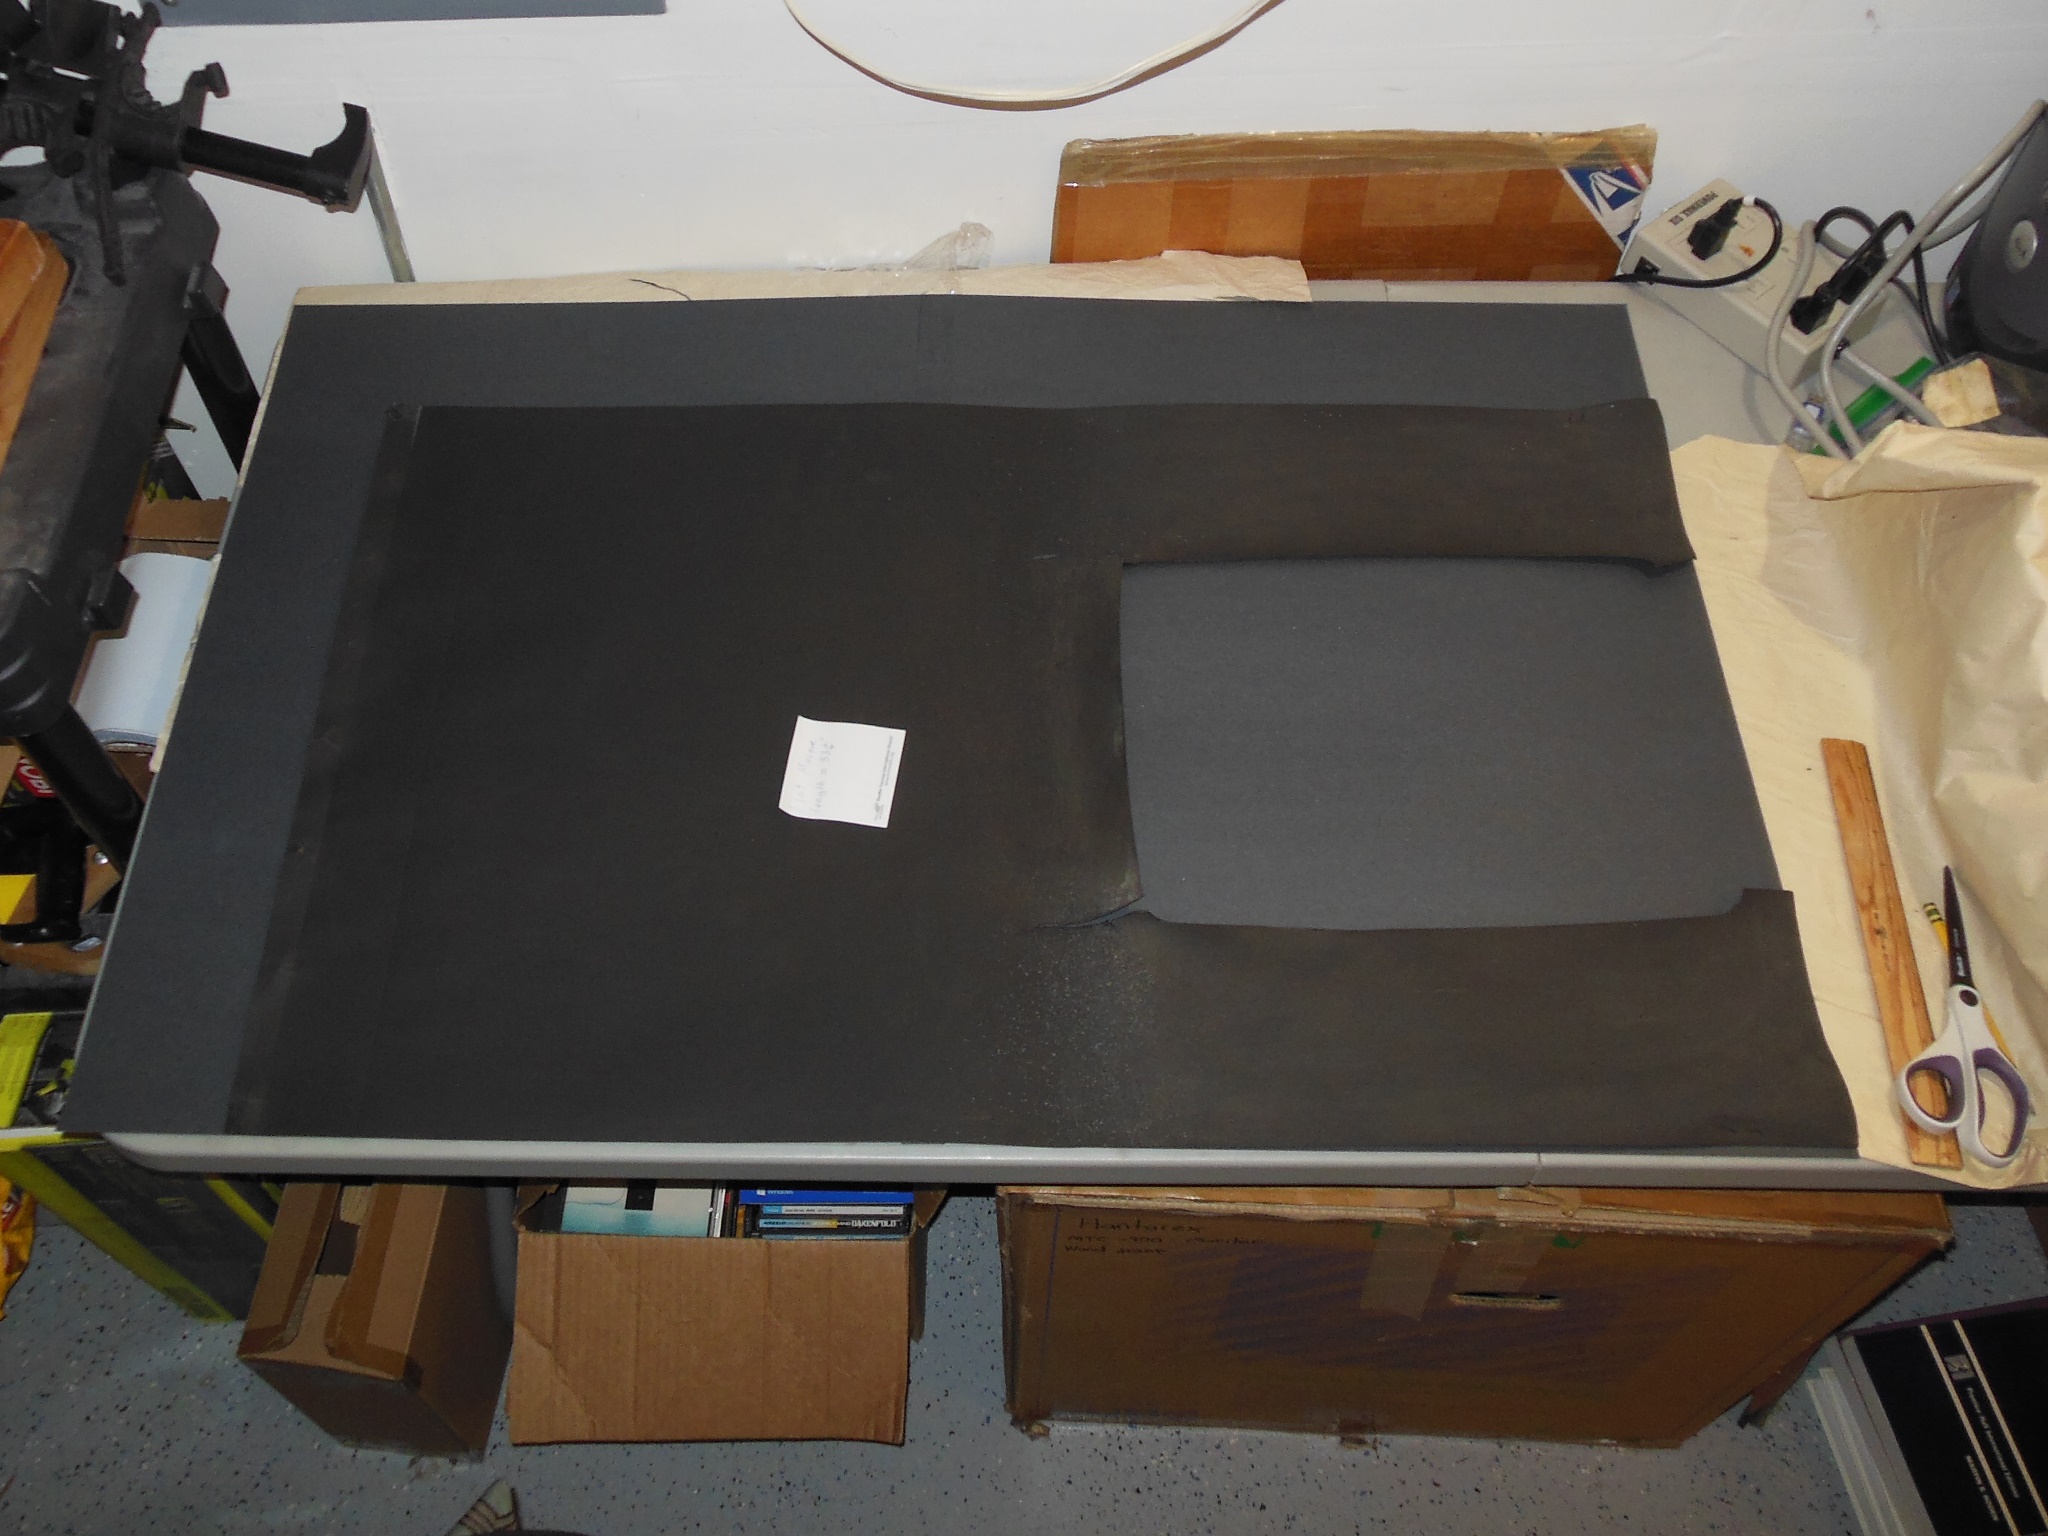
Following the same plan as in the prior Crazy Kong restoration, a 1" strip was trimmed off the long end of the railroad board and used as a seem to glue two boards together to make a single panel large enough to make a monitor surround. The seem was pressed and left for a few days to dry.

|
Neither sounds or music were correct - they were present but mismatched with what they should have been. Starting with the sound command latch, IC 5C (LS374) confirmed that pin 11 (main CPU) pulsed on coin but the corresponding pin 1 read (sound CPU) did not occur. The sound CPU did not appear to be reading the sound commands though the scope showed the sound Z80 active. Support for the Gyruss sound Z80 was added to the Arduino ICT to investigate further.
With the ICT the sound ROM & RAM all passed OK. On the scope the reference clocks on IC 10B (8910) pins 18-21 also looked OK. The INT interrupt line was active and latched. Reading the sound latch returned 0xFE on coin, 0xF7 on start and 0xFF during the game. Suspecting the sound command latch IC 5C (LS374) may be bad I tried a piggyback of a replacement LS374 that returned 0xAE on coin, 0x03 on start and various other values during the game. Replacing IC 5C (LS374) fixed the sound.
After fitting the game PCB back in the cabinet everything was confirmed working OK.
|
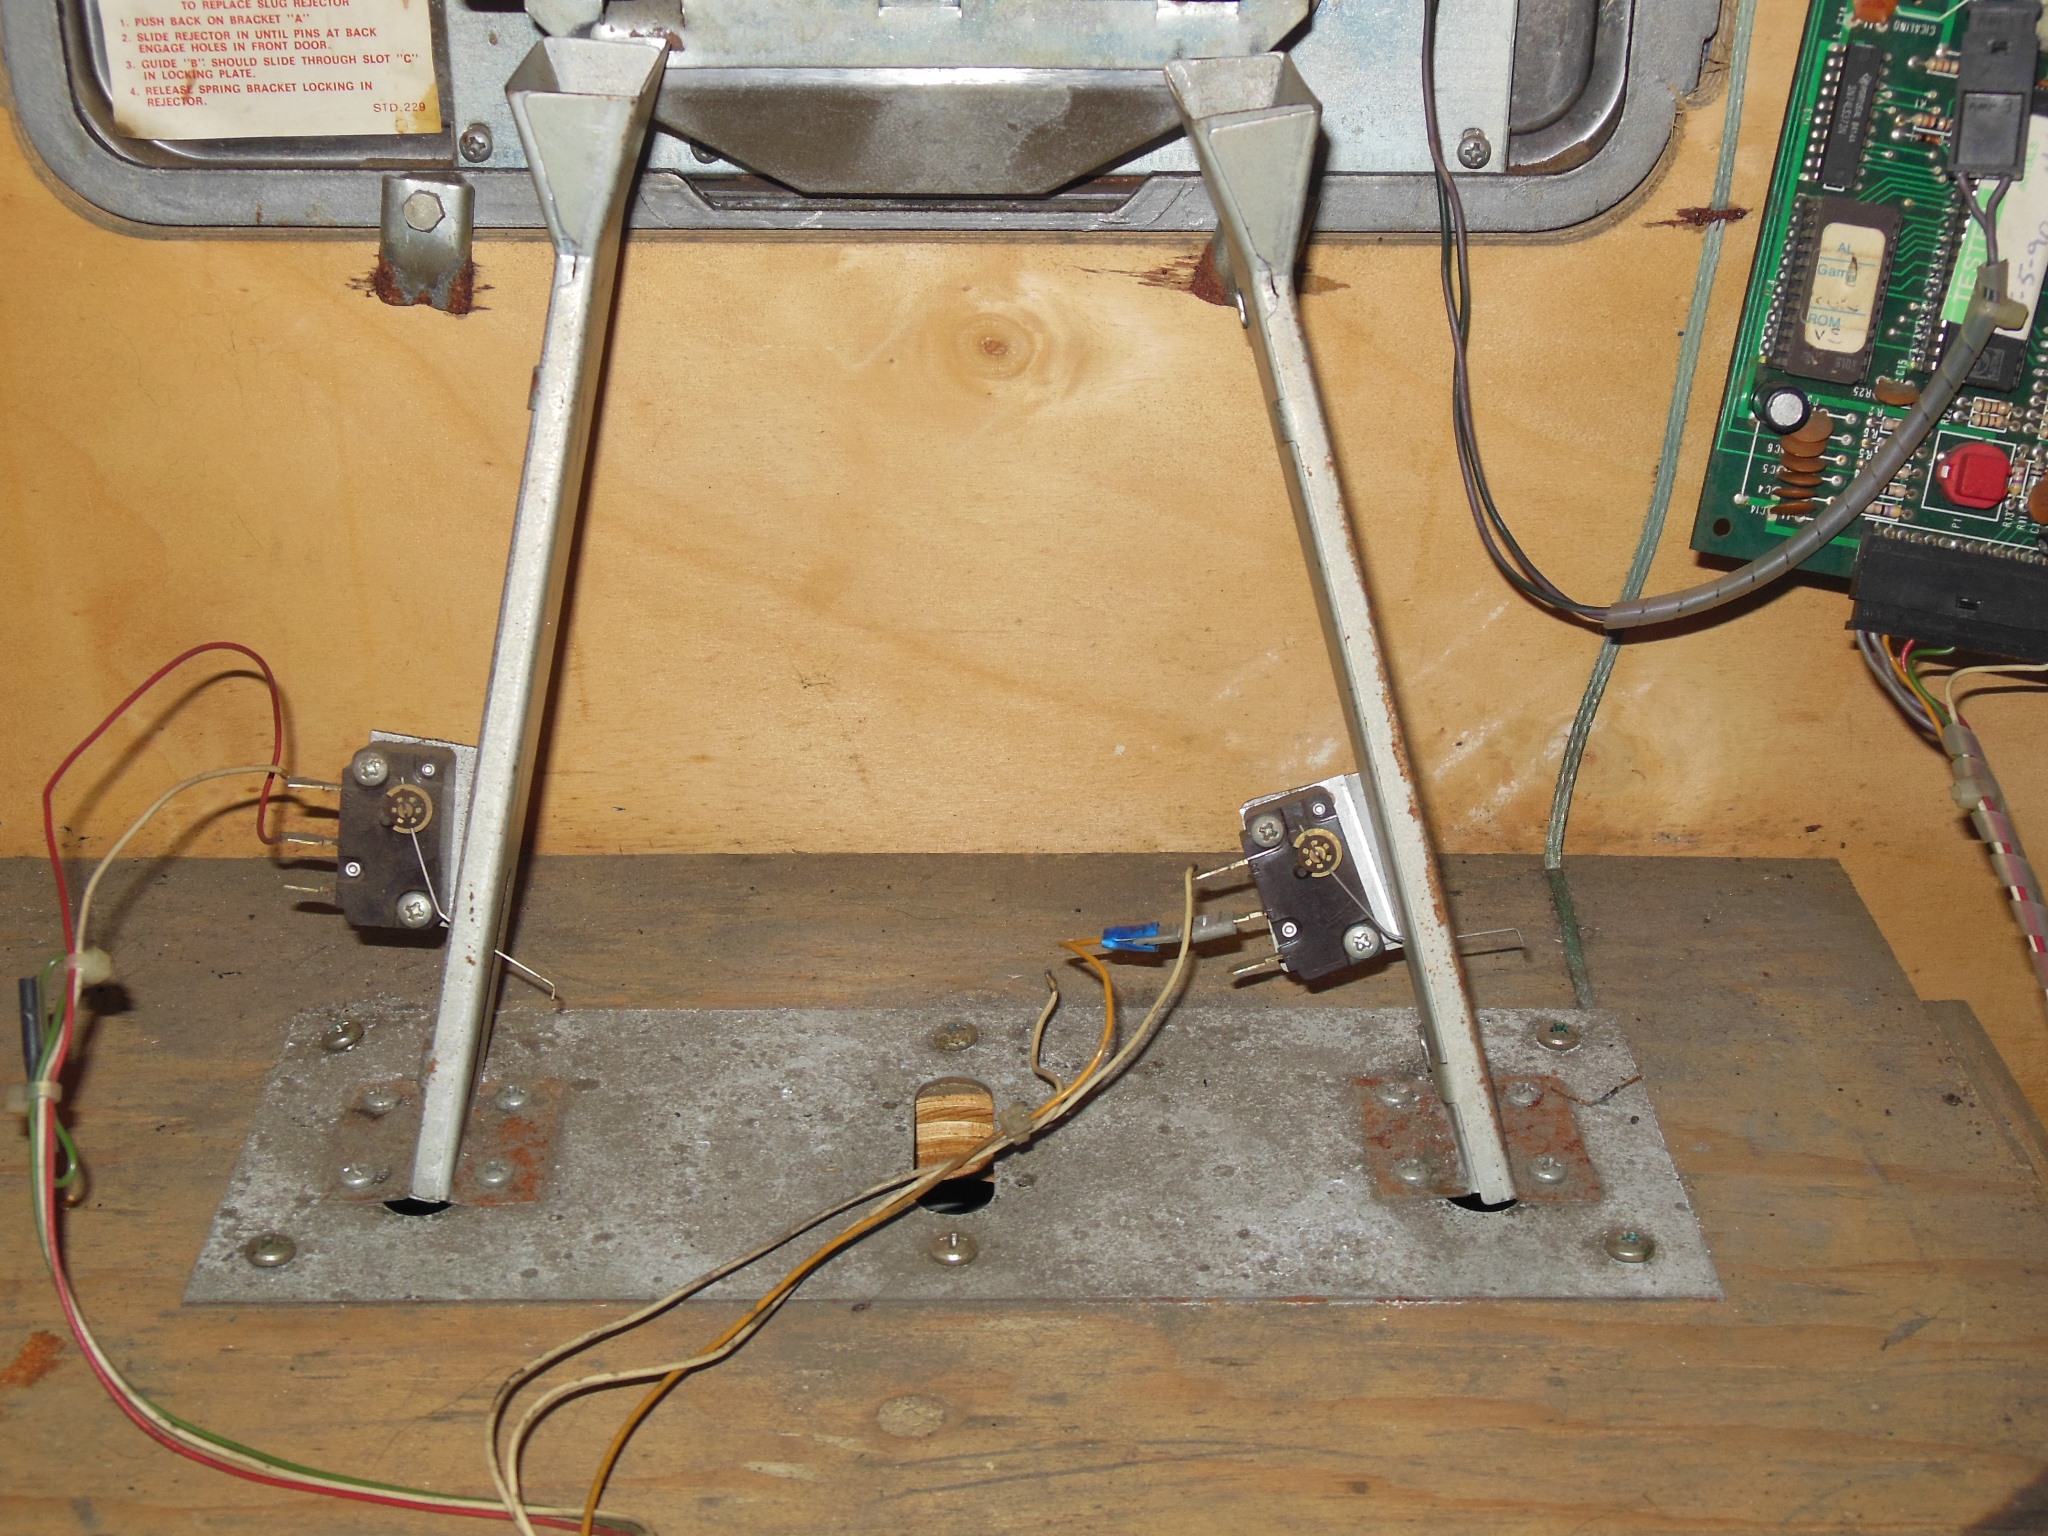
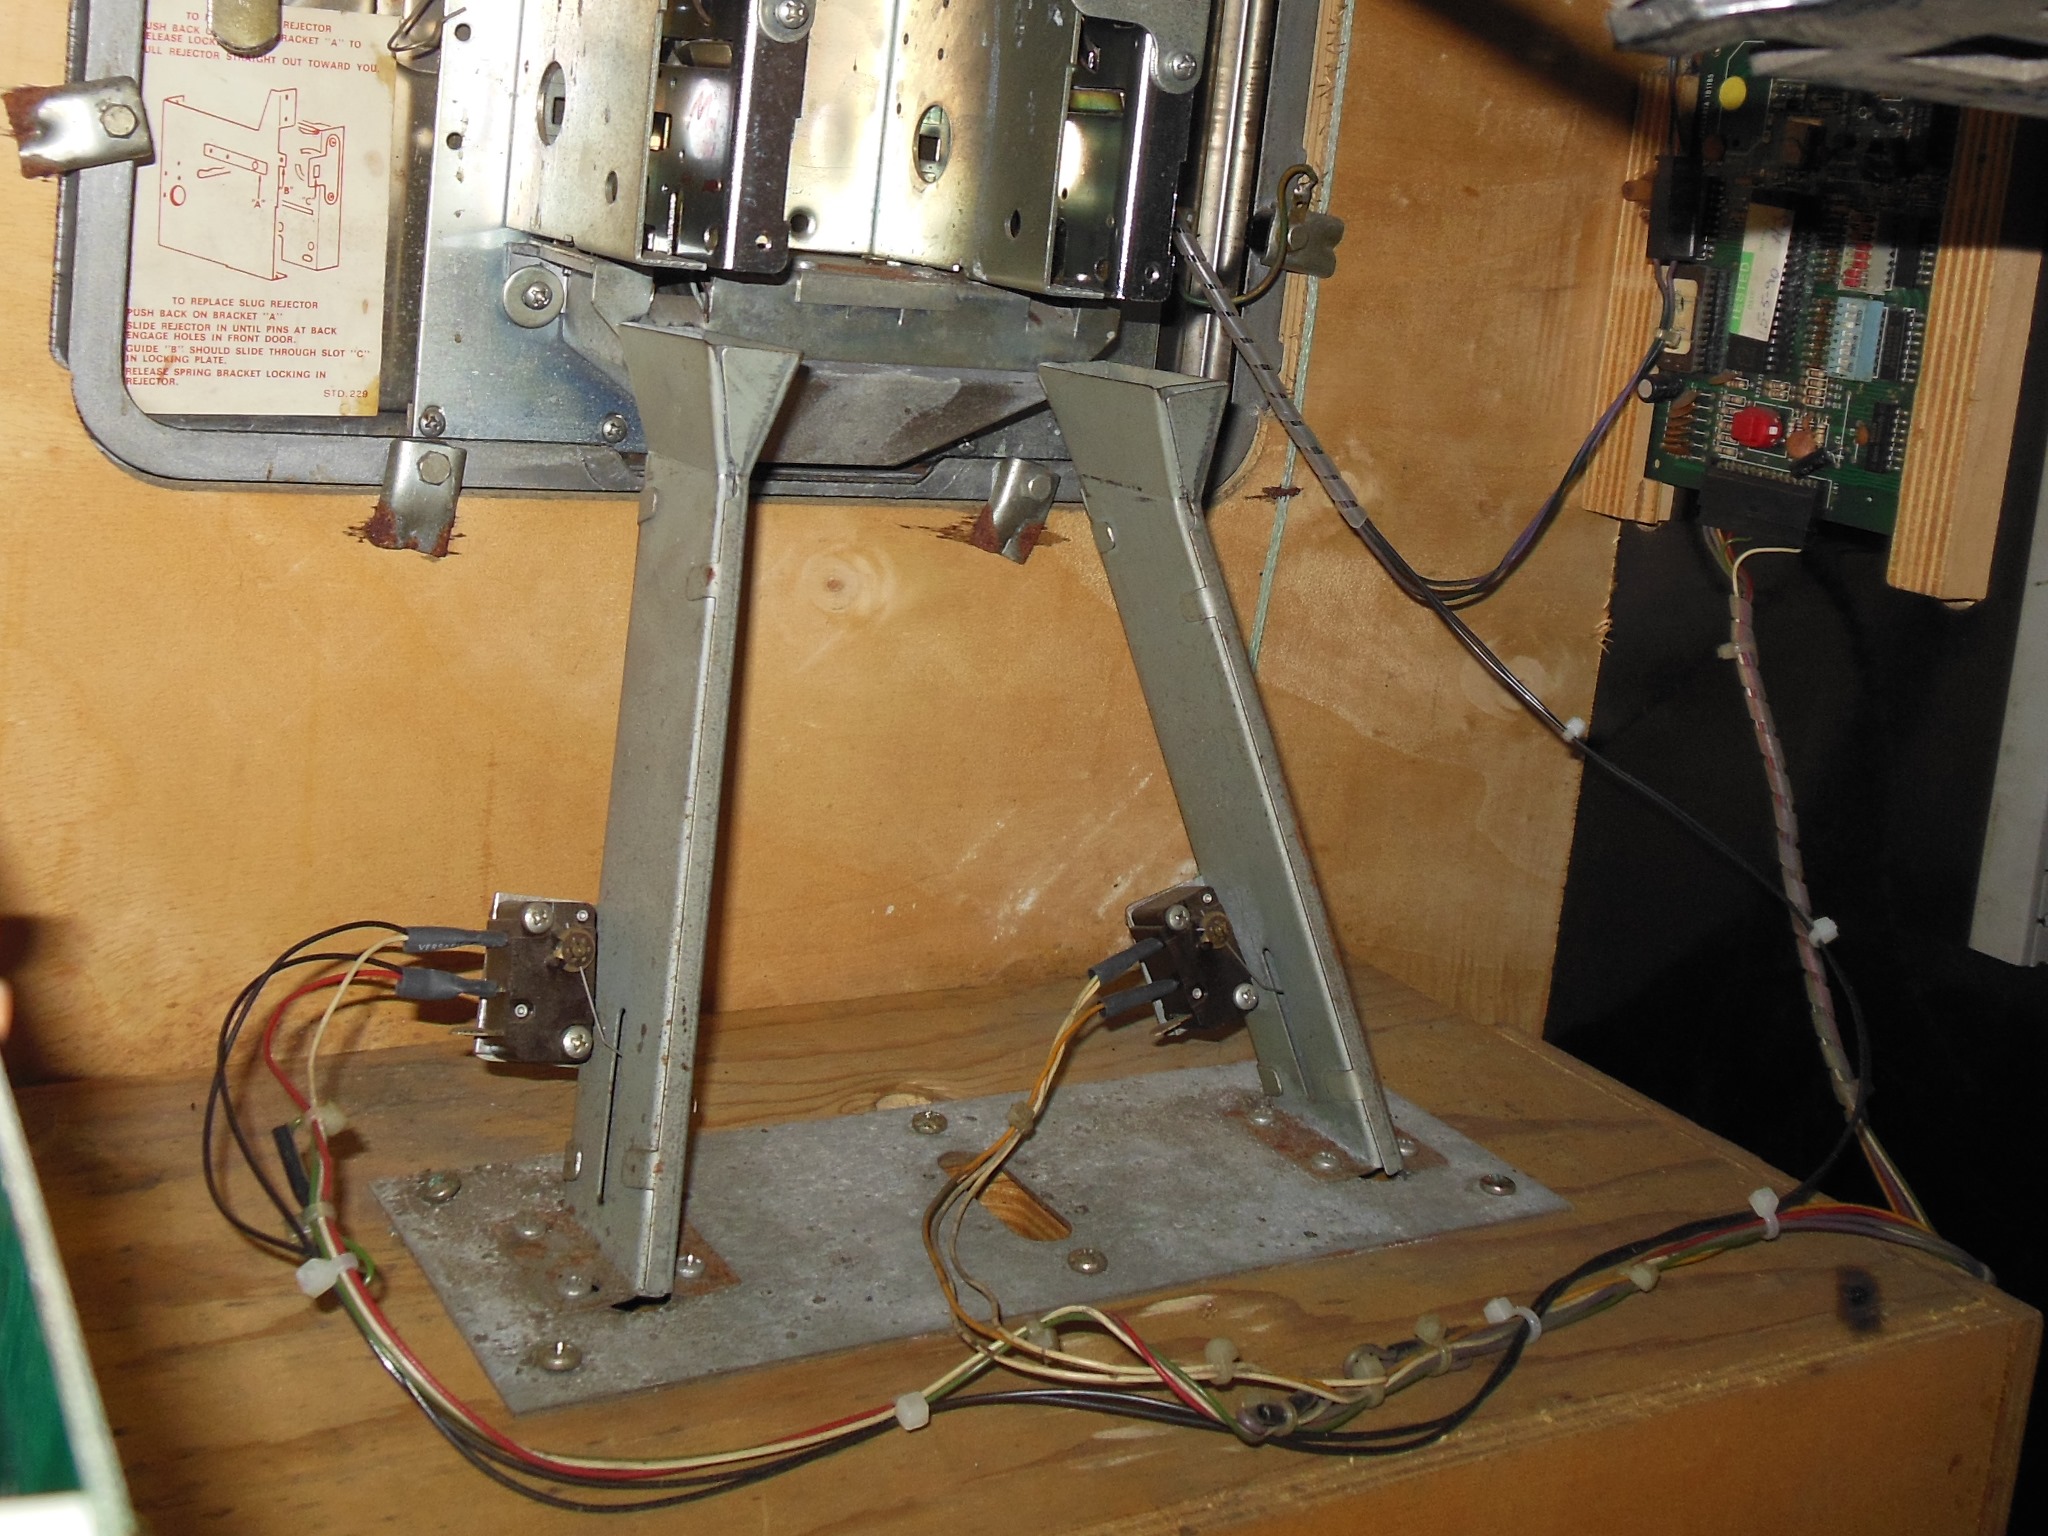
Broken & loose connections on the coin switches were repaired and wrapped. With the coin switches being in the cabinet rather than the coin door some additional routing work was needed to run the credit button wires from the coin door, reusing the existing spiral wrap at the door hinge.
|
The credit button bracket was fitted to the coin door.
|
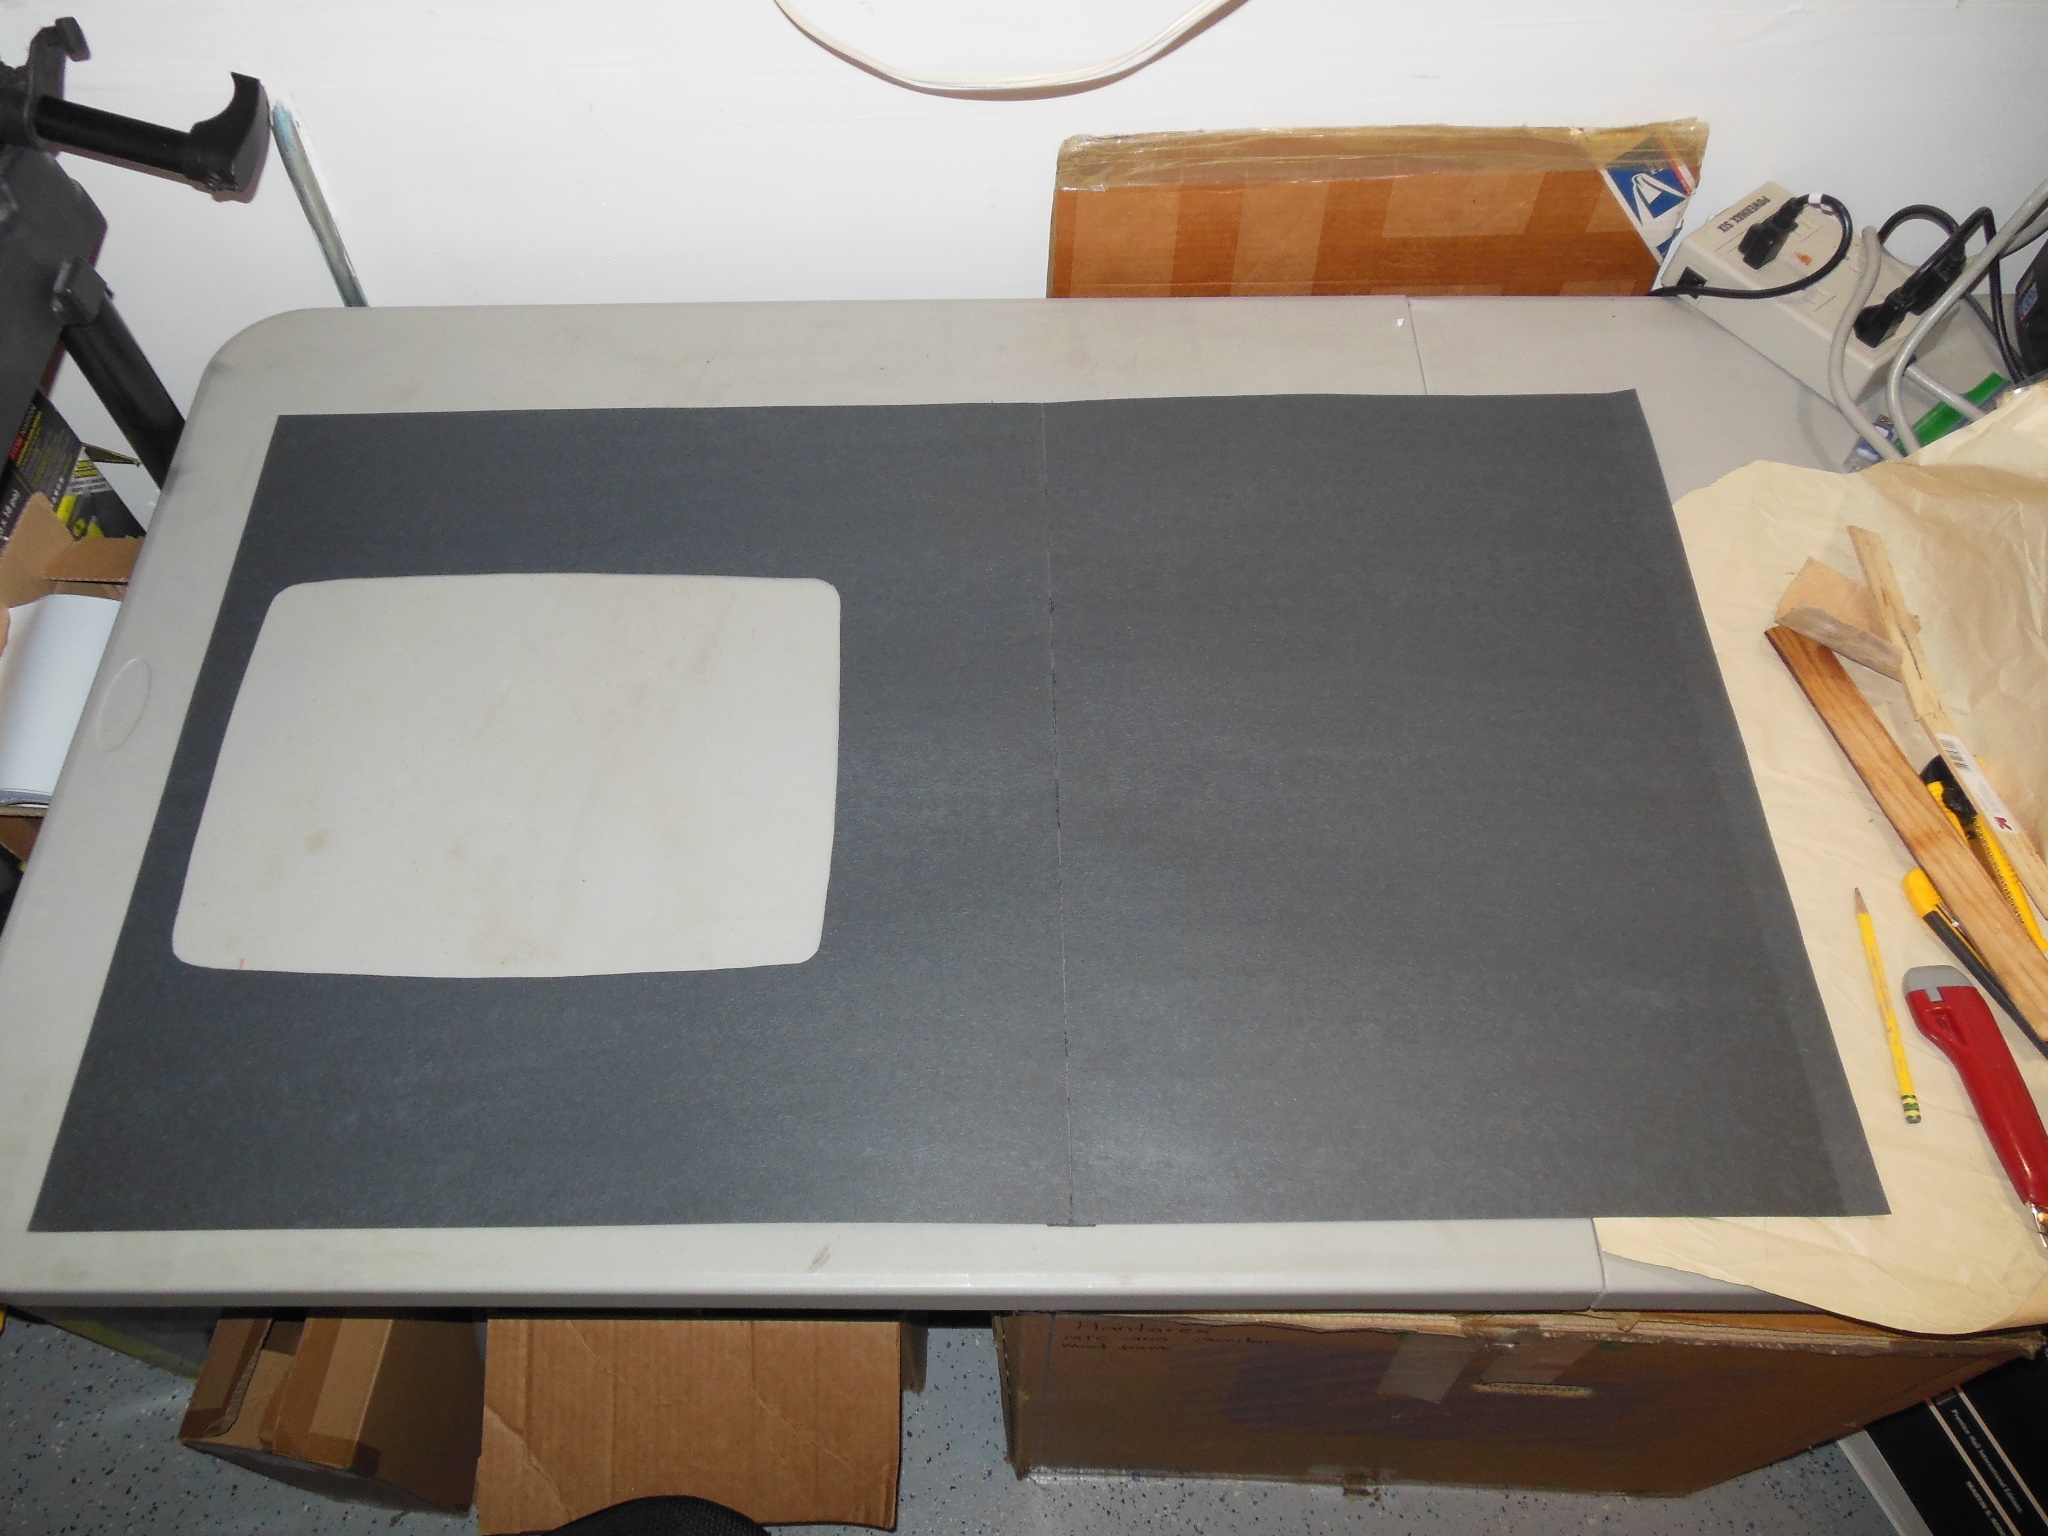
An old torn surround was used as a template to mark the CRT cut-out, dimensions and top crease. The surround was cut and then fitted into the cabinet.

|
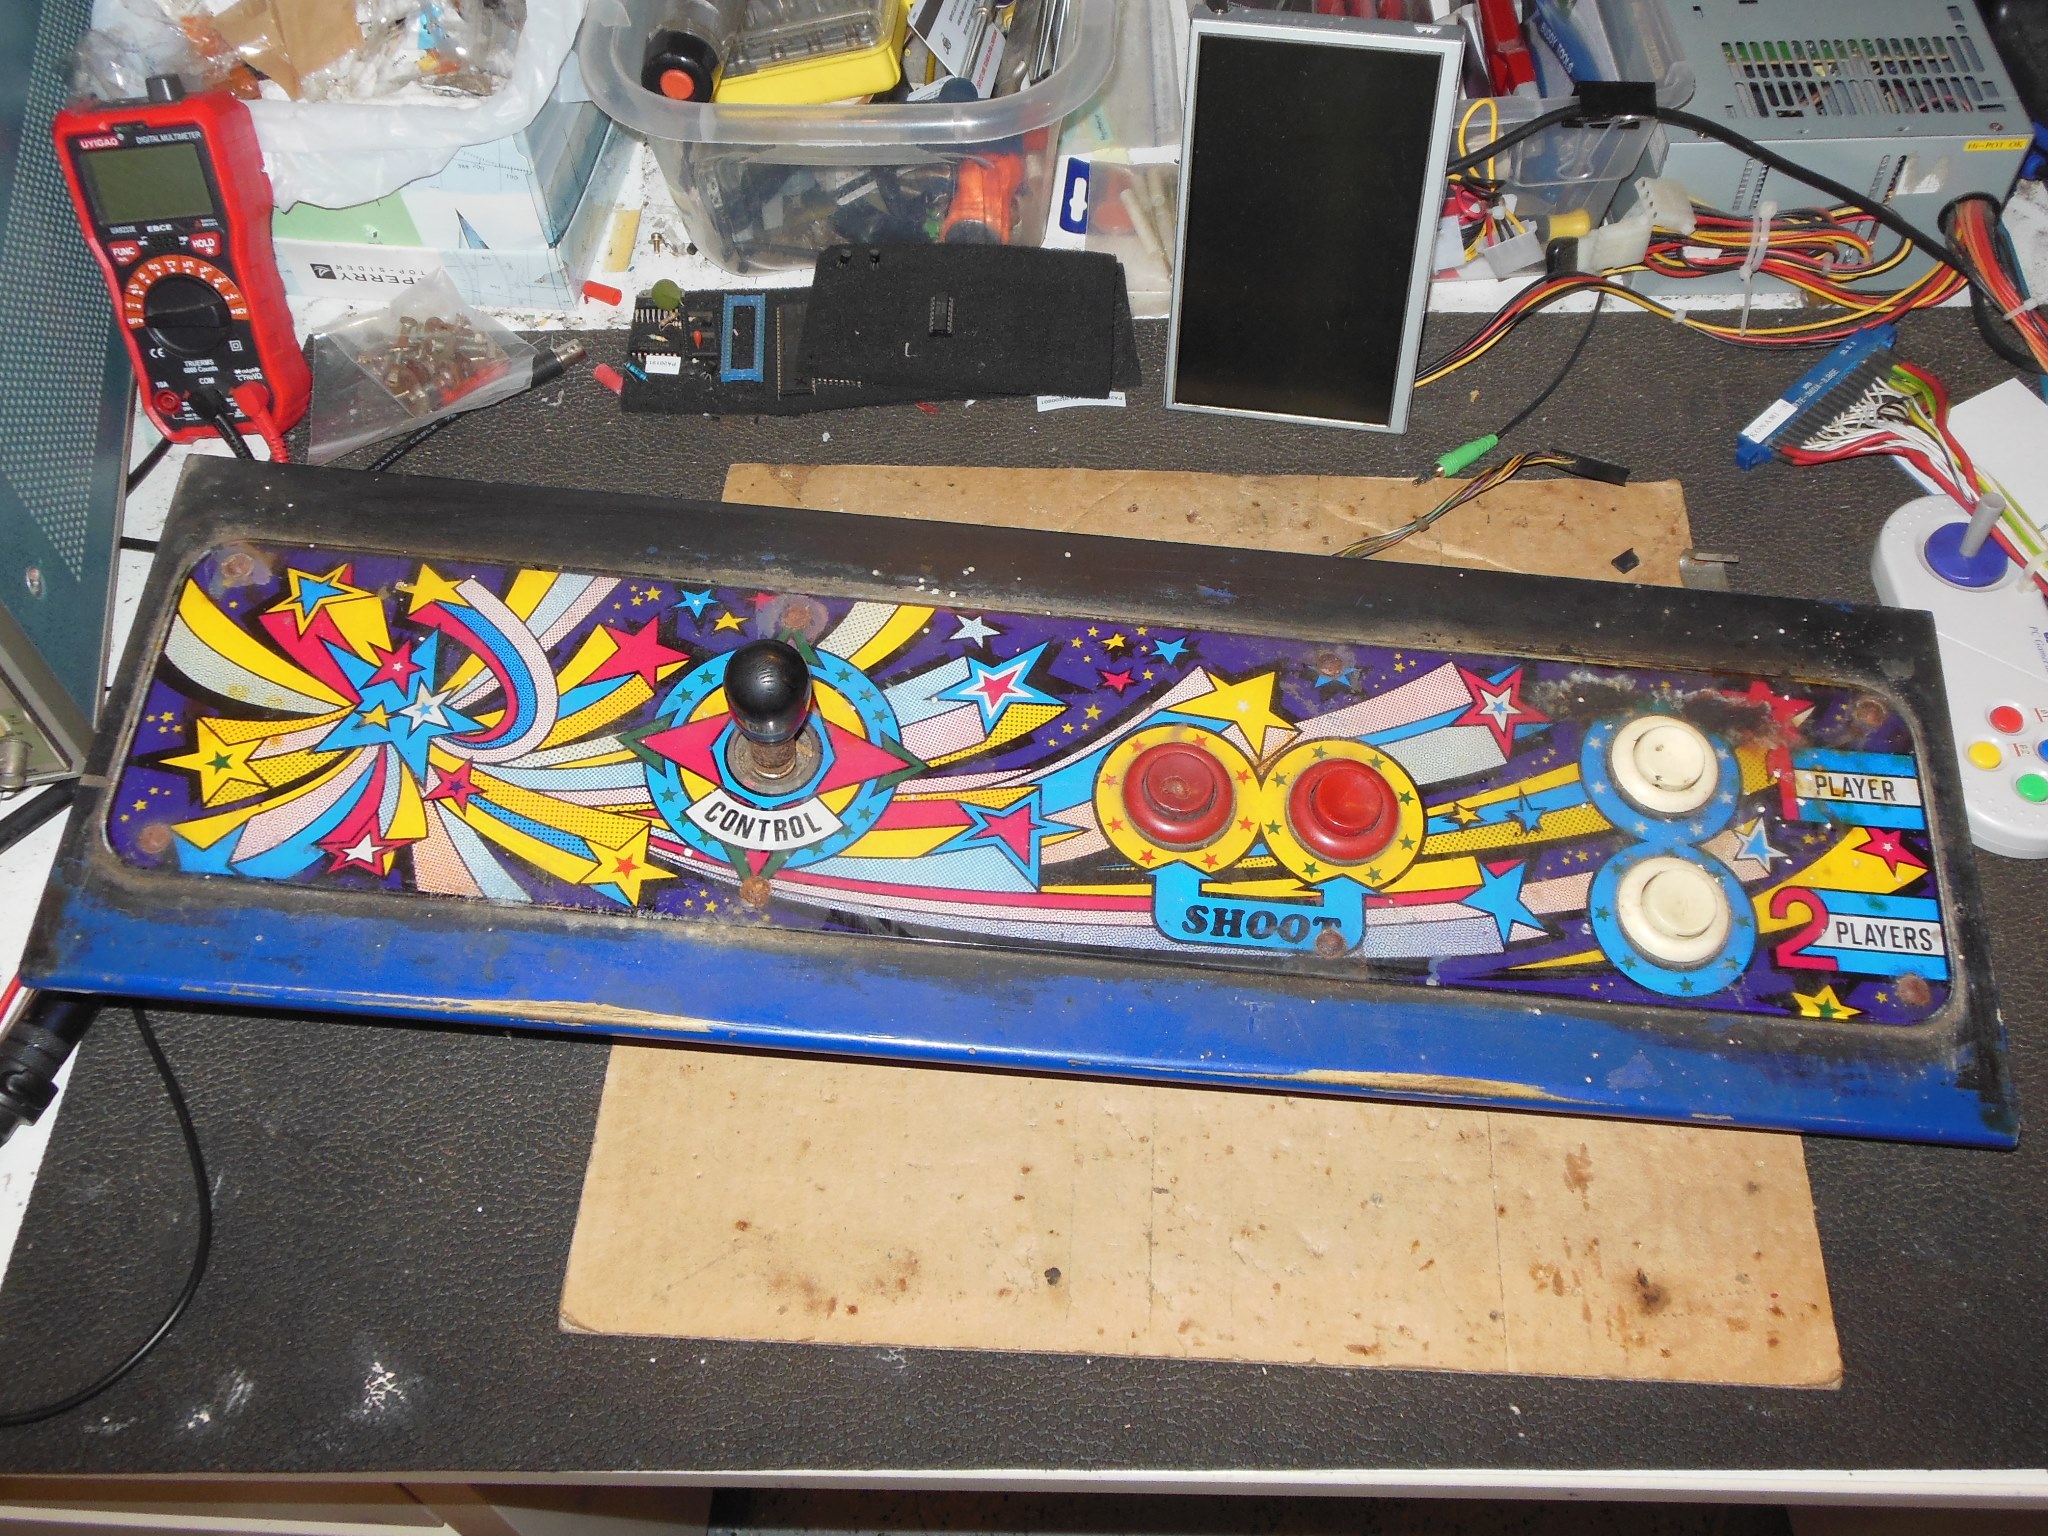
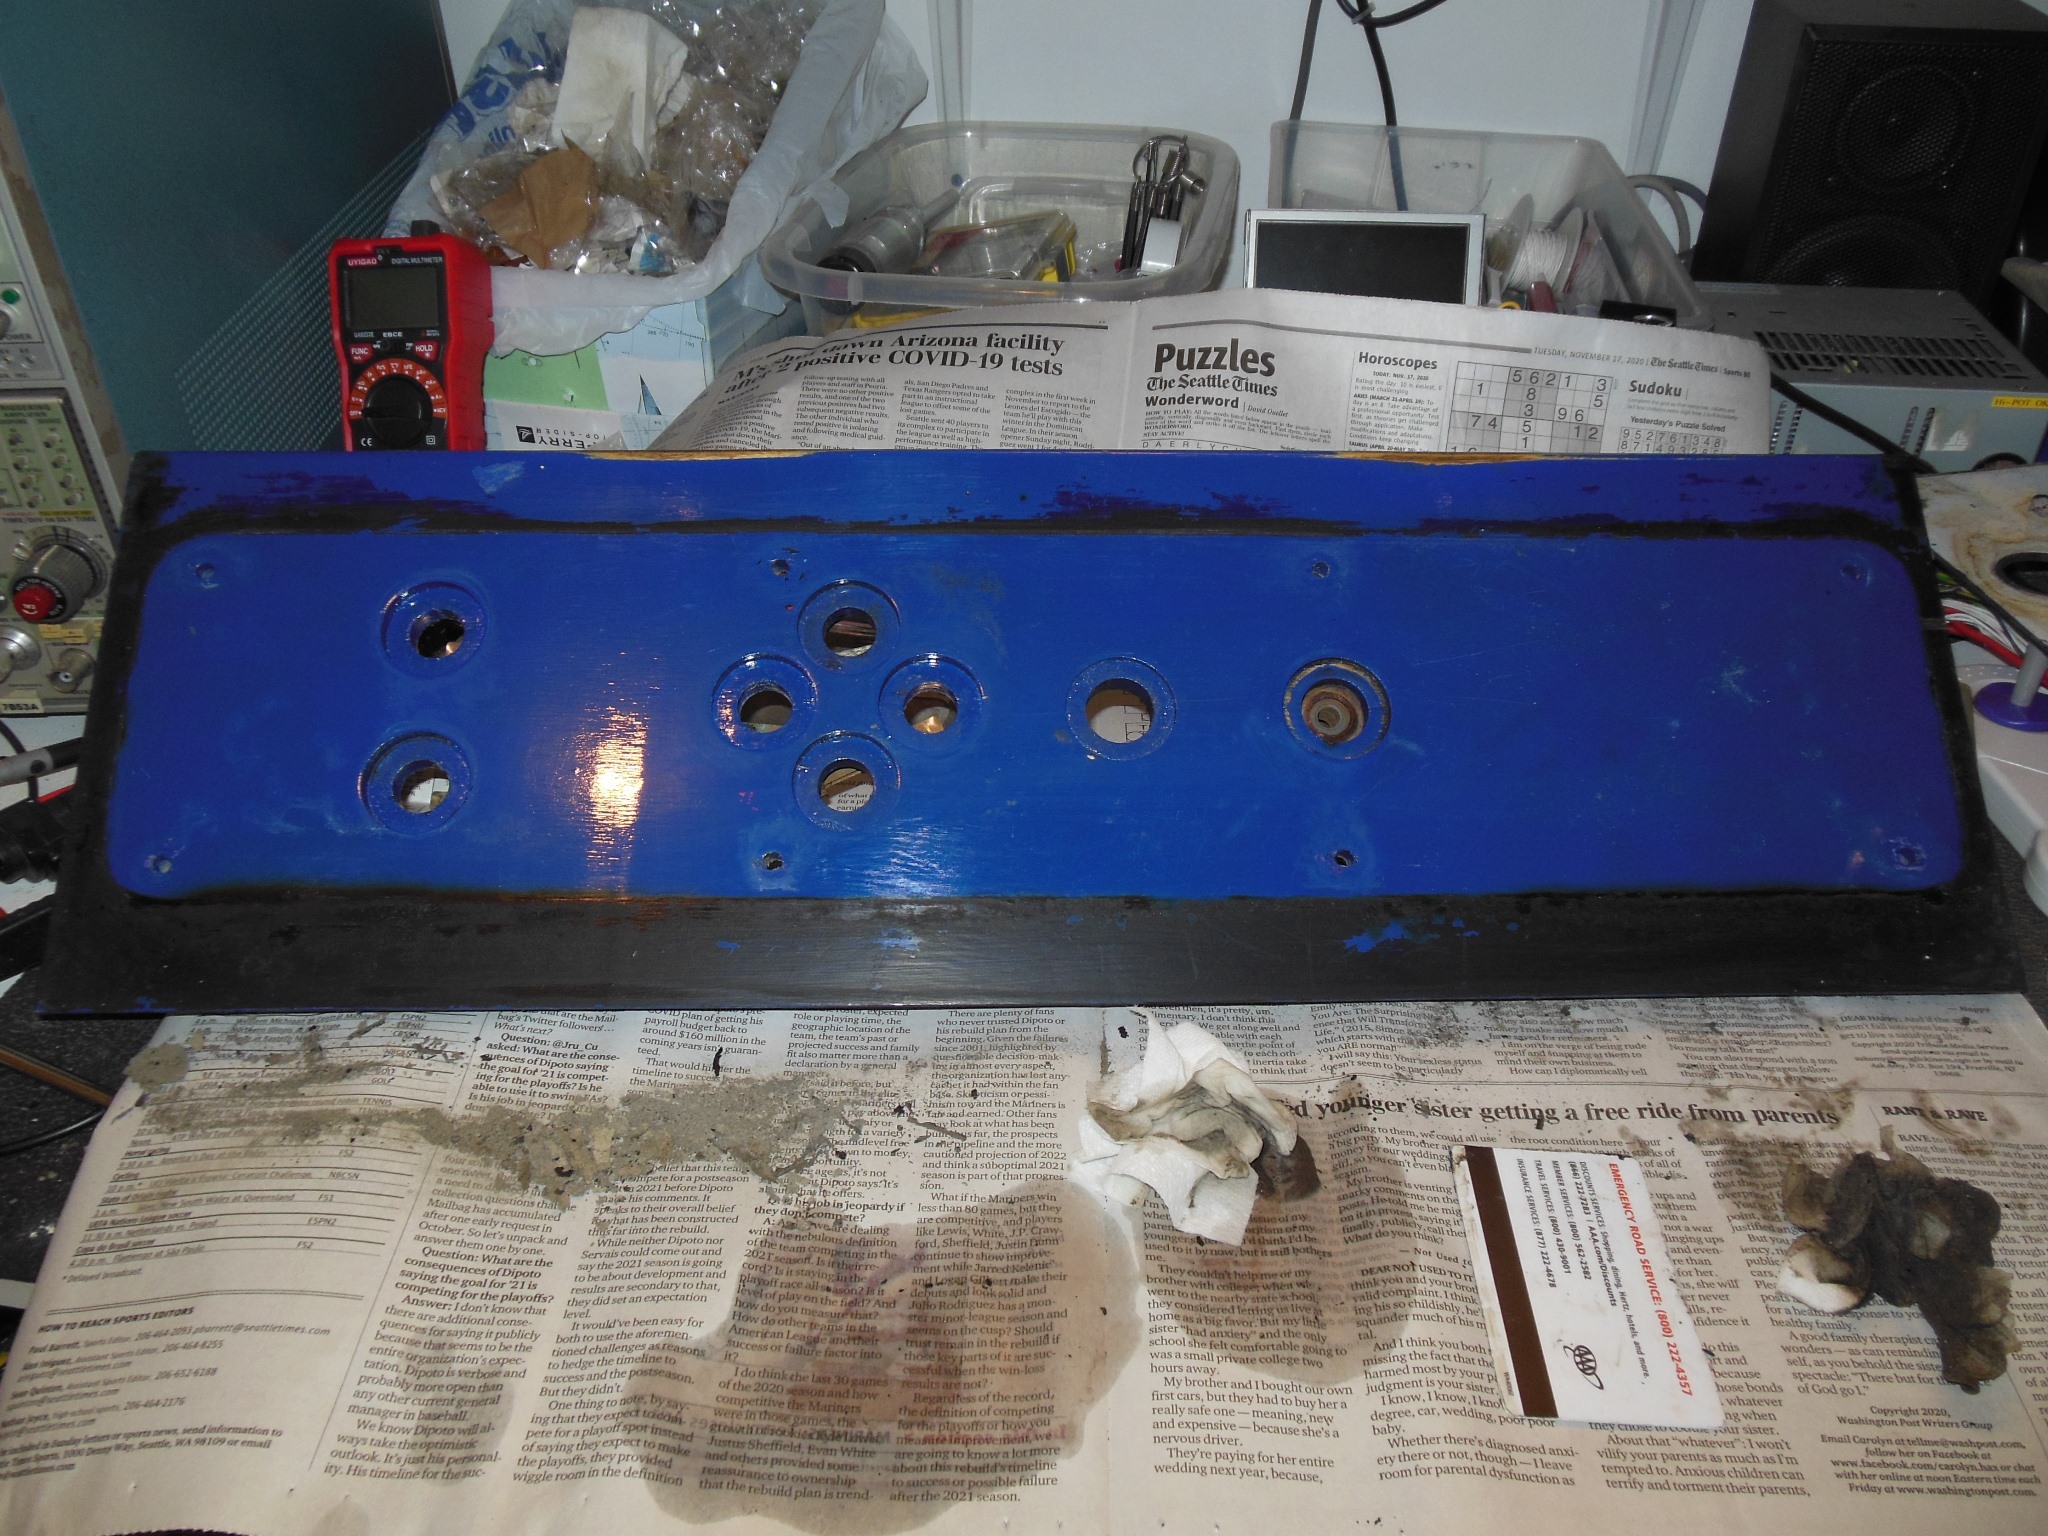
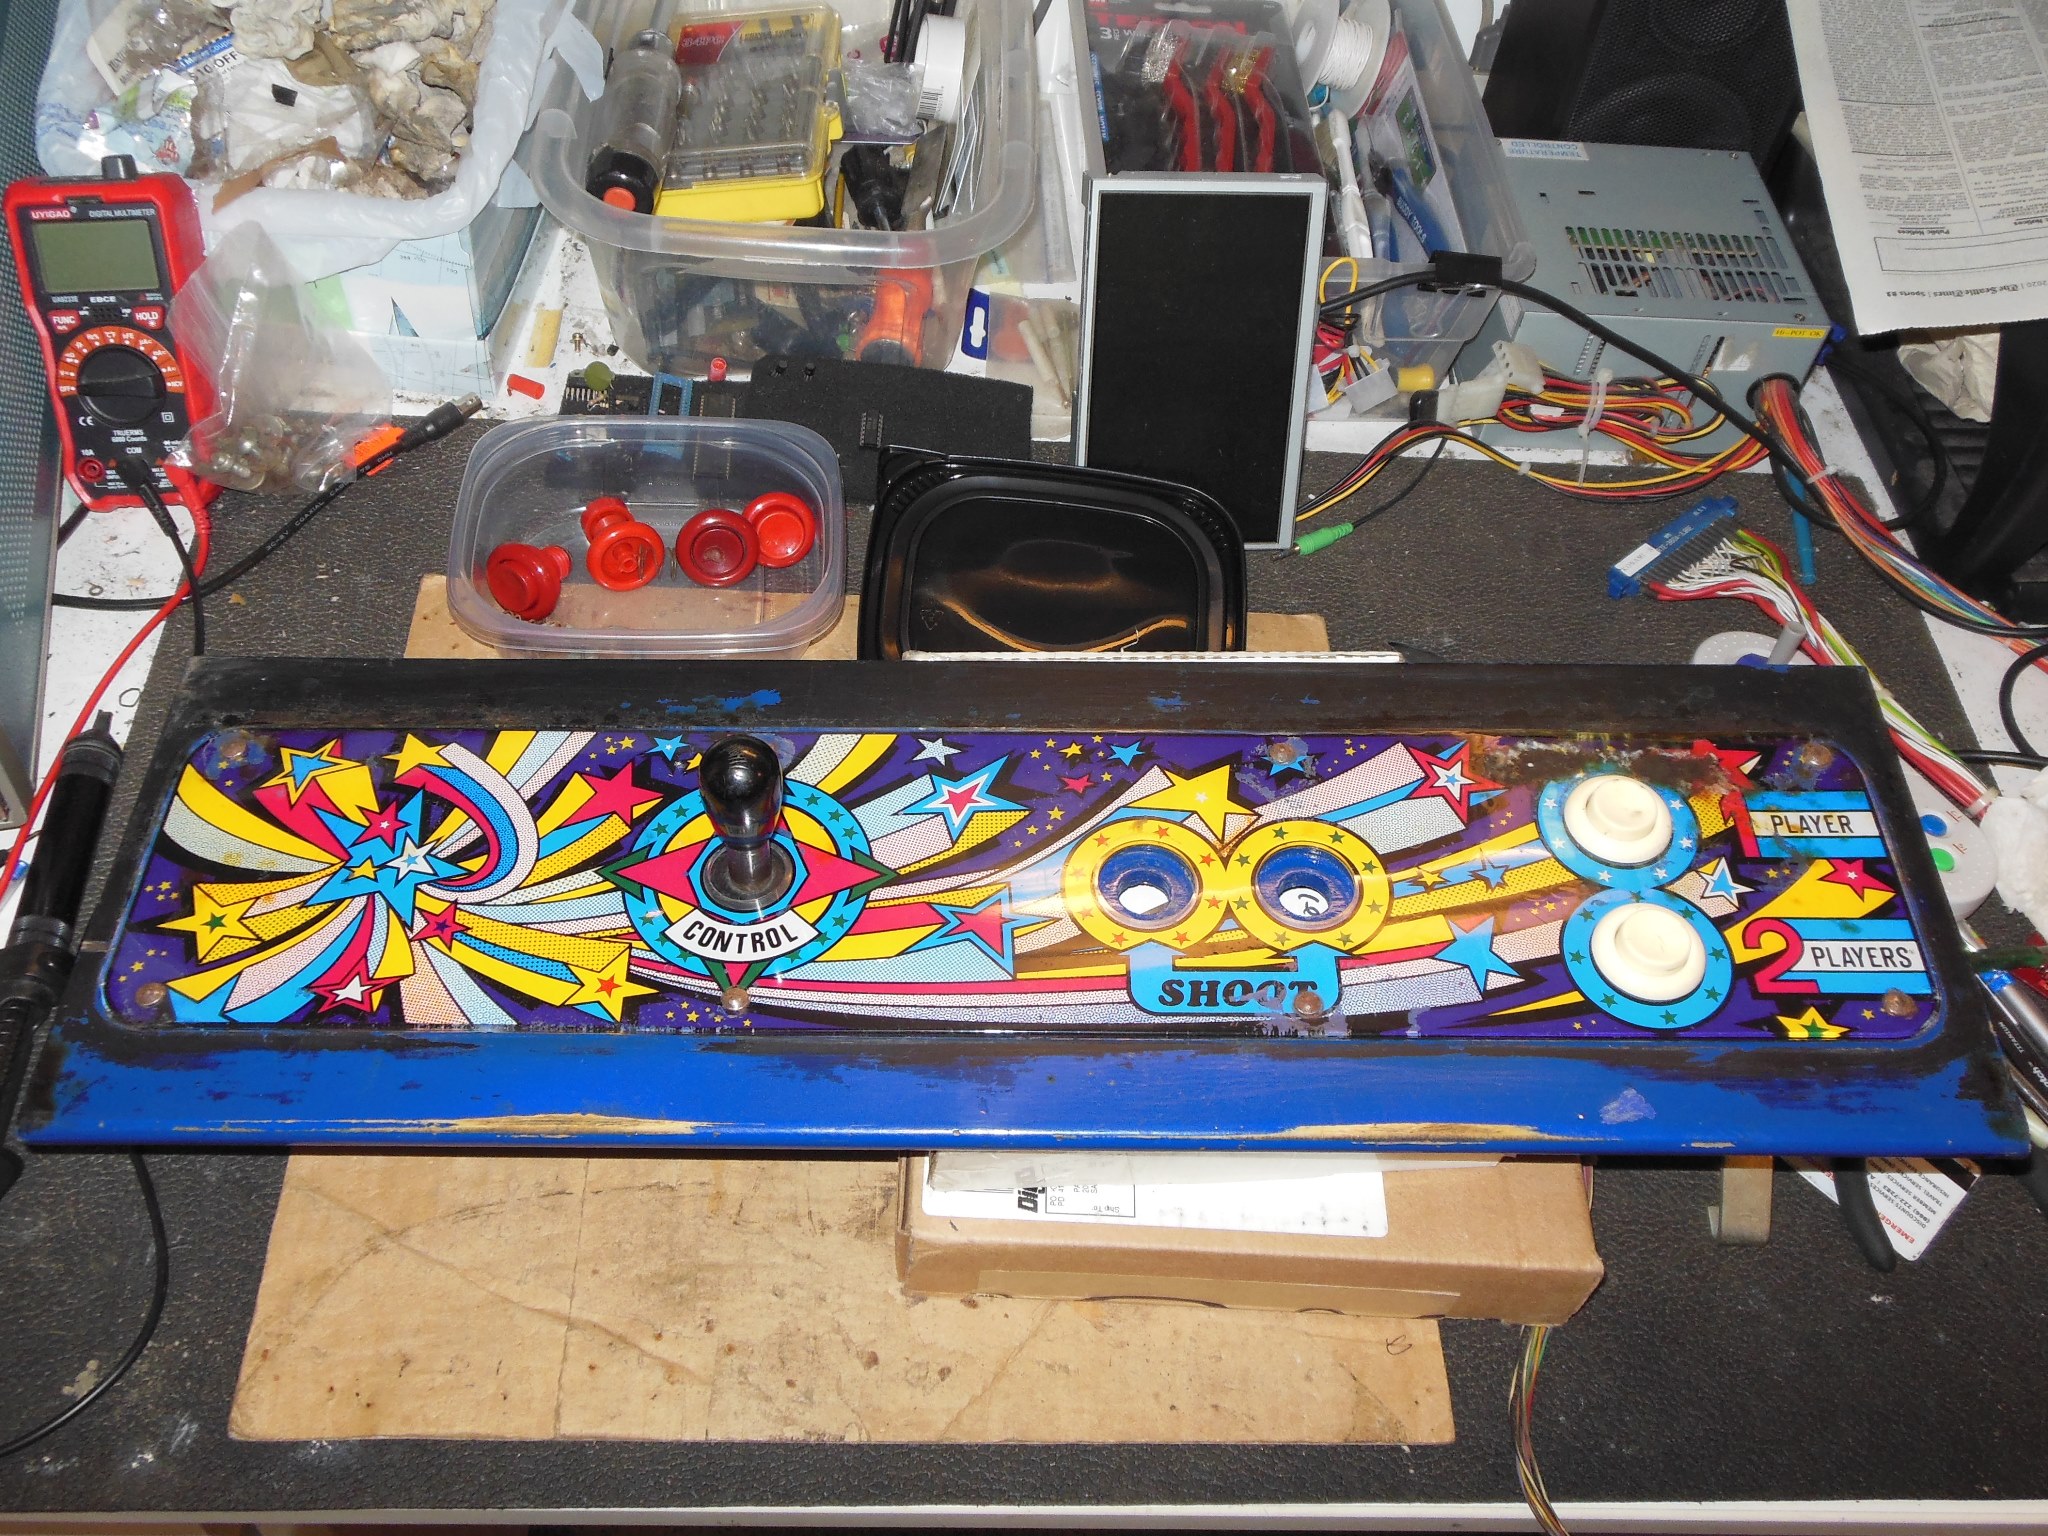
The control panel was well worn with extensive cigarette damage & deforming. On closer inspection it also looked like it had been partially painted black around the edges.
|
Stuck overlay paint and encrusted nicotine residue was cleaned off the base with an old gift card as a safe scraper.
|
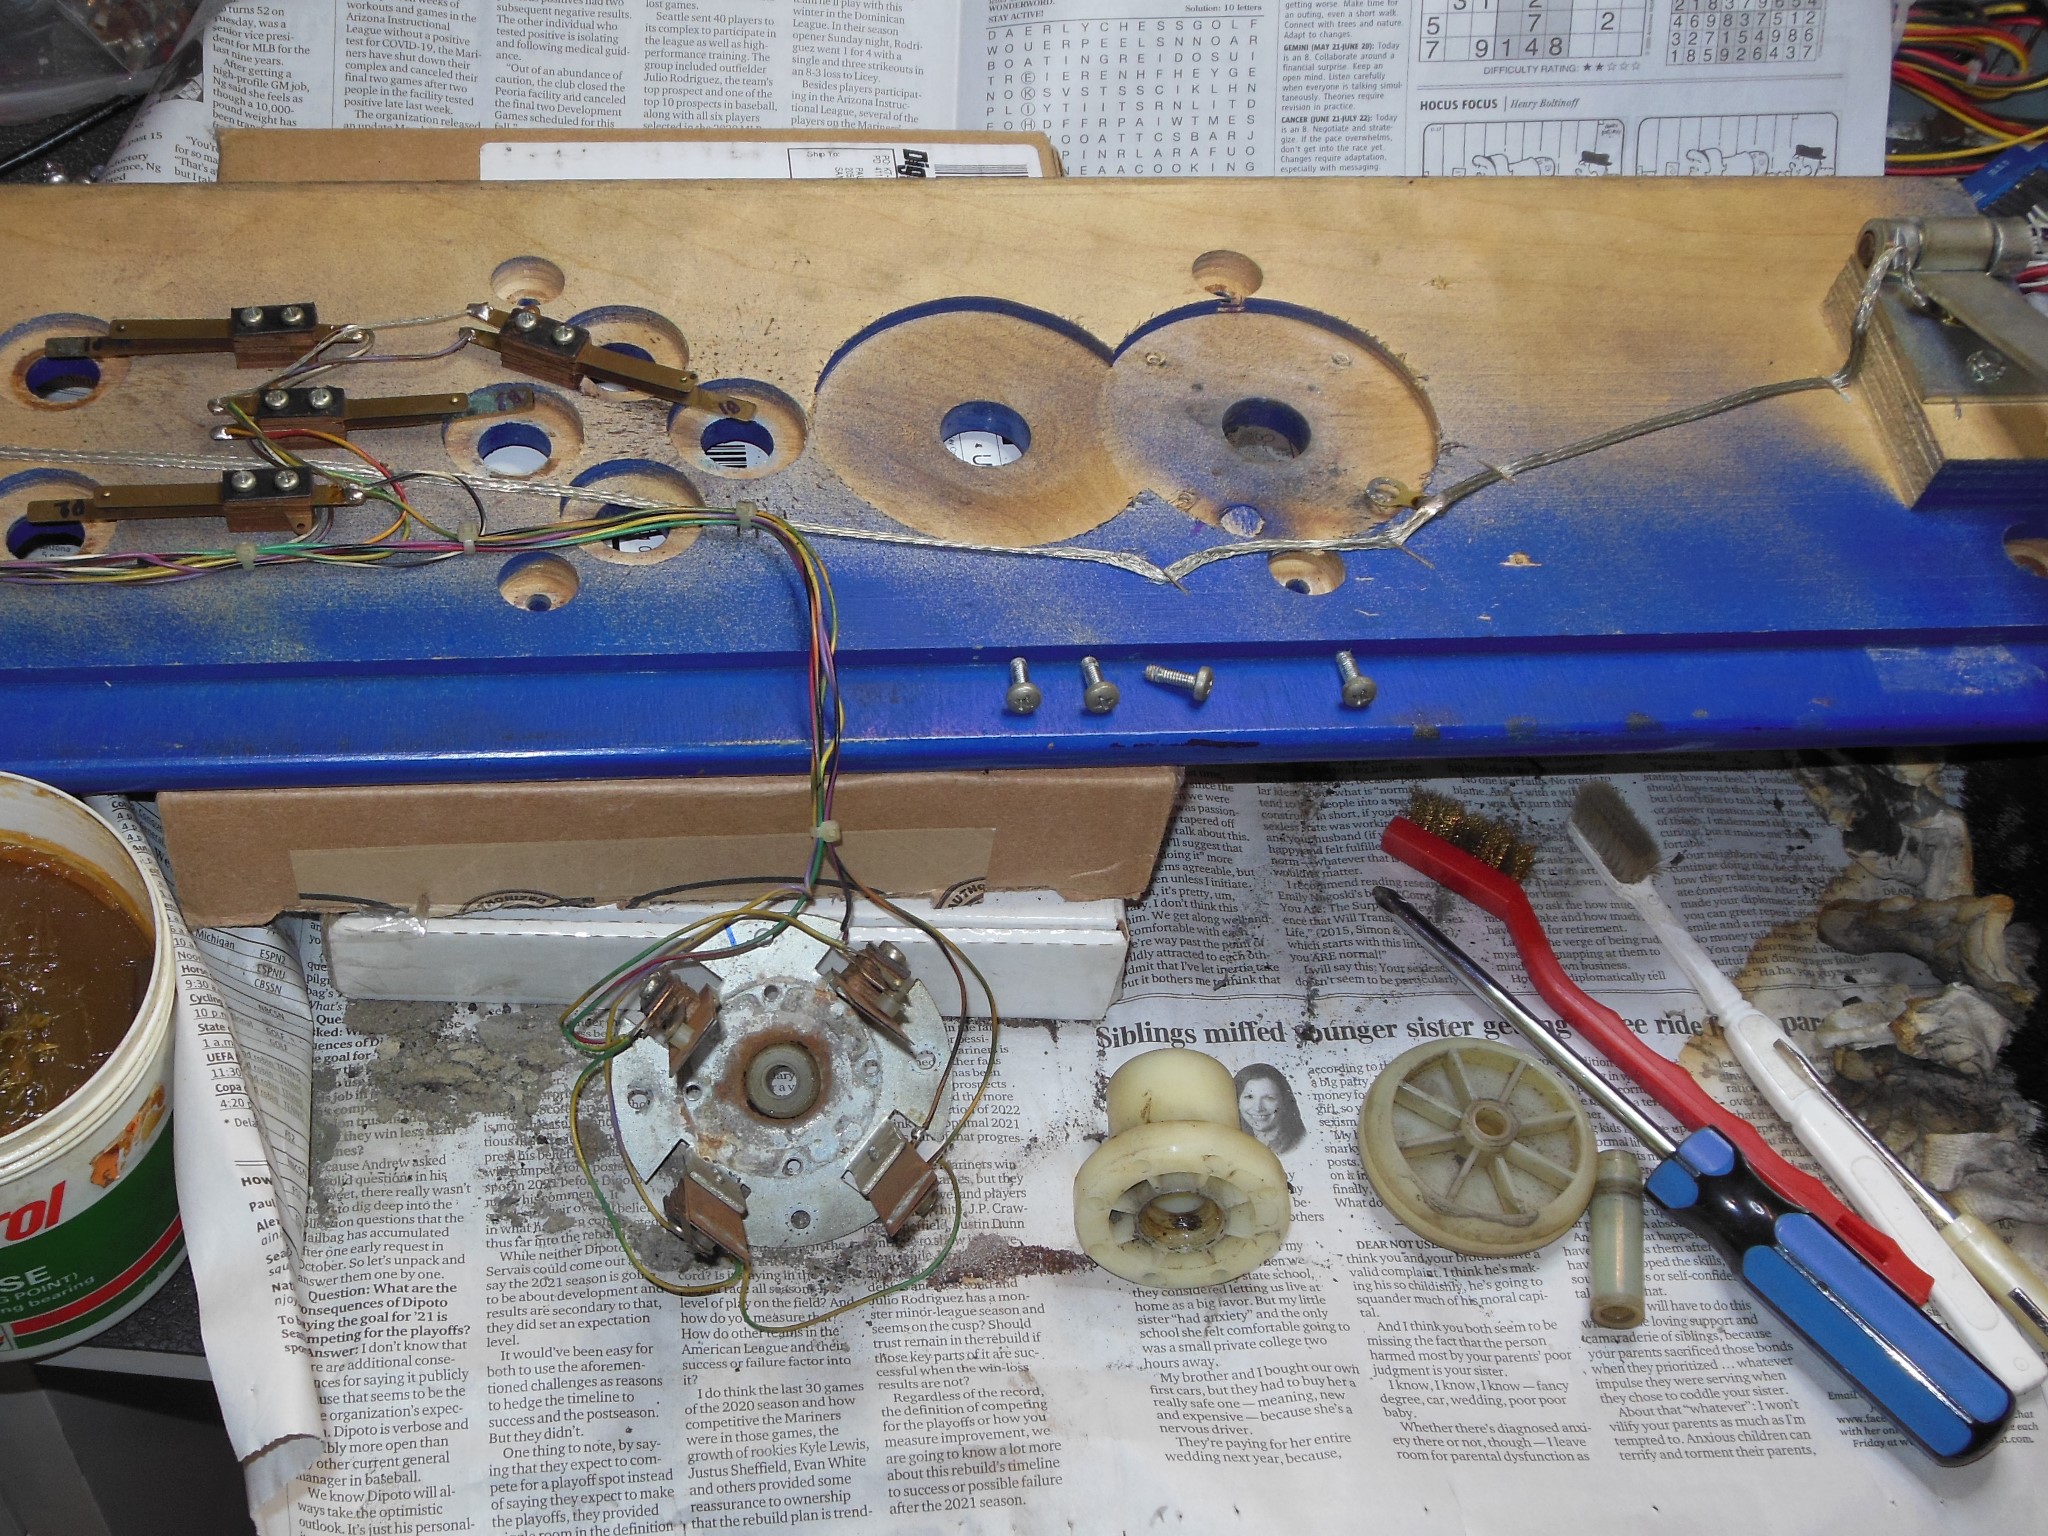
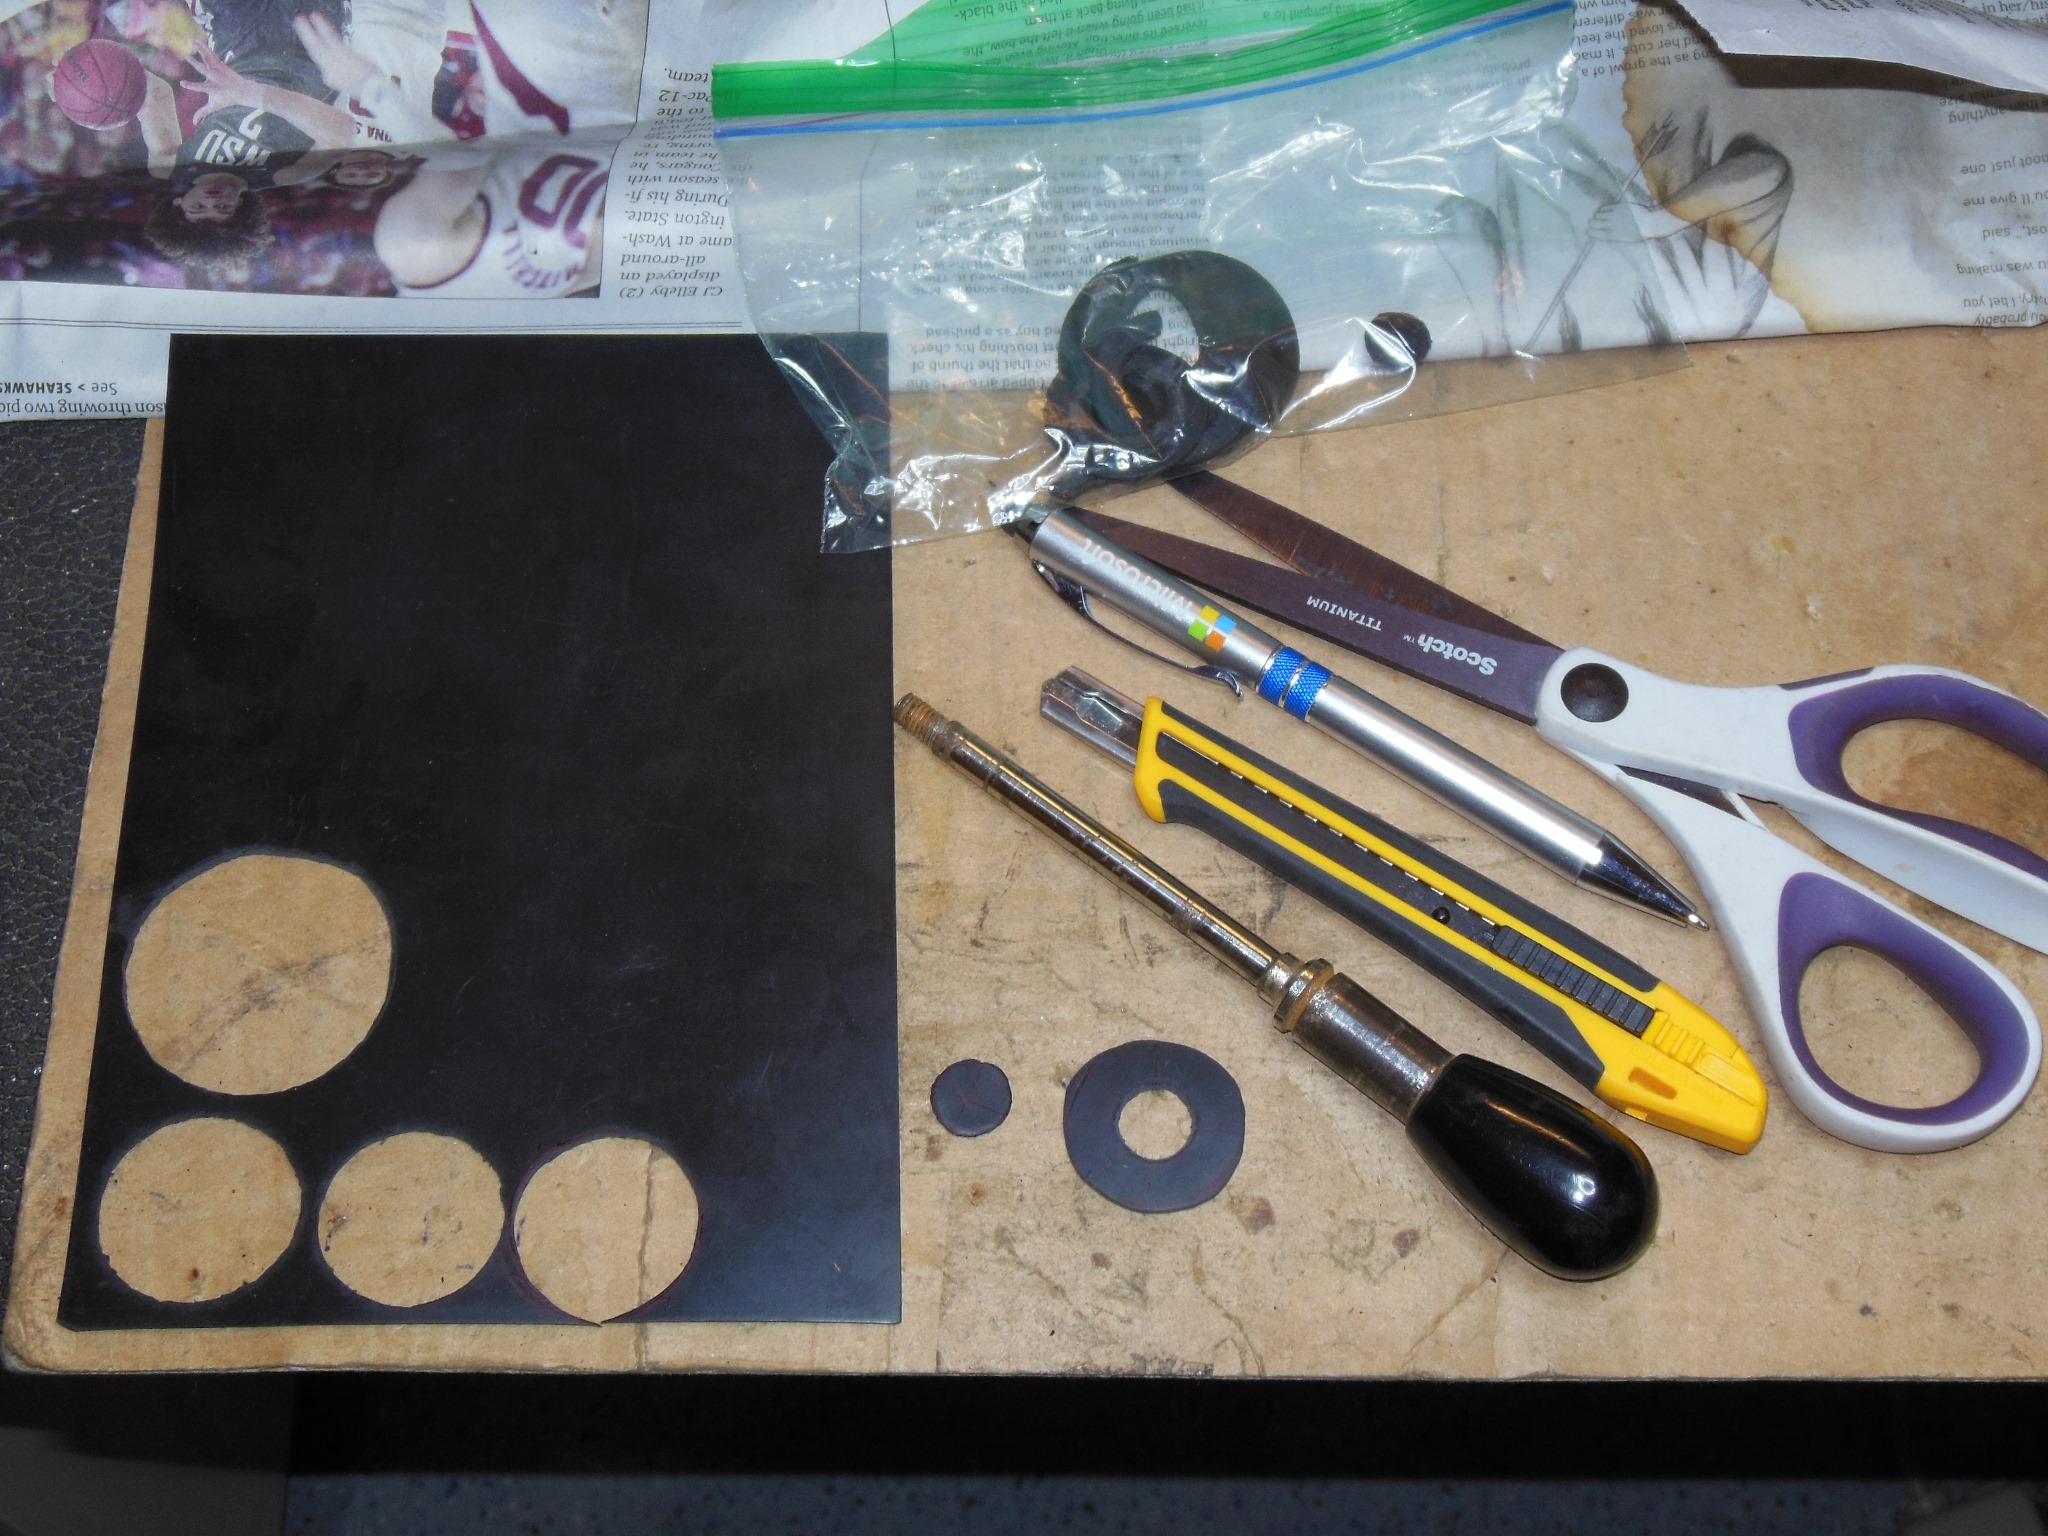
The joystick was worn & dirty but complete aside from the top dust grommet that had disintegrated. A reproduction replacement grommet was made from a rubber sheet and fitted to the shaft.
|
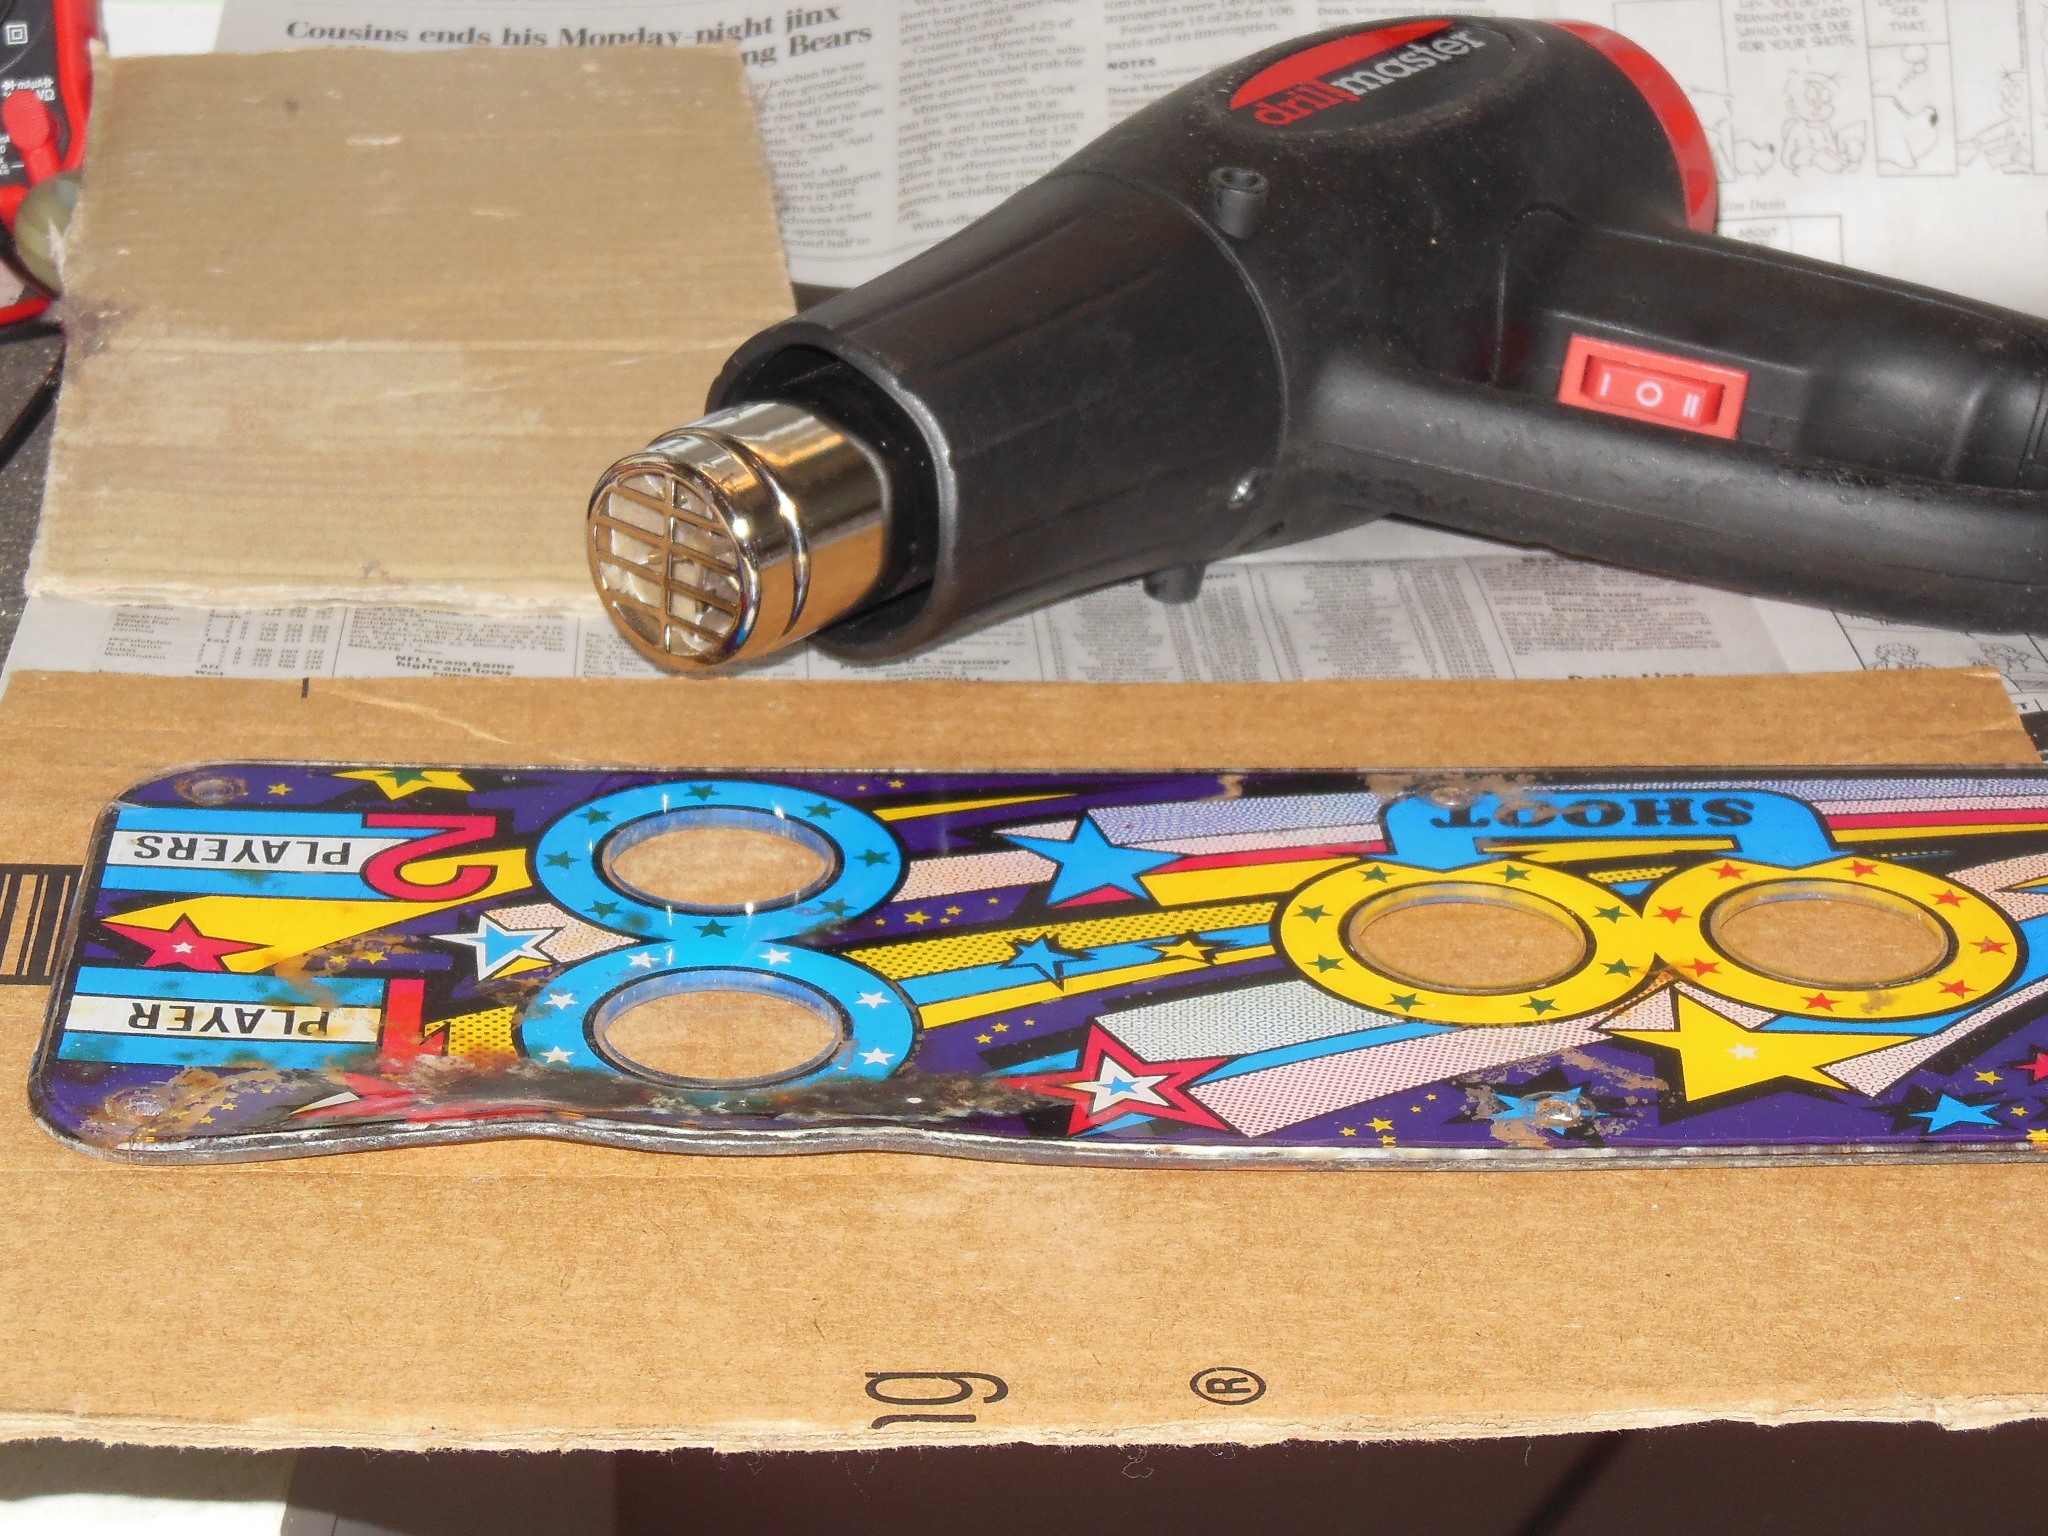
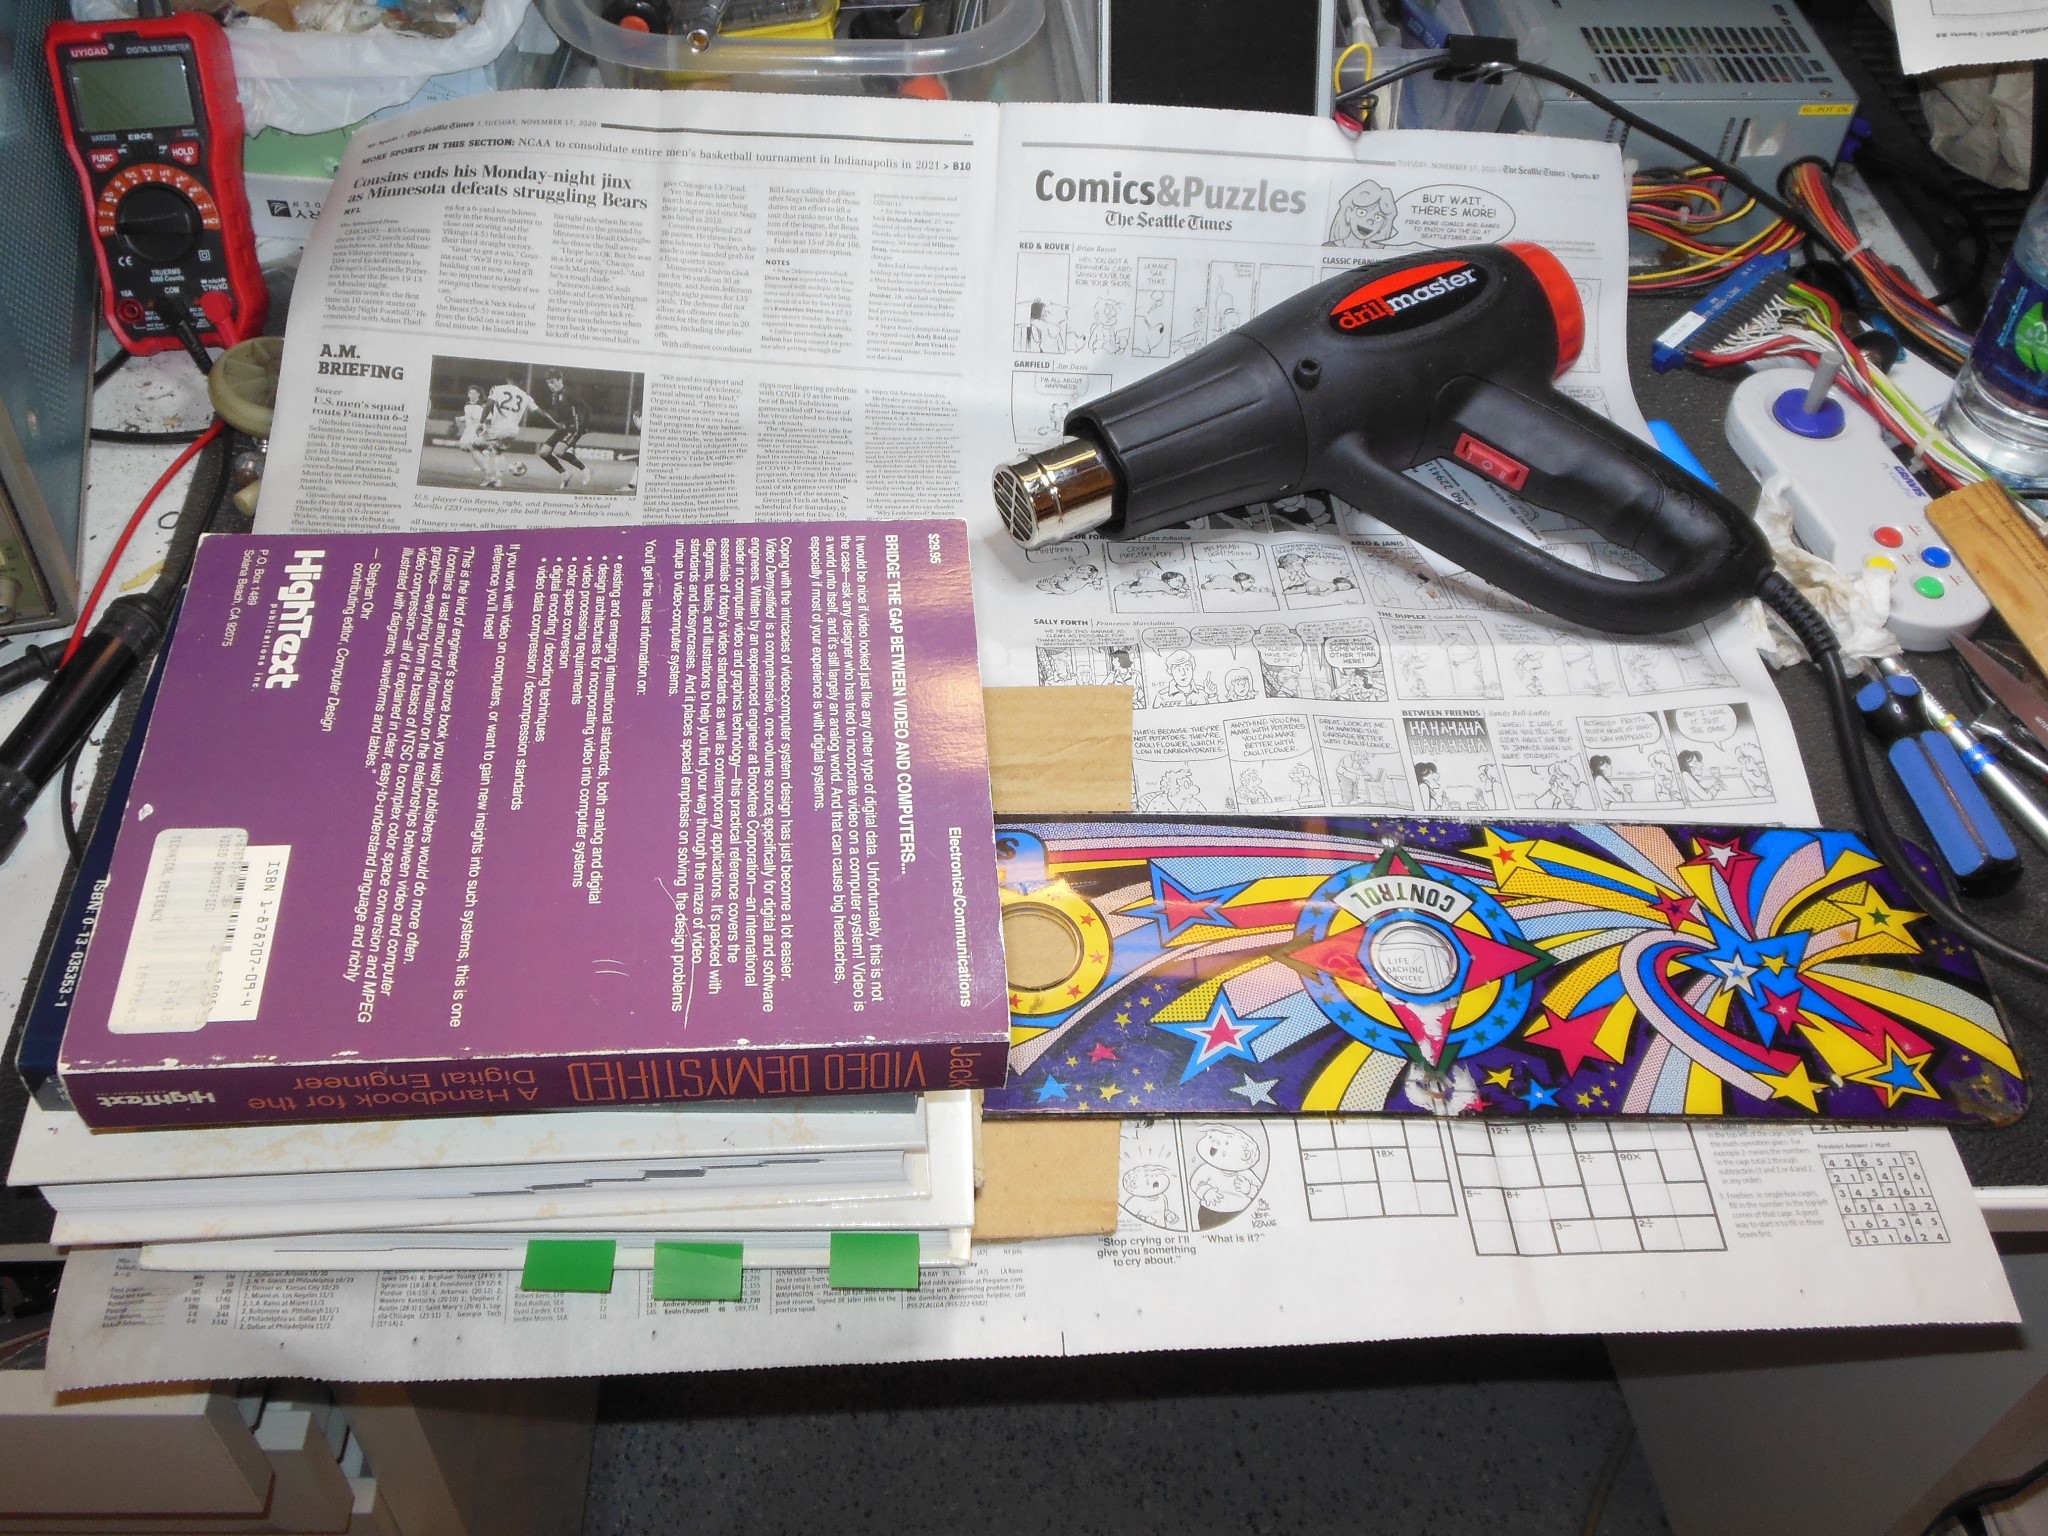
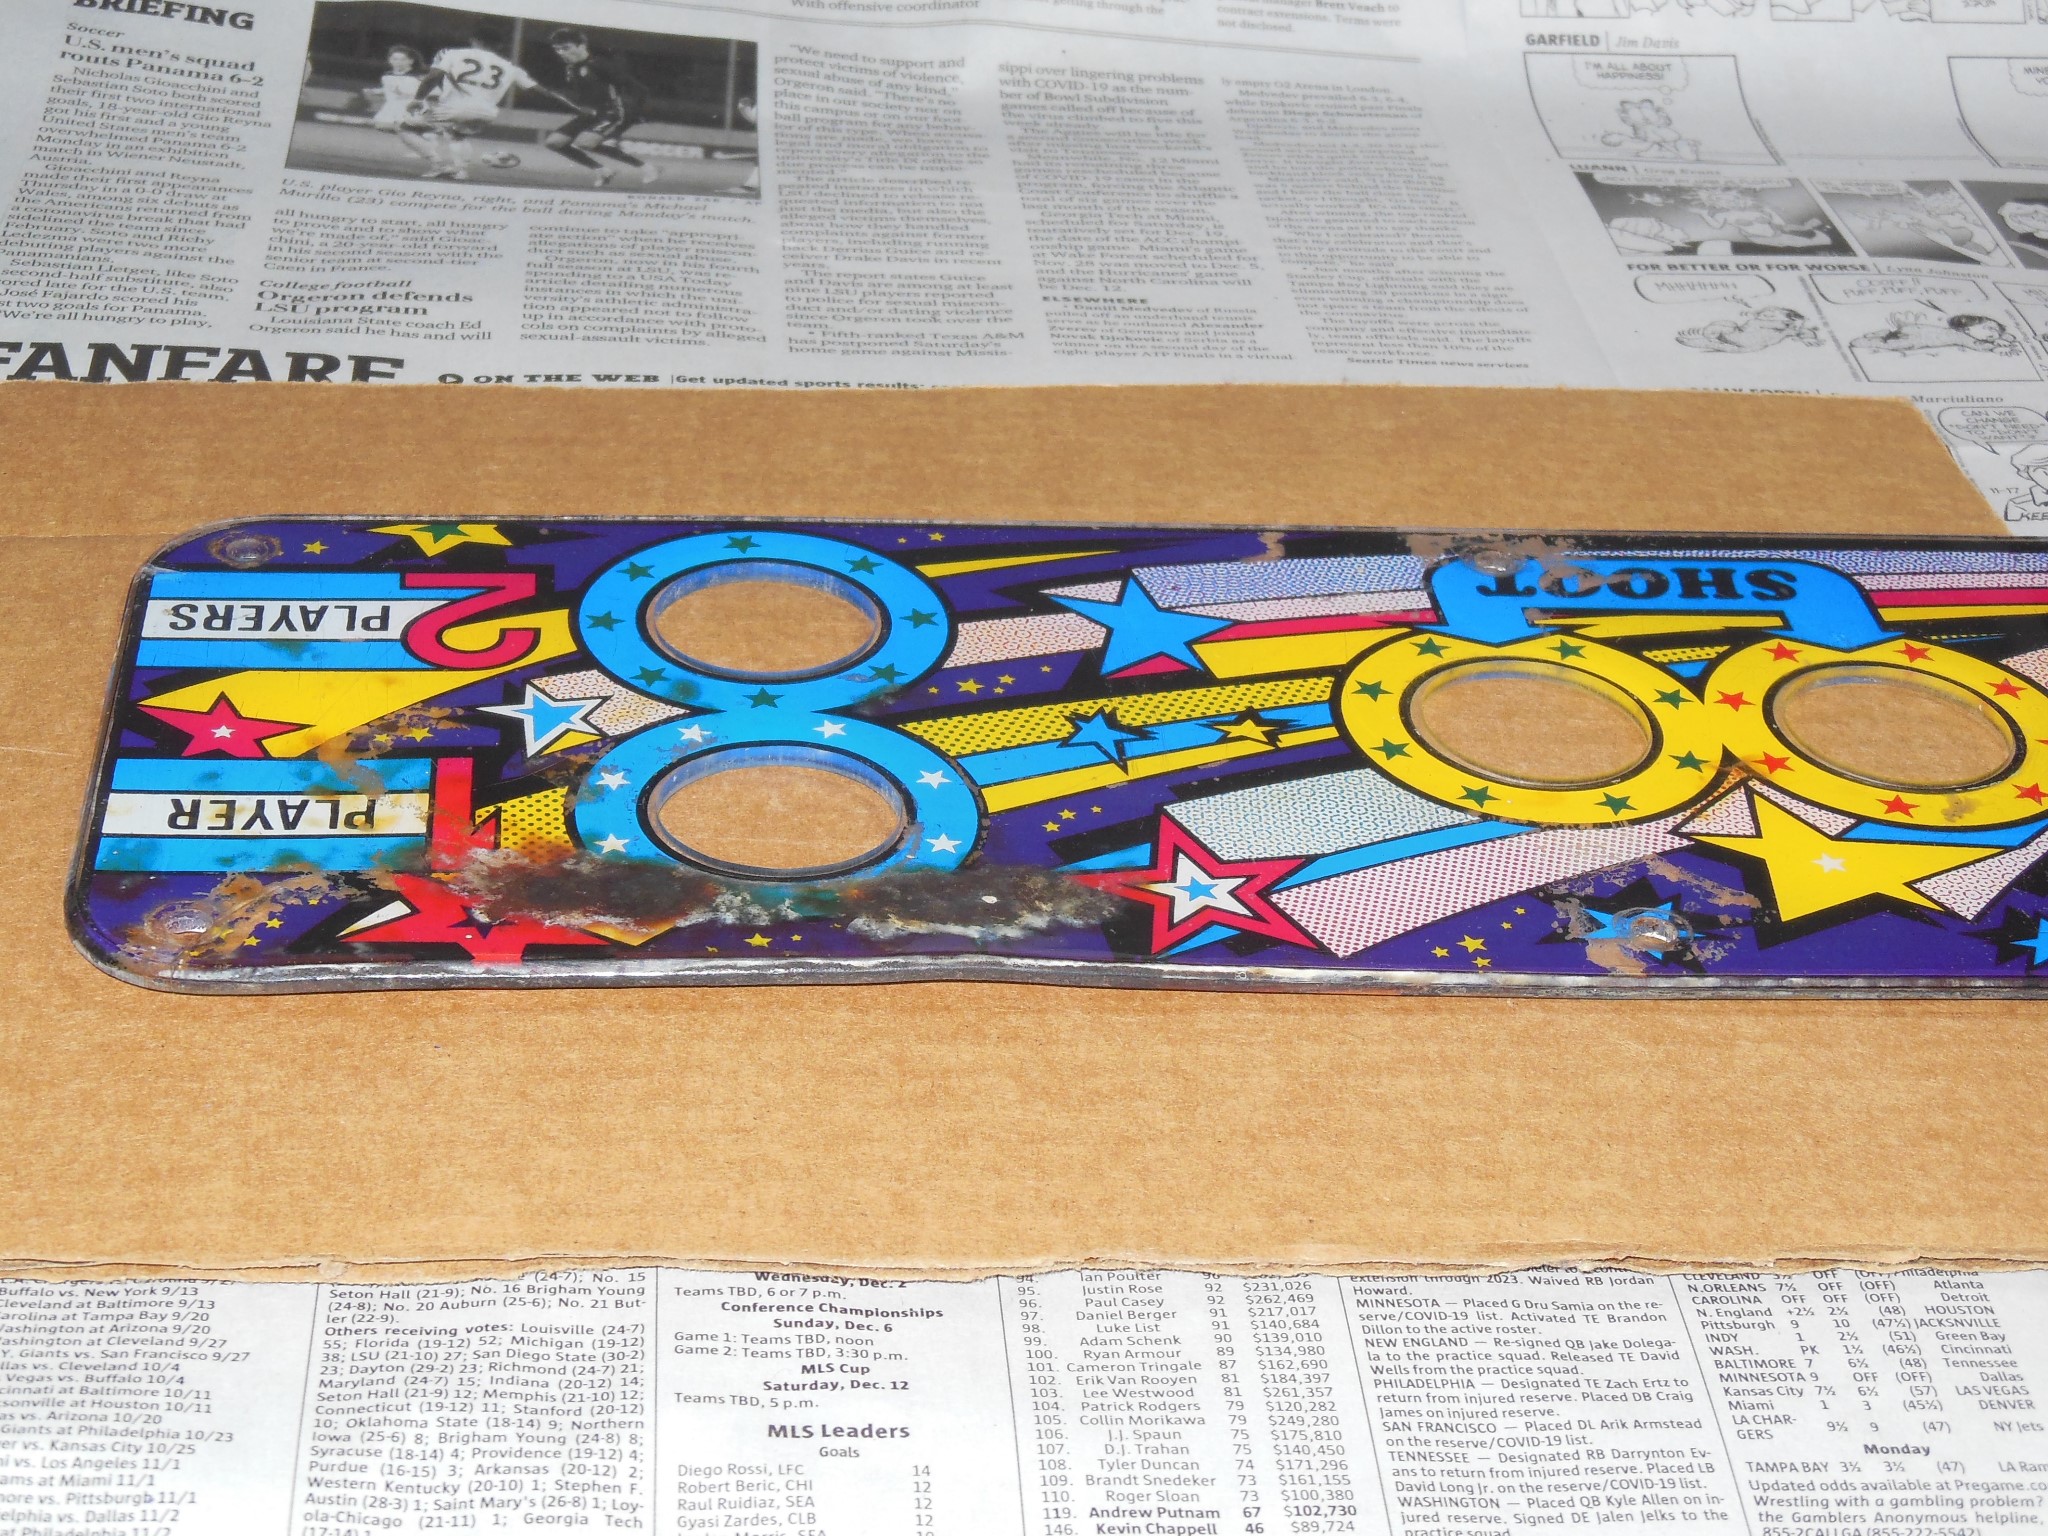
Overall the control panel overlay was in poor condition with missing paint, burns and deformed. The latter was improved using a heat gun on low to soften the overlay enough to press it back flat. Whilst still not entirely flat it was an improvement and much less noticeable.
|
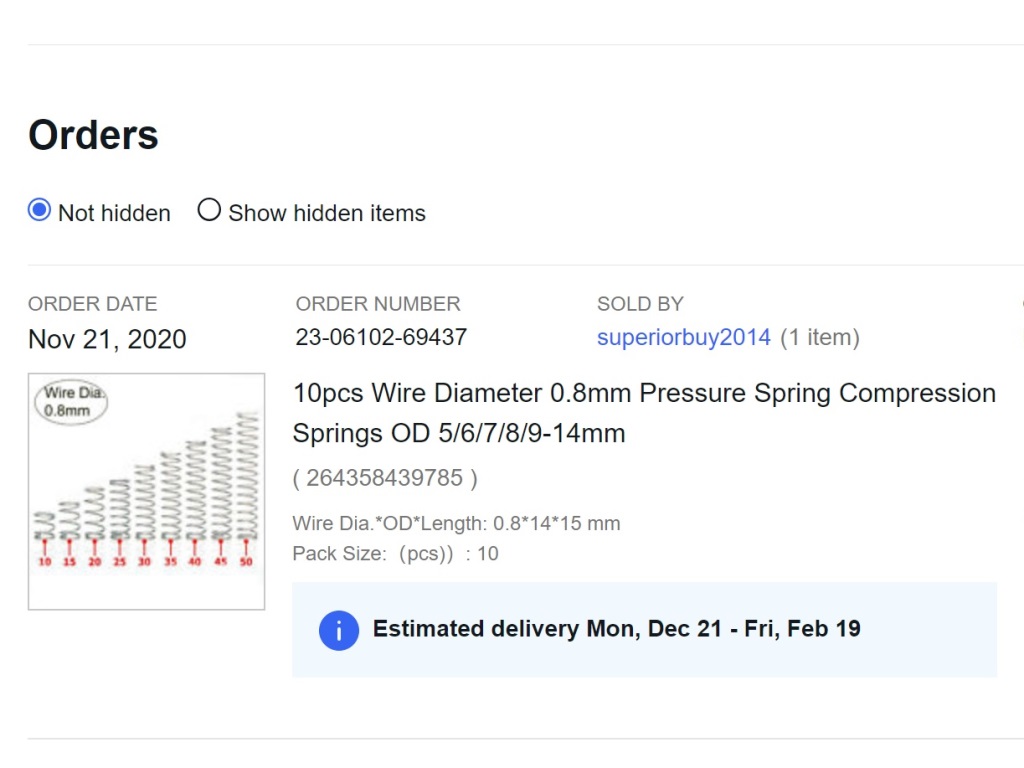
The buttons were disassembled and cleaned. There were a couple of broken springs, replacements for which I found on eBay. Whilst not identical to the original springs, they were close enough to be able to use in the start buttons so that the fire buttons were original "feel".
|
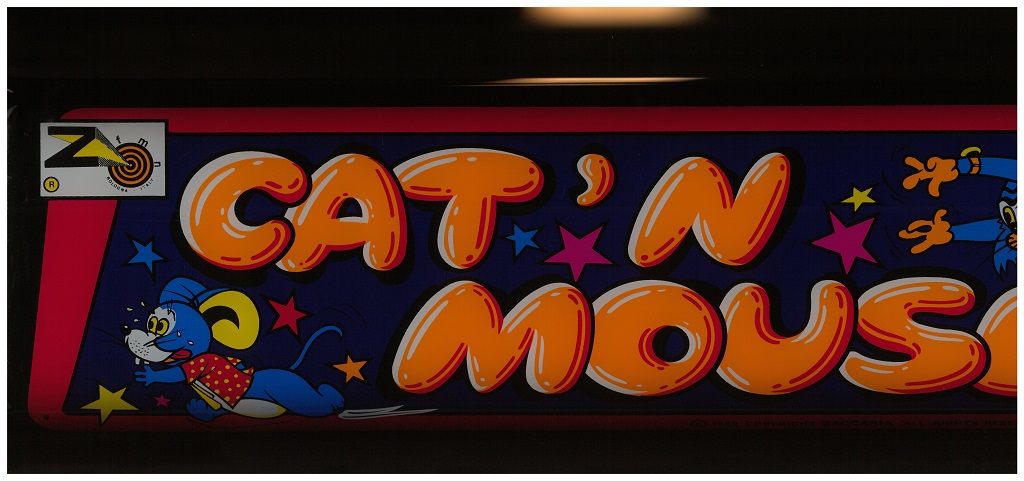
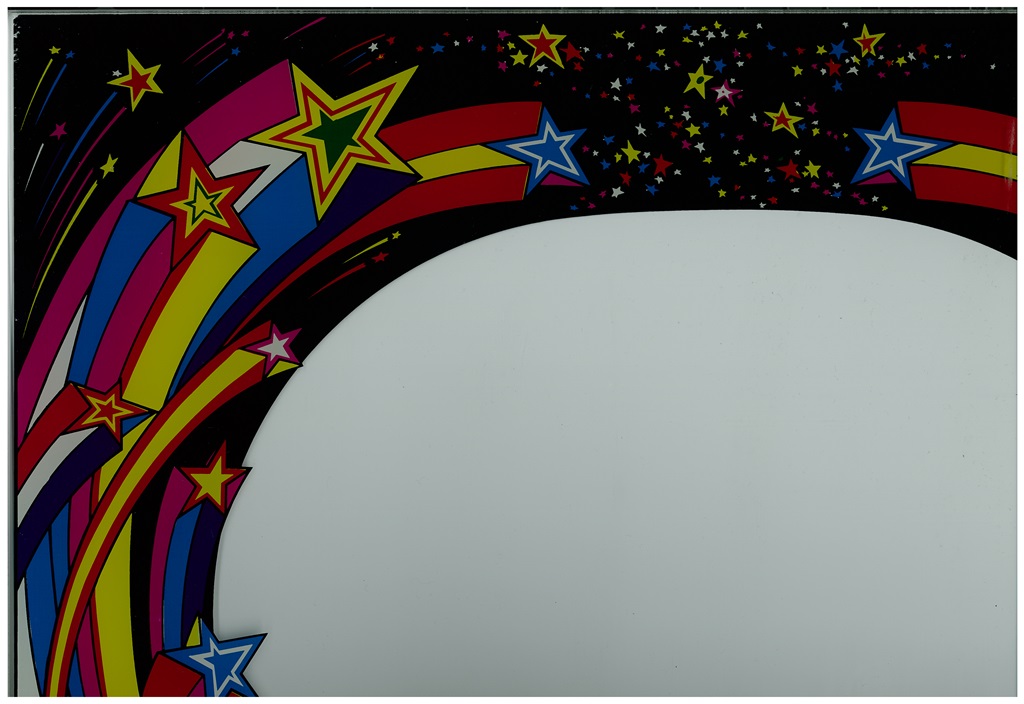
Scanned in the Cat'n Mouse marque.
600 DPI Fitter marque scan (22.9MB)

|
Rust was prevalent on both the marque lock bars that was smoothed over with fine pitch sand paper. Replacement carriage bolts (slightly longer than the originals) were used to secure the NOS Cat'n Mouse marque ready for the later full conversion kit.
|
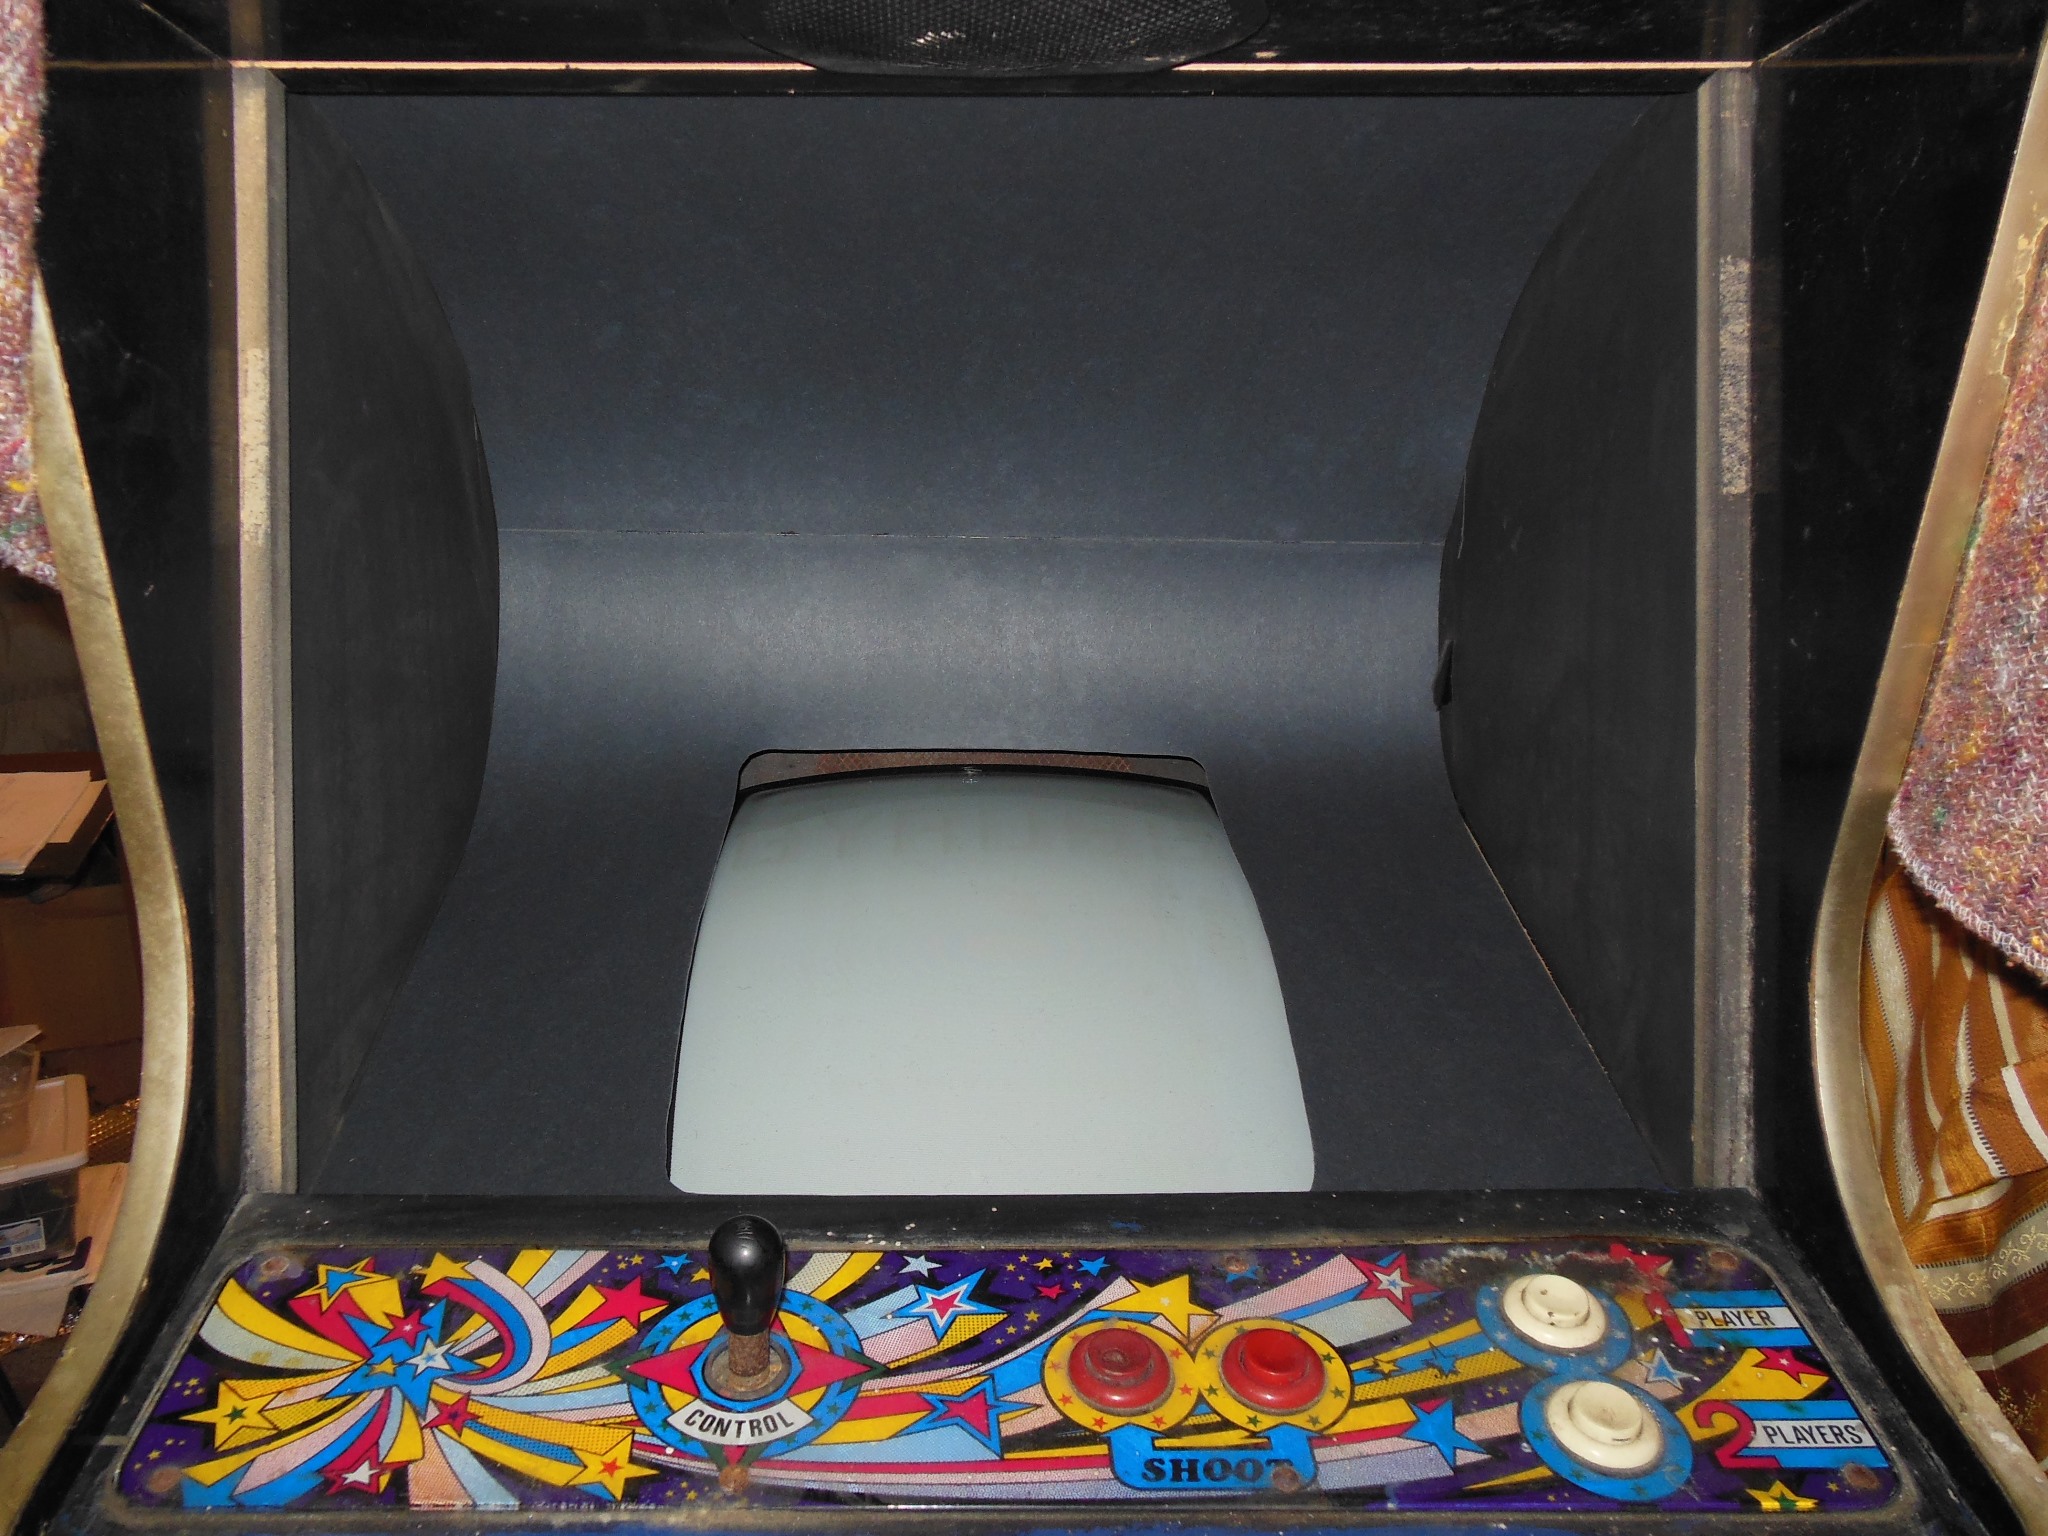
Foam spacers were fitted on the monitor glass supports and with the marque & marque light finished the rear access hatch was reinstalled (by pulling the surround forward to allow access to the hatch bolts). The foam spacers were Sharpied black so as to be less noticeable.
|
|
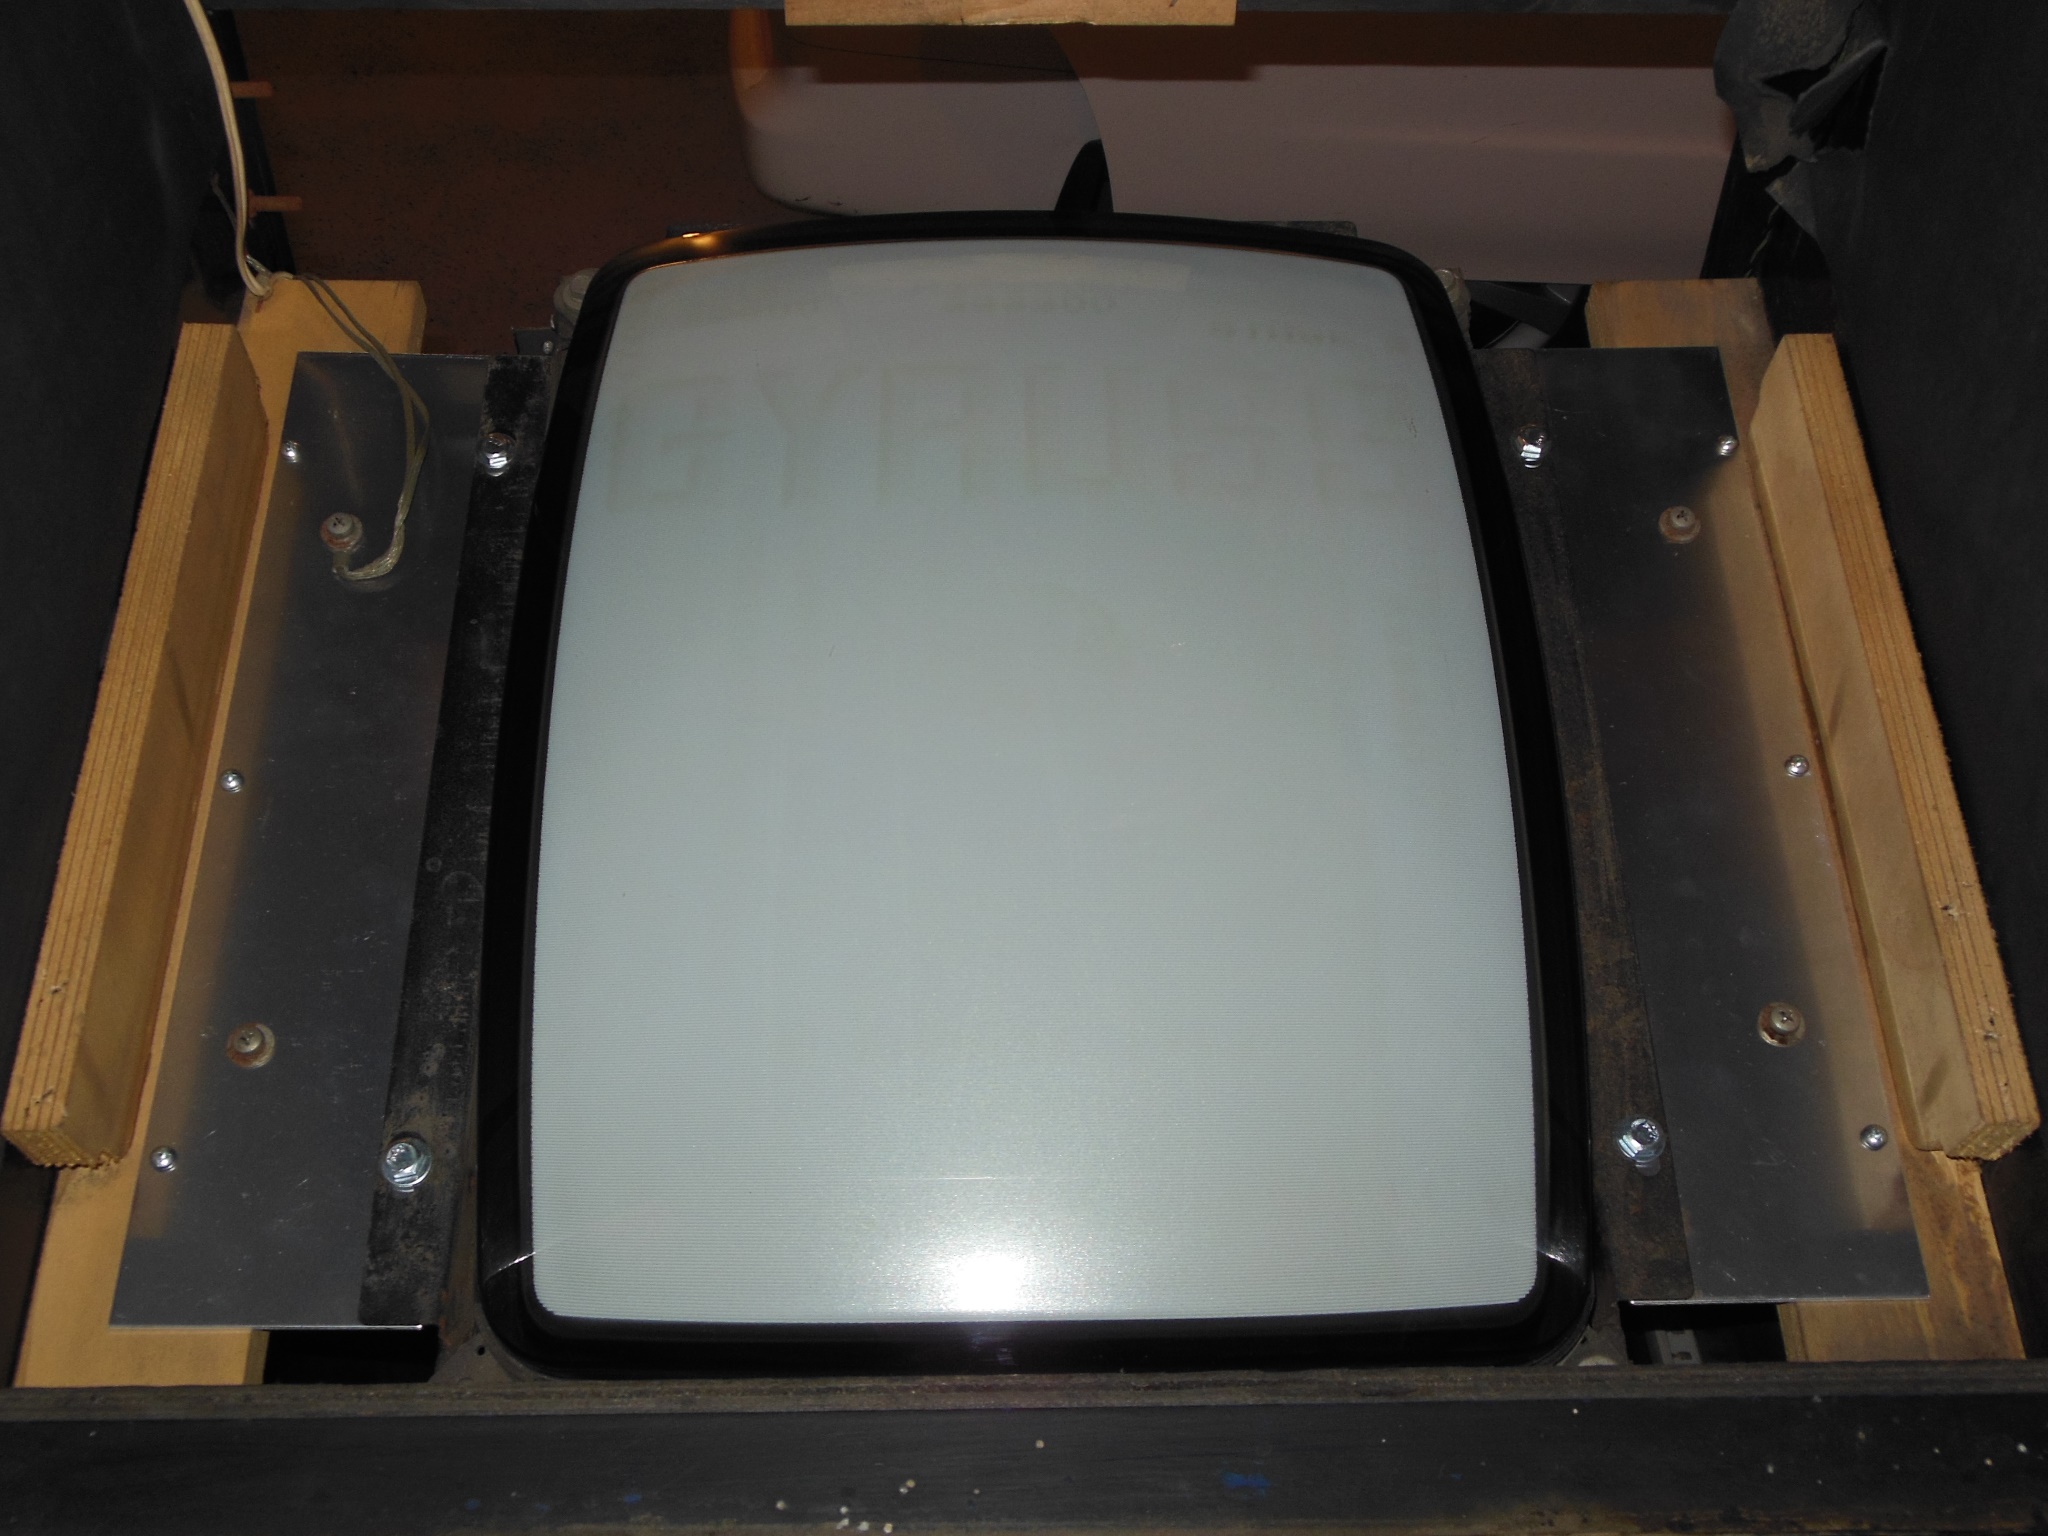
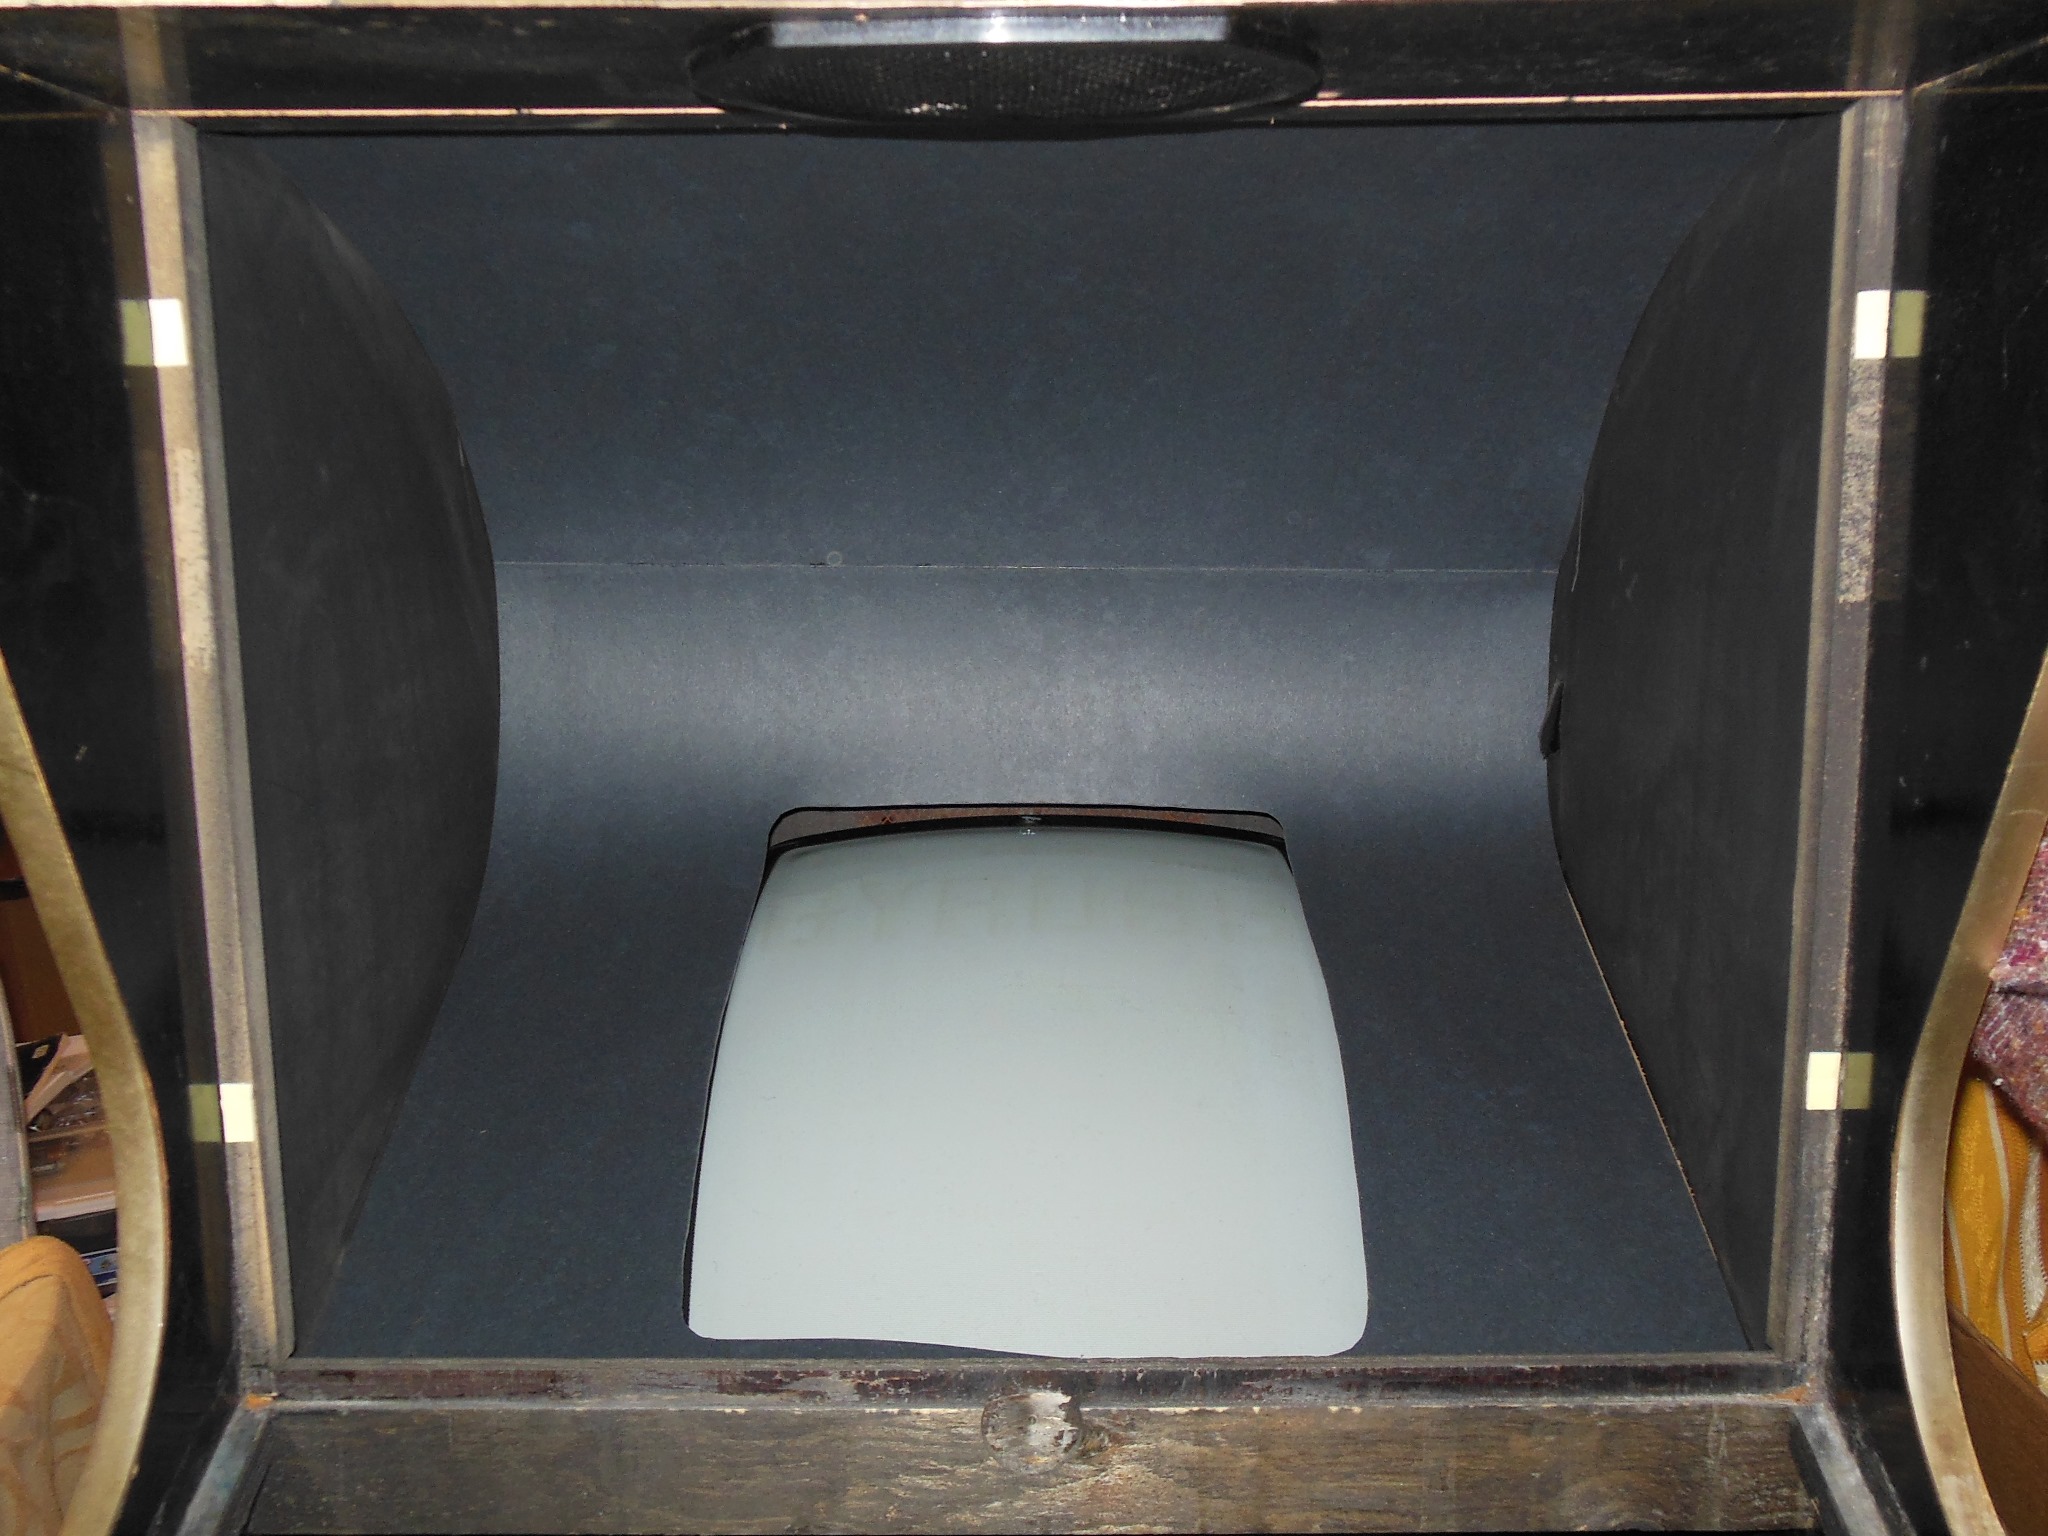
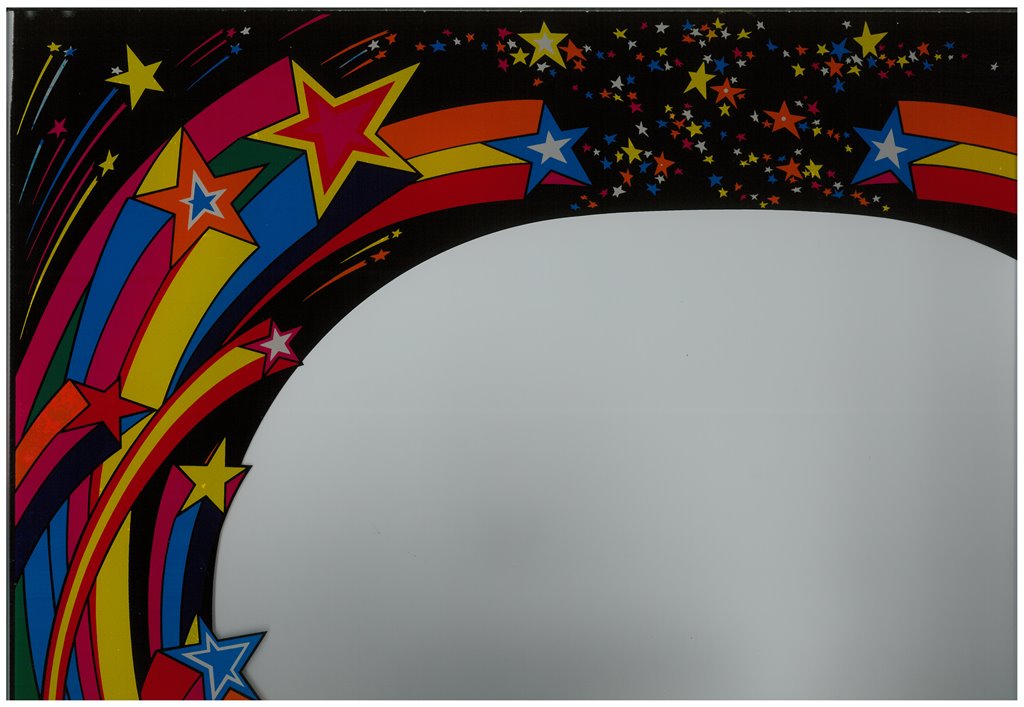
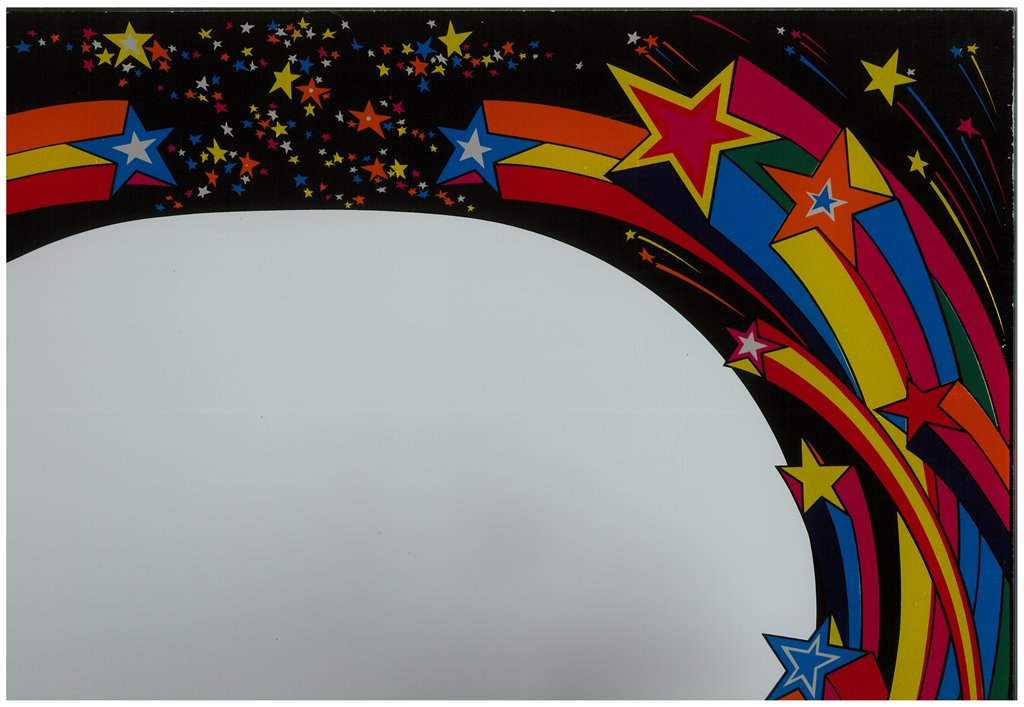
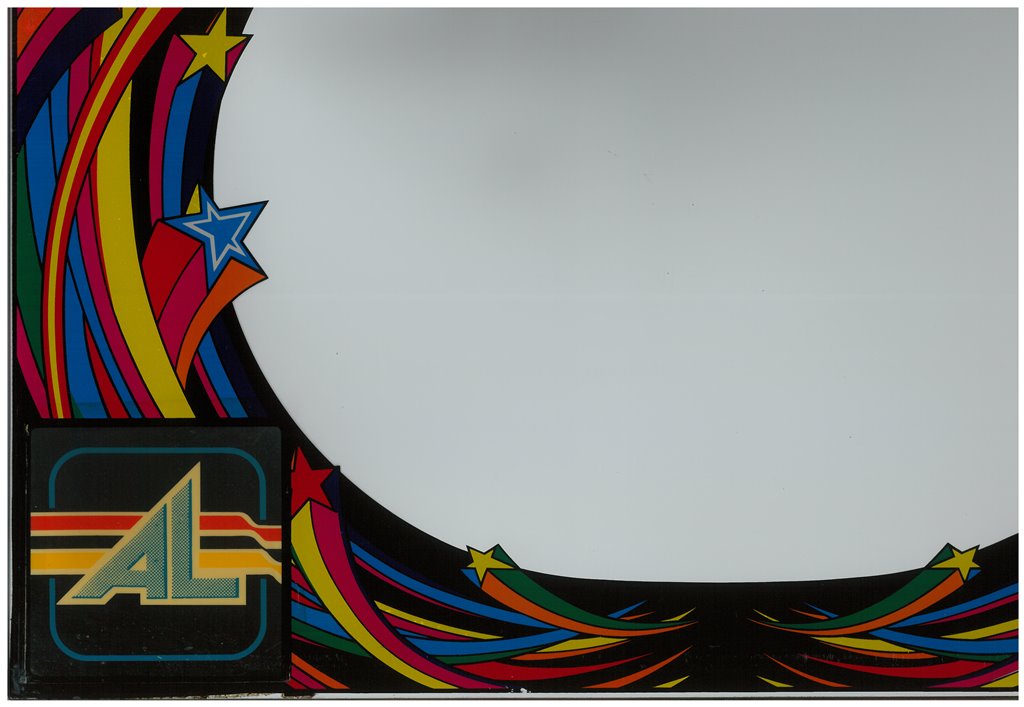
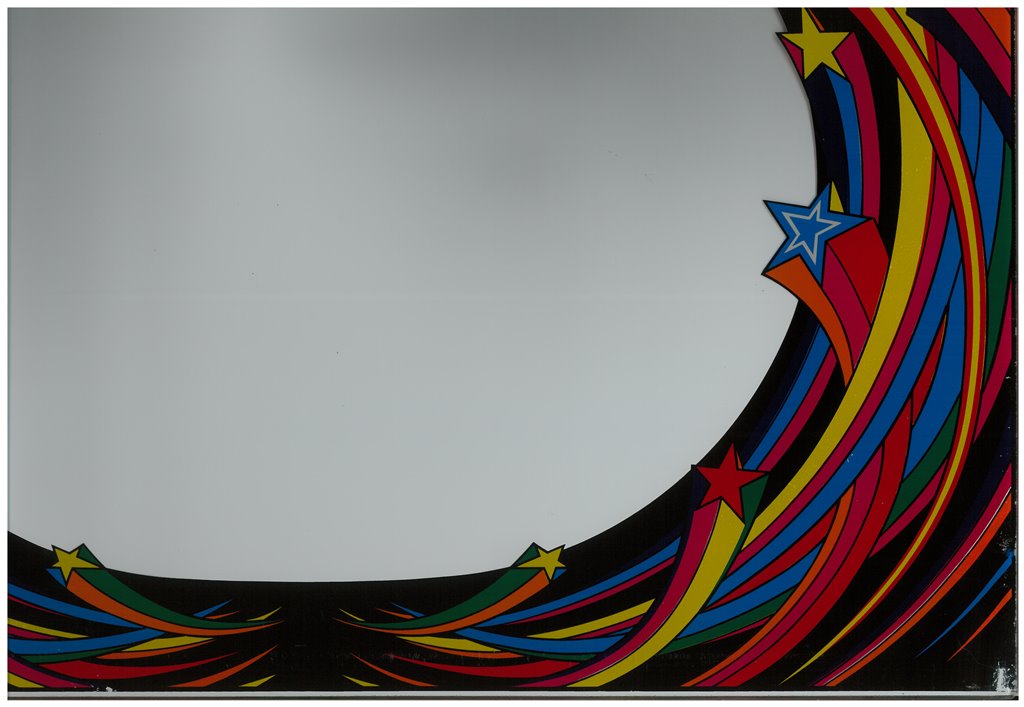
Scanned in the Universal B0 monitor glass.
300 DPI Universal B0 monitor glass scan (8.4MB)
|
I had already scanned a universal star monitor glass but a closer look found this Universal B0 example a slightly different print.
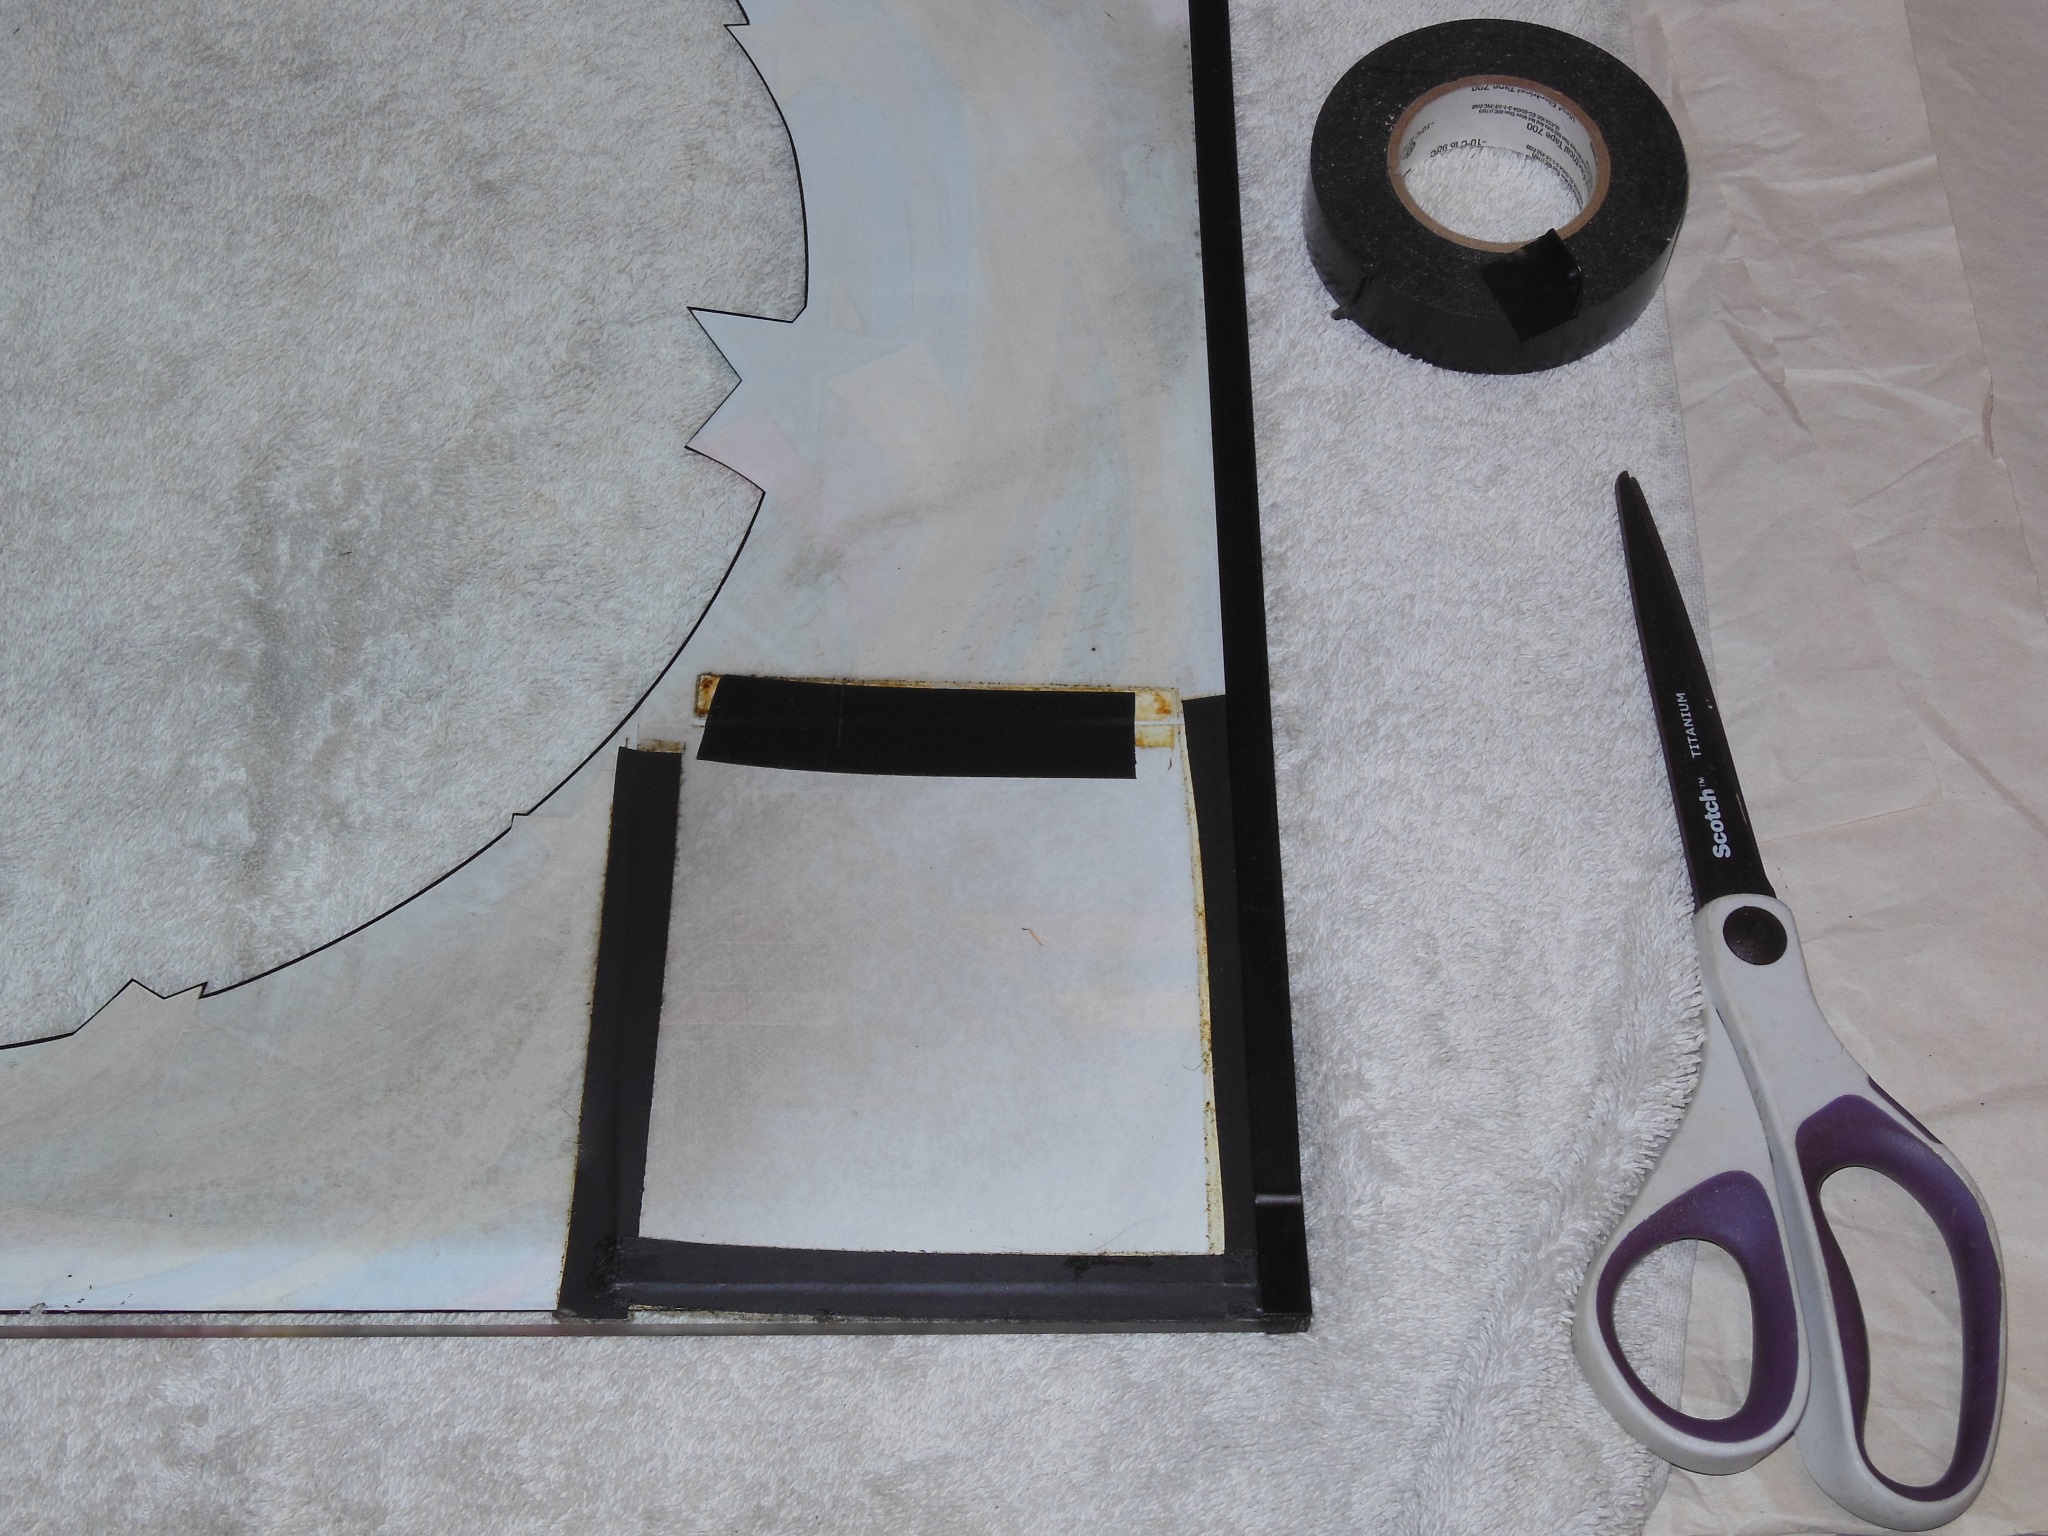

|
Black insulation tape had been used to secure the "AL" logo sheet in the instruction window. I didn't attempt to remove the peices still attached for fear of damaging the glass paint but did replace a section that had already fallen off to keep the sheet in place. The monitor glass and control panel were fitted back into the cabinet.


|
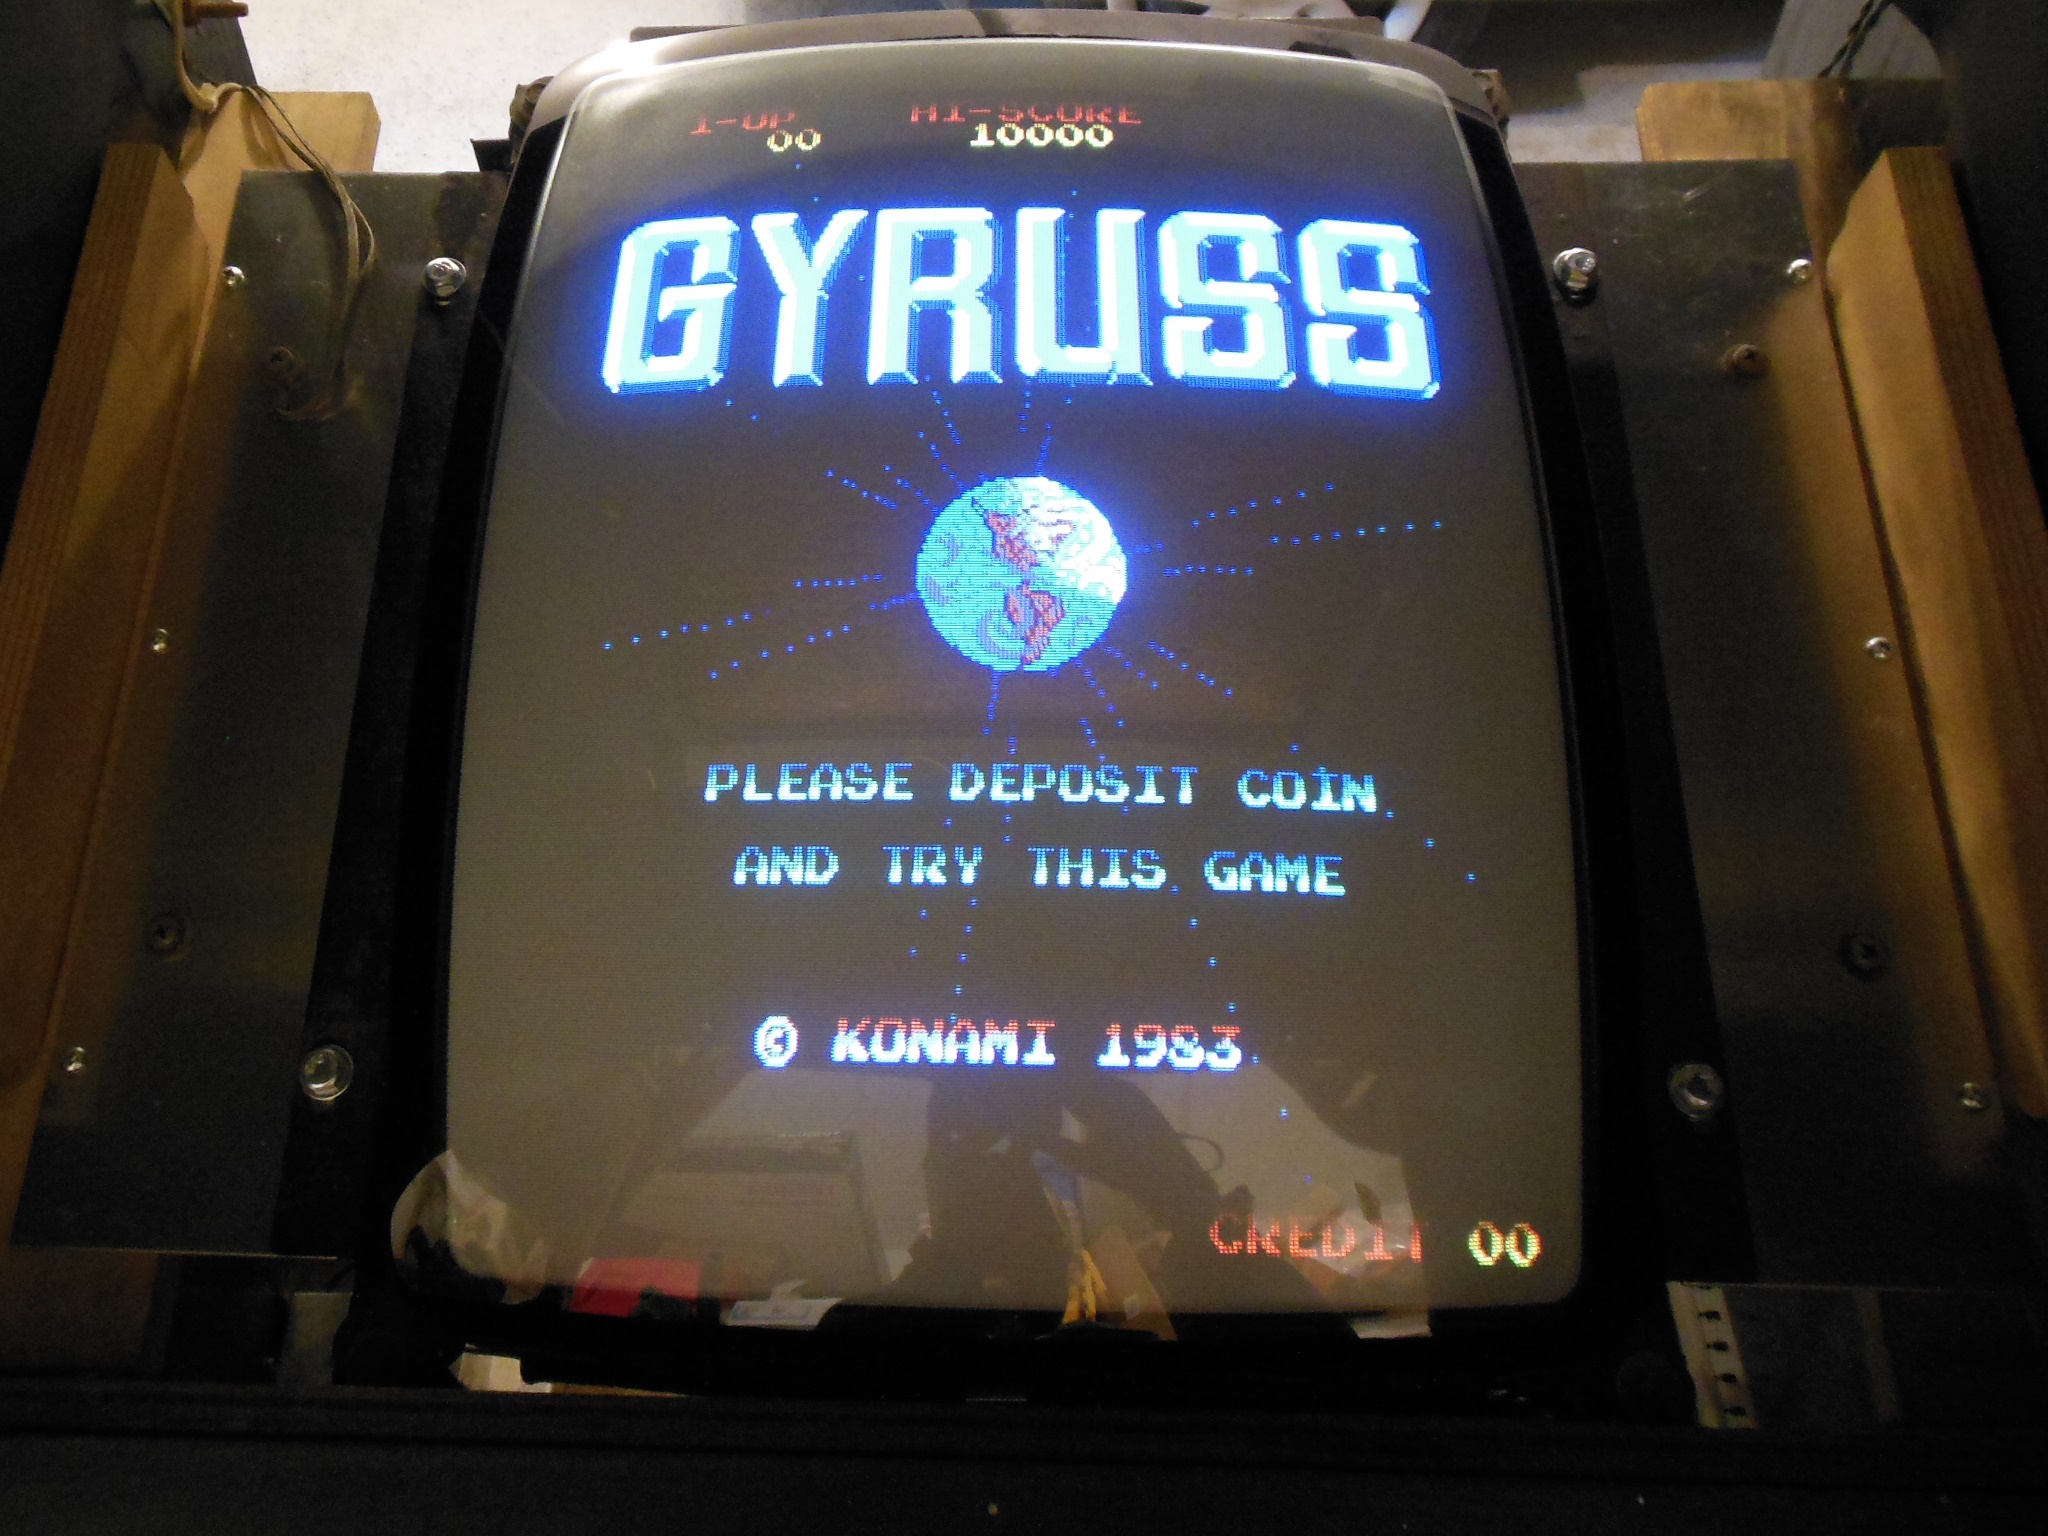
The whole cabinet was cleaned with a damp cloth. Burn-in testing for a few hours over a few days encountered no issues and I enjoyed playing Gyruss again.